Ryobi Dummy 13


Print Profile(3)


Description
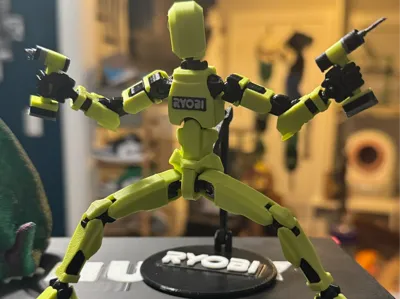
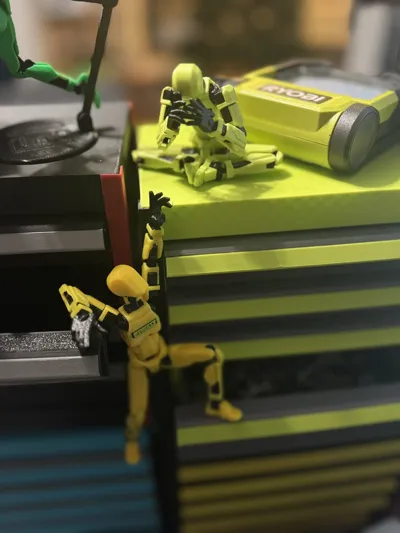
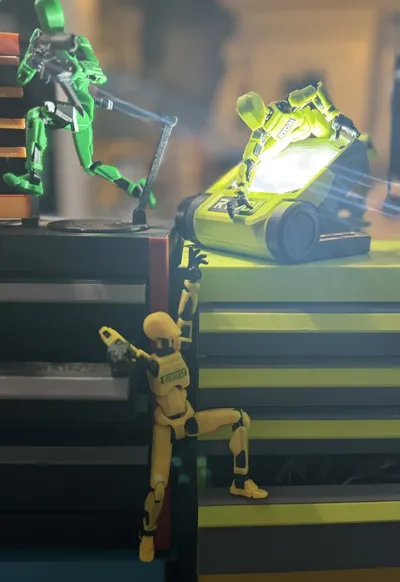
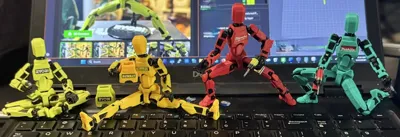
Dummy 13 models bring me tons of joy, having a growing army of them around my workspace. I decided to design a few remixes and am sharing them in case others want to print these versions.
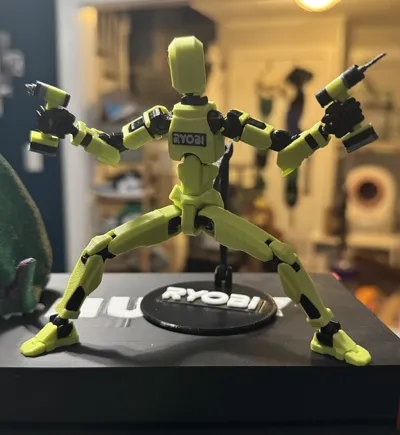
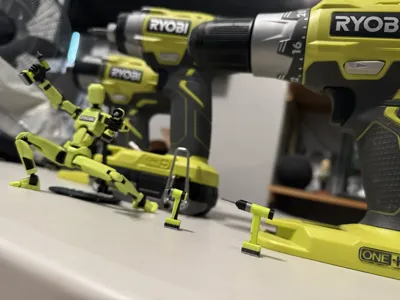
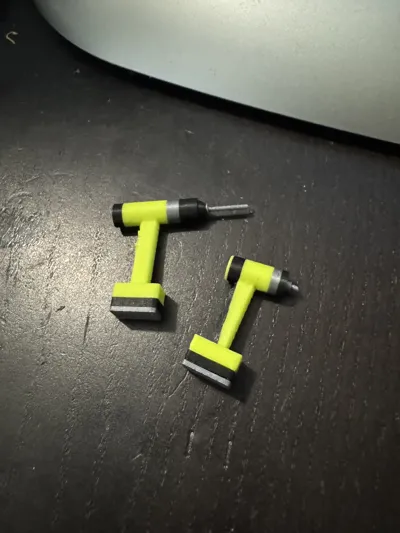
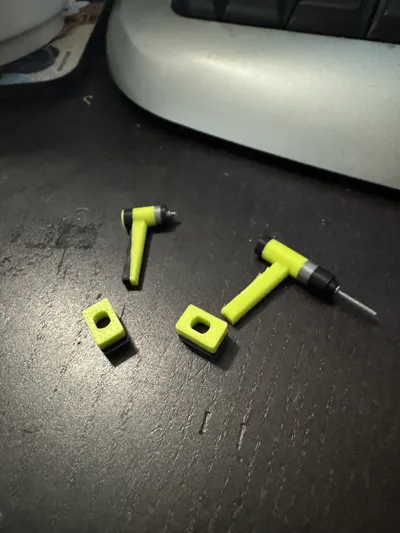
This remix is based on https://makerworld.com/en/models/638587-dummy-13-version-1-0#profileId-564186 and is modeled after my tool brand of choice at home, Ryobi, with an inset in the chest for the logo, a custom stand with inset for the Ryobi logo as well, and I even included miniature Ryobi colored Drill and Driver that I designed myself.
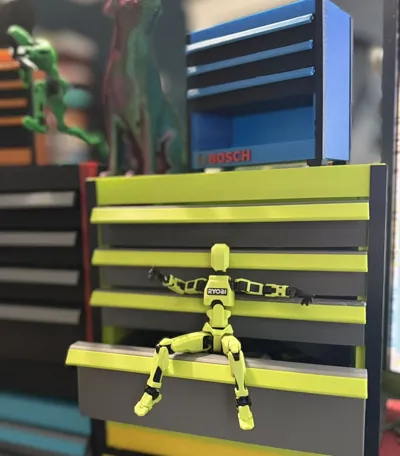
This is actually the first remix I did, but the second one I post, designed to match my mini desktop toolbox remix: https://makerworld.com/en/models/1105895-ryobi-mini-desktop-toolbox
If you are new to Dummy 13 please check the original model for detailed information related to Dummy 13, there are detailed tips and advice, as well as assembly instructions, etc. I've attached the Assembly Guide from the original model below.
The frame (and optional stand) is recommended to be printed in PETG for improved strength and durability, with all armor and accessories being PLA.
NOTE: This can be a challenging print. There are lots of small parts, so if you are using a non-sticky plate, you may consider using glue stick on your plate, i do this for all my prints and the adhesion is almost flawless this way. I do have periodic adhesion issues with the forearm armor since they have thin surface area touching the bed, so be warned :).
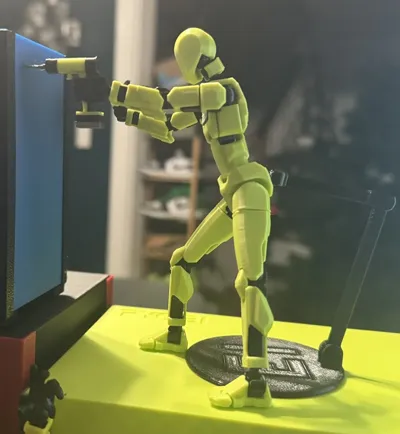
- Armor Color - I used BambuLab Bright Green PLA for the armor, it is a pretty close color match.
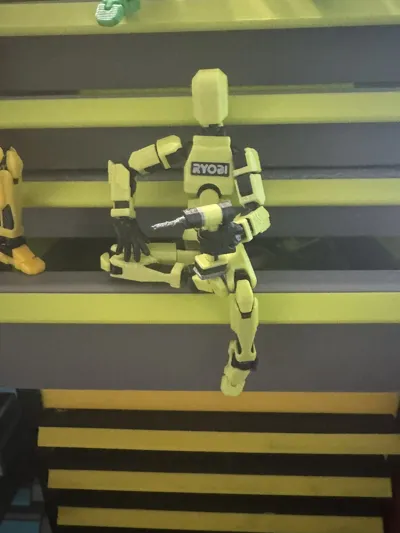
- Chest and Logo - The logo badge should press/snap into the inset on the chest, but be careful as you could break the chest piece putting these together, be sure to support the front chest piece while combining them; glue should be optional.
- Chest Logo Badge - I recommend 0.2mm nozzle for the chest badge for the fine detail in the logo letters, otherwise it is muddled. Everything else prints well with 0.4mm nozzle.
- Adhesion - I use Bambu glue stick on the plate for most of my prints, some of these small pieces may come loose, so be warned.
- Stand - I included an optional stand in this print with inset cutout for an optional Ryobi logo badge you can press fit into it.

Comment & Rating (194)