Floor Light for Philips Hue


Print Profile(3)


Bill of Materials


Description
Update 2025.05.31 floorlamp v3. Improved stability of the lamp stem
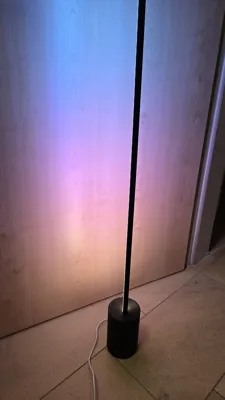
Here is my version of the Philips Hue Signe Floor Light, costing approximately 50% of the original price.
The lamp initially spurred me to purchase a 3D printer, as the original Philips version was simply too expensive.
It was crucial to me that the lamp seamlessly integrates with the Hue ecosystem and is therefore Ambilight compatible.
Boost Me (for free)
Accessories:
Philips Hue LED Strip: https://www.amazon.de/dp/B09C3RSZ7Q?ref=ppx_yo2ov_dt_b_fed_asin_title
Instructions:
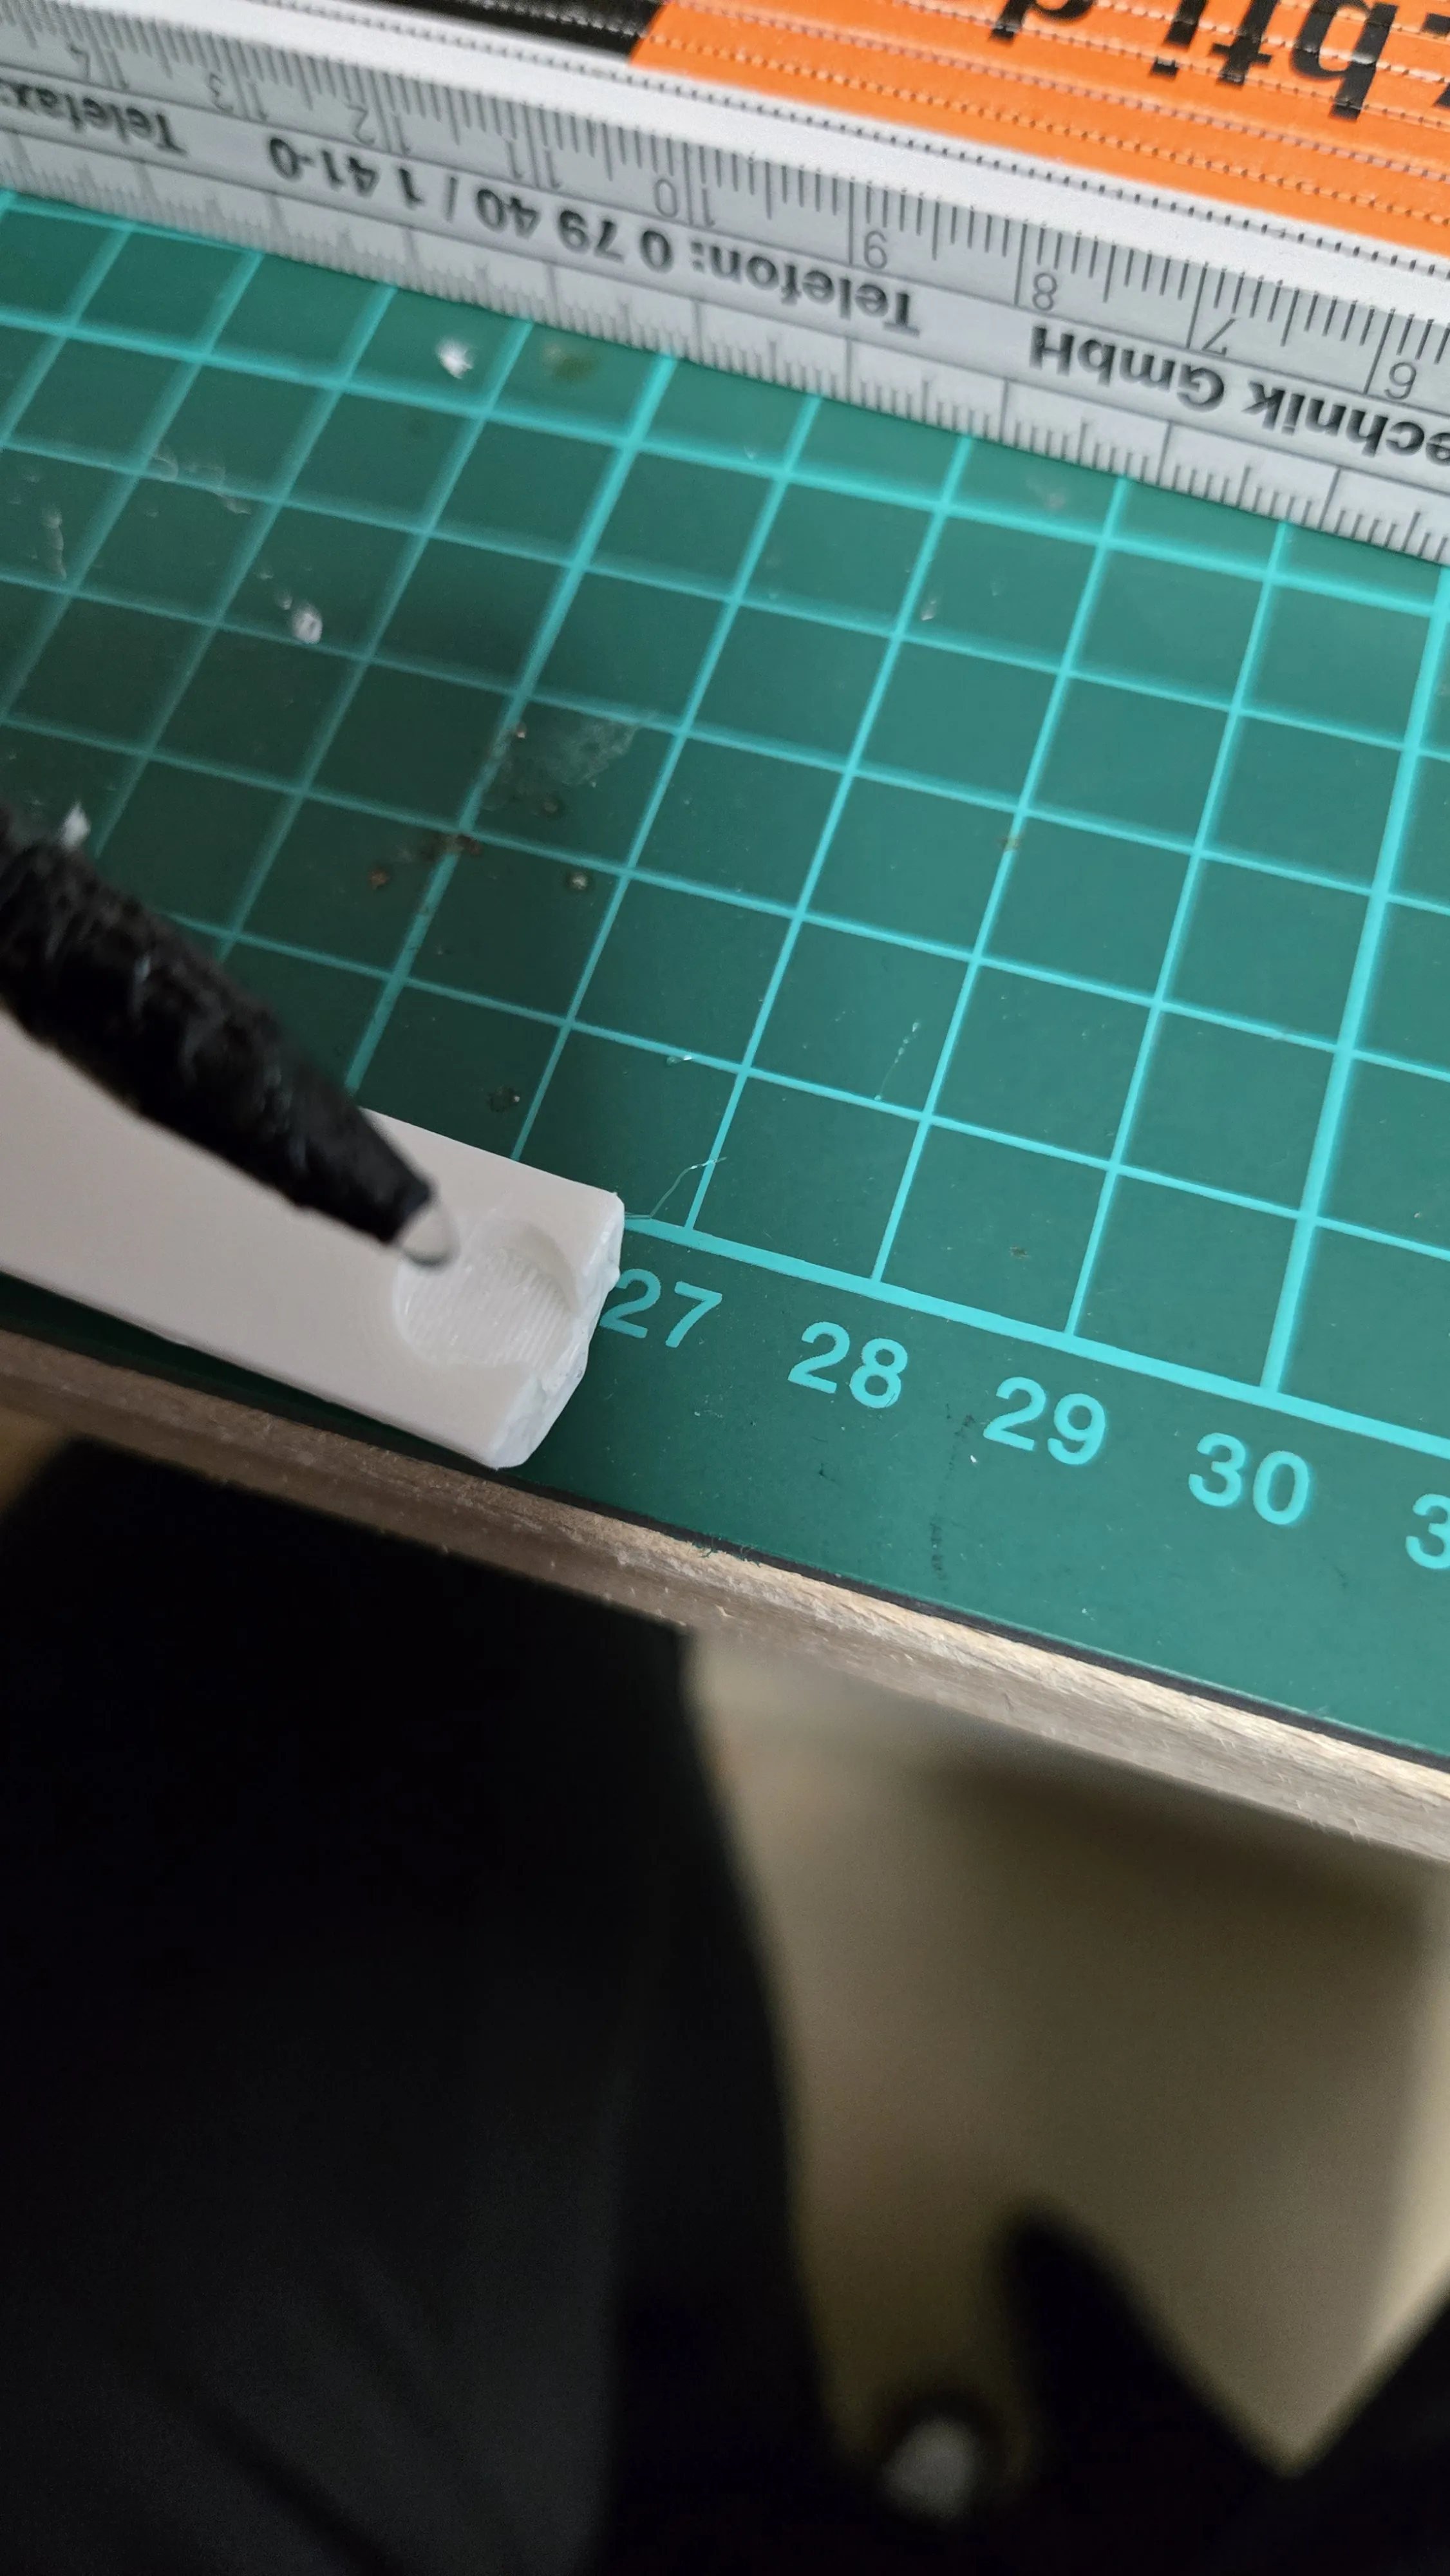
First, deburr the printed stem (if the seam was randomly placed) with a deburring tool if pitting has occurred.
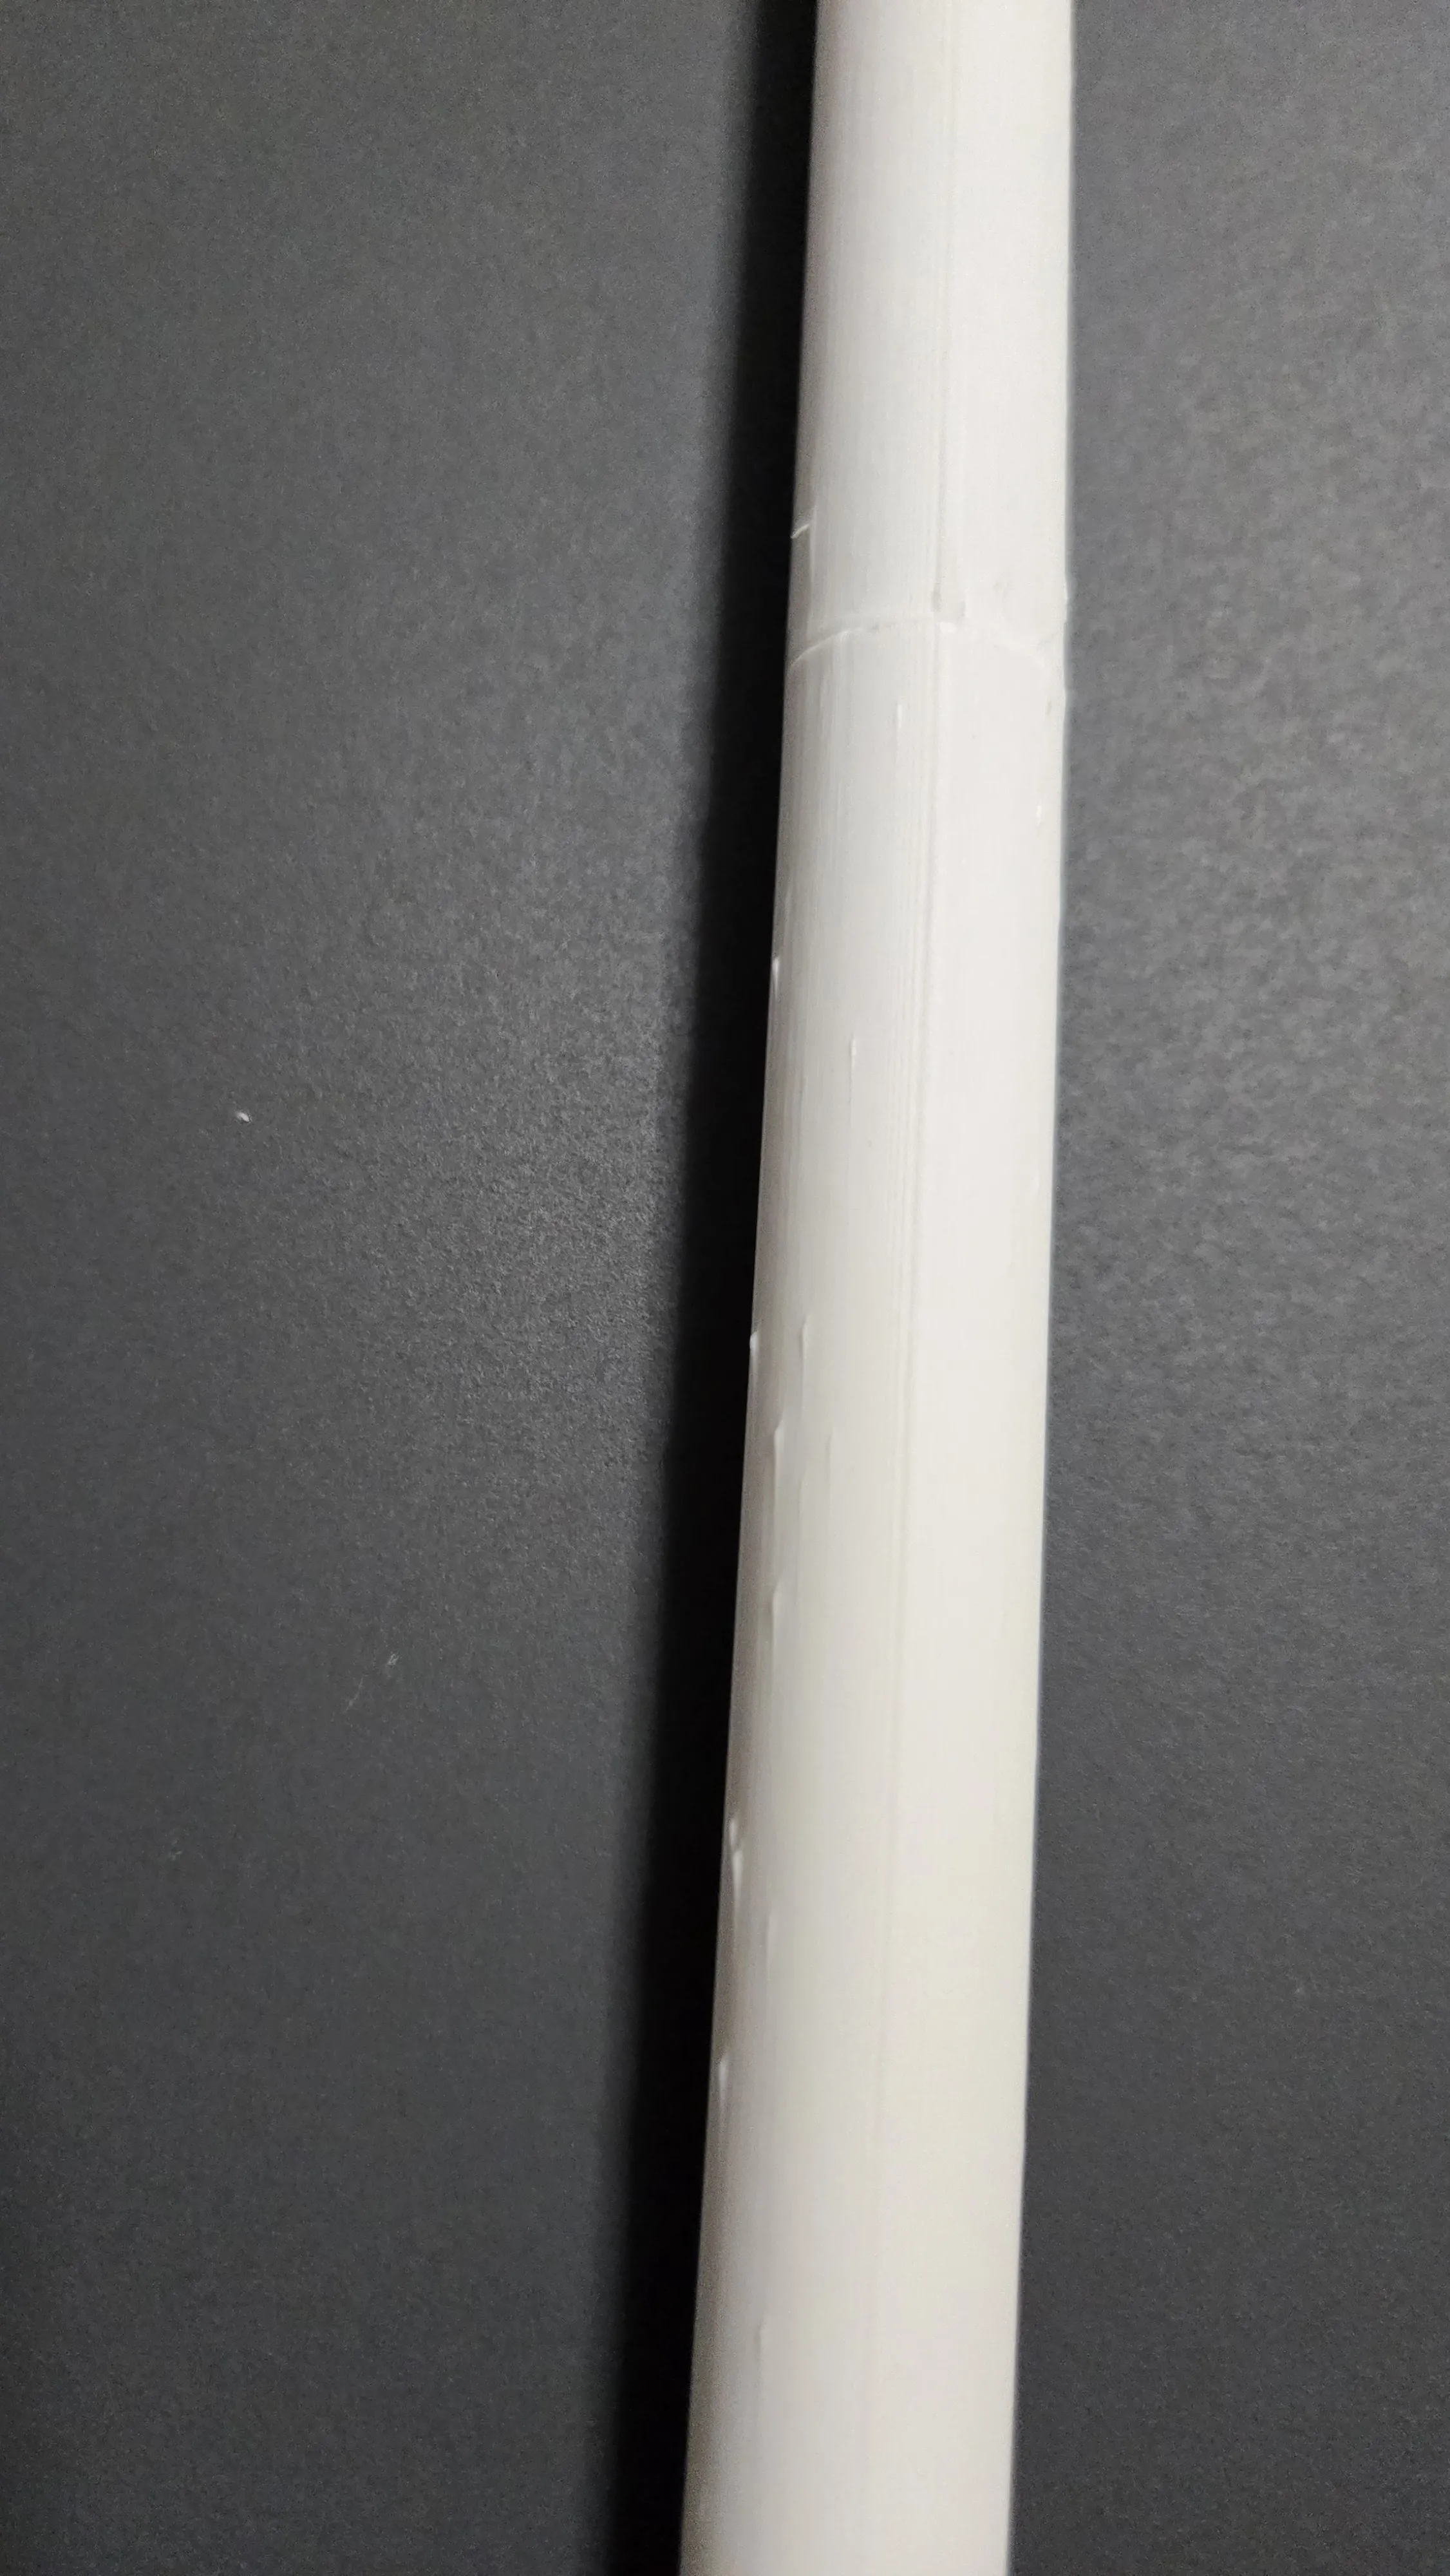
2. Apply adhesive to the contact points of the individual segments of the LED stem and connect them. It is best to lay them flat so that the stem is as straight as possible later.
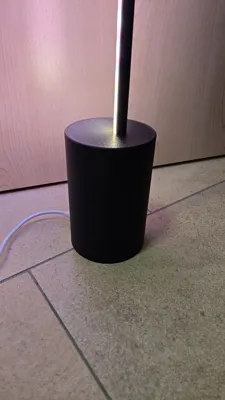
3. The upper part of the base can be filled with weights. I simply used small stones to ensure the lamp stands stably on the floor.
4. Glue the lower and upper parts of the base together using the centering points.
!!! Ensure that the opening for the rod is further away from the power connection opening!!!
5. By now, the adhesive on the stem should have dried, and the LED strip can be glued on.
Glue the LED strip from below as shown in the image and attach the end cap on top.


6. Now glue the transformer of the LED strip to the underside of the base.

7. Now insert the rod into the opening of the base (LED strip towards the power cable opening)
Push the plug of the LED strip through the small opening and plug it into the transformer.
Ideally, there is some excess cable inside the base to relieve the cable somewhat. See image

8. Now screw the base together using 3 pcs M3x10mm SHCS self-tapping screws, as found on Bambulab.com.
9. Connect the lamp to the power supply with the supplied cable, connect it with the Hue app and enjoy :)
Boost Me (for free)
License
You shall not share, sub-license, sell, rent, host, transfer, or distribute in any way the digital or 3D printed versions of this object, nor any other derivative work of this object in its digital or physical format (including - but not limited to - remixes of this object, and hosting on other digital platforms). The objects may not be used without permission in any way whatsoever in which you charge money, or collect fees.
Comment & Rating (57)