Compact Bubble Maker (BambuLab Kit)


Print Profile(1)

Bill of Materials


Description
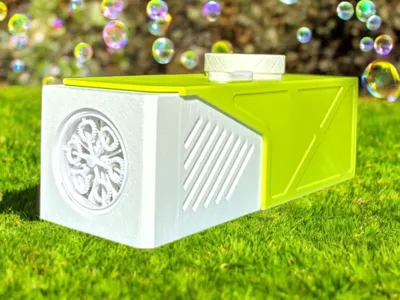
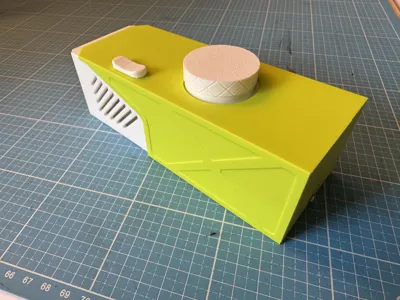
I have a stationary bubble maker for you here. It is designed for the Electric Bubble Maker Kit from BambuLab. All necessary parts are listed in the BOM.
Assembly instructions:
Step 1:
Insert the heating insert into the small hole at the back (M3 insert):

Step 2:
Insert the Bubble Maker into the large hole of the body. Make sure the part is positioned as shown in the picture:

Step 3:
Insert the switch into the holder provided:

Step 4:
Insert the silicone tube through the silicone plug provided. Then insert the hose into the hole in the tank. Make sure that it bends slightly around the corner and down into the tunnel. This should be possible with a little pressure and twisting. You may want to shorten the hose a little, but be careful not to cut it too short. Finally, insert the silicone plug into the hole in the tank. Then place the tank between the two edges of the body.


Step 5:
Attach the two button pieces to the cover. Make sure they are aligned as shown in the picture. Two M2x4 screws are required for mounting.


Step 6:
Insert the battery into the free space under the tank and connect the two cables together.

Step 7:
Place the cover on the body and screw a M3x6 screw into the rear hole. It is easier if the tank cover is not mounted.

Step 8:
Fill the tank with the bubble fluid. I had to mix mine with a little water to get good bubbles.
Step 9:
Have fun.
Boost Me (for free)
If you enjoy my free 3D models and want to support future creations, consider giving me a boost! It helps me keep providing content at no cost. Don’t forget to follow me so you never miss new releases. Thank you for your support! 🙌
License
You shall not share, sub-license, sell, rent, host, transfer, or distribute in any way the digital or 3D printed versions of this object, nor any other derivative work of this object in its digital or physical format (including - but not limited to - remixes of this object, and hosting on other digital platforms). The objects may not be used without permission in any way whatsoever in which you charge money, or collect fees.
Comment & Rating (26)