
Camper Night Light
Print Profile(2)


Bill of Materials







Description
Boost Me (for free)
Boosts are a free and easy way for you to show me some support, please consider sending one my way. Enjoy the model!
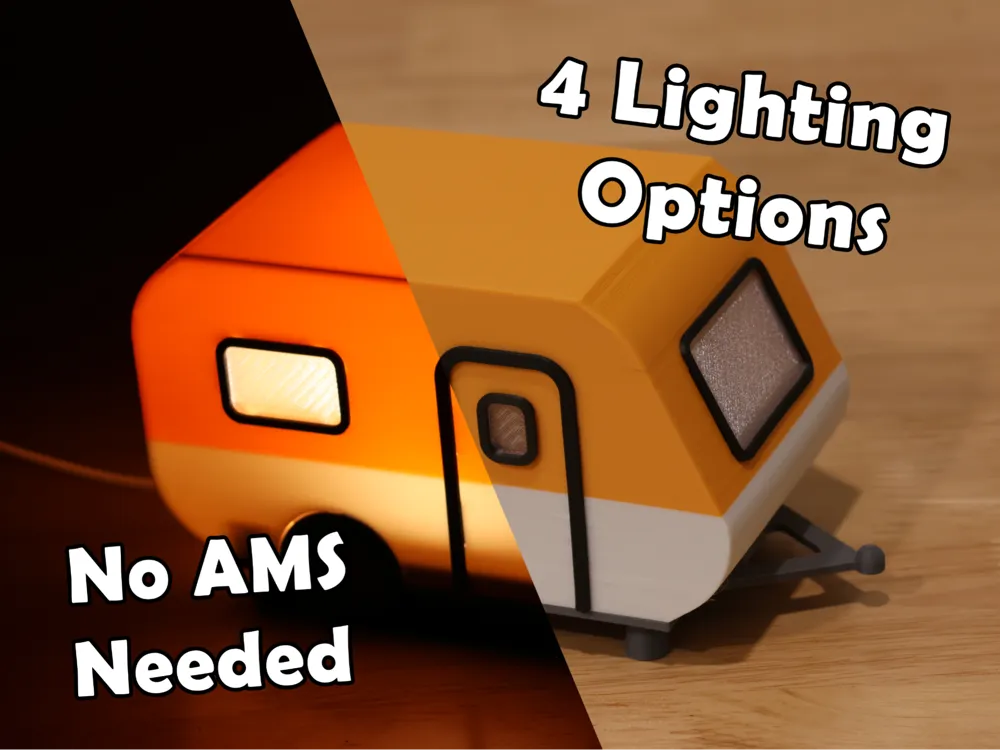
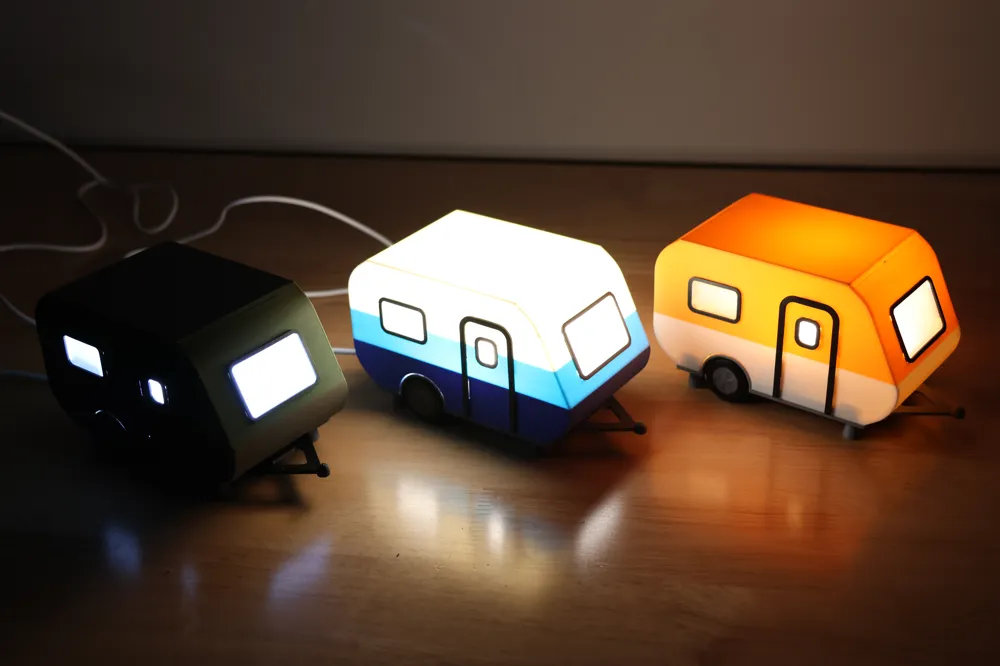
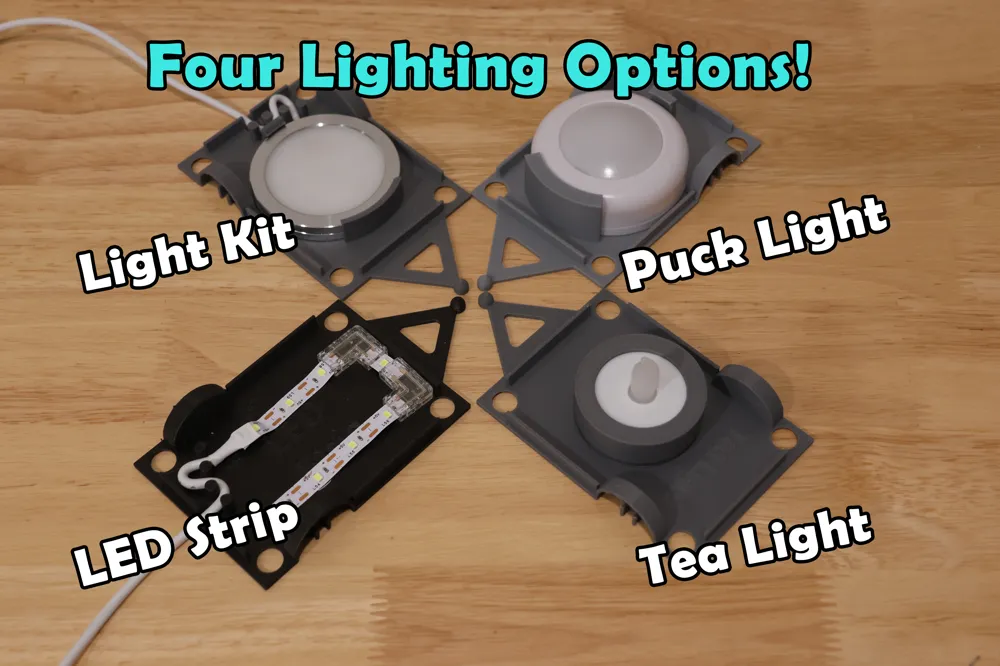
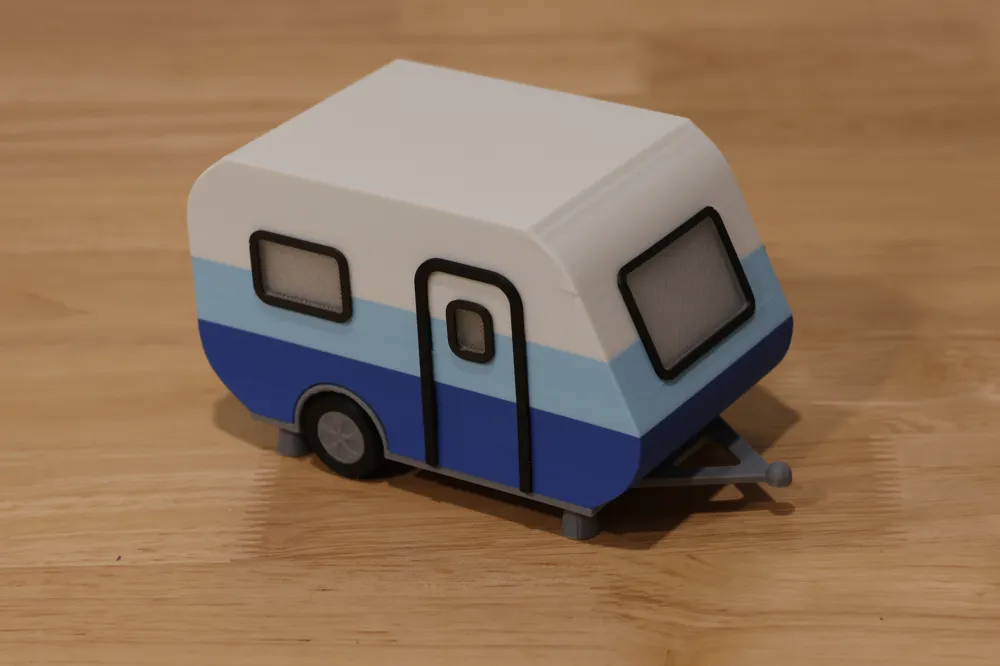
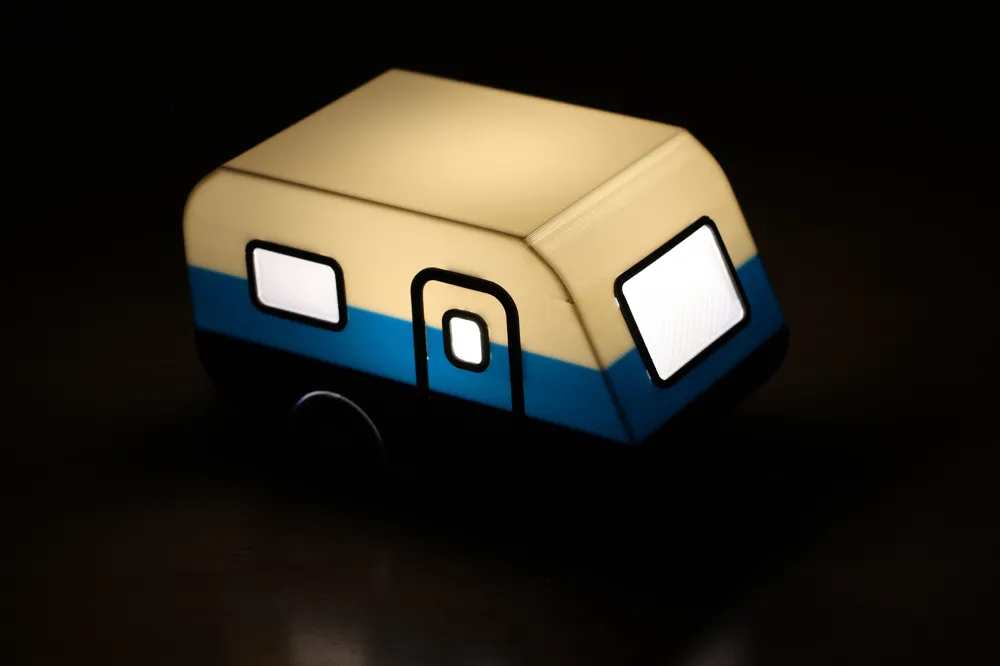
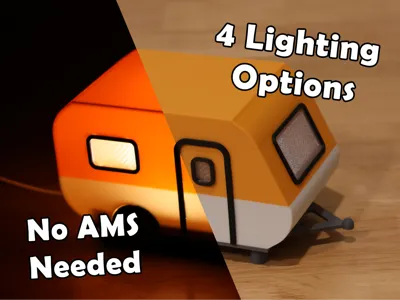
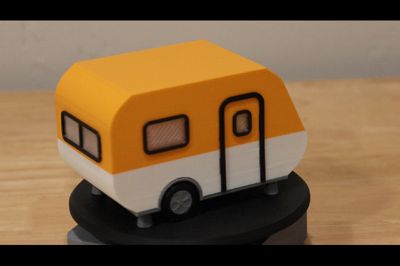
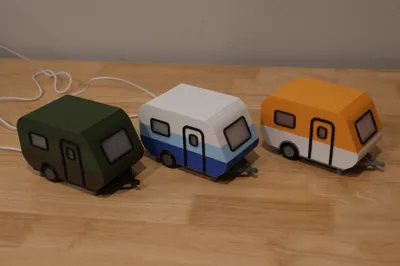
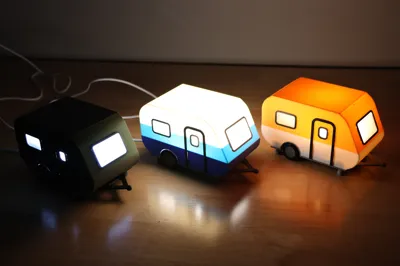
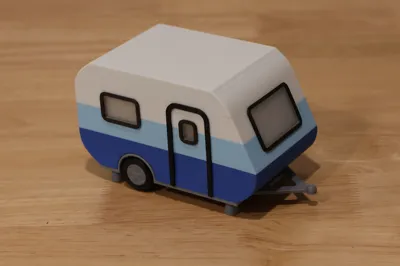
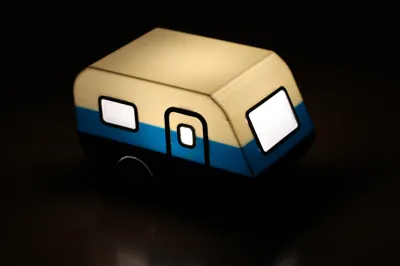
This little night light reminds me that I need to go camping and, when I do, I can take it with me! Designed for flexible lighting options and easy assembly, this little lamp comes together quickly and provides countless hours of peaceful soft light.
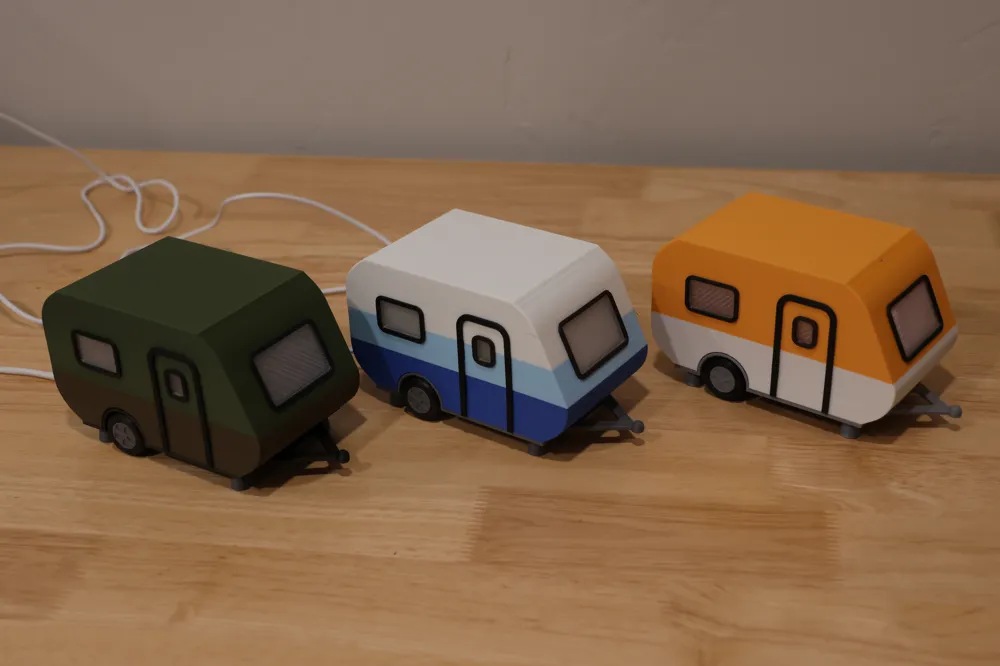
The print profiles give quick options for a camper with one, two, or three colors.
Big thanks to @lumamannen for the inspiration and initial design for the tea light version!
What to Print
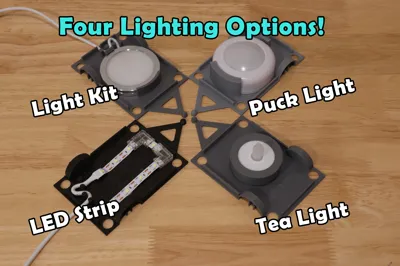
You'll print everything in the Camper Parts folder, and pick one frame from the Frames folder depending on your light source. Using the provided print profiles sets everything up for you.
Assembly


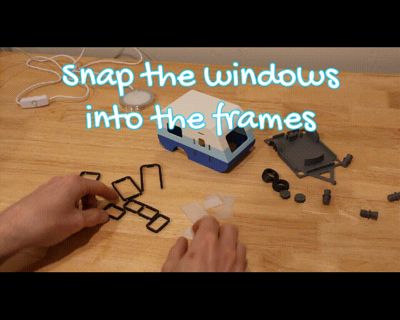
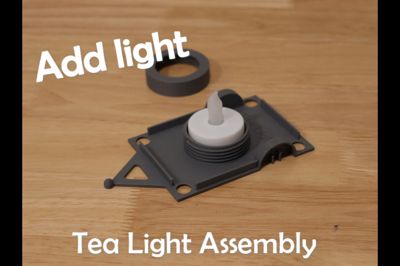
See the animated GIF for a quick assembly tutorial. The steps are these:
- Snap the windows into the window frames.
- Snap the windows and door frame into the camper shell.
- Snap the wheel hubs into the wheels by lining up the tab in the wheel with the slot in the hub.
- Snap the assembled wheels into the wheel wells in the frame.
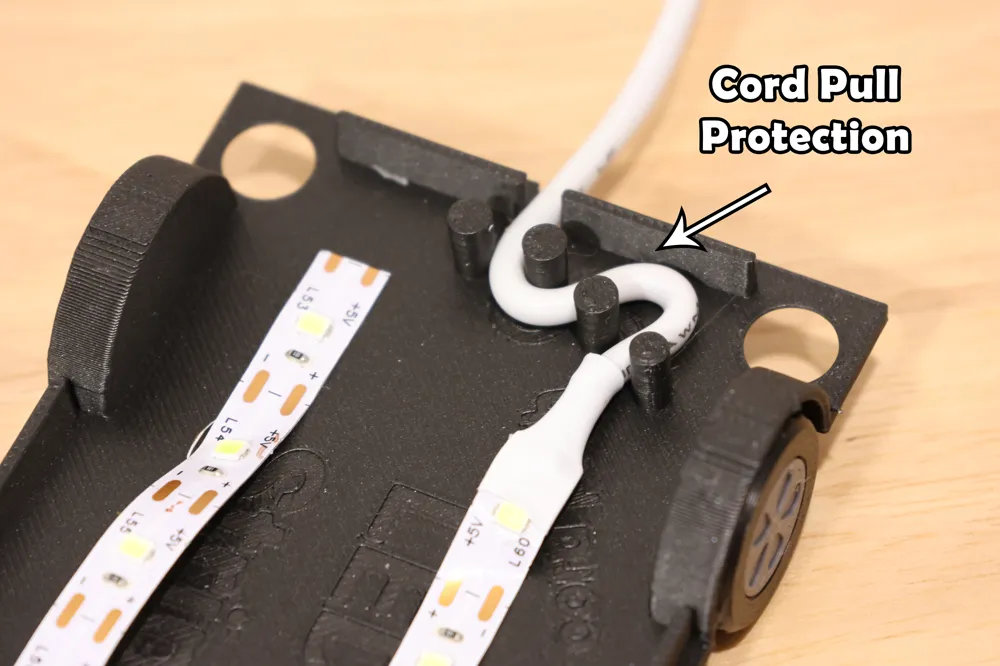
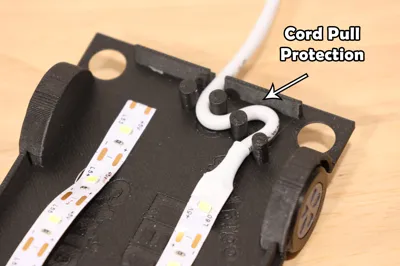
- Add your lights to the frame. Follow the cord path if you're using a corded light. This provides cord pull protection.
- Cover with the camper shell.
- Screw in the trailer jacks.
- Sit back and enjoy the light.
Printing Tips
All parts are oriented properly. This includes the hub cap which gets flipped if you do “auto orient”. Keeping it the way it loads makes for a better looking hub cap pattern, but it will print either way.
2 walls with 5% gyroid infill works fine. Most everything is thin and solid, so changing infill and infill percentage doesn't do much.
Where you need more than one of a particular part, it is marked with a multiplier in the file name.
For a commercial license, you can join me on Patreon. If you just want to show a little support, you can contribute to my filament fund. Thanks!
License

You shall not share, sub-license, sell, rent, host, transfer, or distribute in any way the digital or 3D printed versions of this object, nor any other derivative work of this object in its digital or physical format (including - but not limited to - remixes of this object, and hosting on other digital platforms). The objects may not be used without permission in any way whatsoever in which you charge money, or collect fees.


Comment & Rating (183)