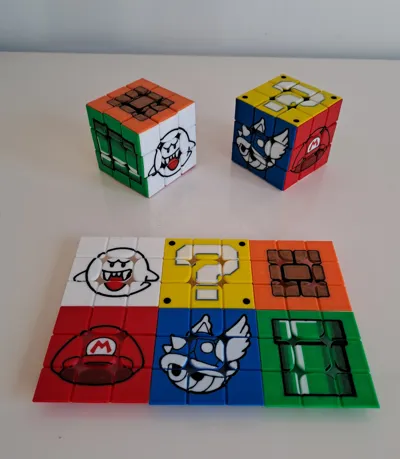
Mario theme speedcube sides


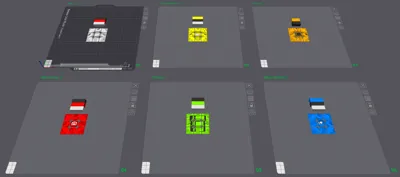
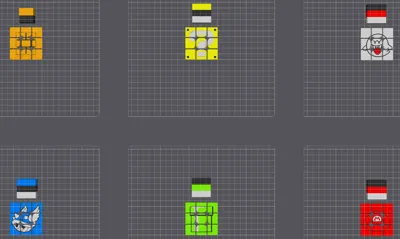
Print Profile(1)

Bill of Materials


Description
IF YOU SLICE YOURSELF: USE 0.12MM LAYERS!!!
Additional solving instructions: due to the images, take care of orienting the bottom and side CENTER PIECES when you solve the btm cross! After that solve like normal cube.
Once you solved all colors the only issue should now be that some center pieces are 180° reversed. To solve this issue, do 2x “T-perm” after each other with the “reversed” center on top to solve that center piece orientation.
T-perm = (R U R' U' )R' F2 R U'(R' U' R U) R' F'
Only needs max 3 colors/ side! Other tones are aquired by using thin layers of one on top of black.
=> you will need the 6 side colors + black to print all sides like in this example.
Only additional instruction vs the normal cube: check the edges of the parts as the color on color leads to some overextruded “bumps” on the sides that can result in additional friction! Remove them carefully with a cutter.
My rubiks cube designs:
| Name | Ease of assembly | Corner cutting | Magnet positioning | Compatible with “Themed sides” |
| Maglev speedcube | +/- | ++ | Possible | V |
| 100% printed speedcube | + | + | Possible | V |
| Printed rubiks cube | ++ | - | N/A | X |
| Styled sides: |
| Minecraft styled sides |
| Super mario styled sides |
License
You shall not share, sub-license, sell, rent, host, transfer, or distribute in any way the digital or 3D printed versions of this object, nor any other derivative work of this object in its digital or physical format (including - but not limited to - remixes of this object, and hosting on other digital platforms). The objects may not be used without permission in any way whatsoever in which you charge money, or collect fees.
Comment & Rating (22)