
Print Profile(5)



Description
German | English |
|
|

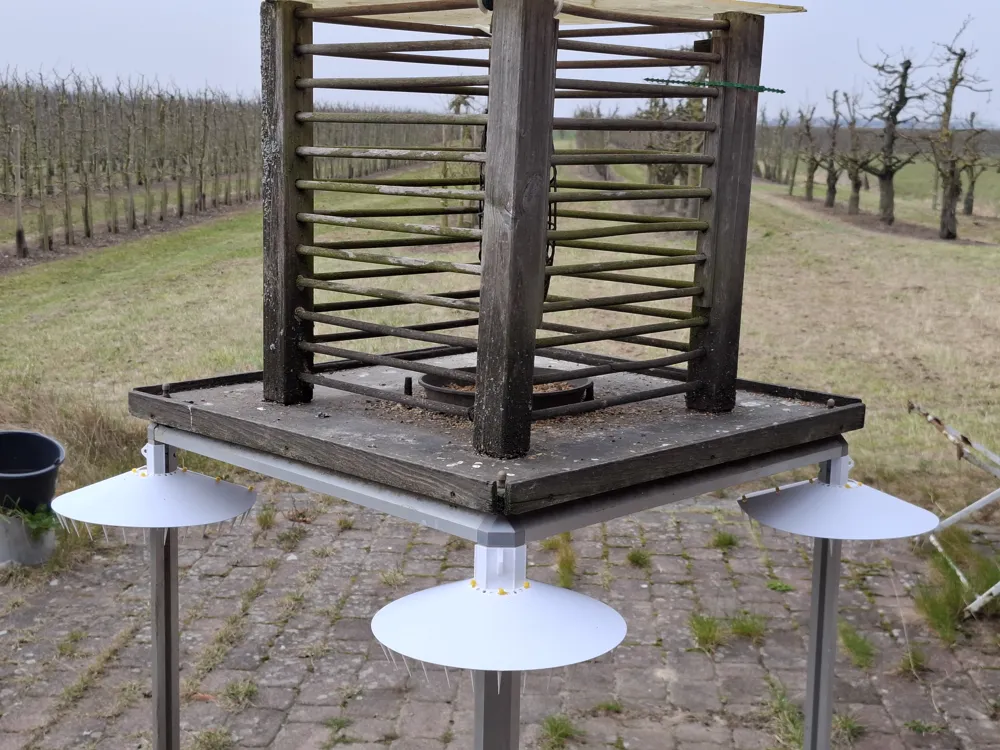

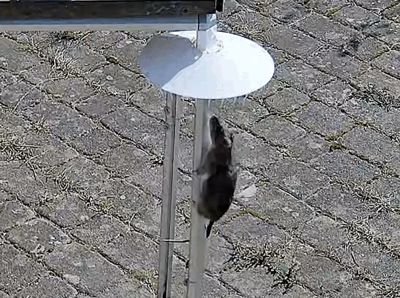
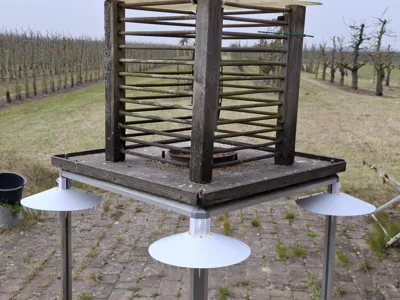
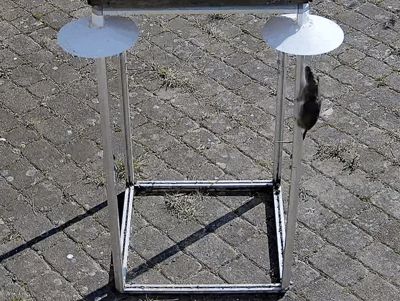
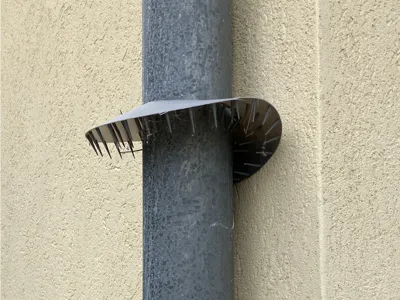
I was somewhat surprised when a rat helped itself to the bird food in the bird feeder's bowl. I thought that smooth aluminum poles over 110cm high should be an obstacle for the rodents.
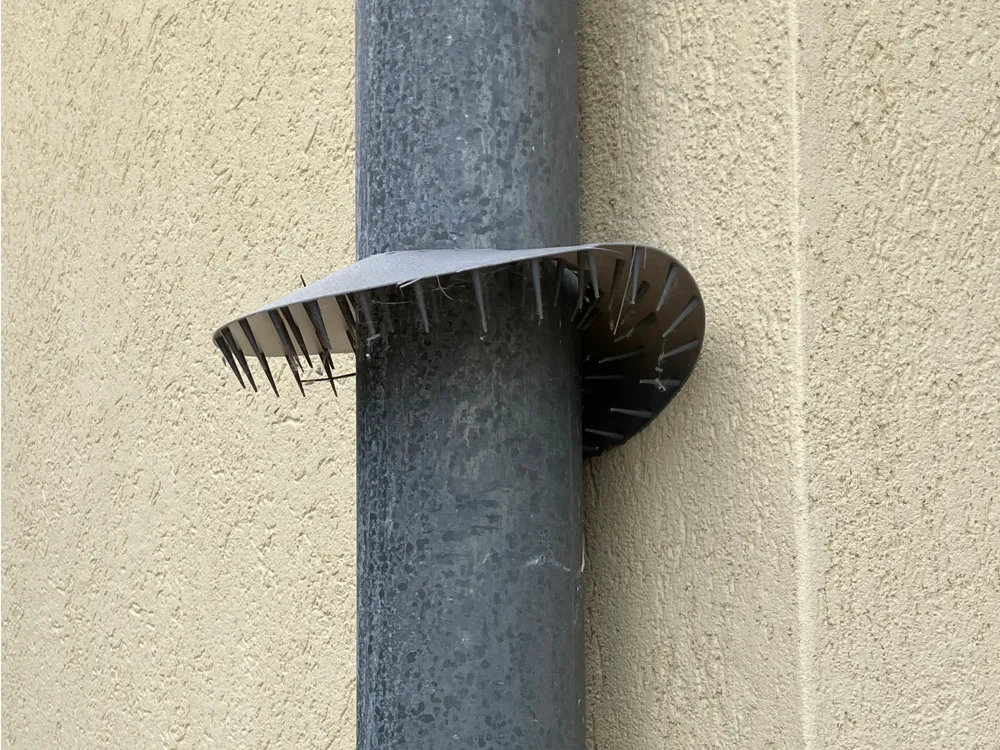
- So I went to the computer and created a solution. Inspired by rat barriers for ship moorings, I got started.
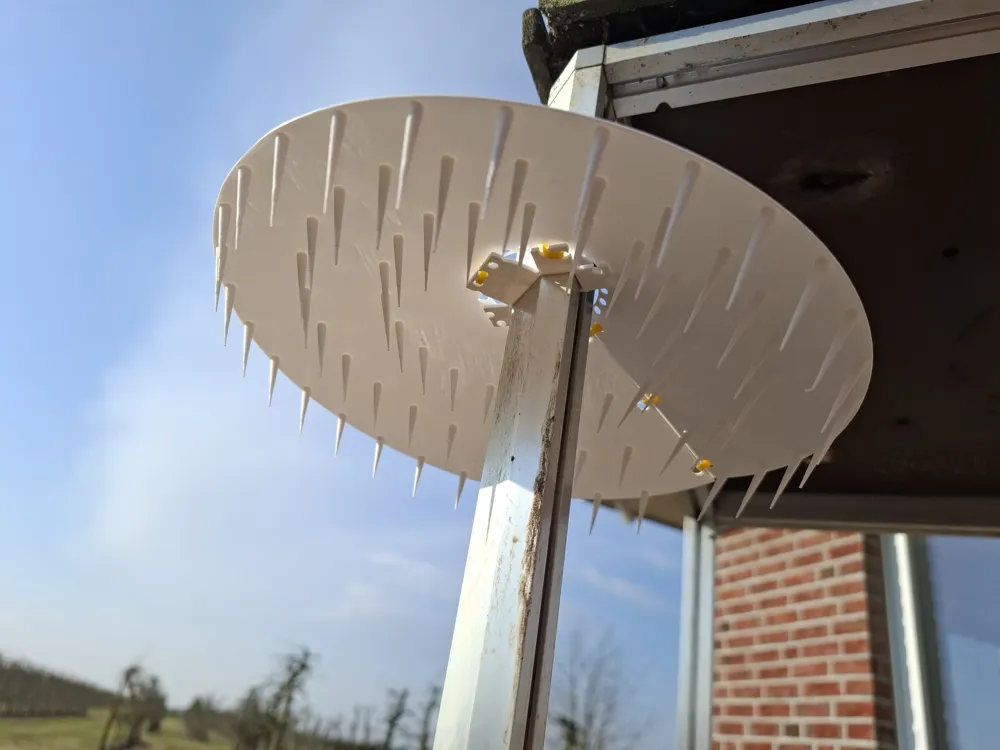
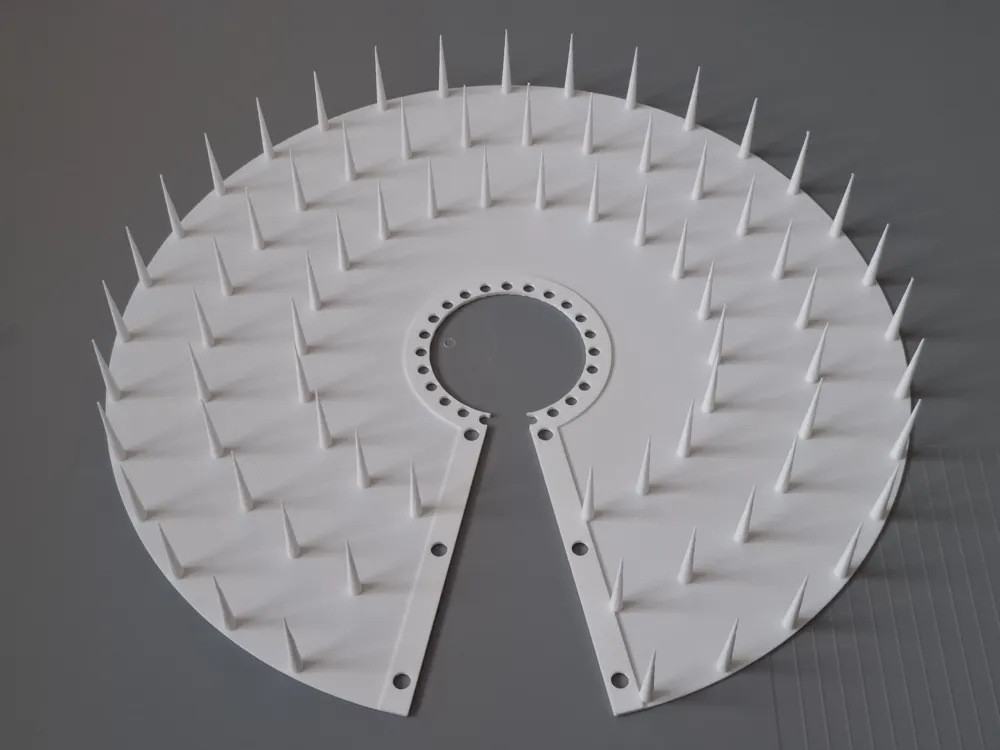
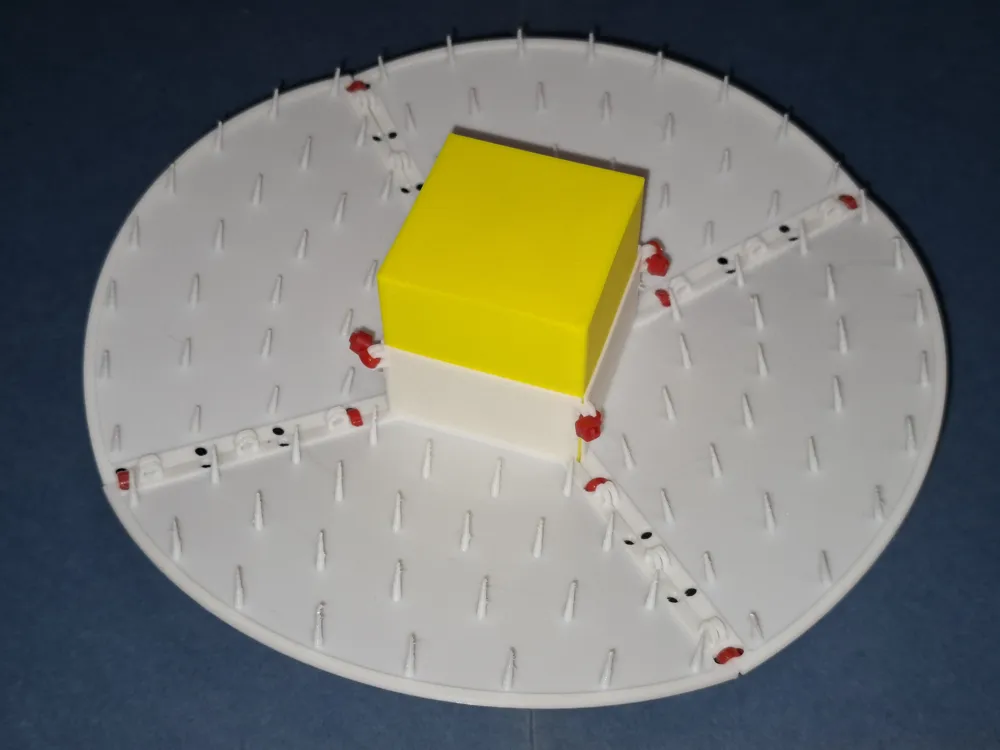
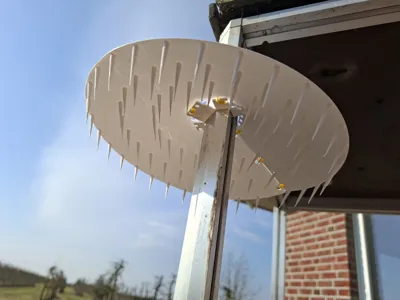
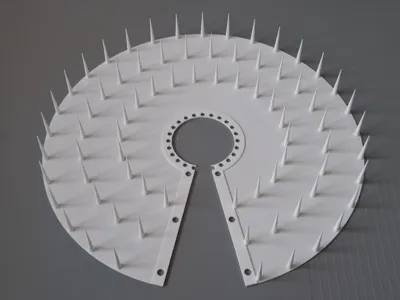
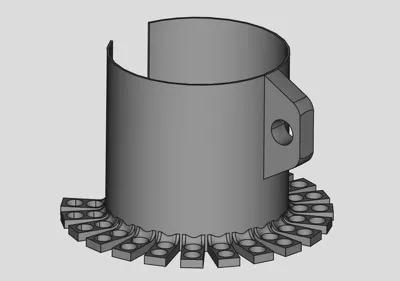
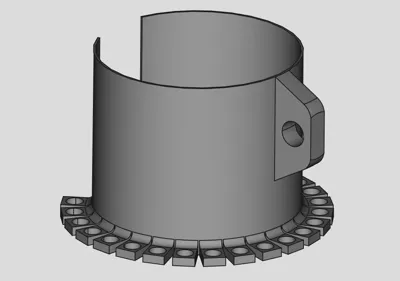
- In addition to the physical barrier, a “reward system” for tactile feedback was needed. The attempt should be punishable… it has to hurt. 75 spikes, each 3cm long, should instill respect in the rodent.
My aluminum poles come from a trade fair construction system and are 5-sided – this is probably less commonly used otherwise.
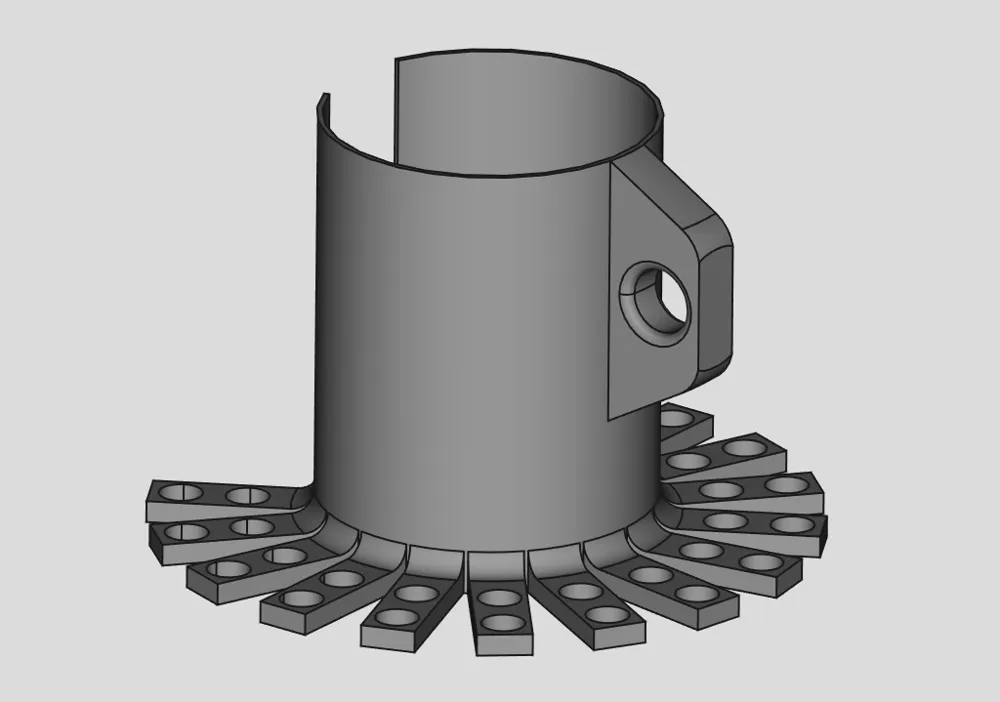
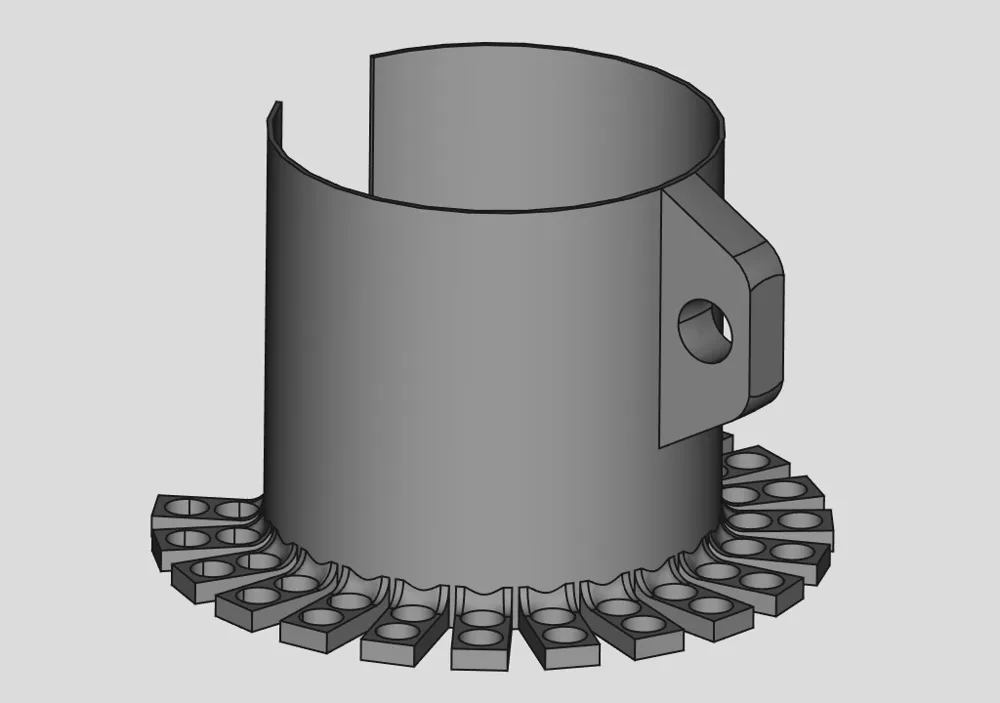
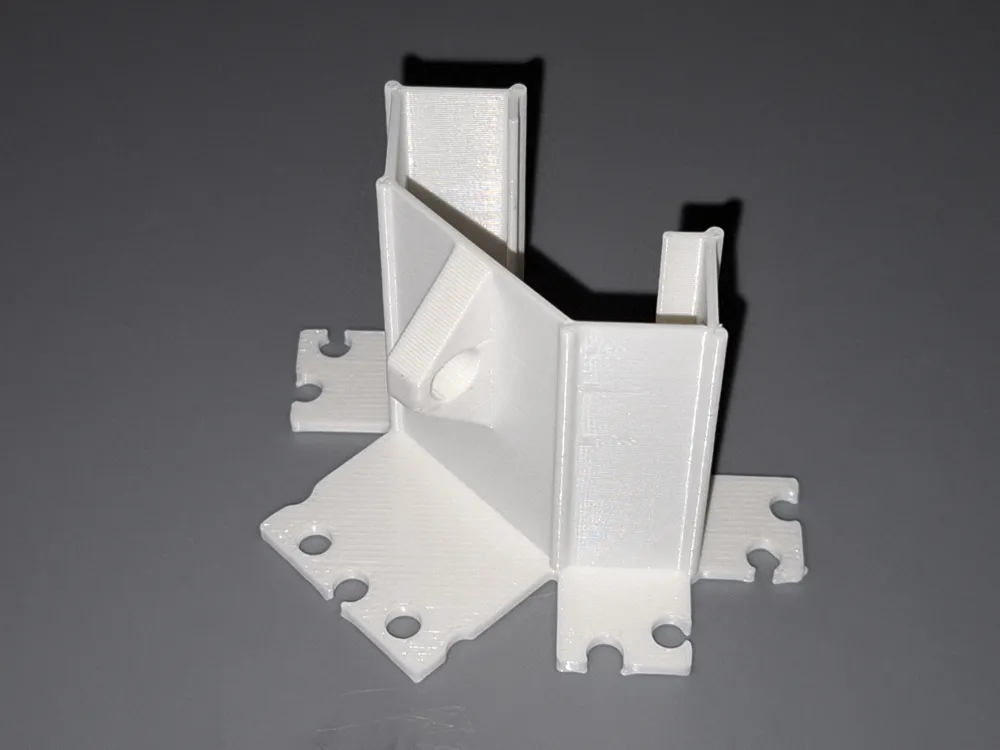
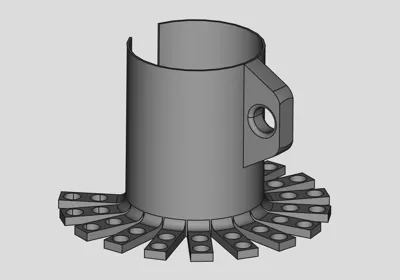
However, most people will use round poles, which is why I have developed special holders for them.- The holder with a 30mm diameter is suitable for round poles with a diameter of approximately 25 to 35mm. If you use a broomstick, it can also be a little thinner. In that case, you can also attach the holder overlapping.
- The 40mm part covers approximately 35 – 45mm diameter.
- And the largest part with a 46mm diameter seems superfluous at first, as the smaller one can also be expanded quite a bit. But if you really want to push the limit (the inner diameter of the barrier is 50mm), you should use this part.
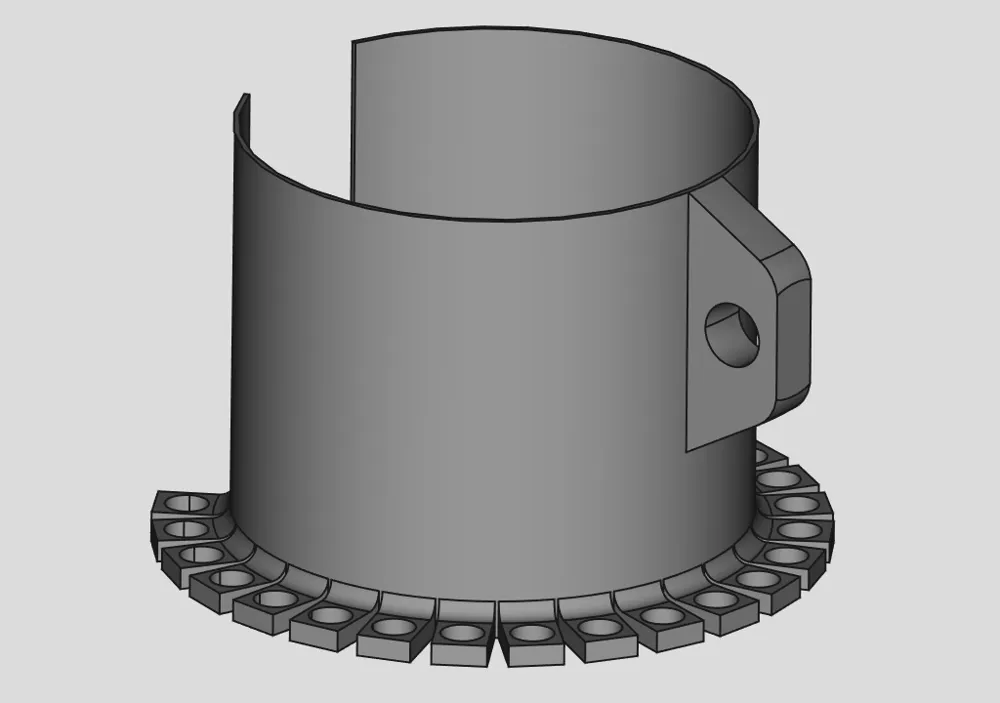
- Upon special request, I have added a version for diameters up to 110mm.
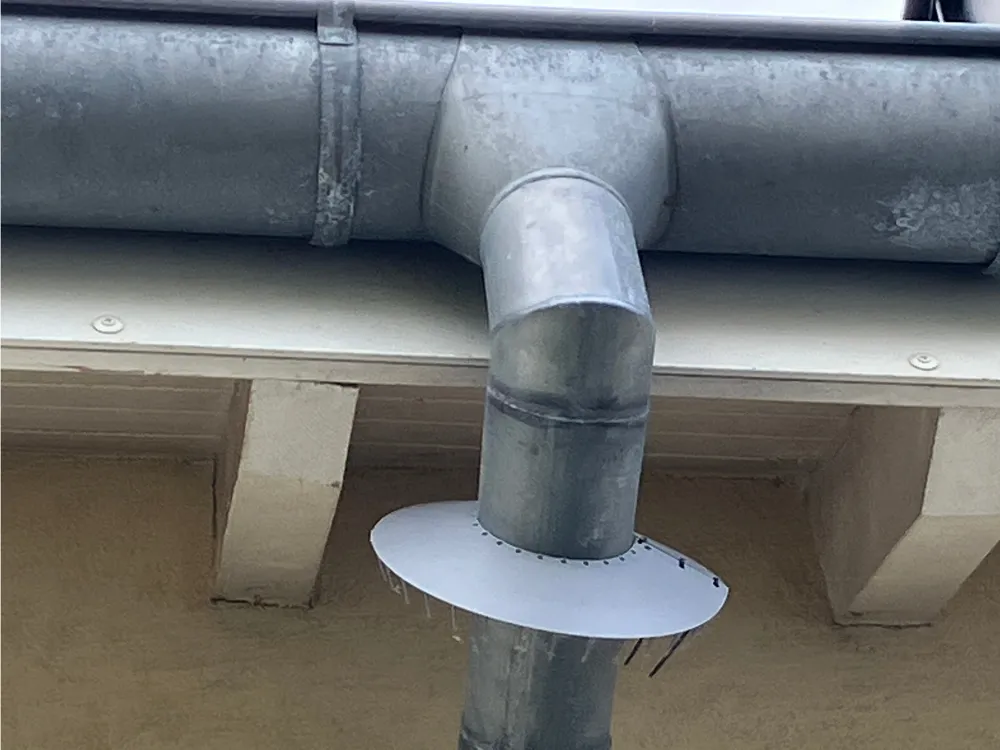
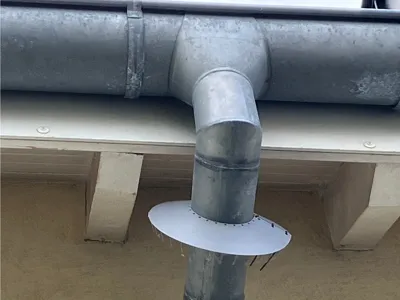
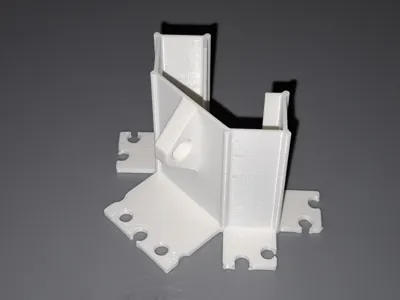
This “special size” was able to put an end to the unidentifiable noises in the attic. - Now also for square bars with widths of 30, 35, 40, 45, 50, 55, 60, and 65mm.
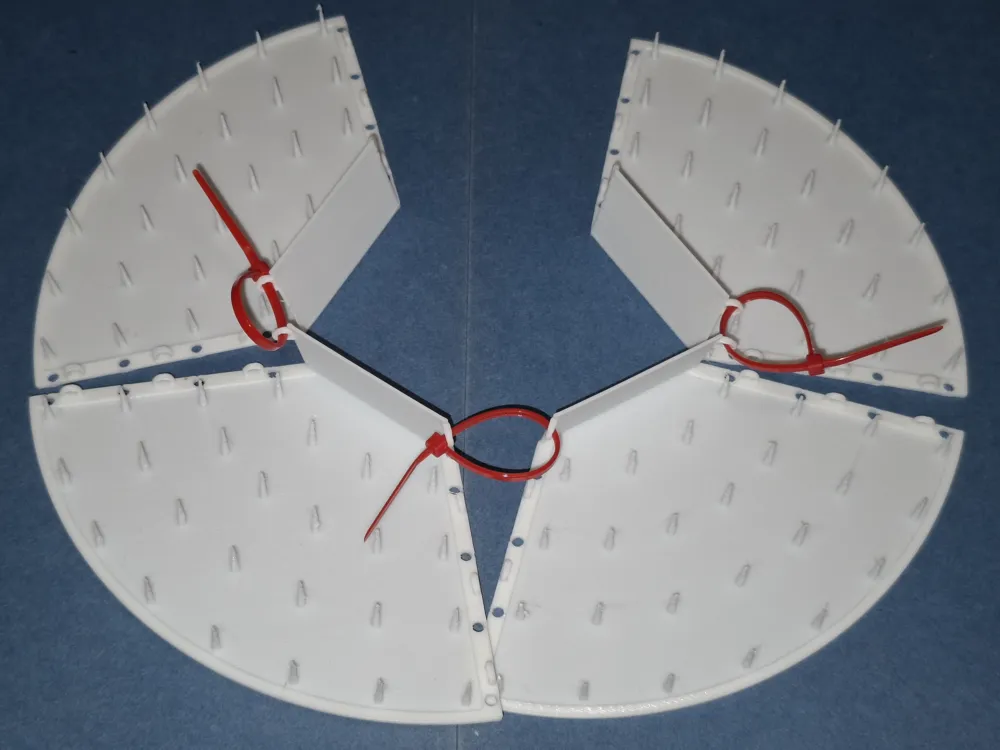
The spike plate with the large inner diameter must definitely be used. - New: for larger square posts with an edge length of up to 116mm – and even more with a larger print area (H2: 139mm).
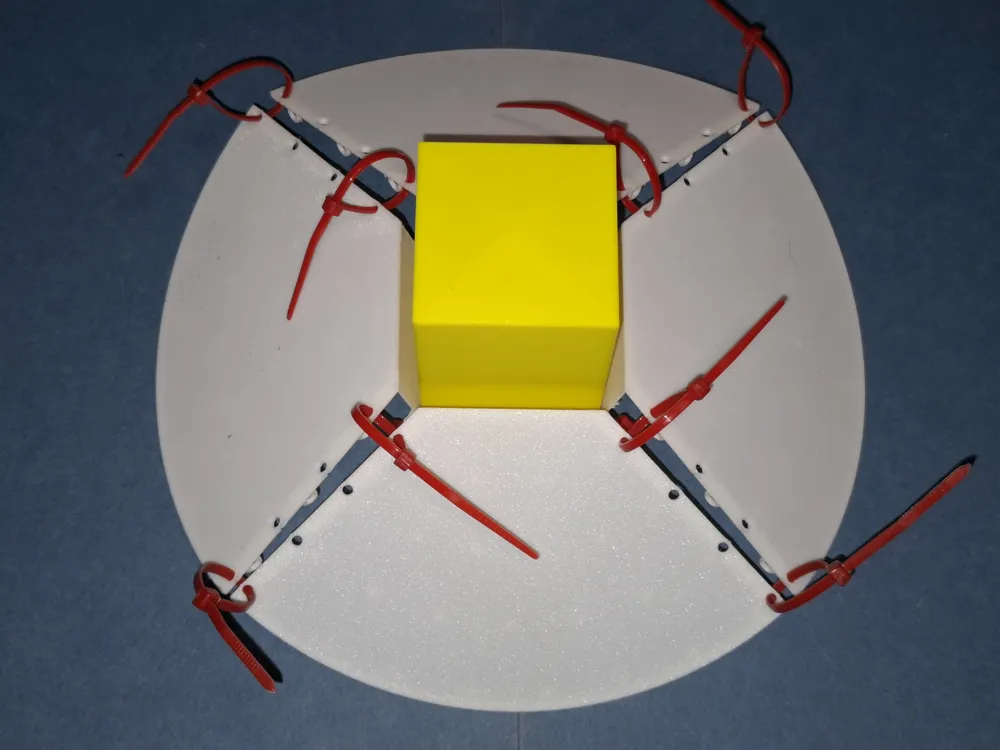
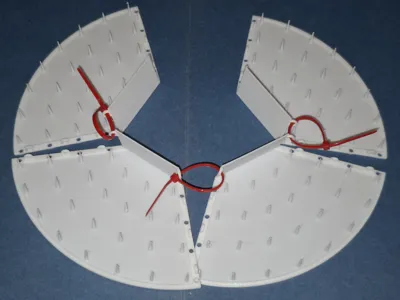
Four parts must be printed, which can be mounted using cable ties.
If printing is to be smaller than 50% (46mm), the standard cable tie will no longer fit.
Mounting
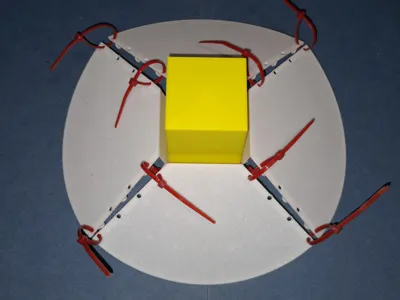
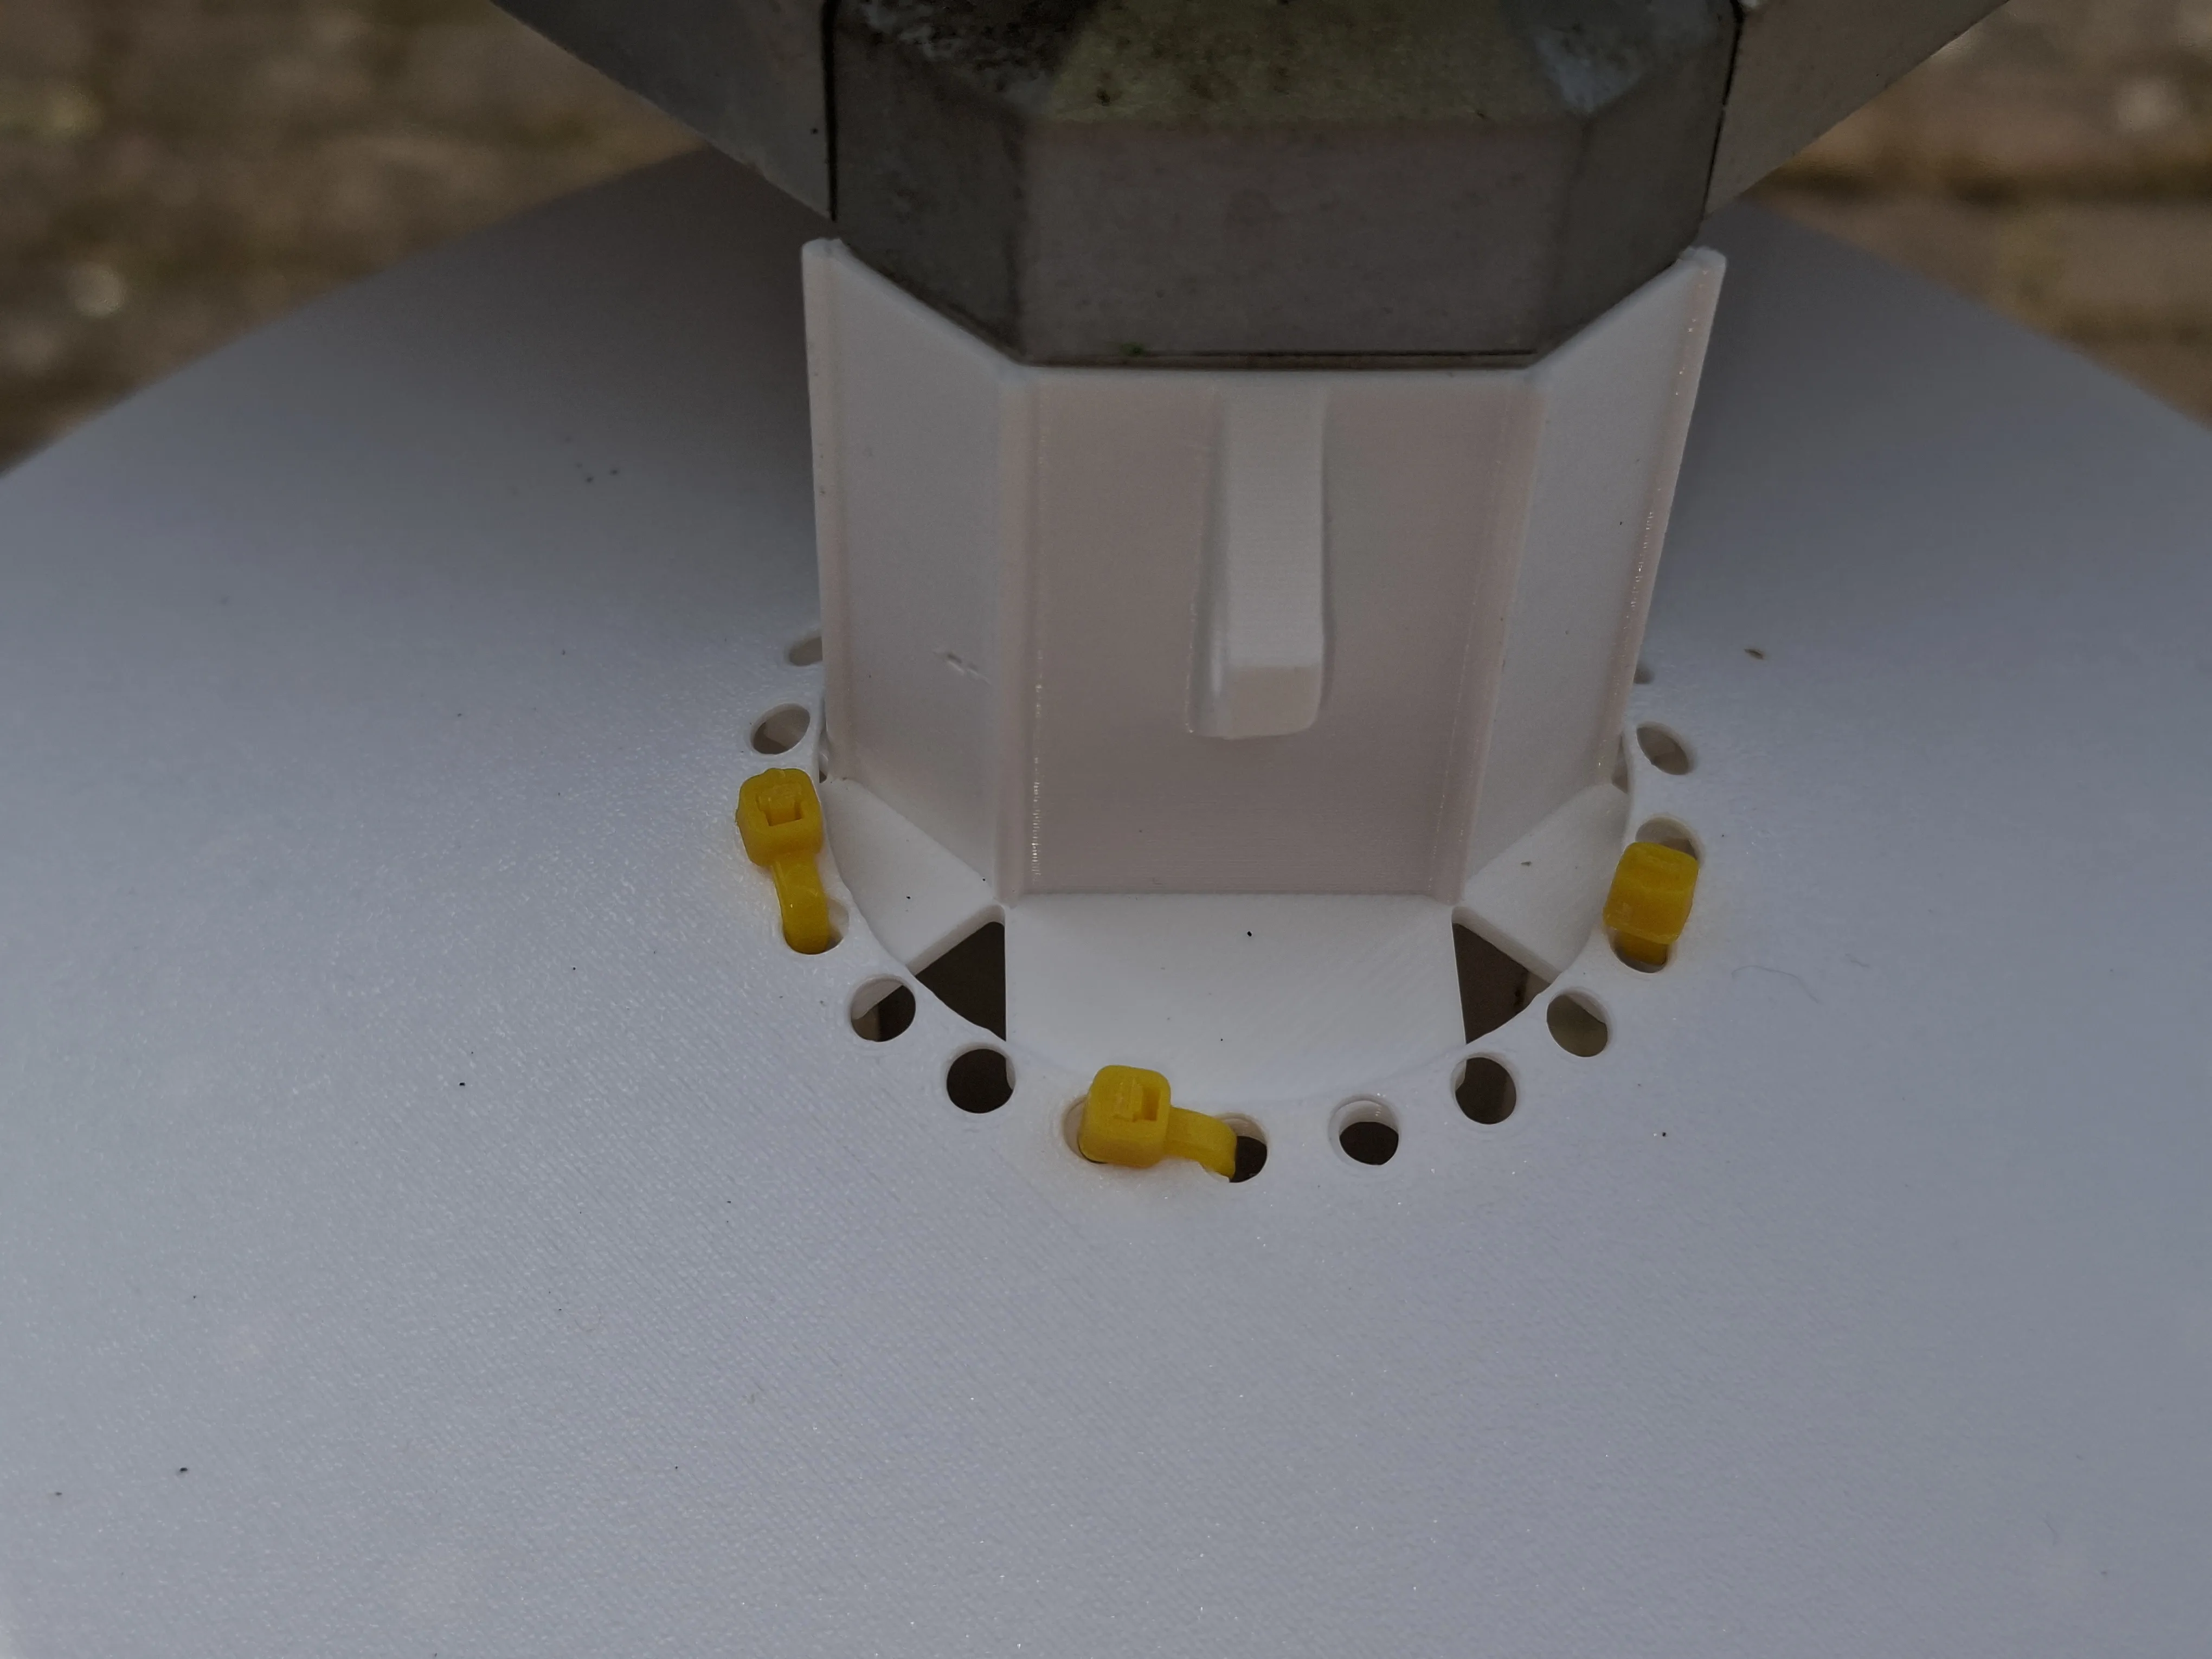
- Place the holder with the ring of holes facing downwards around the post. The holder can be bent wide open without breaking.
- Tighten with a cable tie through the eyelet.
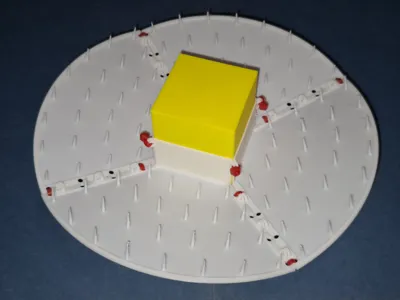
- Place the large barrier with the spikes facing downwards over the holder from above (onto the small perforated tabs).
- Tie together with cable ties. If the post is 50mm or possibly a little thicker, then leave it a little looser.
Pull in the cable ties.
Tighten and shorten.
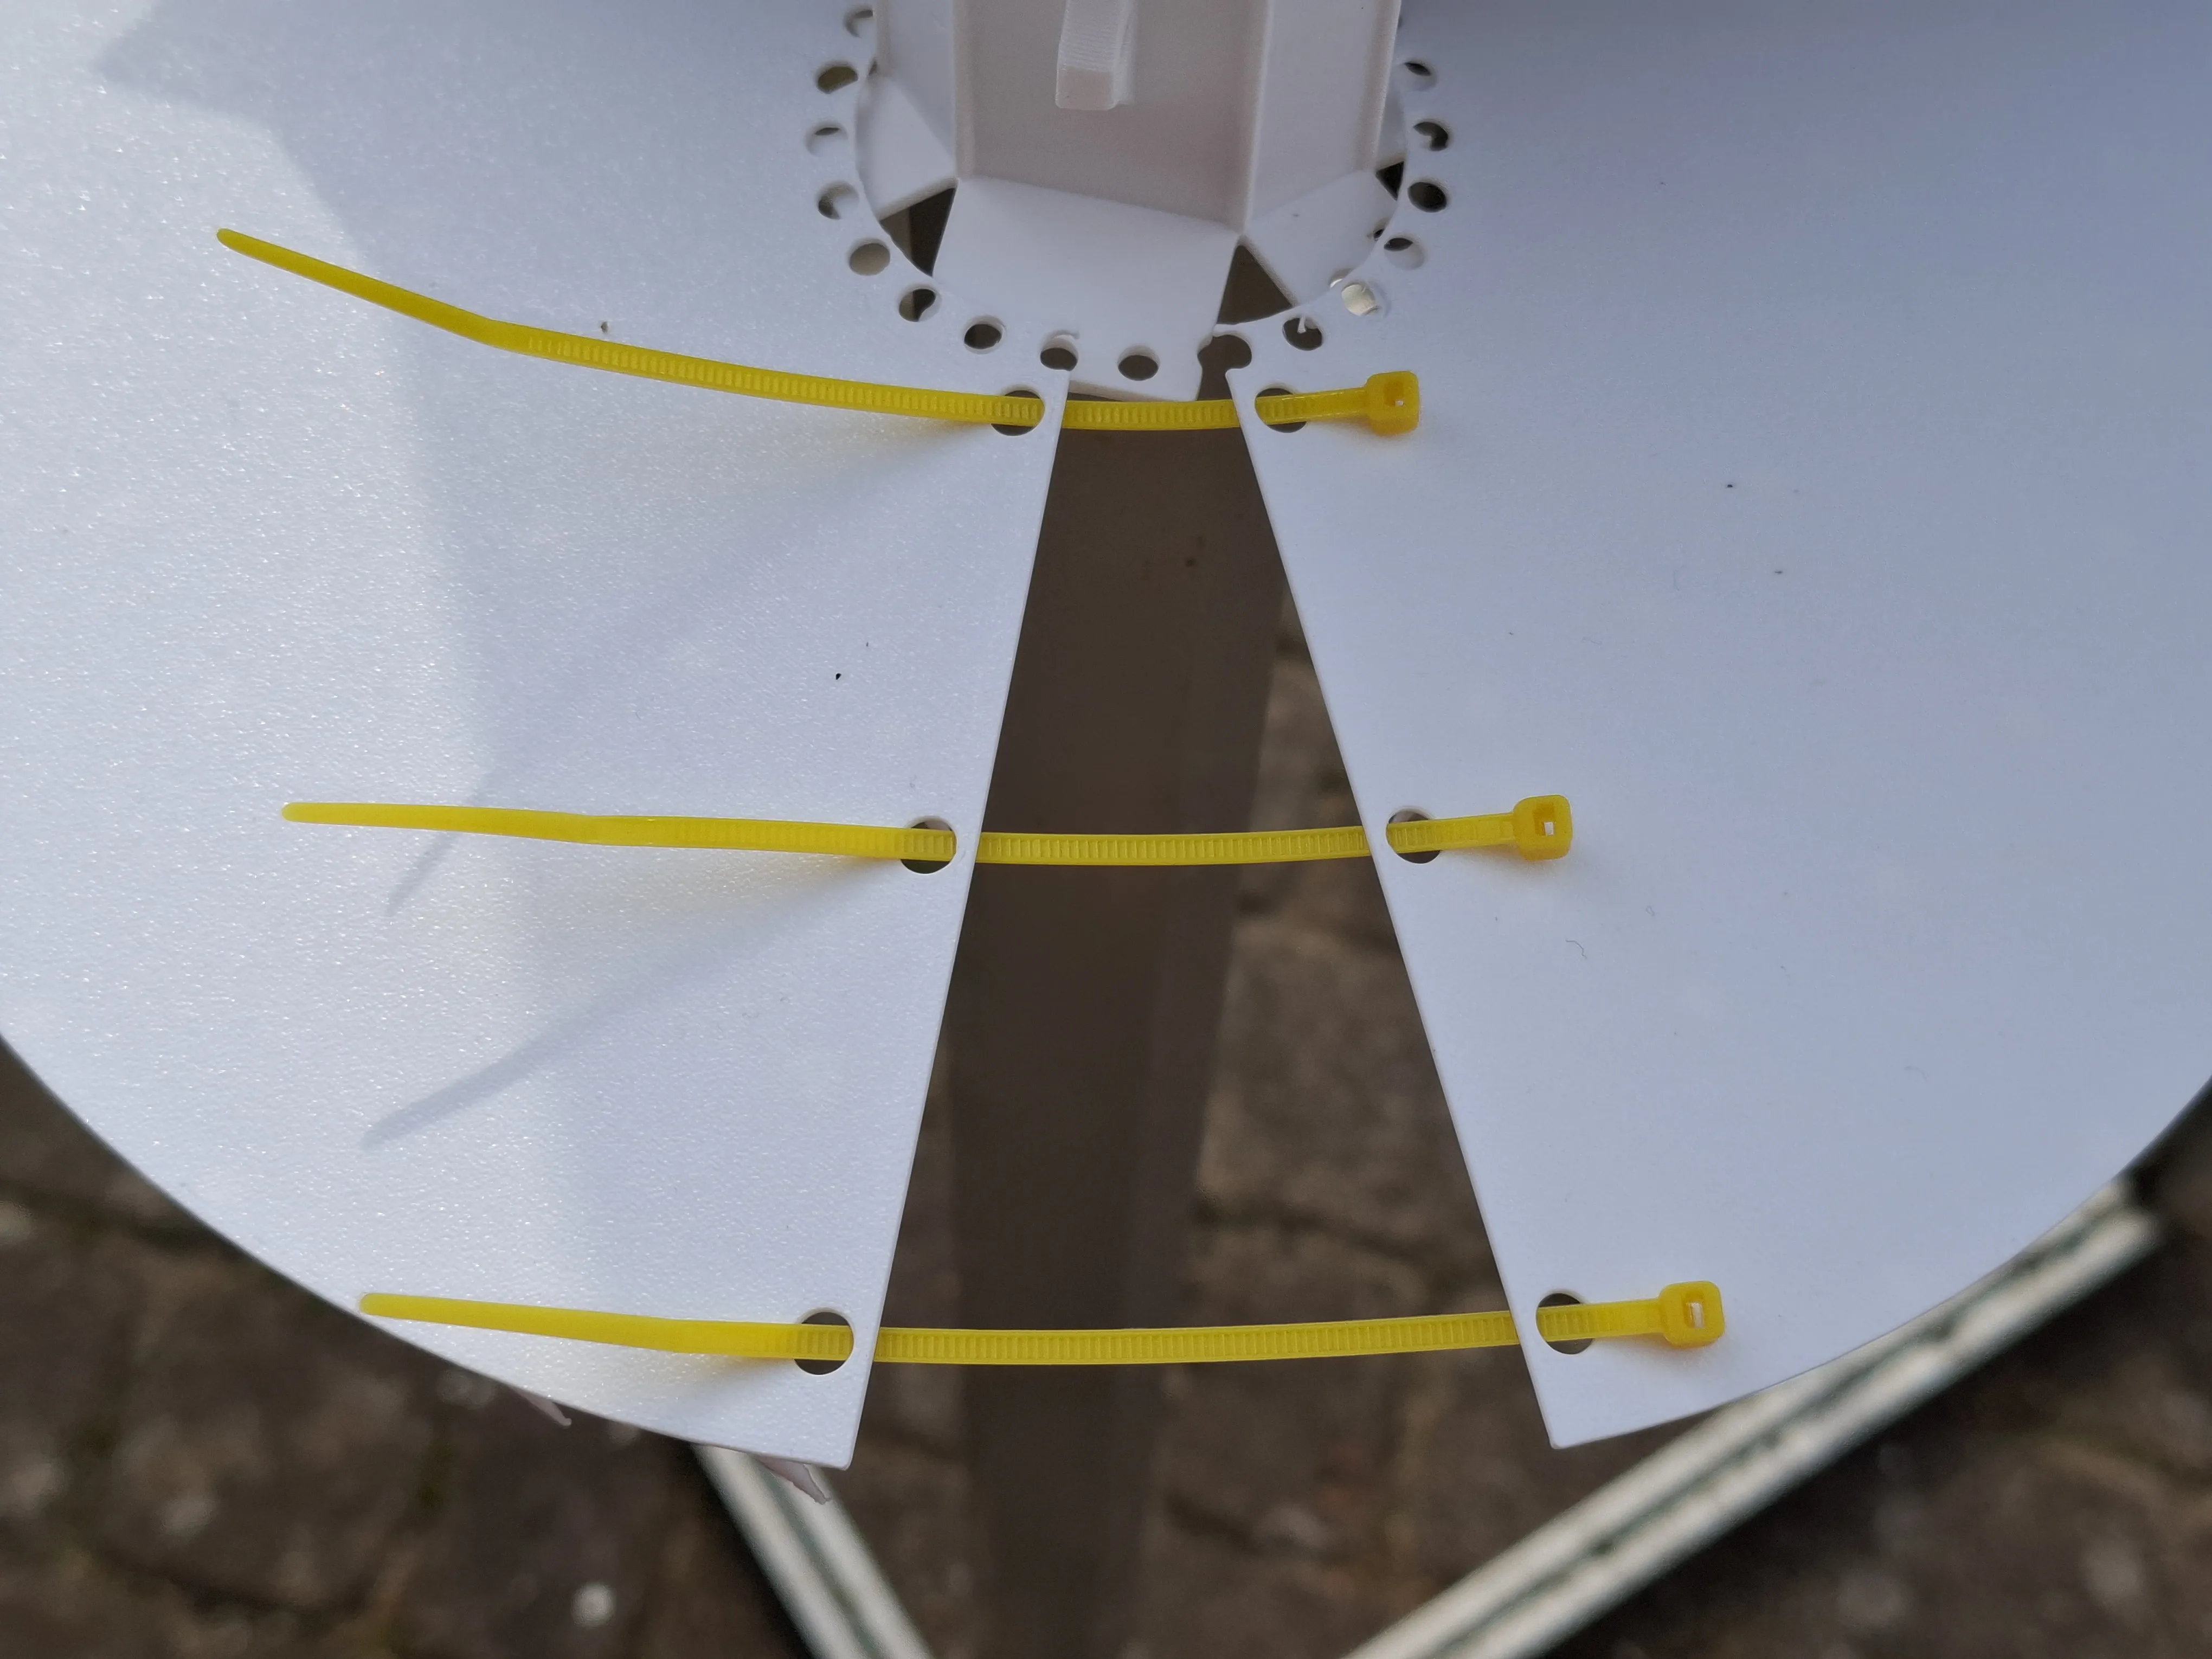
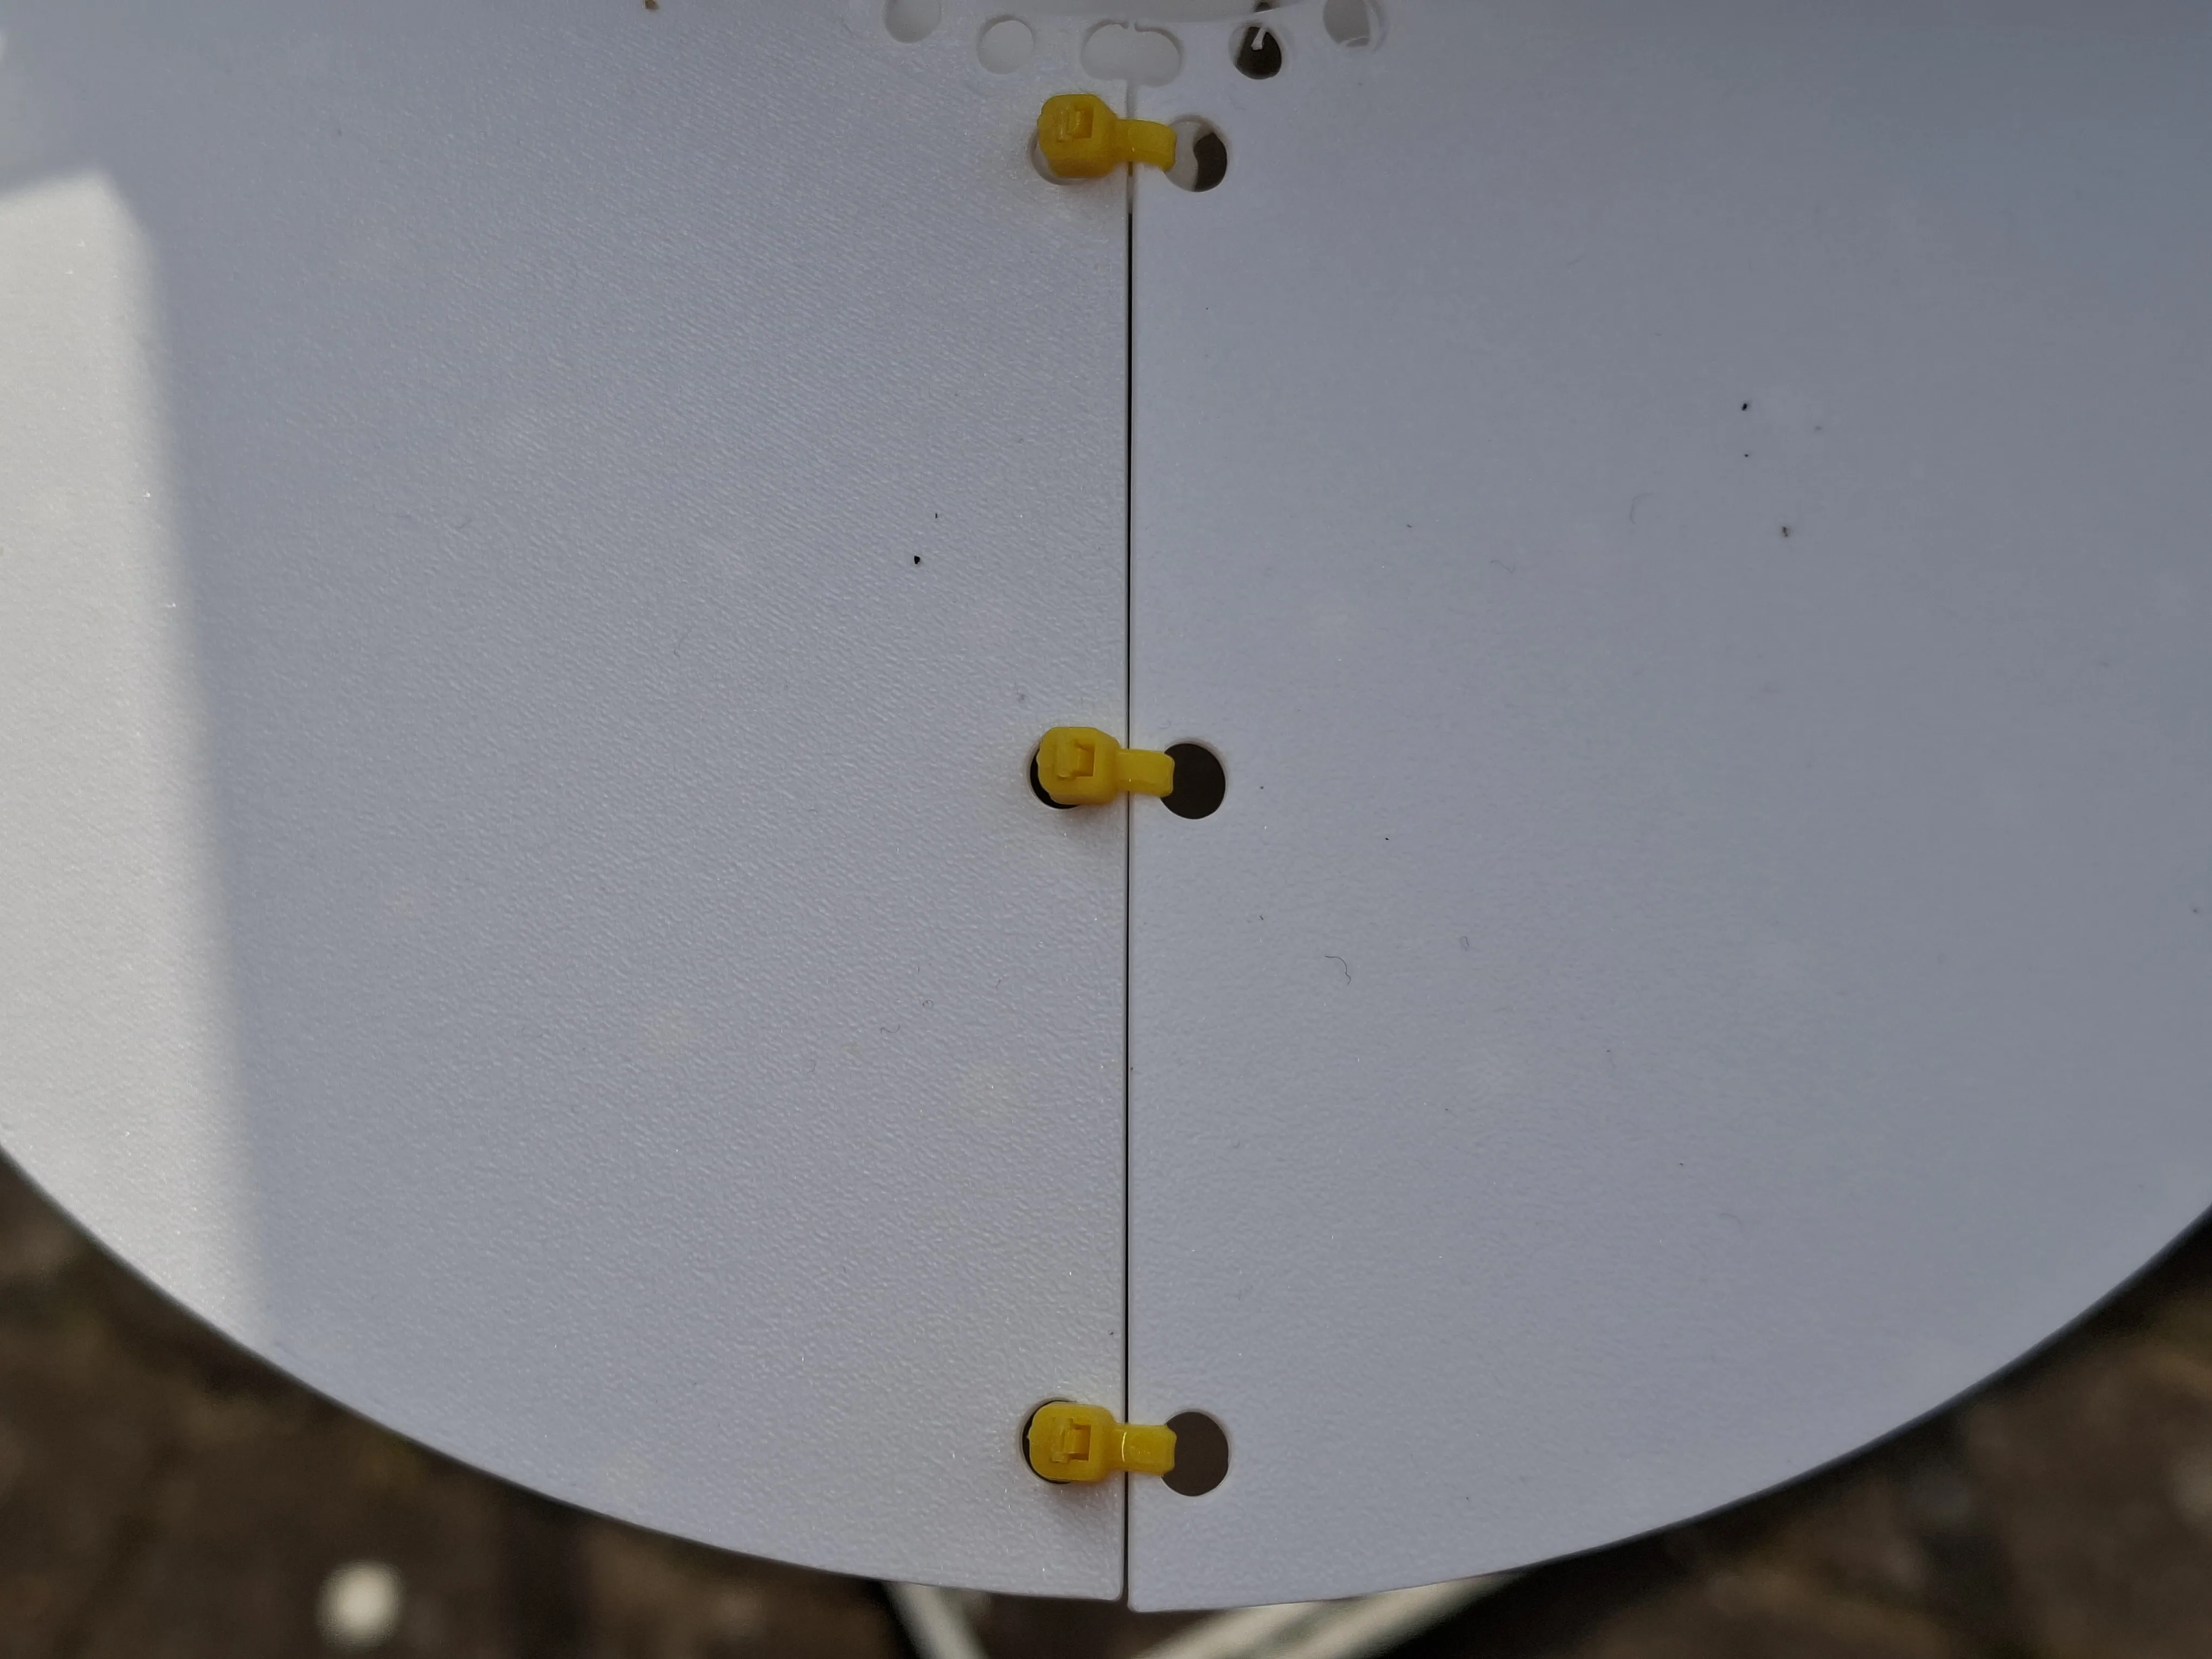
- Connect the spike ring to the holder on at least 3 sides.
Pull in the cable ties.
Tighten and trim excess.
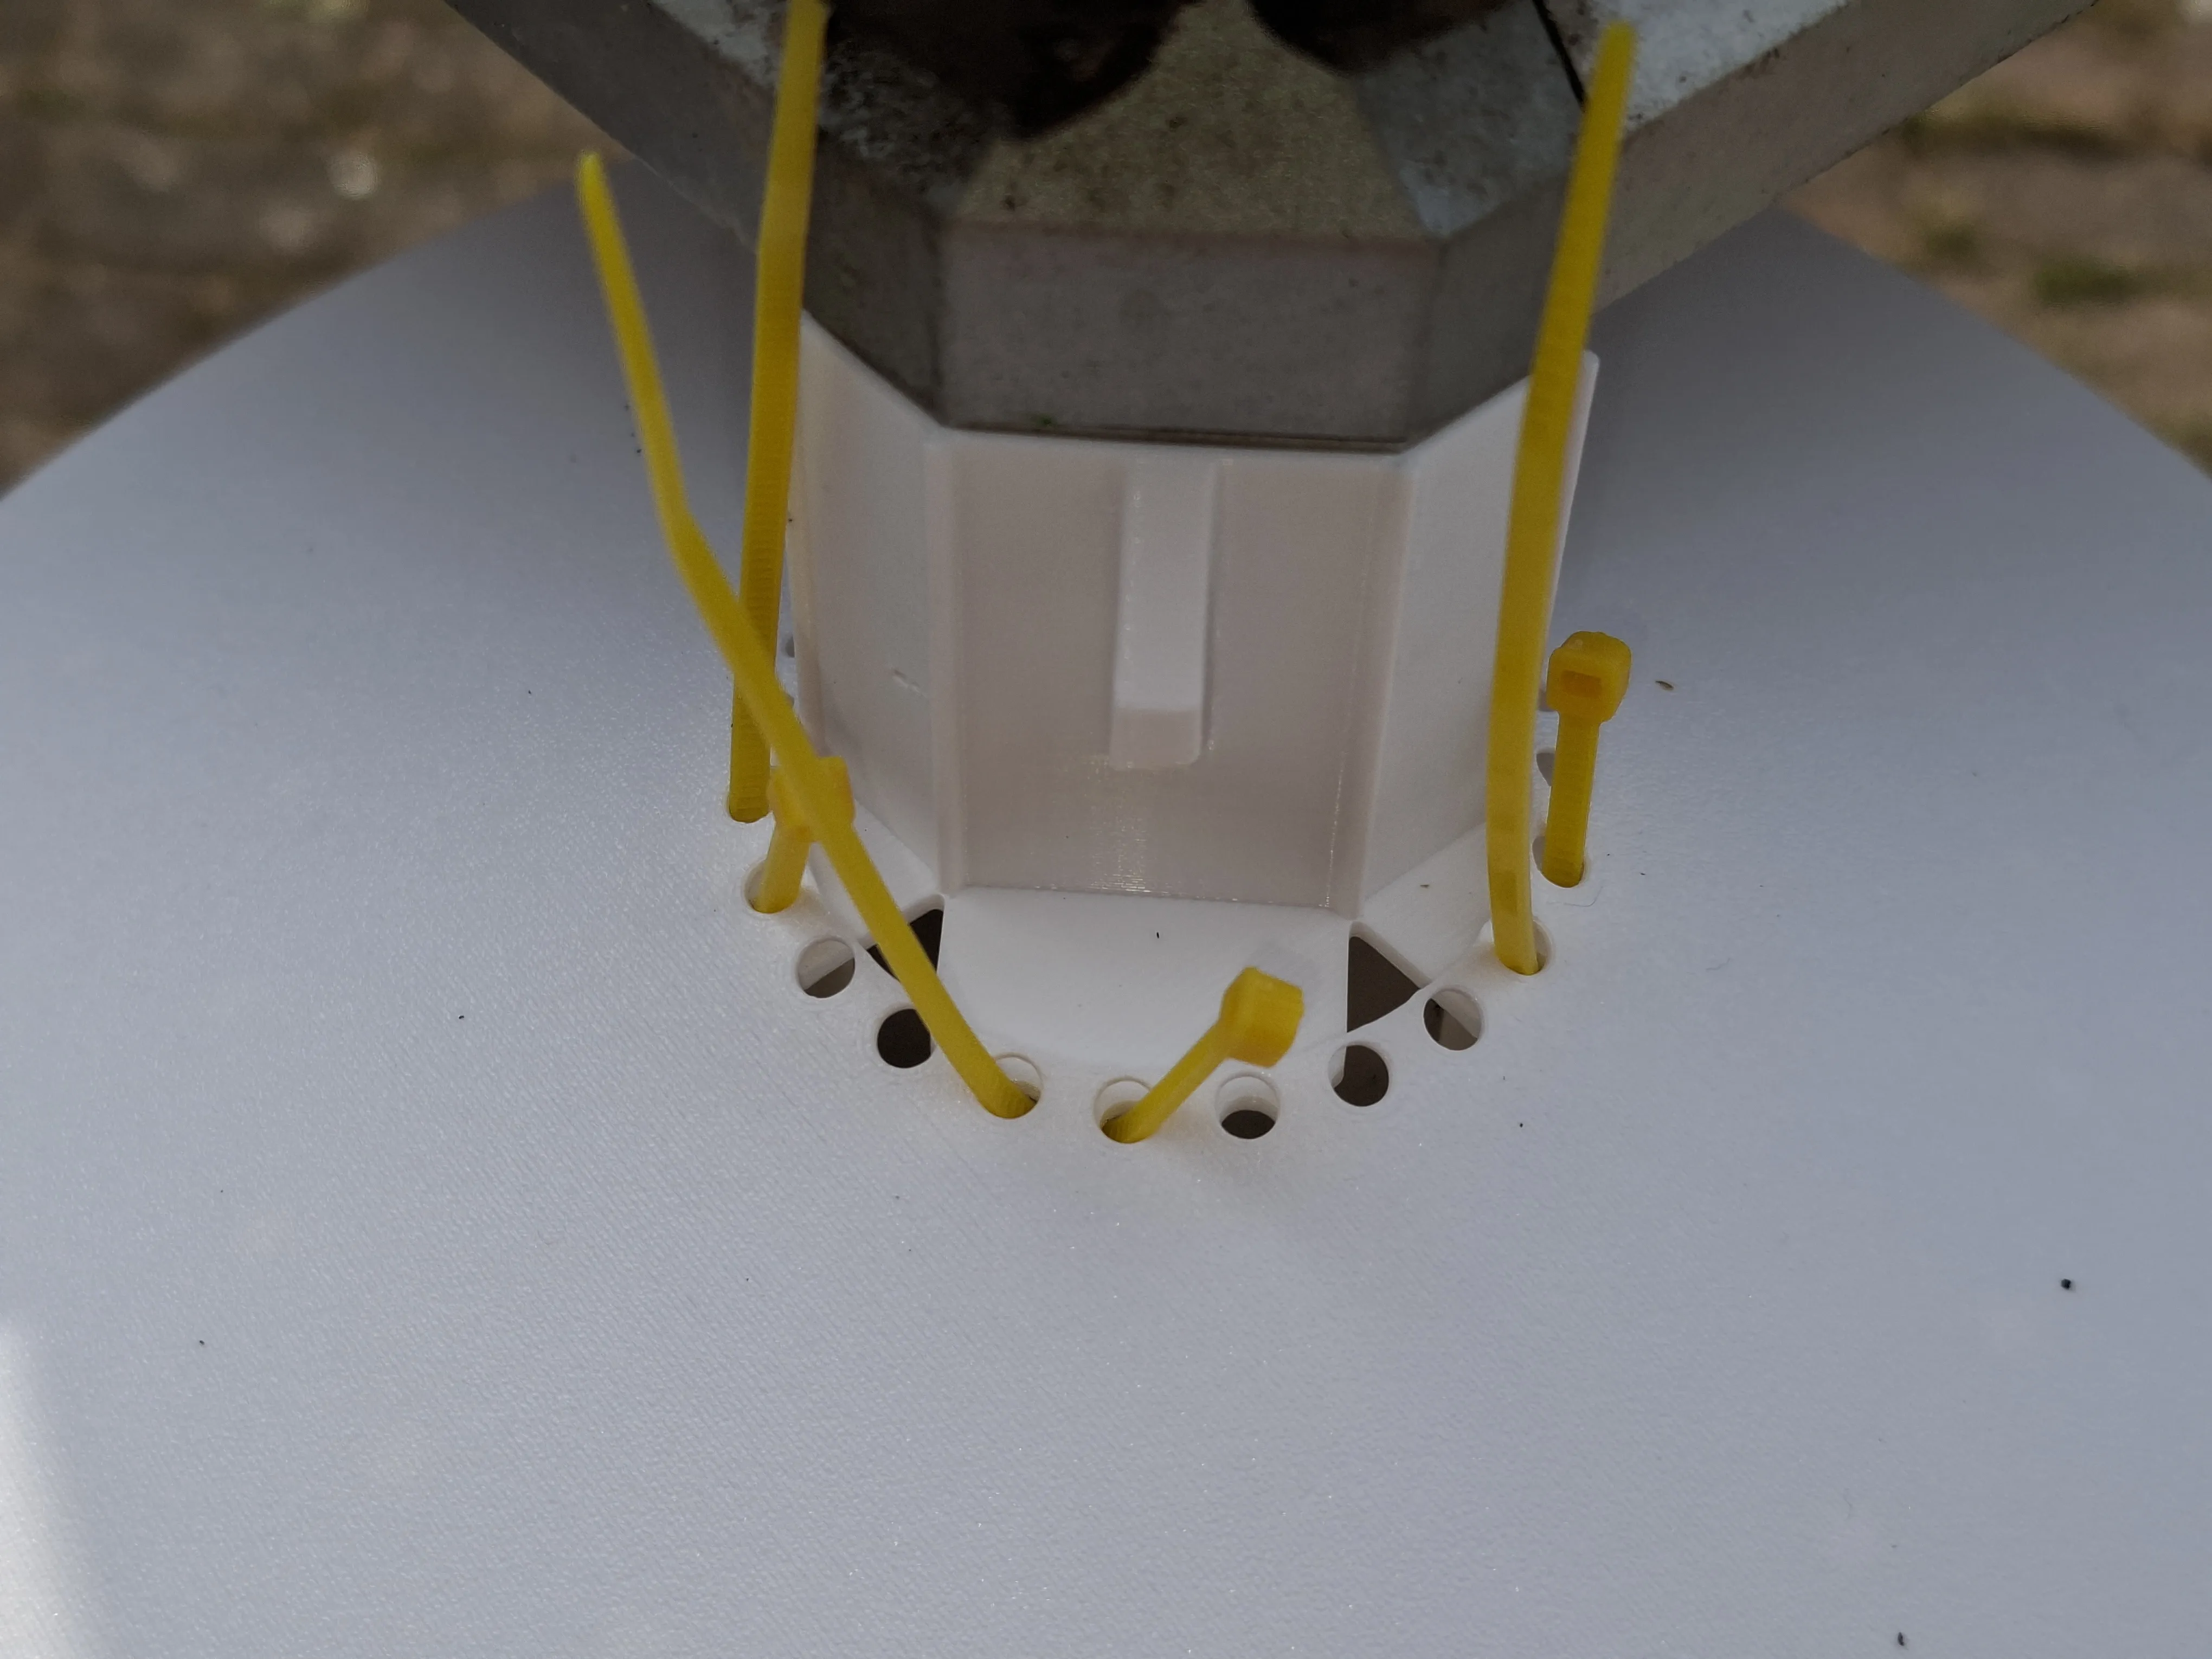
- I would have liked to have attached a video showing how the rat tries in vain to climb around the barrier. Unfortunately, and thankfully, no significant amount of food has “disappeared” since the installation. It seems to be working.
HOORAY:
Today I was able to make a video to prove it. It actually works. Rat noses are just sensitive!
- 3D printing
If you remove the calibration strips during operation at the start of printing, you will have a little less work later. But it's not a big deal if you can't do it.
- Material
- Be sure to use PETG, as PLA will degrade over time when used outdoors due to sunlight and other weather influences.
License

You shall not share, sub-license, sell, rent, host, transfer, or distribute in any way the digital or 3D printed versions of this object, nor any other derivative work of this object in its digital or physical format (including - but not limited to - remixes of this object, and hosting on other digital platforms). The objects may not be used without permission in any way whatsoever in which you charge money, or collect fees.


Comment & Rating (72)