


Print Profile(2)


Bill of Materials

Description
Boost Me (for free)
Do you like this model? A small free boost helps me a lot and motivates me to go further :) Thank you :)
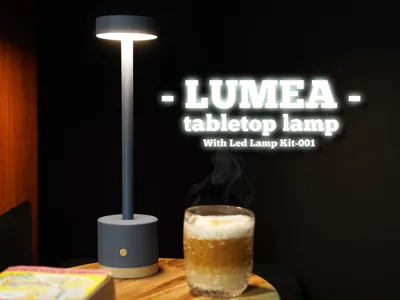
Luméa Ambient Lamp – Elegance and Warmth Simplified
Infuse your space with gentleness and modernity using Luméa, a refined ambient lamp designed to create a cozy atmosphere on your desk or side table.
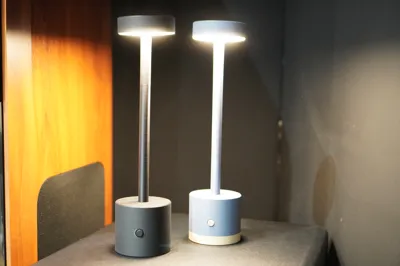
Elegant and Minimalist Design
Its vase-mode printed diffuser provides soft, even light, perfect for warm ambient illumination. Available in solid or two-tone versions, Luméa subtly and stylishly complements any interior.
Discreet Connectivity and Autonomy
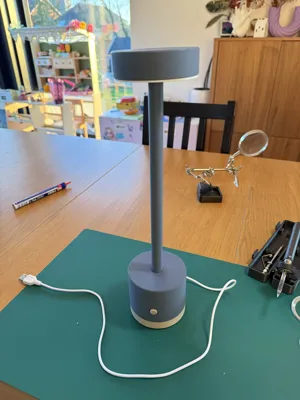
USB-powered, the lamp can also be made self-sufficient via a cleverly concealed compartment in its base, accommodating a small portable battery. Enjoy pleasant light wherever you are, without cumbersome wiring.
Customization and Meticulous Assembly
Assembly, while straightforward, requires a soldering iron to connect the cable to the LED-001 kit. The original button is subtly concealed in the base and replaced with a more discreet switch, ensuring a refined and intuitive user experience.
With Luméa, treat yourself to elegant ambient lighting, designed to enhance your space while combining modernity and practicality 🌙✨
Boost Me (for free)
If you like it, please boost me; it helps a great deal!
Assembly
Required Materials:
- 3D printed parts
- Bambulab LED-001 Kit
- Soldering equipment

Step 1:
- Disassemble the original diffuser from the kit
Using a soldering iron, desolder the cable


Step 2:
- Feed the cable through the base, stem, and diffuser
- Screw the stem to the base
- Thread the cable through the upper part
- Screw on the upper part to secure the diffuser
- Feed the cable through the central hole of the LED kit


Step 3:
- Bend the cable and solder the two wires
- Red → +
- Black → -
- If necessary, use a piece of tape to secure the cable

Step 4:
- Position the LED kit in the upper cap of the lamp. A groove should allow for correct cable positioning
- Align the upper end with the central hole of the cap and slide the diffuser into the cap
- This step might be slightly challenging due to the snug fit of the cap to the lamp without screws. Proceed gently :)


Step 5:
- Position the button in the designated recess in the lamp base
- Slide the original switch into its designated slot. It should hold sufficiently to prevent dislodging when pressing the button.
- Slide the cable into the rear notch
- Screw on the base cap


Your lamp is now ready :)

License
You shall not share, sub-license, sell, rent, host, transfer, or distribute in any way the digital or 3D printed versions of this object, nor any other derivative work of this object in its digital or physical format (including - but not limited to - remixes of this object, and hosting on other digital platforms). The objects may not be used without permission in any way whatsoever in which you charge money, or collect fees.
Comment & Rating (8)