
Minecraft Item Frame - Magnetic (NO AMS NEEDED)

Print Profile(2)

Description
Boost Me (for free)
I encourage you to boost if you are wanting to see new items. I appreciate the overwhelming amount of support for this model!
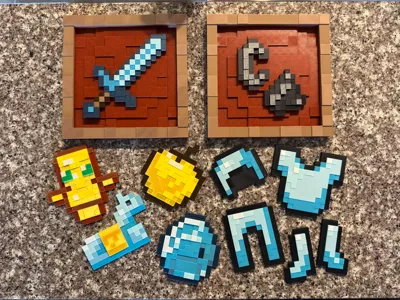
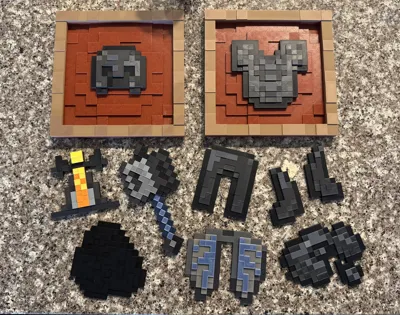
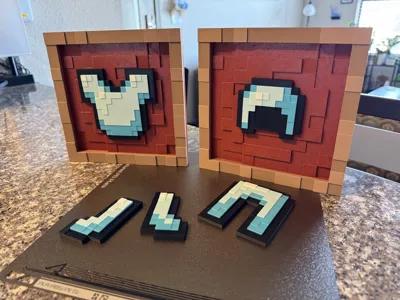
Check out my page to find all of the items for the item frame! I will continue to design more items overtime, so let me know what you’d like to see. Click here to see my other models!
This item frame model, as well as all of my items that attach to the item frame, have the Standard Digital File License on them. You should NOT be selling these models, or remixes of these models, on other platforms or websites! Doing so violates the license, so please do NOT sell my work!
Please read and check the description before printing!
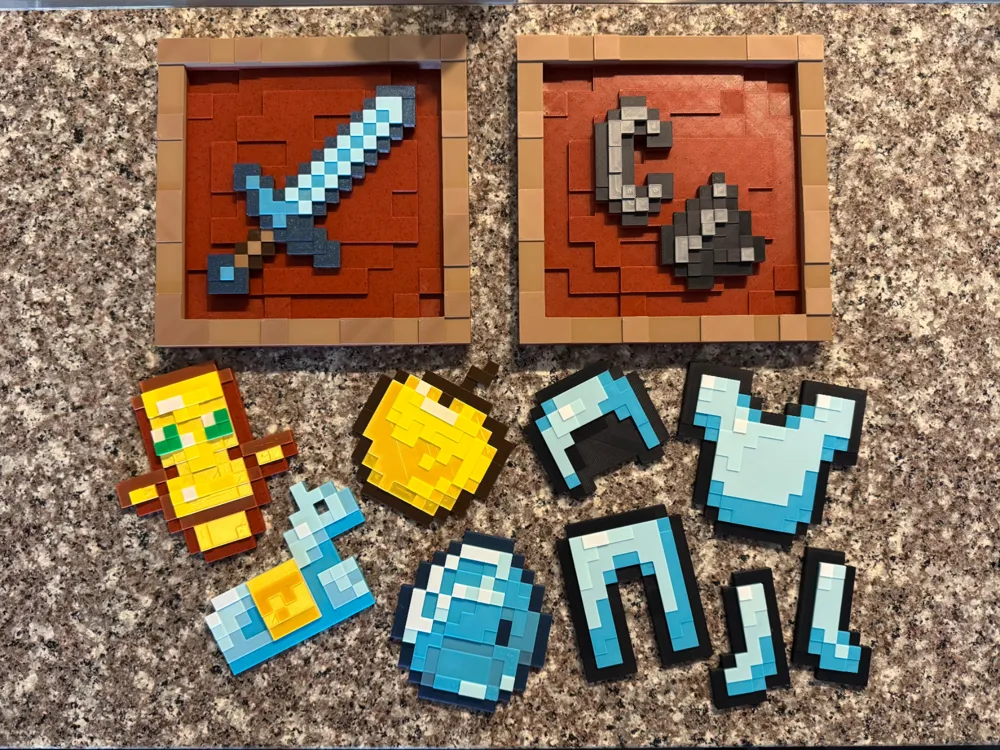
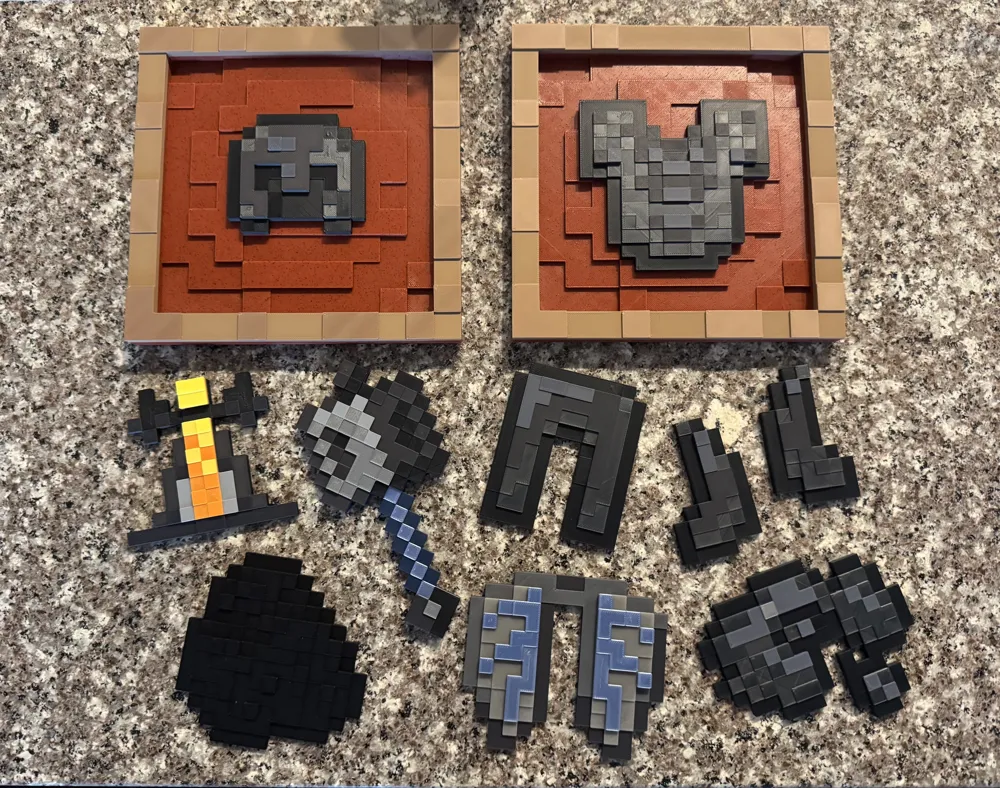
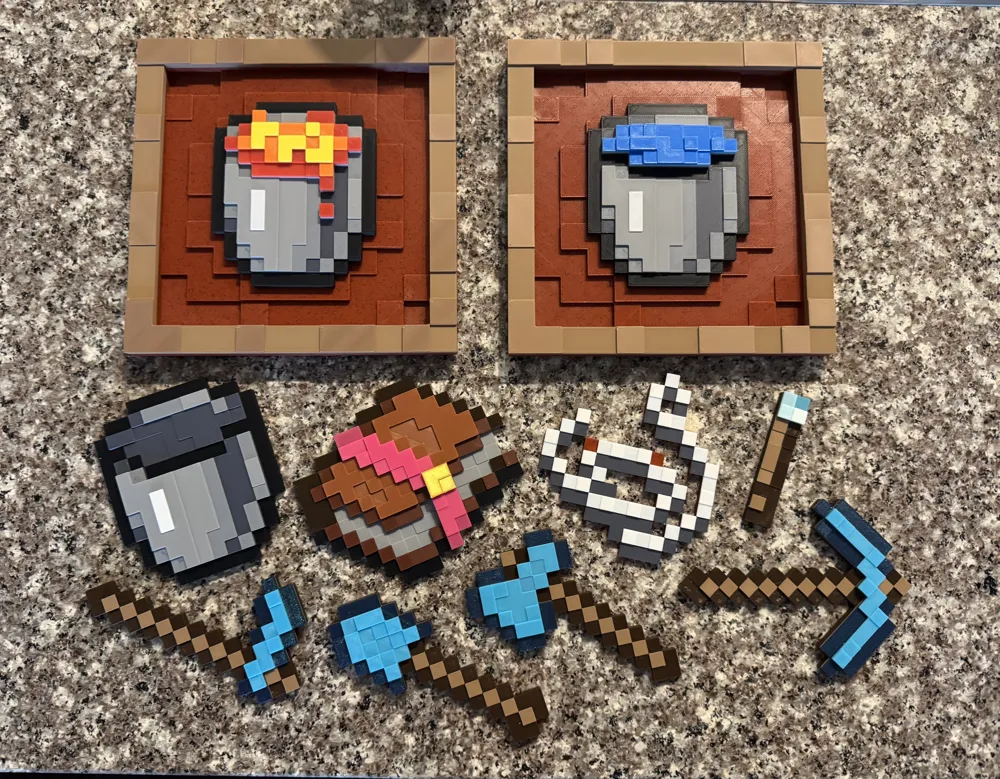
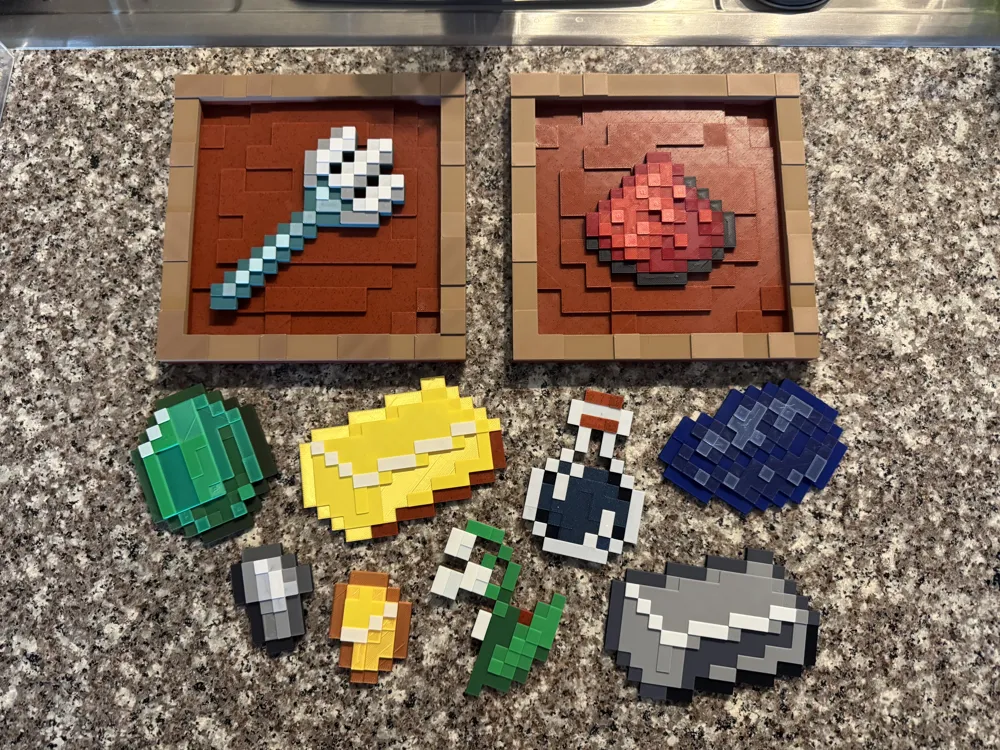
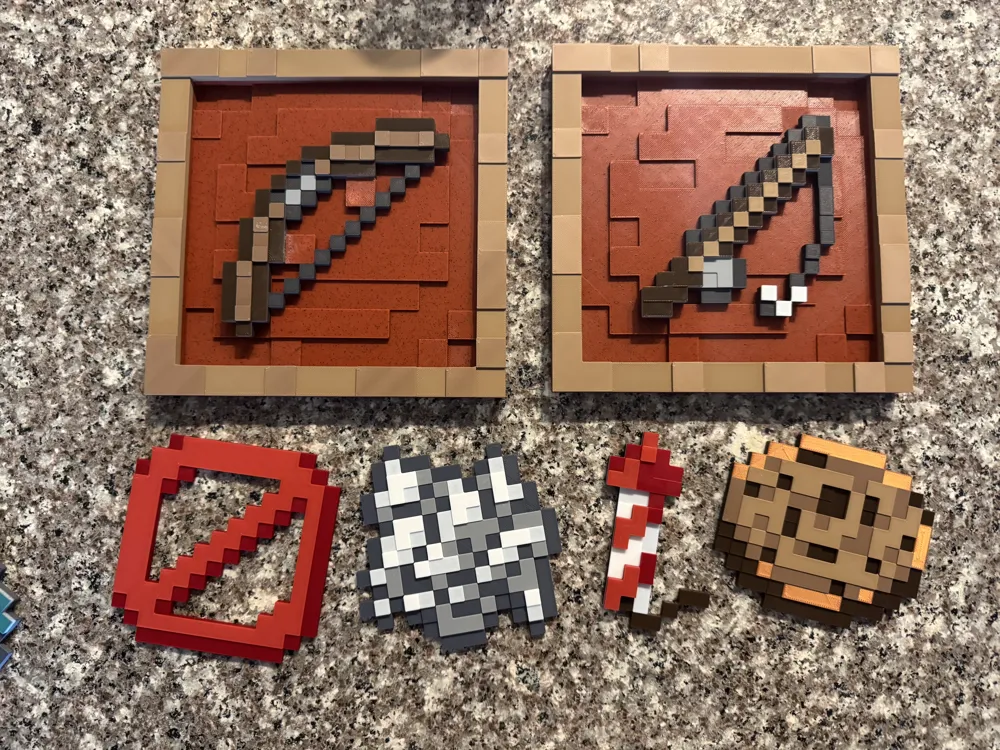
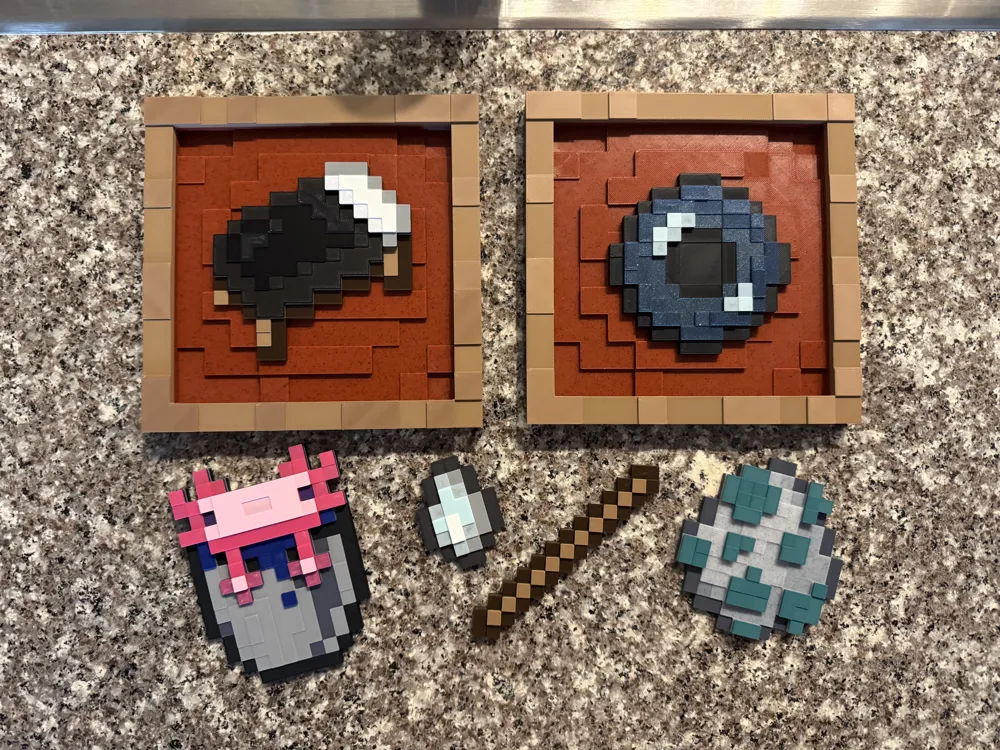
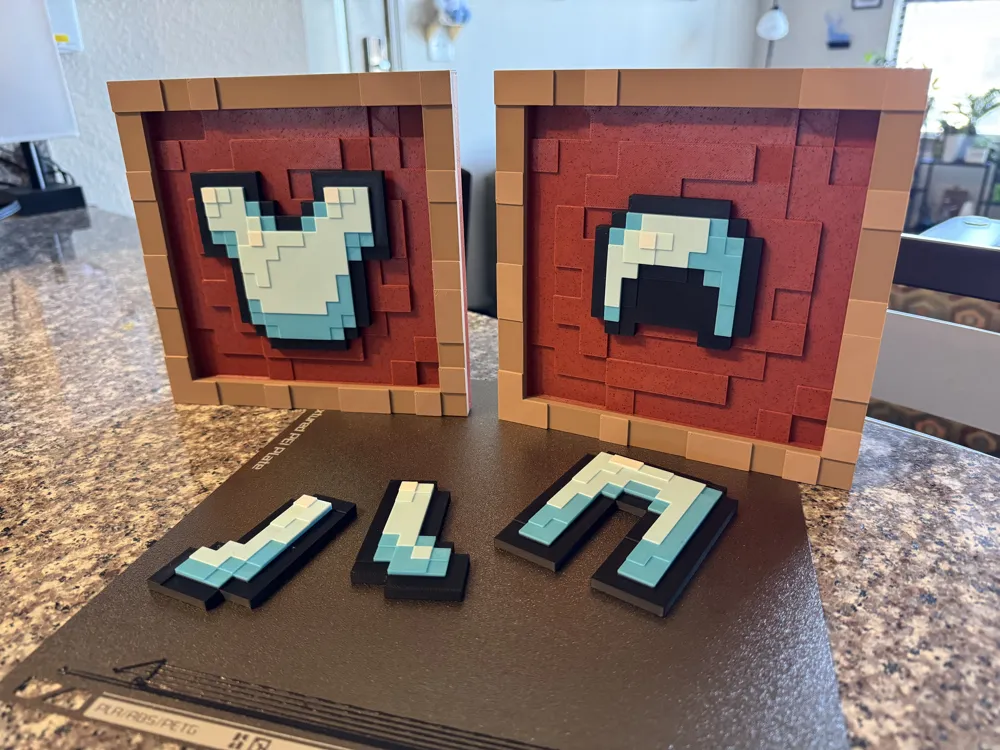
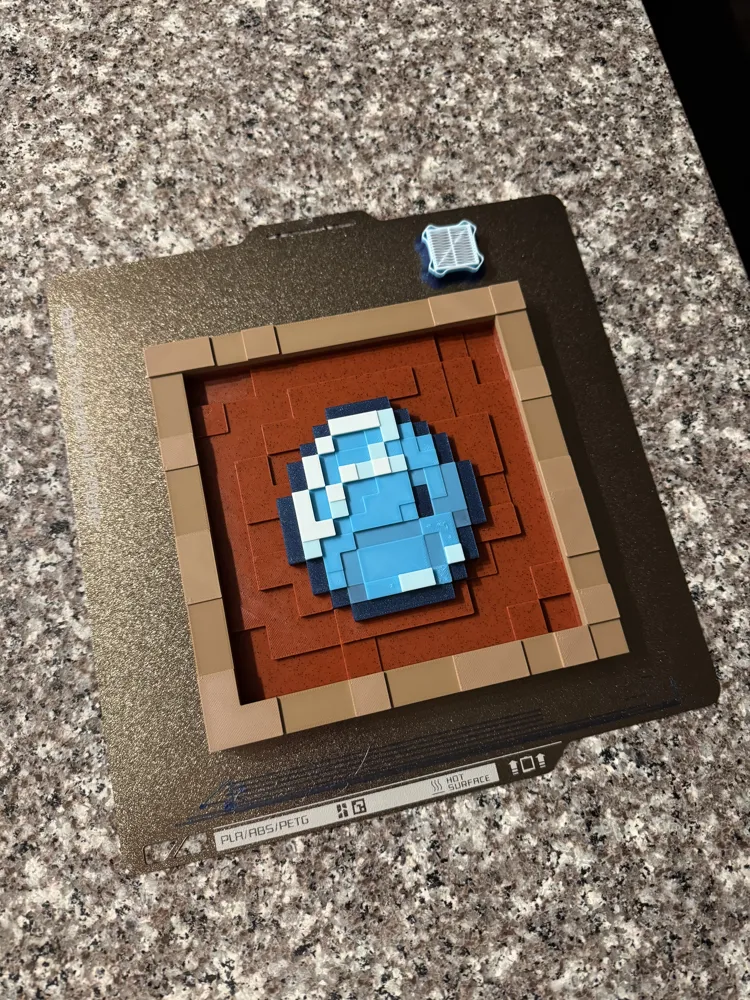
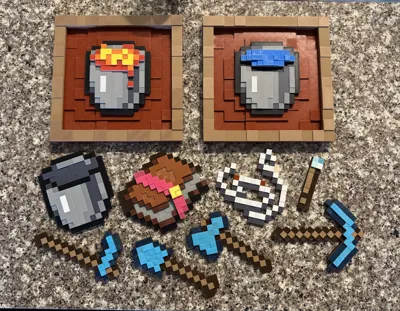
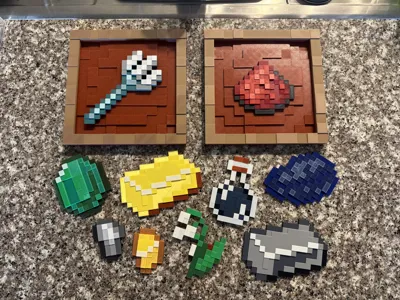
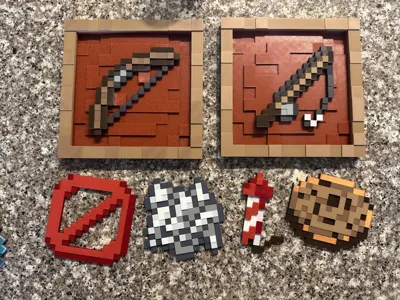
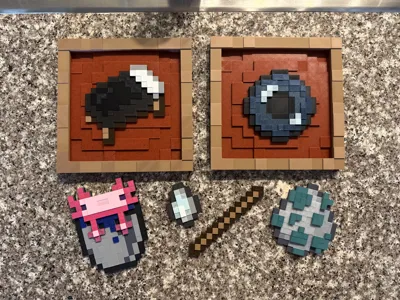
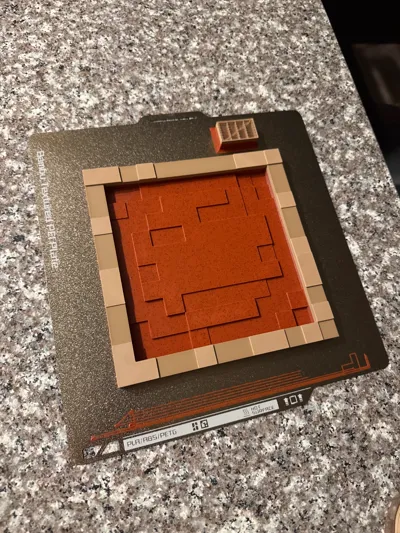
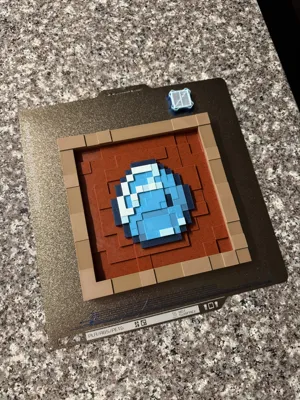
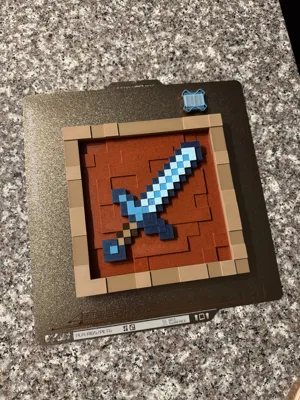
Add some creativity to your walls using this item frame based off of Minecraft! This item frame is able to hold a variety of different items from Minecraft, using 7x2mm magnets to hold them in place (check towards the bottom of the description for the link). The items can be switched out, and can also be rotated in the item frame every 45 degrees, just like in the game.
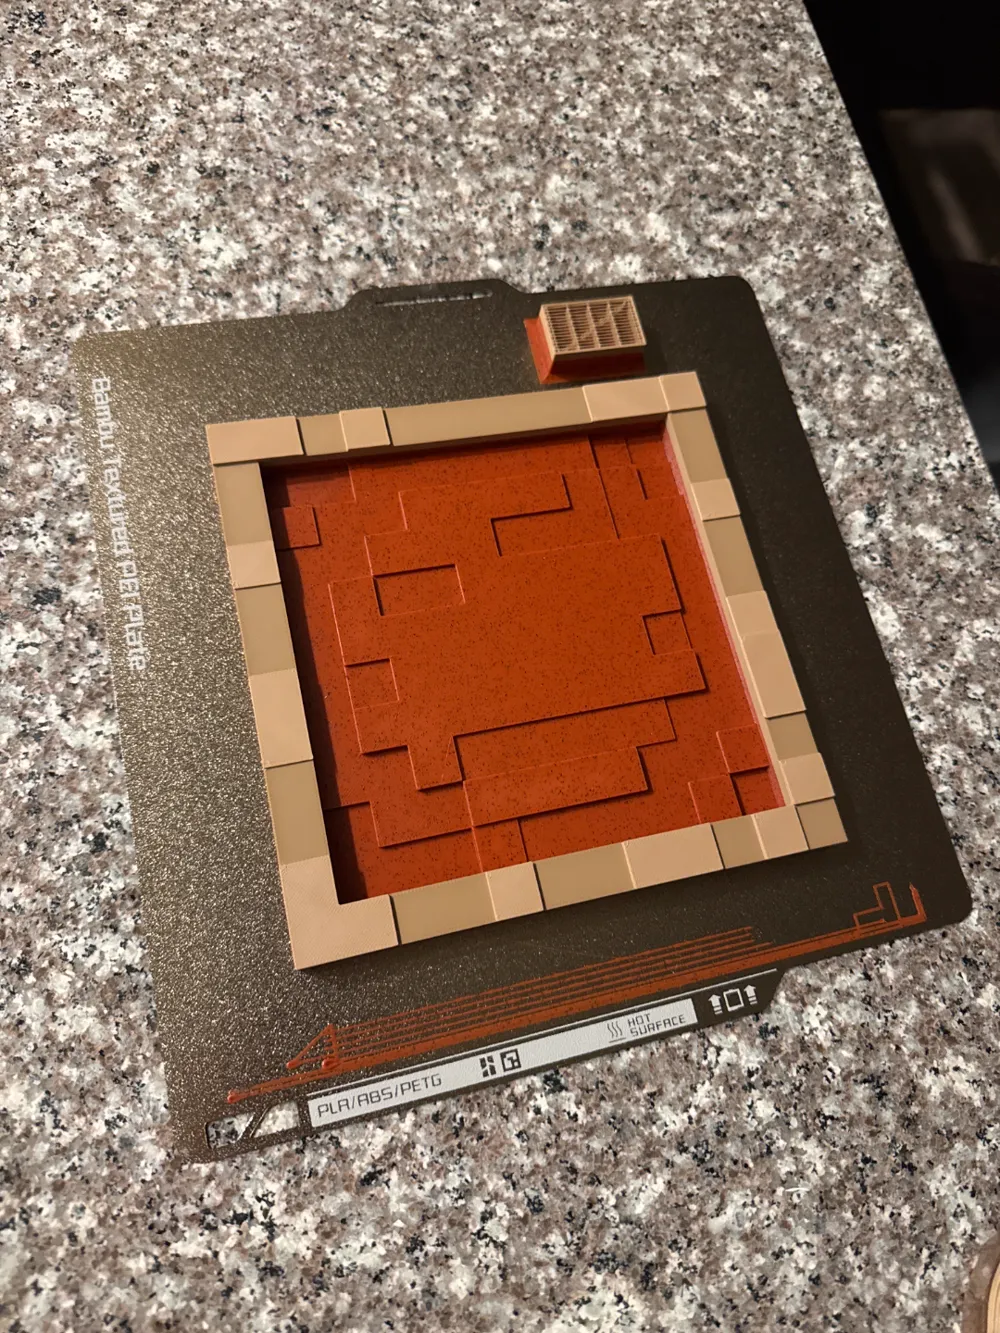
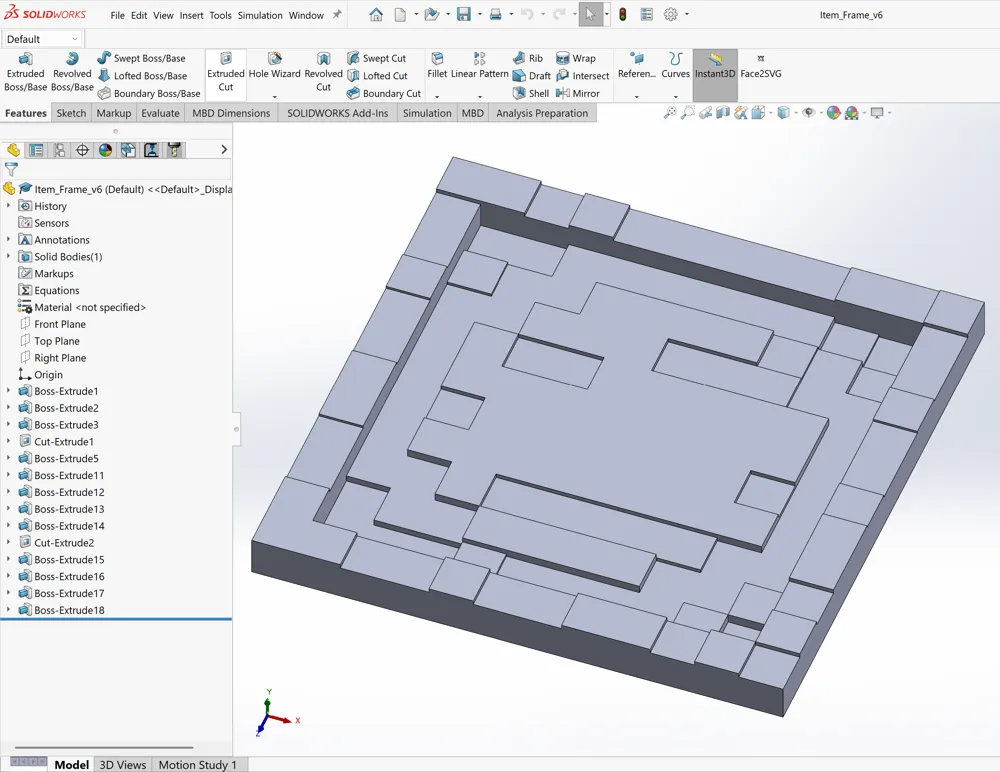
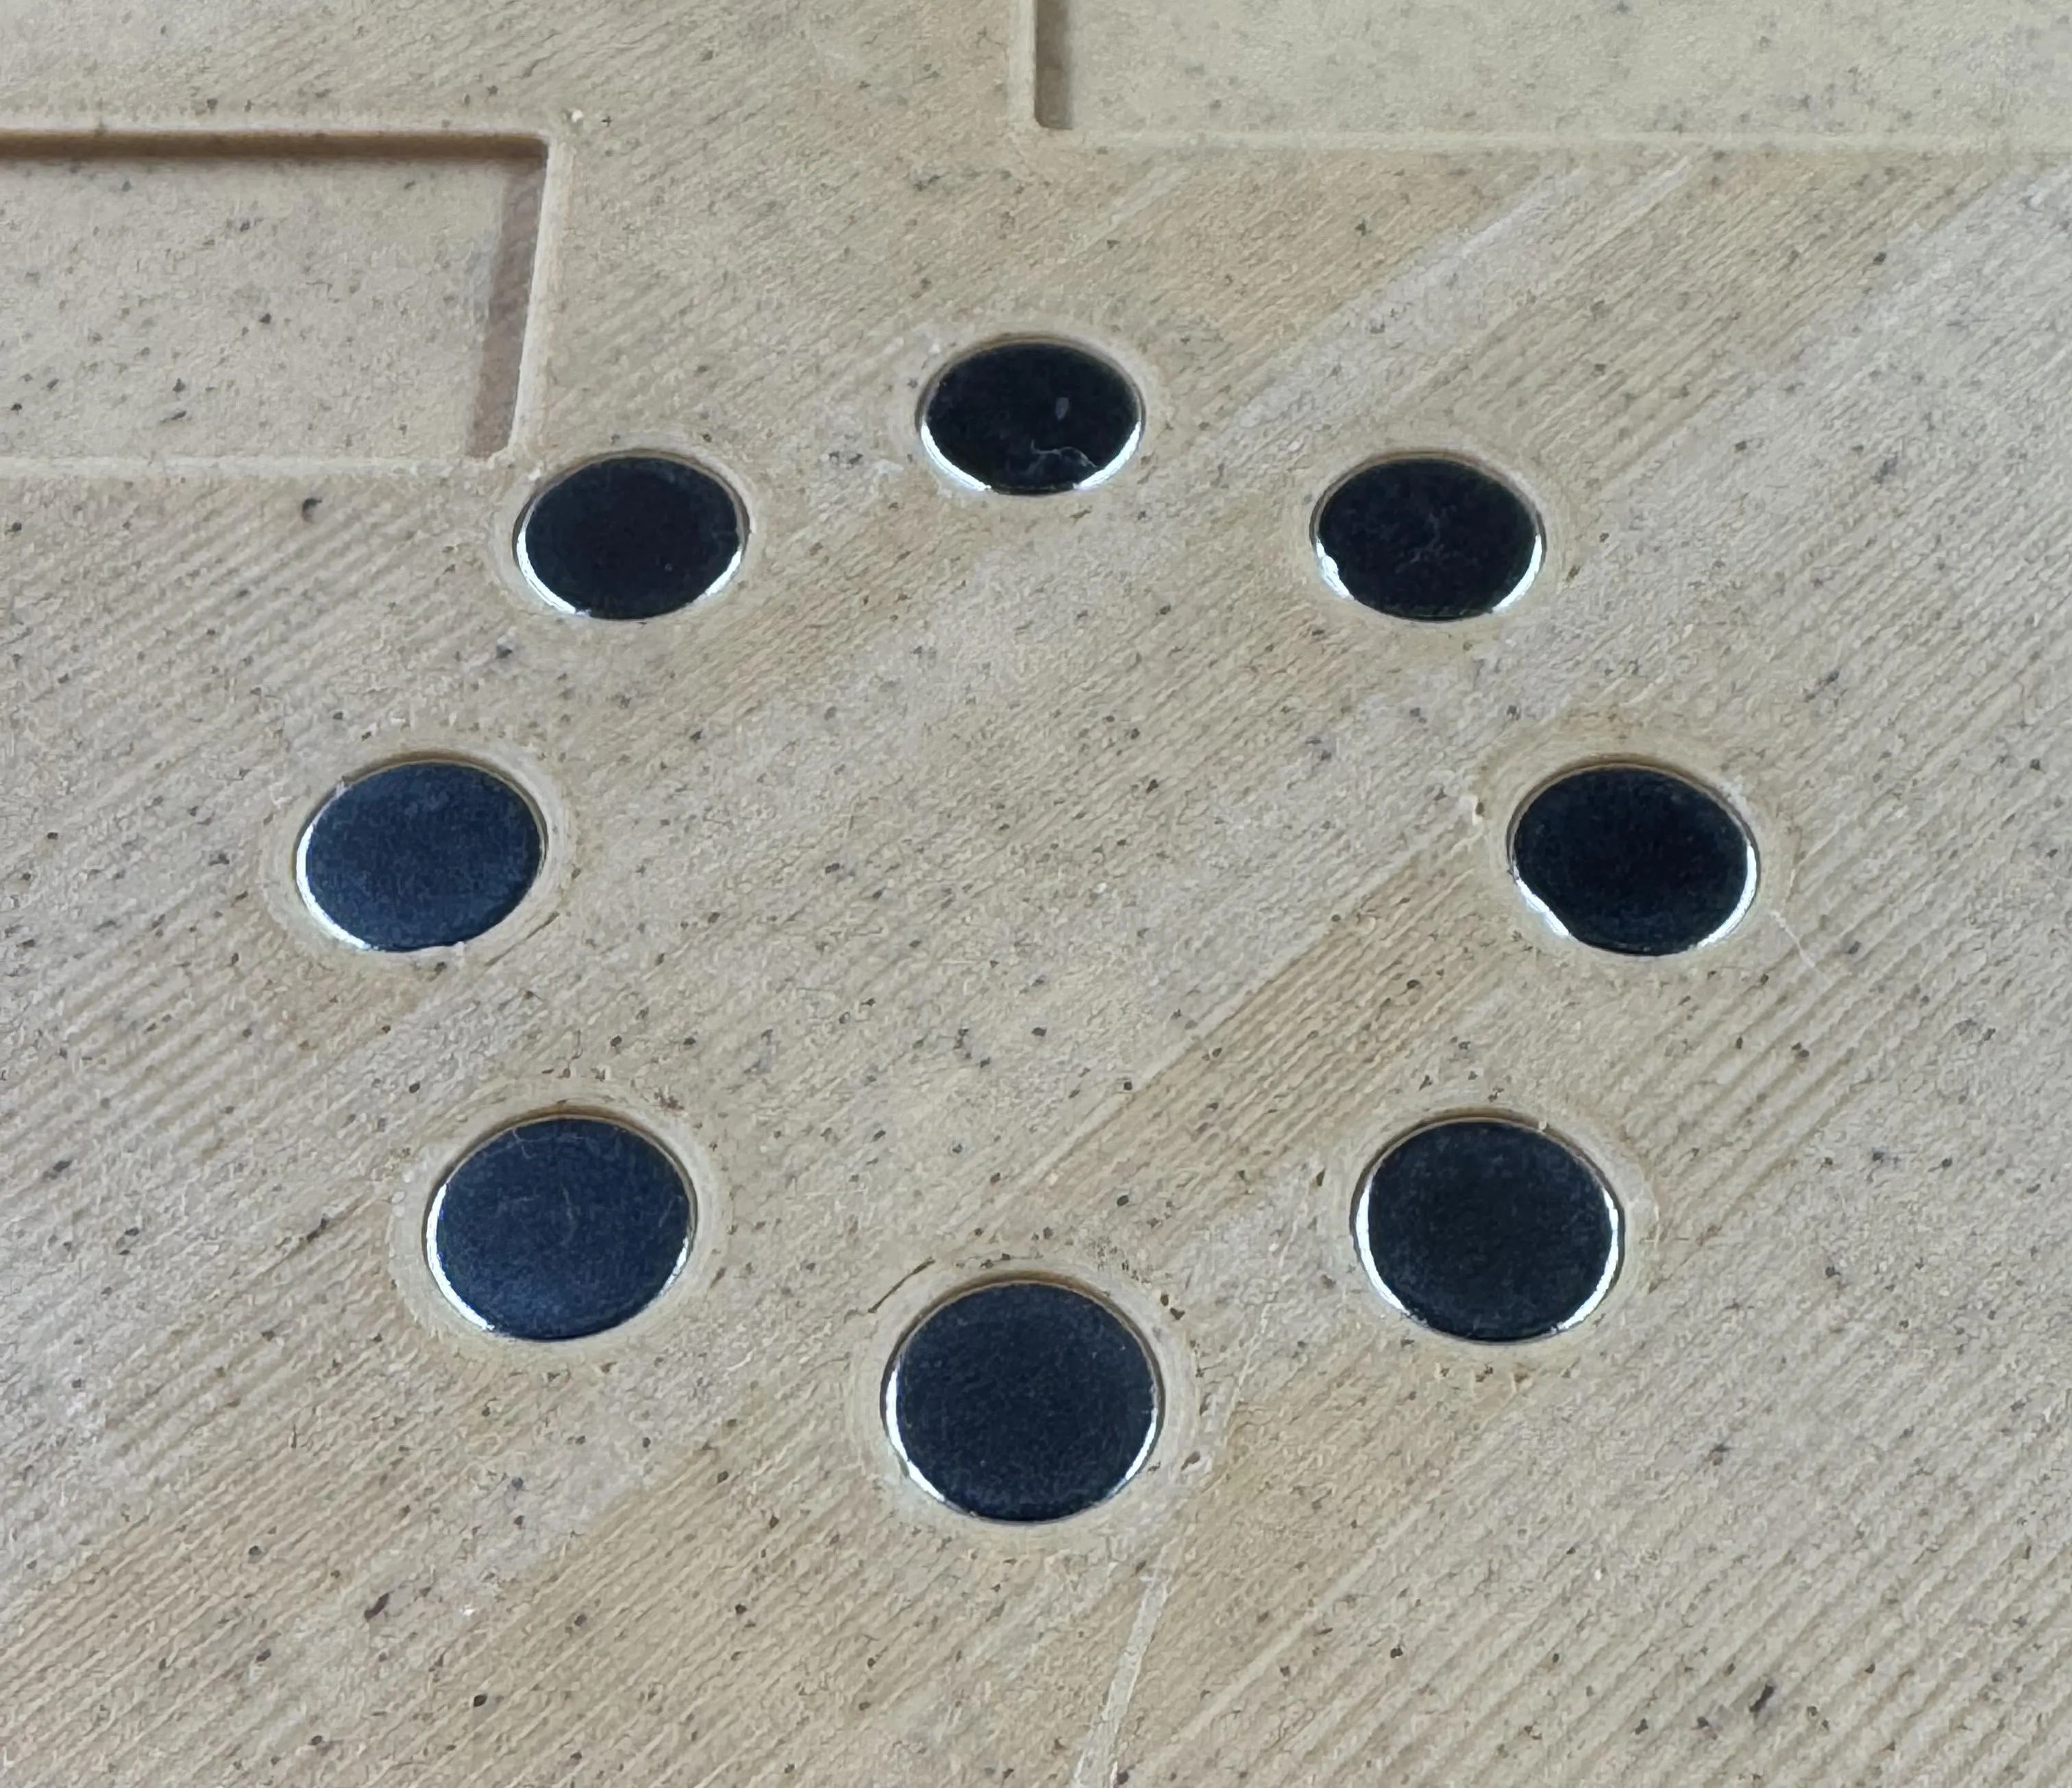
In order to print the item frame correctly, you will need to insert 1 magnet per hole, which is 8 magnets total. The magnets are inserted in the middle of the print, and your printer will pause to allow you to insert them at the right time. The magnets should fit snug, so no superglue is required to hold them in place. Just be sure that all of the magnets are facing in the same direction, so that the items will stick to the item frame properly!
When inserting the magnets, keep this in mind:
For both the item frame, and the items that attach to the item frame, you need to be sure that you push the magnets down flat and as far as possible. This ensures that there is enough room to bridge over top of the magnets properly when you resume the print, which will then give you a smooth top surface finish.
I recommend using a small flat tool to push them down all the way properly. I use the side of a pair of tweezers, which works extremely well.
- I included a photo below which shows how the magnets should look like for the item frame before resuming the print.
Other Important Notes:
This model is support free, and does not require the use of the AMS. I have provided a profile for using the AMS. If you do not have an AMS, you can add pauses where the color switches are in the actual profile to manually change filament. This model will work for ALL Bambu printers as well, including the A1 mini.
As of now, I recommend using Bambu Studio to send all of my models to your printer. For some reason, Bambu Handy does not take into consideration the color changing / pauses required in order to print the models as intended. Hopefully this will be resolved soon!
Try not to change/modify any of the slicer settings since they also help with the magnets!
Lastly, the item frame can be hung on the wall with command strips or with a nail, if desired.
The three filament colors/brands I used in sequence are:
- AMOLEN Marble Brick Red PLA
- SpiderMaker Matte Kraft Brown PLA
Overture Sedimentary Rock PLA
Model Updates:
Update (3/12/2026): I have now added a “Universal” Item Frame Profile for people who have another brand of 7x2mm magnets. If your magnet thickness is less than 1.6mm, you can continue to use the regular V7 profile as normal.
Update (10/7/2025): I have now added a V7 Profile, where I did a couple of changes to help make printing much easier. This version also has a hole on the back of the frame to hang it on the wall with a nail, if desired.
Amazon Magnet Link (PLEASE READ):
Here is a link for a 250 pack of 7x2mm magnets, which are what I use with the item frame, as well as all of the items:
Amazon Caturledas 7x2mm Magnet Link
- For the V7 Profile, it is important that you use the Caturledas brand of 7x2mm magnets, since the item frame is specifically designed for their diameter and thickness. These magnets are slightly undersized in thickness at around 1.53mm, so please check the thickness of your magnets if using another brand.
Slicer Multi-Color Preview:
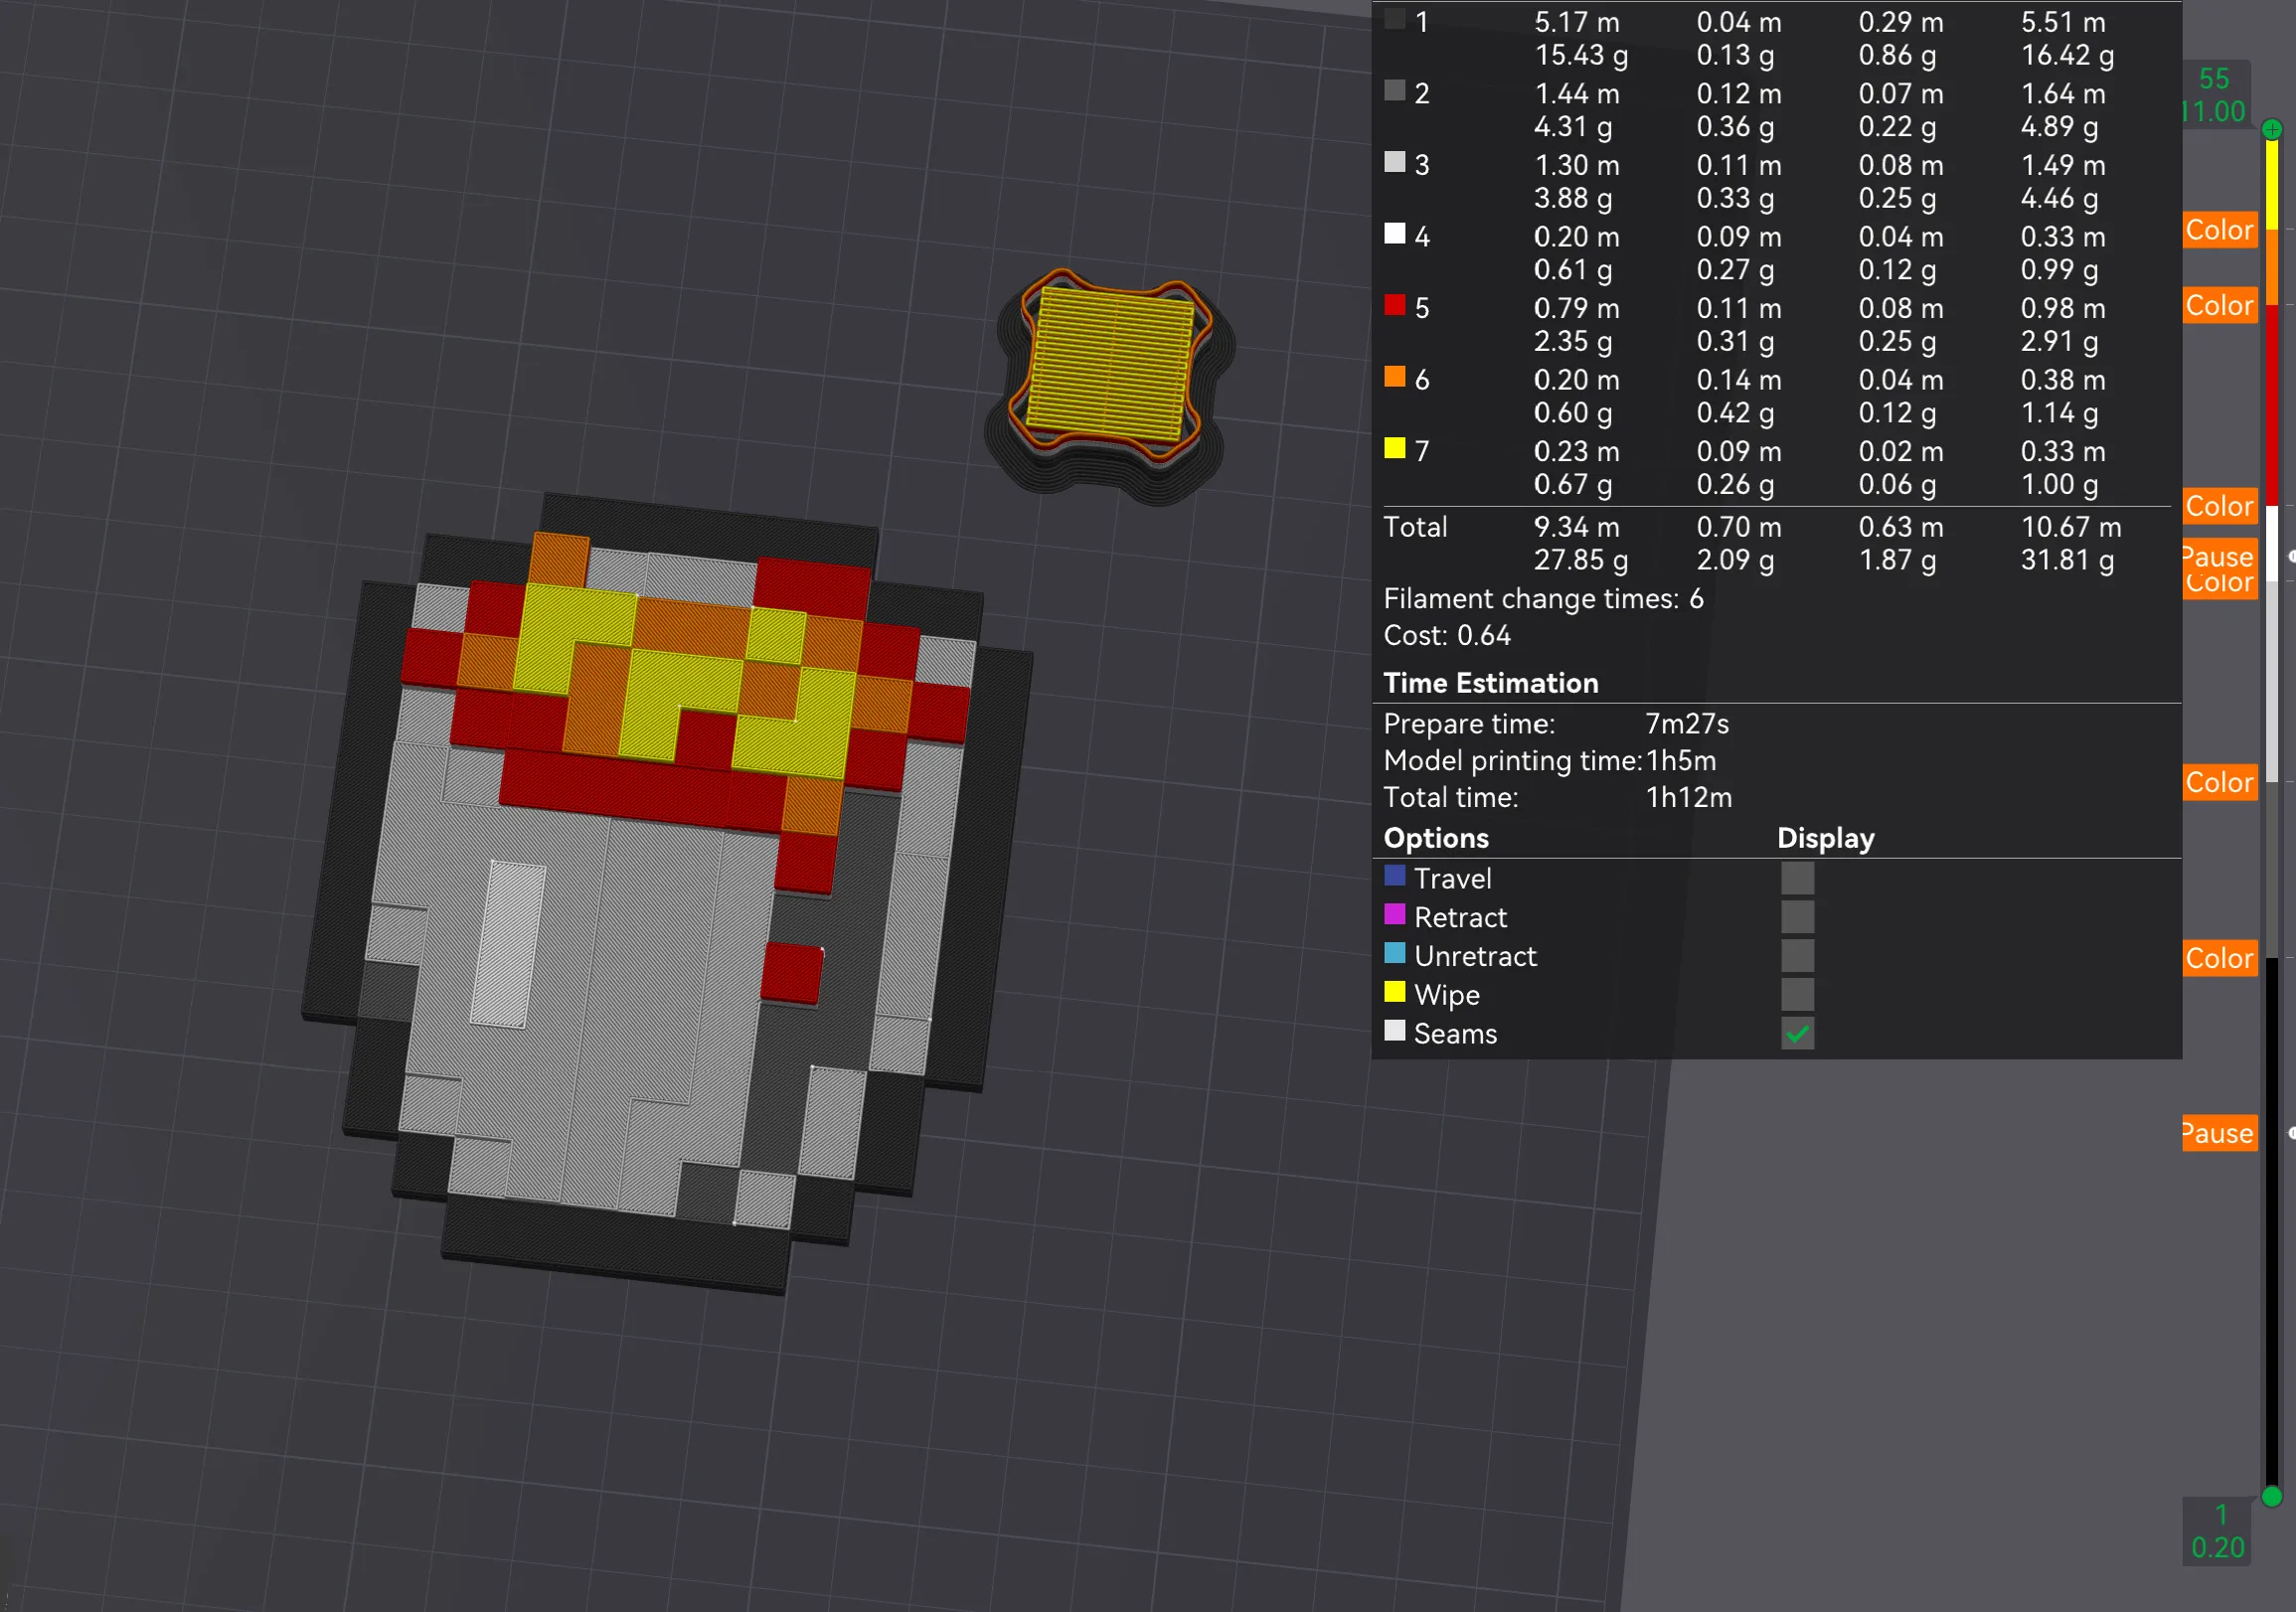
The items that you print for the item frame will come up as one color in Bambu Studio, but when you slice the file, you will see all of the colors appear in the slicer preview tab. I have included a picture of one of the items as an example. This is shown on the latest Bambu Studio update, so be sure to update your slicer beforehand.
Click here to check out the functioning clock I made!
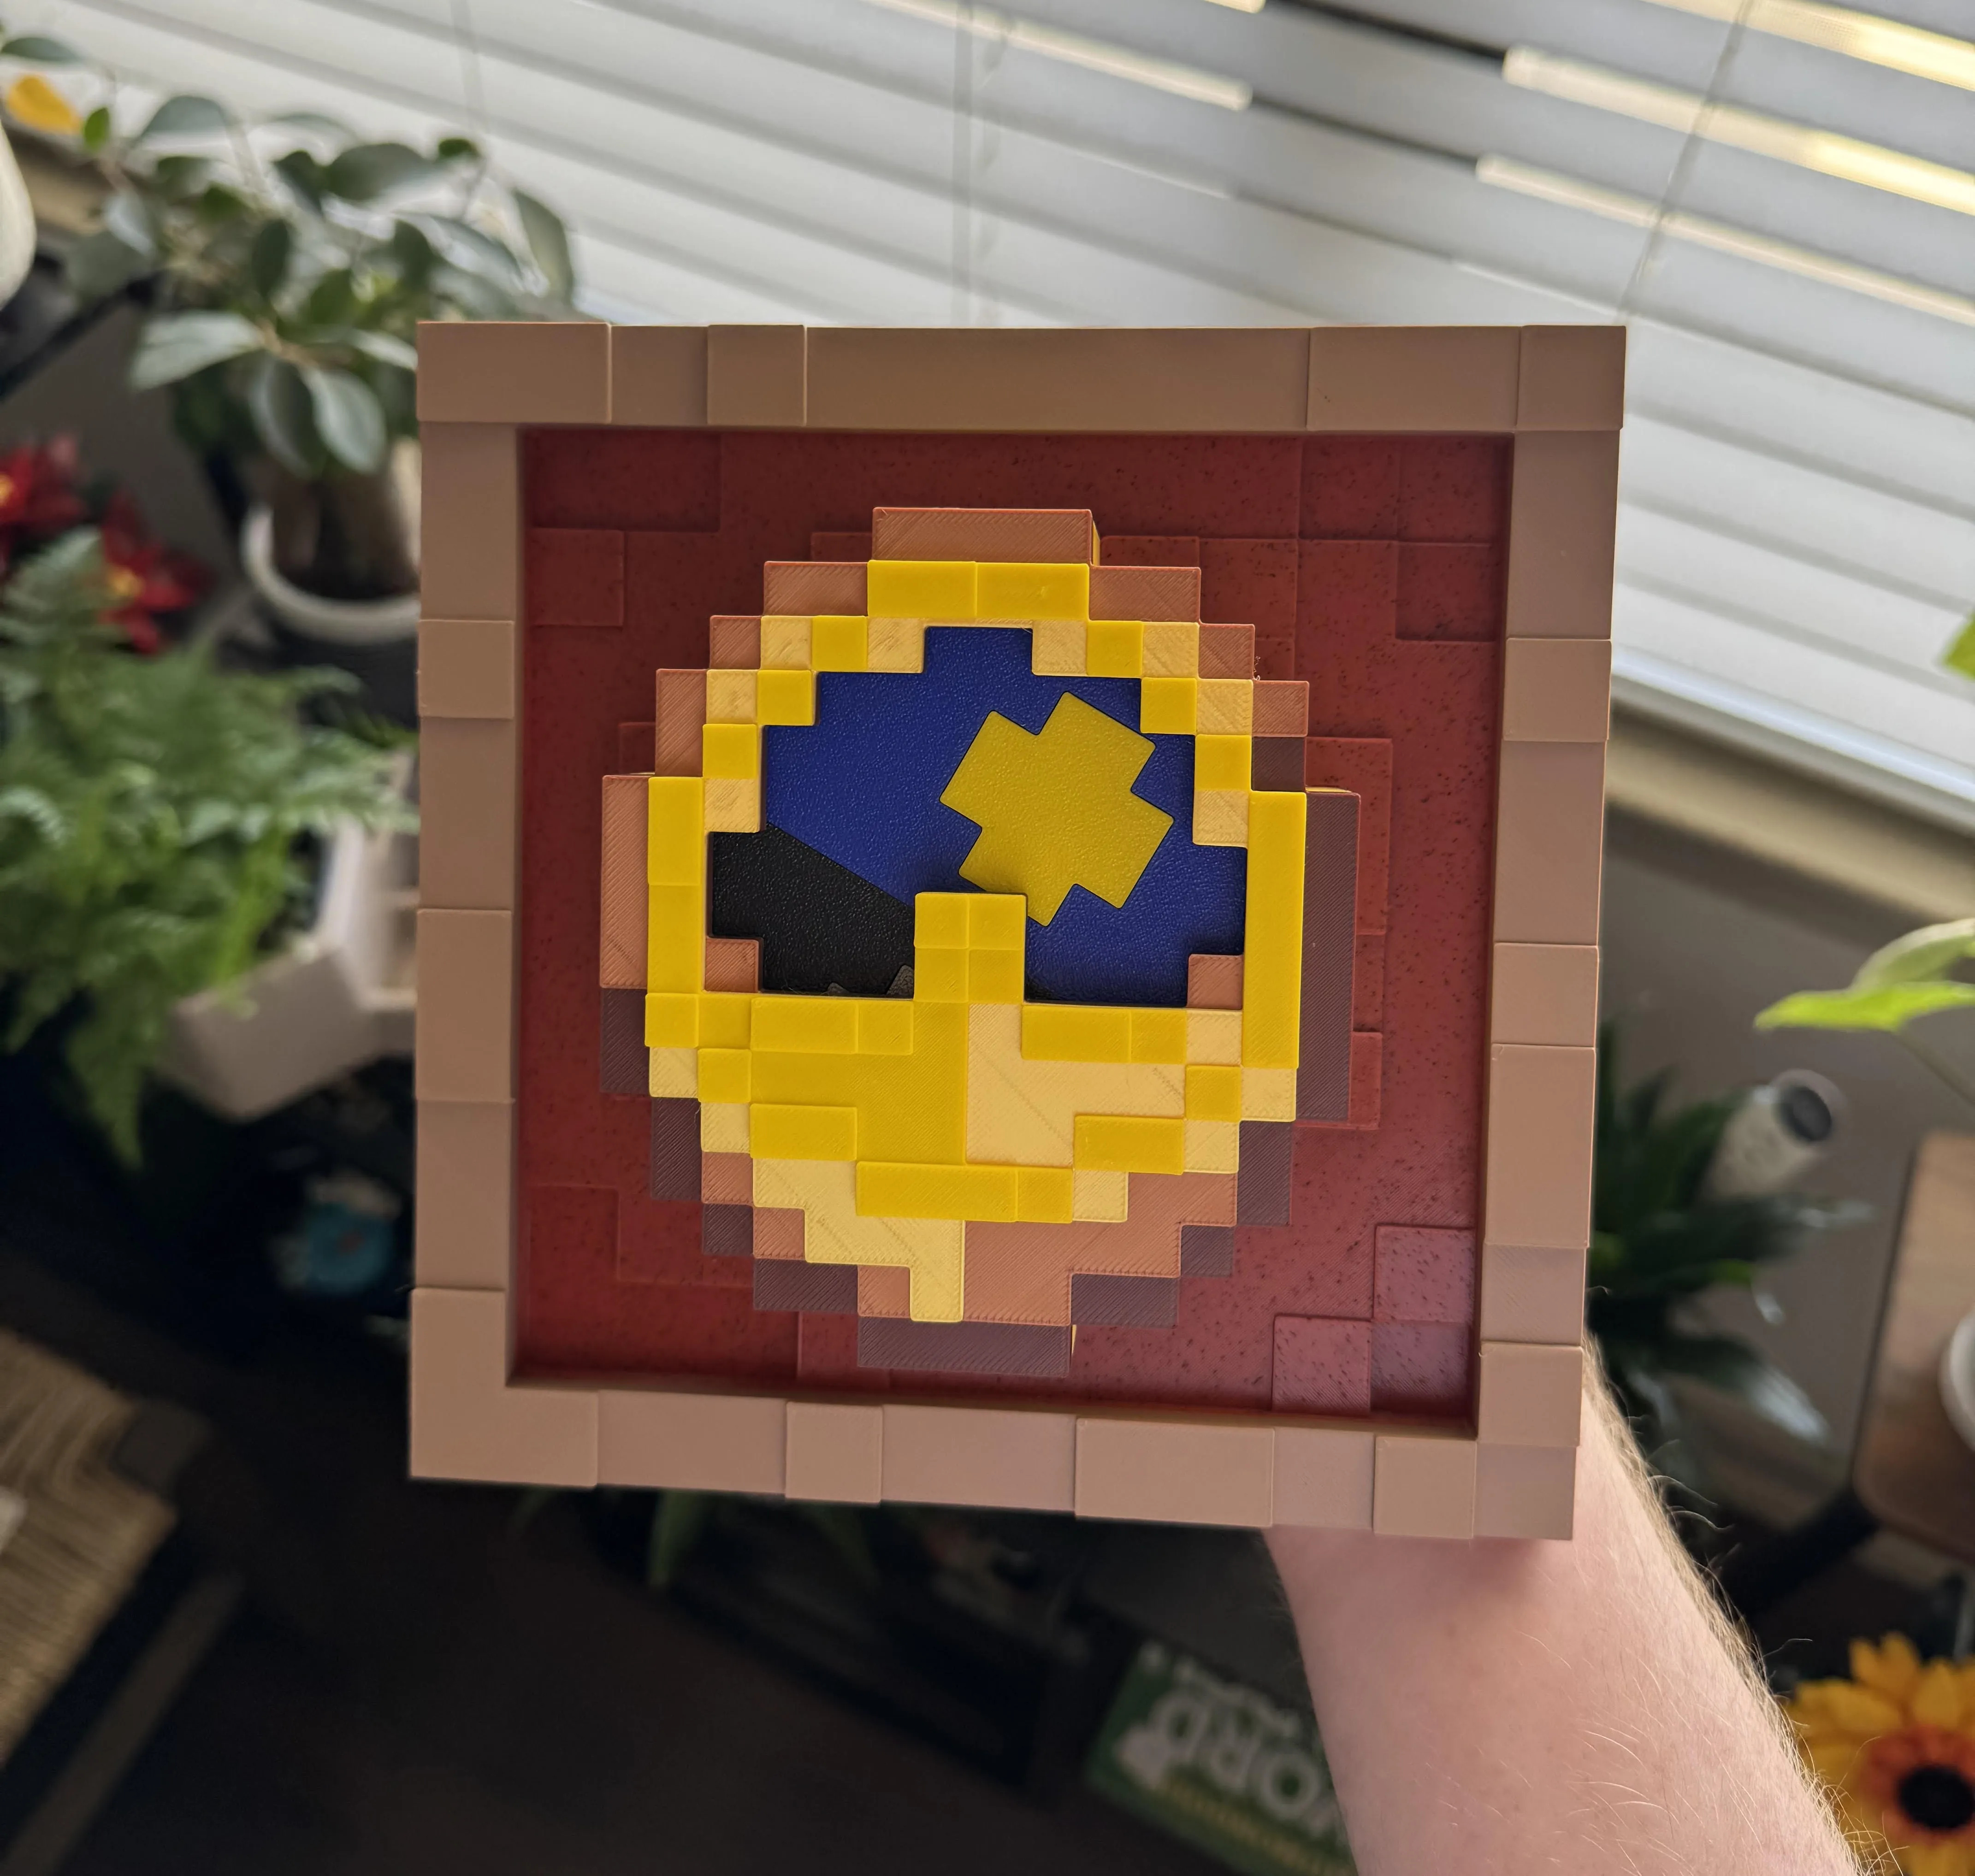
Chicken Jockeyyyy
License

You shall not share, sub-license, sell, rent, host, transfer, or distribute in any way the digital or 3D printed versions of this object, nor any other derivative work of this object in its digital or physical format (including - but not limited to - remixes of this object, and hosting on other digital platforms). The objects may not be used without permission in any way whatsoever in which you charge money, or collect fees.


Comment & Rating (245)