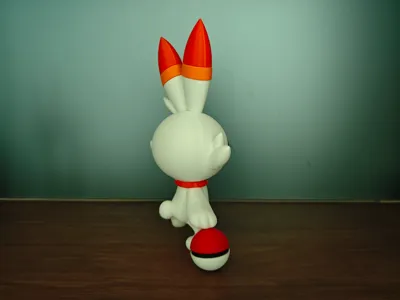
Pokémon—Scorbunny


Print Profile(2)


Description
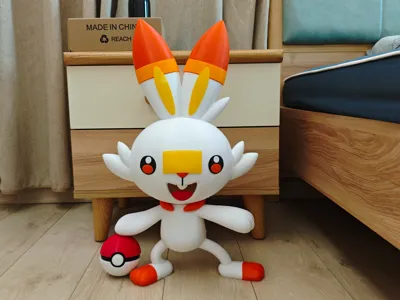
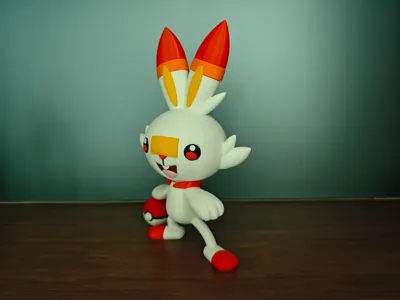
This model is of the Pokémon Scorbunny, with color schemes shown in the images (I used brown for the mouth, but dark purple would be even better)
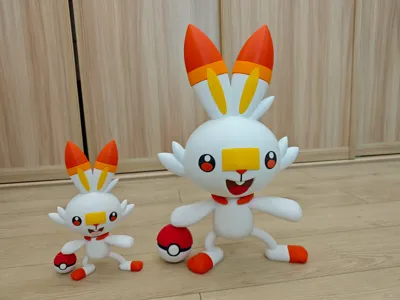
This 28cm tall Scorbunny Pokémon model (pre-separated) requires no AMS and no painting to print. While 28cm tall, it’s not overwhelmingly large, due to its long ears
I’ve included two print sizes: a 100% version at 28cm and a 180% version, estimated at 52cm
The Poké Ball is also included; I recommend the 180% version, as I prefer larger models
This model is compatible with Bambu P1S, P1P, X1, and A1 series printers. As always, A1 mini users will need to adjust the model size themselves
The filament color scheme used for this model includes: white, black, orange-red, orange, mango yellow, brown, peach, and red (I used quite a few colors this time, but when have I ever been known for restraint with color, haha)
Monochromatic printers will need to print in batches and assemble the parts
I used Eryone PETG and PLA; feel free to select filaments according to your own color schemes. If possible, Bambu’s own filaments are highly convenient
For monochrome printing, a 0.2mm layer height and 10%-15% infill works well. 8% is not recommended this time; I tried it, and it was too thin. The default wall thickness is 2; 3 or 4 might create a more robust model
Only the teeth and tongue require glue; the rest do not. Glue any loose parts as needed. Assembly diagrams are below; I've indicated which parts require glue and which do not. Hot glue is preferable for this larger model, as that’s what I used
(Due to my error, the head peg broke, so I'm using the 180% model for the assembly diagrams)
Assembly steps: Only the teeth and tongue require glue (The assembly diagrams use the 180% model; the smaller model is the standard version)


Boost Me (for free)
Show your support if you like it!
License
You shall not share, sub-license, sell, rent, host, transfer, or distribute in any way the digital or 3D printed versions of this object, nor any other derivative work of this object in its digital or physical format (including - but not limited to - remixes of this object, and hosting on other digital platforms). The objects may not be used without permission in any way whatsoever in which you charge money, or collect fees.
Comment & Rating (35)