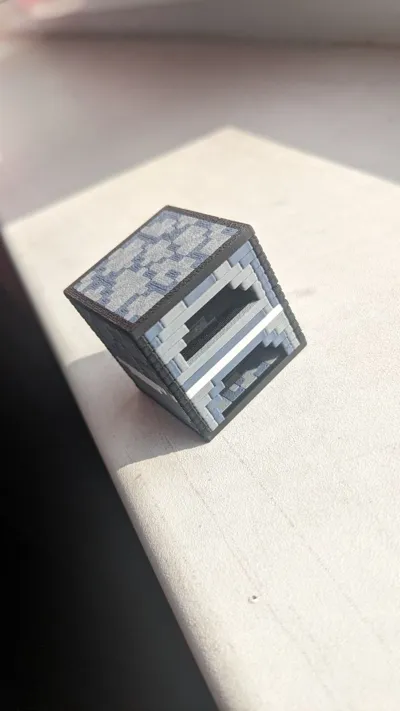
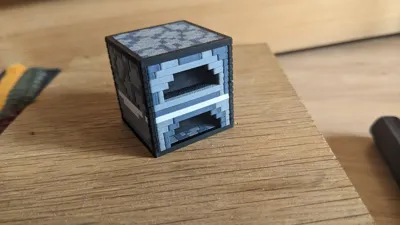
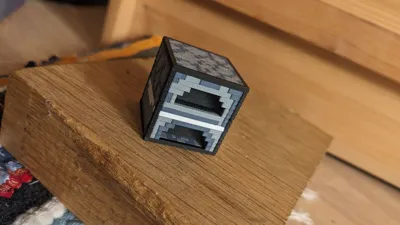
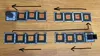
Minecraft Furnace Split By Layer


Print Profile(8)


Description
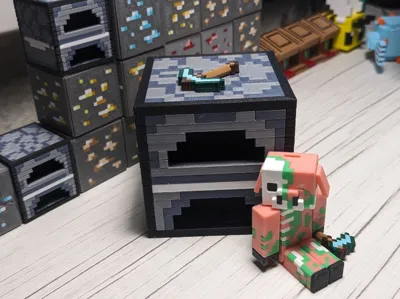
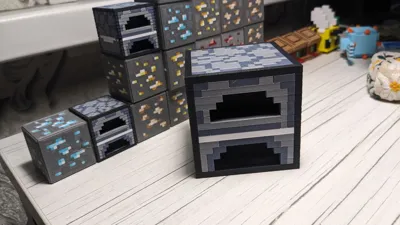
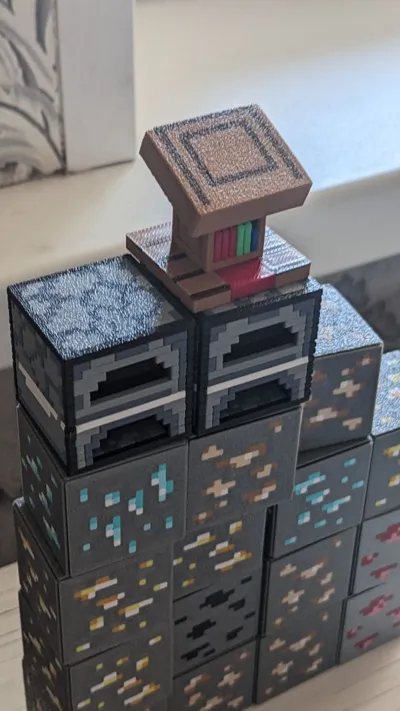
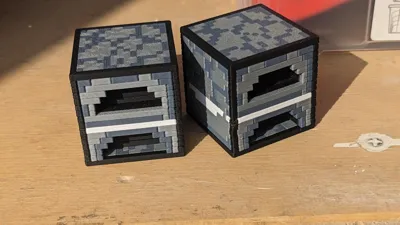
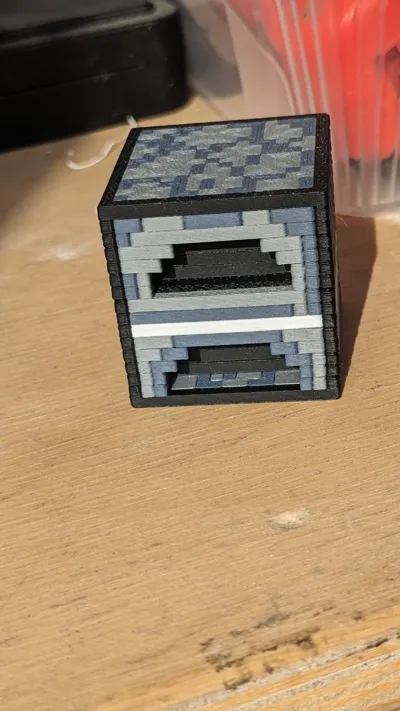
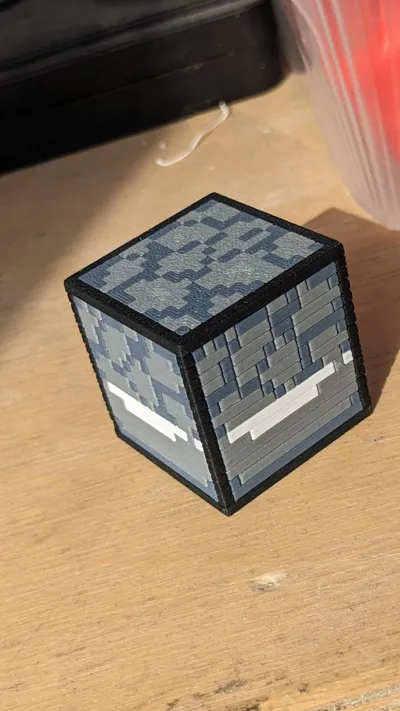
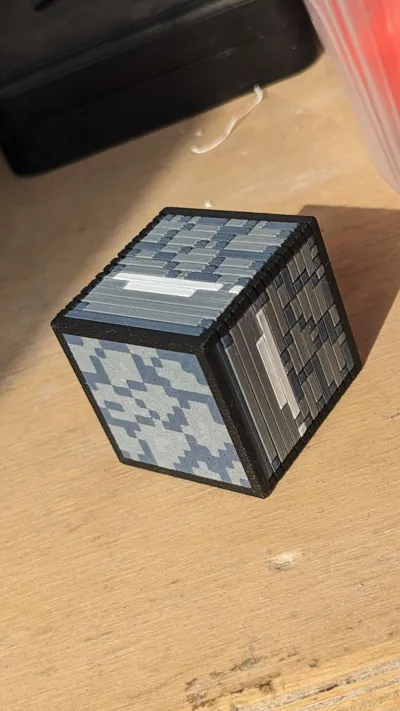
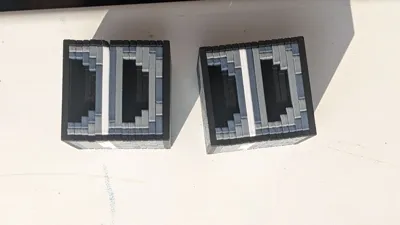
- Minecraft Furnace Construction Set Split By Layer
- Vanilla Ratio 16x16x16, Immersive Texture
- No Supports, No Overhangs, No Glue needed
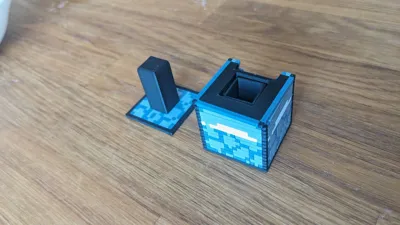
- Requires Hammer to construct
- Has average construction complexity
- Block textures in Minecraft are 16x16 pixels by default, that's way this model is divided into 16 layers
- Each layer has multicolor configuration, when all 16 layers are on the same height it is much faster and more efficient to print
- Has probability of warping, this warping is crucial and can severely decrease overall quality
- In case of warping it is recommended to reprint specific malformed parts
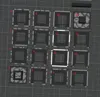
- There are 100%, 200%, 300% scale profiles
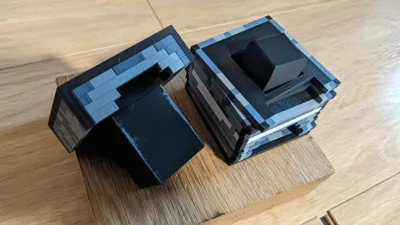
- There is a monolith solid profile if you decide to print as one piece
- There is 2-pixel height profile that gives 8 layers instead of 16 in case you believe it looks or prints better
- 100% scale speeds up the process 5x times, because all parts lays on the same plate and has the same height
- The speed might be even faster if you select 2 items profile, where multiple parts are on the same plate
- The main point of this method is to make the process modular and build it step by step
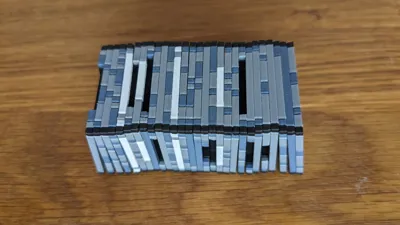
So this is experimental model that demonstrates what happens when we split Minecraft's 16^3 block into 16 layers.
And combine all parts without glue, but only with the hammer.
To avoid warping wipe the bed very carefully, this is important!
And you might want to turn off aux fan if you print pla.
Increasing bed temperature +10 degrees may also help to avoid warps.
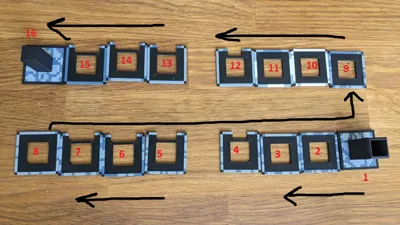
To build this model, simply connect all parts in the correct order. Do not confuse the order!
It is important to check order of all parts before build.
Lay them out on the table in front of you or put them on top of each other.
If at the end, the penultimate part is not tightly sit, don't worry, just hammer latest one and correct the previous.
Be aware that at the end you will need to hammer in the last part, and to do this you will need to hit the center of the piece with a hammer with a certain amount of force.
Enjoy!
Documentation (2)
Comment & Rating (2)