The Ultimate Hero Lamp


Print Profile(1)

Bill of Materials


- M10 Hex Nut x 20:
Description
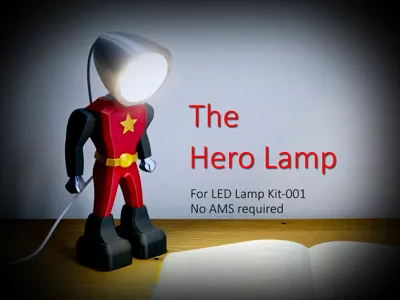
The Hero Lamp: A Superhero Lamp for Ultimate Illumination in the City of the Future!
This futuristic 3D-printed superhero lamp is here to save your desk from the forces of darkness!
With powerful light glowing heroically from its head, this mighty figure doesn’t just light up your room—it brings justice to bad lighting. Whether you're working late, reading comics, or plotting your next adventure, this lamp stands tall, radiating both light and pure awesomeness.
Sleek, stylish, and undeniably heroic, it’s the perfect companion for every fan of capes, courage, and cool ambient lighting.
Just plug it in and let your new guardian of the night keep your space brilliantly safe!
Assemble Your Hero Before the First Mission!
Even the greatest superheroes need some preparation before they can save the day!
Before your mighty guardian can illuminate your space, a bit of assembling is required.
But fear not—no superpowers or secret gadgets are needed!
What you need:
- 1x LED Kit 001 (MH001) or similar
- 9x BT2.5x10 Socket Head Cap Self Tapping Screws (AA196)
- You can use BT2.5x12 or BT2.5x14 (AA102, AA197) alternatively
- Optional: 20x M10 Hex Nuts (for a more stable stand)
- Optional: Superglue for the hands and/or for the star on the chest, but it should hold without glue with proper settings
Assembly:
All parts you need

Put the LED light into the slot in the lower part of the head

Put the spacer ring in front of the LED light so that it sits flush with led LED light

Place the upper part of the head on the lower part so that the cable is placed through the opening at the back

Screw the parts together (4 screws). Be sure not to overtighten them.

Take the two halves of the body and place the ball joint of the head into the opening

Screw the front and back part together (3 screws)

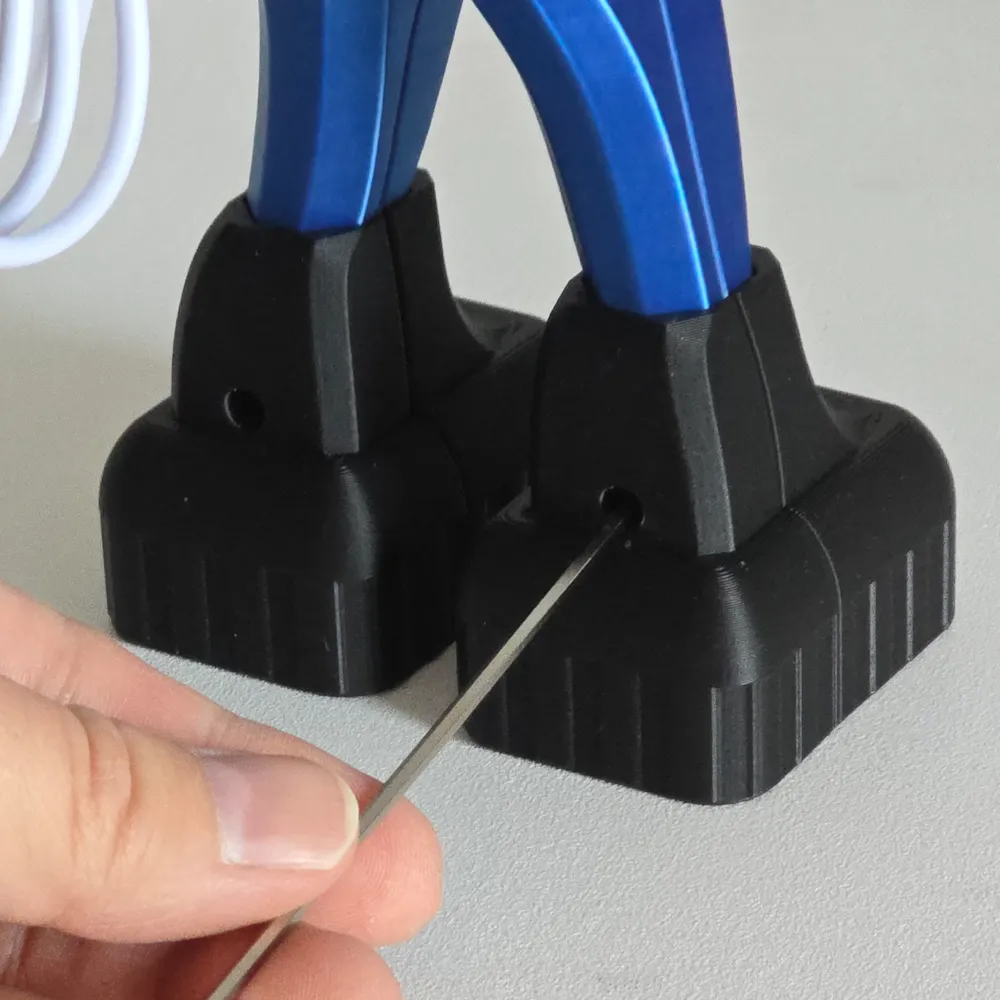
(Optional)
Remove the support material inside the feet parts and fill them with M10 nuts (6 in the front parts and 4 in the back parts) as shown in the pictures


Put the feet together so that they enclose the legs and screw them together

Snap in the belt buckle into the front part of the belt. Make sure that the buckle only clicks into place when it is correctly oriented

Put the belt on


If fitted correctly it should look like this

Push the star into the opening on the chest

If it doesn't stay in place, you can use some glue

Push the hand connector into the opening in the arm

Push the hand onto it so it sits flush and tightly

Snap the arm onto the ball joint at the body

Guide the cable into the cable holder on the back

You're done!


License
You shall not share, sub-license, sell, rent, host, transfer, or distribute in any way the digital or 3D printed versions of this object, nor any other derivative work of this object in its digital or physical format (including - but not limited to - remixes of this object, and hosting on other digital platforms). The objects may not be used without permission in any way whatsoever in which you charge money, or collect fees.
Comment & Rating (4)