
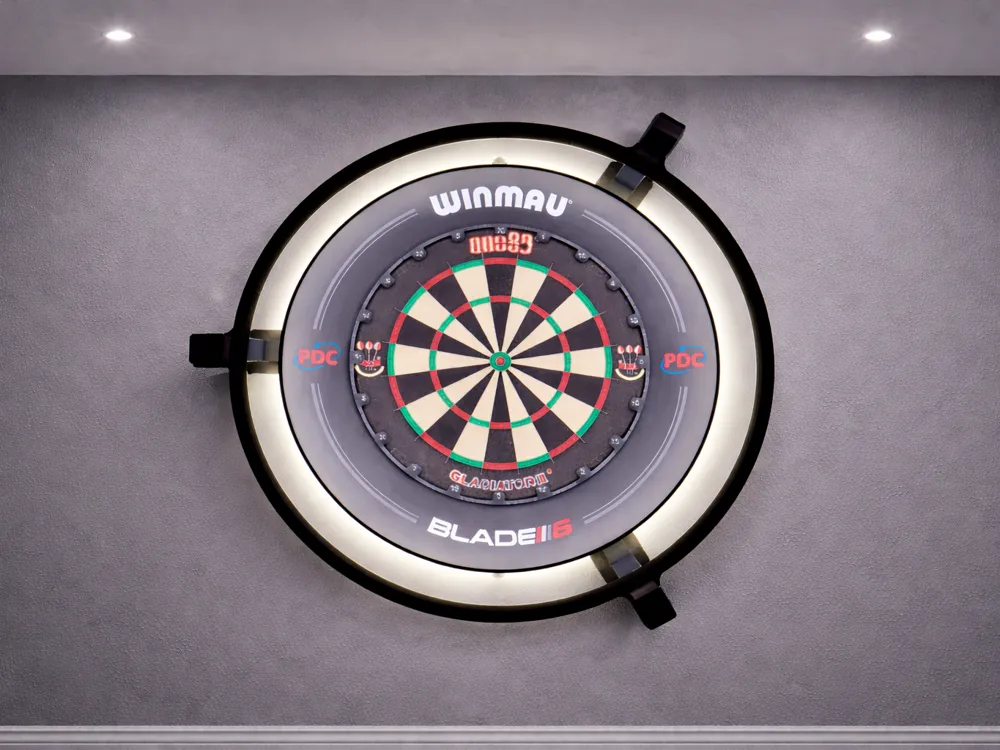
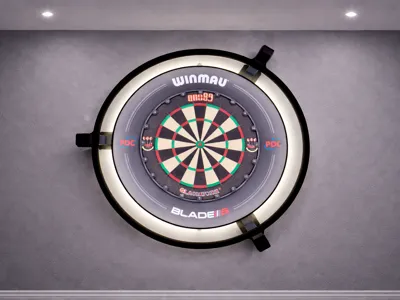
Darts Scoring System / Auto Darts / Lighting Ring
Print Profile(6)

Description
Membership
Commercial License Membership
Boost Me (for free)
Your click = more reach! Boost me for free and send my model on an exploration tour.🚀
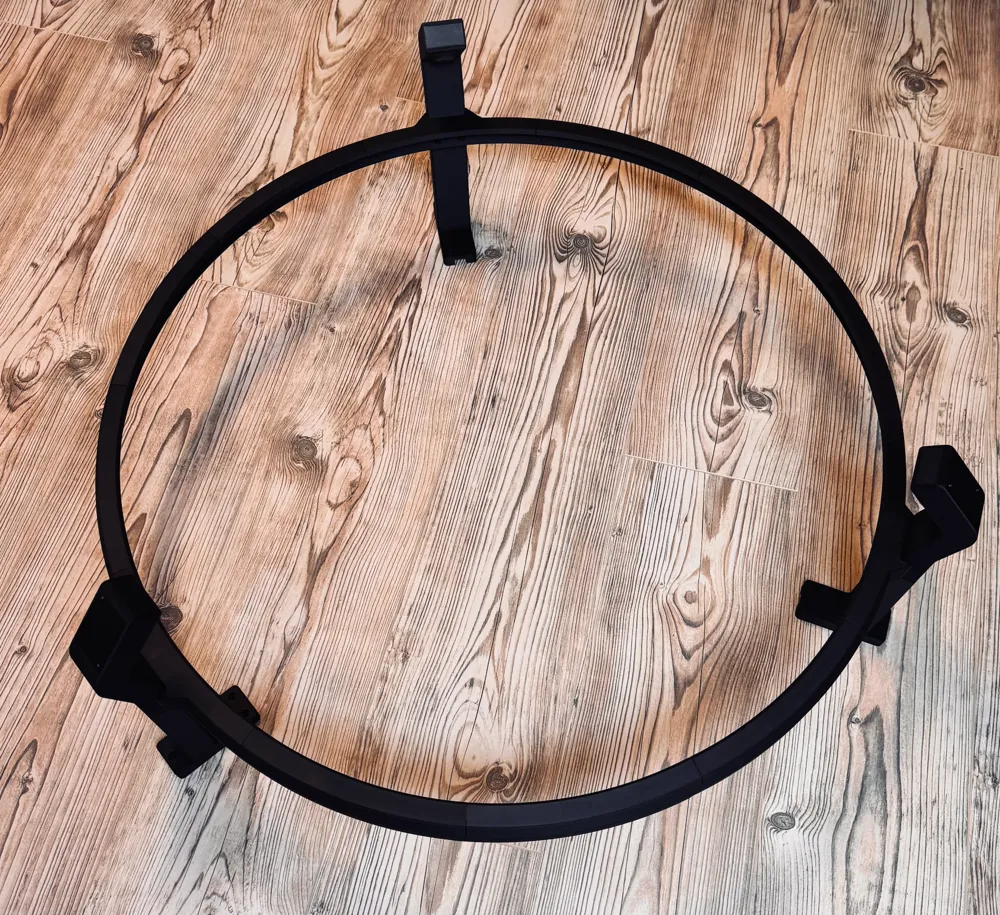
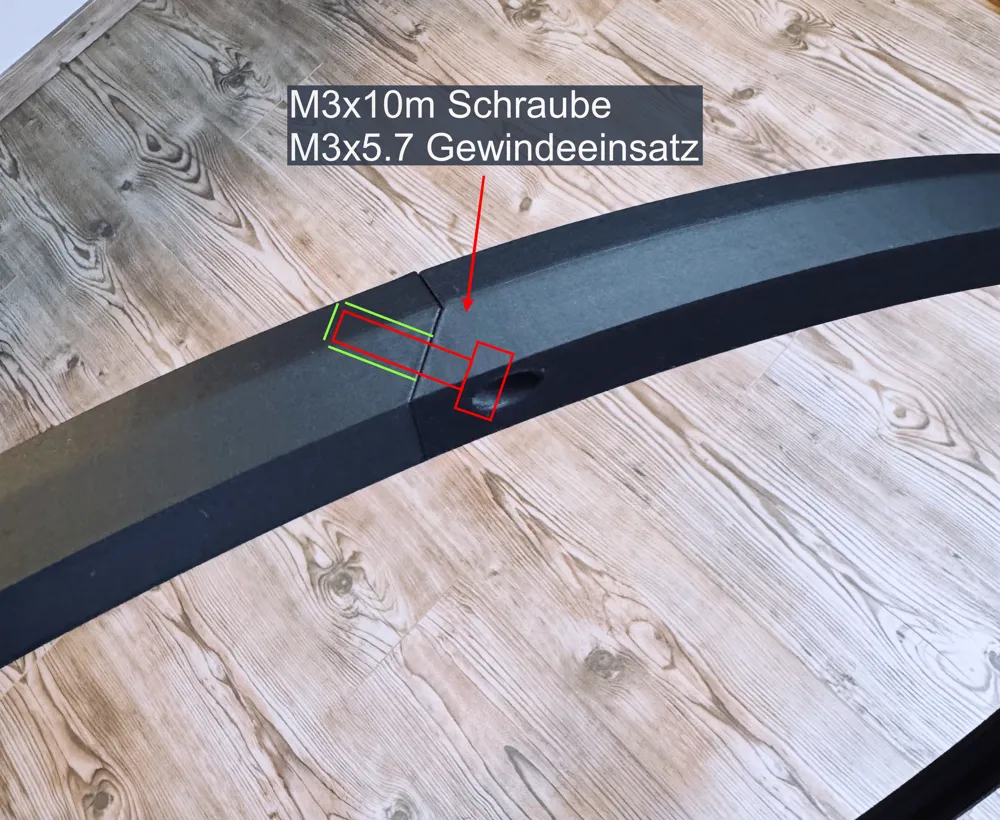
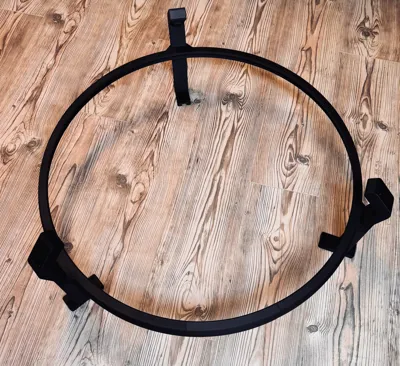
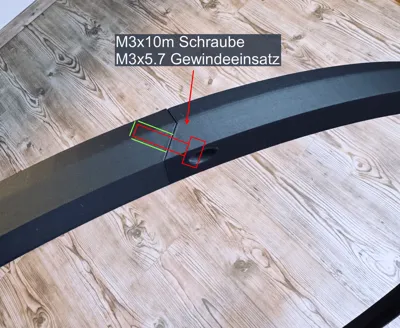
My version of the complete set for an automatic scoring system, e.g. Autodarts. Due to the way the light ring is screwed to the base, only 6 screws are necessary for this. The ring parts are screwed together via an inclined surface, which provides more stability and at the same time saves screws and threaded inserts. The surface onto which the LED strip is glued was designed at a 30-degree angle to achieve better illumination in the center of the ring. Use LED strips 8-10mm wide. To route the LED cable, a bore was made in a ring and a foot part, through which the cable can be guided downwards inside the foot
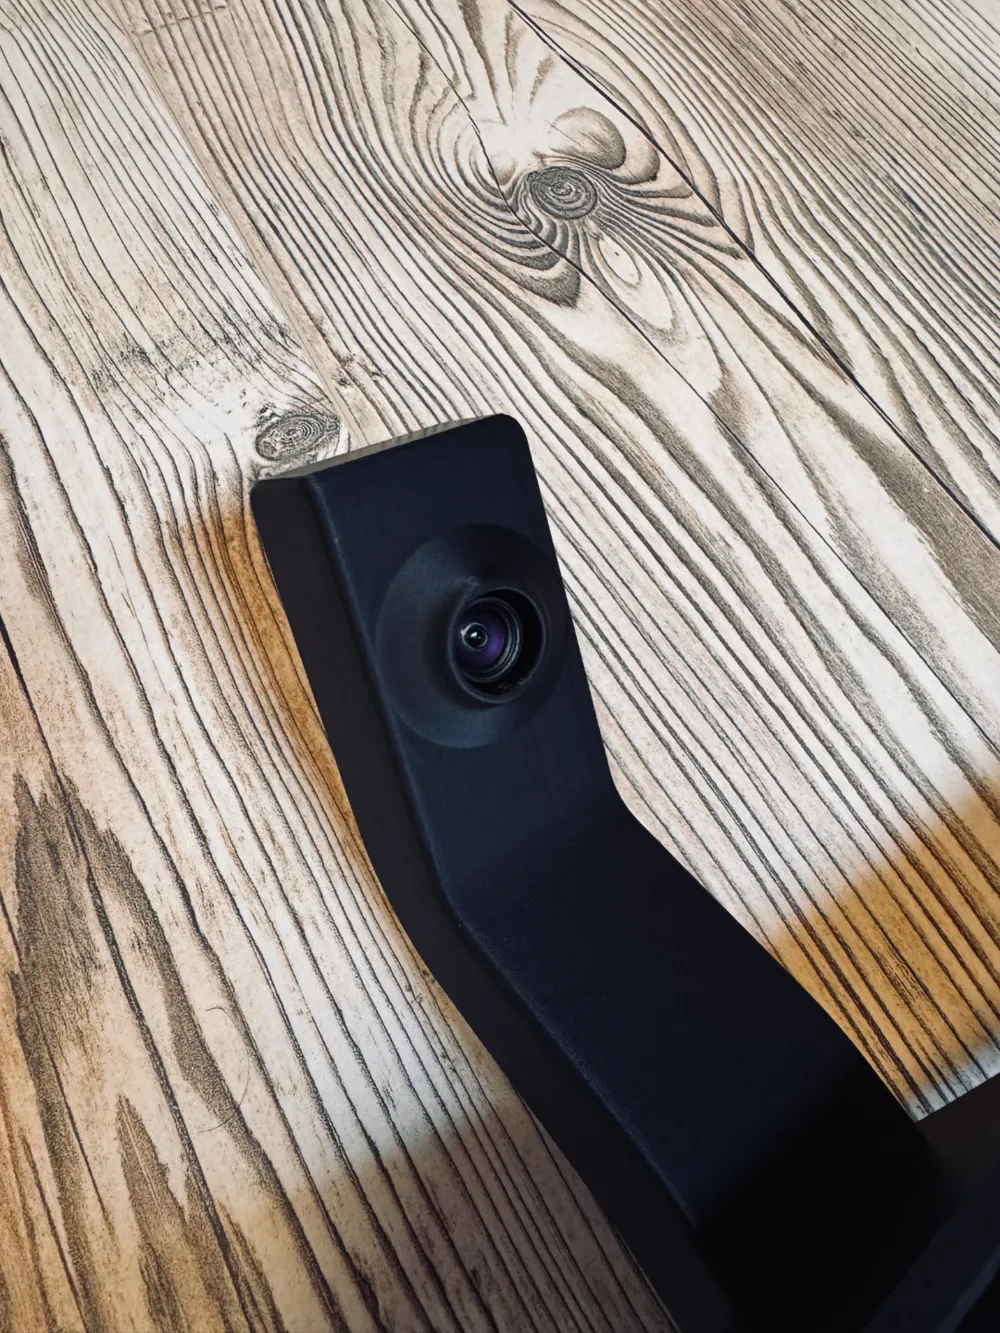
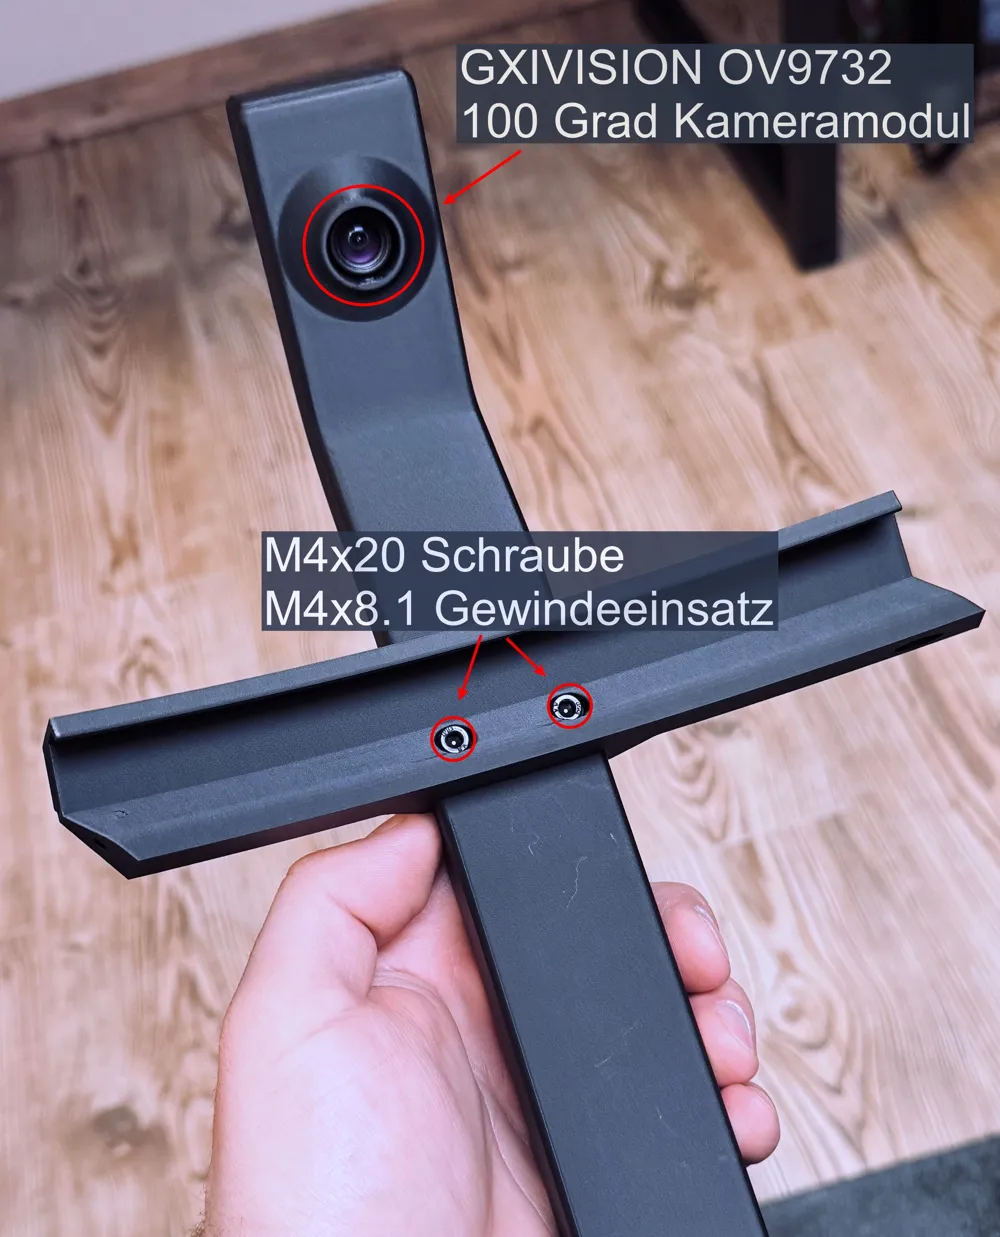
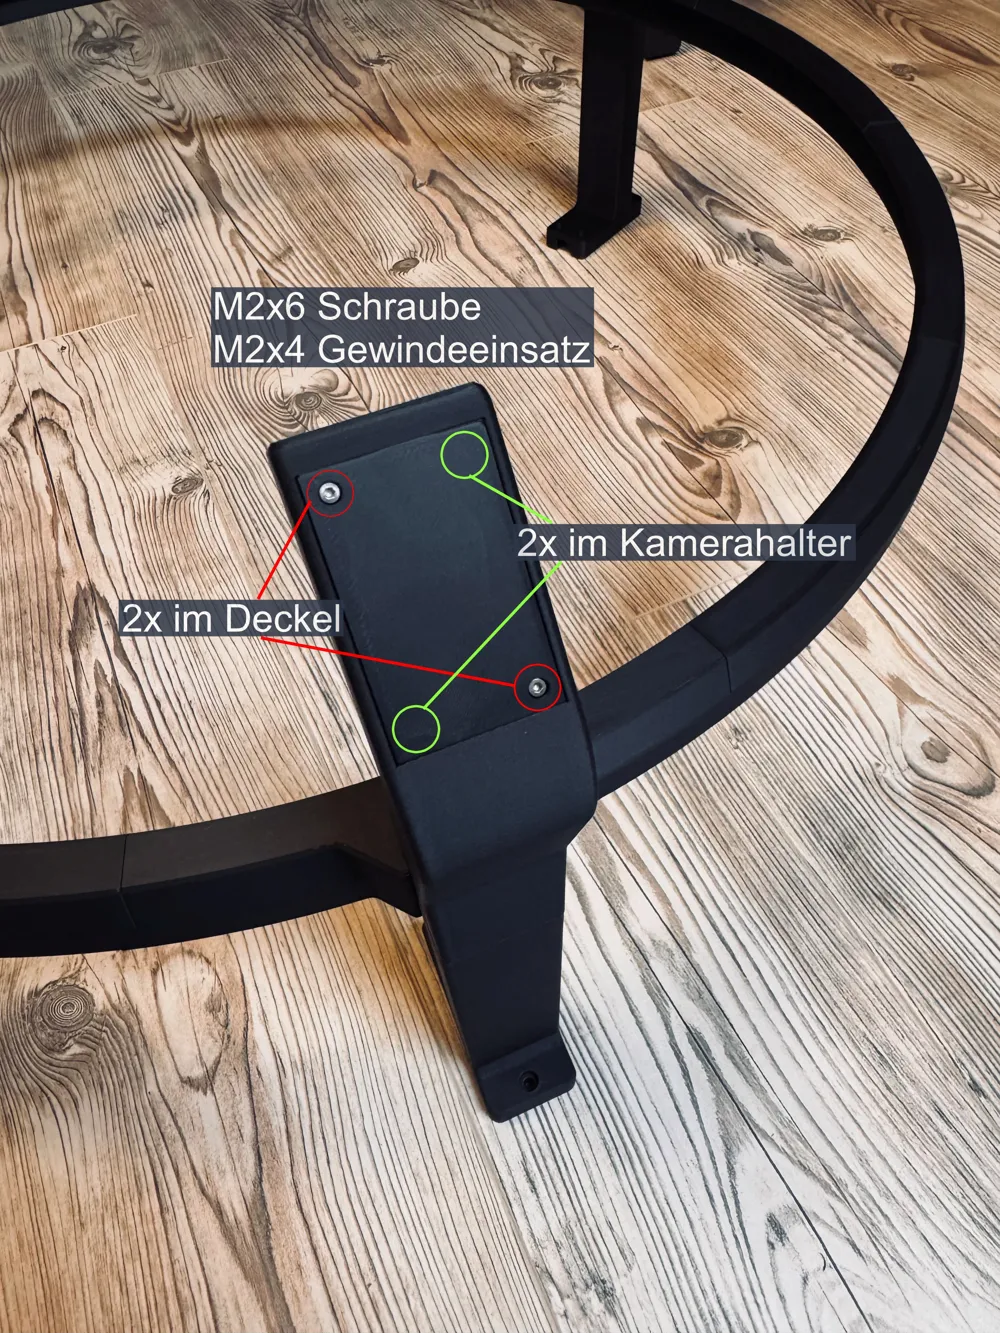
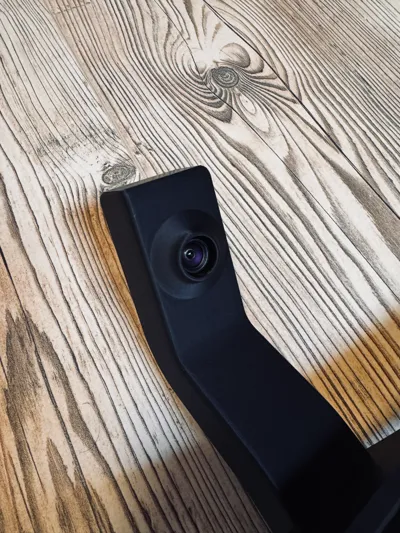
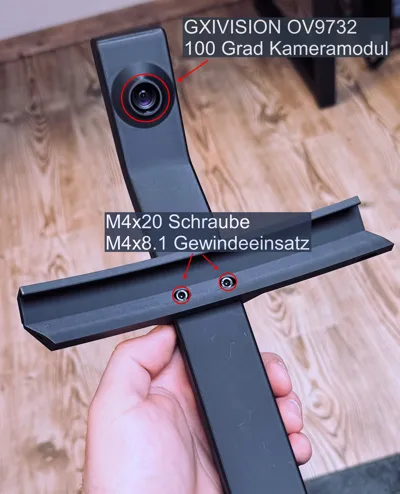
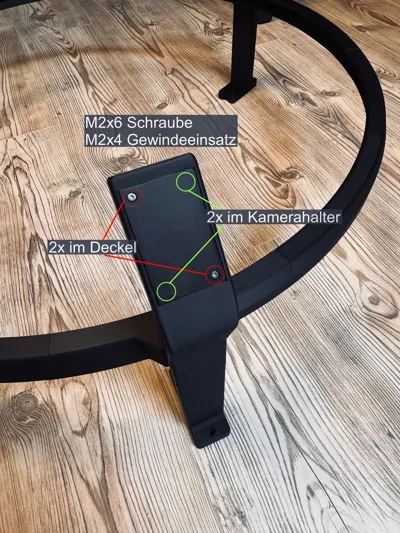
M3 threaded inserts are melted into the ring parts, M4 threaded inserts into the base to which the ring is screwed, and M2 threaded inserts are melted in for attaching the cameras and their covers
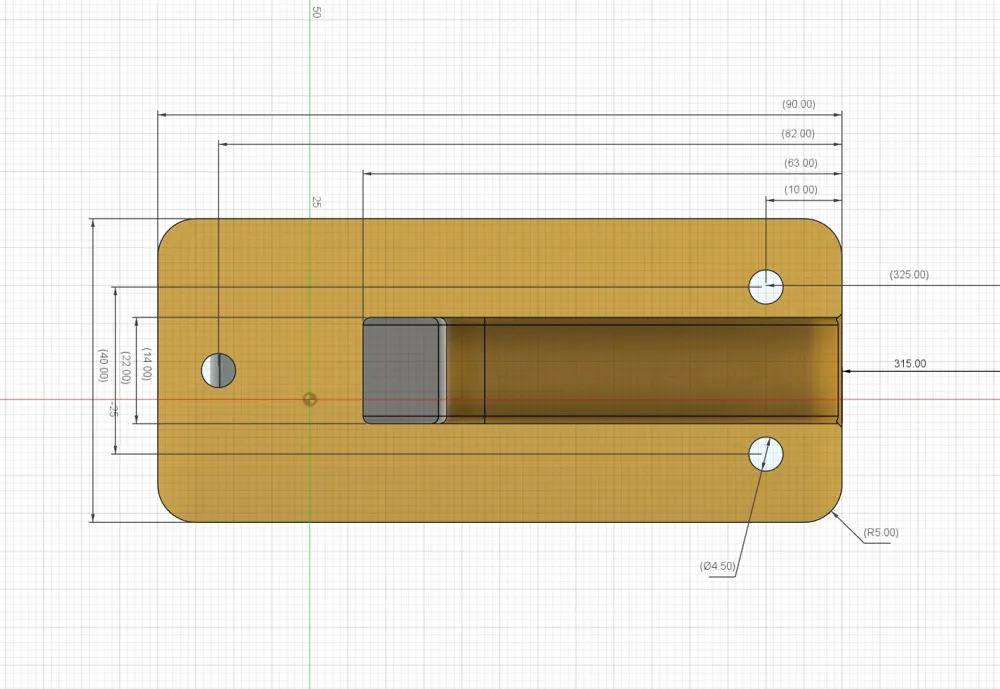
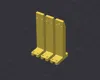
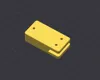
The whole thing is attached either directly to the wall or a wooden panel with screws, or with threaded screws to the Board of Silence. For this, you can use the adapter file listed above. 3x Ruthex M4 threaded inserts are melted into each adapter
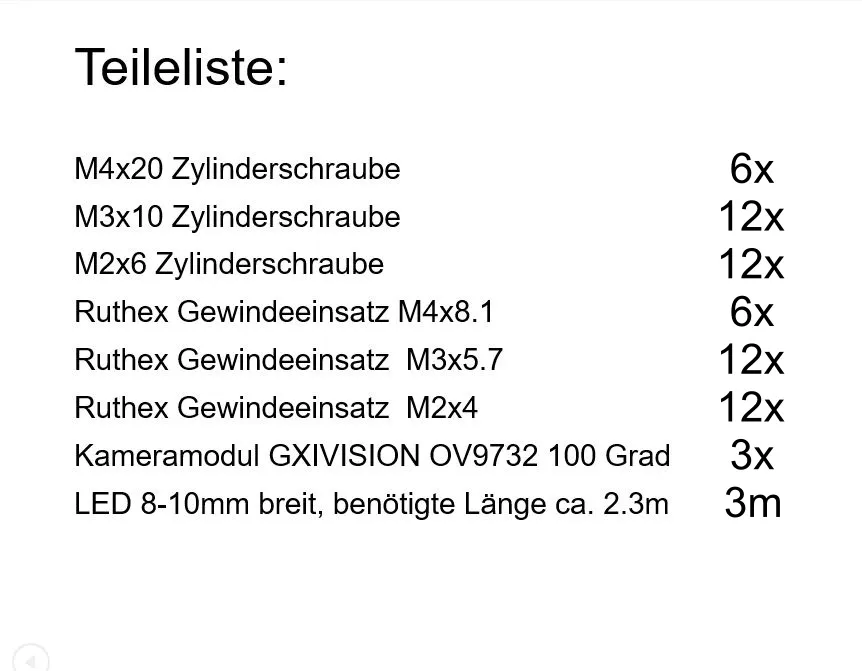
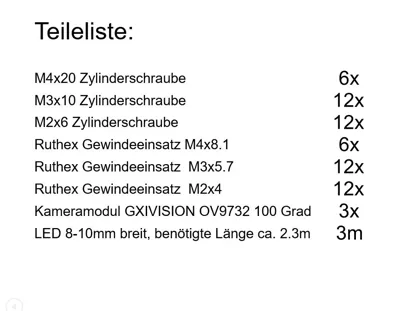
The dimensions of the screws and inserts can be found in the last picture
It is recommended to use OV9732 camera modules with a 100-degree angle, preferably those from GXVISION.
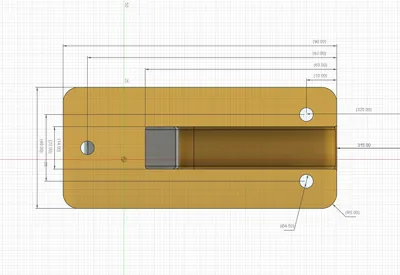
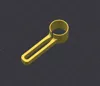
To adjust the focus on the camera lenses, the Camera Tool must be printed, which can be found above in the print profiles
Have fun printing and good darts ;)
Print files:
- complete ring with camera holder
- longer feet +20 and +30mm
- feet without camera holder / light ring only
- adapter for Board of Silence
- camera cover with ventilation slots
Update: - The flat counterbores in the ring parts (M4) have been set deeper
- The bore for the LED strip was placed directly through the light ring into the base, instead of previously
below the ring into the base
- A camera cover with ventilation slots has been added for warm rooms
to provide cooling
License

You shall not share, sub-license, sell, rent, host, transfer, or distribute in any way the digital or 3D printed versions of this object, nor any other derivative work of this object in its digital or physical format (including - but not limited to - remixes of this object, and hosting on other digital platforms). The objects may not be used without permission in any way whatsoever in which you charge money, or collect fees.


Comment & Rating (238)