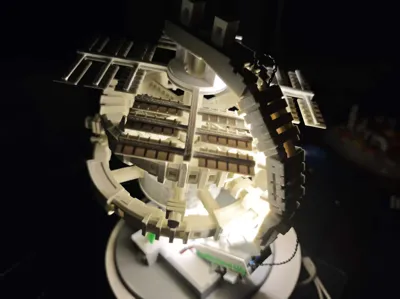
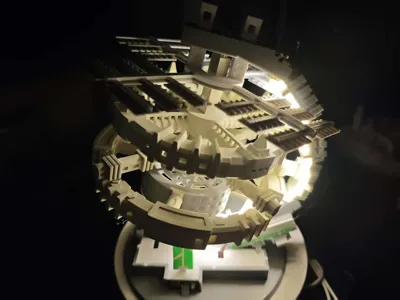
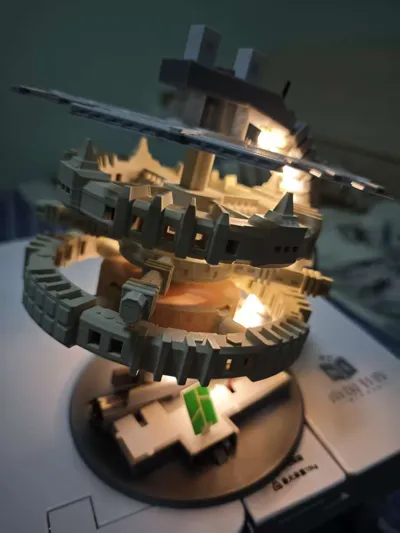
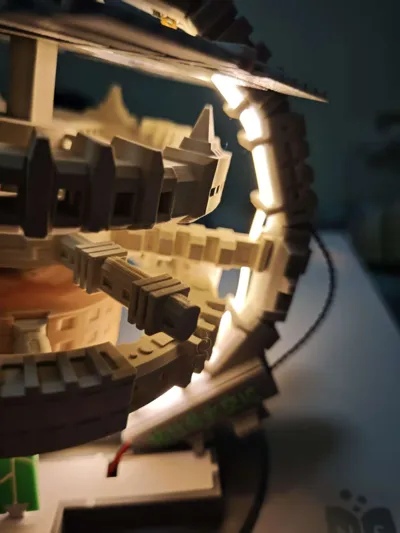
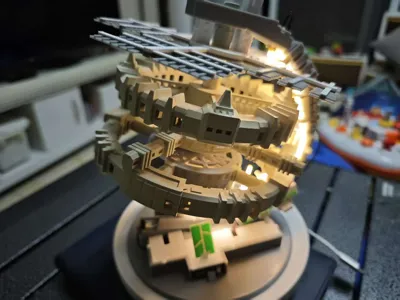
Space City, TuZhu Space Station


Print Profile(2)


Bill of Materials


Description
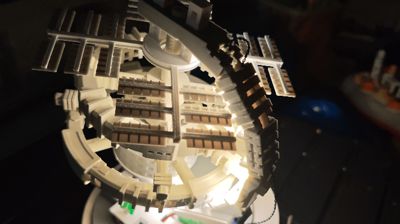
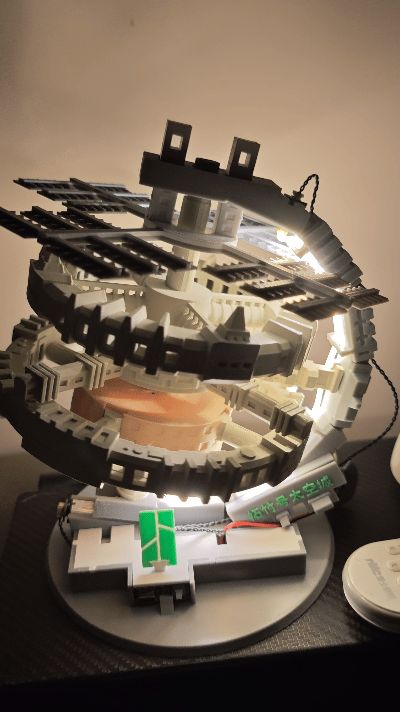
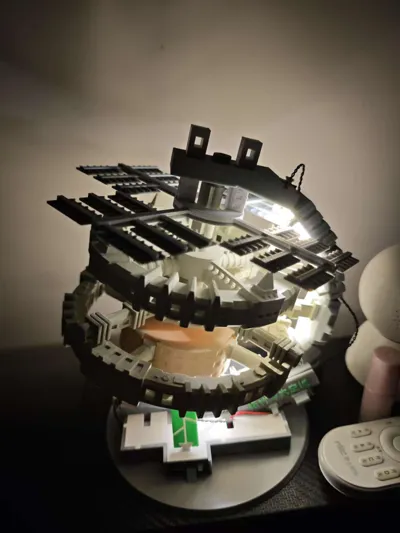
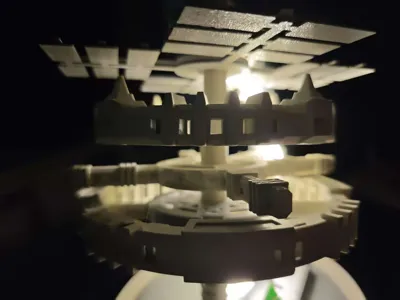
The Tuozhu Space Station is a magnificent architectural marvel of the future, ingeniously designed to redefine human life in space. The entire station comprises four levels: a high-efficiency solar power generation zone, a compact annular commercial zone, a spaceport zone, and a large annular residential zone. This design not only showcases humanity's pursuit of clean energy but also provides an ideal setting for commerce and daily life.
The commercial and residential zones utilize a coaxial counter-rotating system. Centrifugal force cleverly simulates gravity, creating a comfortable and habitable environment while maintaining efficient internal station operation. This technology demonstrates human engineering innovation in deep space and provides crucial insights into the feasibility of future interstellar migration.
Each level's design seamlessly blends science and art, reflecting humanity's unwavering pursuit of exploration. This space station stands not only as a technological monument but also as a beacon of hope shining across the cosmos.
Now, assemble the model according to the images. Please assemble in order; otherwise, the model may be damaged


1 Assembling the Electronic Components
Lacking a dedicated Tuozhu rechargeable battery kit, I used the battery and switch from a powered kit (the kit's motor was unused due to its high speed). However, the kit's mainboard output is 1.5V, so I used a 1.5V to 1.0V connector to connect to a 1.0V to 2.0V module, then used a 2.0V connector to connect to the distribution board.
This step is indeed unusual. If you're not fixated on rechargeable functionality, a USB-to-2.0V cable or a battery kit is recommended; both have 2.0V outputs that directly connect to the distribution board.
Meanwhile, I urge Tuozhu to release a rechargeable kit! (The 1.0V to 2.0V module isn't even sold in China; Taobao has similar ones).
Connect the distribution board to the low-speed motor and COB light strip using a 1-pin connector as shown in the image above. Ensure the wiring precisely matches the image.
Turn on the switch and observe if the light strip and motor function correctly.
This completes the electronic component assembly.

1.2 Two Alternative Power Supply Methods


2 Model Assembly
First, insert the distribution board into the square slot on the bracket.
Then, route the 1.0V cable through the outer channel of the bracket upwards.
Route the COB light strip through the outer hole of the bracket to the inner side, passing through the inner channel downwards.
Connect the 1.0V cable and light strip interface at the top of the bracket.

Tidy the wires in the slot and close the lid.

Insert the bracket into the base.
 Insert the large ring residential zone into the inner ring gear. Check if the surfaces of the upper and lower protrusions of the main shaft and the bracket contact points are smooth. Lightly sand if necessary.

Then, as shown in the image above, sequentially insert the large gear, large ring residential zone, port zone, small ring commercial zone, and power generation zone onto the main shaft.

Insert the side-mounted motor into the main shaft, paying attention to the interface shape.


While inserting the main shaft into the bracket, insert the port zone and power generation zone slots into the bracket. Insert the motor into the bracket slot.
Exercise caution during this step. Ensure the bracket is not damp or printed using inferior material.
Ensure the bracket possesses a degree of flexibility to facilitate installation.
Then, organize the electronic components into the recesses in the base and close the lid.

Final Step—Crucial! Ensure this is the final step. If disassembling, this must be the first step.
Insert the small gear into the threaded stud, then screw it into the threaded hole of the bracket.
This operation can be performed with the model inverted for easier installation. Then adjust the gear position to mesh with the inner and outer gears.
This completes the model assembly.

License
You shall not share, sub-license, sell, rent, host, transfer, or distribute in any way the digital or 3D printed versions of this object, nor any other derivative work of this object in its digital or physical format (including - but not limited to - remixes of this object, and hosting on other digital platforms). The objects may not be used without permission in any way whatsoever in which you charge money, or collect fees.
Comment & Rating (17)