
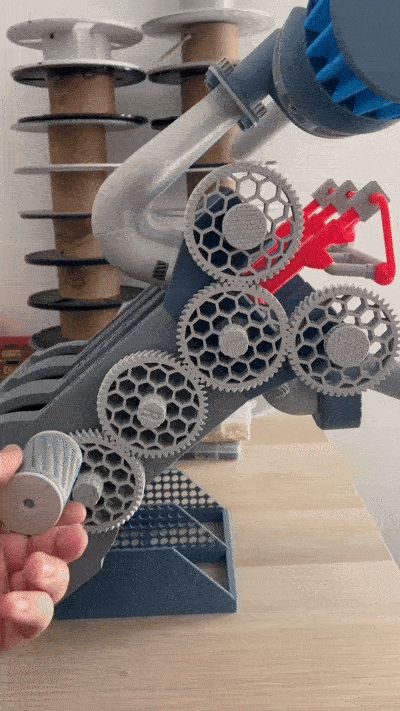
3-cylinder diesel engine with a turbocharger

Print Profile(1)

Description
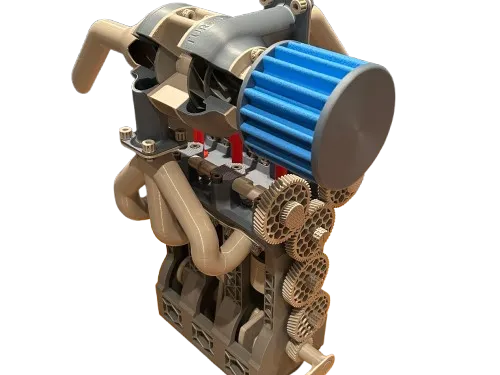
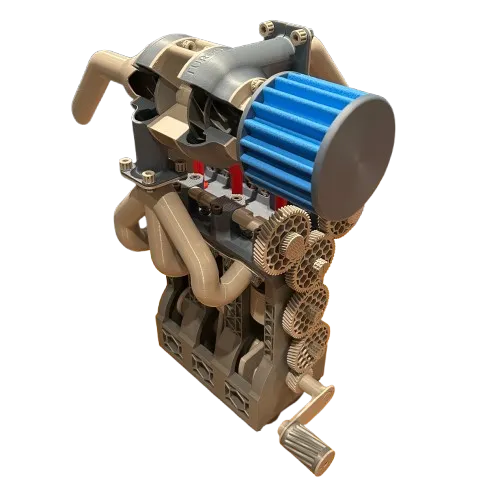
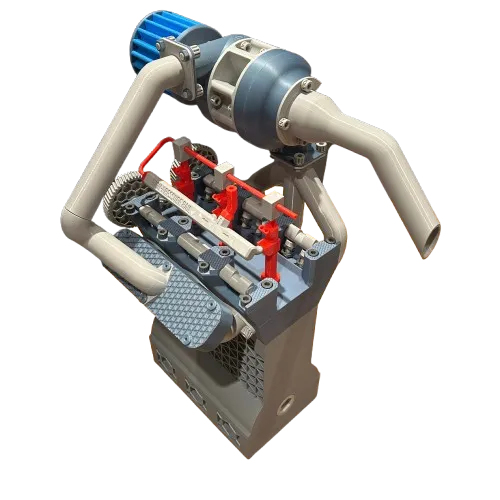
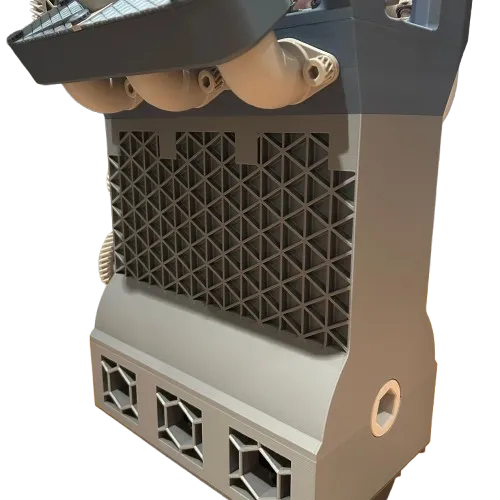
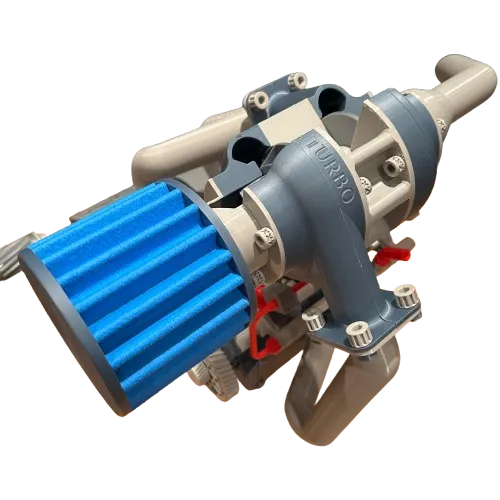
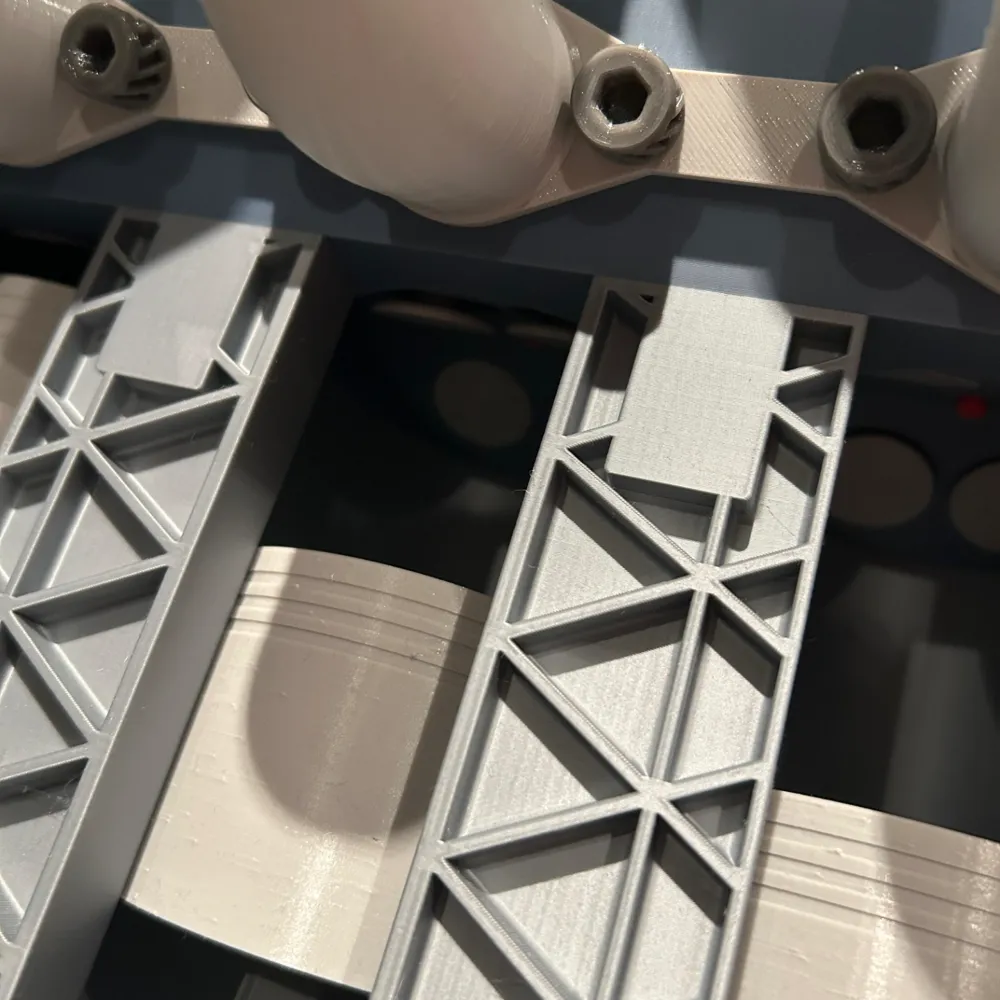
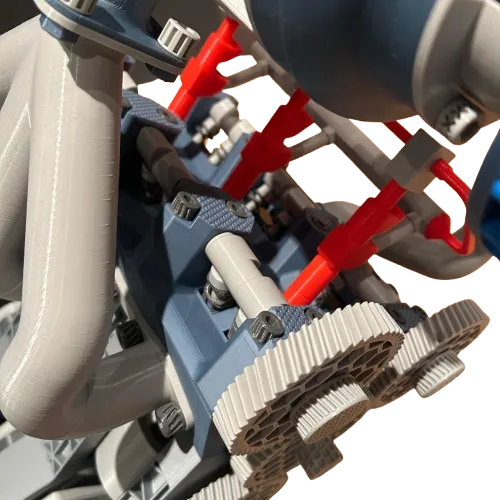

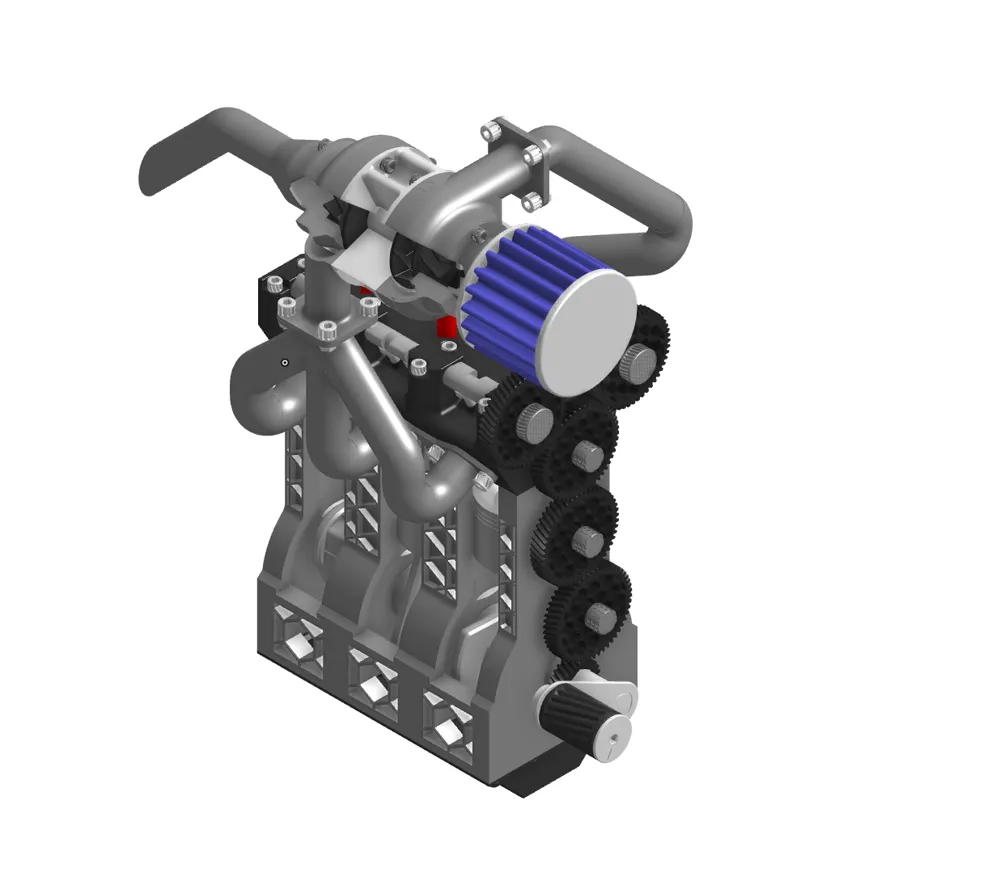
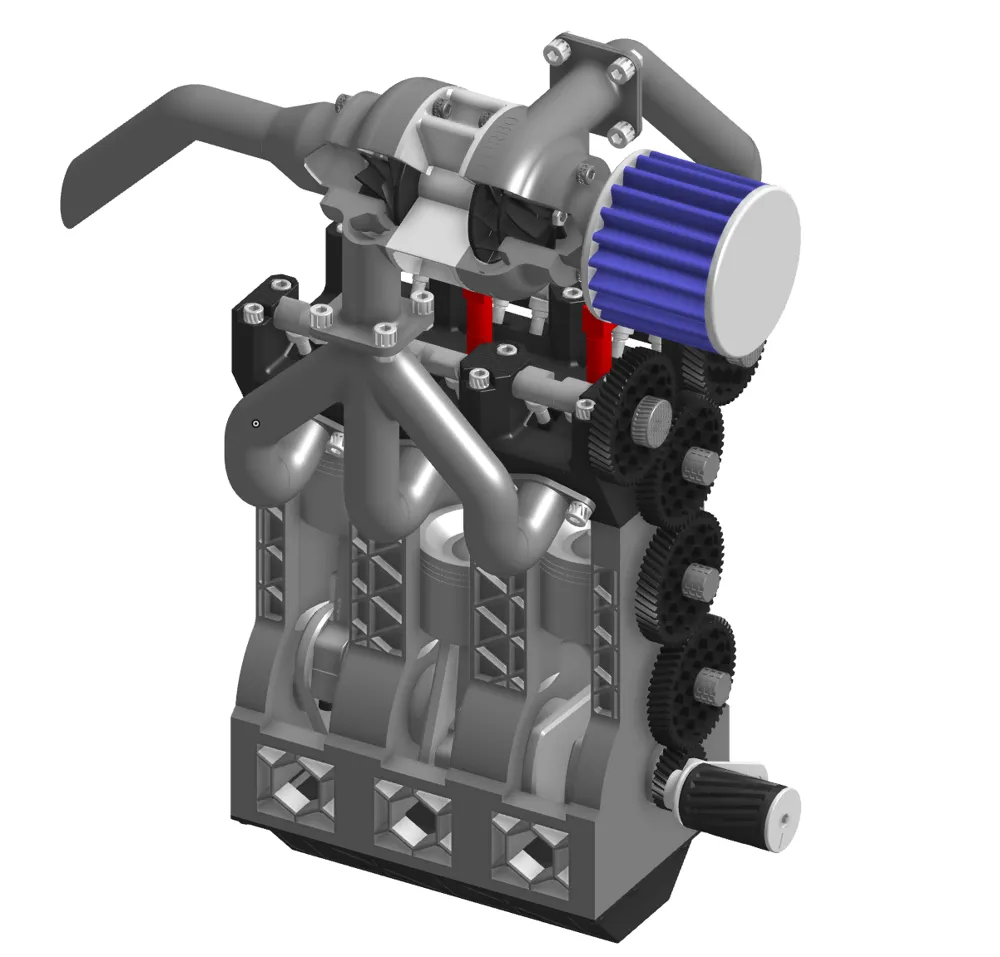
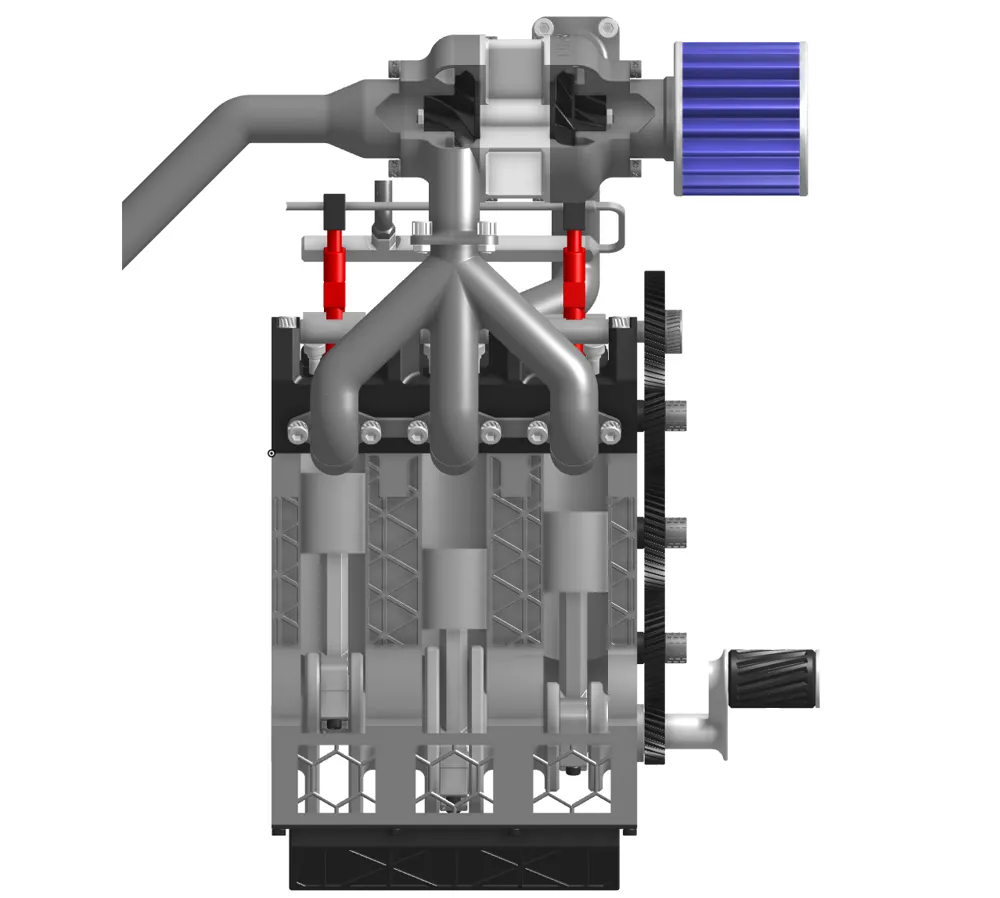
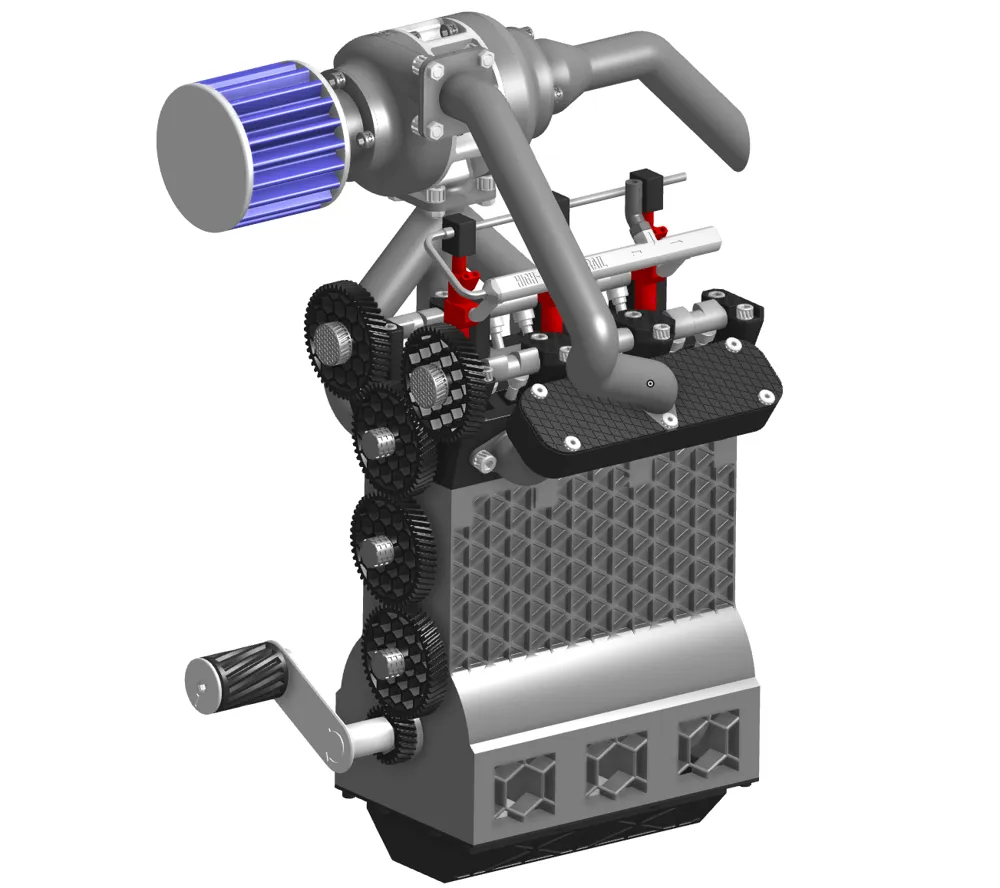




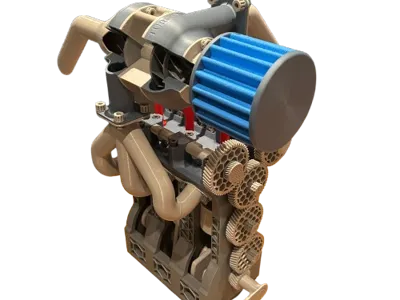
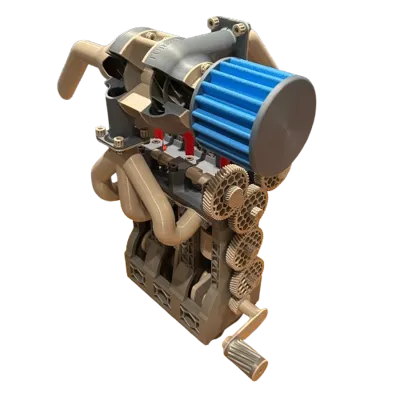
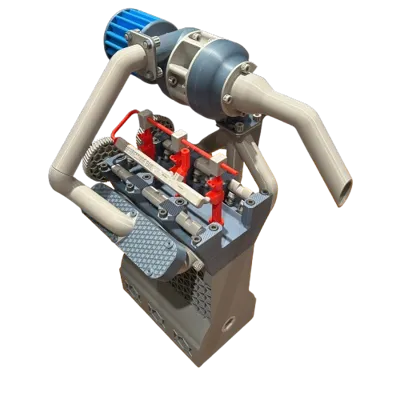
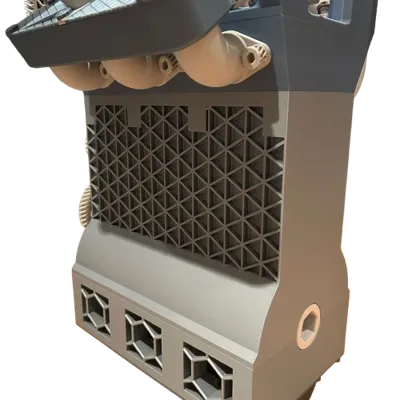
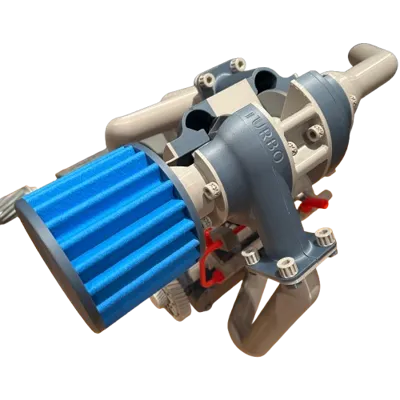
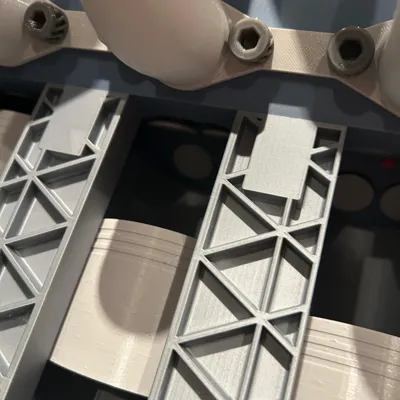
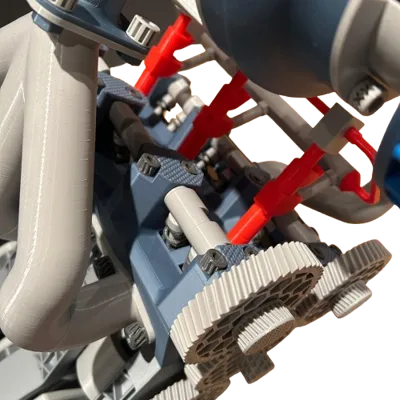
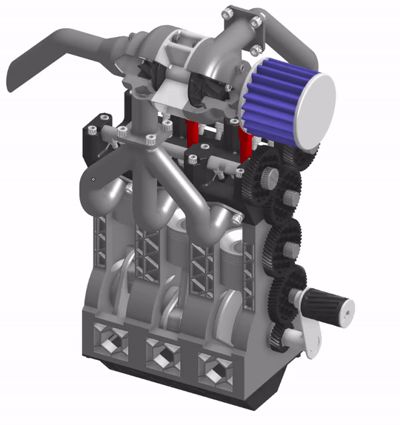
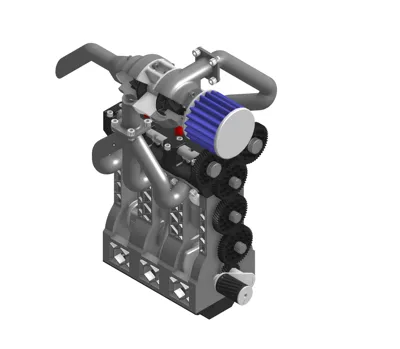
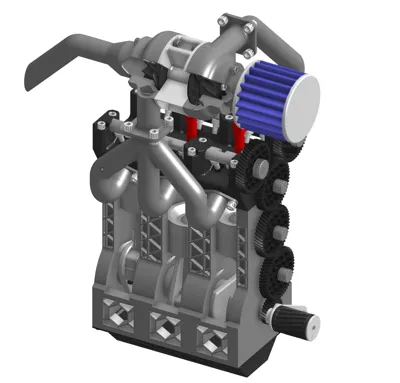
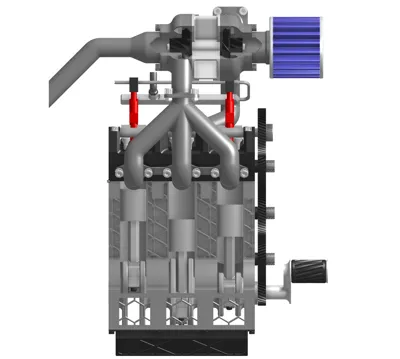
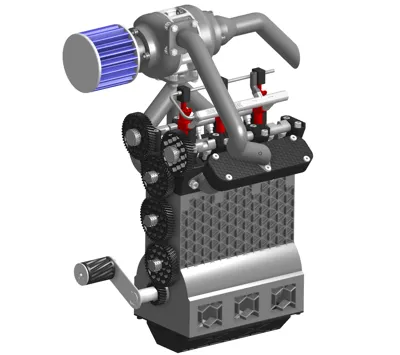
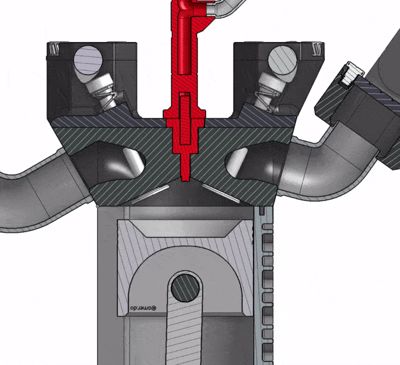
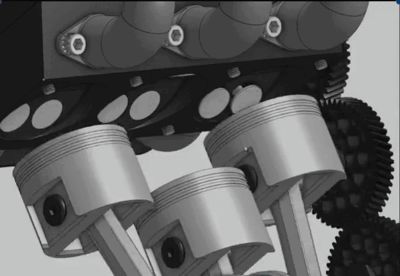
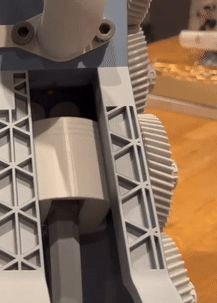
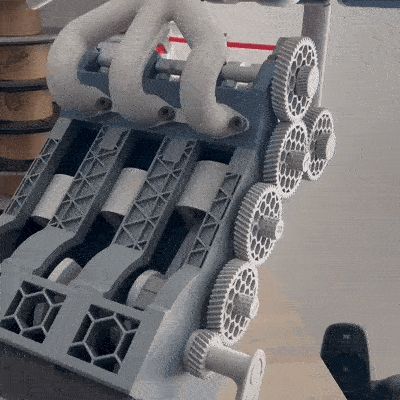
I have designed a 3-cylinder diesel engine with a turbocharger iin the DOHC configuration.. The engine features a functional valvetrain with two camshafts – one for the exhaust and one for the intake. There are 12 valves in total. The camshafts are driven by a helical gear mechanism. The model is manually operated using a hand crank. Both the engine block and the turbocharger have an open design to make the internal components visible. The turbocharger can be spun by hand or finger.
This is a self-made design. Due to my strong interest in cars and their underlying technology, I created this engine entirely by myself. I also drew several details, such as the filter and fuel system.
All engine parts can be fully 3D-printed (including the springs for the valvetrain). Only a small amount of glue is needed for some connections.
Dimensions in the sketches
All dimensions are given in millimeters (mm).
About the Print Settings:
I exclusively used PLA and PETG for printing. All mechanically stressed parts, such as the crankshaft, camshaft, pistons, and piston pins, are made from PETG. This ensures higher stability and abrasion resistance.
All screws in the model are also 3D-printed and made of PETG, as this material is more flexible and less brittle than PLA.
I only used supports where absolutely necessary, such as for the oil pan.
About the Layer Heights:
All parts were printed with a layer height of 0.20 mm. The only exceptions are the screws and all parts with external threads – I reduced the layer height to achieve higher precision. For threaded parts, I generally used a layer height of 0.16 mm or smaller.
About the Print Speed and Bed Temperature:
Since the engine block and cylinder head are relatively large parts, I deliberately kept the bed temperature low to prevent warping. Additionally, I used an adhesion aid – in my case, 3D spray. The print speed was limited to a maximum of 120 mm/s to minimize thermal stress on the part and ensure consistent layer adhesion.
Note on Printing the Filter:
You need to activate the "Fizzy Skin" option for external surfaces in the print settings to achieve the same texture as shown in the pictures.
Edit 28.10.2025:
I’ve added the stand file later as a STEP file. Just click on Download STL File, and you’ll see the option to download the stand.
Boost Me (for free)
Documentation (1)
License



Comment & Rating (19)