
The Ultimate Drumstick Holder (Pad, Drums, eDrums)
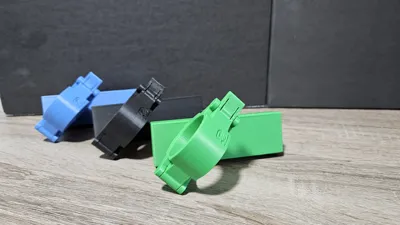
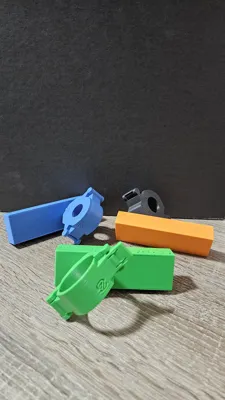
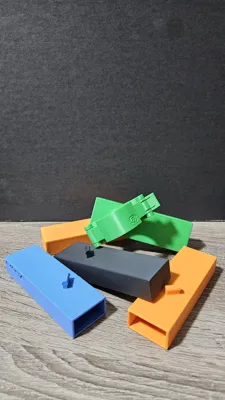
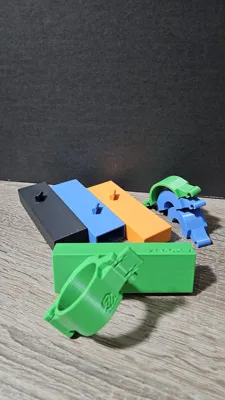
Print Profile(4)


Description
Boost Me (for free)
🚀 A BOOST is the spark powering my 3D projects and designs! 🚀 It costs you nothing, but your support keeps my creativity thriving. Deep thanks for your backing! 💪
Enjoyed this? Like 👍 and ➕ Follow for more designs from ZeroDev
Upgrade Alert!
this release is now deprecated use the latest one instead: Ultimate Drumstick Holder V3
Hello, fellow drummers! Thank you for your interest in this design.
Your feedback has inspired a significant redesign of the holder. After over 40 hours of work,
I’m excited to introduce the new version with the following features:
- 100% hardware-free
- Universal clamp (19-38 mm)
- 360° adjustable
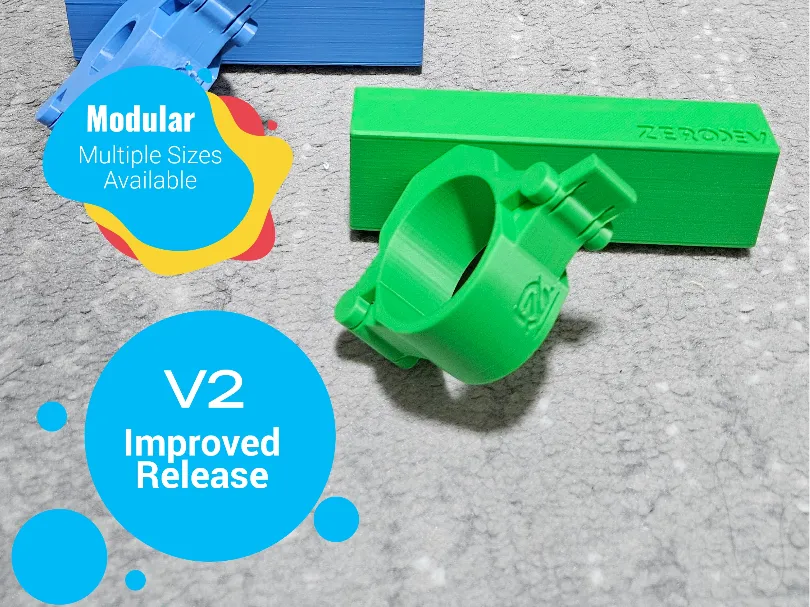
- Modular design with 6 shapes
- Supports 2 holders for maximum versatility!
Your input made this possible, so print and share! Check it out:
Ultimate Drumstick Holder V3.
Ultimate Drumstick Holder: Simple, Smart Storage for Drummers
Tired of losing drumsticks during practice?
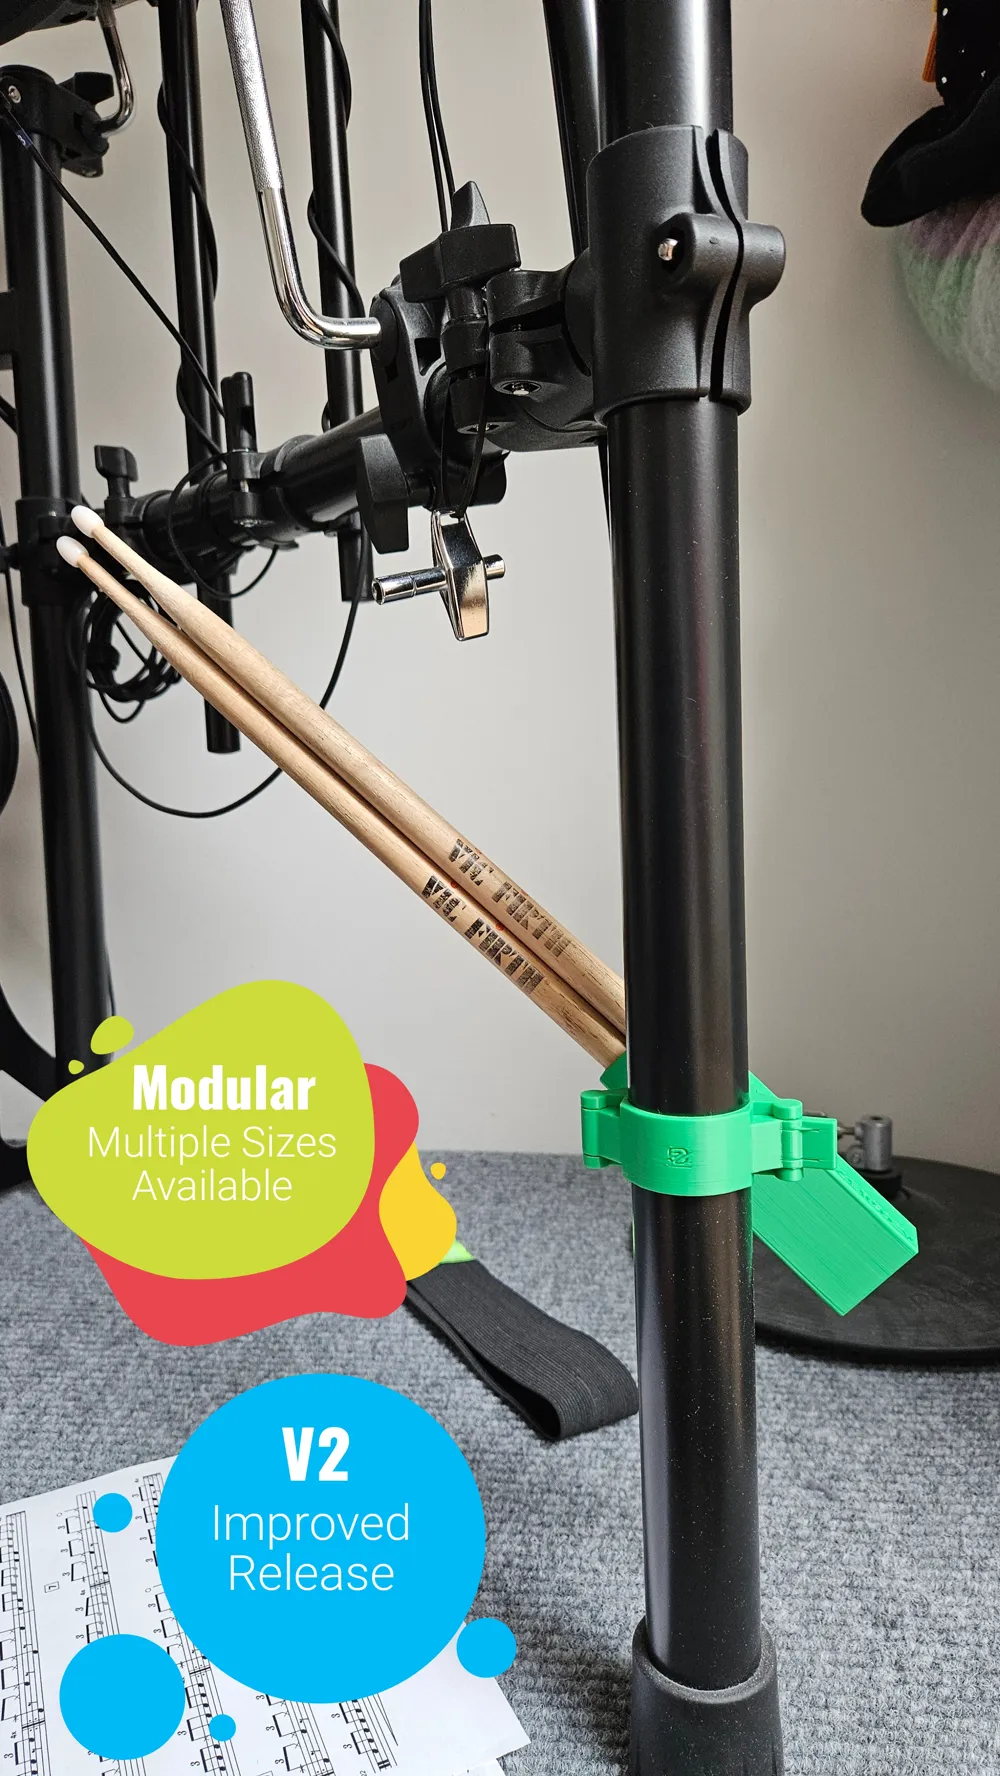
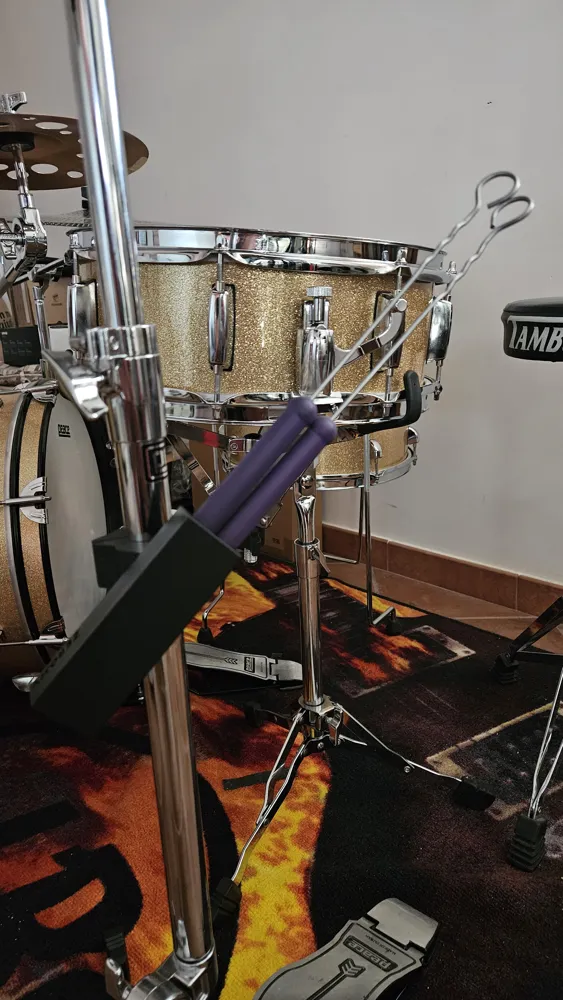
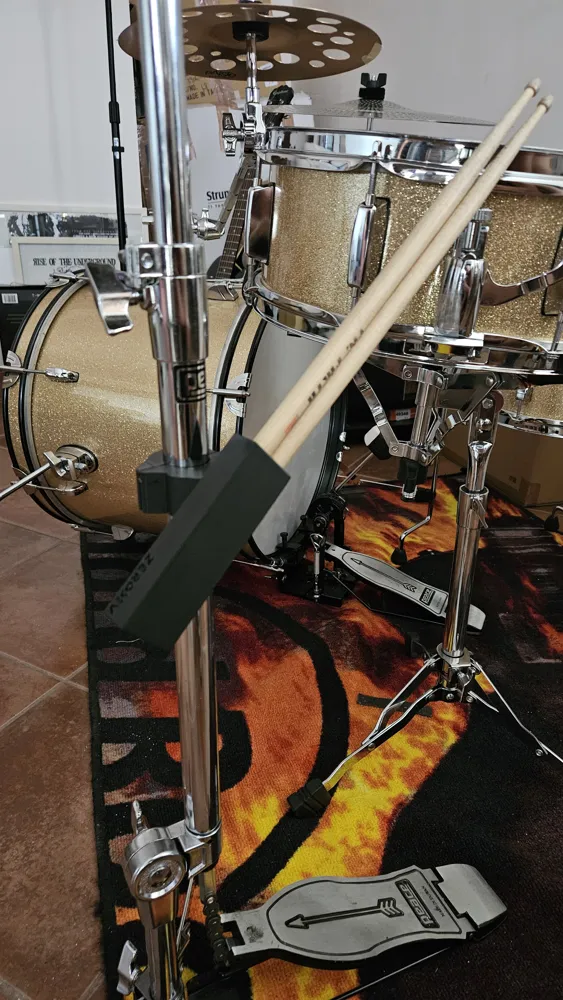
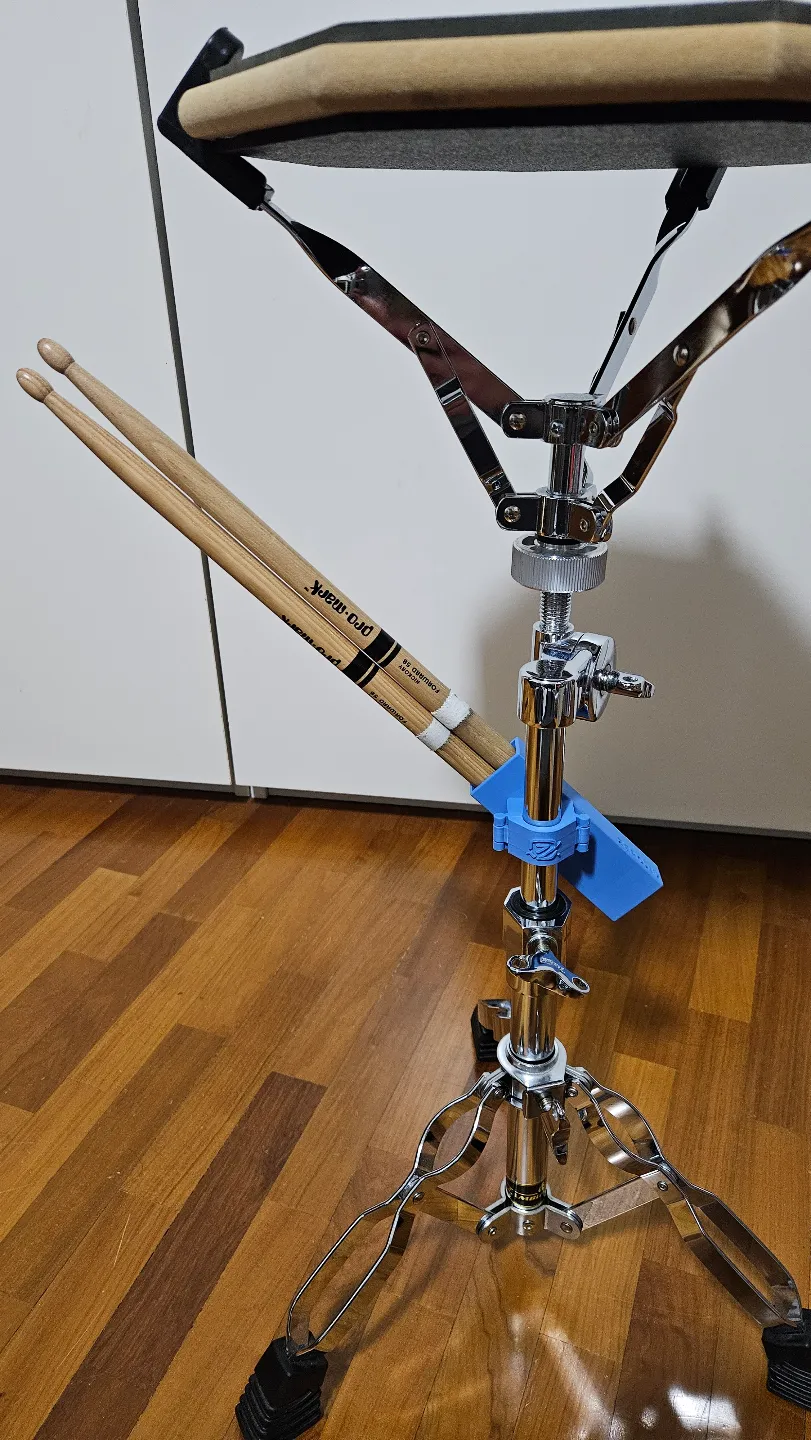
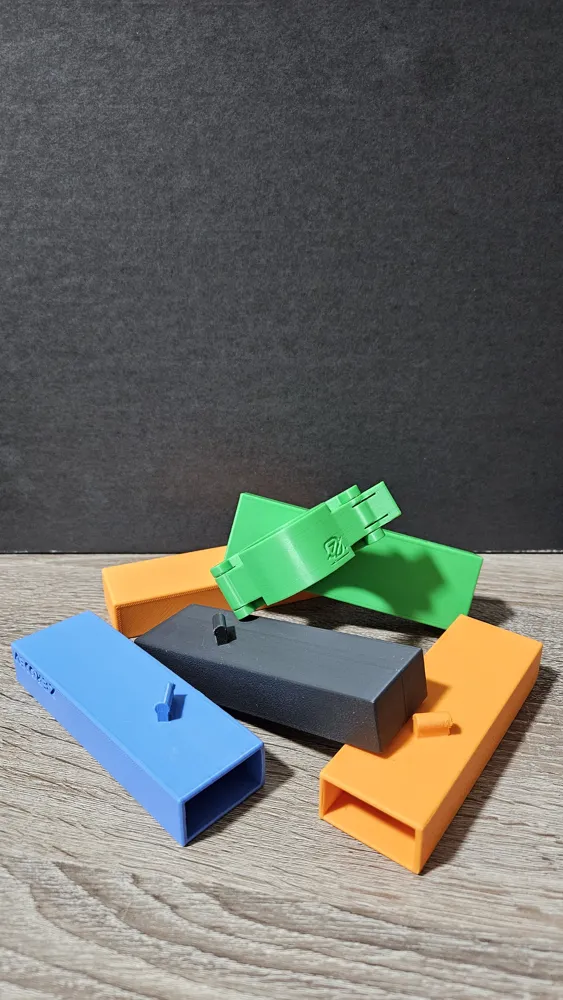
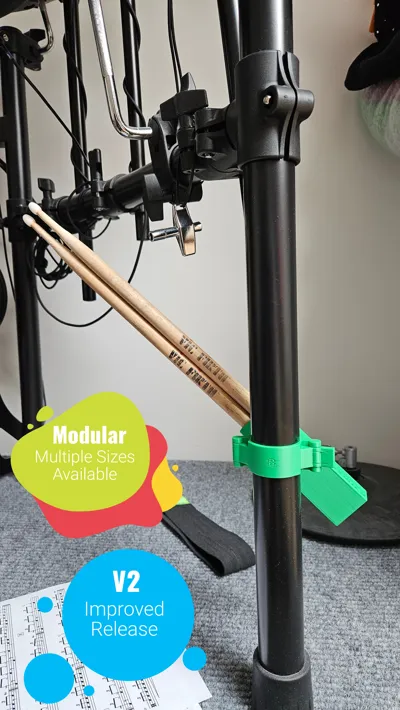
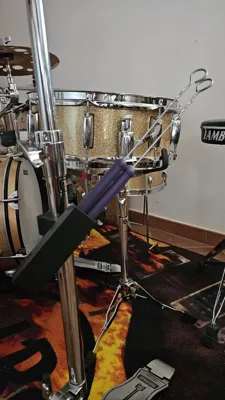
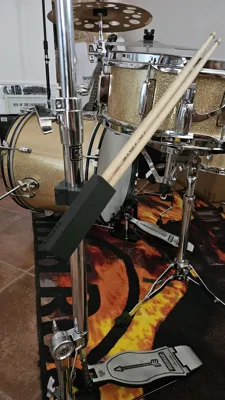
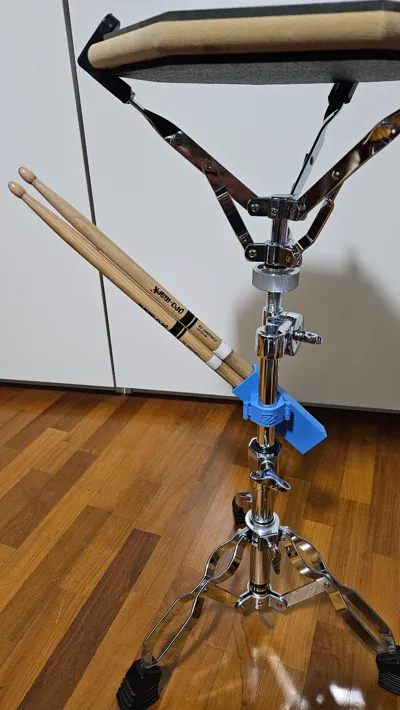
The Ultimate Drumstick Holder clips easily onto acoustic drums, e-drums, practice pads, or cymbal stands.
It's 100% 3D-printable, fully customizable, and holds sticks at a 45° angle for quick access.
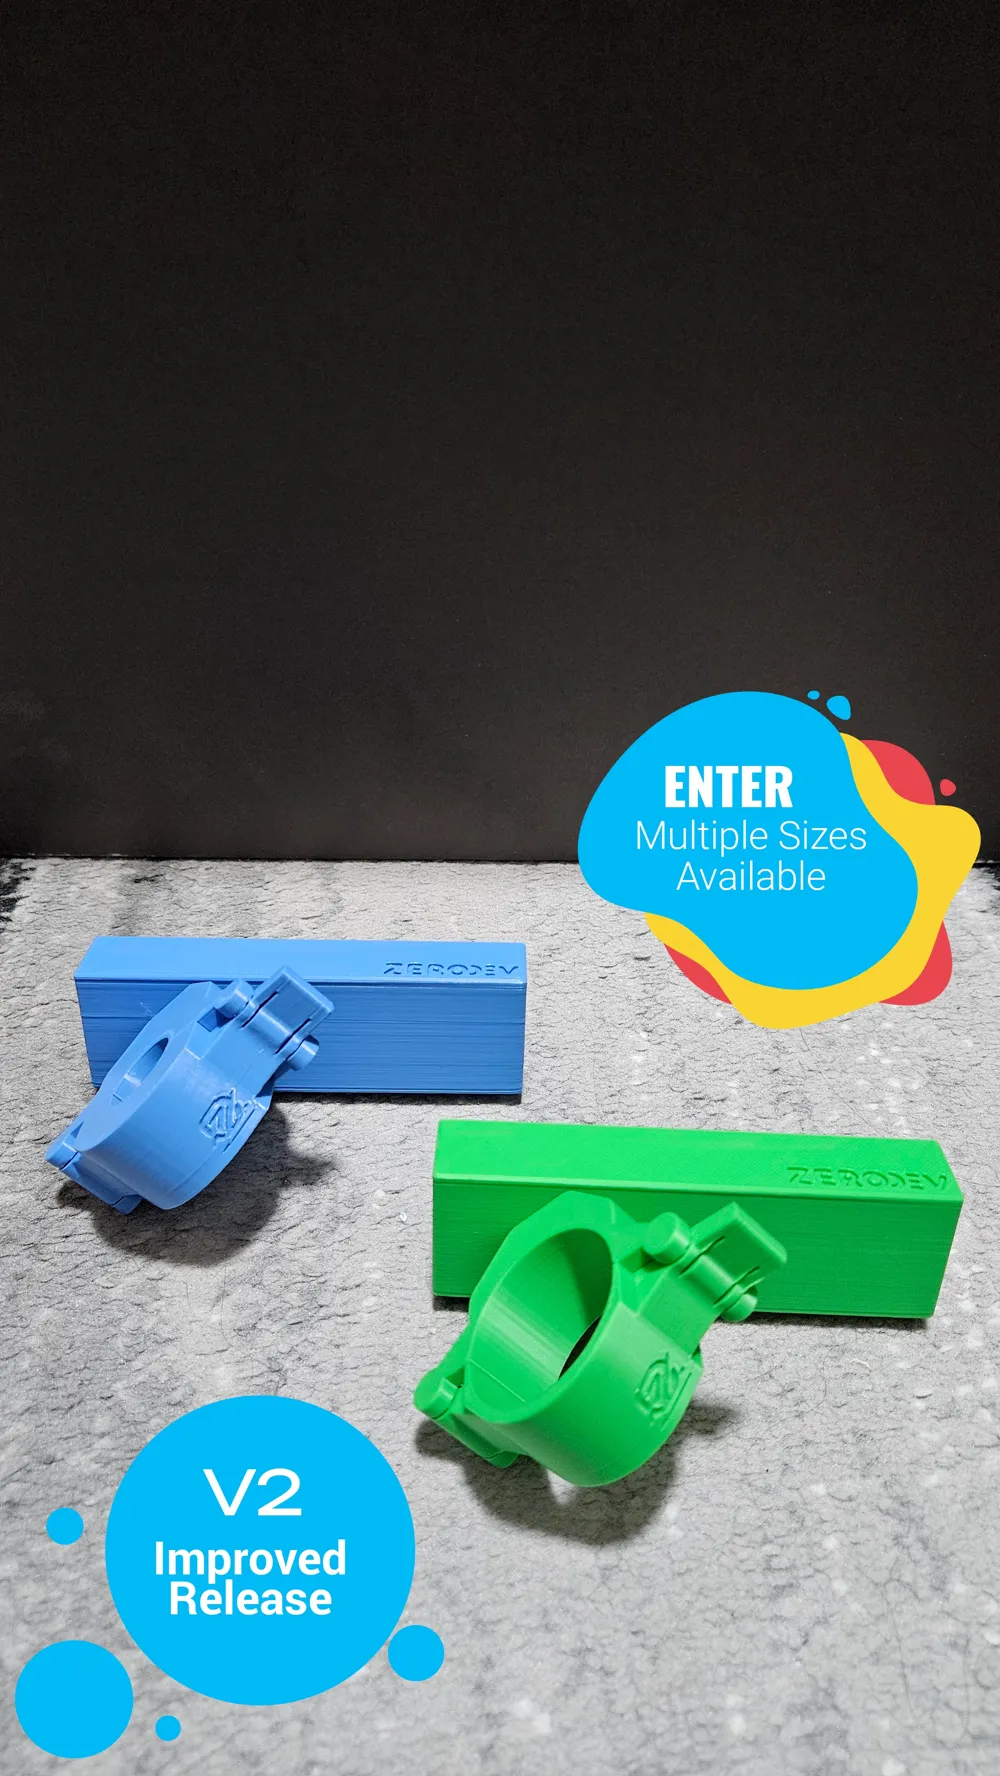
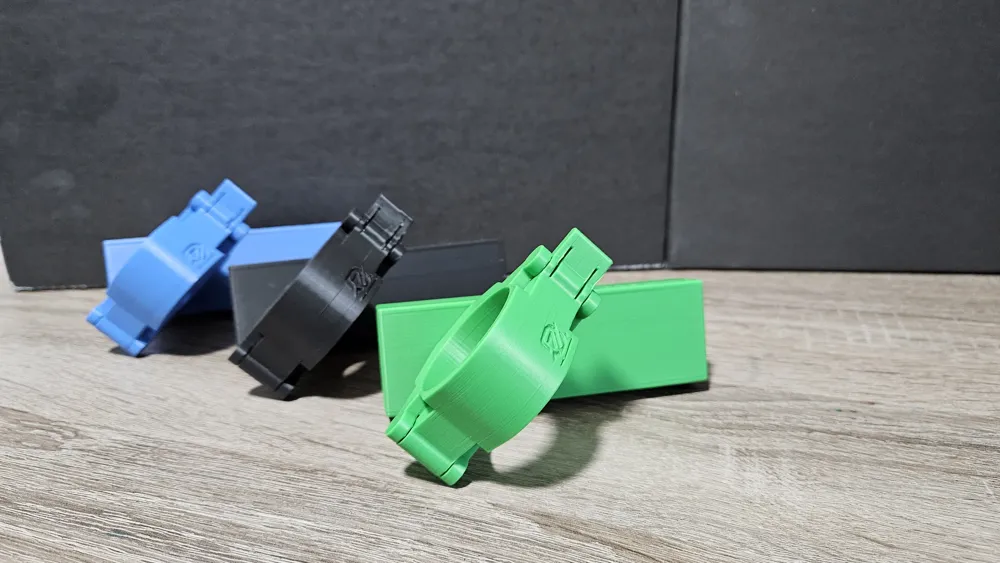
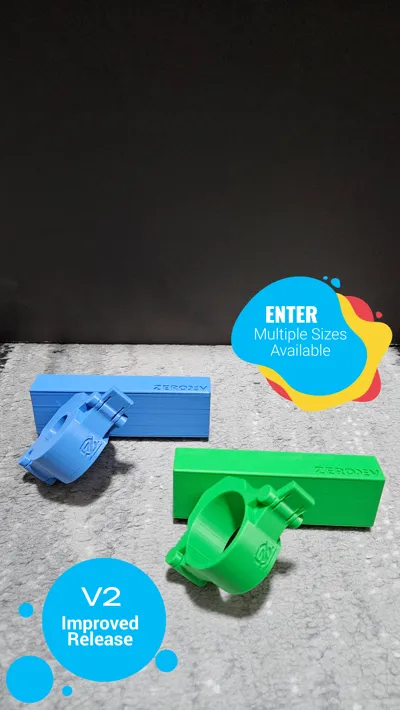
Pick from two clip types: mechanical for a strong snap, or magnetic for easy open/close.
Both work with hardware sizes Ø19 mm, Ø22 mm, Ø25 mm, Ø28 mm and Ø38 mm (approximate fits).
Print it, clip it, and enjoy smoother sessions!
Why Choose It
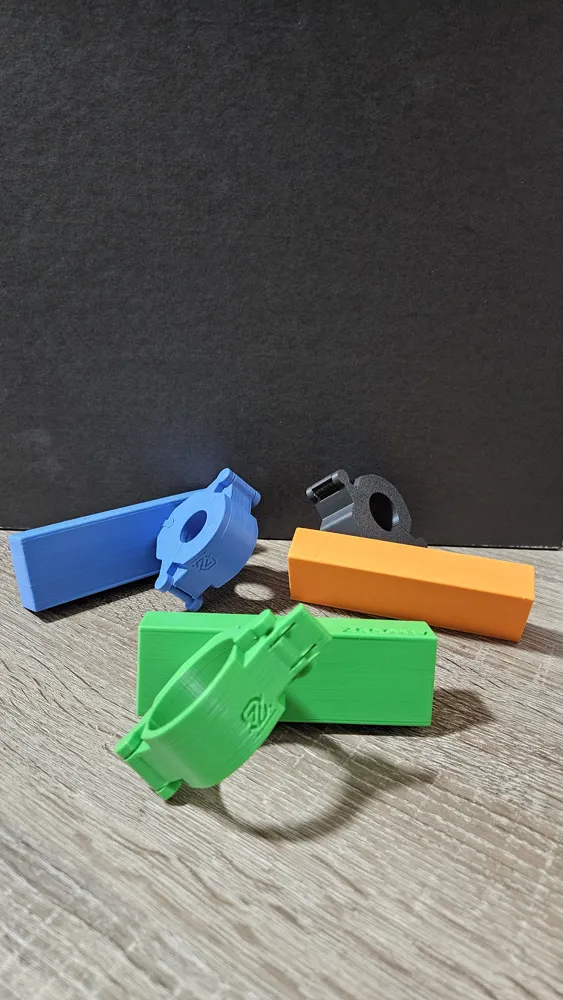
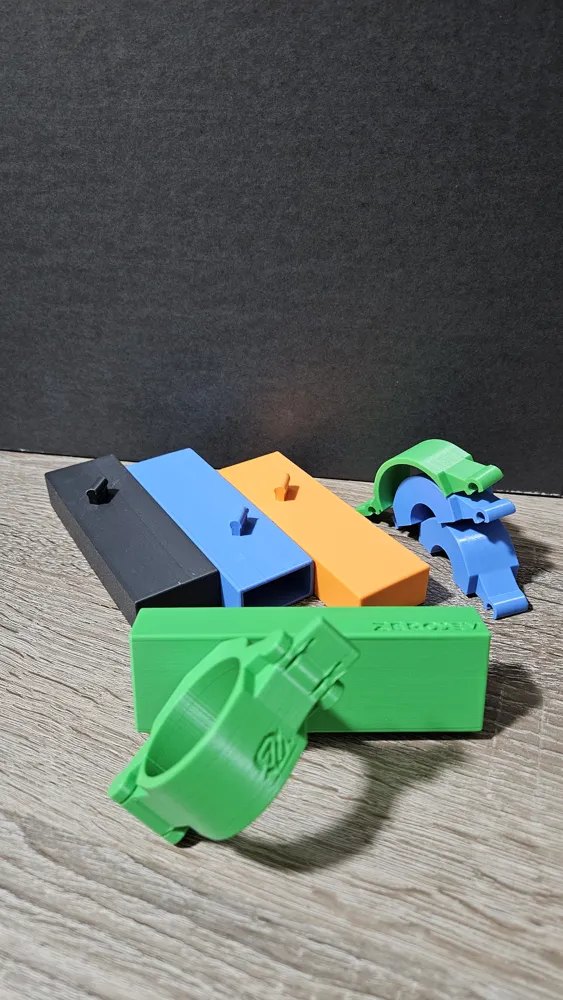
Modular parts let you mix adapters and holders for a perfect setup. Holds 1 or 2 pairs of sticks
(sizes 7A, 5A, 5B, 2A, 2B). No tools, glue, or extras needed: just print and use.
Swap colors or experiment freely.
Key Features
- Clip Options: Mechanical (firm hold) or magnetic (quick access) – both in all sizes.
- Modular System: Use ready presets or mix your own parts.
- Fully Printable: No other materials required.
- Stick Storage: Single or double pairs, angled for easy reach.
- Fits Most Gear: Compatible with common sizes listed above.
Plate Options: Easy Print Presets
Each plate is a single file with adapter, holder, and clip (mechanical or magnetic). Great for quick starts,
but you can print parts separately to customize. Available in single or double-pair versions.
| Adapter Size | Best For |
|---|---|
| Ø19 mm | Practice pads |
| Ø22 mm | Upper hi-hat stands |
| Ø25 mm | Drumkit, cymbal, or hi-hat stands |
| Ø28 mm | Drumkit (e.g: Tama) |
| Ø38 mm | E-drums (e.g., Roland V-Drums) |
Printing Tips
- Cool parts fully before assembly.
- Loosen stiff hinges by opening/closing a few times.
- Print with supports in PLA-Matte or PLA+.
- Choose "with magnets" profile for magnetic clips.
Updates (Changelog)
- Smoother hinge design.
- Added magnetic clip option.
- New double-pair holder.
- Better size fits for hardware.
- Old V1 version retired – use this one!
Assembly Instructions:
Always allow parts to completely cool down before assembling them.
If, once assembled, hinge is difficult to operate just open and close it several times until it has sanded itself down.
Gently remove all print supports ( using a plier is suggested )
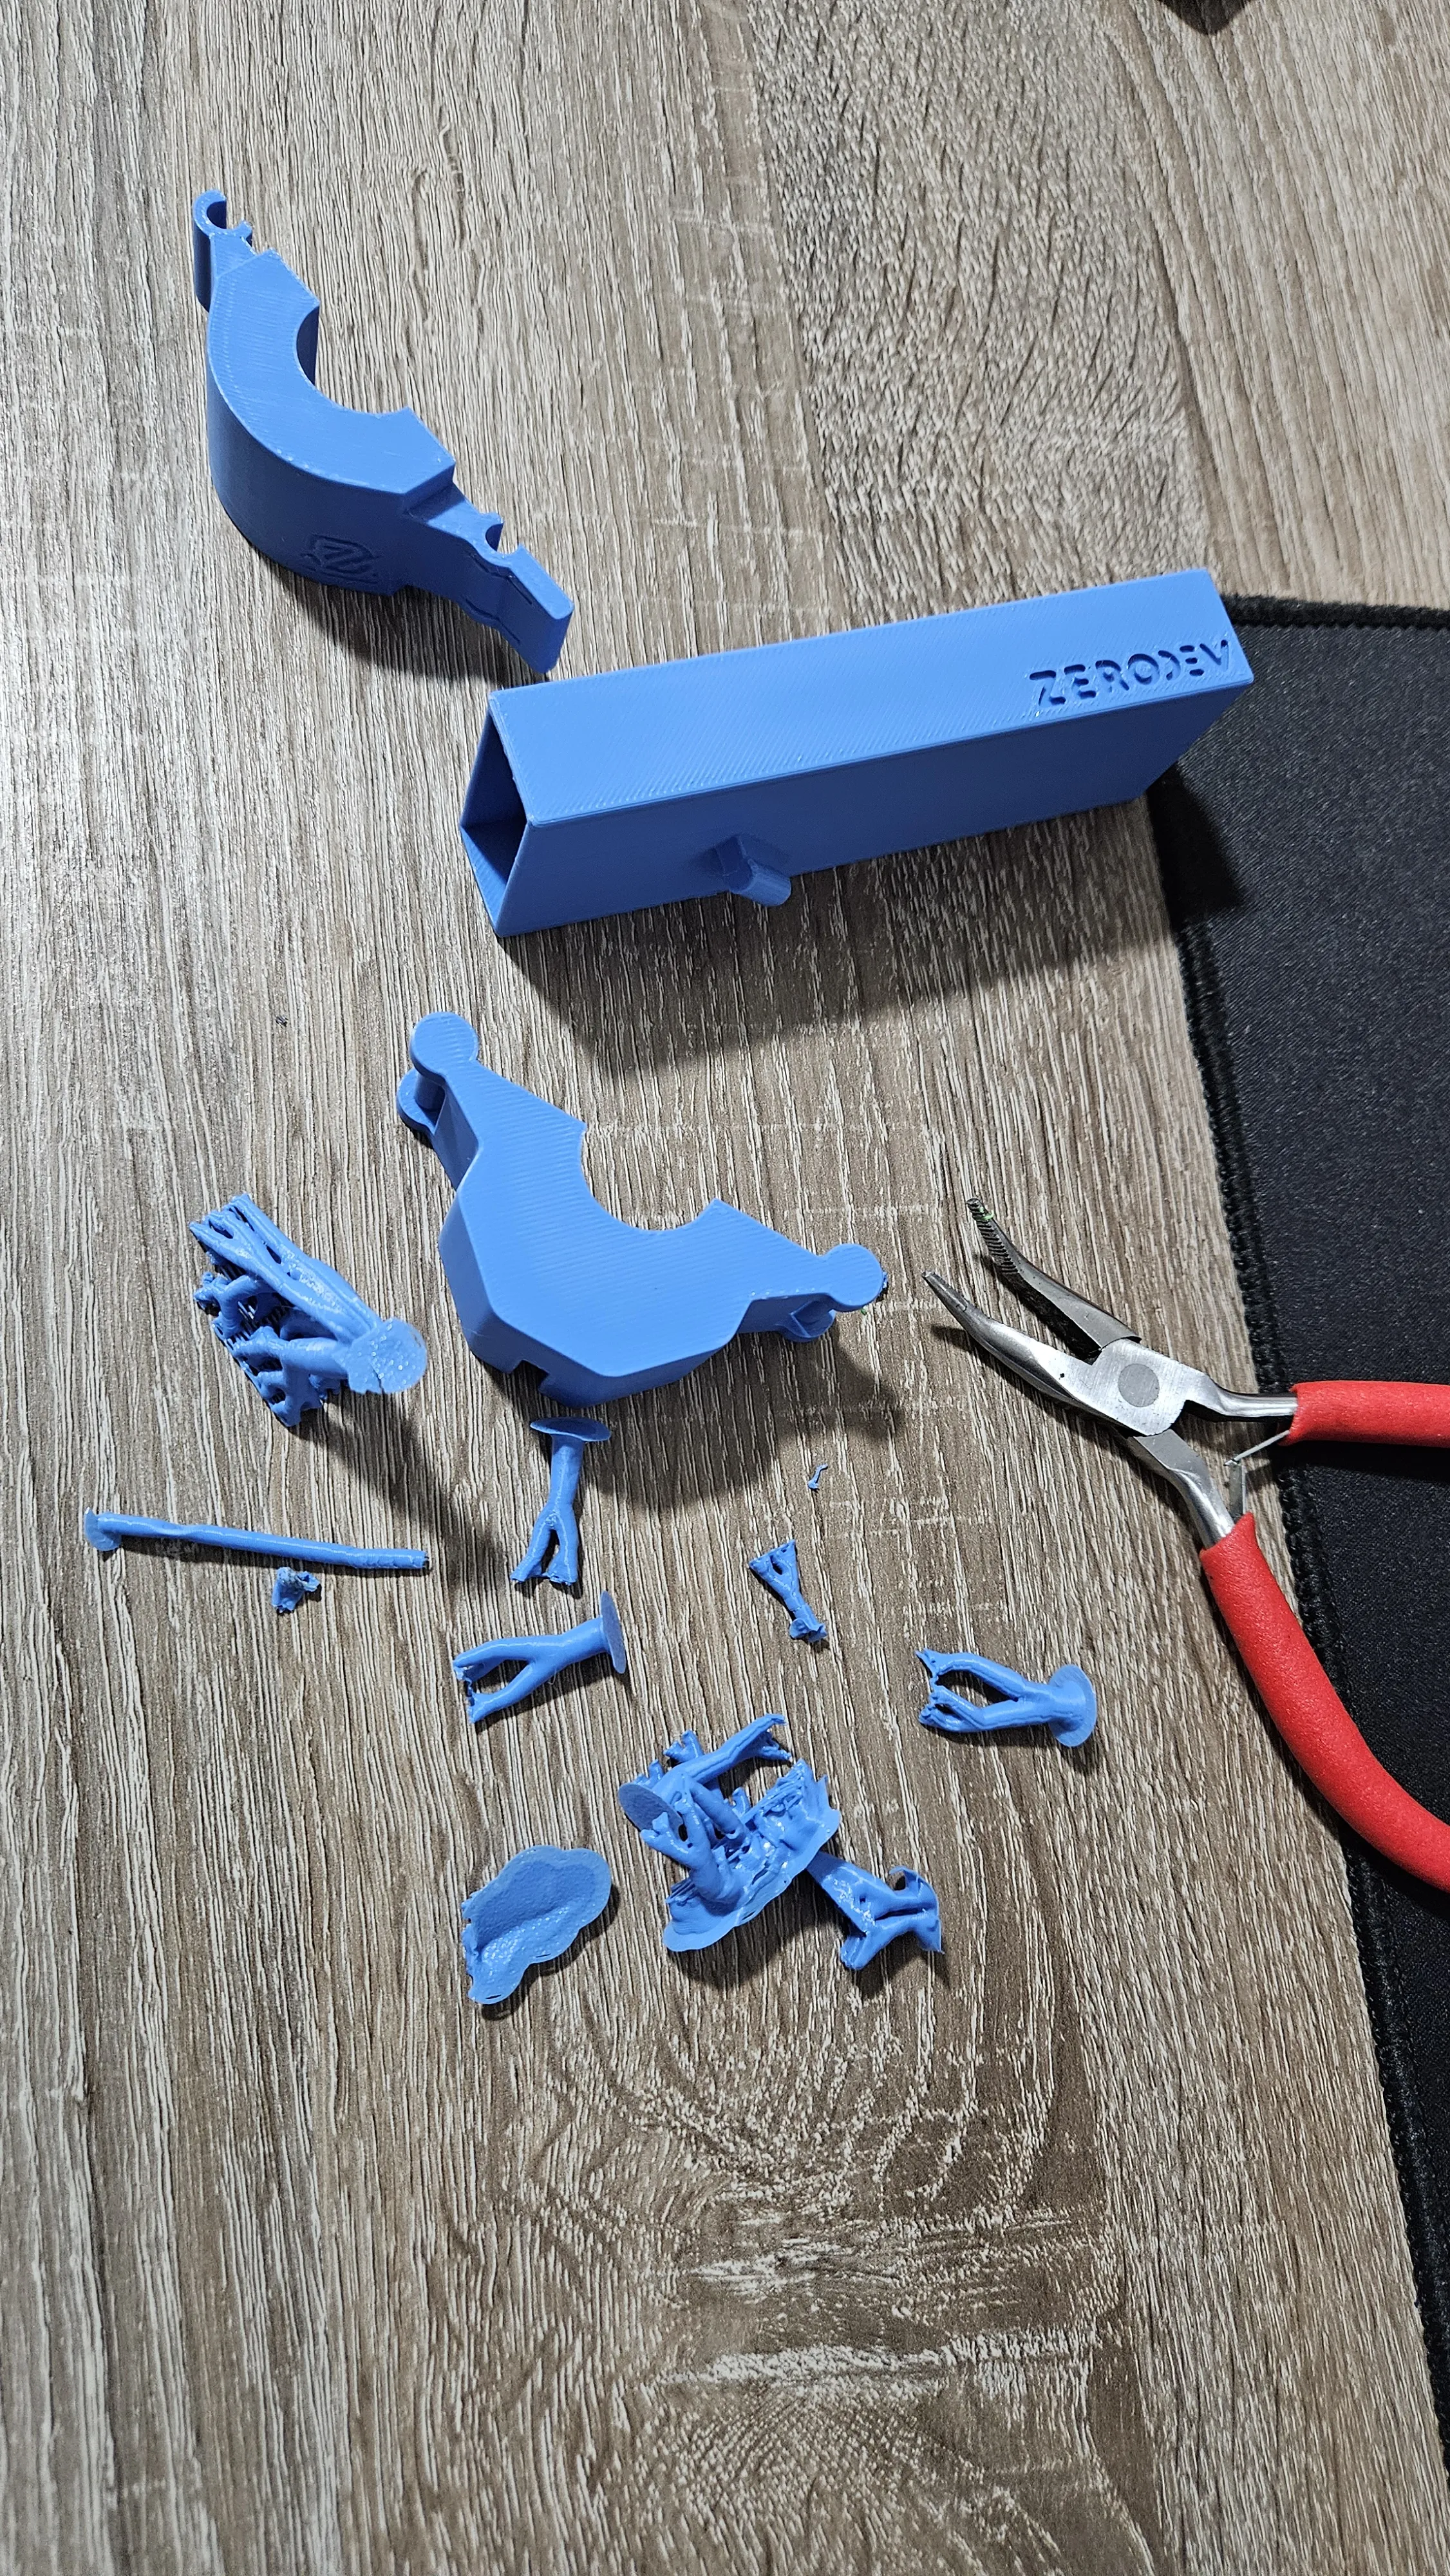
Assemble the back part ( push until it clicks )

Assemble the front part ( push firmly until it clicks )

Open and Close:
Open: Gently pull the tab on the right part and pull
Close: Align the hinge then push the tab until it clicks

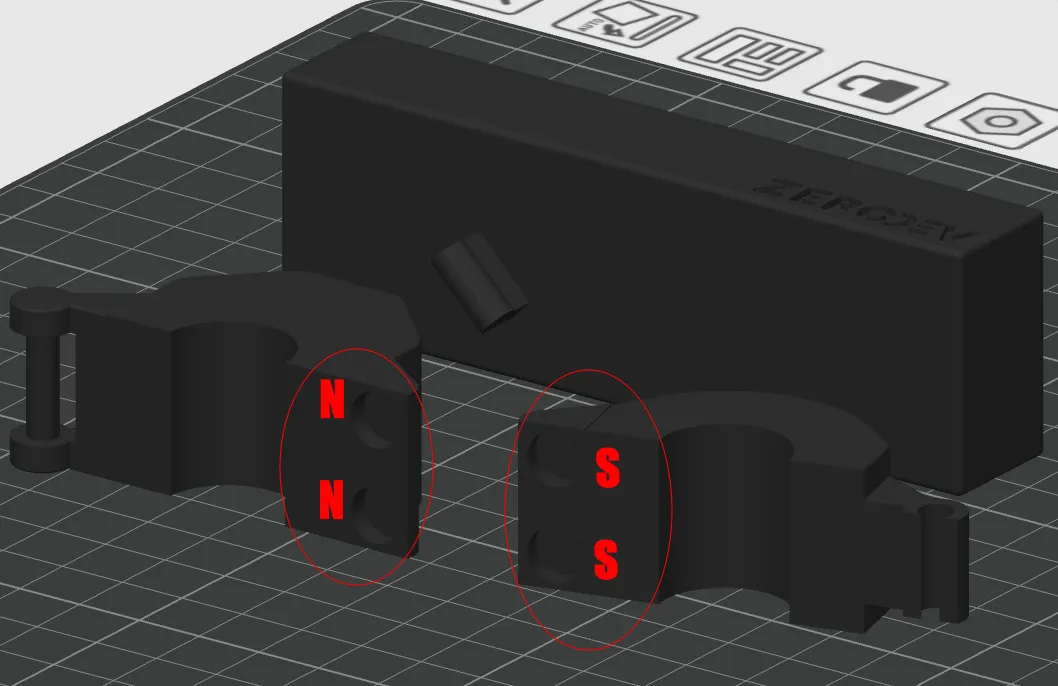
Additional Step for Magnetic Clips:
If using the magnetic version, install the magnets after printing:
- Orient them with North and South poles facing each other (as shown in the diagram below).
- Secure each magnet in place with a small drop of acrylic glue.
COMMERCIAL LICENSE NOTICE
This design is protected under the Standard Digital File License,
Commercial usage, including selling printed versions or derivatives, IS NOT PERMITTED without my prior written consent.
For licensing inquiries or permissions:
Thank you for respecting my work! | 
|
Enjoyed this? Like 👍 and ➕ Follow for more designs from ZeroDev
Boost Me (for free)
🚀 A BOOST is the spark powering my 3D projects and designs! 🚀 It costs you nothing, but your support keeps my creativity thriving. Deep thanks for your backing! 💪
License

You shall not share, sub-license, sell, rent, host, transfer, or distribute in any way the digital or 3D printed versions of this object, nor any other derivative work of this object in its digital or physical format (including - but not limited to - remixes of this object, and hosting on other digital platforms). The objects may not be used without permission in any way whatsoever in which you charge money, or collect fees.


Comment & Rating (51)