If you like the updates and want to leave a tip or if you would like to sell physical copies of my models and need a commercial license, please consider becoming a member.
Join
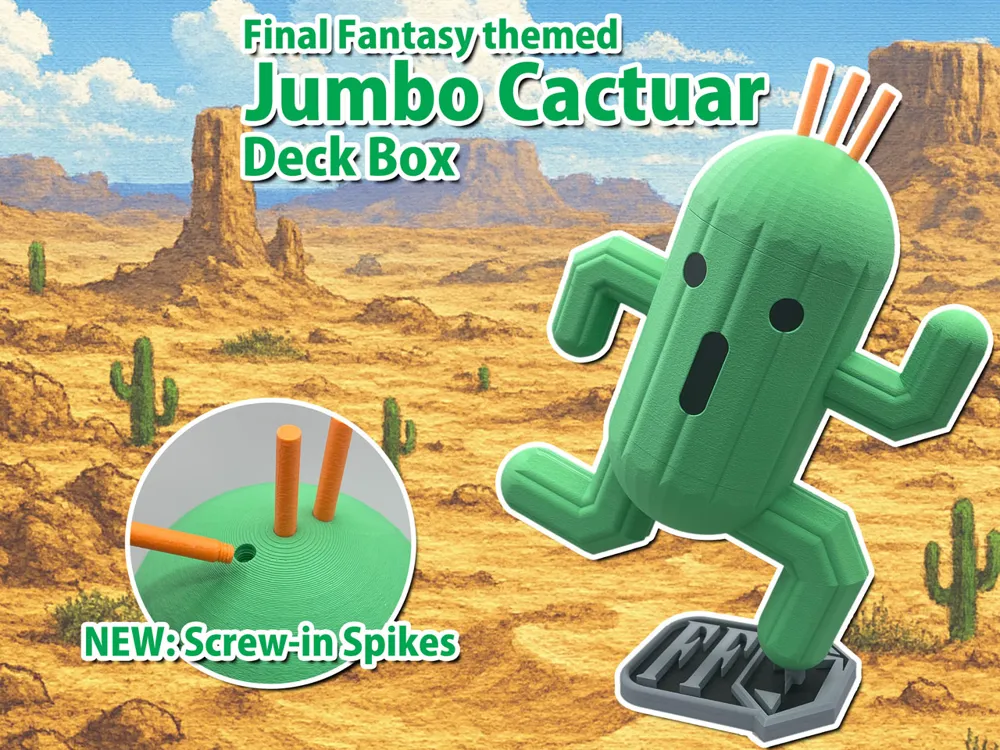
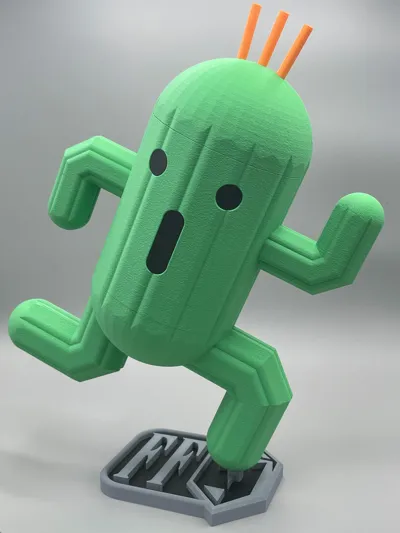
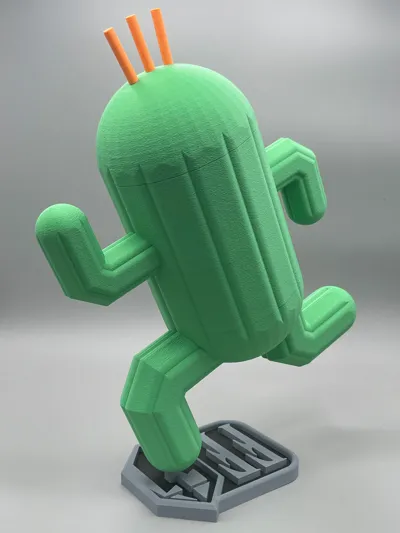
Jumbo Cactuar Deck Box
Please check each section before printing to save you time and filament. And follow me for updates!
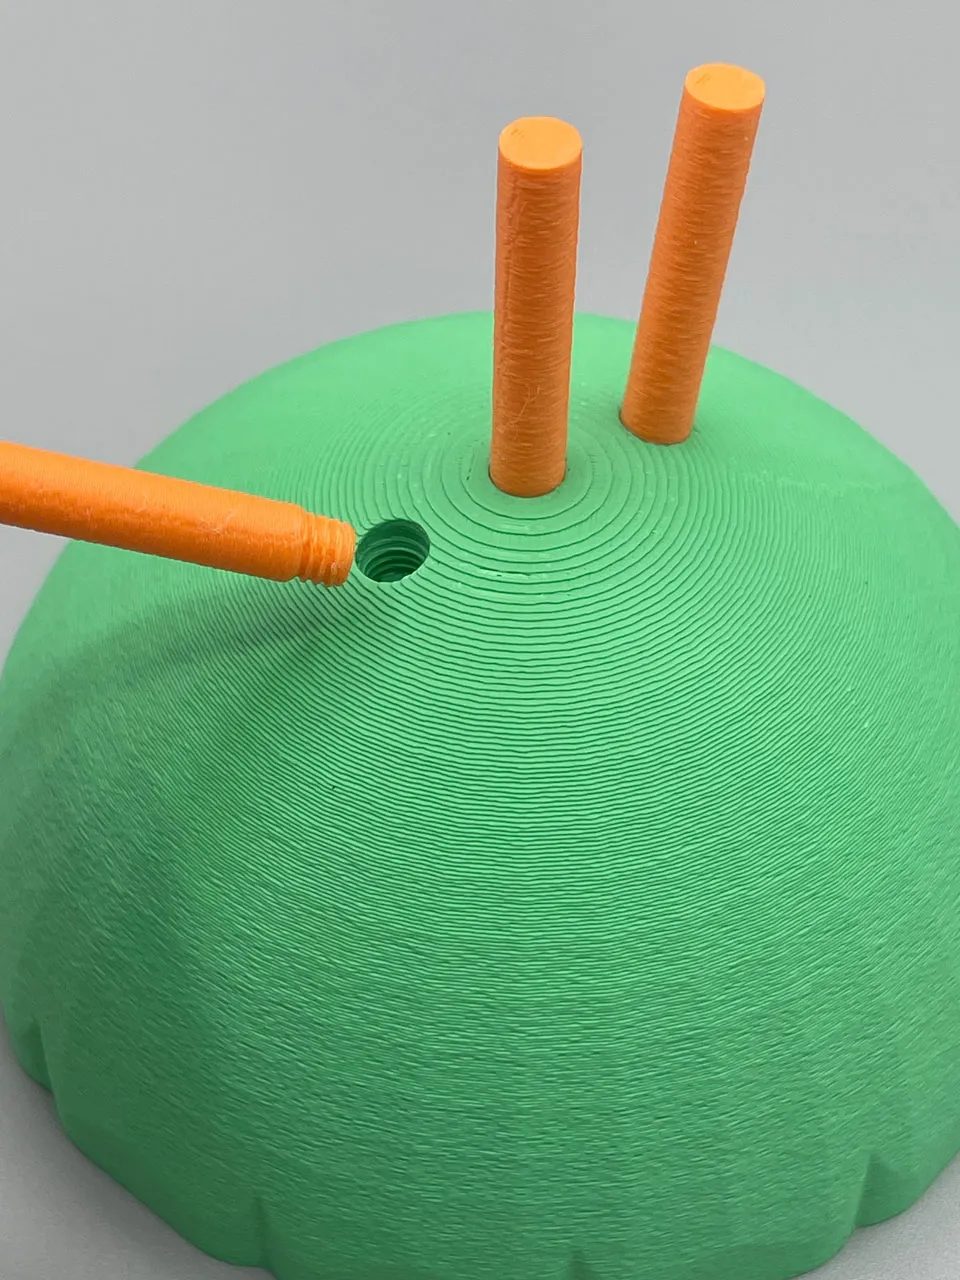
NEW: Screw-in Spikes + Slight Redesign
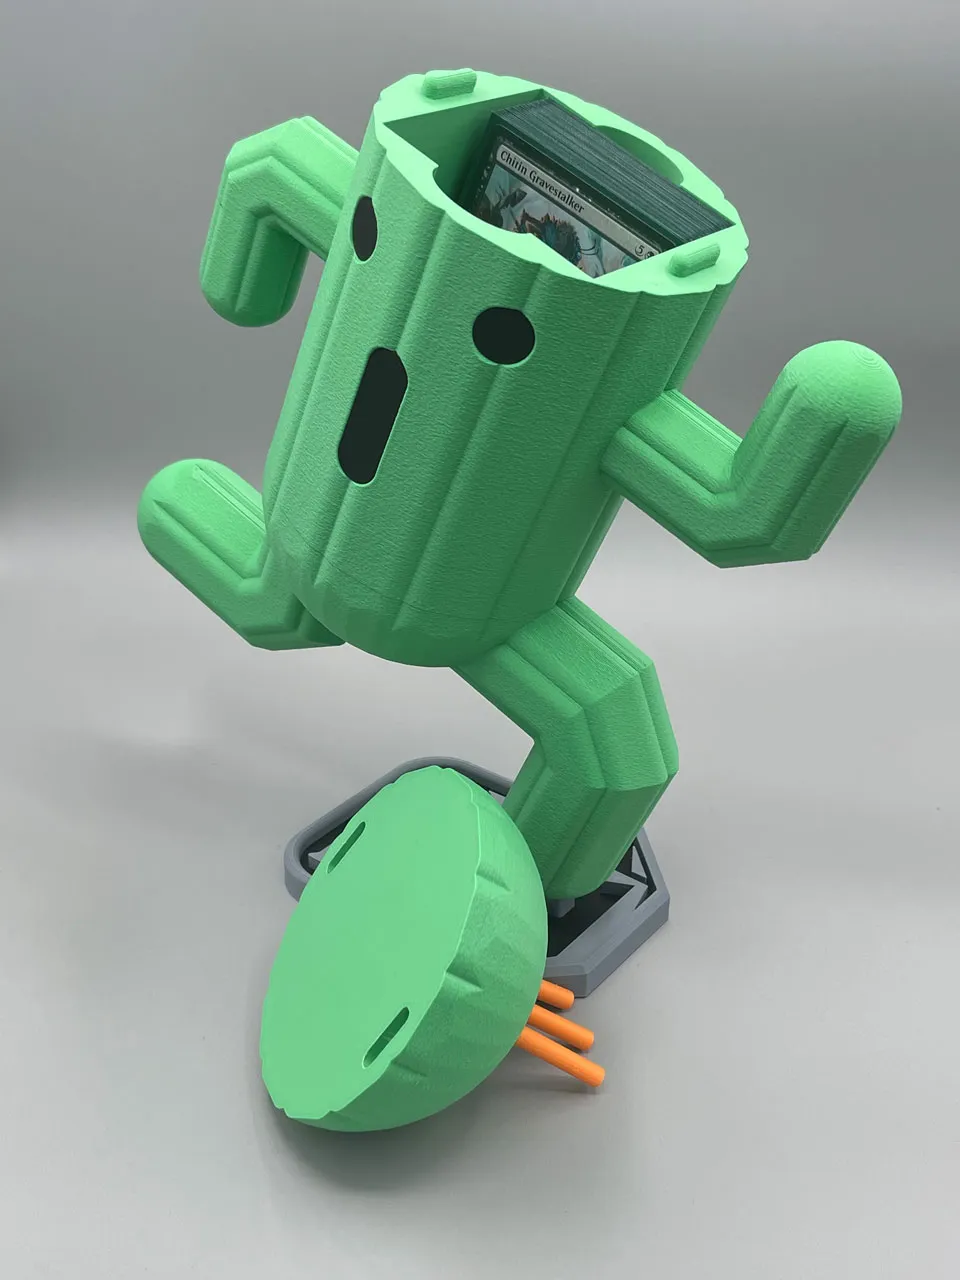
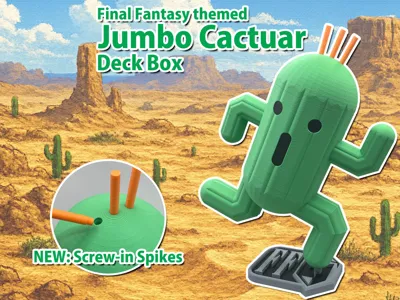
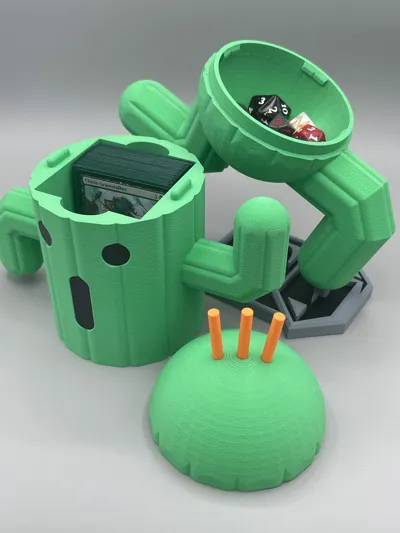
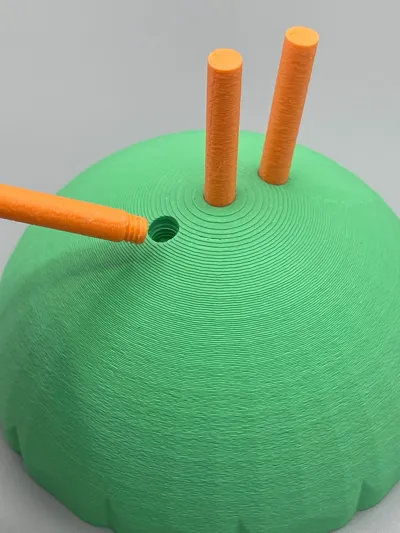
So, my wife opened the window in my office and the curtains knocked my Jumbo Cactuar off my shelf, breaking one of its spikes in the process. Saddened and determined, I went about redesigning the head to accommodate replaceable spikes. Now you no longer have to choose and glue, or suffer the fate of a broken spike. They are slightly larger to ensure the threads print well, but just a bit.
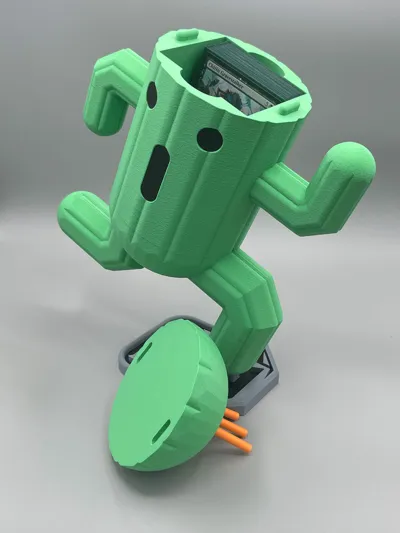
I've made two other changes in the head as well. First, due to the screw-in design, the AMS versions no longer has two heads with different spikes as the replaceable spikes make much more sense. The second change is in the card storage area. Printing supports for the small indent in the head is just a waste of filament, so I lowered the card storage area so that the cards sit completely inside the body. This means that the base of the head is completely flat, except for the alignment pegs.
Finally, the FF stand now has a modification block to make the base of the peg 100% infill. This makes it more durable and less prone to shearing/breaking if you bump it.
I'm also adding the filament I've been using, the Bambu Matte filaments are the perfect color and finish to really make it stand out. The Ash Gray is only used for the base and can be replaced with any other color you'd like the base to be.
Description
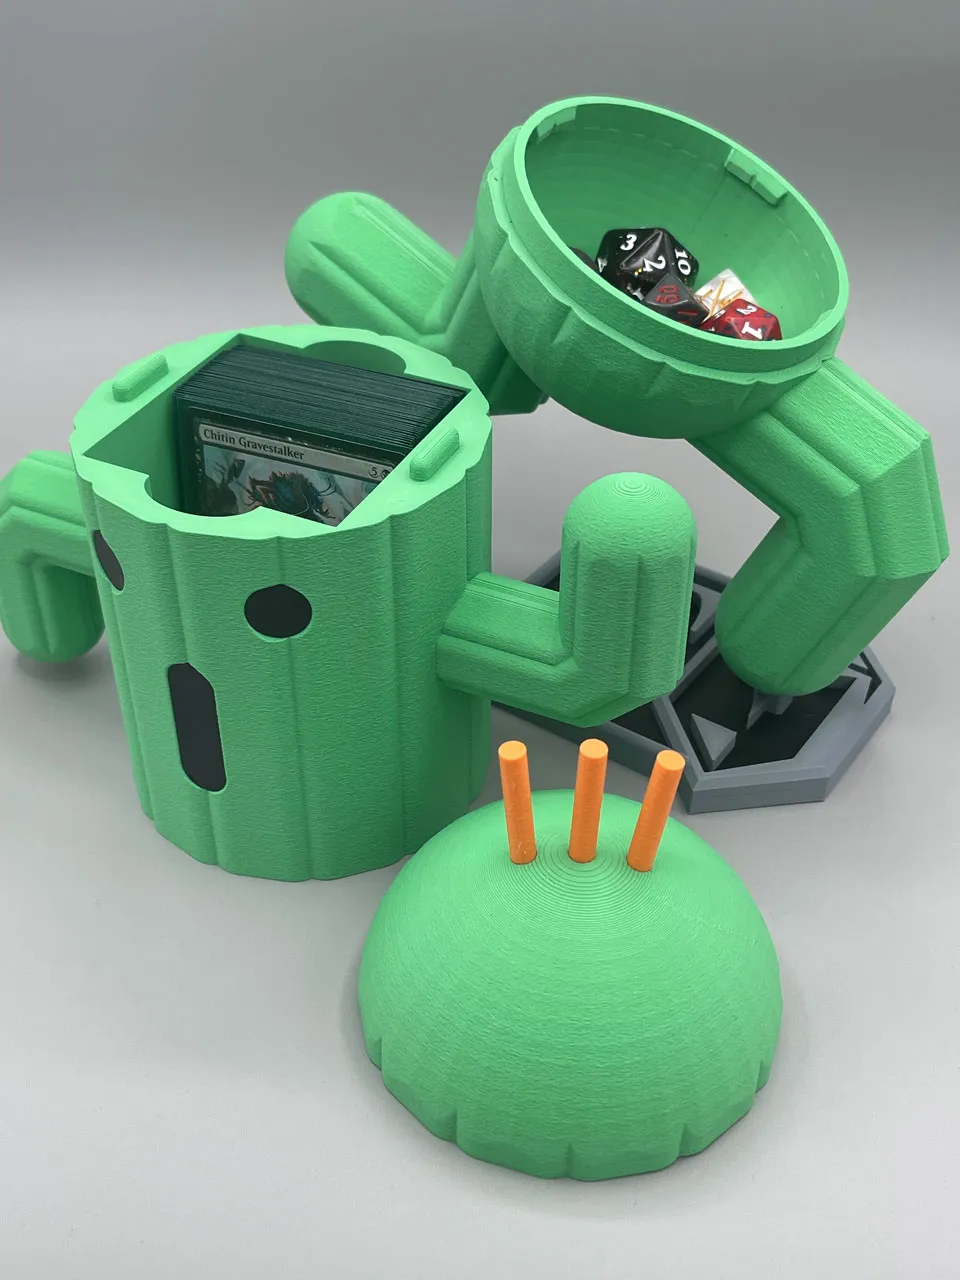
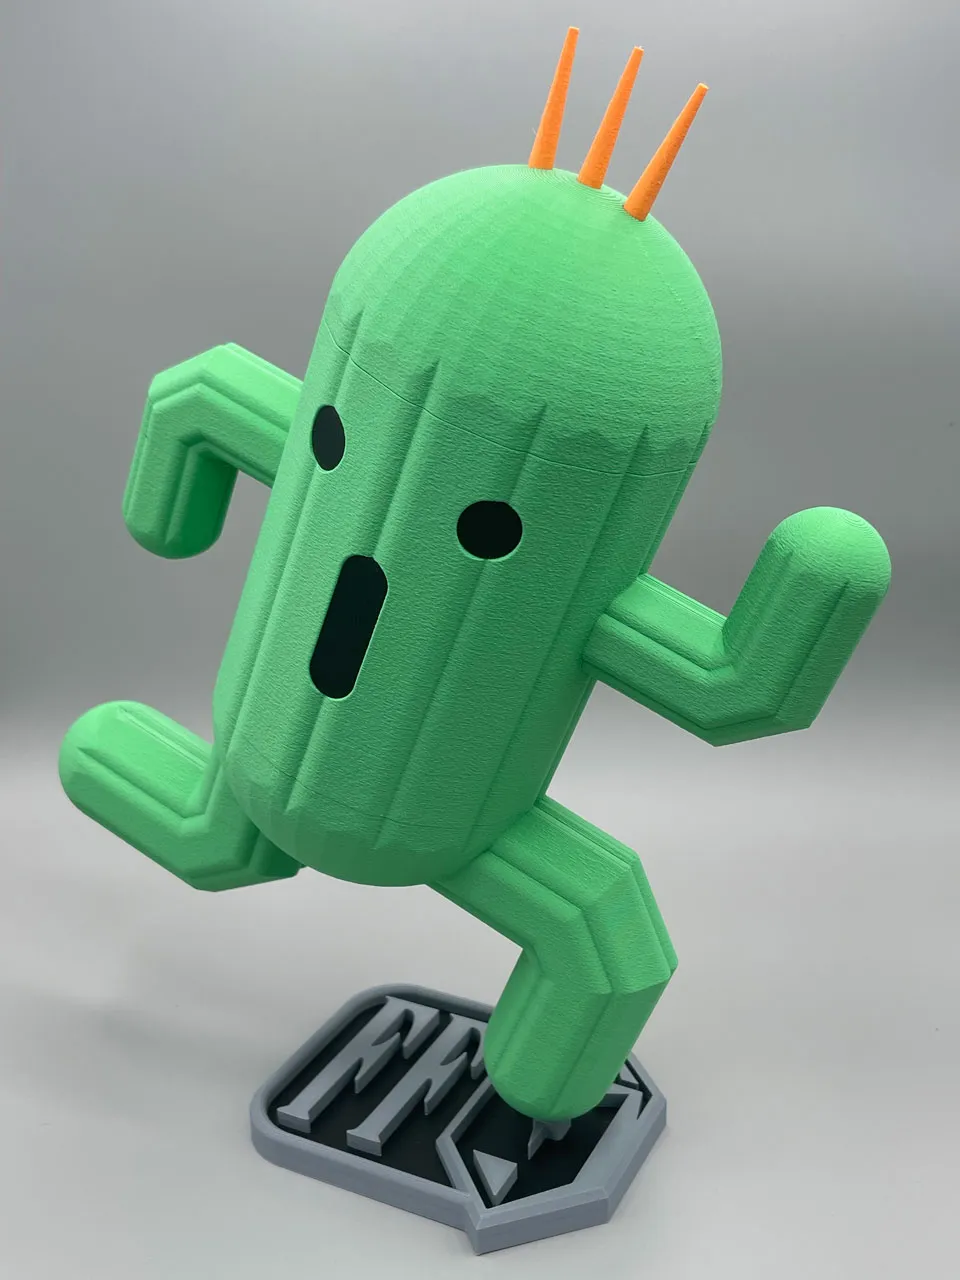
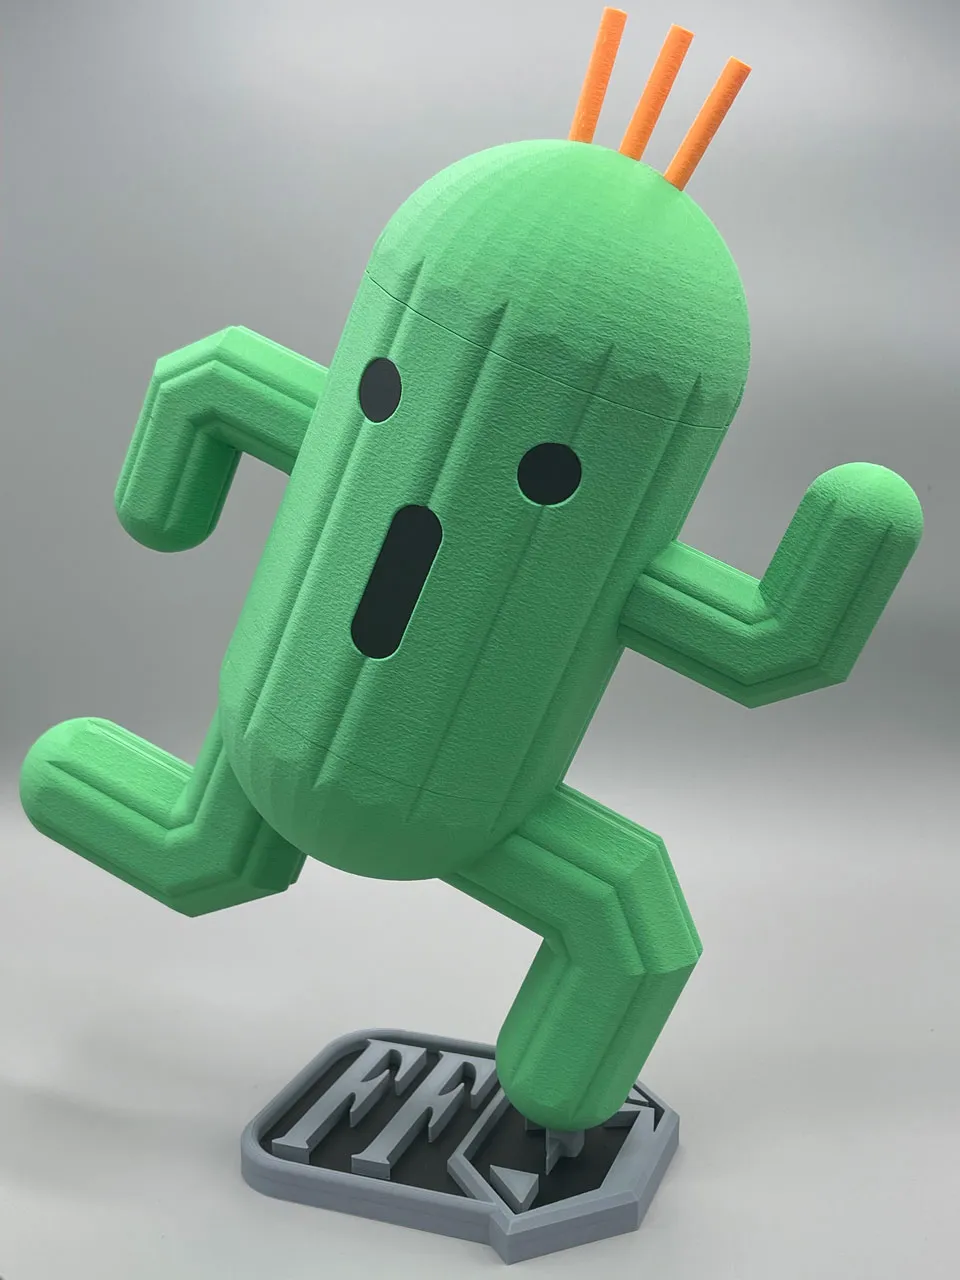
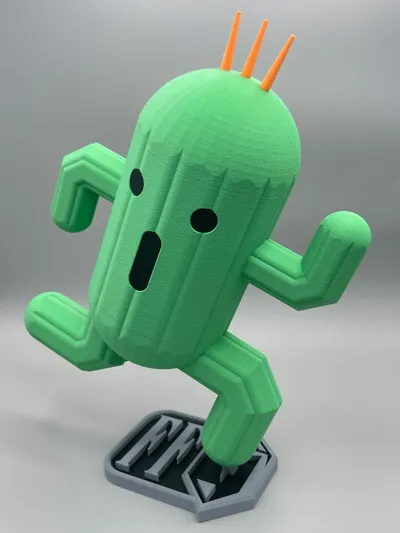
Final Fantasy is here, so no time like the present to get ready to show off your new deck than with a Jumbo Cactuar Deck Box! The top is held on using Eight 6mm x 3mm Magnets, concealing space to hold a 100-card sleeved deck, perfect for your next commander game. The legs unscrew to reveal space for dice and life counters, which can be left on the stand for easy access during the game.
The model features two stands, a basic stand which supports the deckbox when fully assembled, but not the legs only. Or a stand featuring the standard logo for the FF series. The FF base was designed to be able to hold up the legs with dice and is the intended stand to go with the deck box, but I wanted to include the basic one as well, just in case it wasn't your style.
You can also choose the kind of spikes for the head, cylinder or pointy. I figured some people wouldn't want to stab everything, but I think the pointy spikes are the best.
Snap-lock Legs
In order to ensure the legs always align to the correct position, I've changed the locking mechanism for the legs. Instead of screw on legs, now the legs slide in and twist a quarter turn to click into the right place every time.
Fuzzy Skin
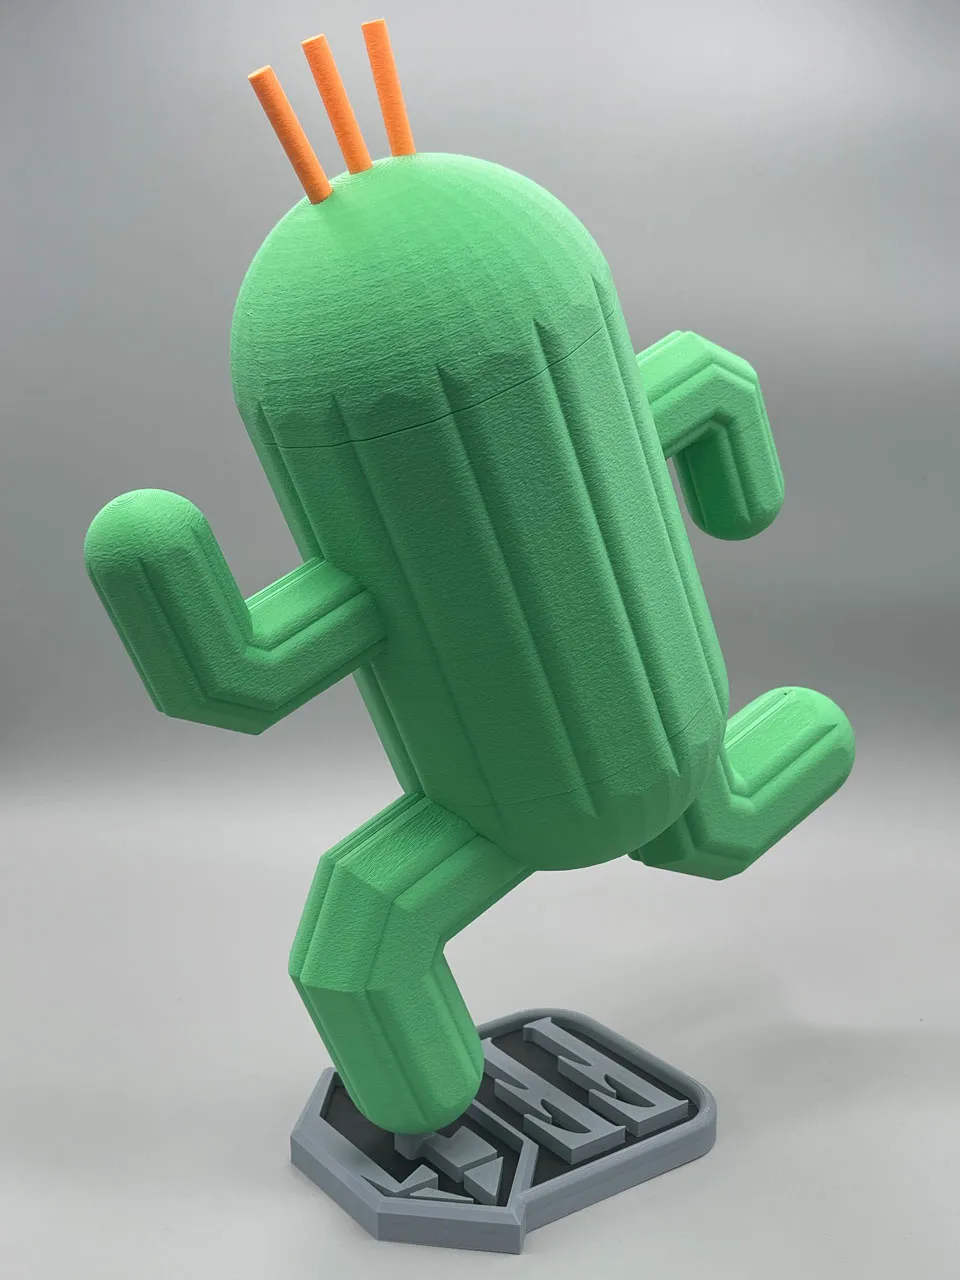
I've turned on the fuzzy skin setting by default. It does add more time, but the overall effect I find to be more appealing. If you want to save some time, you can turn it off and it won't effect the fit of the model.
AMS Flushing Volumes / AMS Versions
I've changed the black to green flushing volume to nearly eliminate the banding caused by the face. Unless you really look for it, you don't notice the banding. The model in the snap-lock legs and fuzzy skin section was printed with AMS to give you an idea of what it will look like. That being said, I highly recommend printing the body and face pieces using the non-AMS model. It will save you about 10 hours of time and 100 grams of filament. But if you have the H2D then you will have no problem just printing the AMS model.
NOTE: Double check your flushing volumes before you print the AMS version. I had the best results with the multiplier set to 1 for Black-to-Green, but 0.5 for everything else. The settings in the print profile are 375 for Black-to-Green and 54 Green-to-Black for my filaments. If you're using a light green, you may have to go to the 400-500 range for flushing.
Moustache Versions
I've added versions with a moustache which can be printed as parts and glued together, or with an AMS. For those who have already printed their bodies, I've made an add-on moustache which can be glued on so you don't have to waste filament. I'm also leaving the non-moustached versions up in case facial hair isn't your thing. Enjoy!
About the Magnets
The magnet spaces are made in Bambu Studio and can be edited to fit whatever magnets you happen to have, as long as there's enough space in the model. You may have to adjust the pauses if you change the magnet size or layer height.
About the Legs (Outdated)
I'll leave this section as a reference to anyone who has already printed the model, but this doesn't apply to the snap-lock legs.
I've printed a ton of legs to get the adjustment right so that it aligns properly with the body when closed. However, it might be really stiff the first few times. It's best to just keep working it in until they finish in the right position.
Eventually, it will wear in and sit correctly, but it made me aware that there may be different tolerances and wear over time. Even my original legs (as seen below) ended up turning too far and being too loose when in the correct position. So, I made simple spacers which can be found as a separate print profile. I needed to reduce the layer height for them to 0.16mm to give the most flexibility.
If it becomes loose in the future, just go to the next size ring.
Feedback
I appreciate and and all feedback, and will do my best to make the necessary adjustments and fixes as soon as possible.
If you want to use this model commercially, please join my membership.
Join Now
This user content is licensed under a Standard Digital File License.
You shall not share, sub-license, sell, rent, host, transfer, or distribute in any way the digital or 3D printed versions of this object, nor any other derivative work of this object in its digital or physical format (including - but not limited to - remixes of this object, and hosting on other digital platforms). The objects may not be used without permission in any way whatsoever in which you charge money, or collect fees.







Comment & Rating (219)