
Voice Assistant - Wyoming Satellite

Print Profile(5)


Description
Membership
Commercial license available, please checkout my membership options.
Boost Me (for free)
Please consider boosting me if you find my design useful!
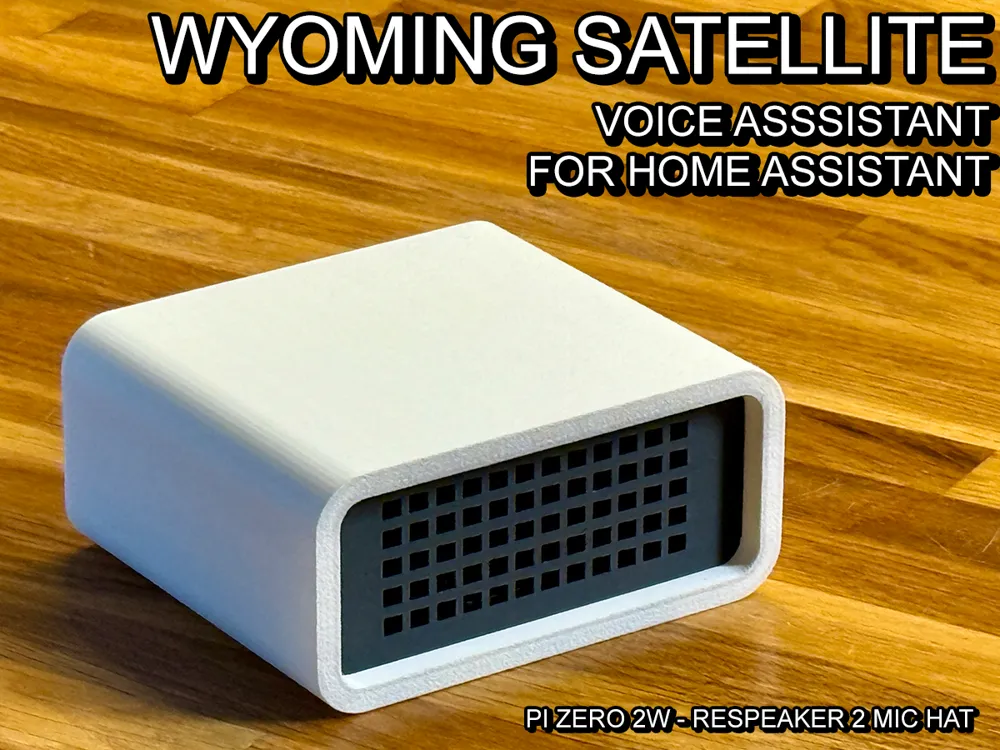
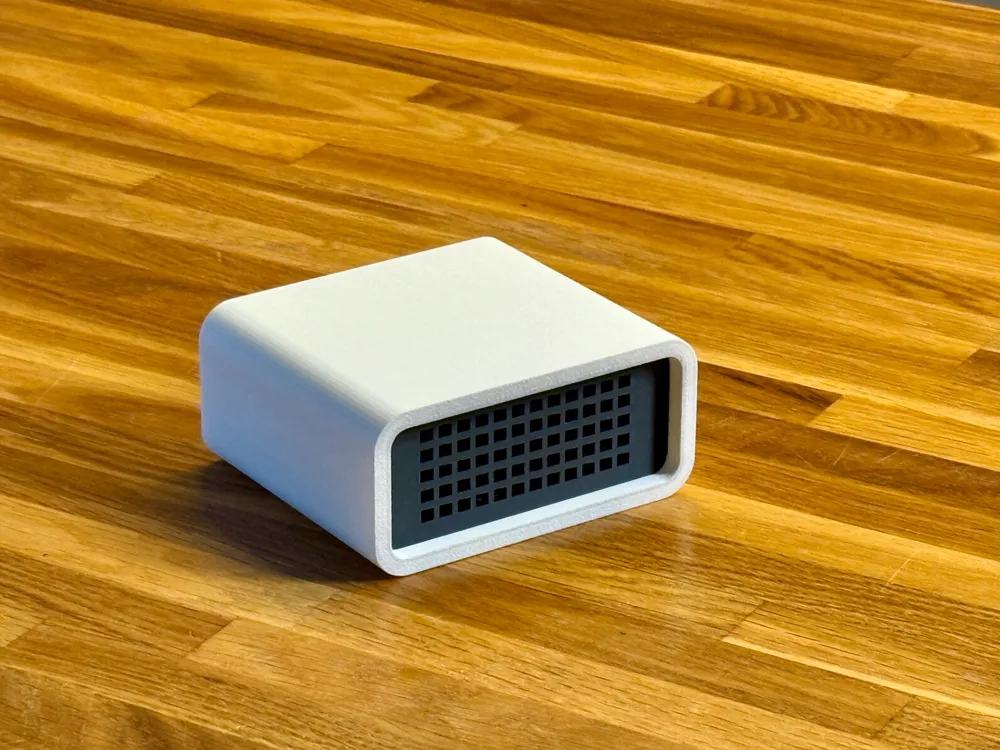
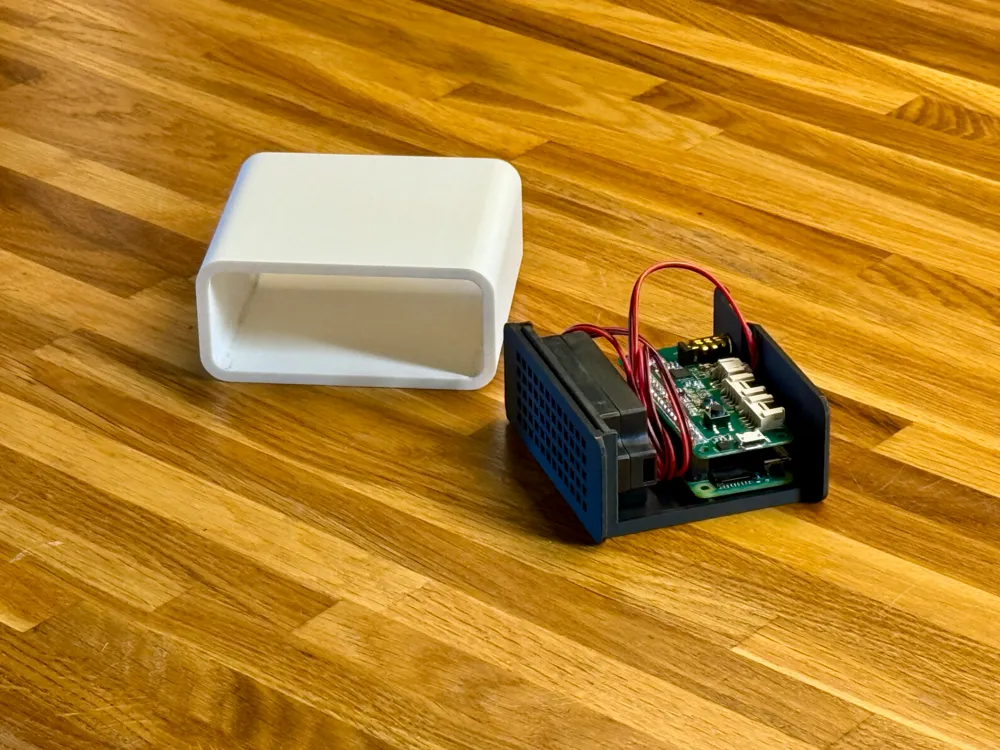
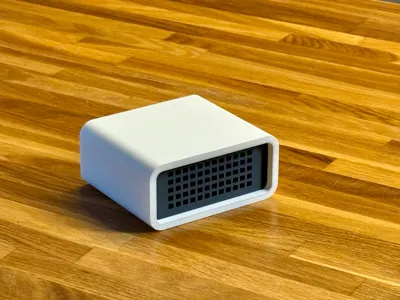
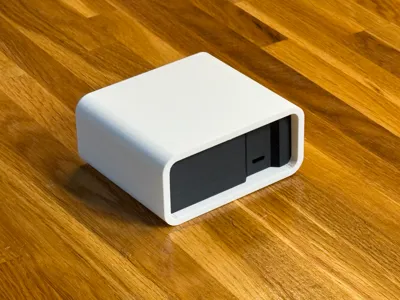
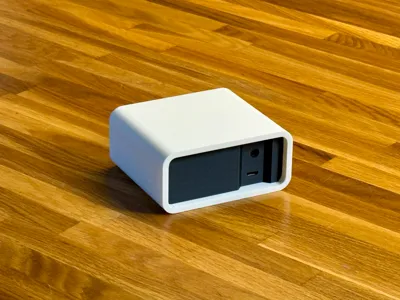
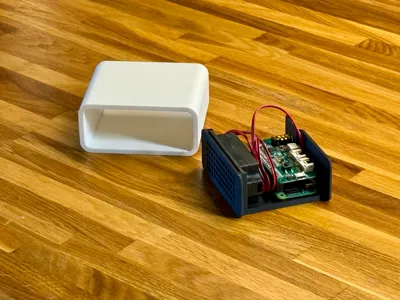
Let me introduce the new Living Room Ready Casing for the Wyoming Satellite voice assistant designed for Home Assistant.
This casing is built specifically for the Raspberry Pi Zero 2W equipped with a reSpeaker 2-mic HAT and is compatible with a mono 3070 3W 4-ohm speaker.
There are 4 recommended print profiles:
AMS single plate, print by object versions:
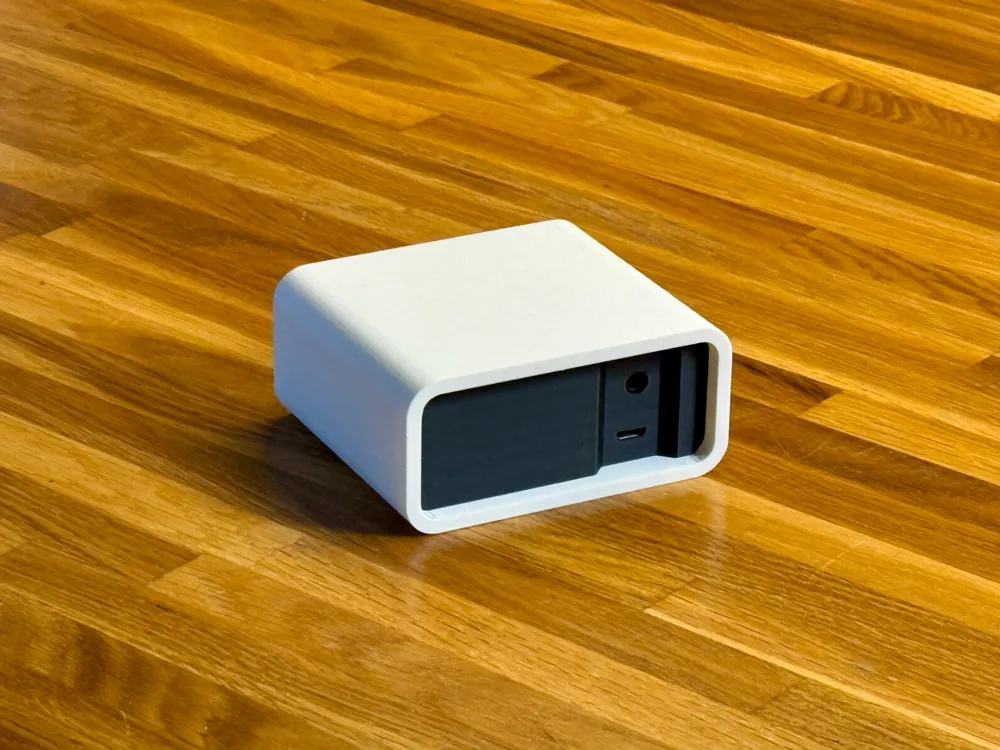
- Insert Box with jack cutout
- Insert Box without jack cutout
Multiplate versions:
- Insert Box with jack cutout
- Insert Box without jack cutout
BOM (besides the case):
- Raspberry Pi 2 W with GPIO
- reSpeaker 2 mic Pi HAT from Seedstudio (Altough I've seen the same HAT under other brands)
- 3070 3w 4ohm mono speaker
This setup is based on the software and recommended hardware of the Wyoming Satellite project by synesthesiam on GitHub.
Please find the software related instructions there:
https://github.com/rhasspy/wyoming-satellite
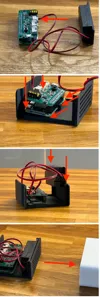
Recommended Assembly Steps:
- Connect the speaker to the connector on the reSpeaker HAT.
- Position the Pi Zero 2W board with the GPIO edge under the clamp, ensuring the board’s holes align with the pegs.
- Press down gently but firmly on the corners of the Pi Zero 2W board on the side with the ports.
- Slide the speaker into the rails on the front of the inner casing.
- Perform cable management.
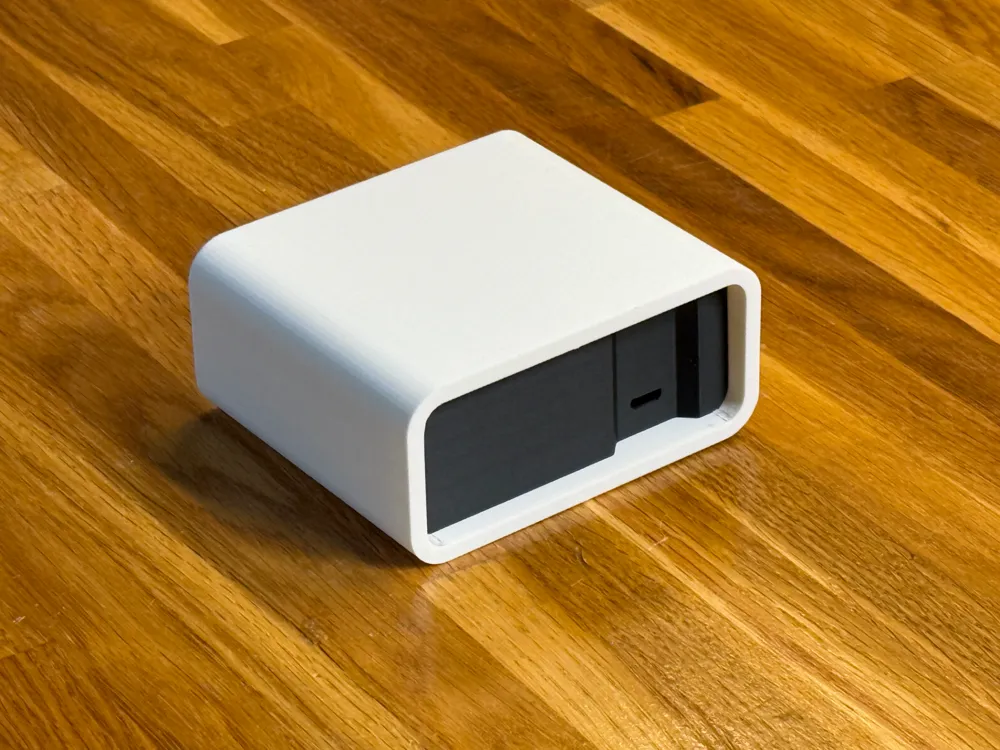
- Slide the inner box into the outer box.
This is the first version, and further adjustments may be made based on your comments and feedback. Please feel free to share your suggestions about any adjustments.
Boost Me (for free)
If you appreciate the design, please consider boosting it.
Documentation (1)
License

You shall not share, sub-license, sell, rent, host, transfer, or distribute in any way the digital or 3D printed versions of this object, nor any other derivative work of this object in its digital or physical format (including - but not limited to - remixes of this object, and hosting on other digital platforms). The objects may not be used without permission in any way whatsoever in which you charge money, or collect fees.


Comment & Rating (40)