
FNT AMS X1C/P2S buildplate holder

Print Profile(10)


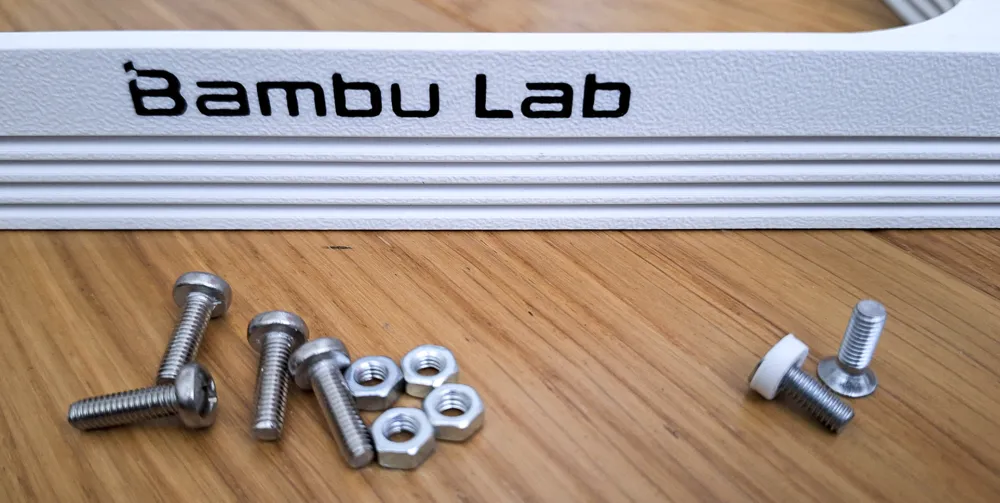
Bill of Materials




Description
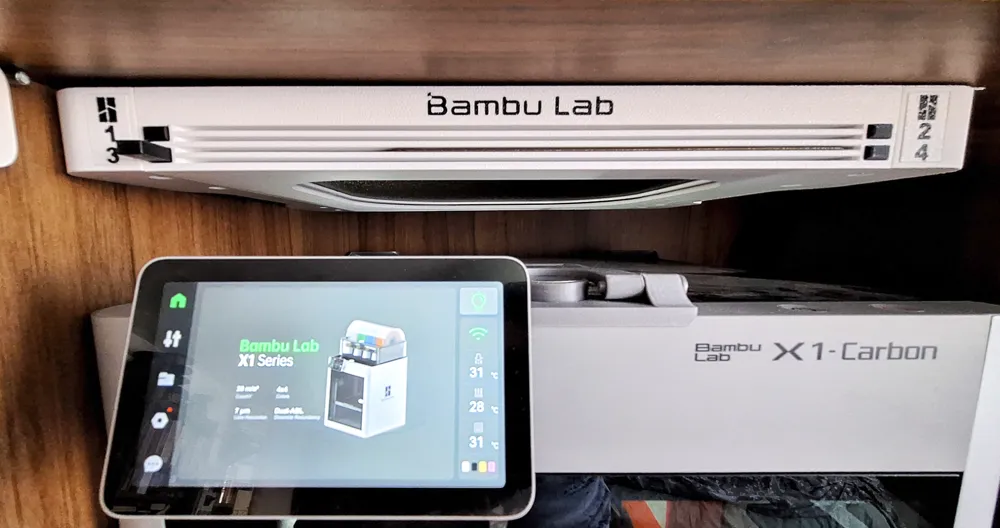
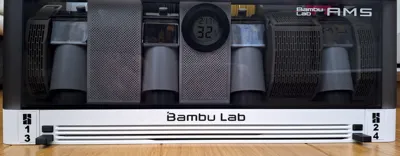
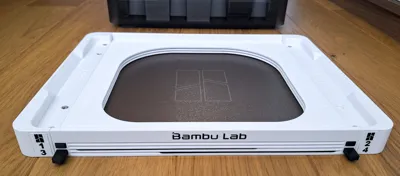
FNT AMS X1C/P2S buildplate holder
(FNT AMS X1C / P1S / P2S / A1 buildplate holder with button)
MODEL OVERVIEW
TYPE: Buildplate holder
Capacity: 4 / 6 / 8 buildplates / (unlimited with expandable Stackable holder)
USE: AMS (Original AMS, not AMS 2 Pro)
Installation: Under AMS
Buildplate compatibility: BambuLab 256x256mm (A1, P1S, P2S, X1C, X2D series)
Printer Compatibility: printable on all BambuLab printers minimum size 256x256mm. An enclosed printer is not required, but it is recommended.
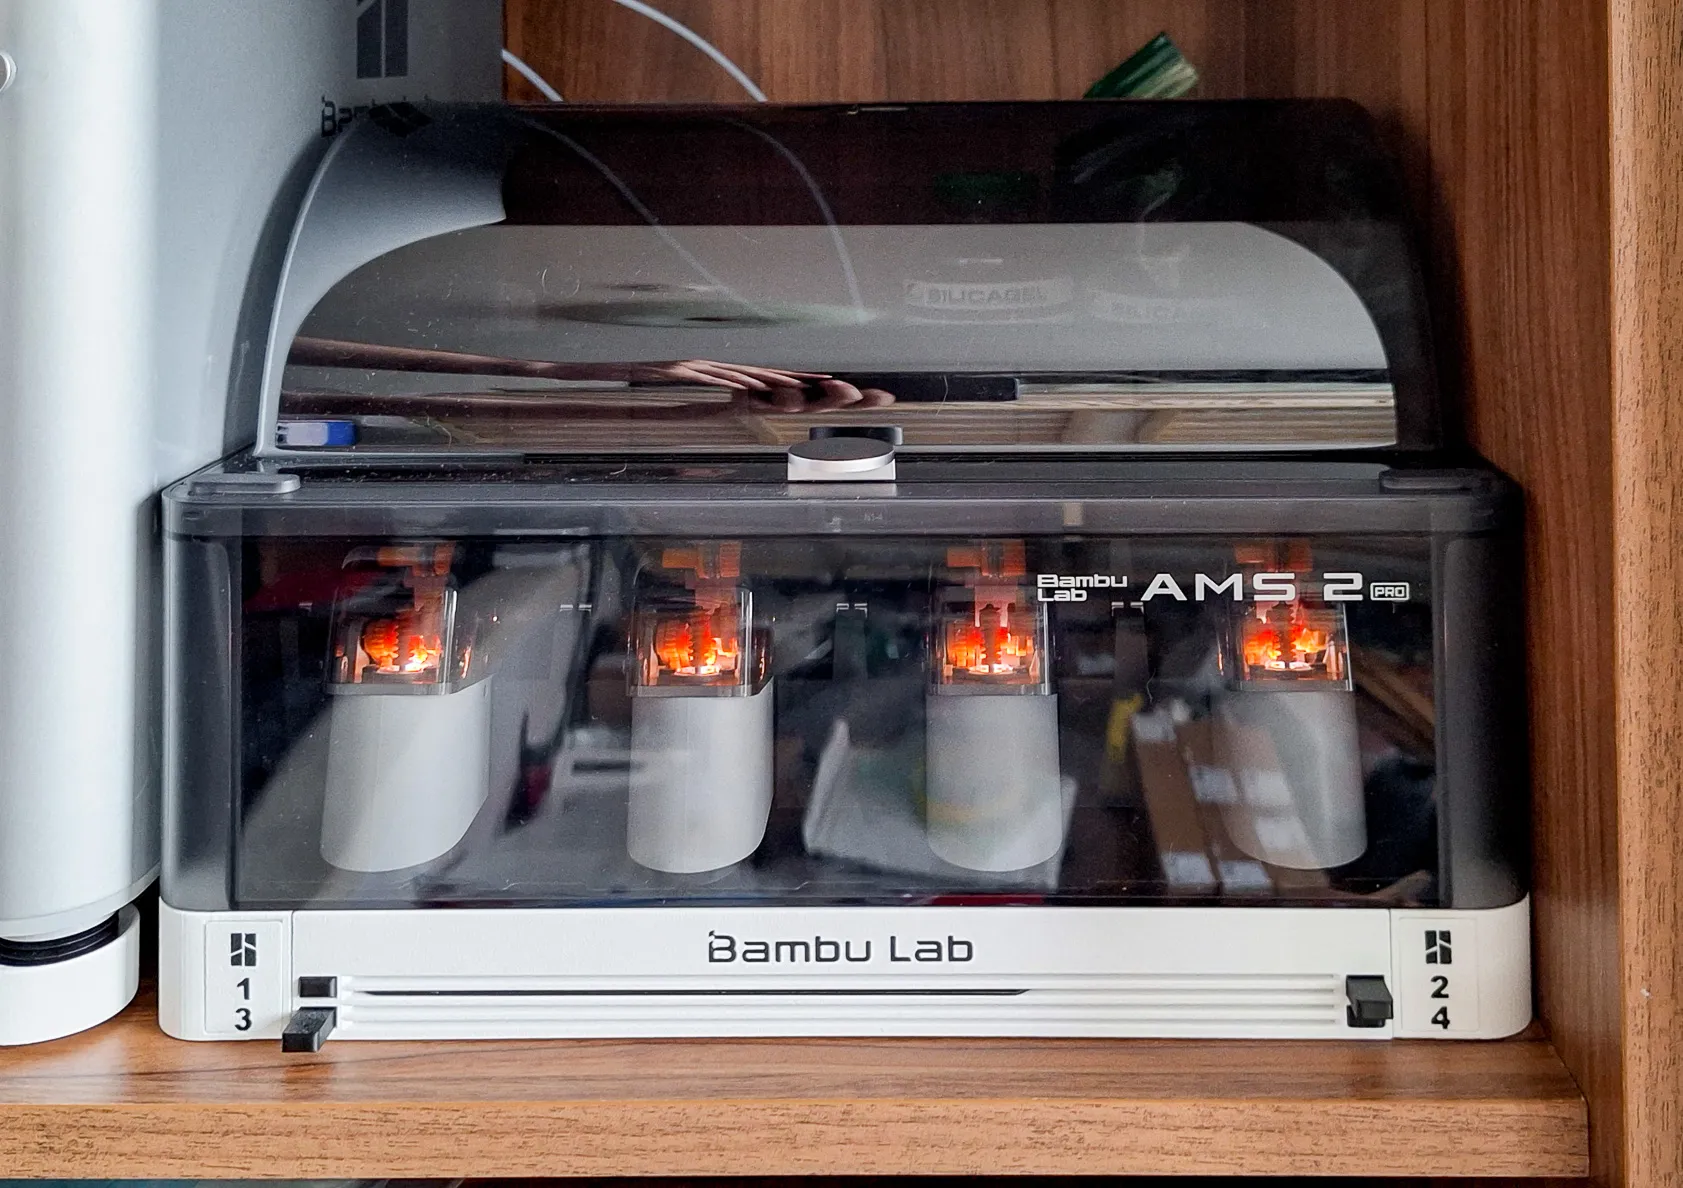
AMS compatibility: Although the original AMS and the AMS 2 Pro may look very similar at first glance, they actually have different dimensions and shapes. Because of this, the parts are not interchangeable.
If you are using AMS 2 Pro, please use the dedicated version instead: FNT AMS2 Pro X1 buildplate holder
EXPANSION
ALTERNATIVE MODELS
- FNT AMS2 Pro X1 buildplate holder (If you have AMS 2 Pro not AMS)
ACCESSORIES
- FNT plates holder adapter for BLV style Raisers
- FNT stand for plates holder 5-25mm
- FNT plates holder adapter for Sanja 3D Riser Slide
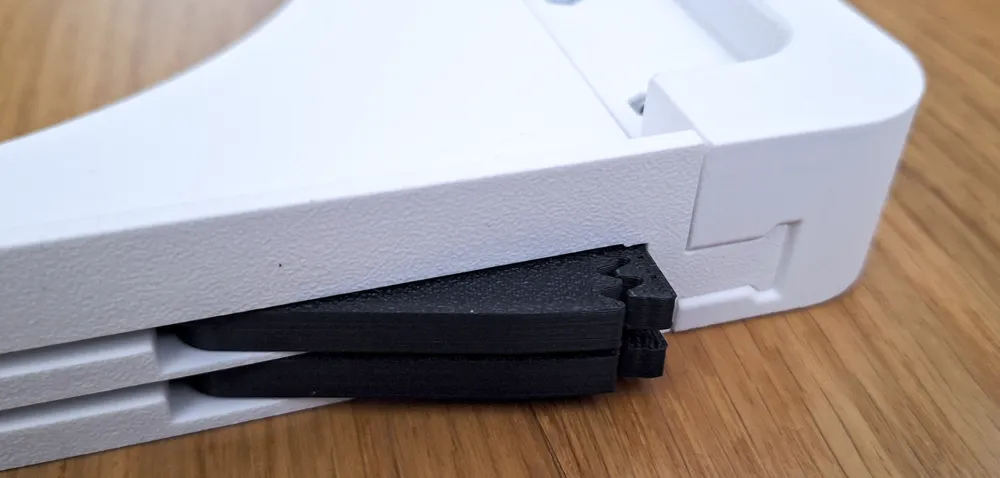
- FNT TPU feet/pads for plates holder AMS/Standalone
- FNT Custom logo plates - how to modify
- FNT Build Plate Holder Panda Perch Adapter created by Proper_Chopper
Read before printing, please
The FNT buildplate holder family has grown quite large, and with many versions available it can sometimes be difficult to find the exact one you need.
To make things easier, I prepared an overview page where all models are clearly organized by printer type, installation method, and use case. This helps you quickly find the version that fits your setup best.
Before printing, I recommend taking a quick look at the overview — another version might suit your needs even better. Link is here.
Boost Me (for free)
I design these models just for fun in my spare time — because I enjoy making useful things for the community.
If this model made your day a little easier, a Boost is like giving my printer a cup of coffee ☕ so it can keep working on new ideas.
Your support helps me earn filament (and occasionally even a printer) to keep creating more models for everyone.
Thank you for your support — it really means a lot! 🙌
Holder Versions
 FNT plates holder for X1 A1 Standalone / Stackable 4 or 8 plates | 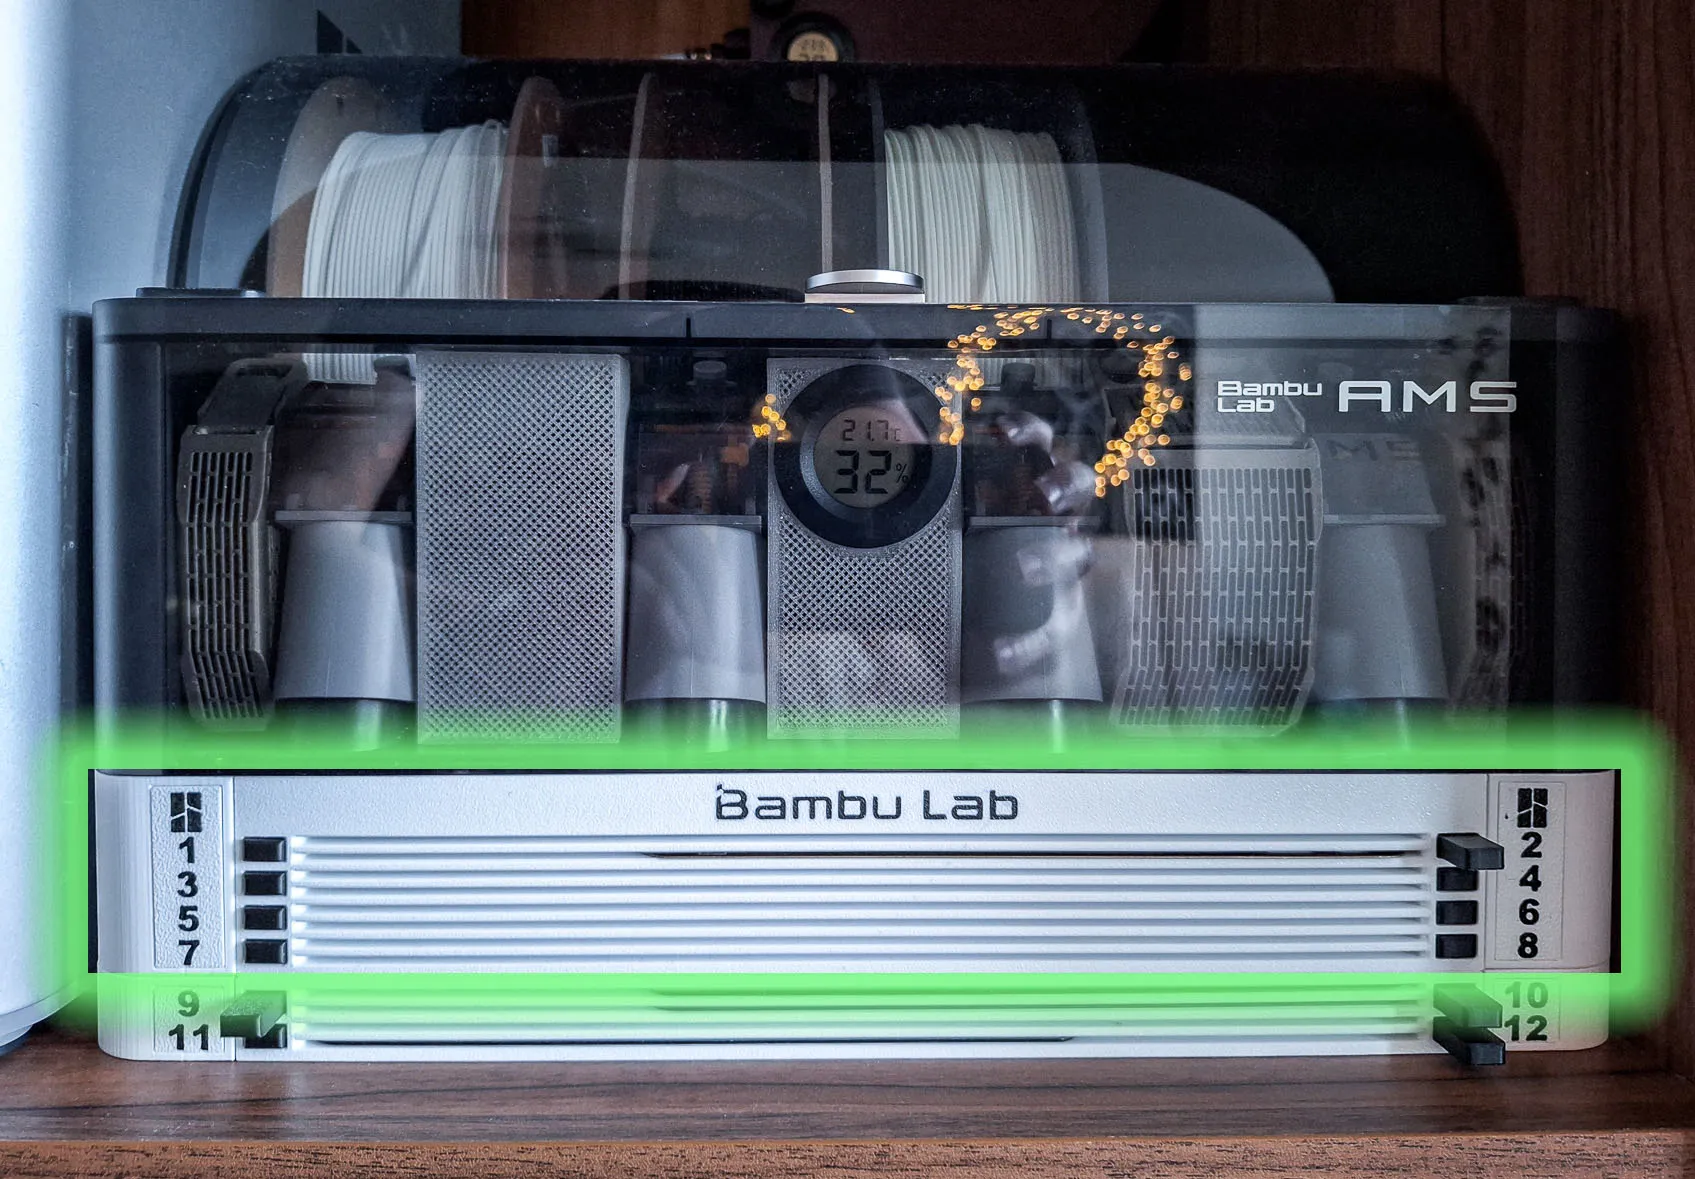 FNT AMS plates holder for X1 P1 plates button SLIM - 4, 6 or 8 plates (this page) | 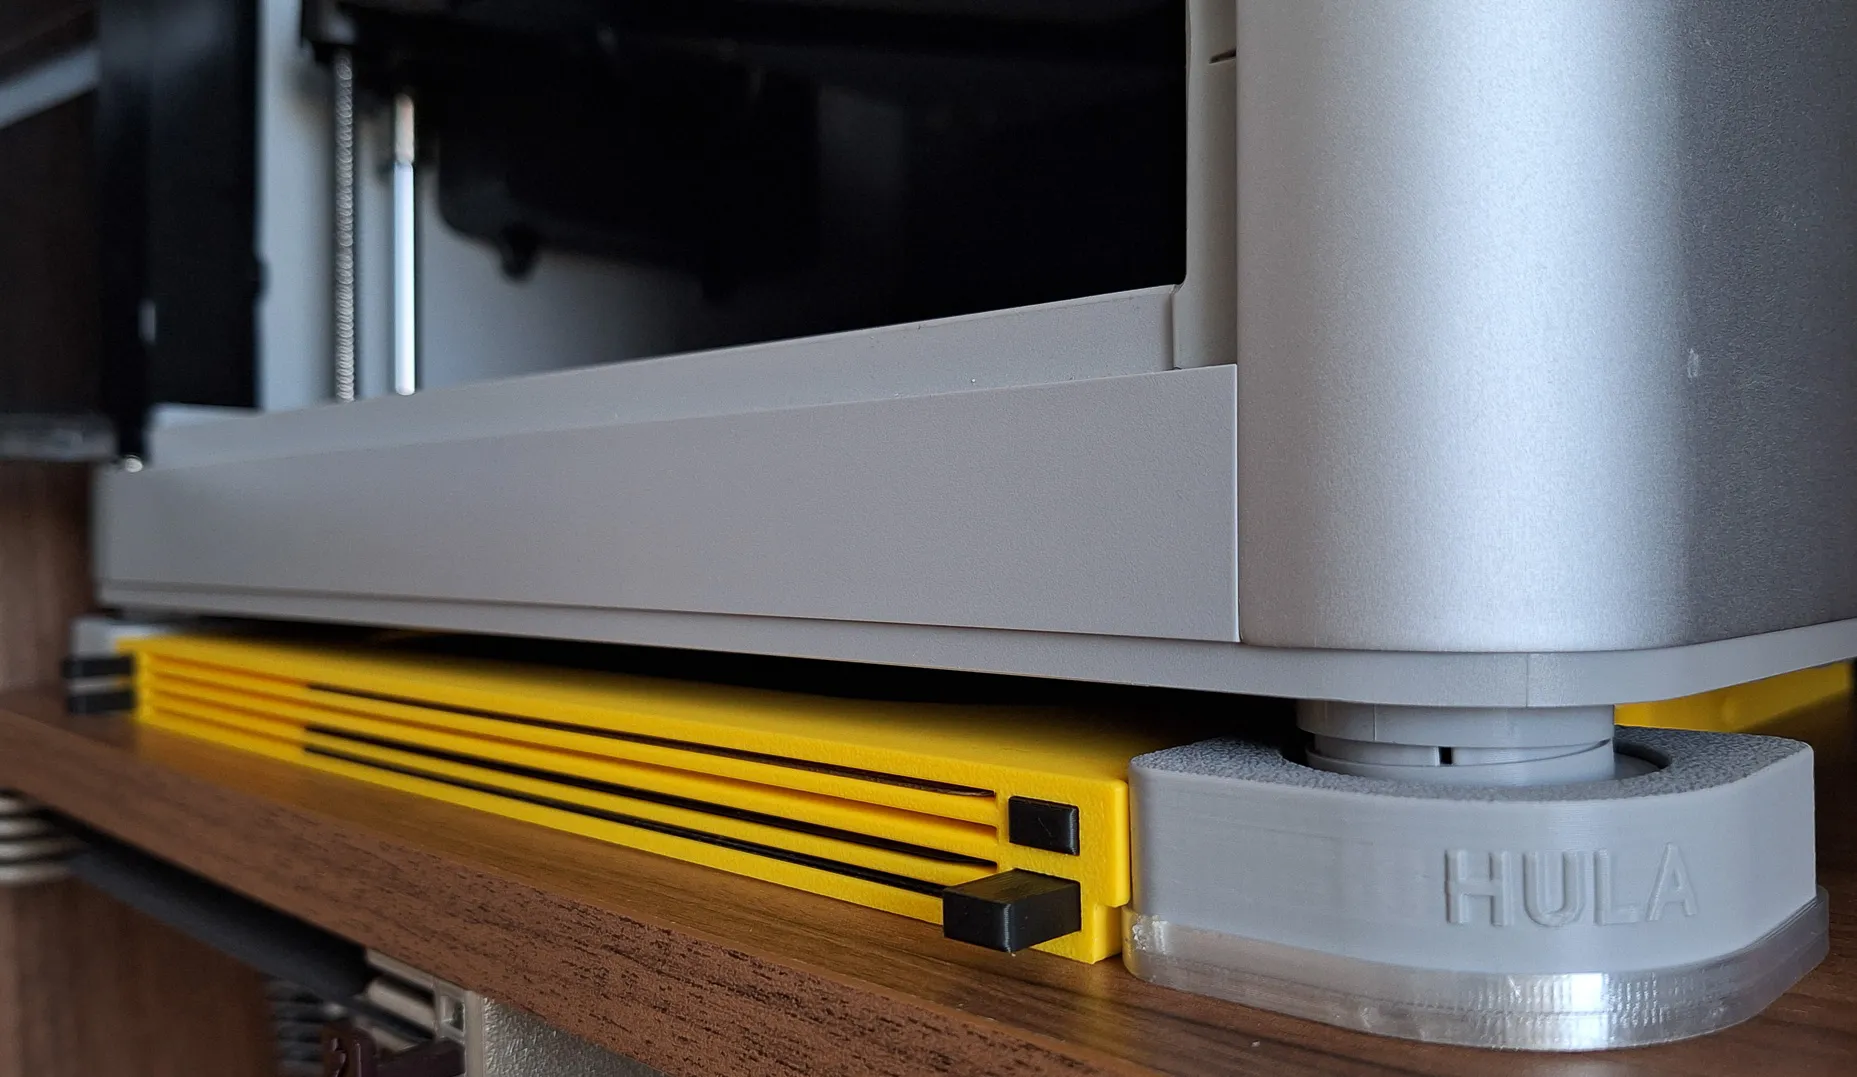 |
Adapters
 |  |  |
Accessories
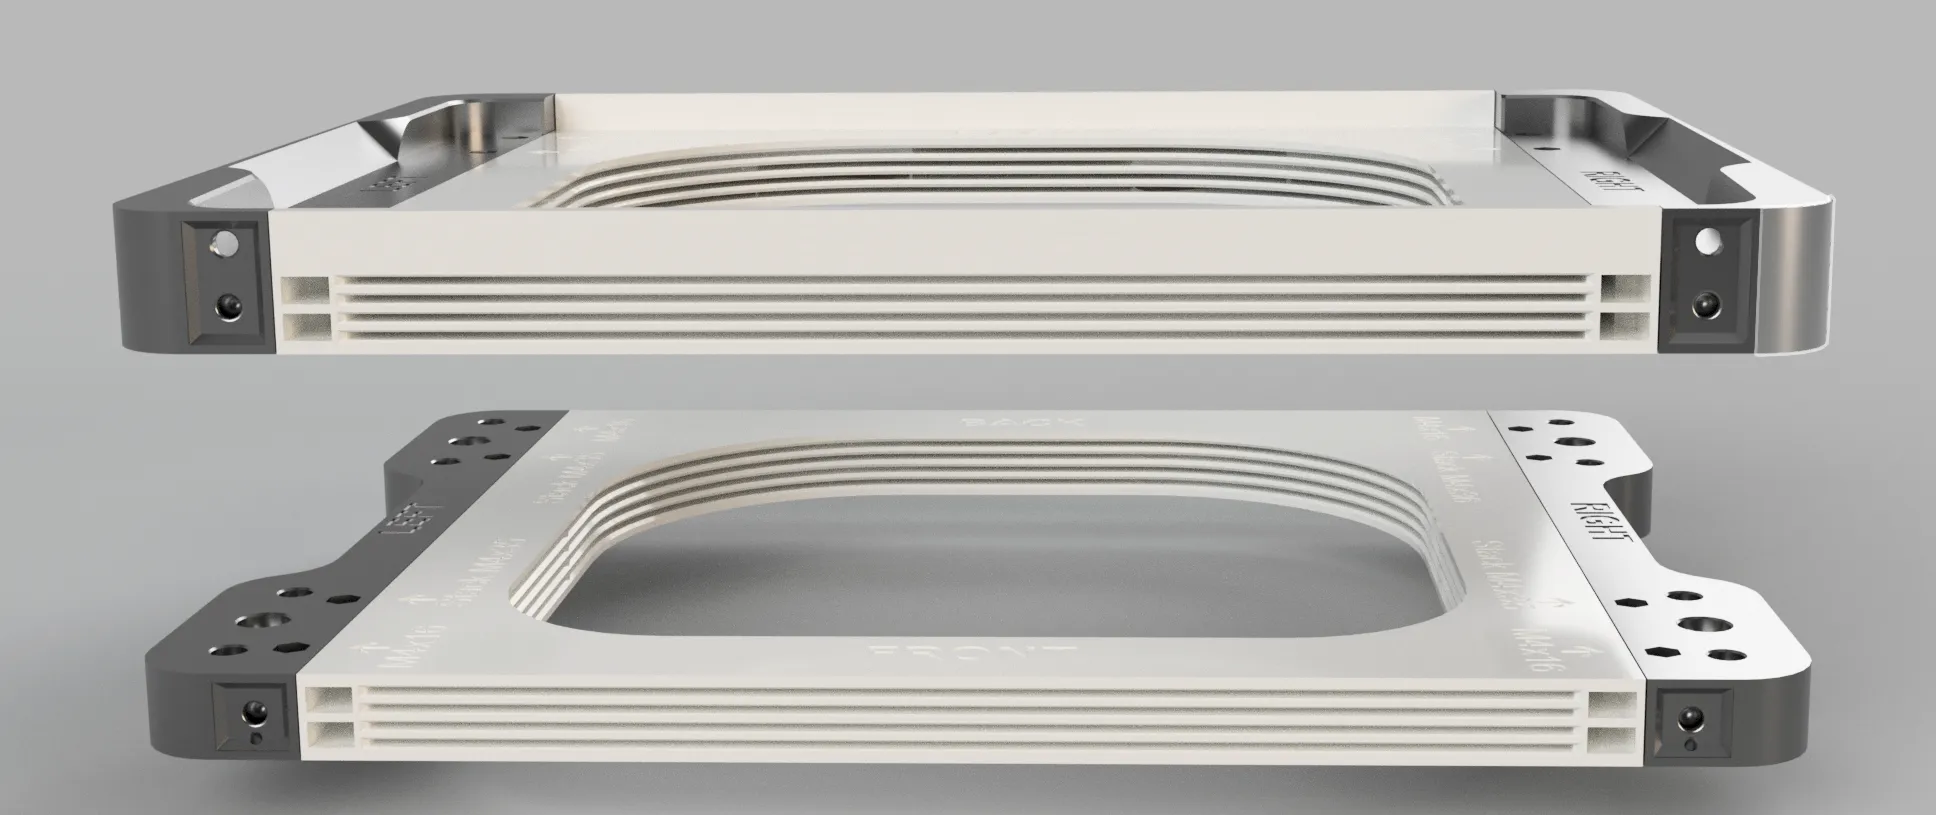
The stack version does not have the upper part where the BambuLab text is and therefore AMS cannot be inserted on it. However, it can be placed under the AMS holder by simply placing it or attaching it with a magnet or screwing it. The stack version is also more suitable for placement under a shelf because it takes up less space. You can place another one under Stack and create the version you need If you are interested, I would be very happy if you could contact me via private message. Thank you in advance.
The AMS Raiser adapter works with every AMS version, it is placed between the Raiser and the AMS holder, it is fixed with screws.
FNT AMS plates holder for X1 P1 A1 plates with button SLIM - Stand for the X1/P1 AMS
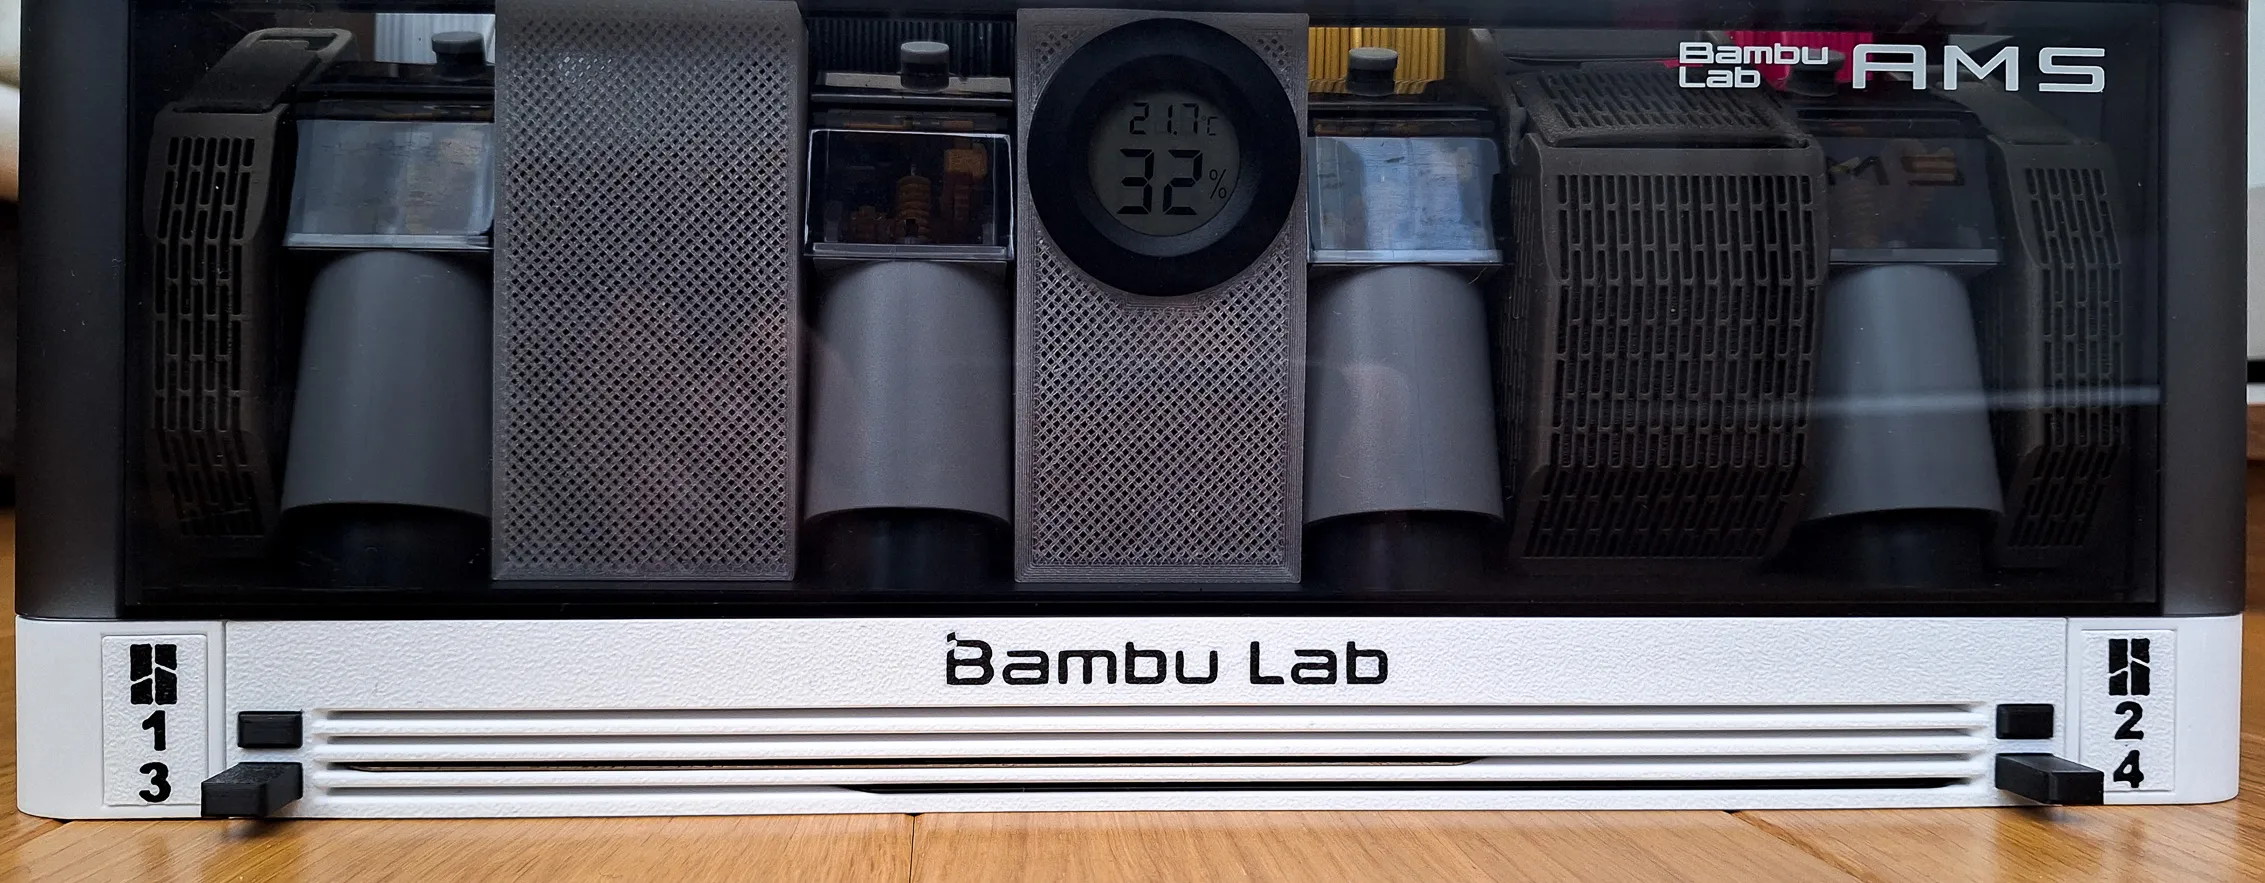



Introduction
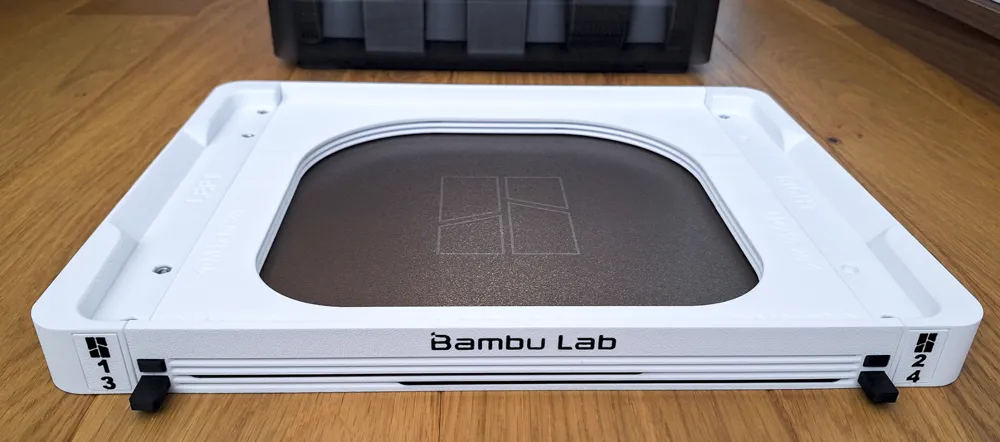
I have many build plates for both Prusa and Bambu printers and very limited space for storage. So I decided to create plates holder with eject button for easy insertion and removal.
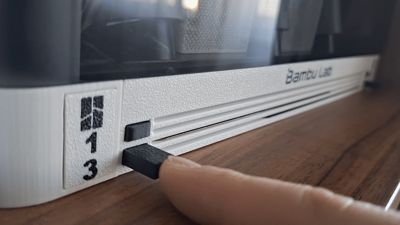
Inserting and removing build plates goes very smoothly. There is no danger of the printing surface getting dirty from greasy fingers :-)


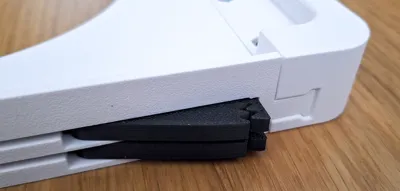
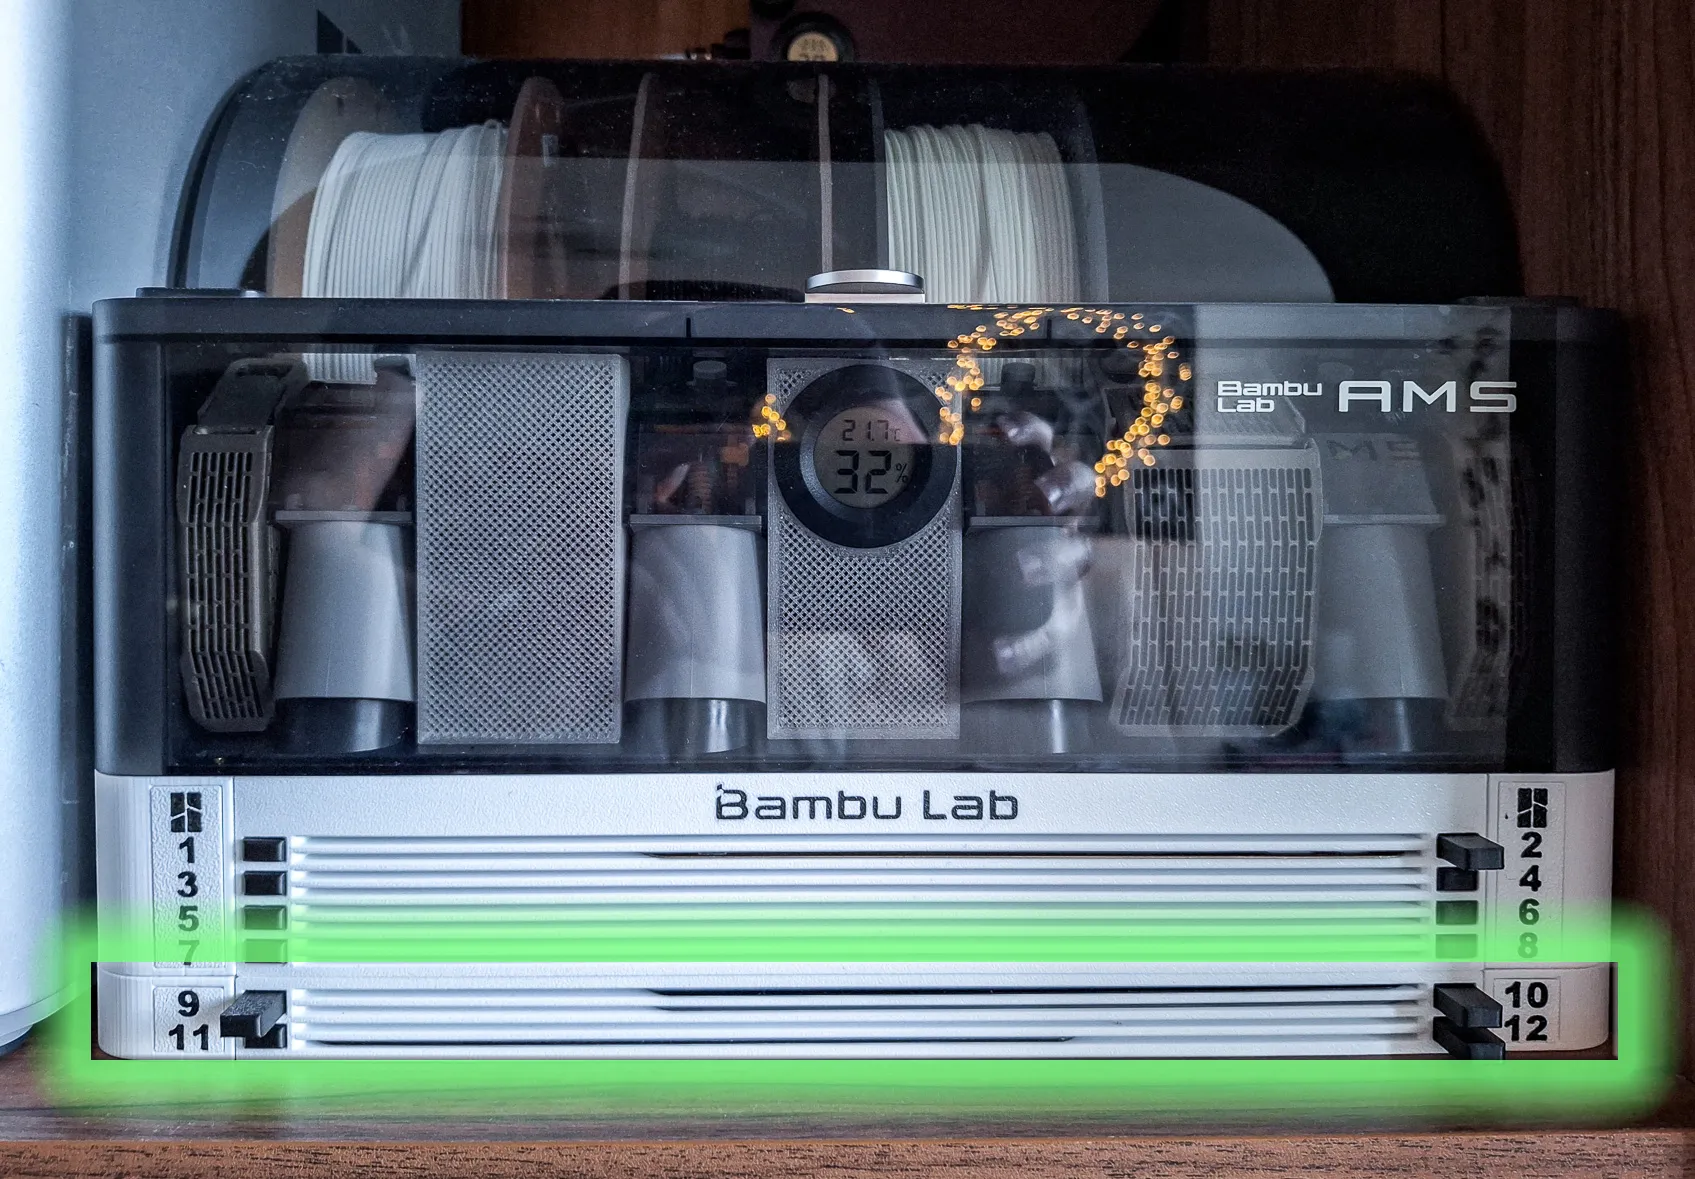

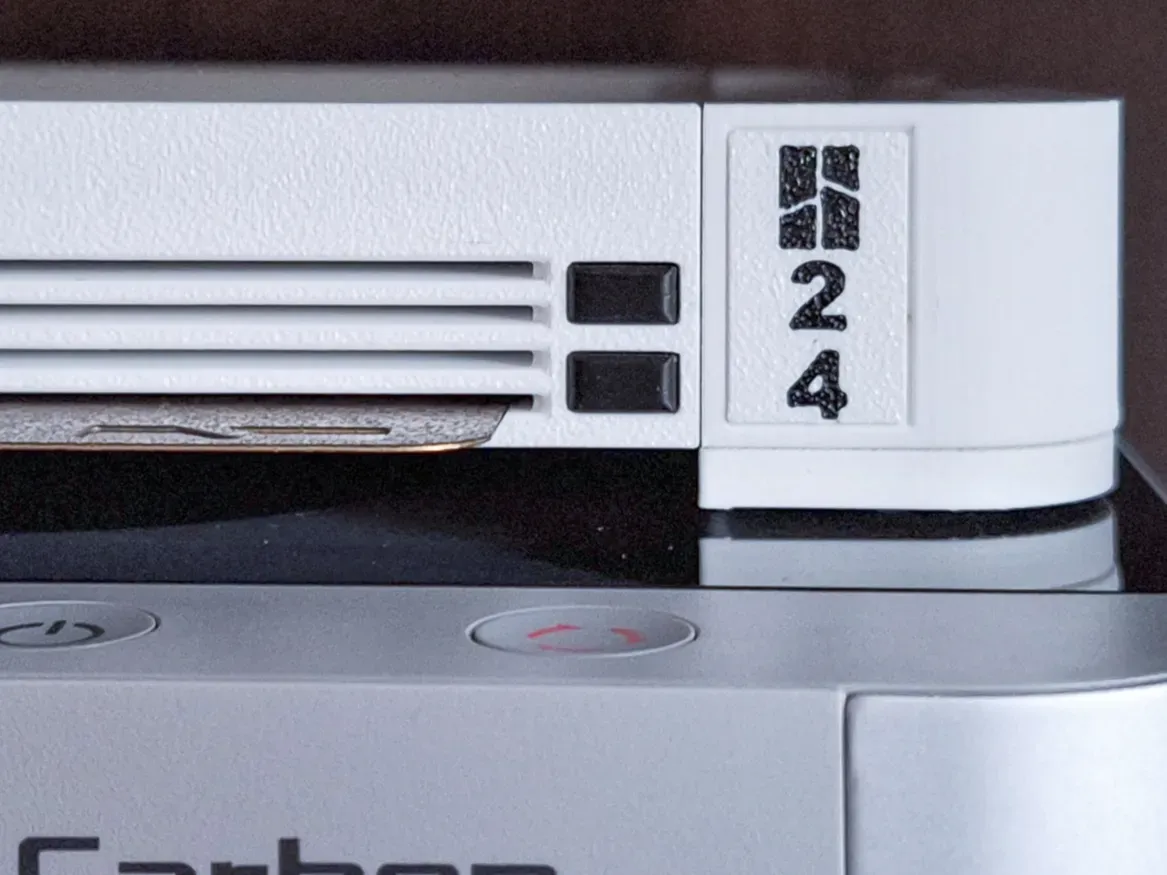
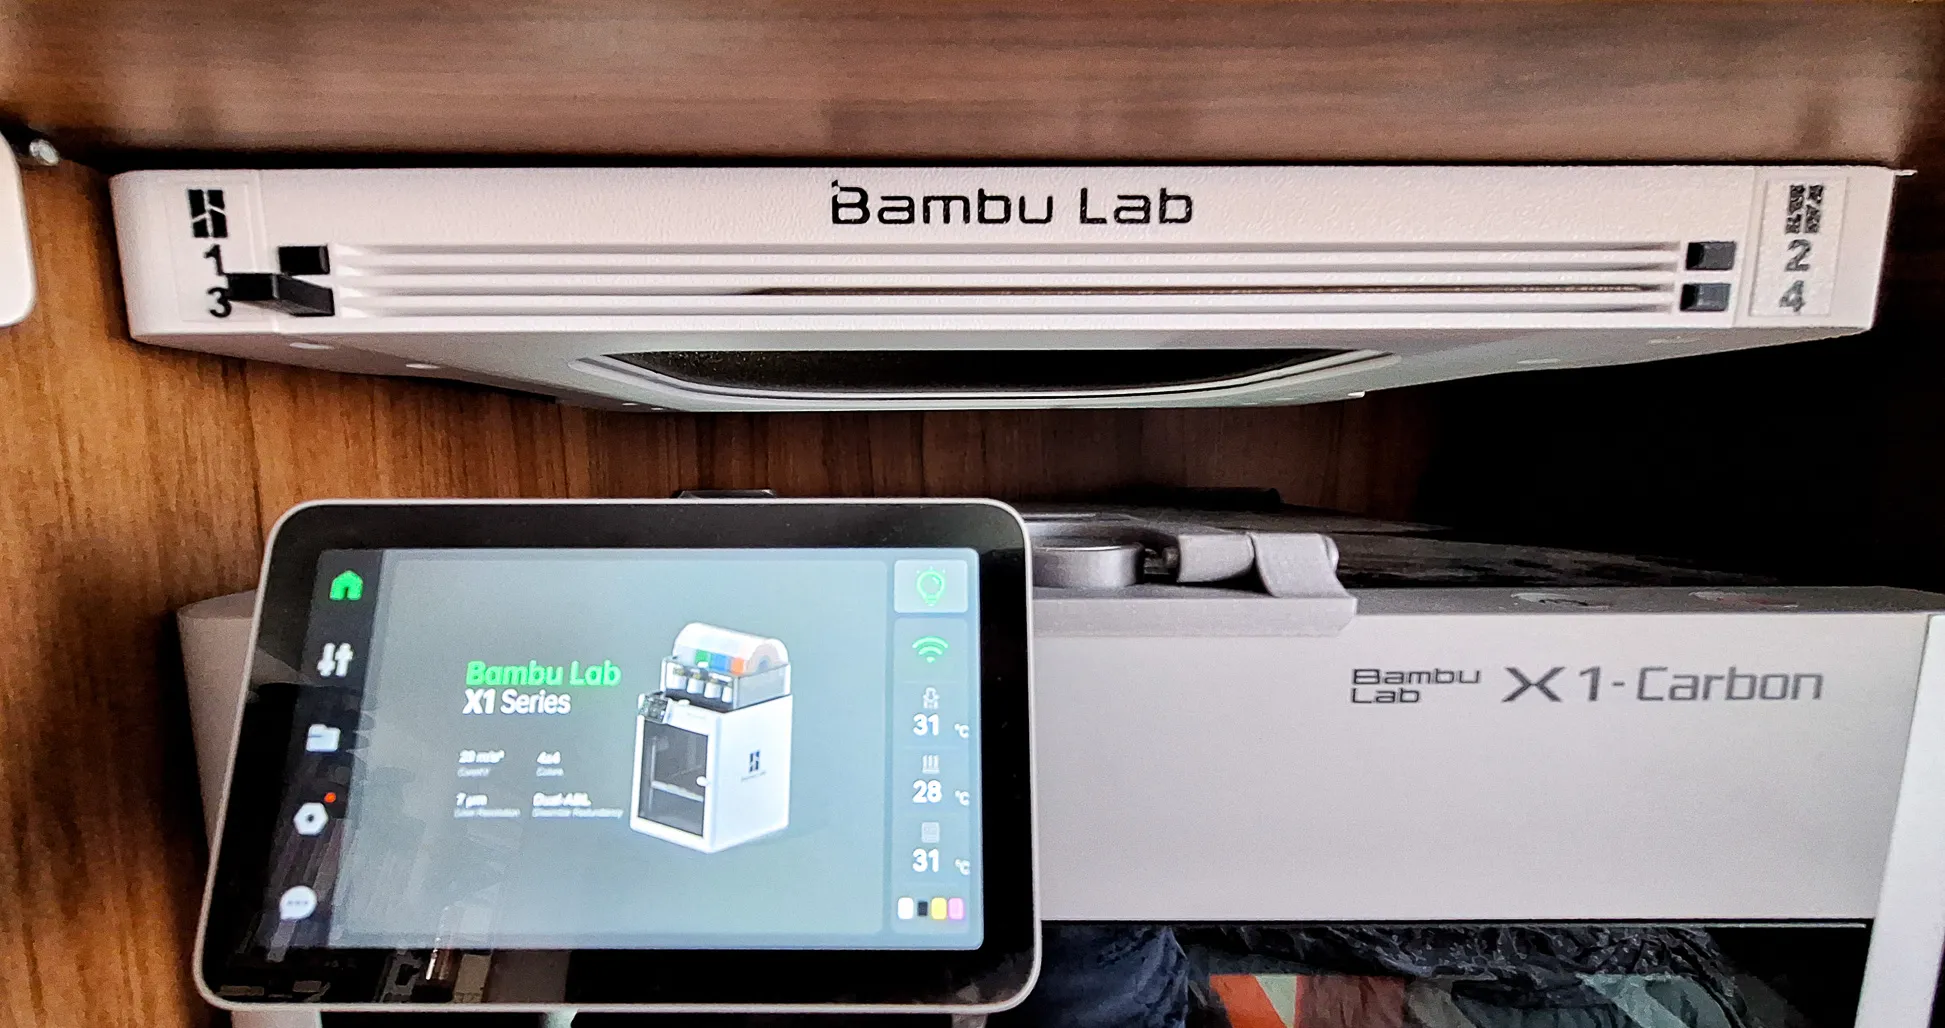
By pressing the button, the build plate ejects approximately 3 cm. By inserting the build plate, the button will pop out easily.
Vertical placement/sticking to the side of the printer also works great.
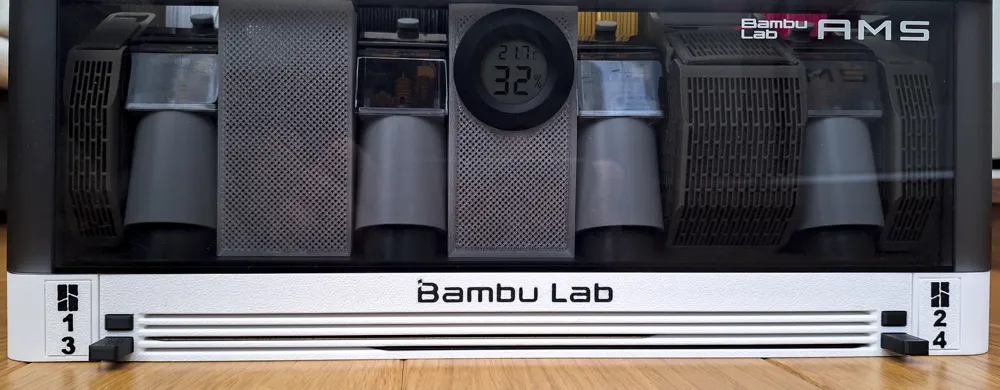
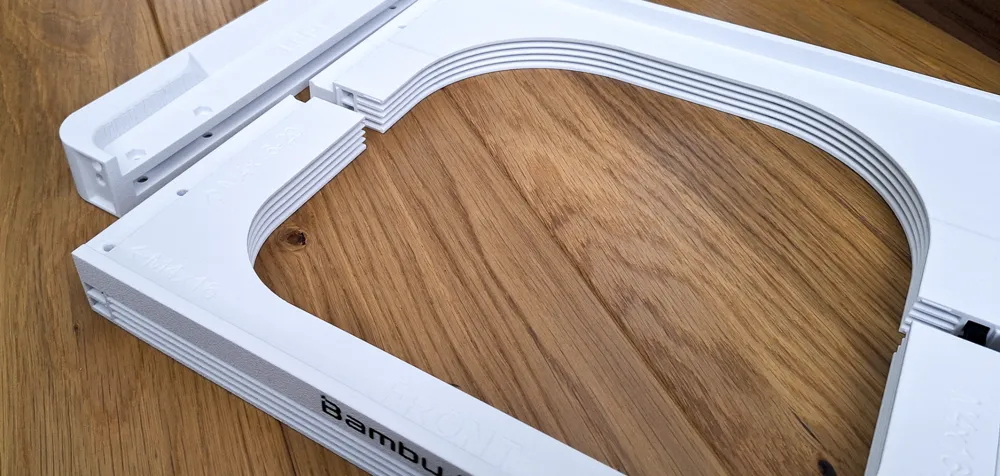
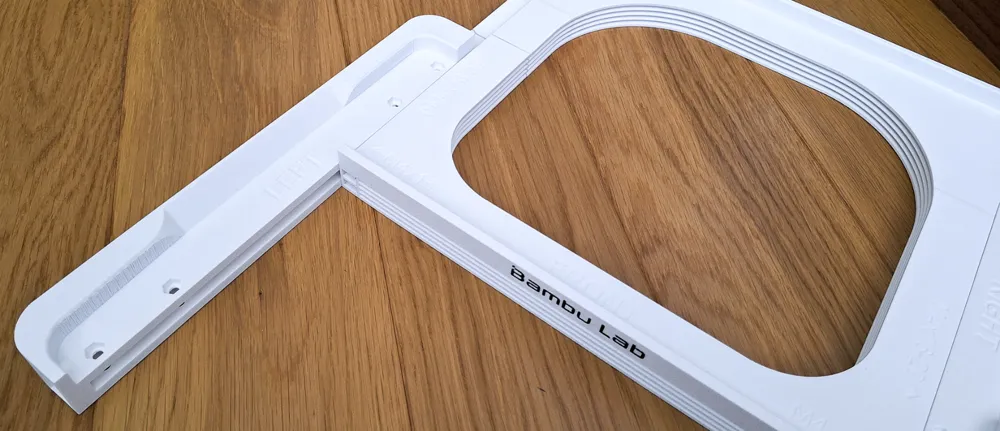
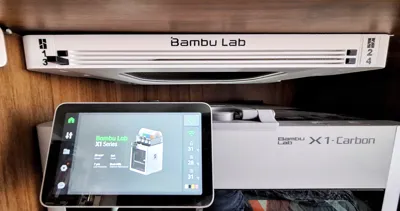
FNT AMS X1 buildplate holder
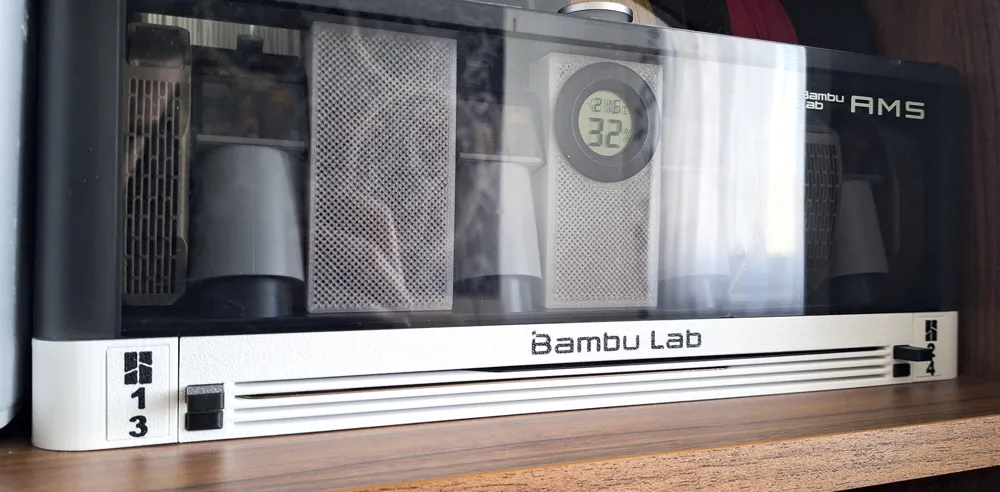
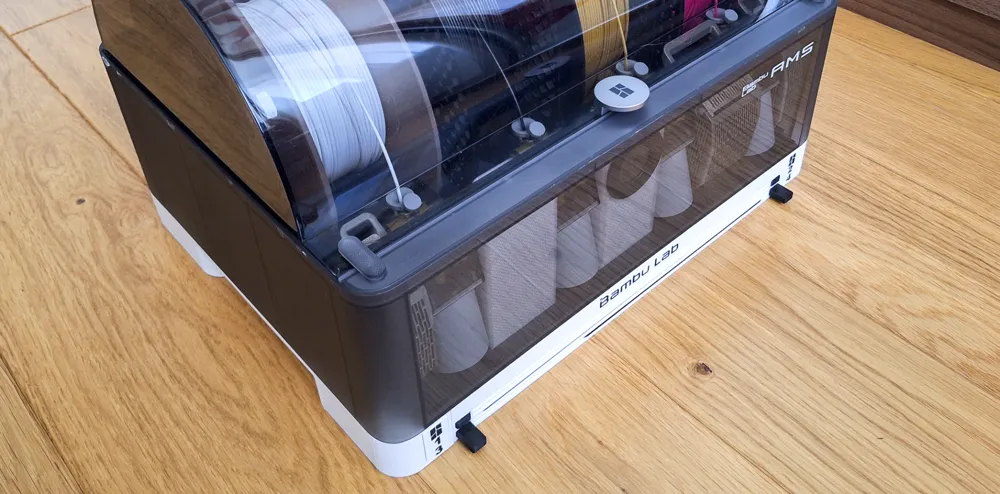
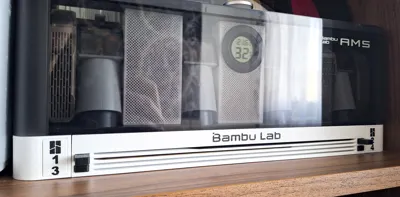
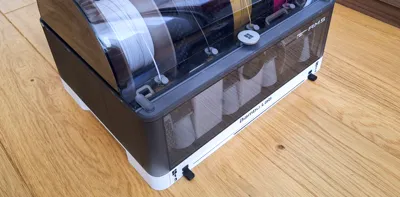
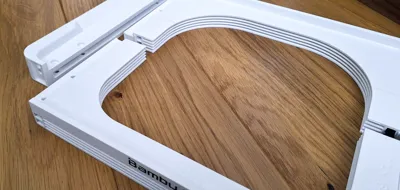
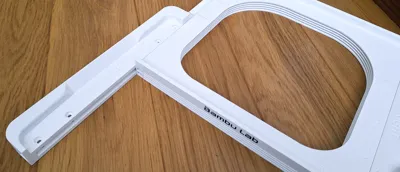
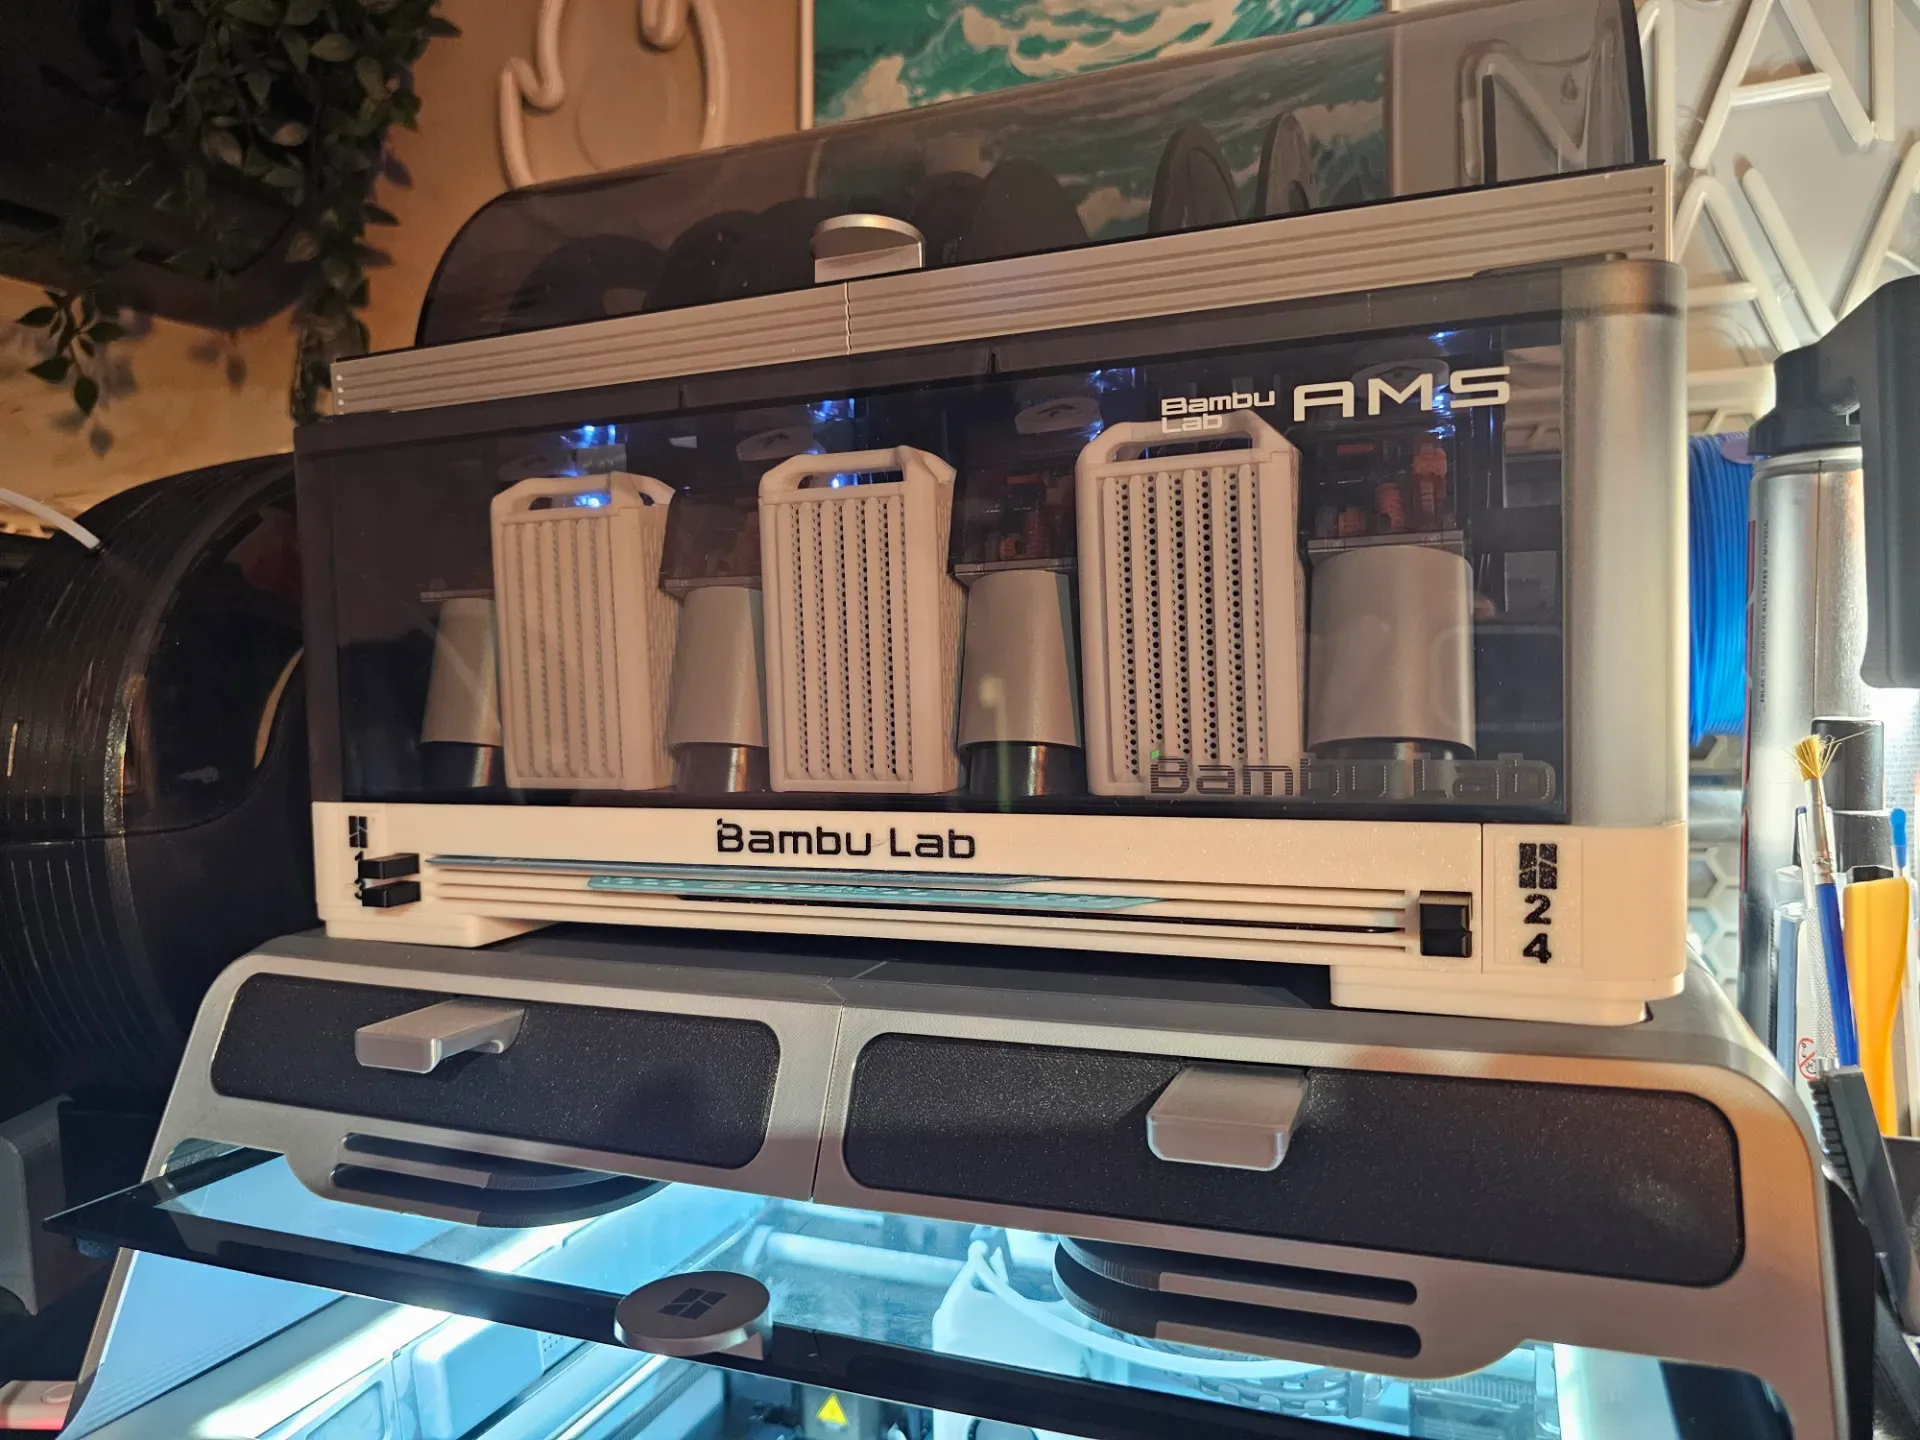
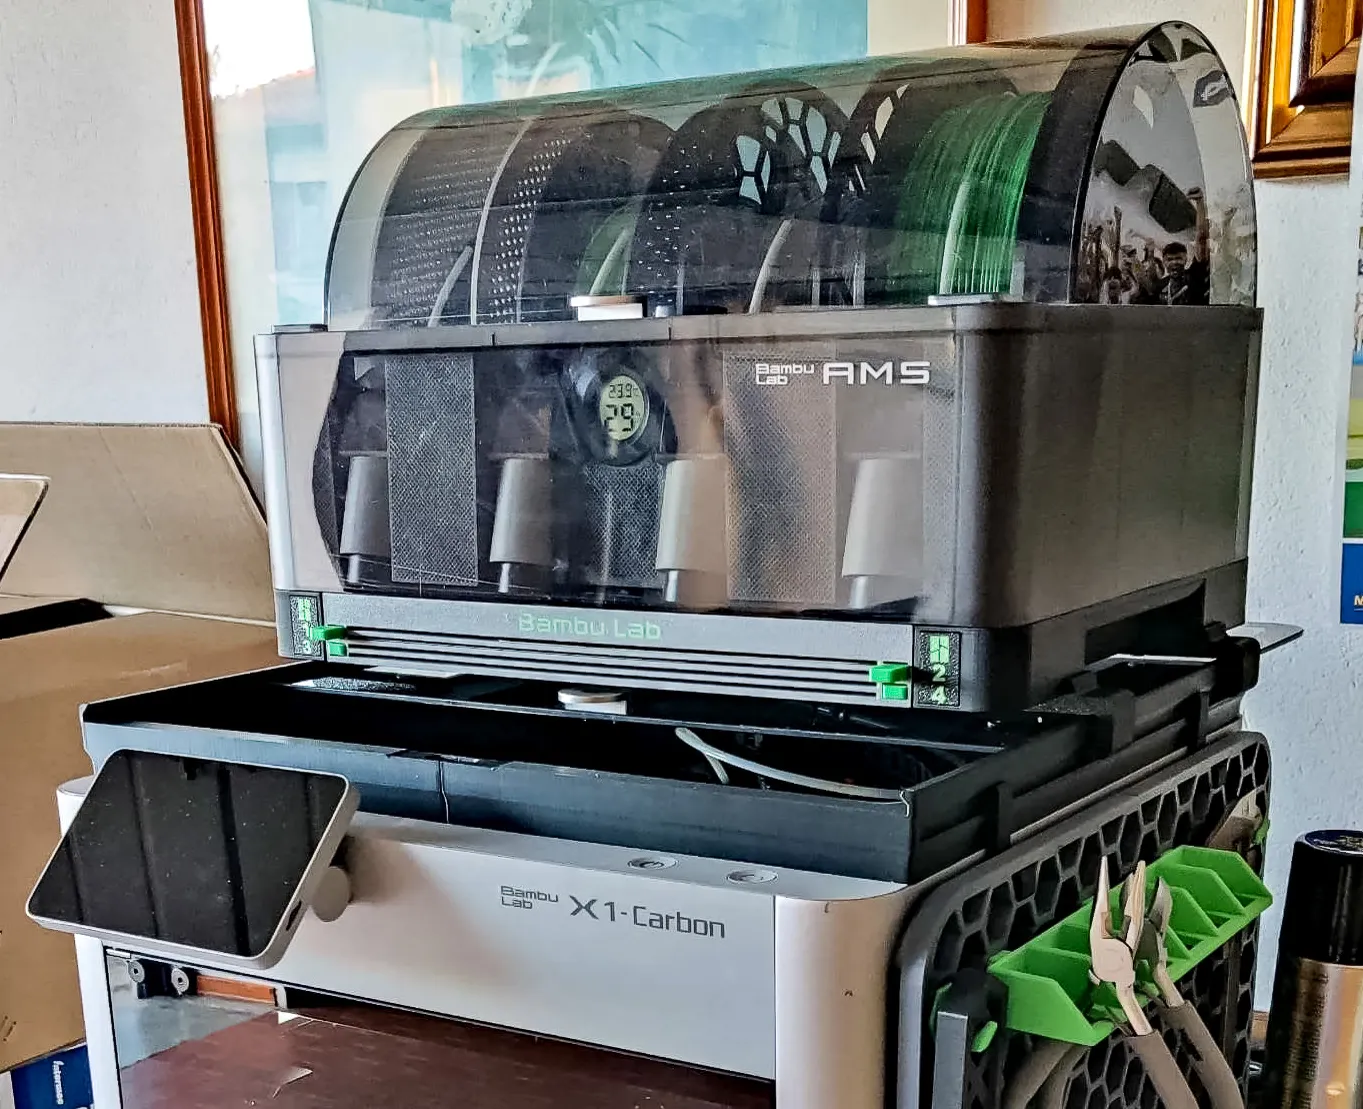
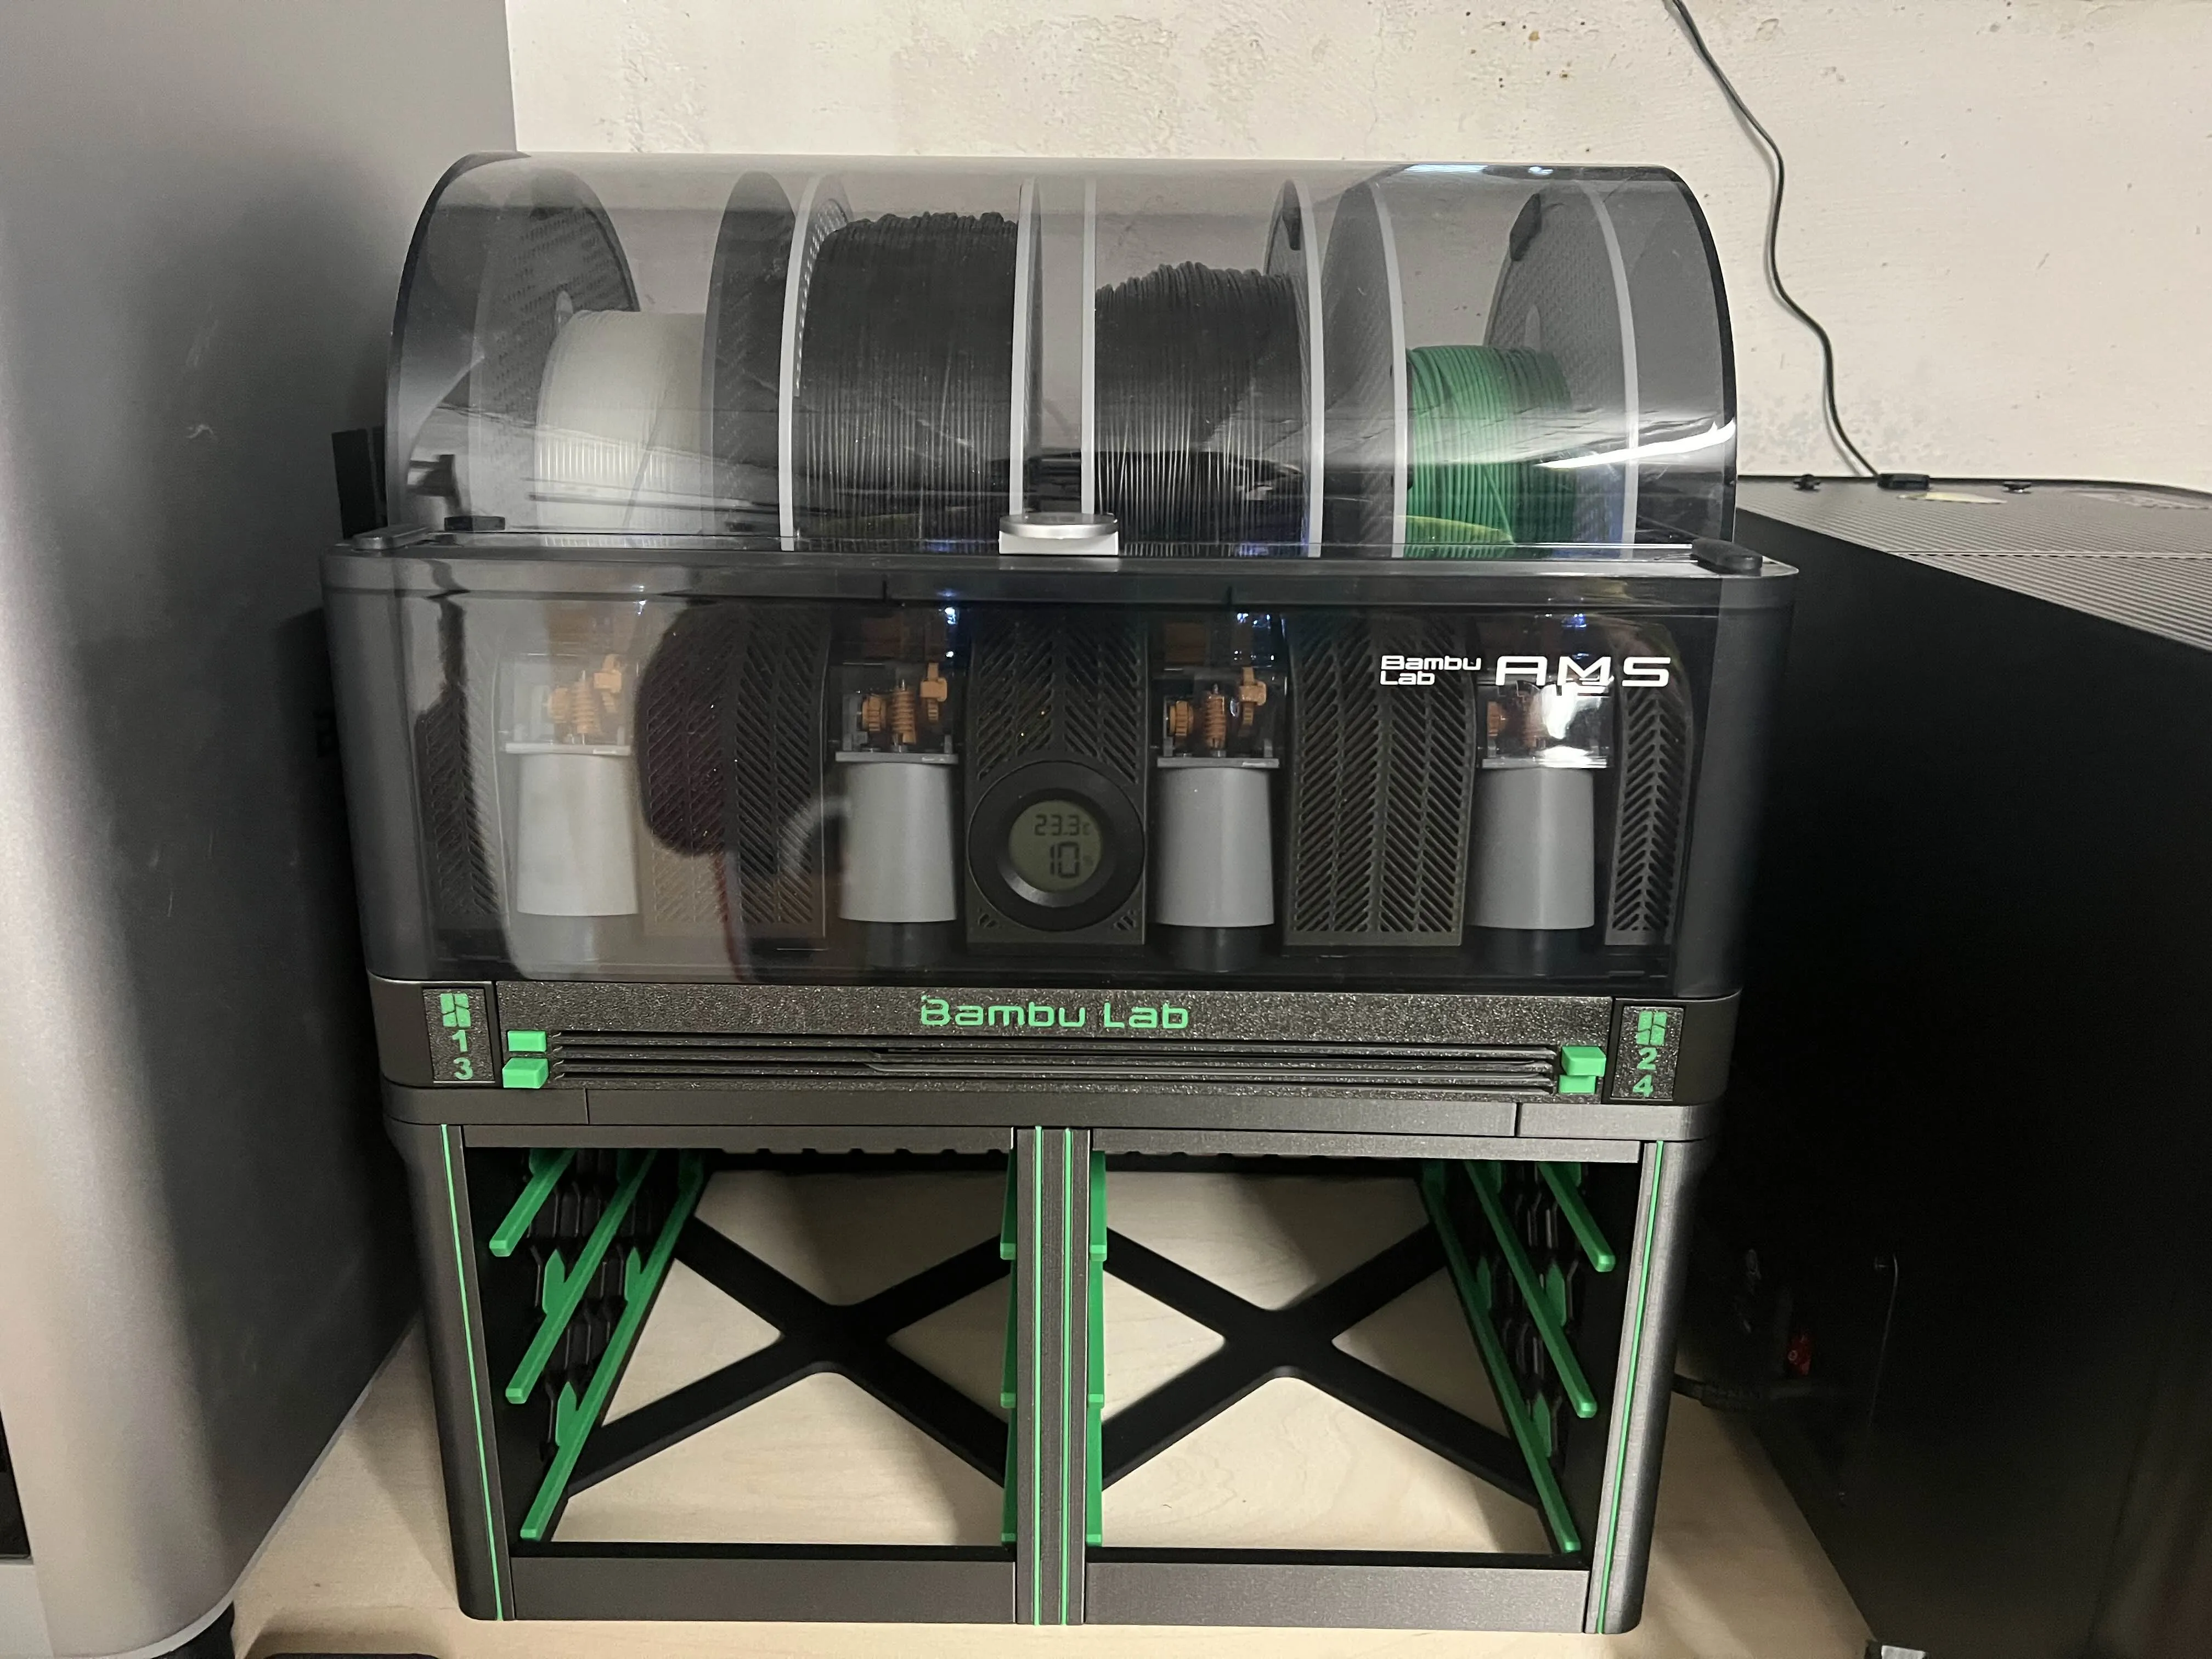
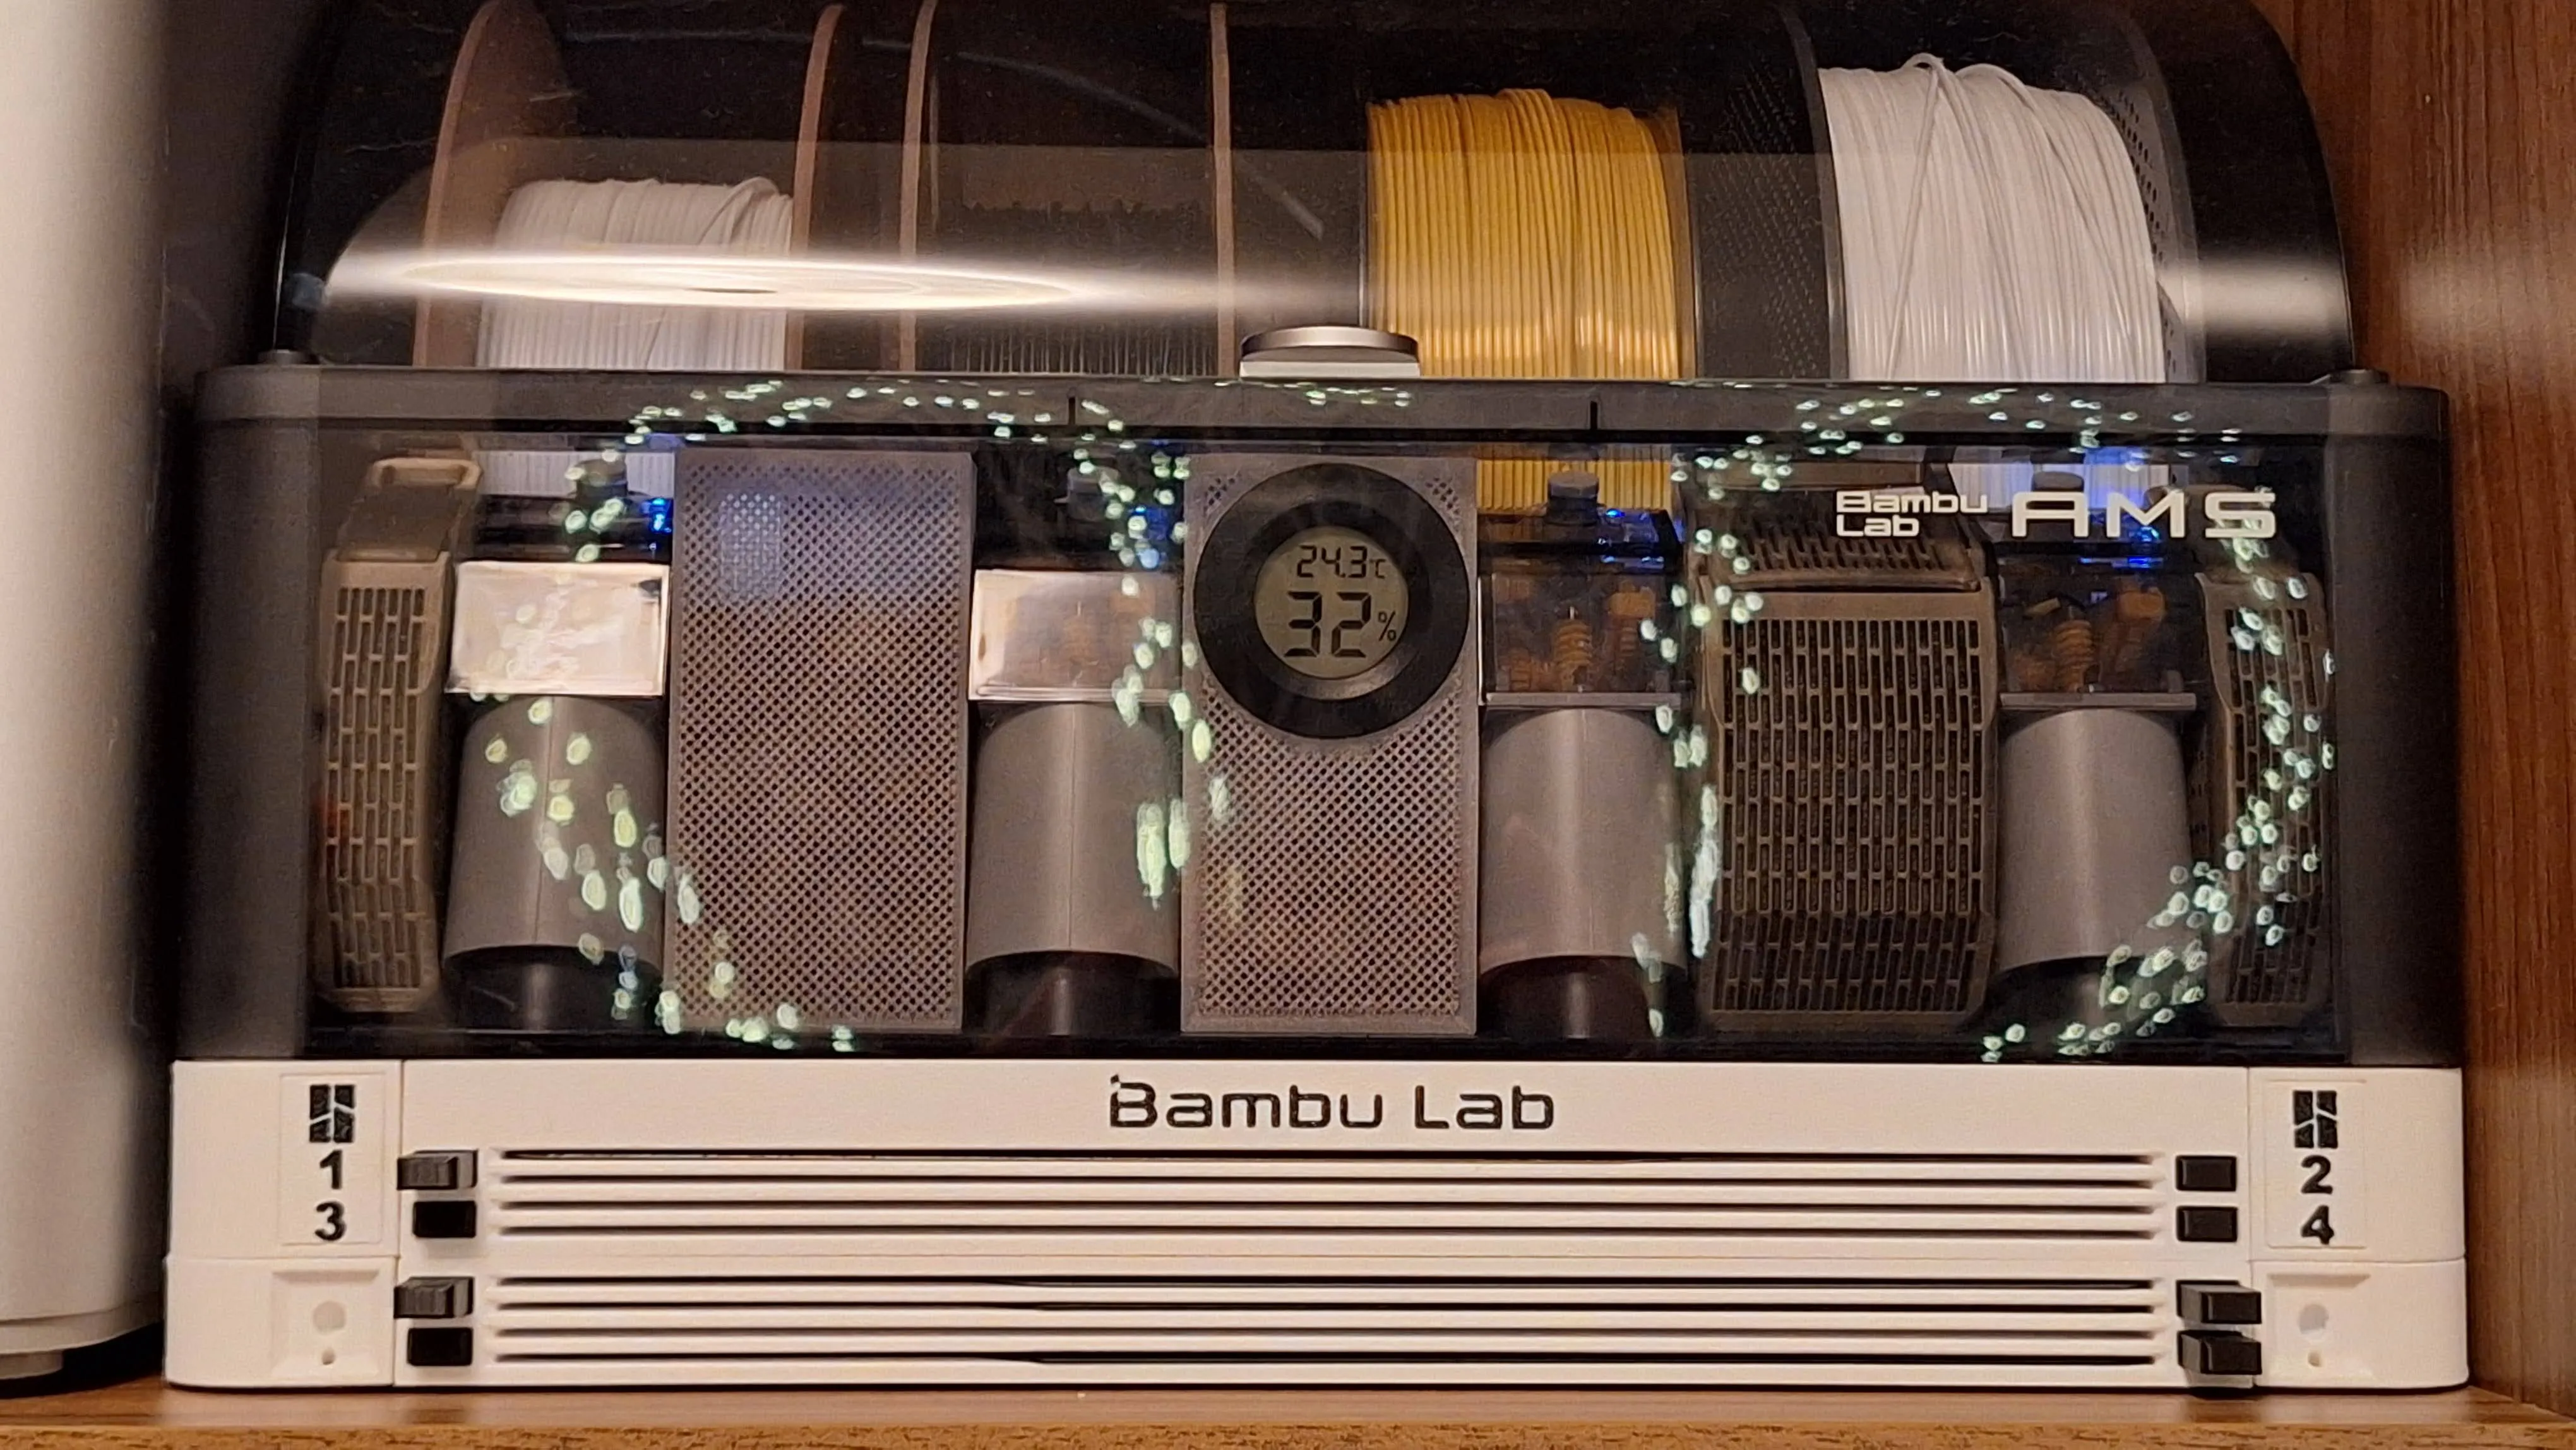


This version of the holder is specially designed for use as a stand for AMS. It's actually very simple - just place the AMS on the assembled holder and you're done.
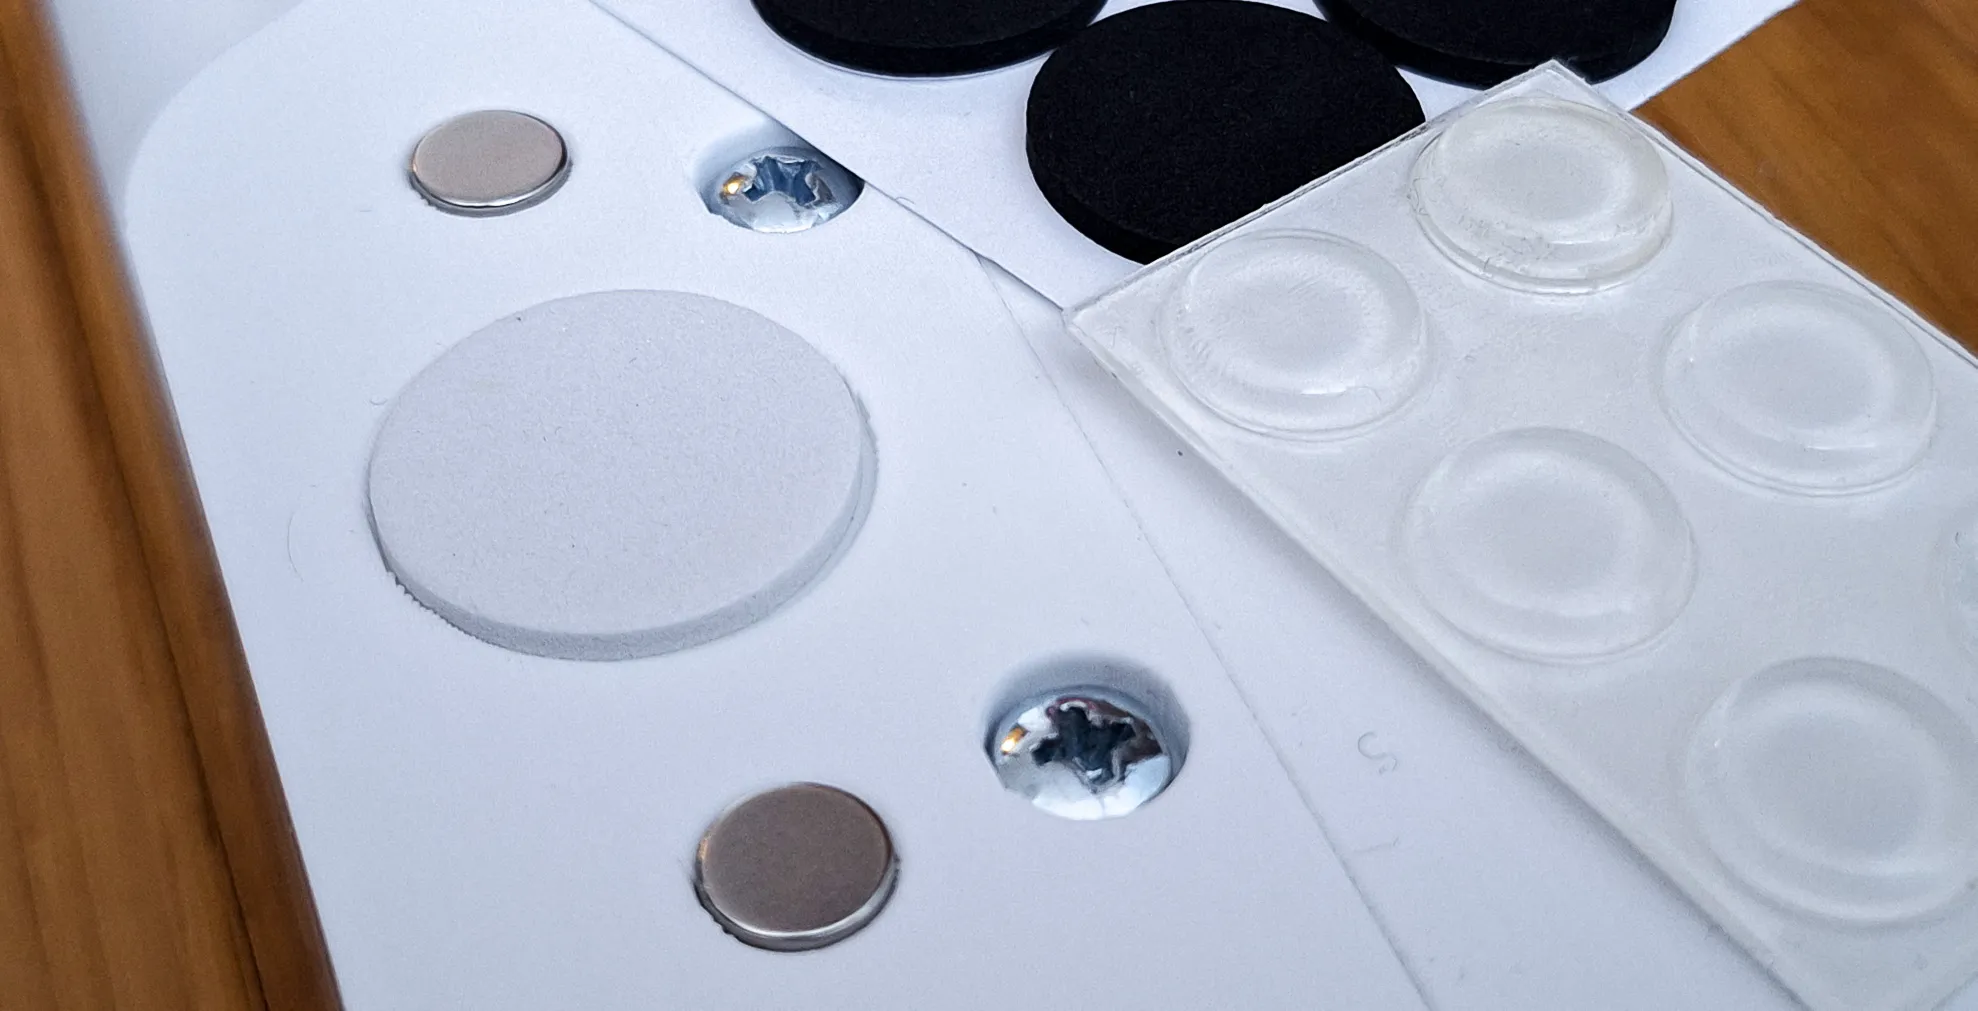
What non-printing parts will you need?
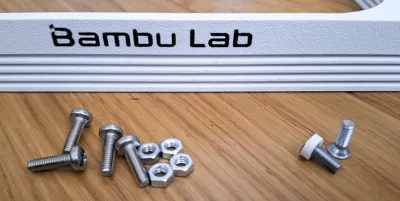
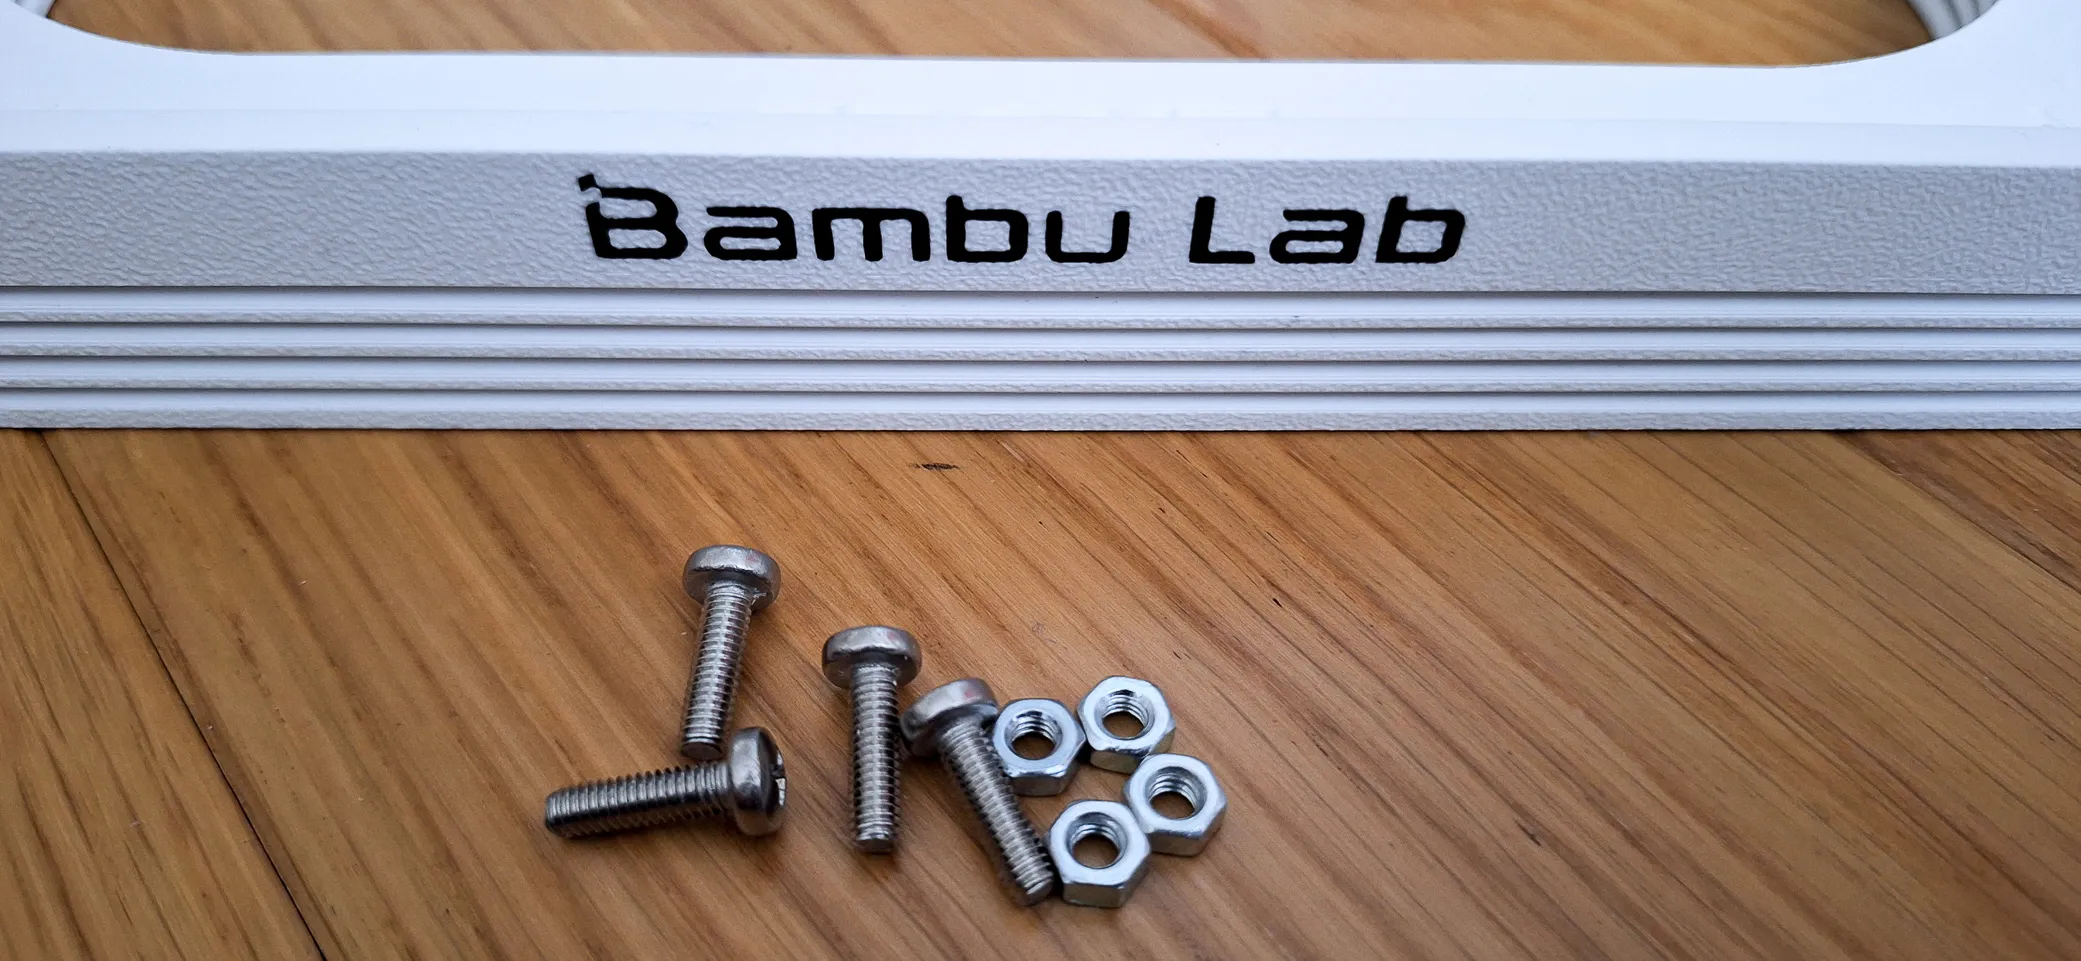
- 4 or 8 pieces of M4 nuts
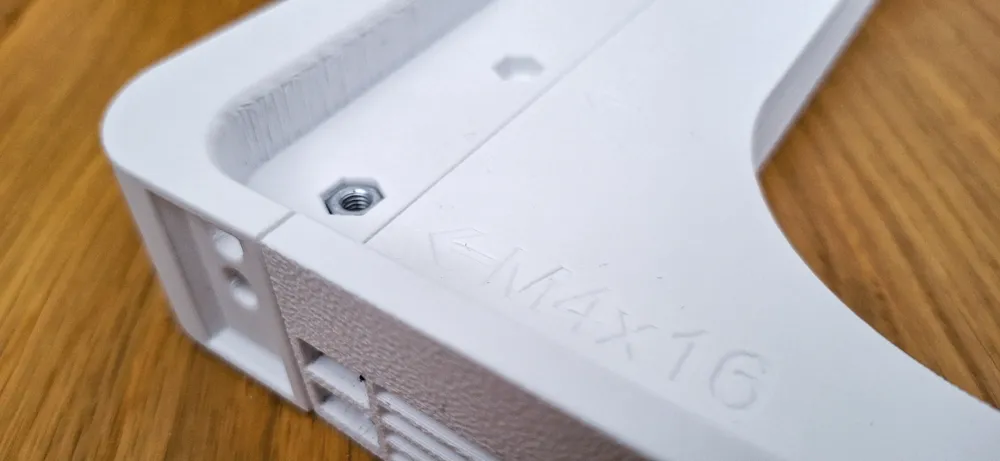
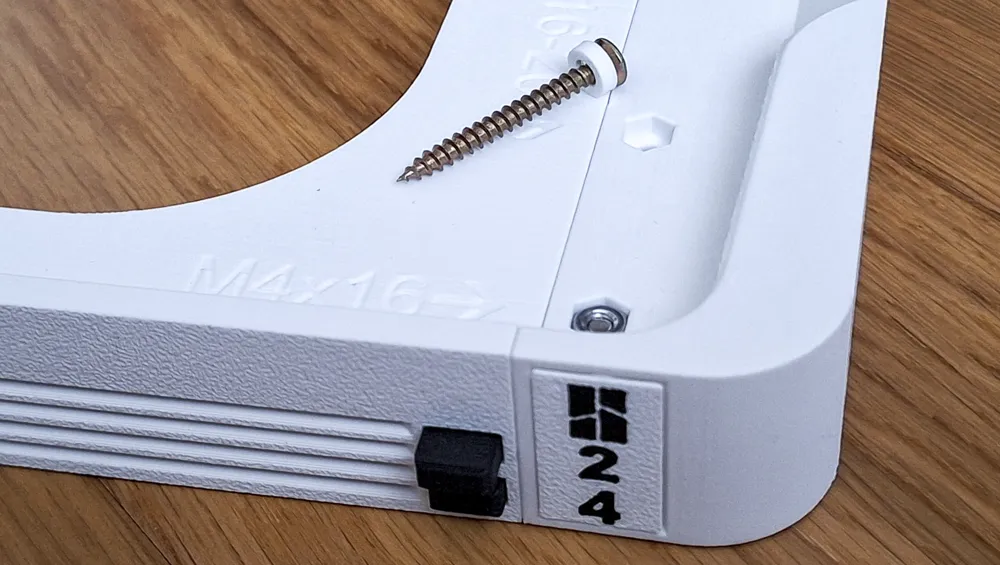
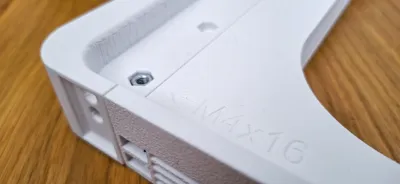
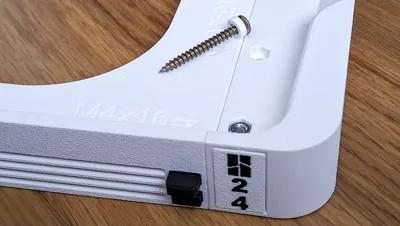
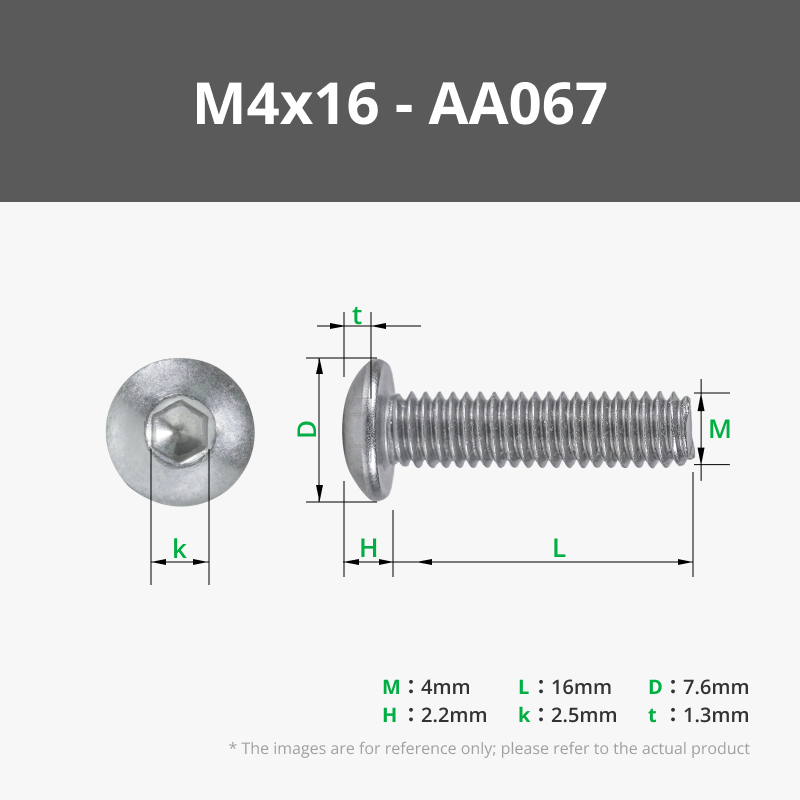
- 4 or 8 pieces of screws M4x16 (4-plates), M4x25(6-plates) or M4x30 (8-plates) type DIN7985 or simmilar (If you use countersunk screws, don't forget to use the included washers.)
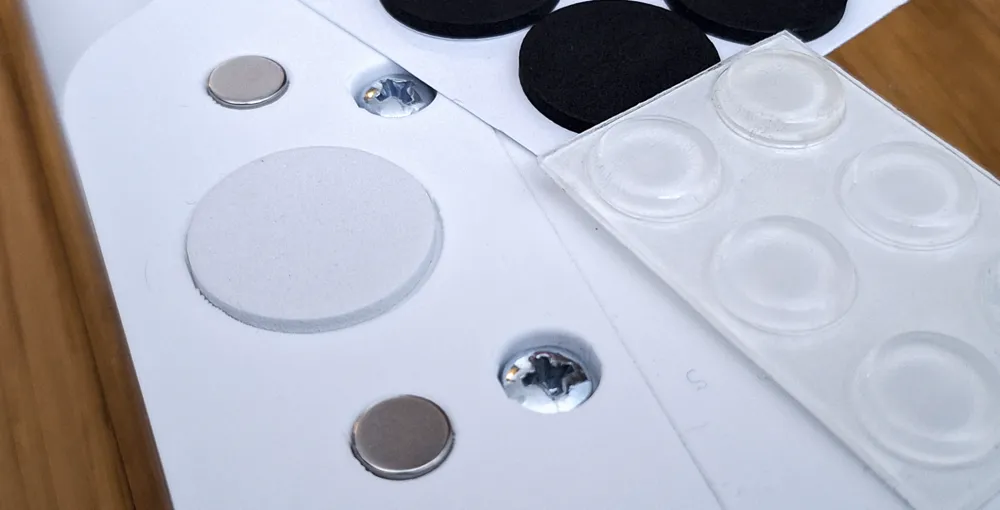
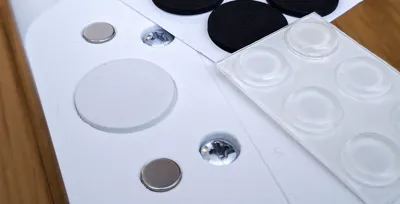
- I recommend 4 pieces of non-slip pads.
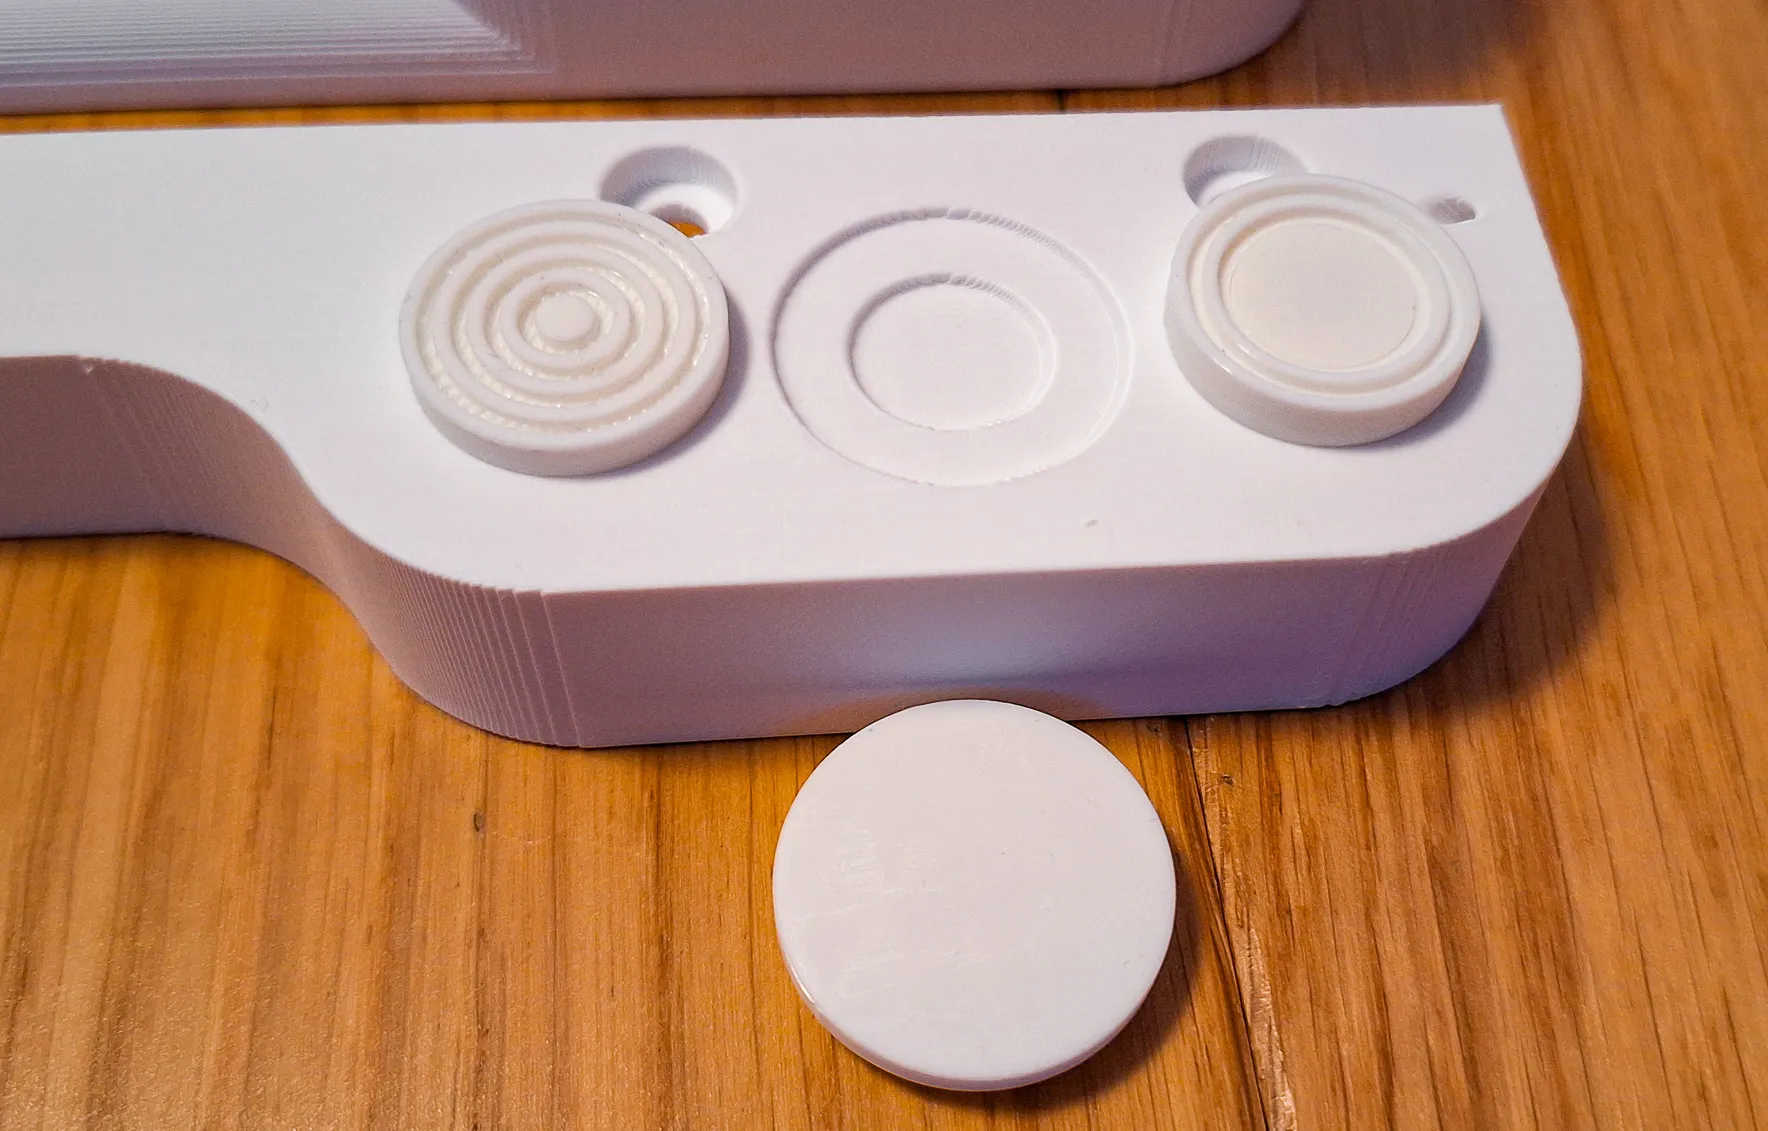
- Silicone - round up to 12x3.5 mm
- Foam/rubber - round up to 22x2.5 mm
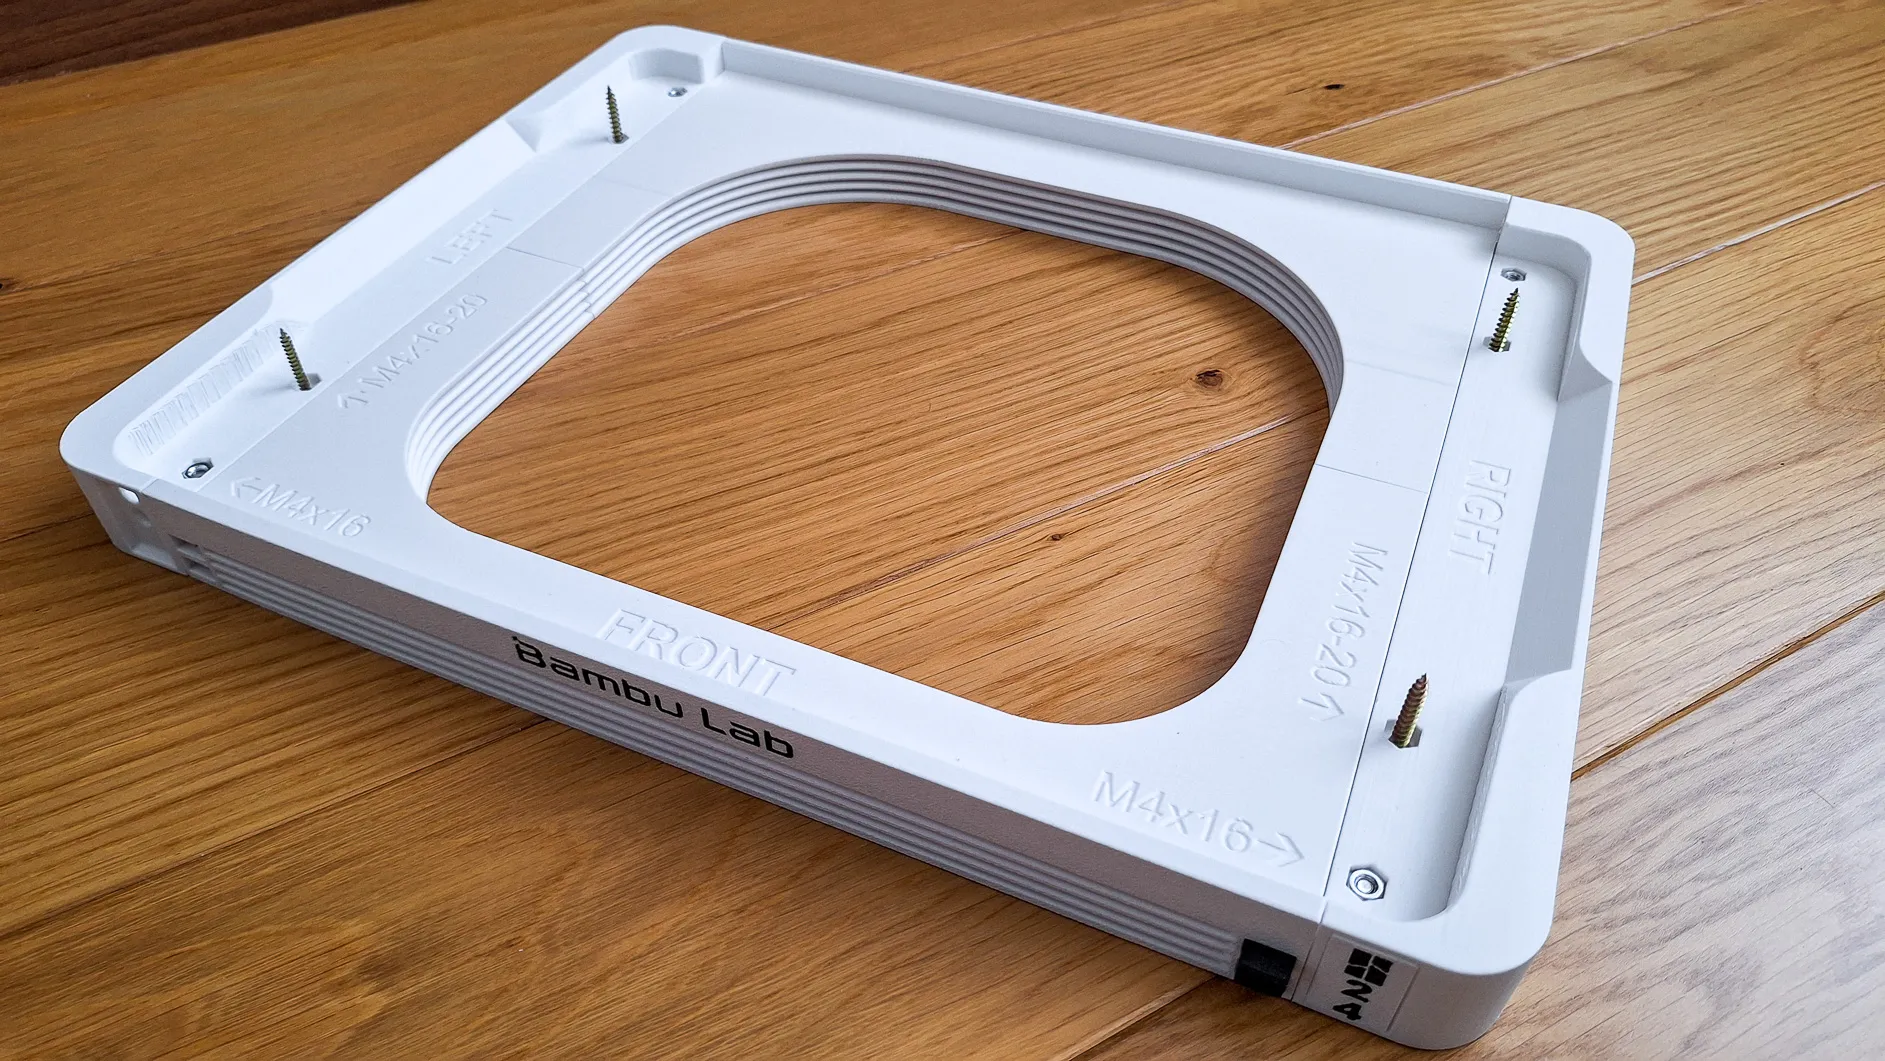
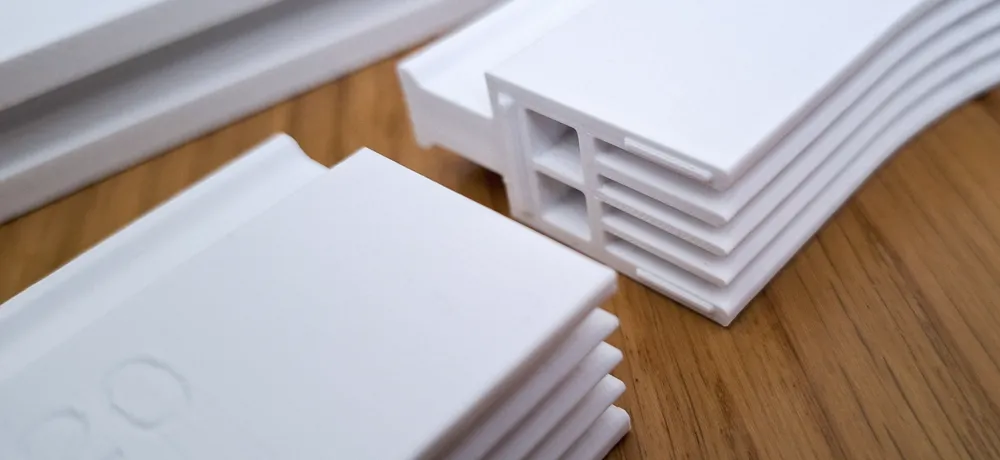
The holder contains several interesting solutions:
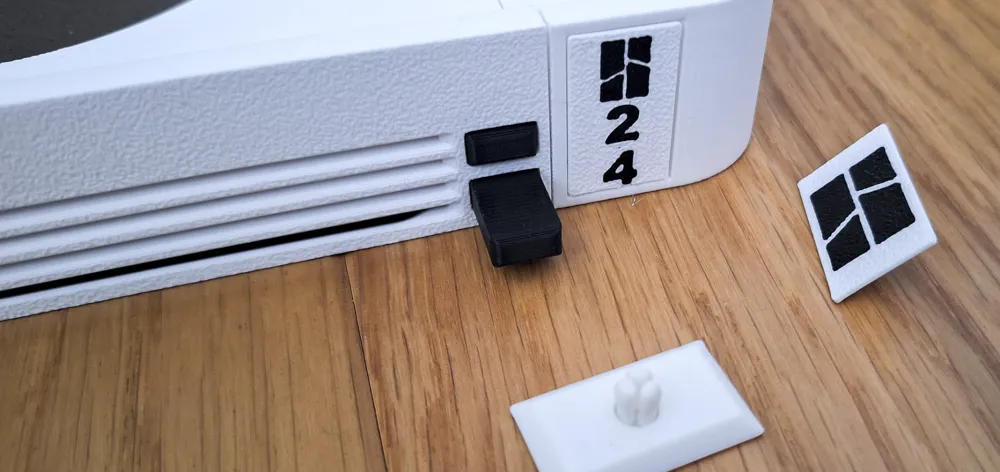
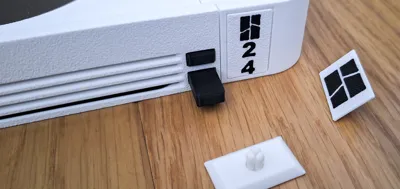
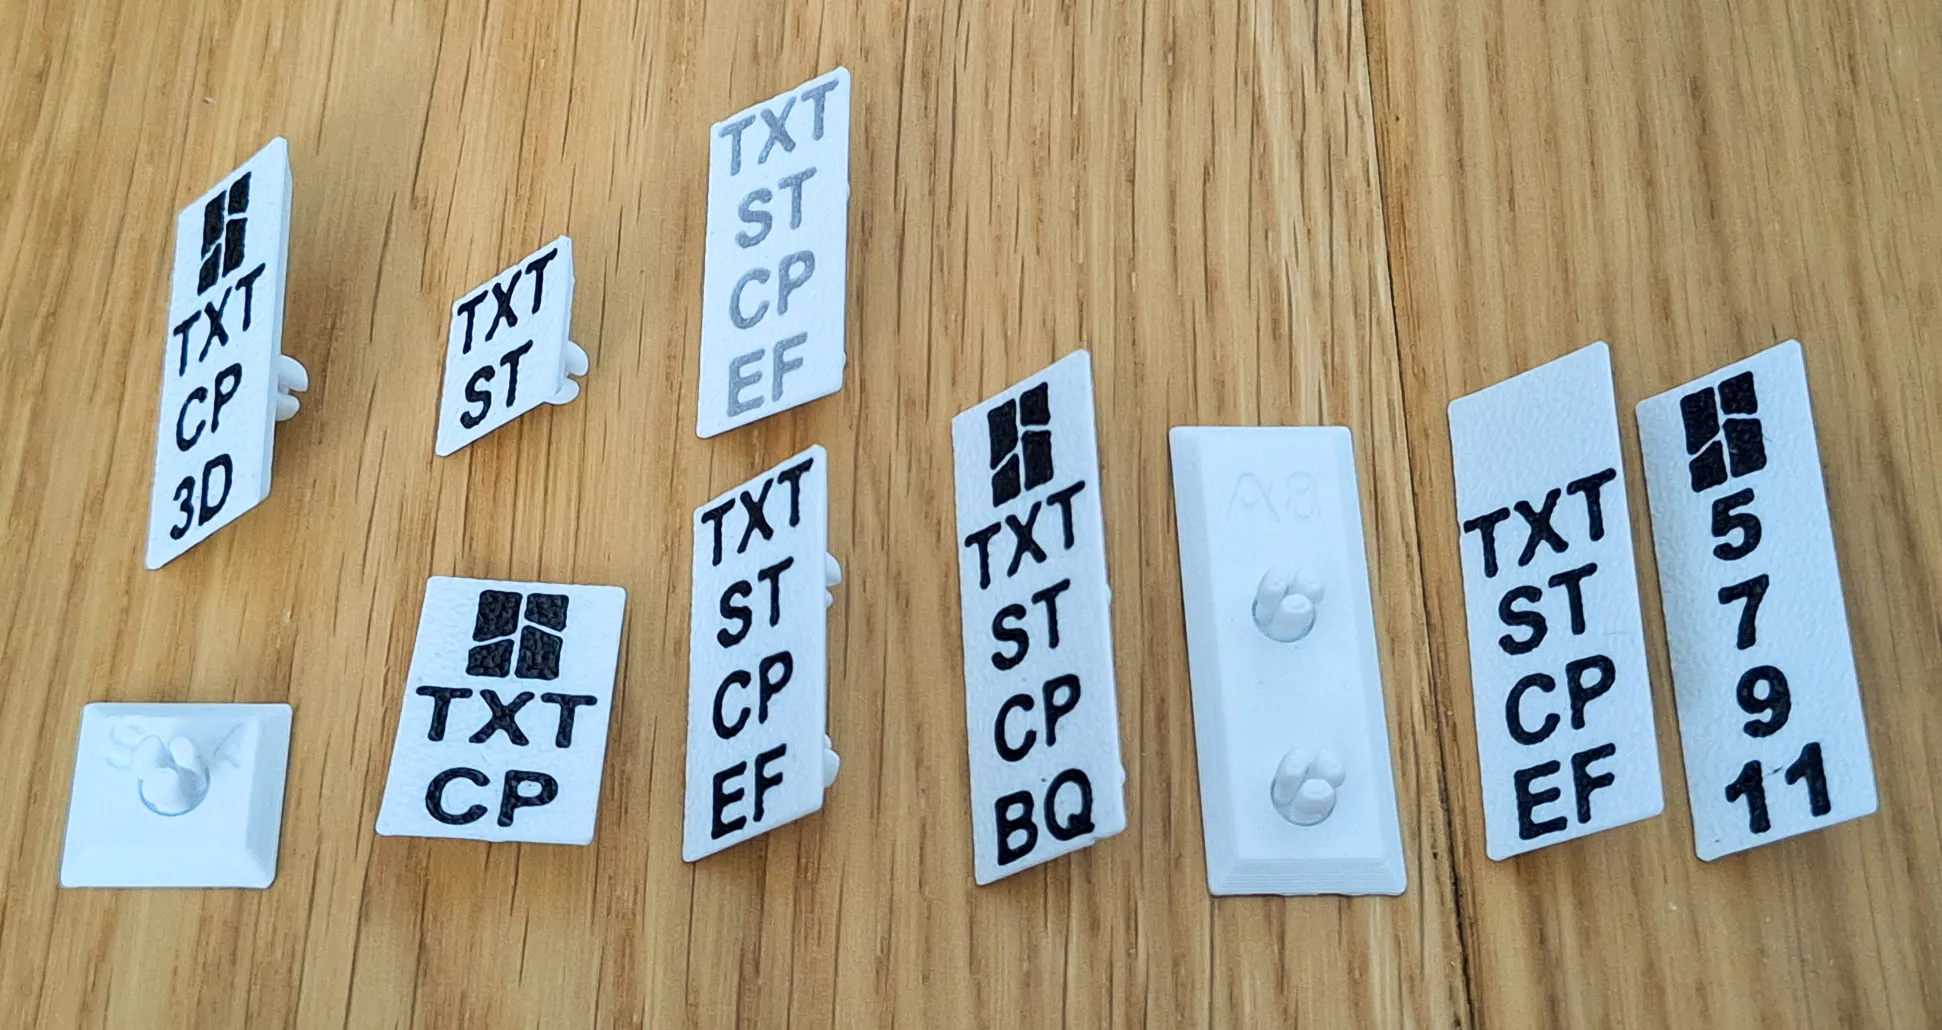

- Interchangeable labels on the sides. A simple click inserts the label, a hole on the other side allows it to be removed. A template is included , so you can customize the image or text - file LogoPlate.step
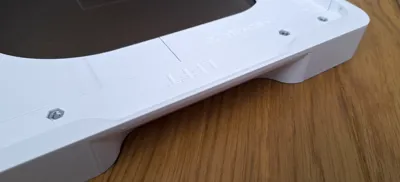
- If you don't want it as a stand for AMS, but you would like to attach it to the underside of a table or shelf, just use the free holes and attach it to the board with screws.
- Side handles for easy carrying
- 4x Holes on the bottom for placing anti-slip pads
- 8x Holes for neodym round magnets 8x3 mm
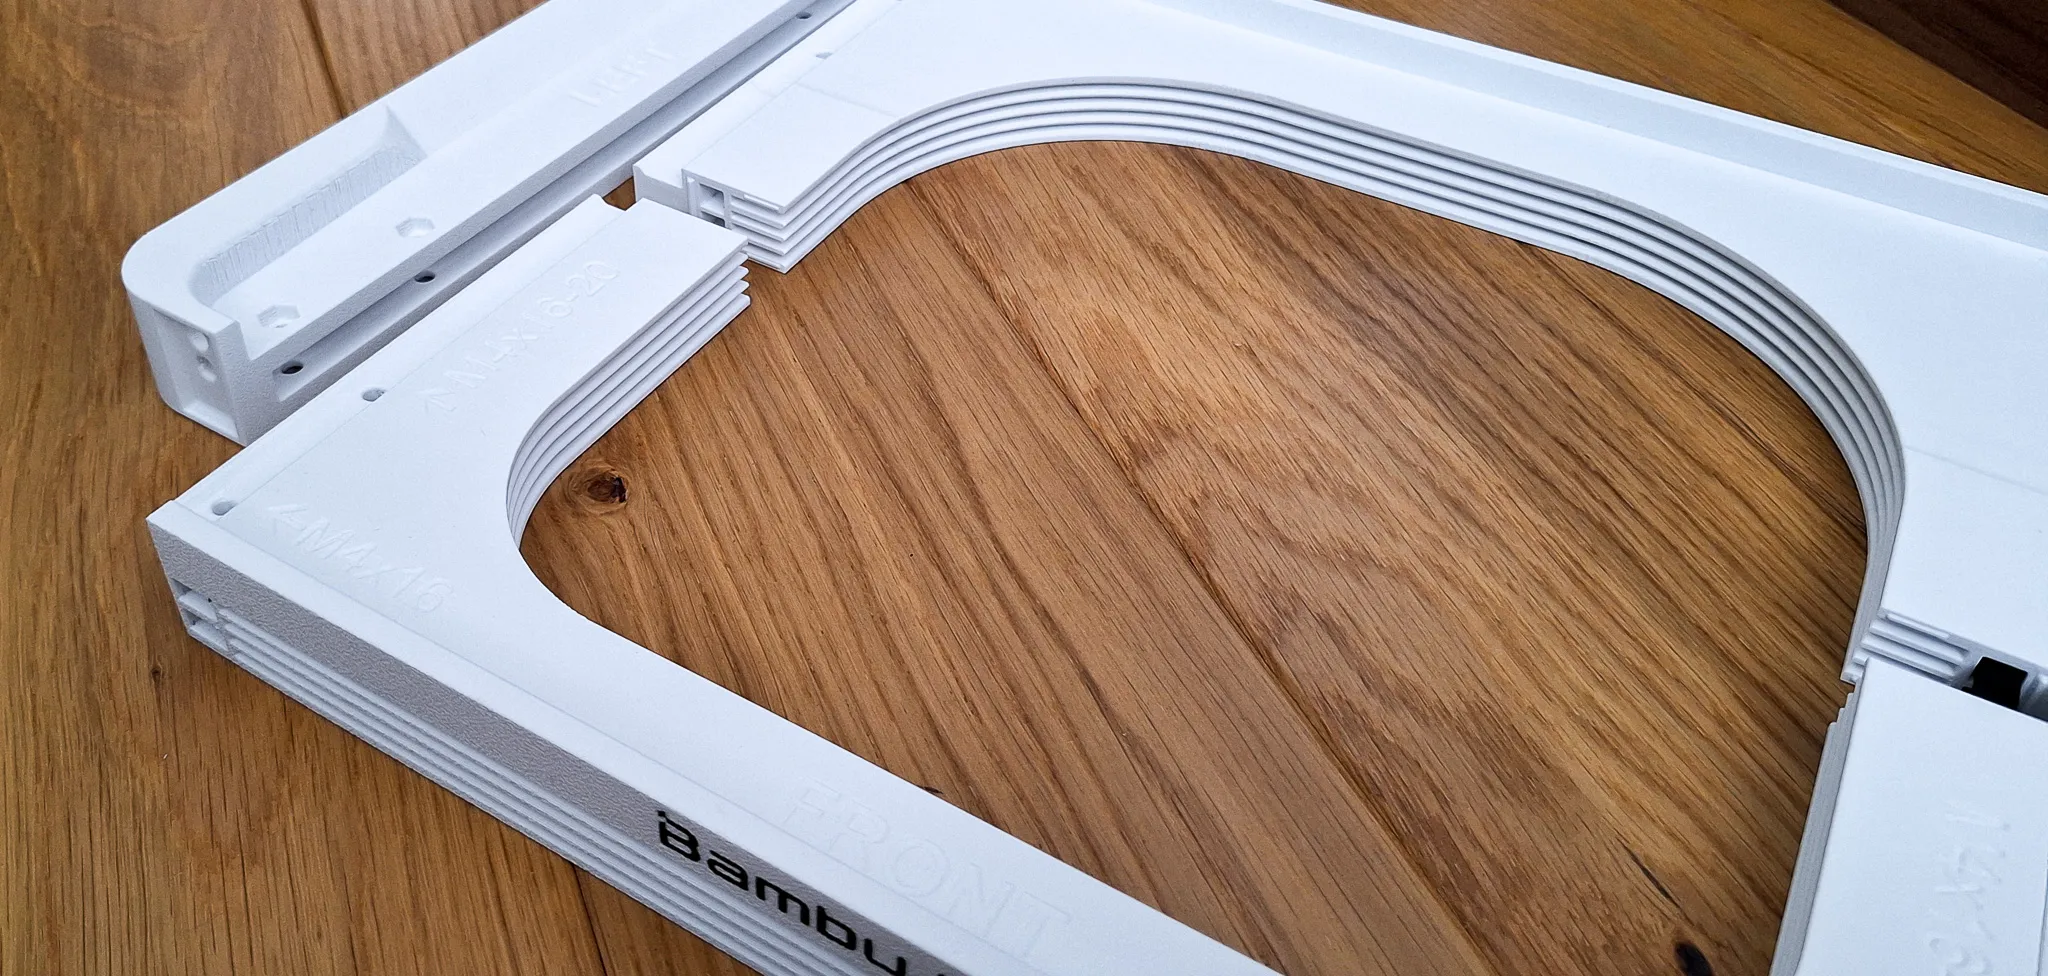
WARNING: If you plan to use the stand with the AMS on top of the printer, make sure to use some form of non-slip rubber feet. The glass can be dusty and if the printer dances with the heavy AMS and the feet slipping, an accident can occur. Do not leave the printer unattended until you are sure the AMS is not moving.
Printing instructions
- Please use the included print profile. It is tuned and tested for optimal results
- Print only on closed printers such as X1C and P1S
- Before starting printing, make sure the build plate is clean and degreased. If necessary, use 3DLac.
- Use only good quality filament to avoid problems with peeling/non-functional buttons due to poorly printed surfaces. Bambu PLA Basic is OK
- Do not increase the speed or change the height of the layer
- layer 0.2mm, supports: yes, use Brim
- I use Textured Pad 60°C and PLA. I have no problems printing on X1C.
- When I used SuperTack and the recommended 45°C, the model peeled off
Assembly:
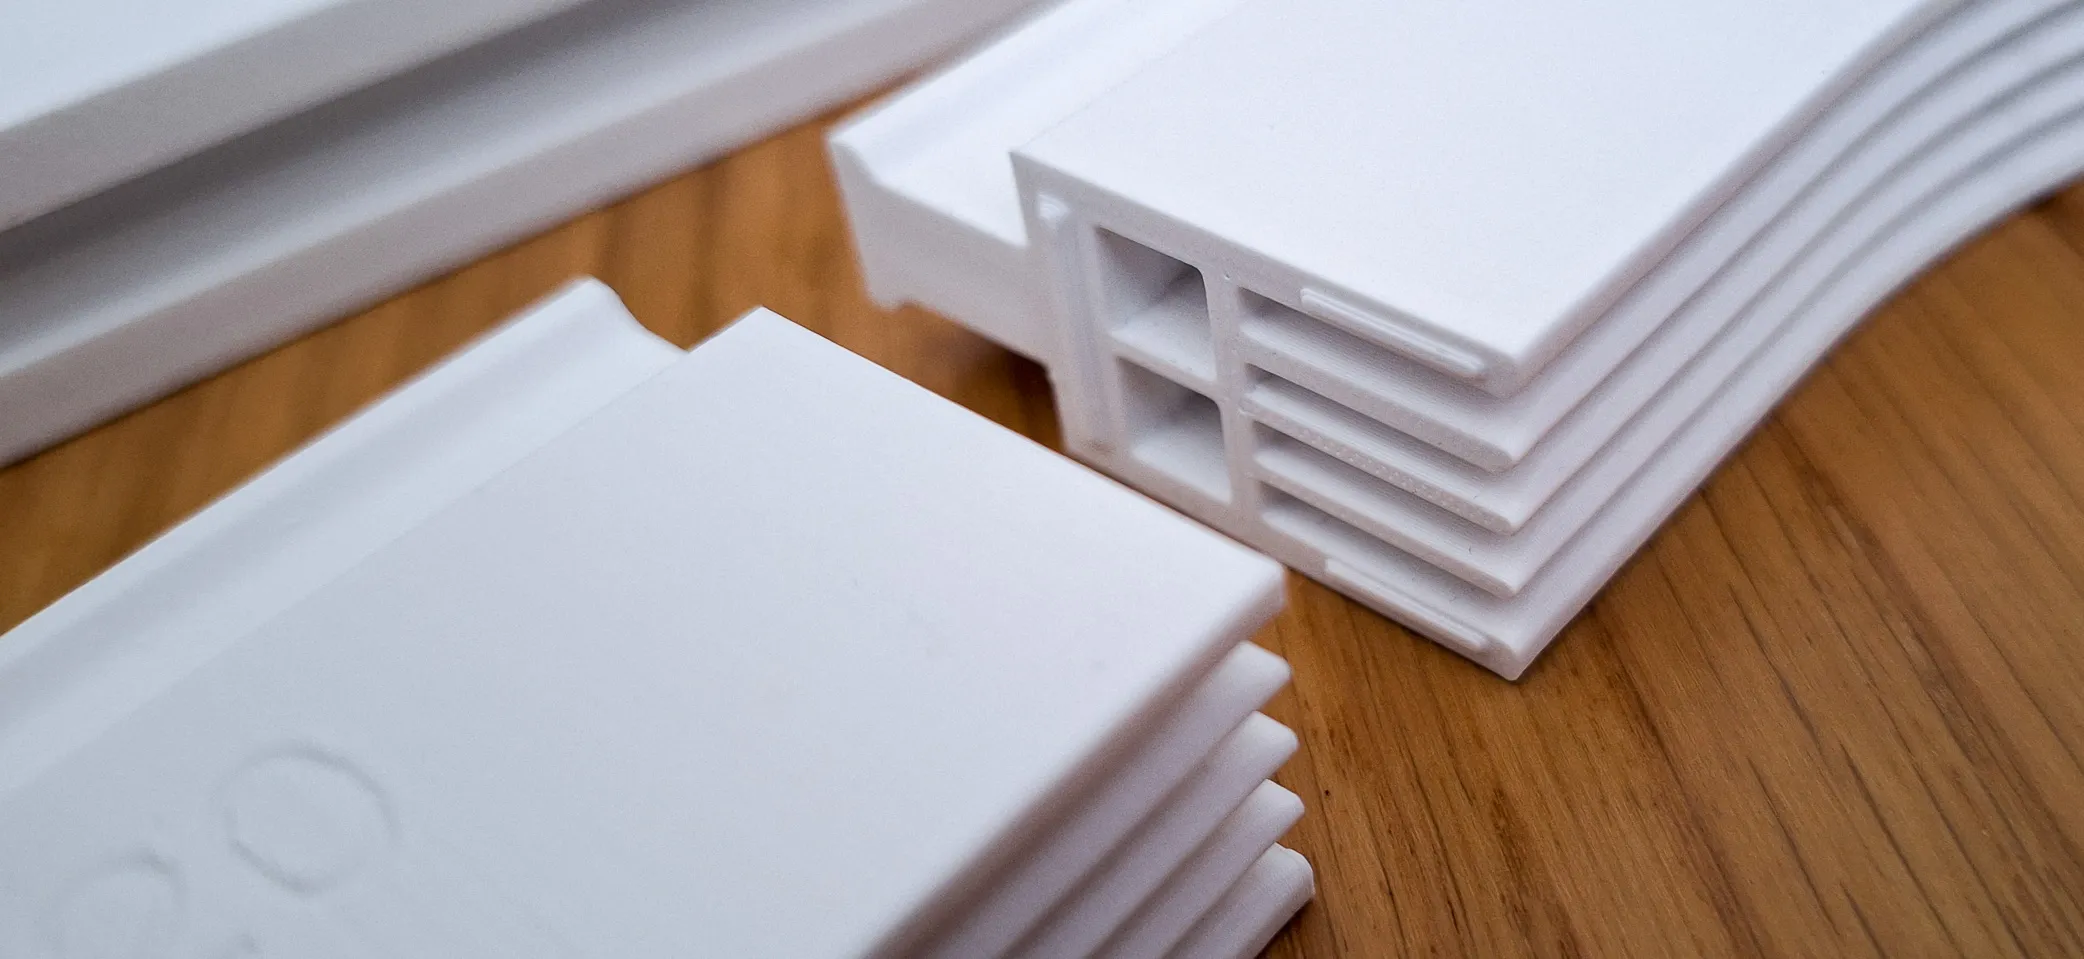
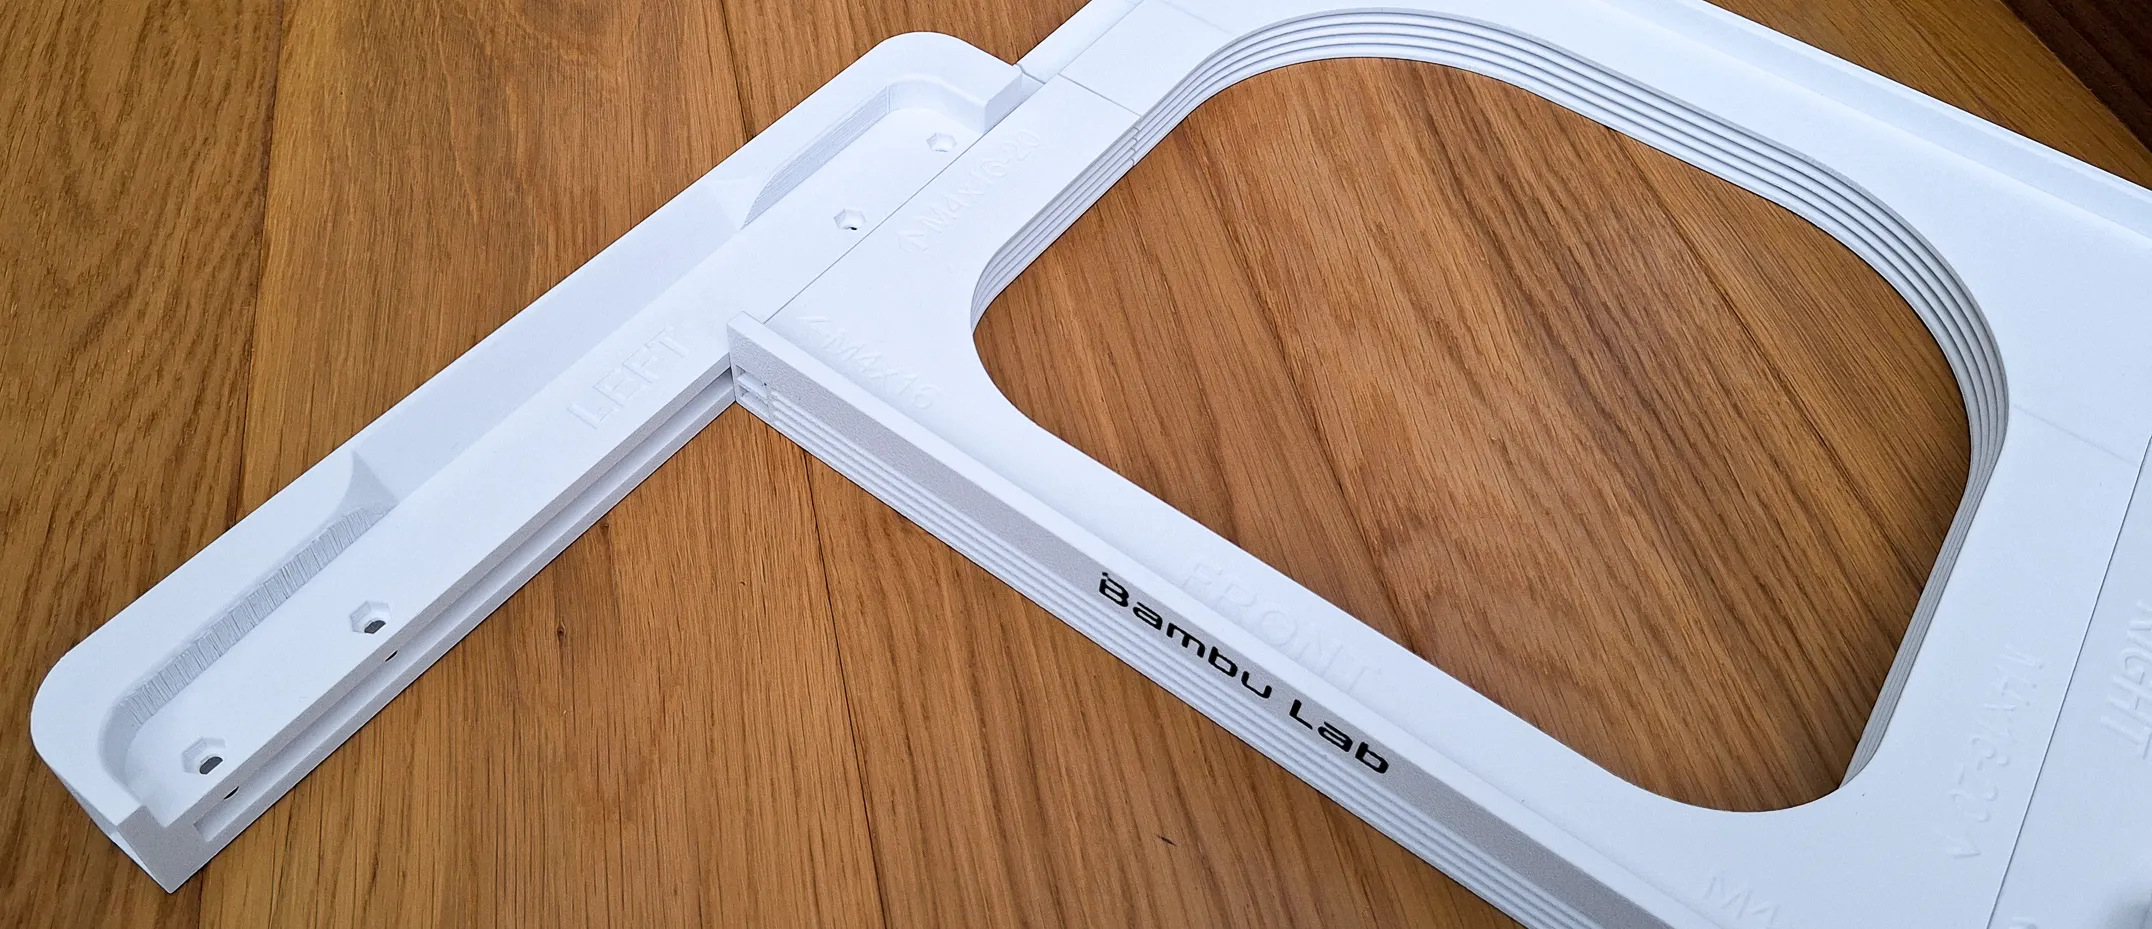
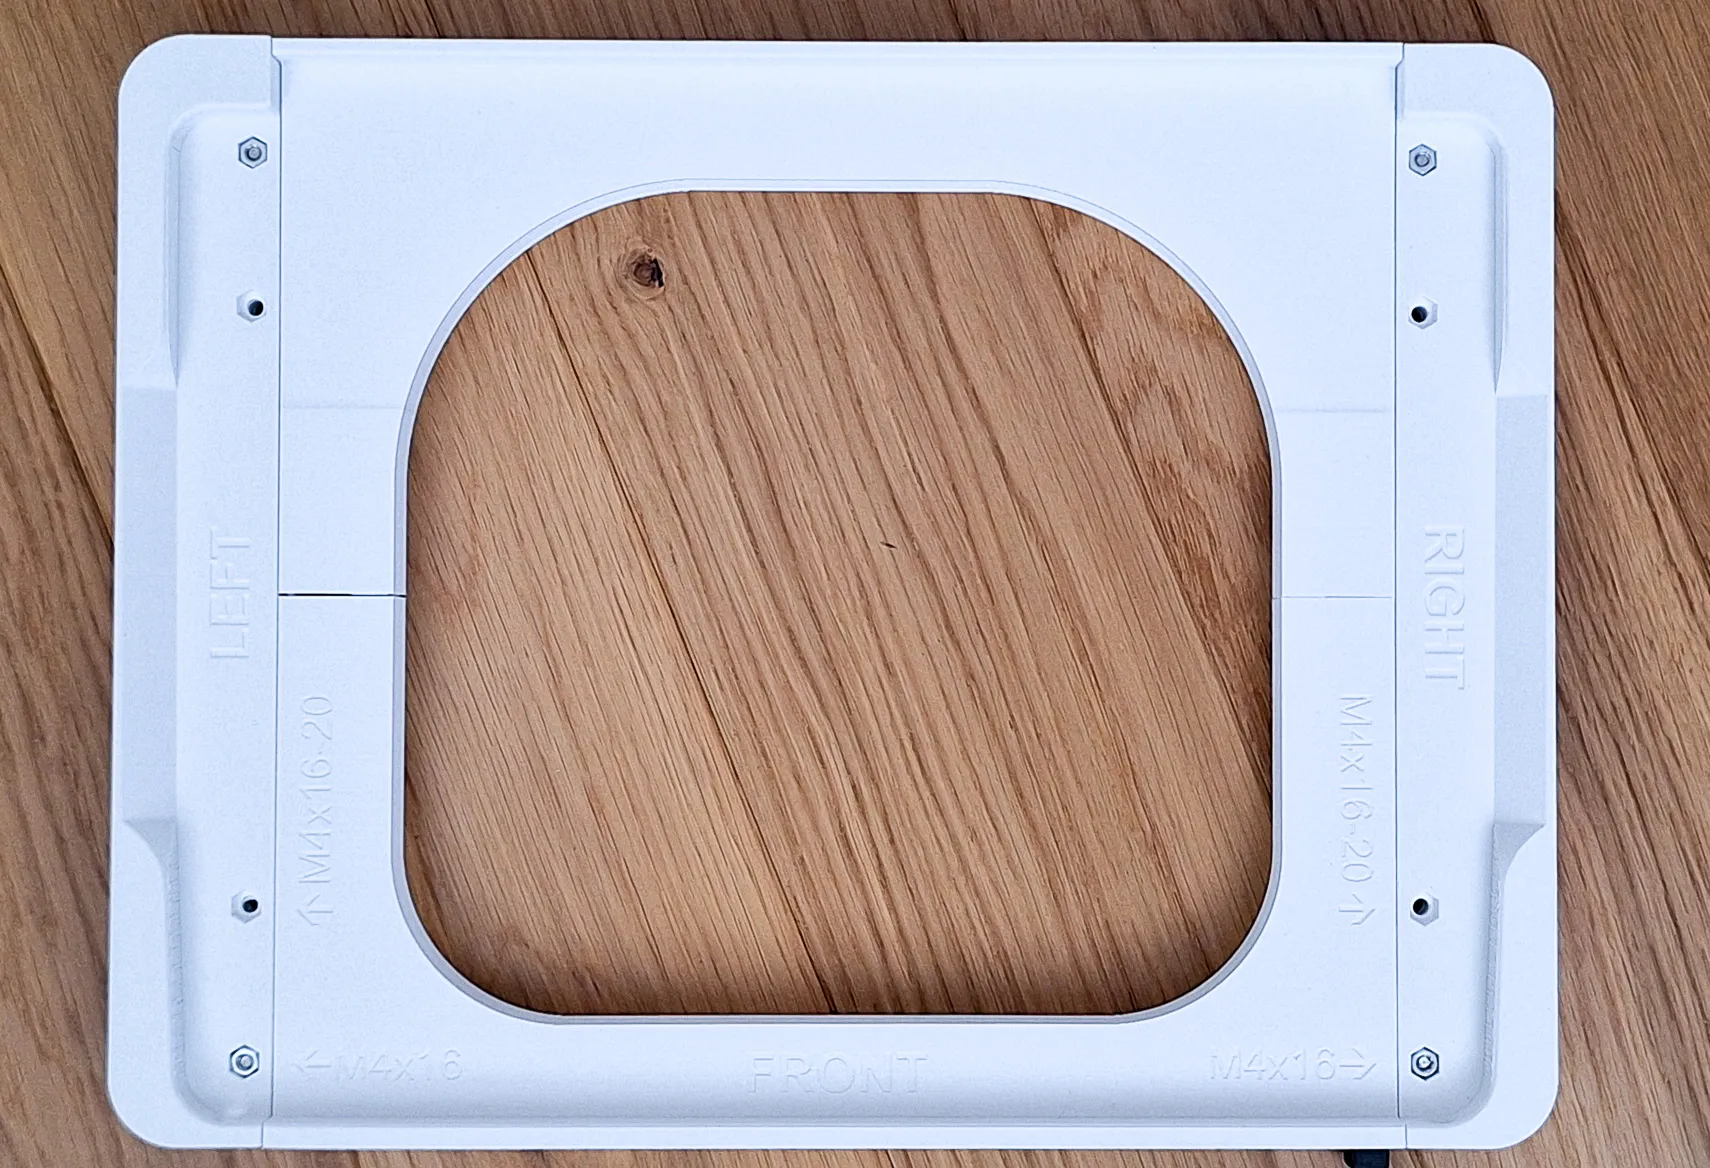
- Print Holder body (Front, Back and Left+Right), buttons and arms of selected version
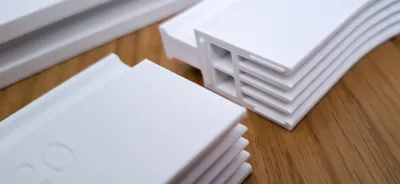

- Slide Left+Right parts to the Front and Back parts
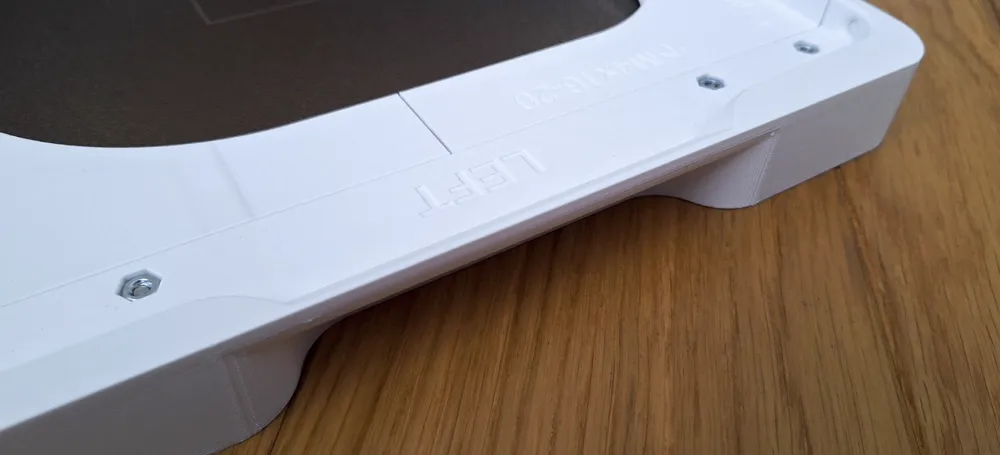
- Insert minimum 4 pcs of M4 nuts into the hols in the corners
- Use M4x16 type DIN7985 or simmilar for fixing the holder body

- Insert button to the holder. Slide in / out several times to clean slot and button bar from printing imperfections
- Rotate Holder body
- Align the button and arm teeth according to the picture. Push the arm into the holder firmly. First attach the upper arms (1 and 2), then the lower arms (3 and 4).
- Test whether the button and arm move easily
- Install labels
- Install the holder under your AMS



An emergency button / arm removal procedure

If for any reason the arm or button needs to be removed, I am adding an emergency removal procedure. The removal should not damage the body of the holder, but the button and arm will likely be damaged.
Happy printing!
License



Comment & Rating (1178)