

Print Profile(1)

Bill of Materials


Description
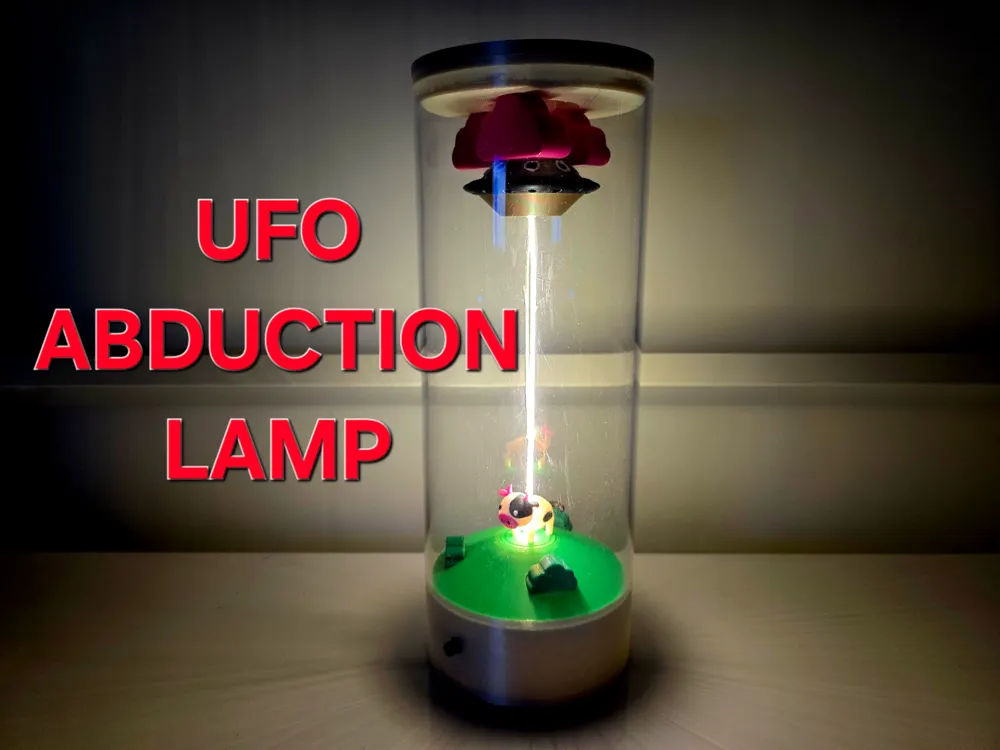
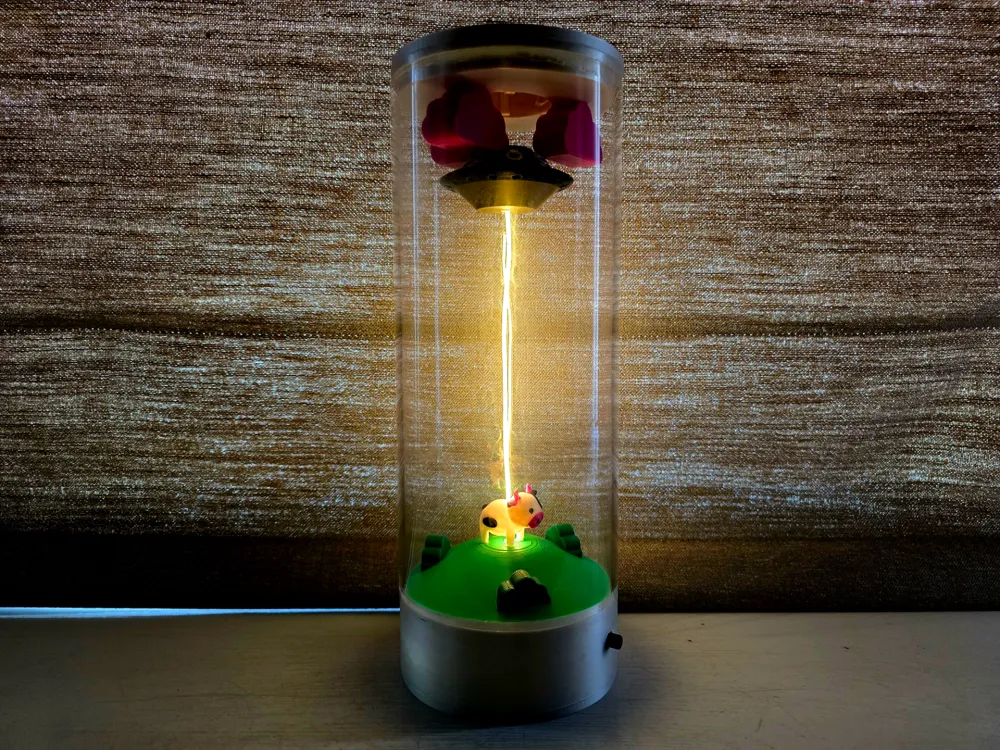
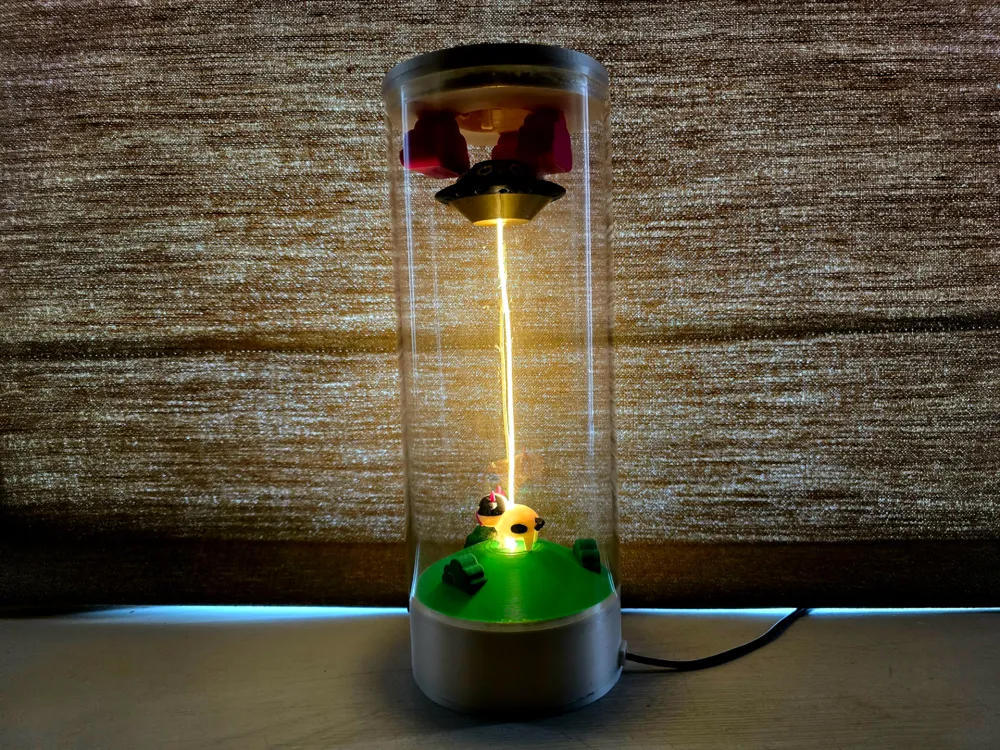
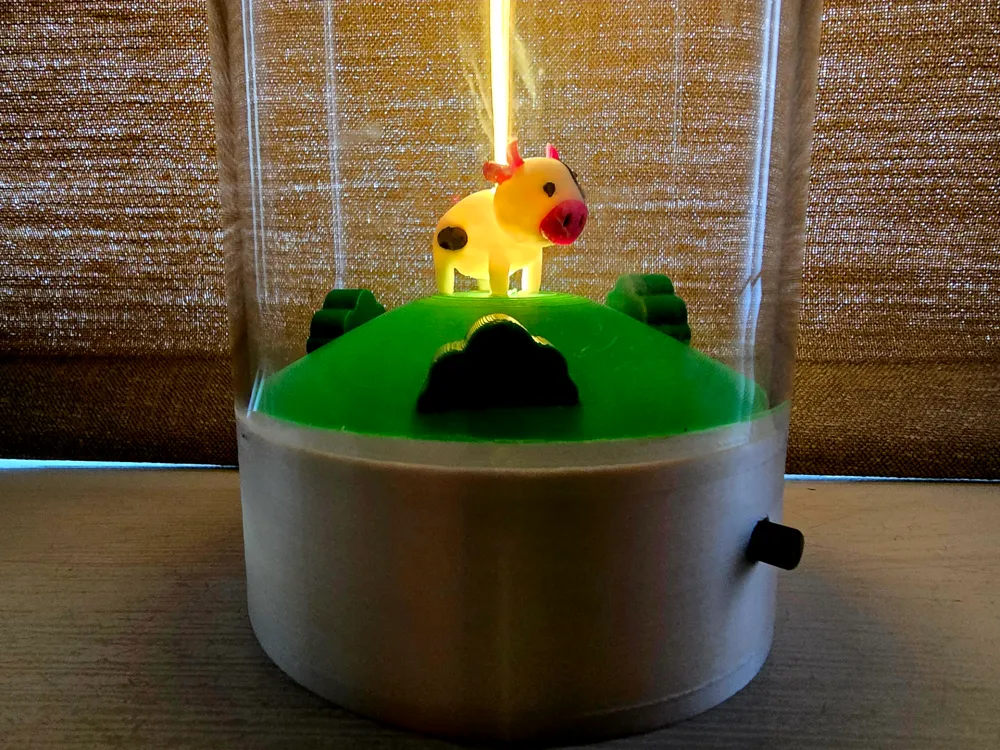
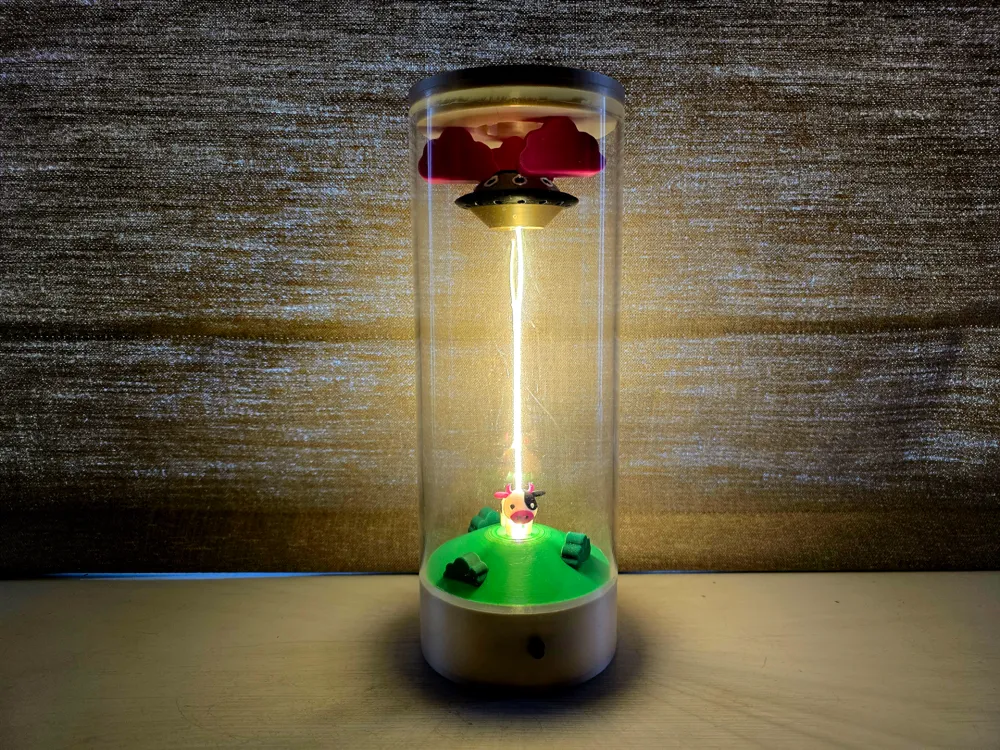
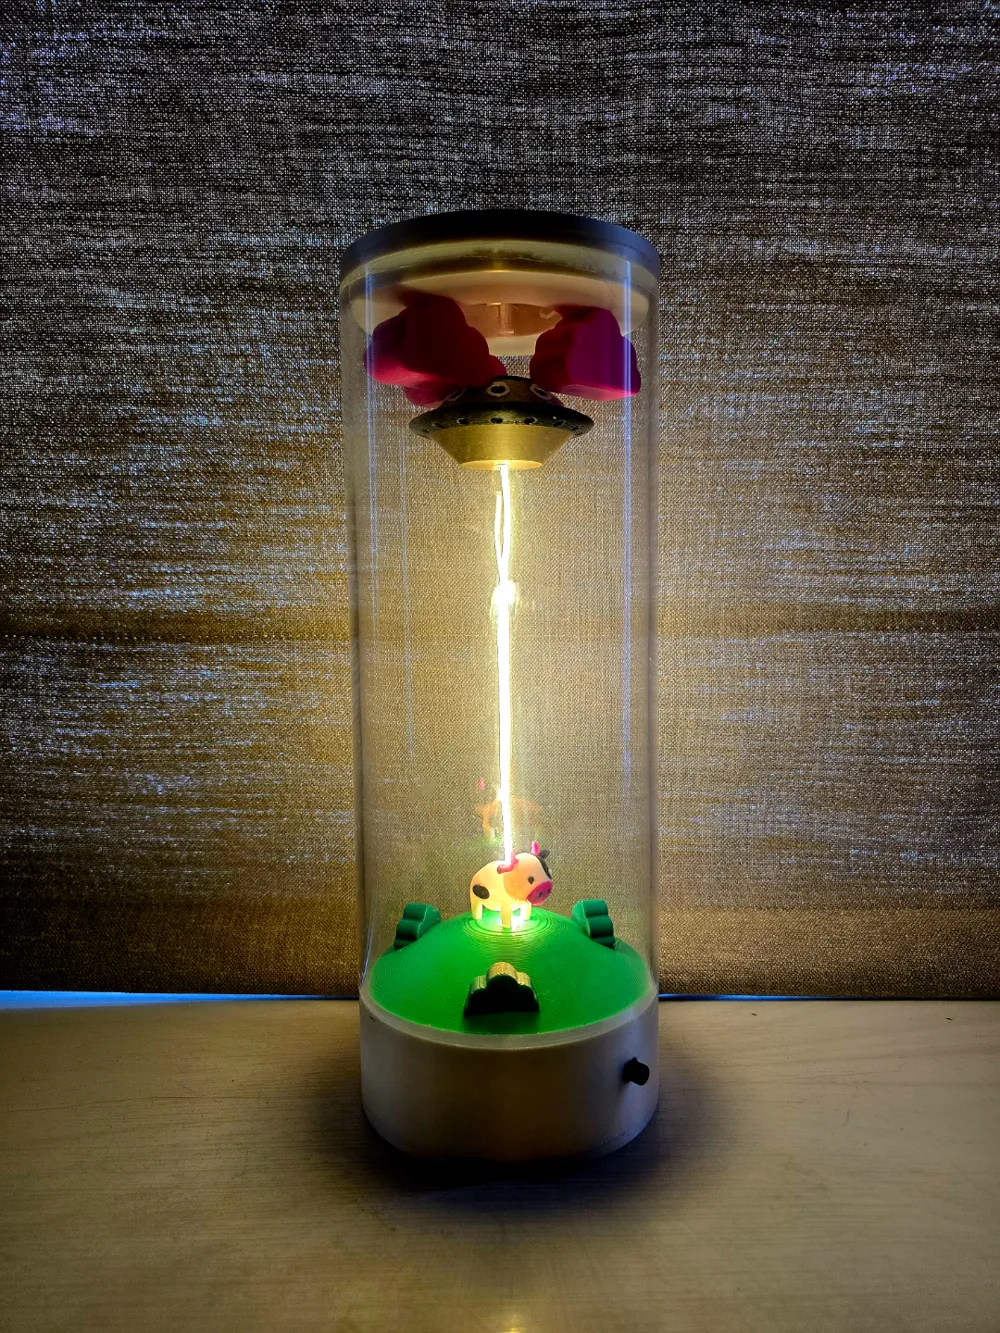
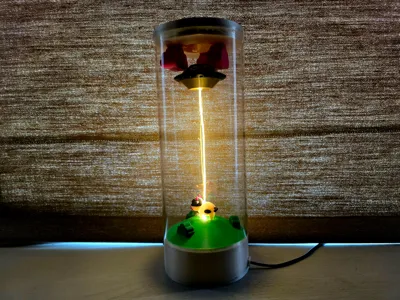
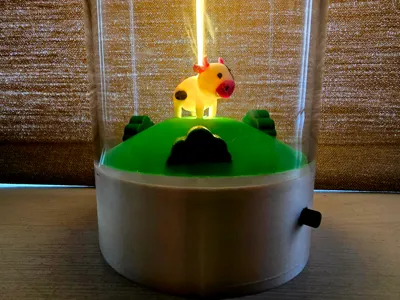
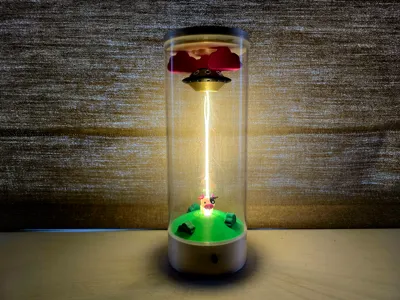
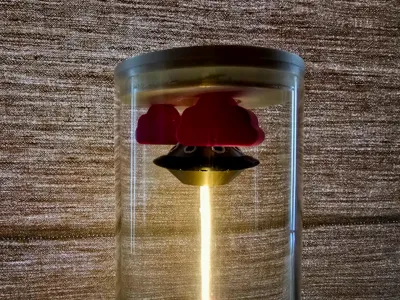
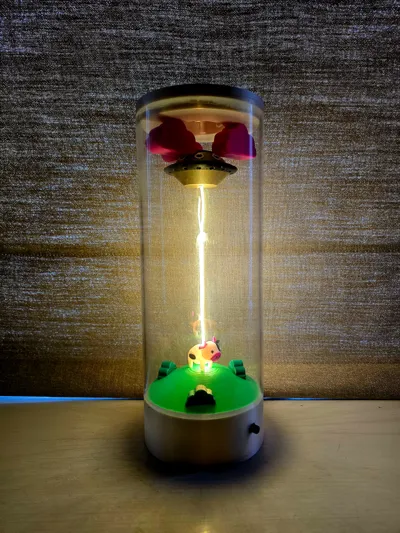
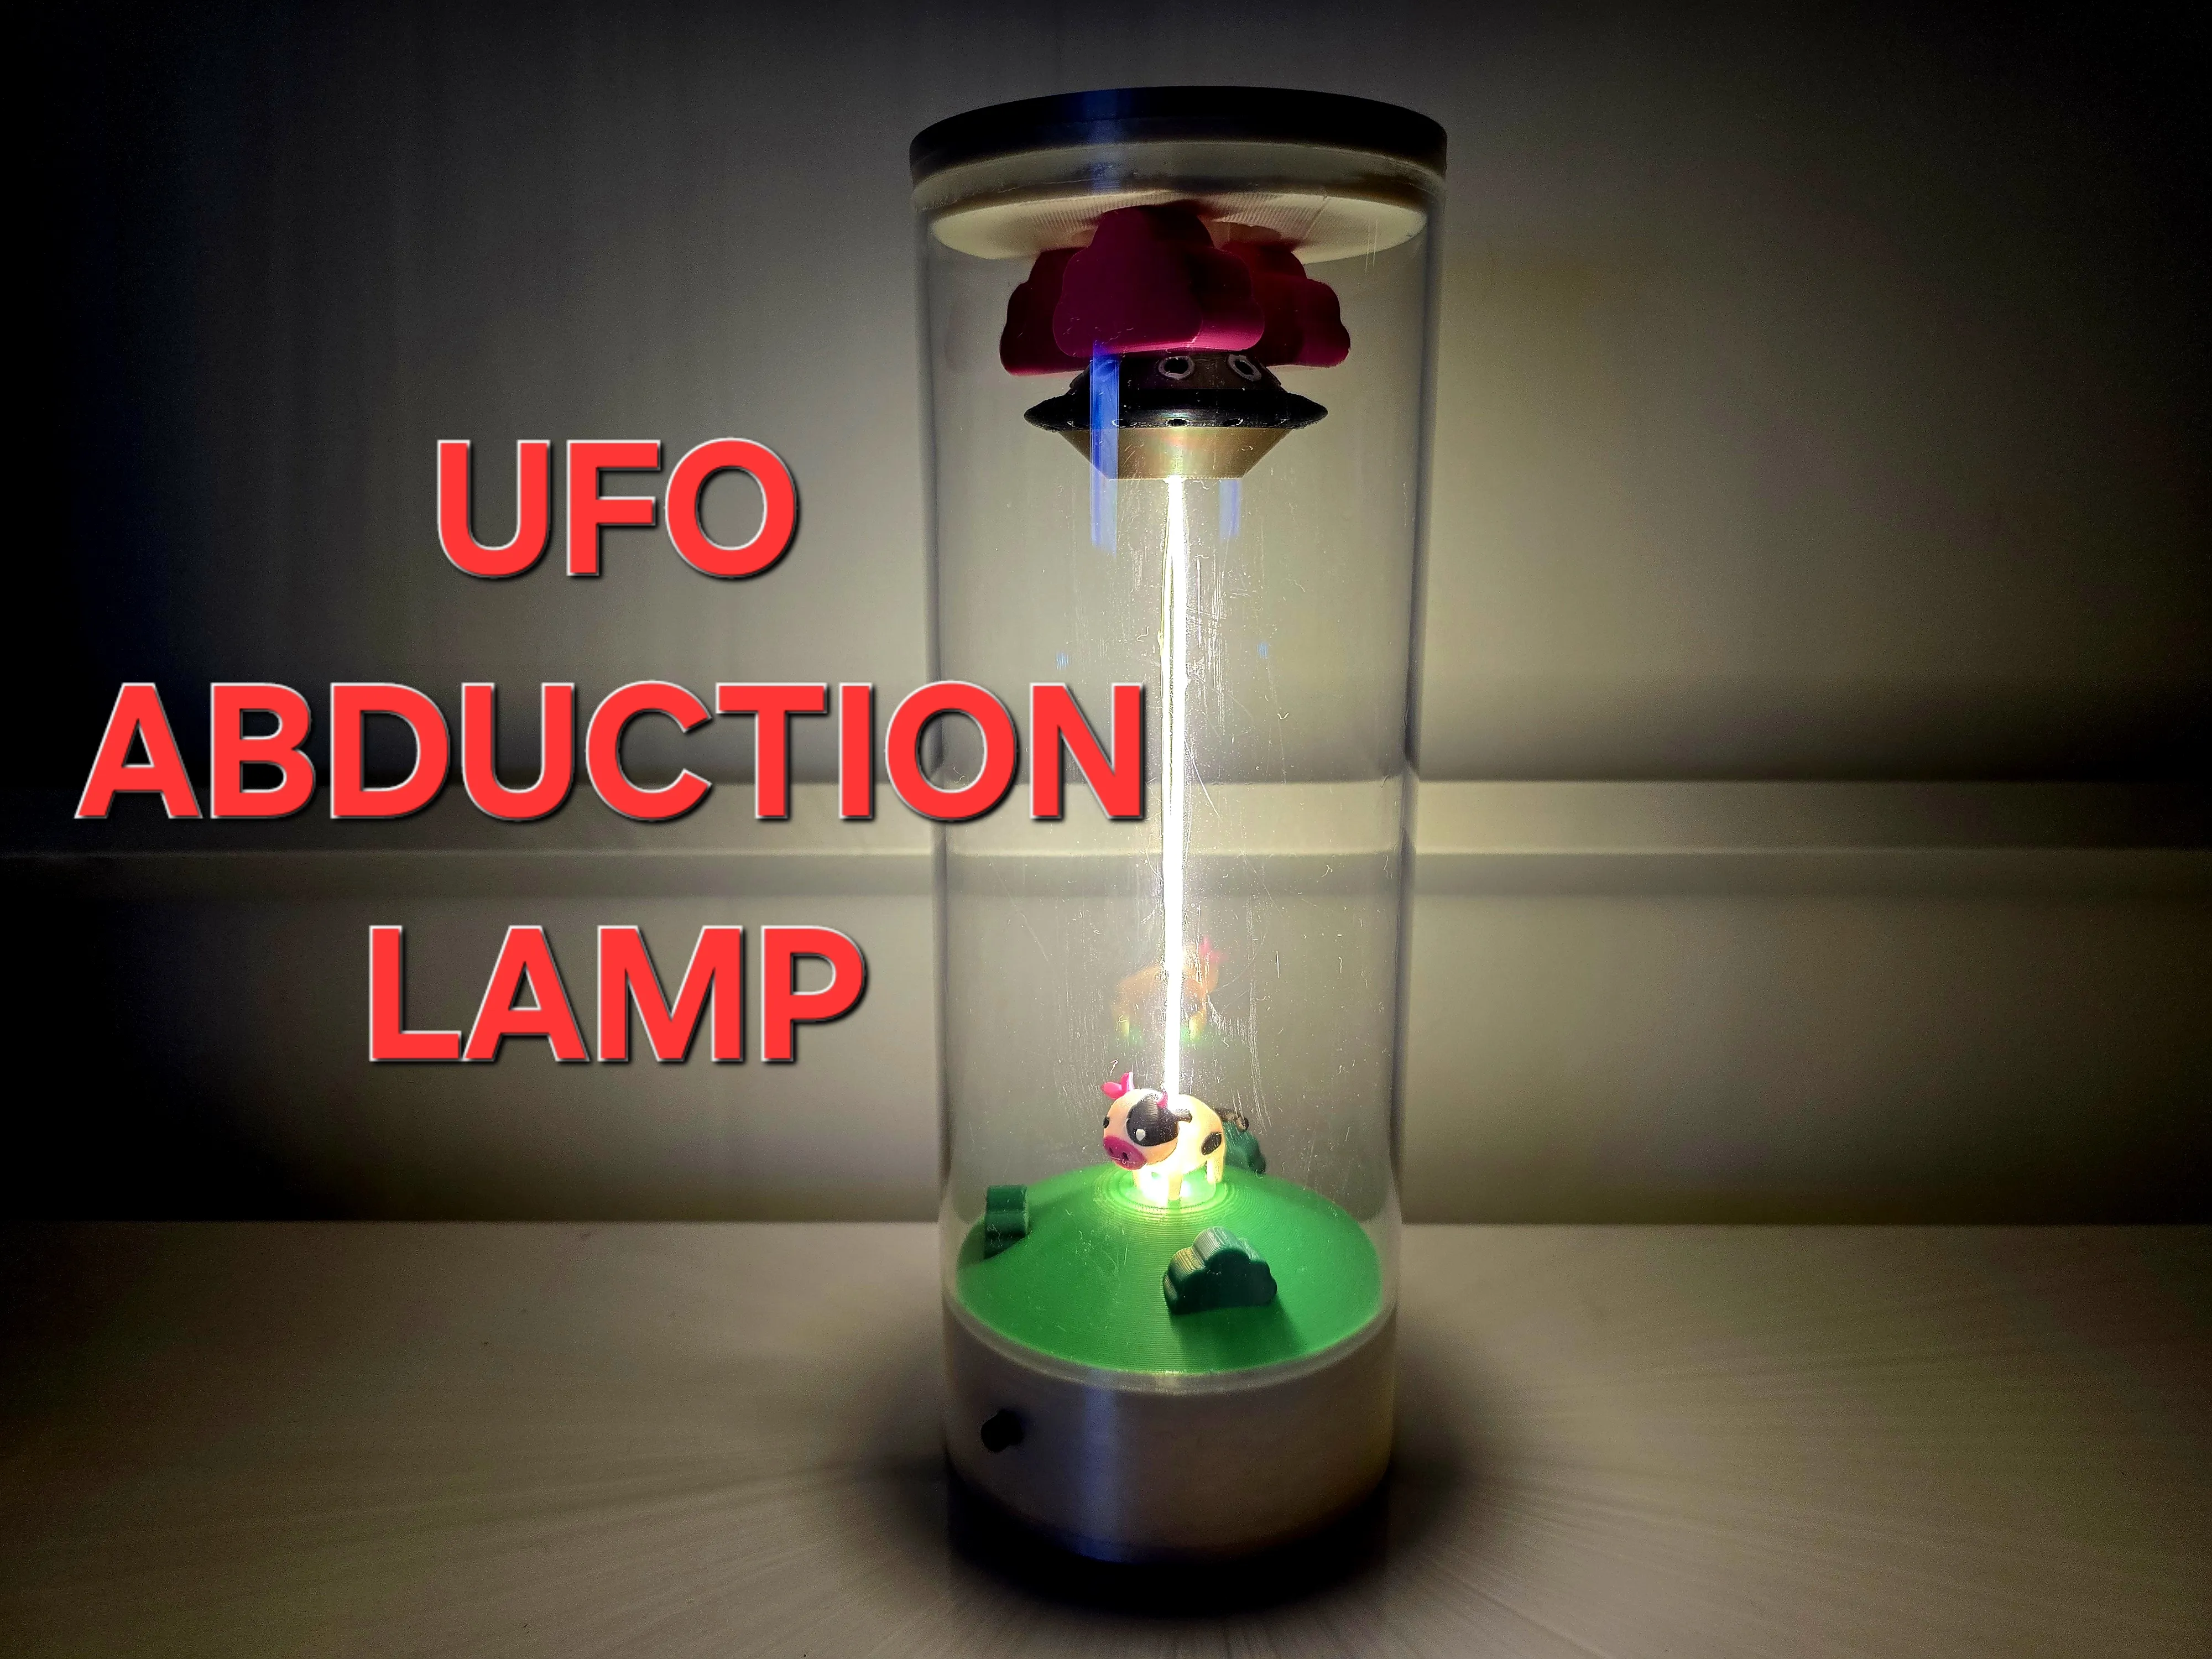
A unique and fun lamp that's easy to make using various parts on the Maker supply store - A fun decorative piece using a 200mm COB LED strip with adjustable illumination. An adorable design that depicts a cute cow being abducted by an alien spaceship, all you need is a 3D printer and a few parts listed below - You can also easily adjust the colors easily to create your own unique lamp!
Based upon the beautiful Magnetic Mountain Lamp from designer Akelyte found here
Features:
- High-Quality Components: Powered by Bambu Lab Maker's Supply - IA005 Power Distribution Board, dimmable LED COB light, and a durable acrylic tube.
- Easy Assembly: Requires 4x M2x4mm screws, 6x M3x8mm screws, and glue to put together easily.
- Build time of approximately 10 - 15 minutes
All Hardware and Electrical Components can be purchased from Maker's Supply
Required Electronics:
- IA005 - Power Distribution Board (PDB) - 4 Channels (1PCS) - IA005
- IA007 - Potentiometer Board with SH1.0 Connector (2PCS) - IA007
- KA008 - 200x1mm COB LED Strip Light (1PCS) - KA008
Required Hardware:
- AA086 - M3x8 FHCS Machine Screw (20PCS) - AA086
- AA149 - M2x4 SHCS Machine Screw (20PCS) - AA149
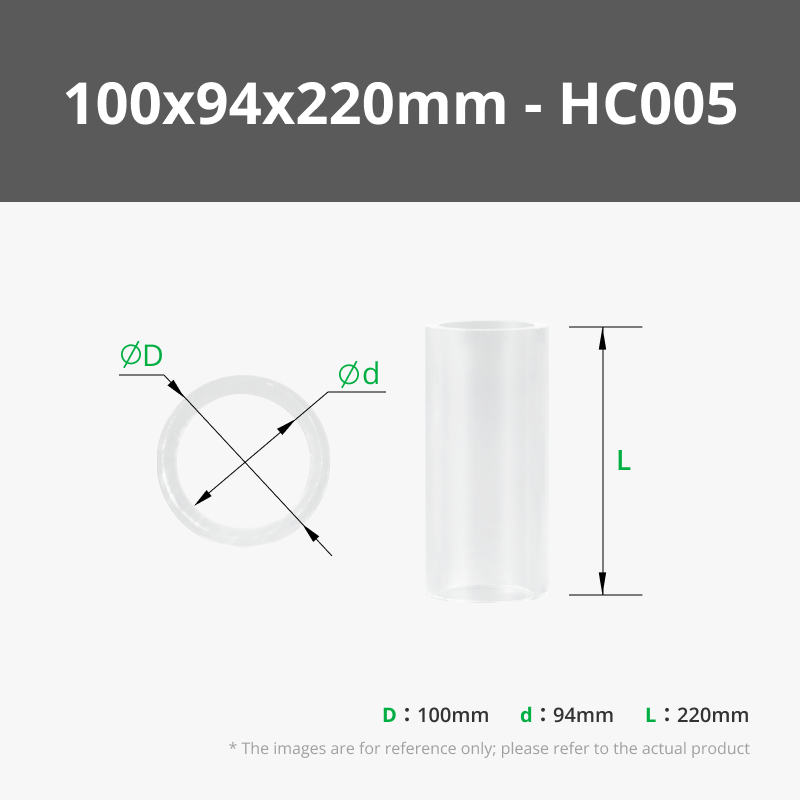
- HC005 - 100x94x220mm Clear Acrylic Rigid Round Tube (1pcs)
- 2.0mm Inner Diameter Heat Shrink Tubing (~10mm long)
- Thread or fishing wire to assist in assembly
- Glue and silicon (depending upon your own preference)
Assembly Instructions:
(All support material should be removed before assembly)
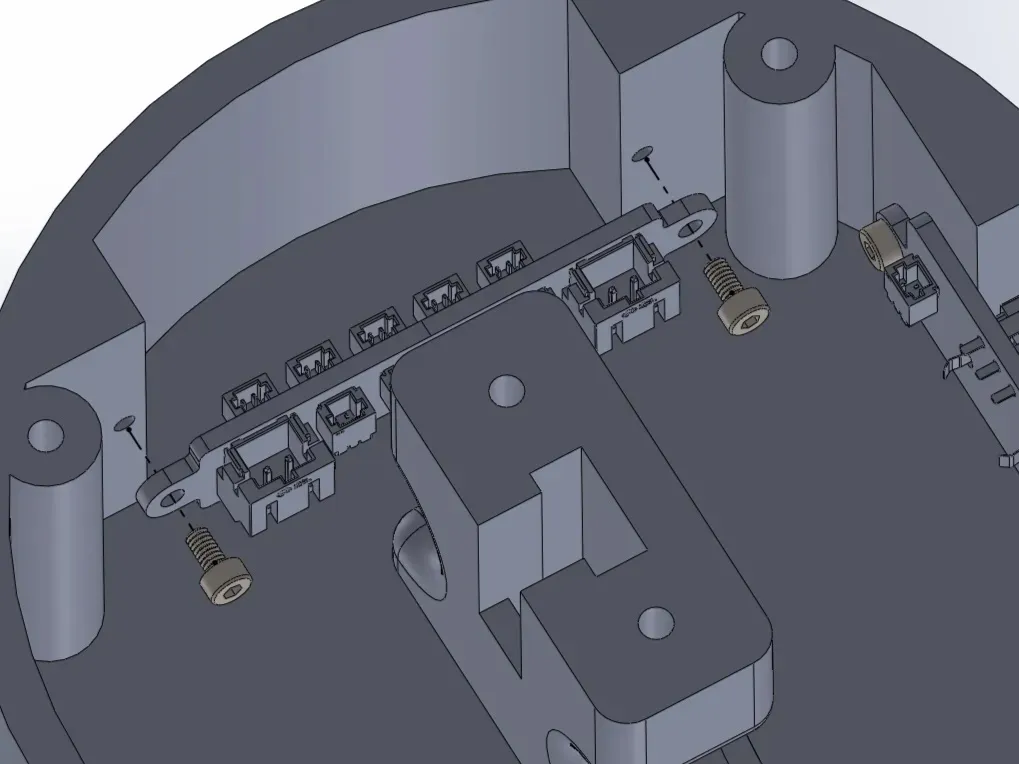
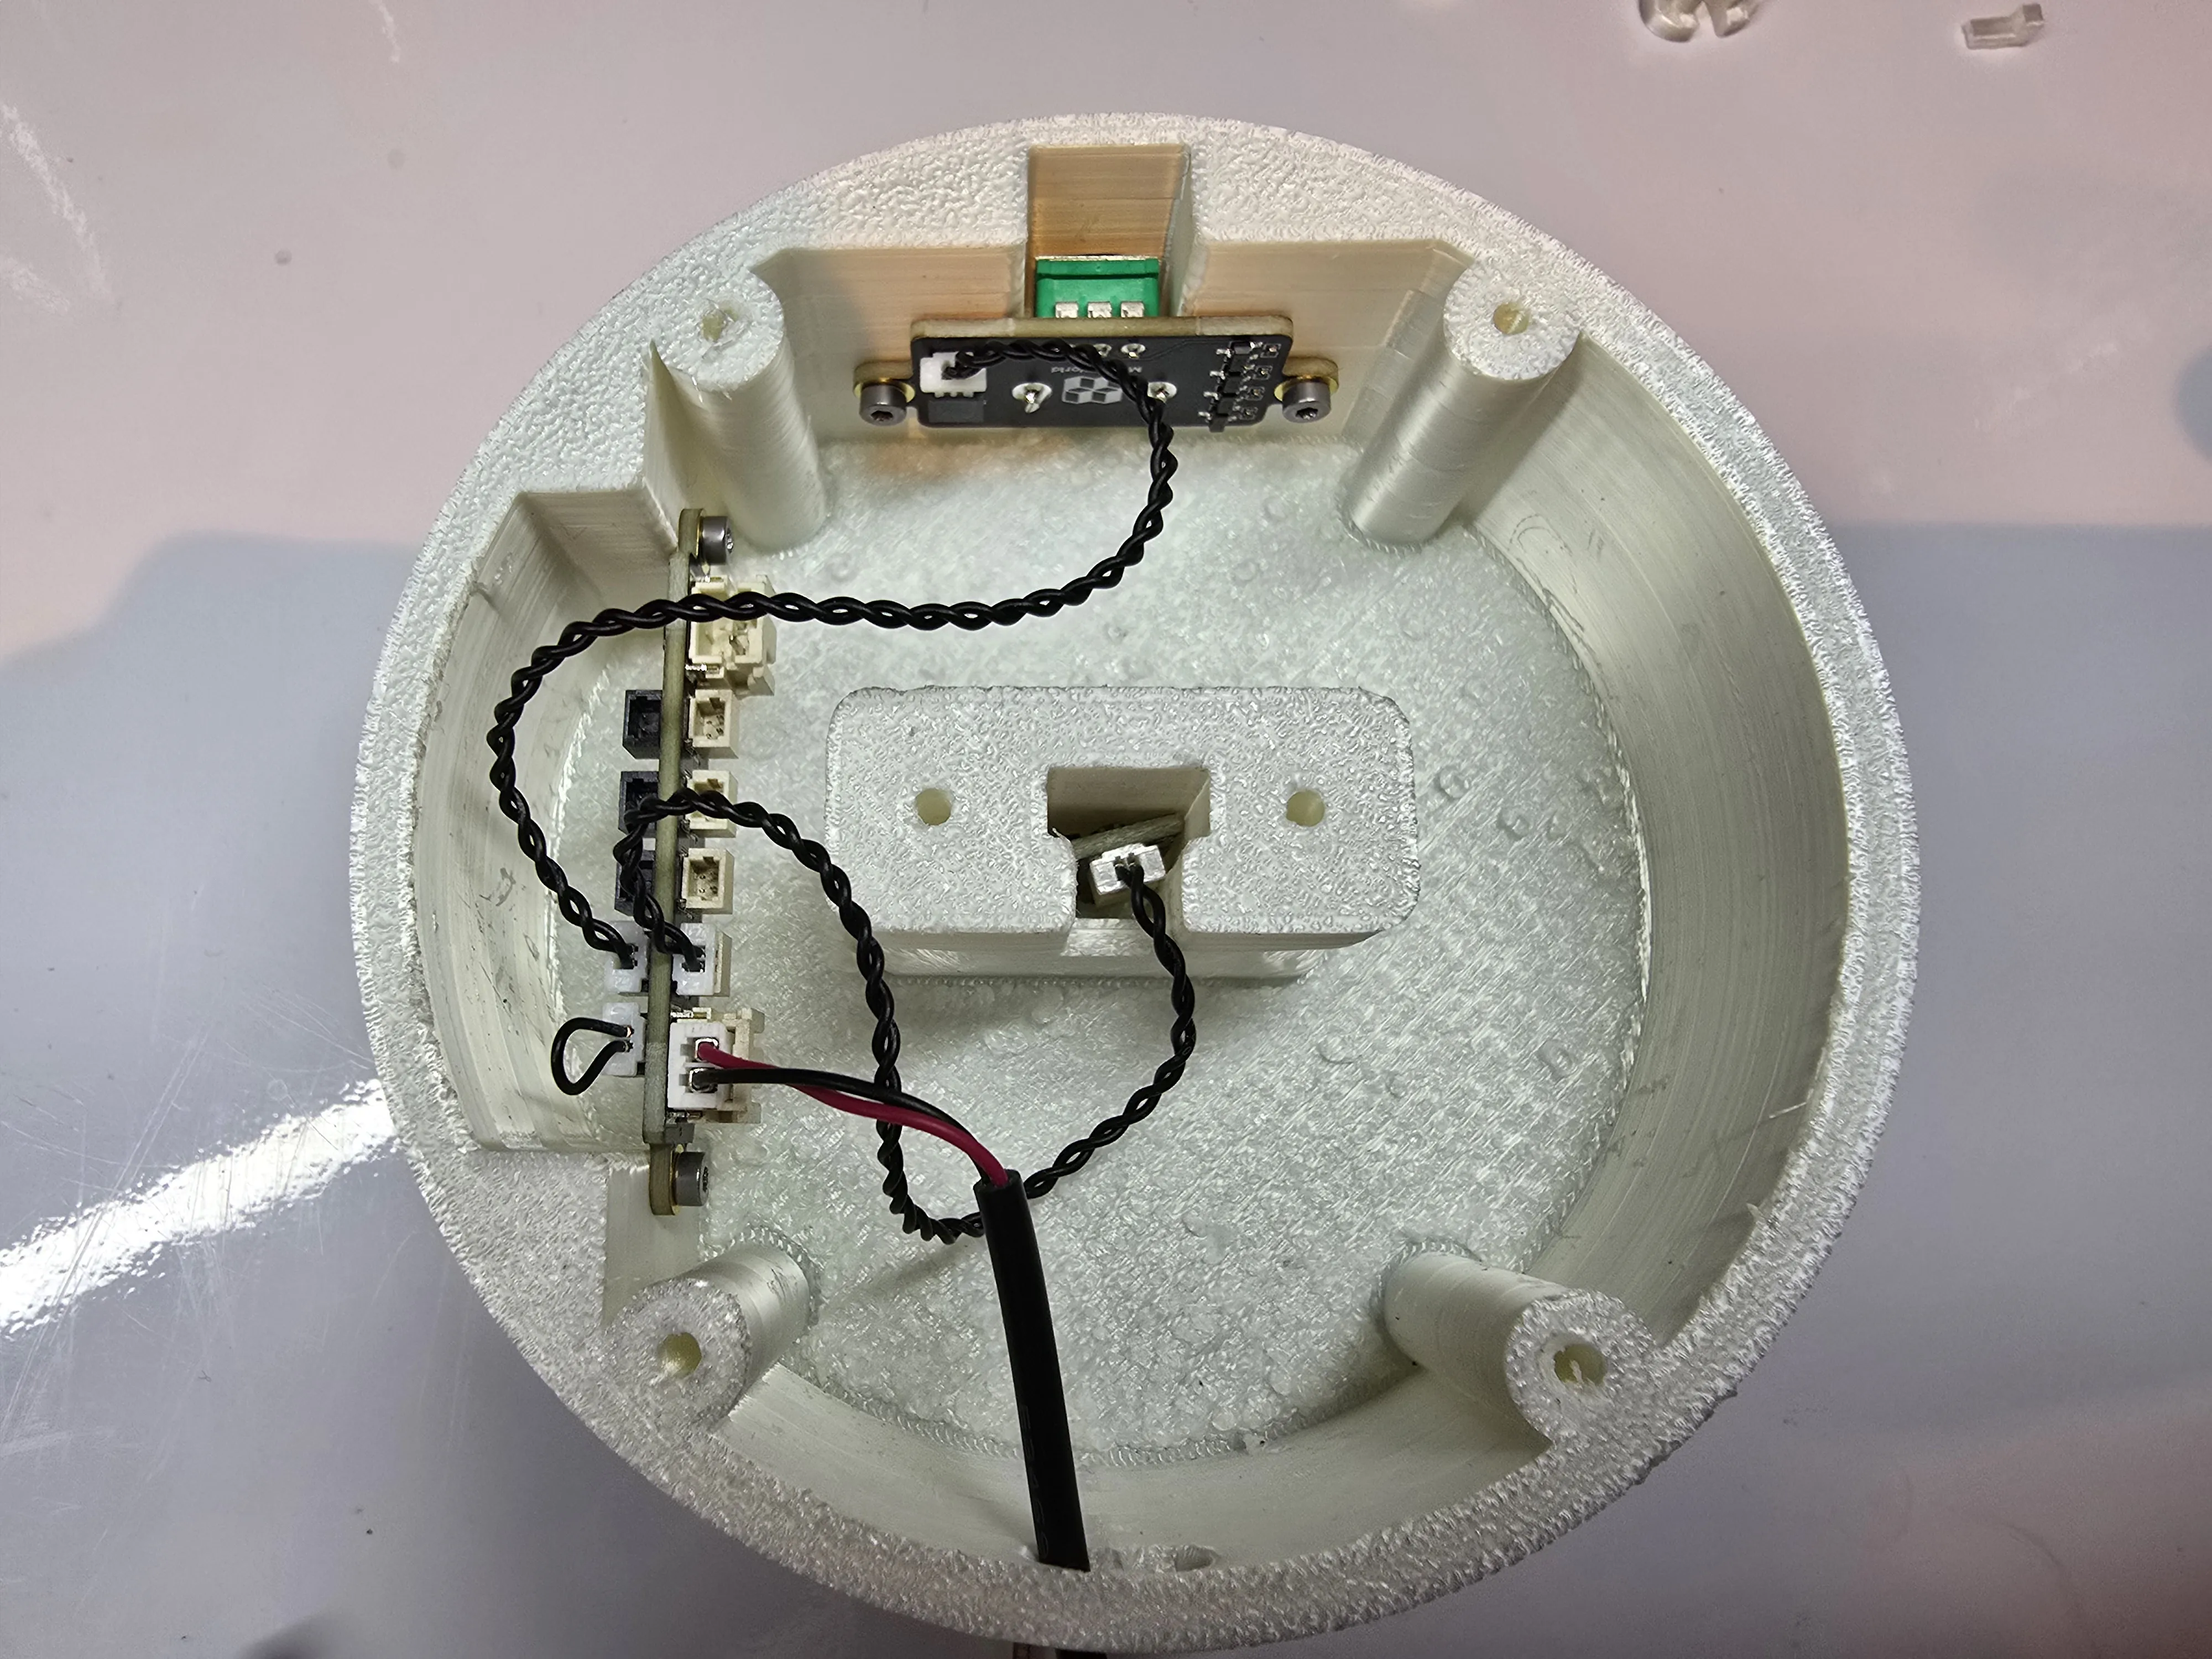
Step 1: Install the Potentiometer Board (IA007) using 2x M2x4mm Machine Screws (AA149)
Make sure the Connector is facing the bottom of the Lamp
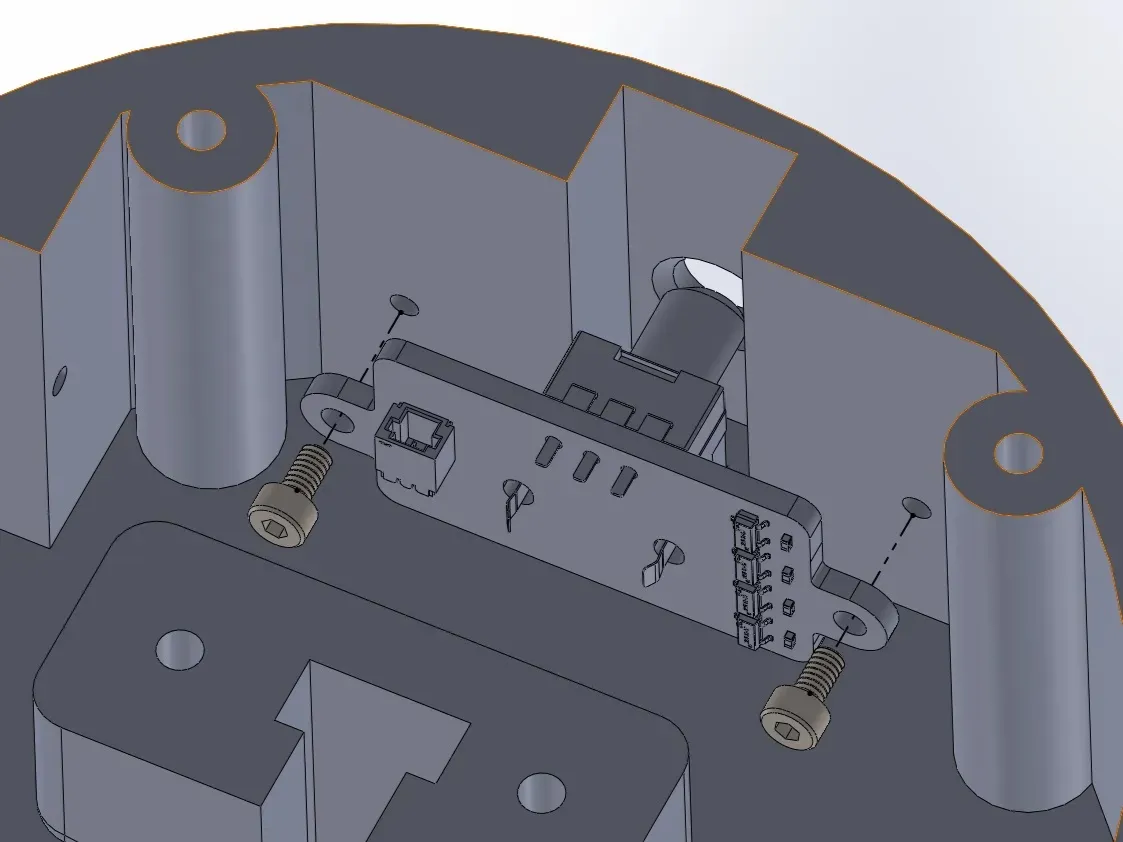
Step 2: Install the Power Distribution Board (IA005) using 2x M2x4mm Machine Screws (AA149)
Make sure ALL CONNECTORS are facing the bottom of the Lamp
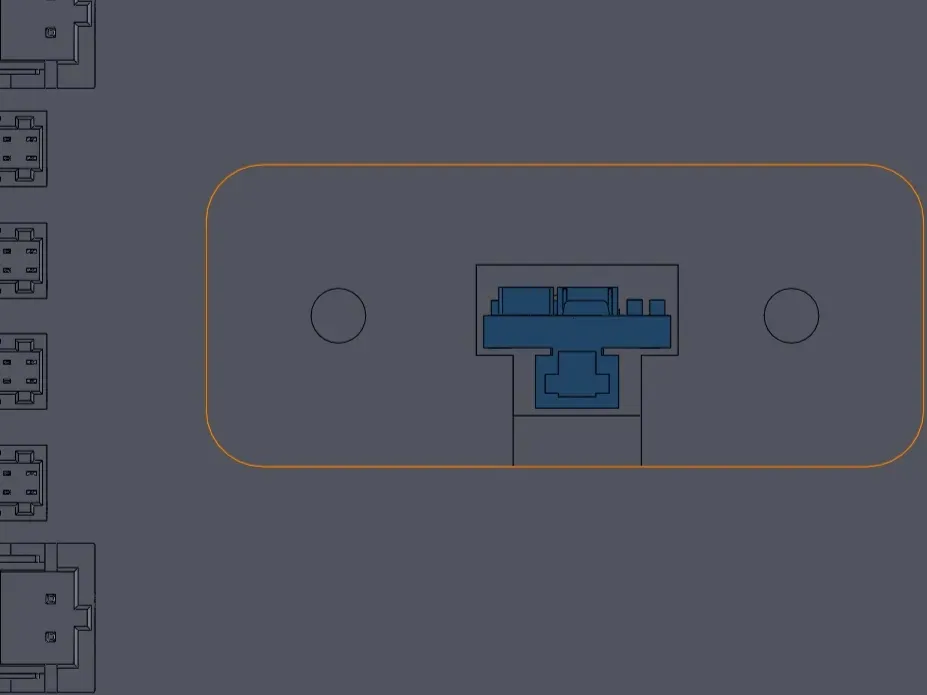
Step 3: Install the COB LED Strip Light by threading it through the center hole
This can be secured using a small touch of glue, or you can leave it as is.
The COB Board should be installed in the following orientation - again with the connector facing the bottom of the Lamp
Top View: Close-Up with the Power Board on the LEFT:
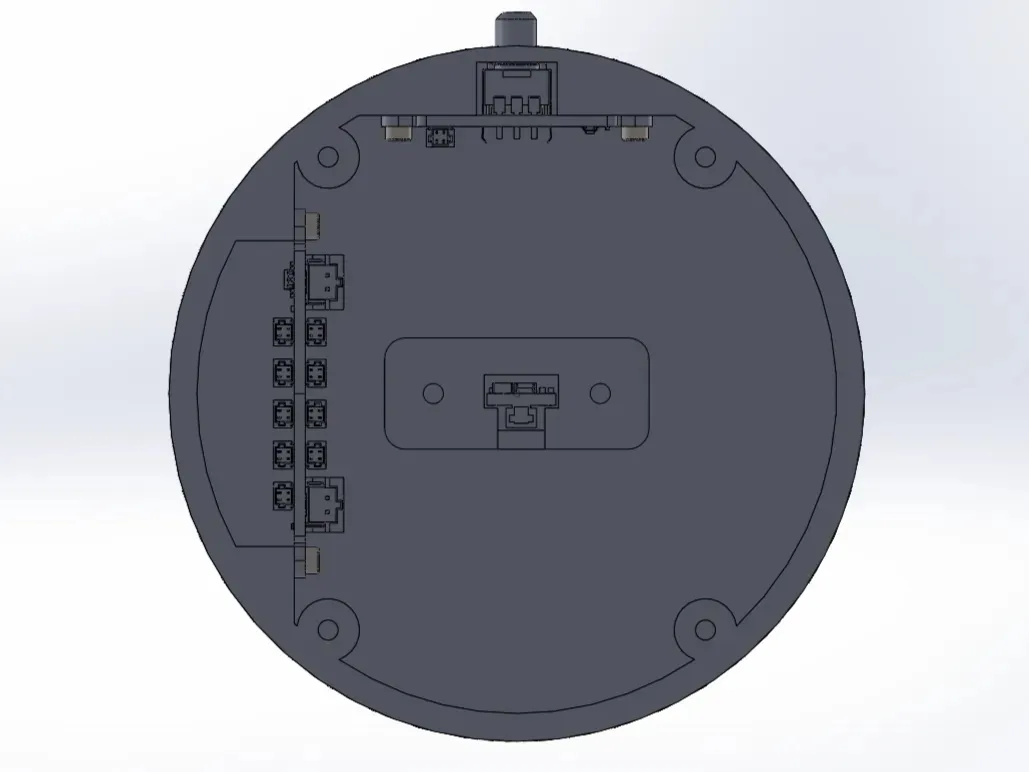
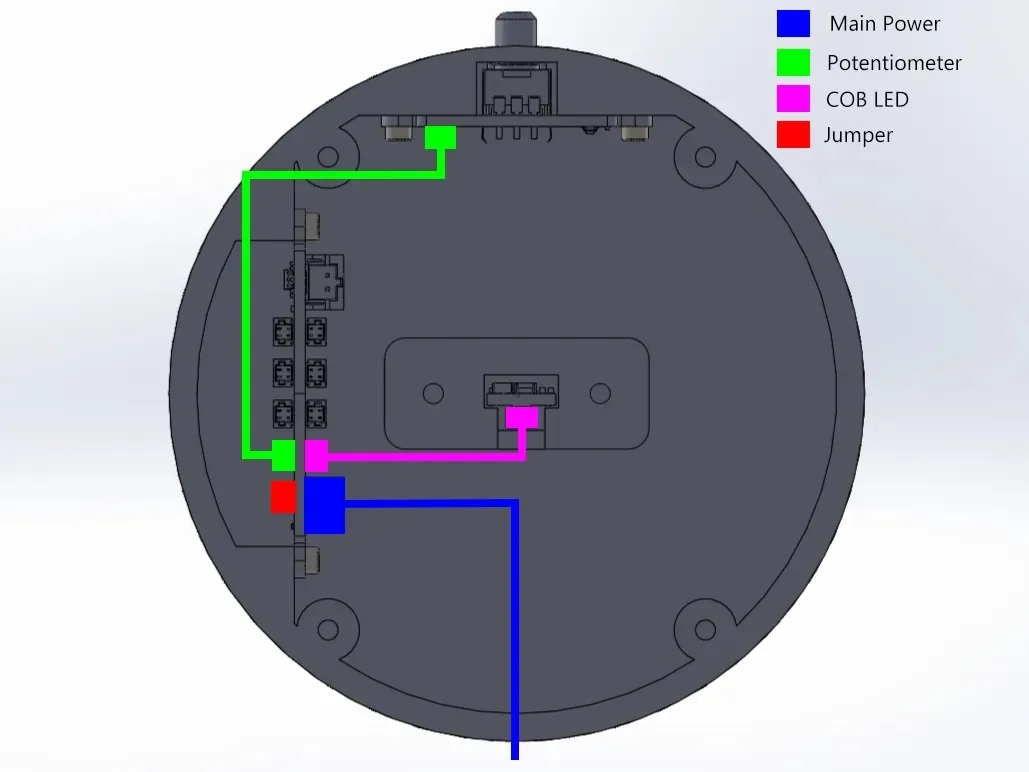
Step 4: Connect the wiring and make sure everything works - All wiring is included in the IA005, IA007, and KA008 Kits
Simple Wiring Diagram
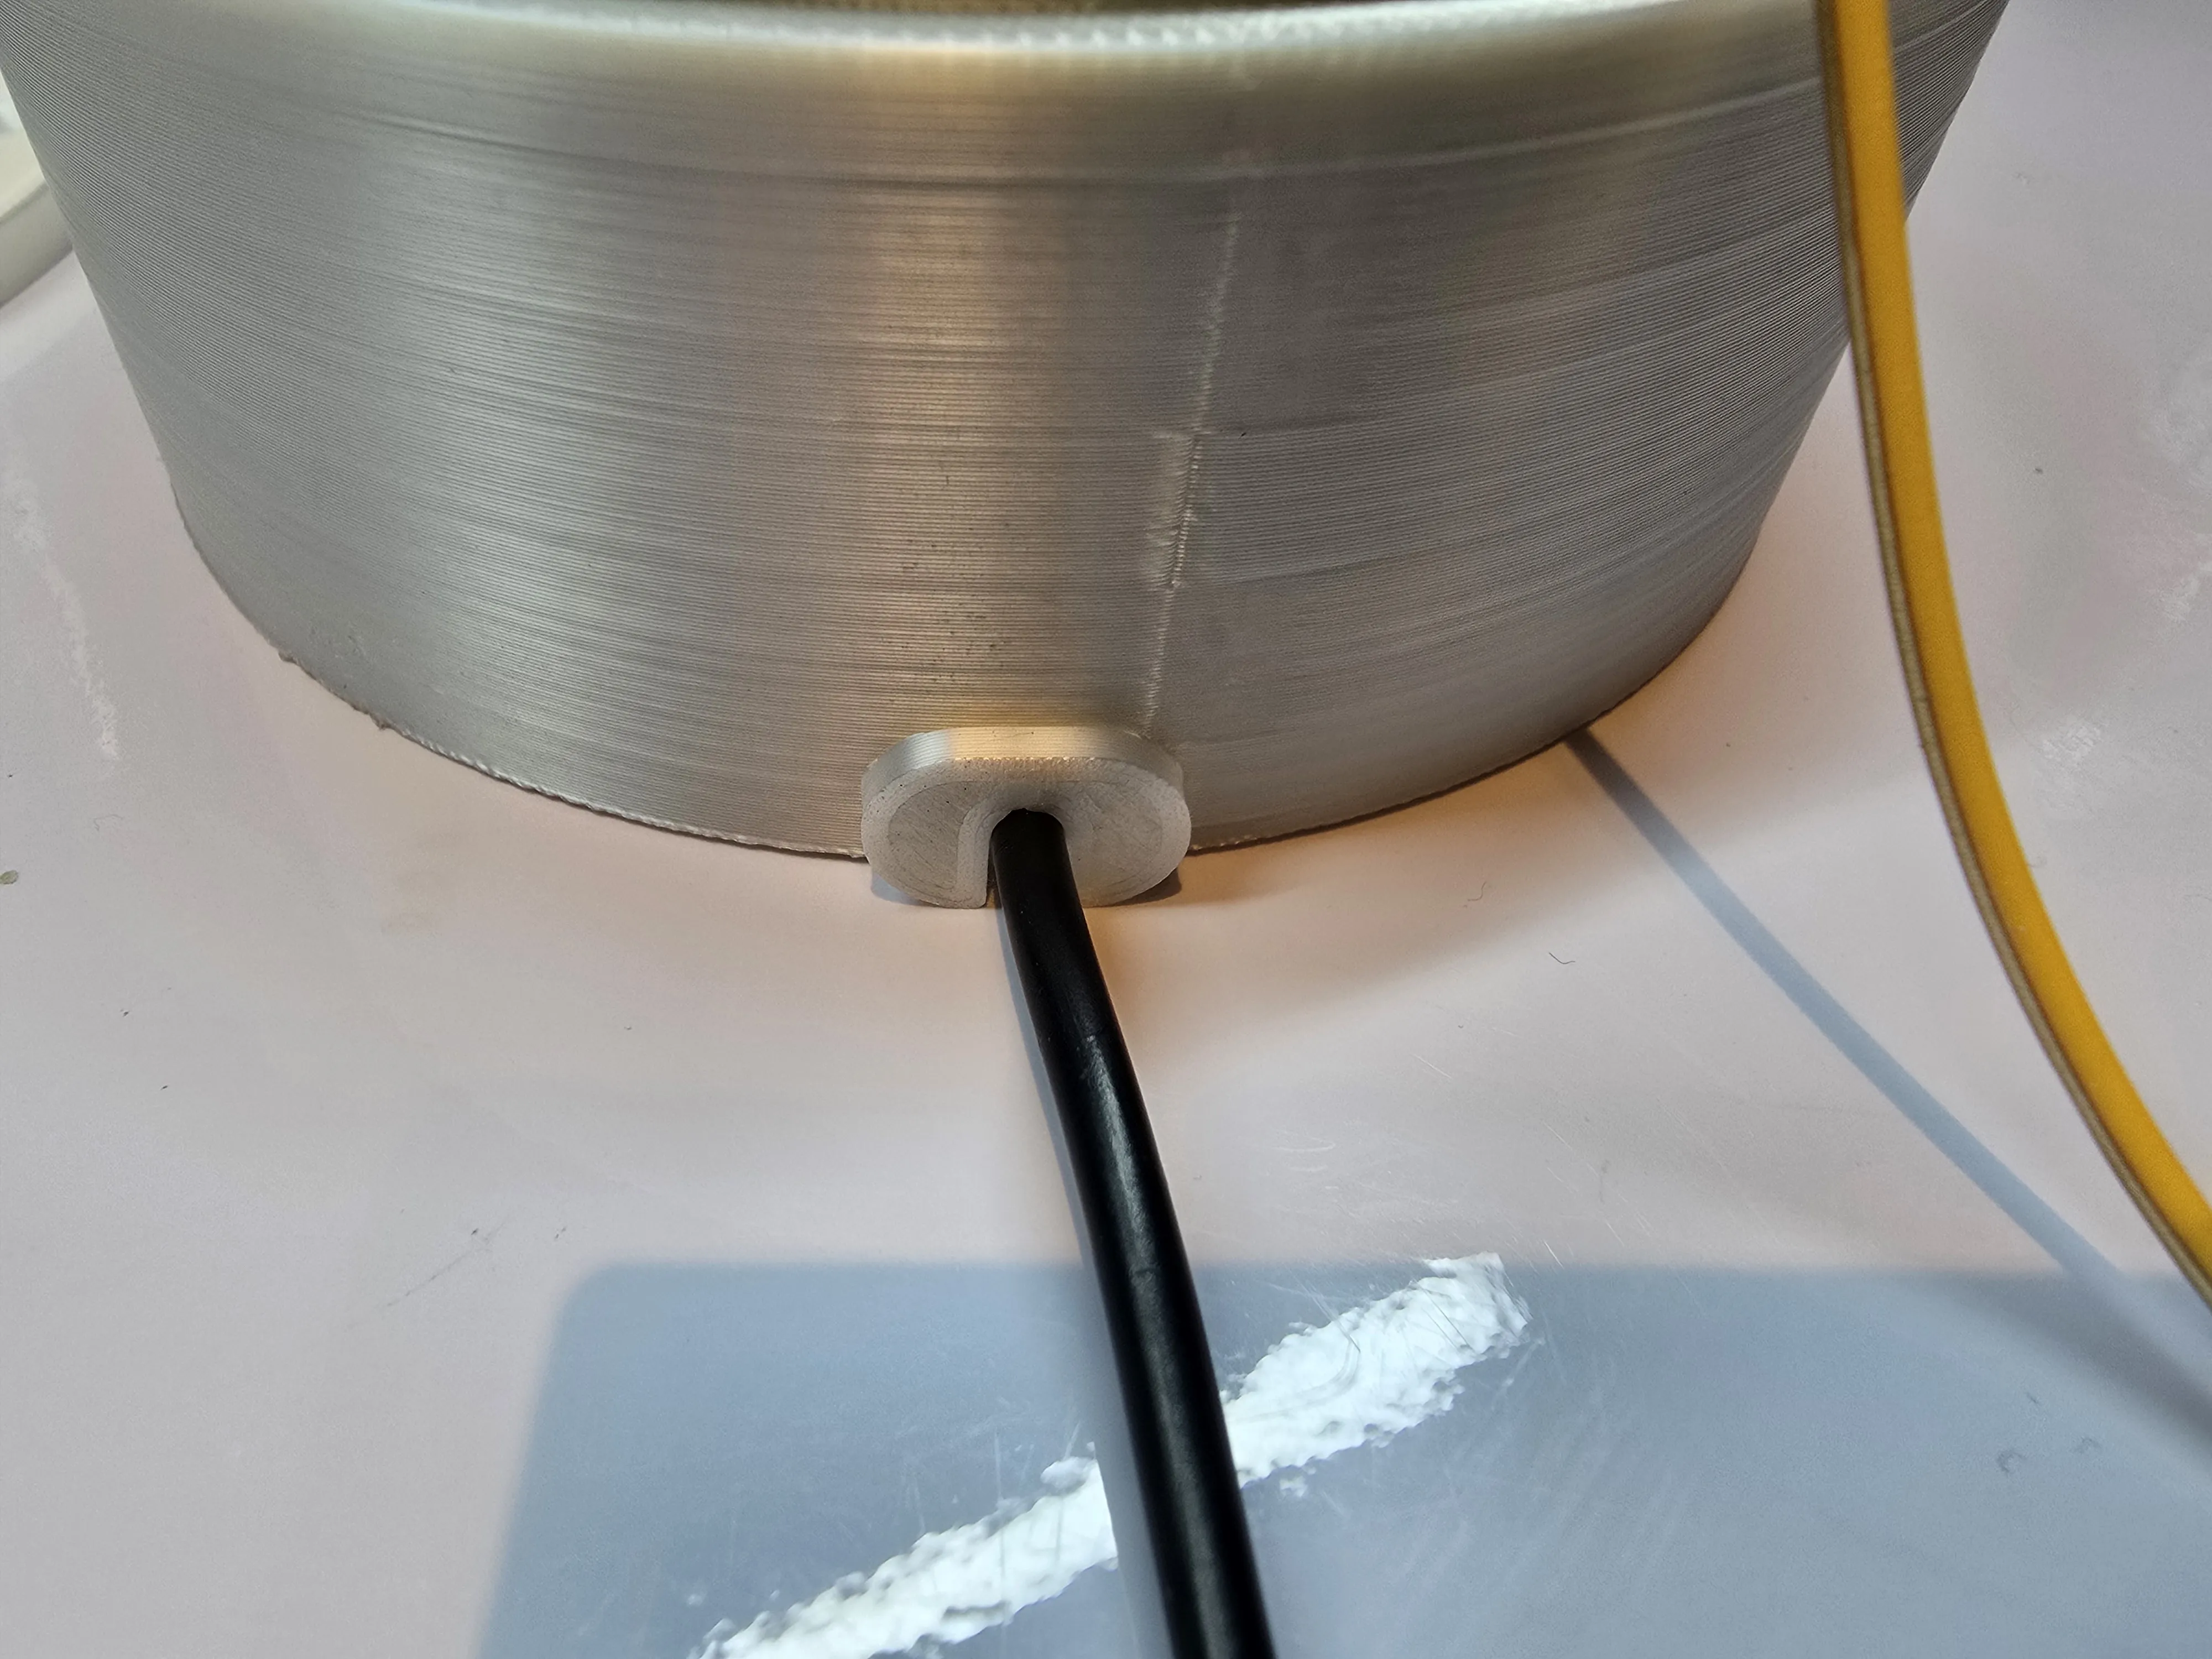
The Main Power Cord can be slotted through the oval slot on the back of the Lamp Base
Step 5: Install the Wiring Protector
Make sure the Power Cable has some wiggle room inside the Lamp Base
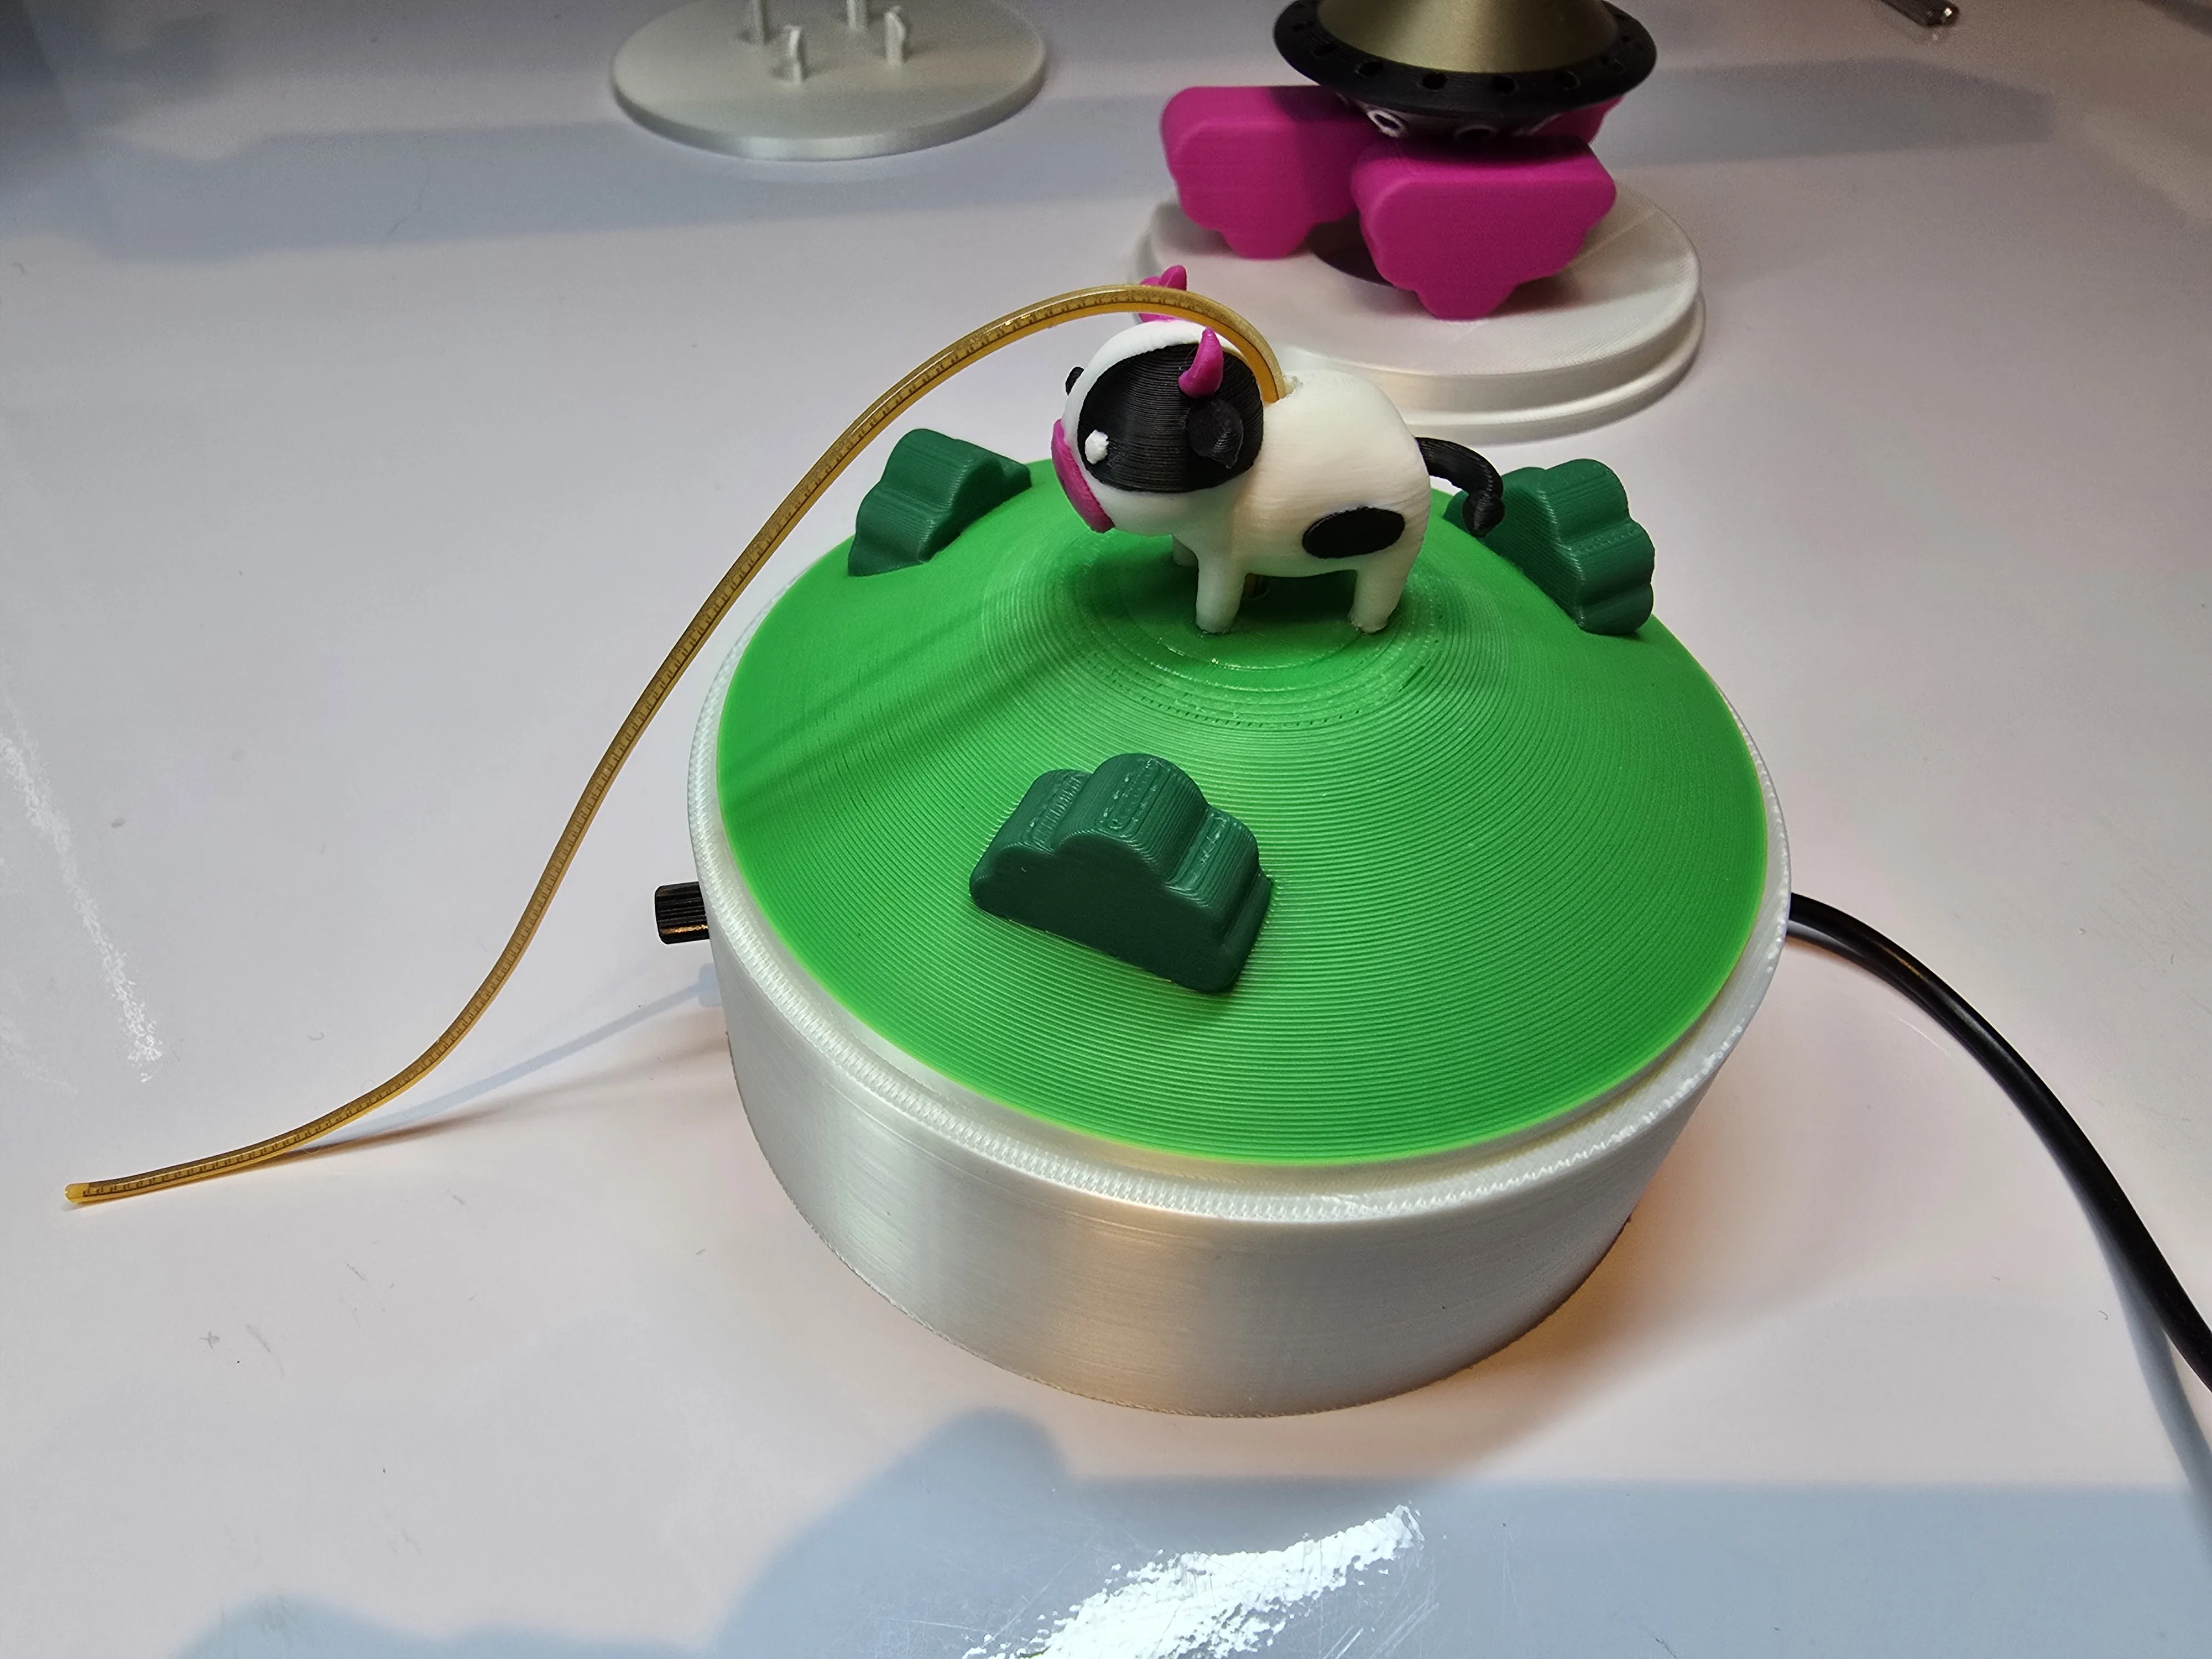
Step 6: Super glue the cow onto the top on the mountain base in the 4 recesses in the orientation shown - the LED strip should protrude vertically through the top on the cows back
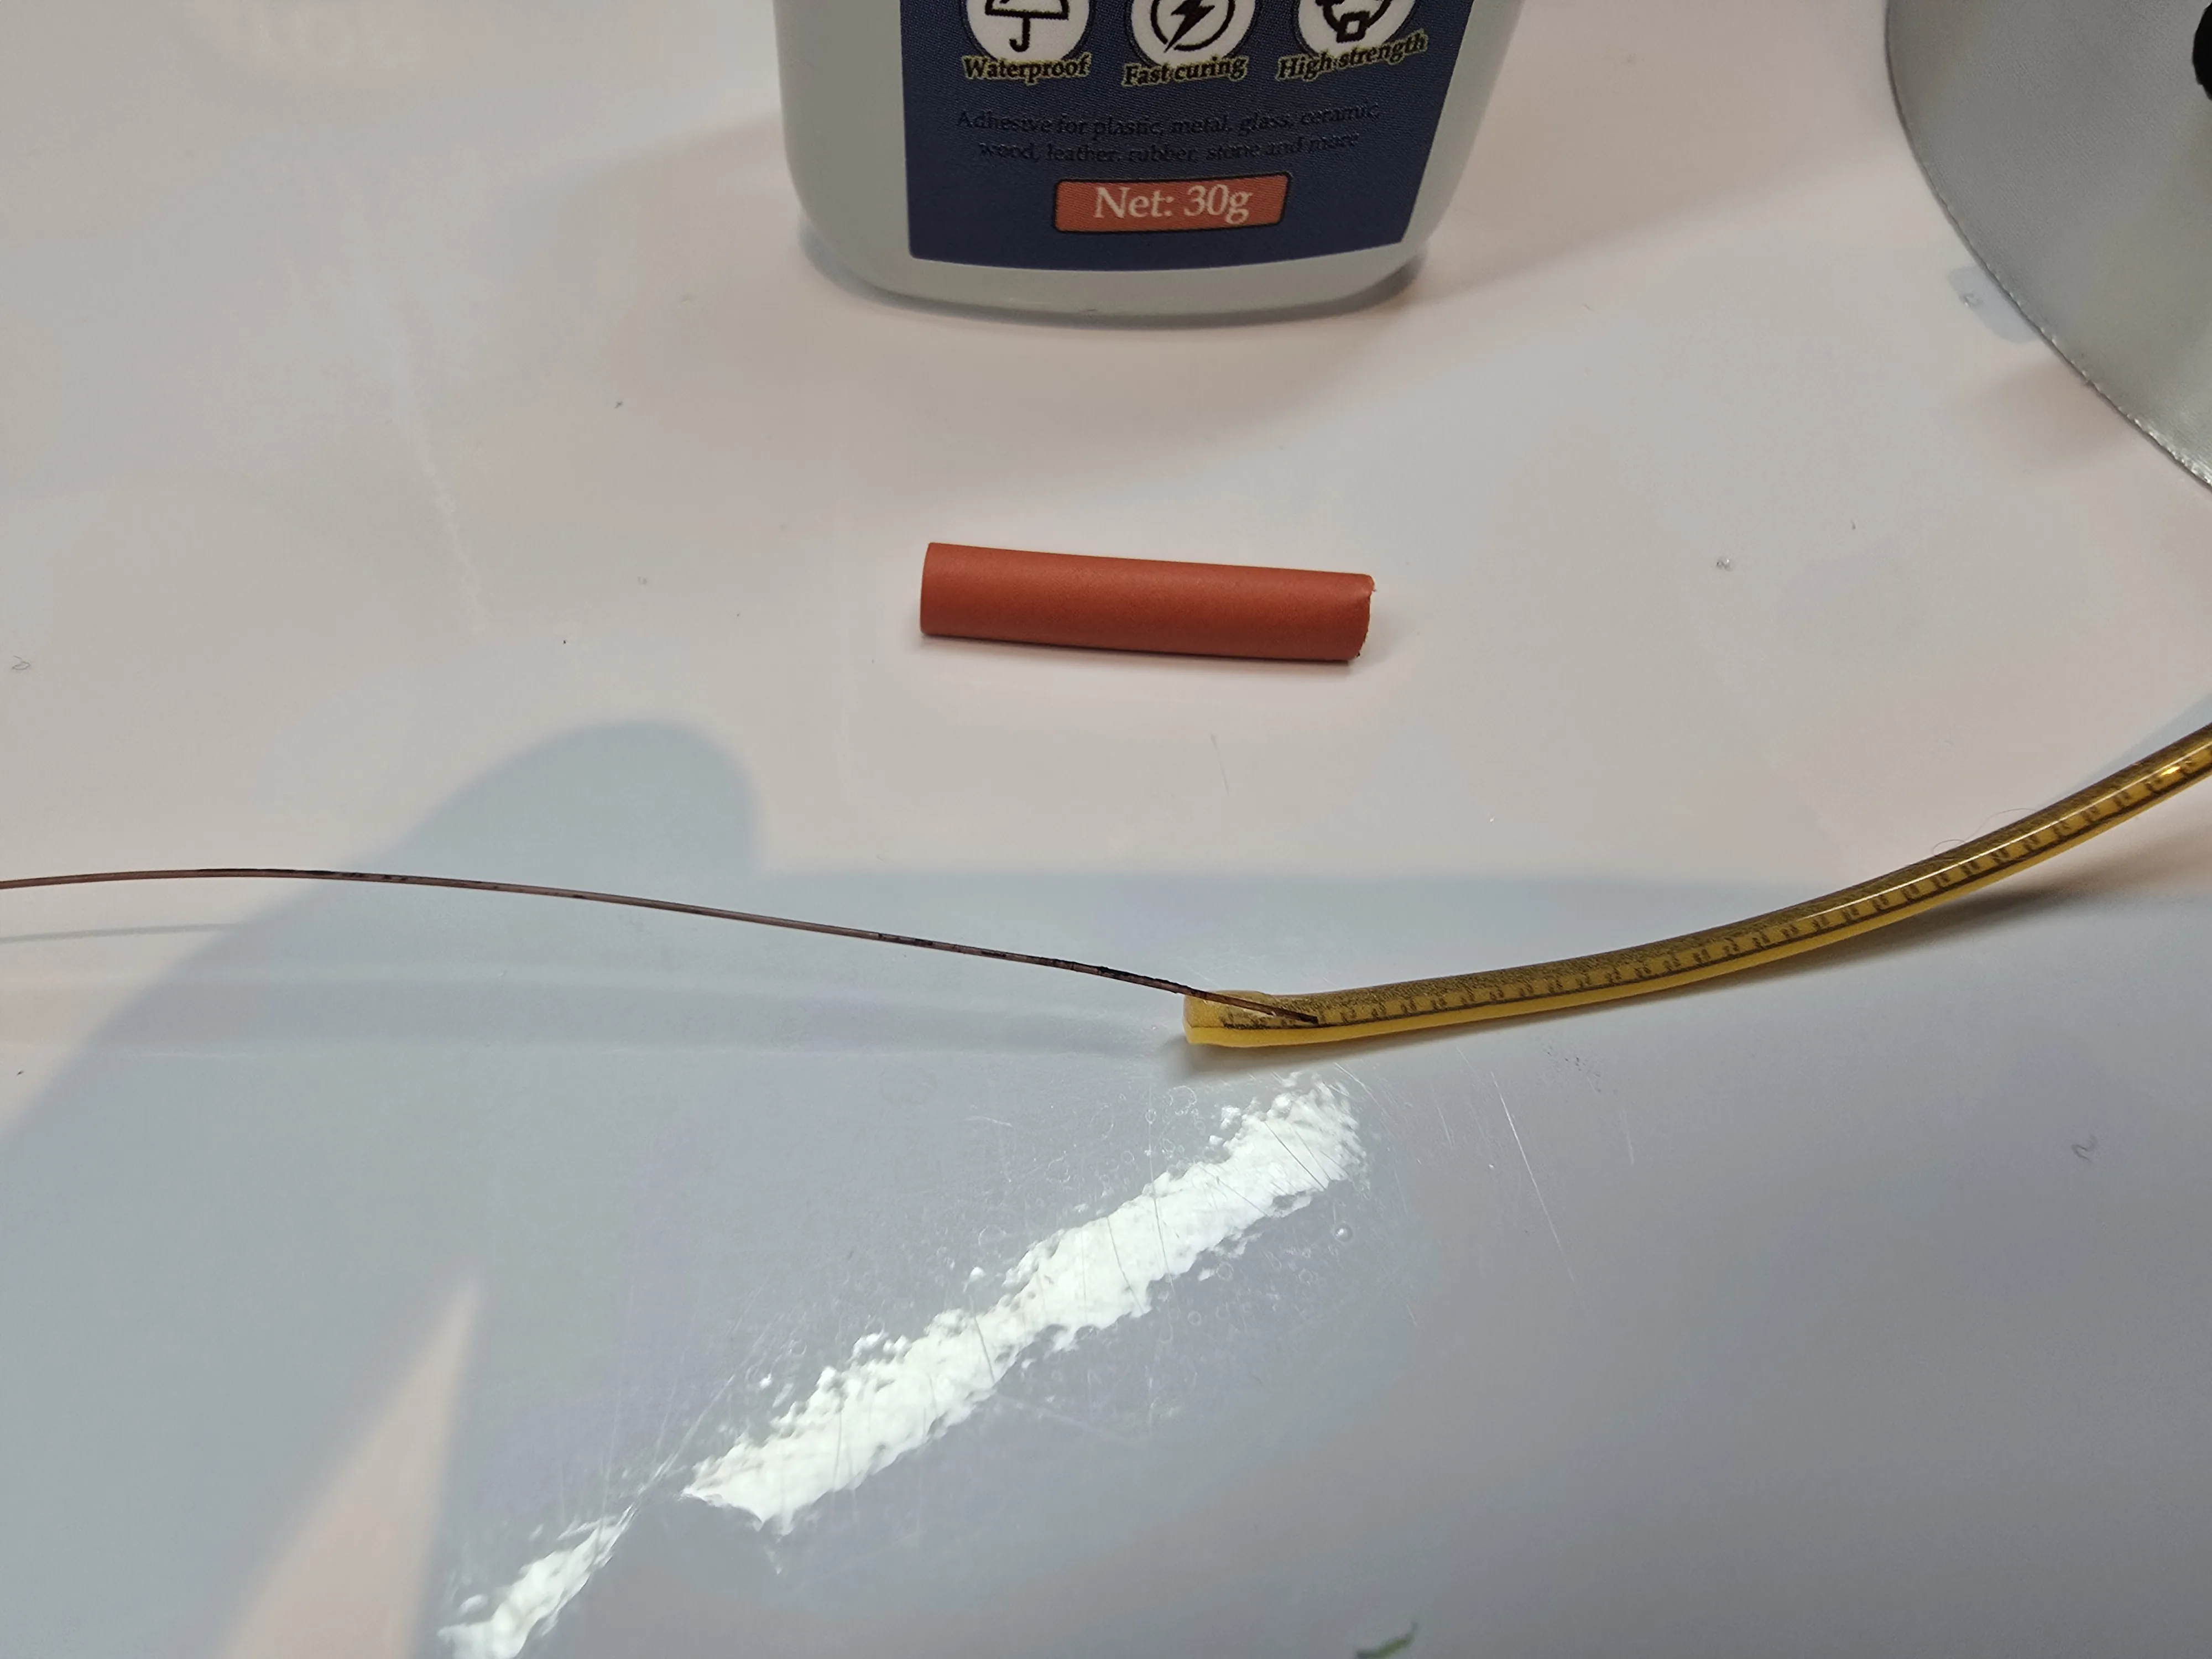
Step 7: Prepare the LED strip to be easily threaded through the top using a 10mm strip of heat shrink tubing and thread or fishing wire as shown in the photos below - on the top on the LED strip I recommend gluing the thread lightly and then apply the heat shrink tubing to hold the thread firmly to the LED strip, this allows us to easily connect the top and add tension to the LED strip
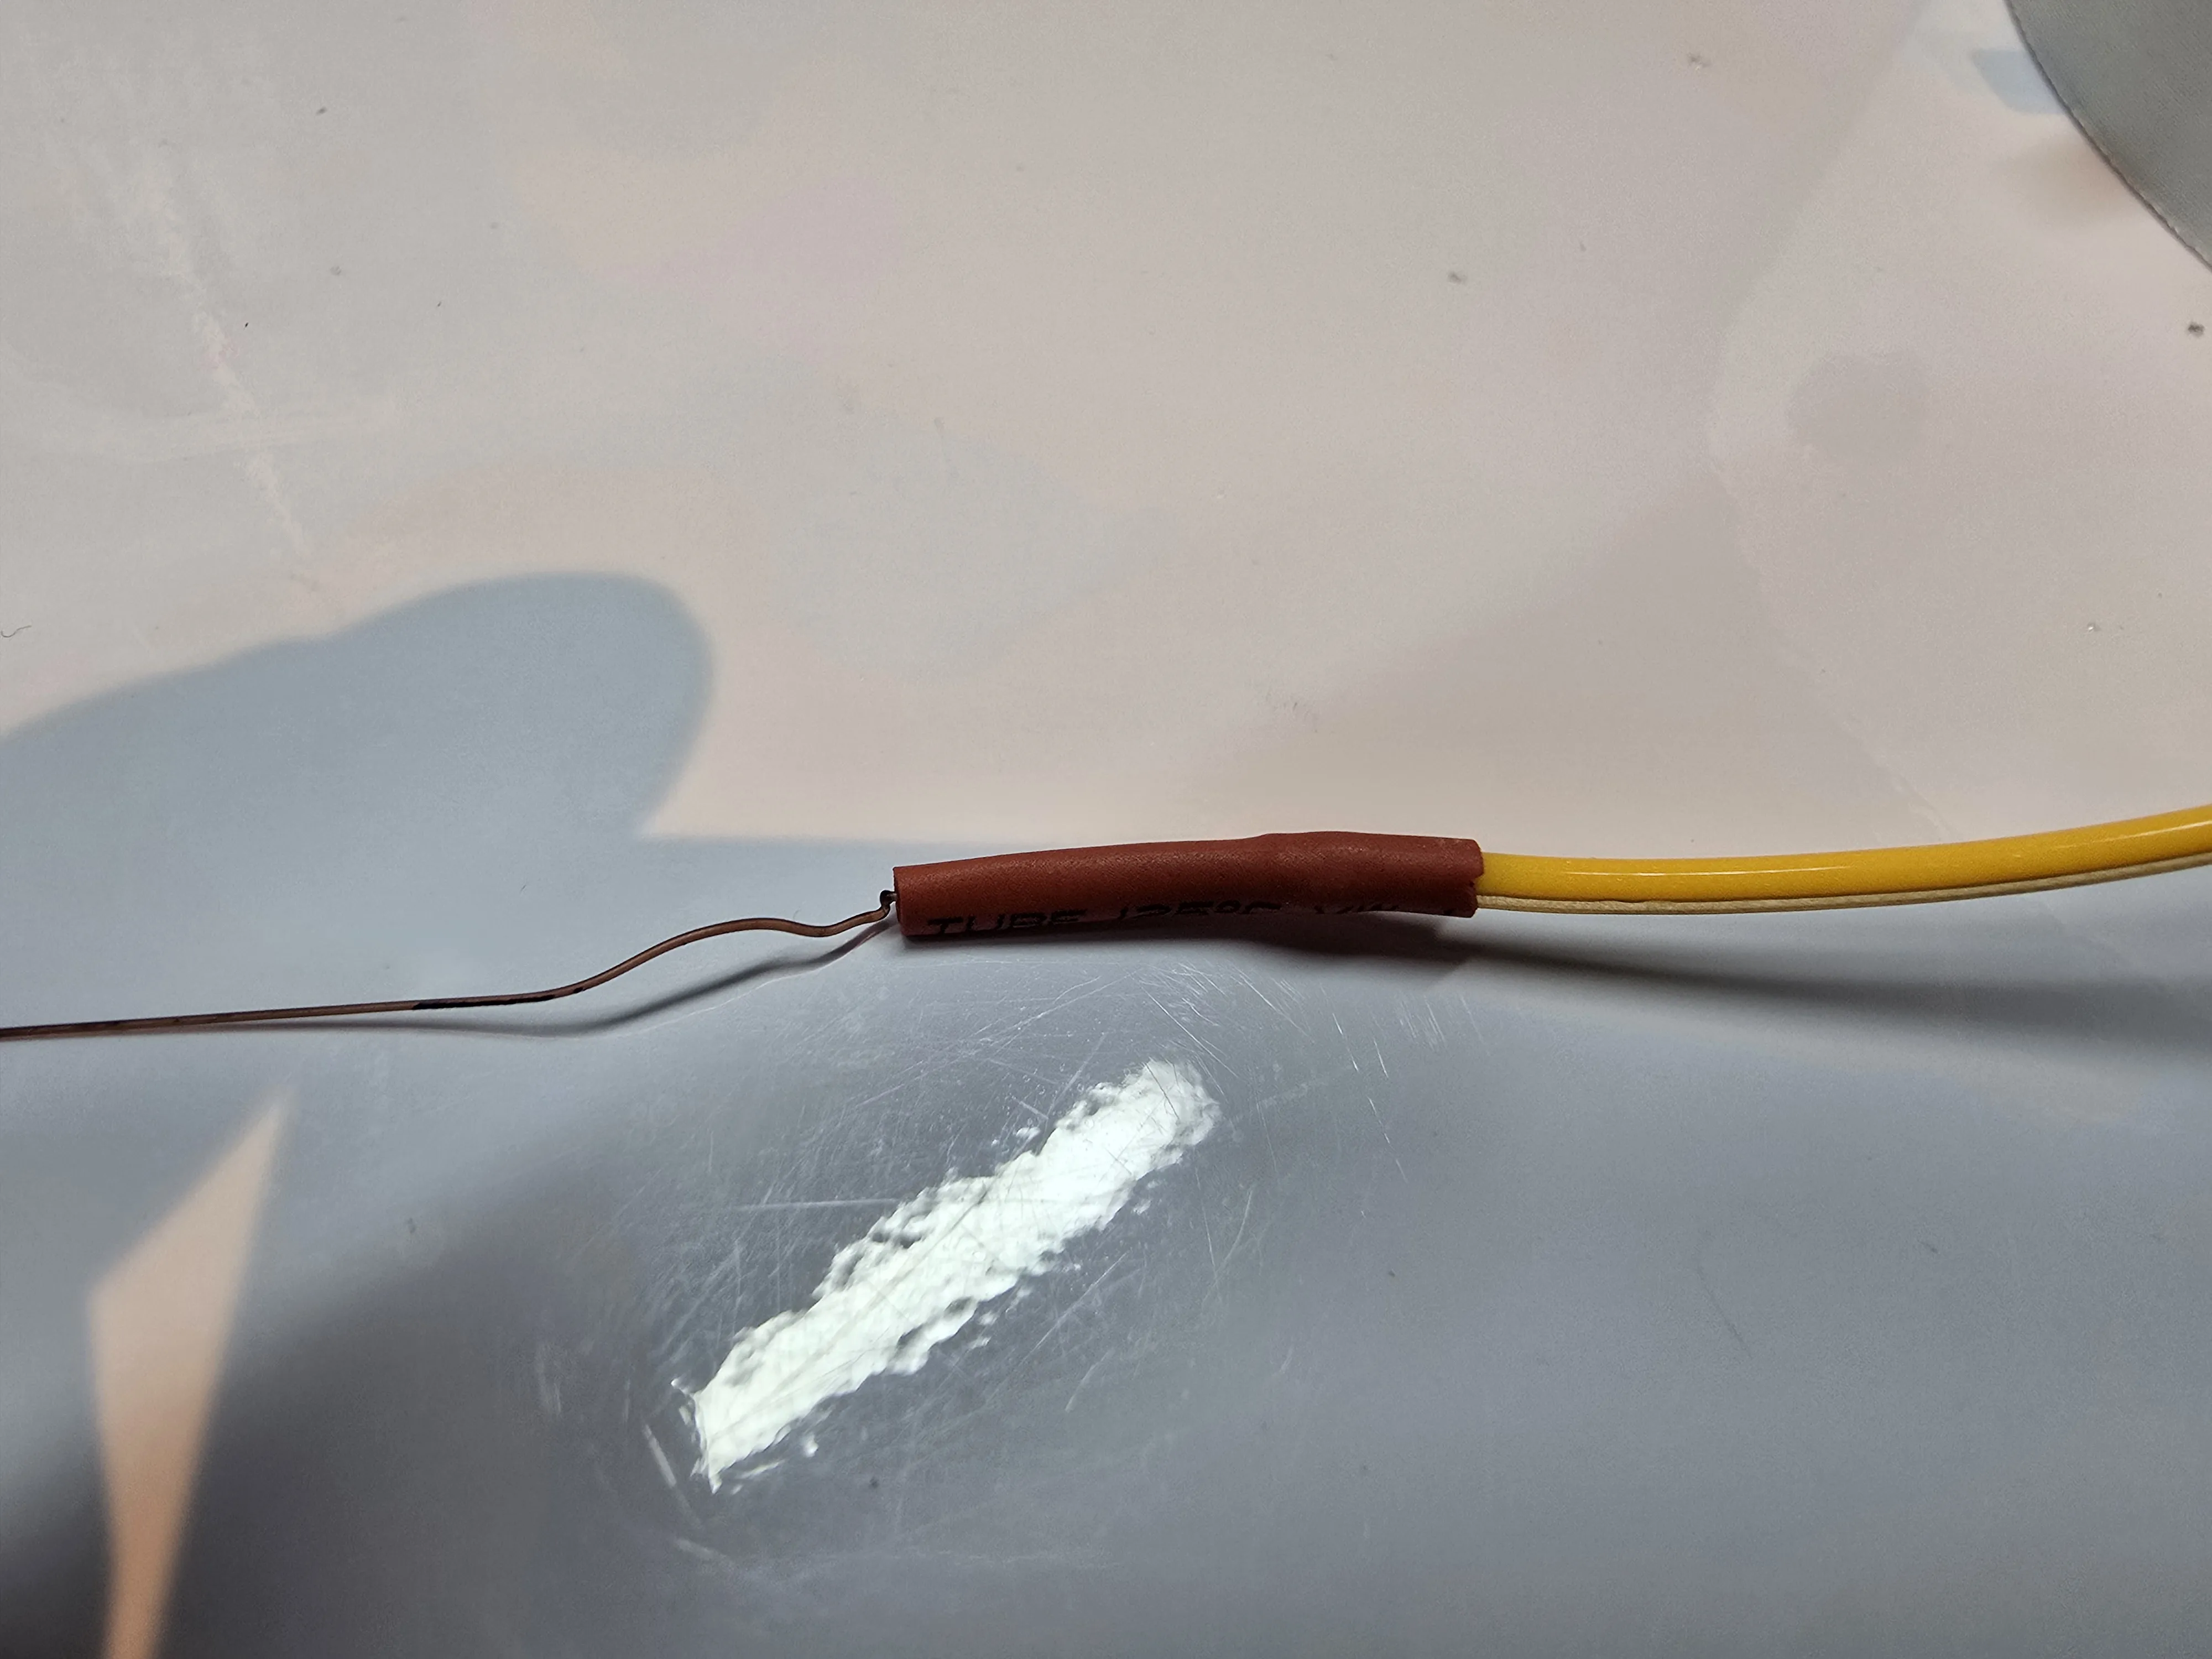
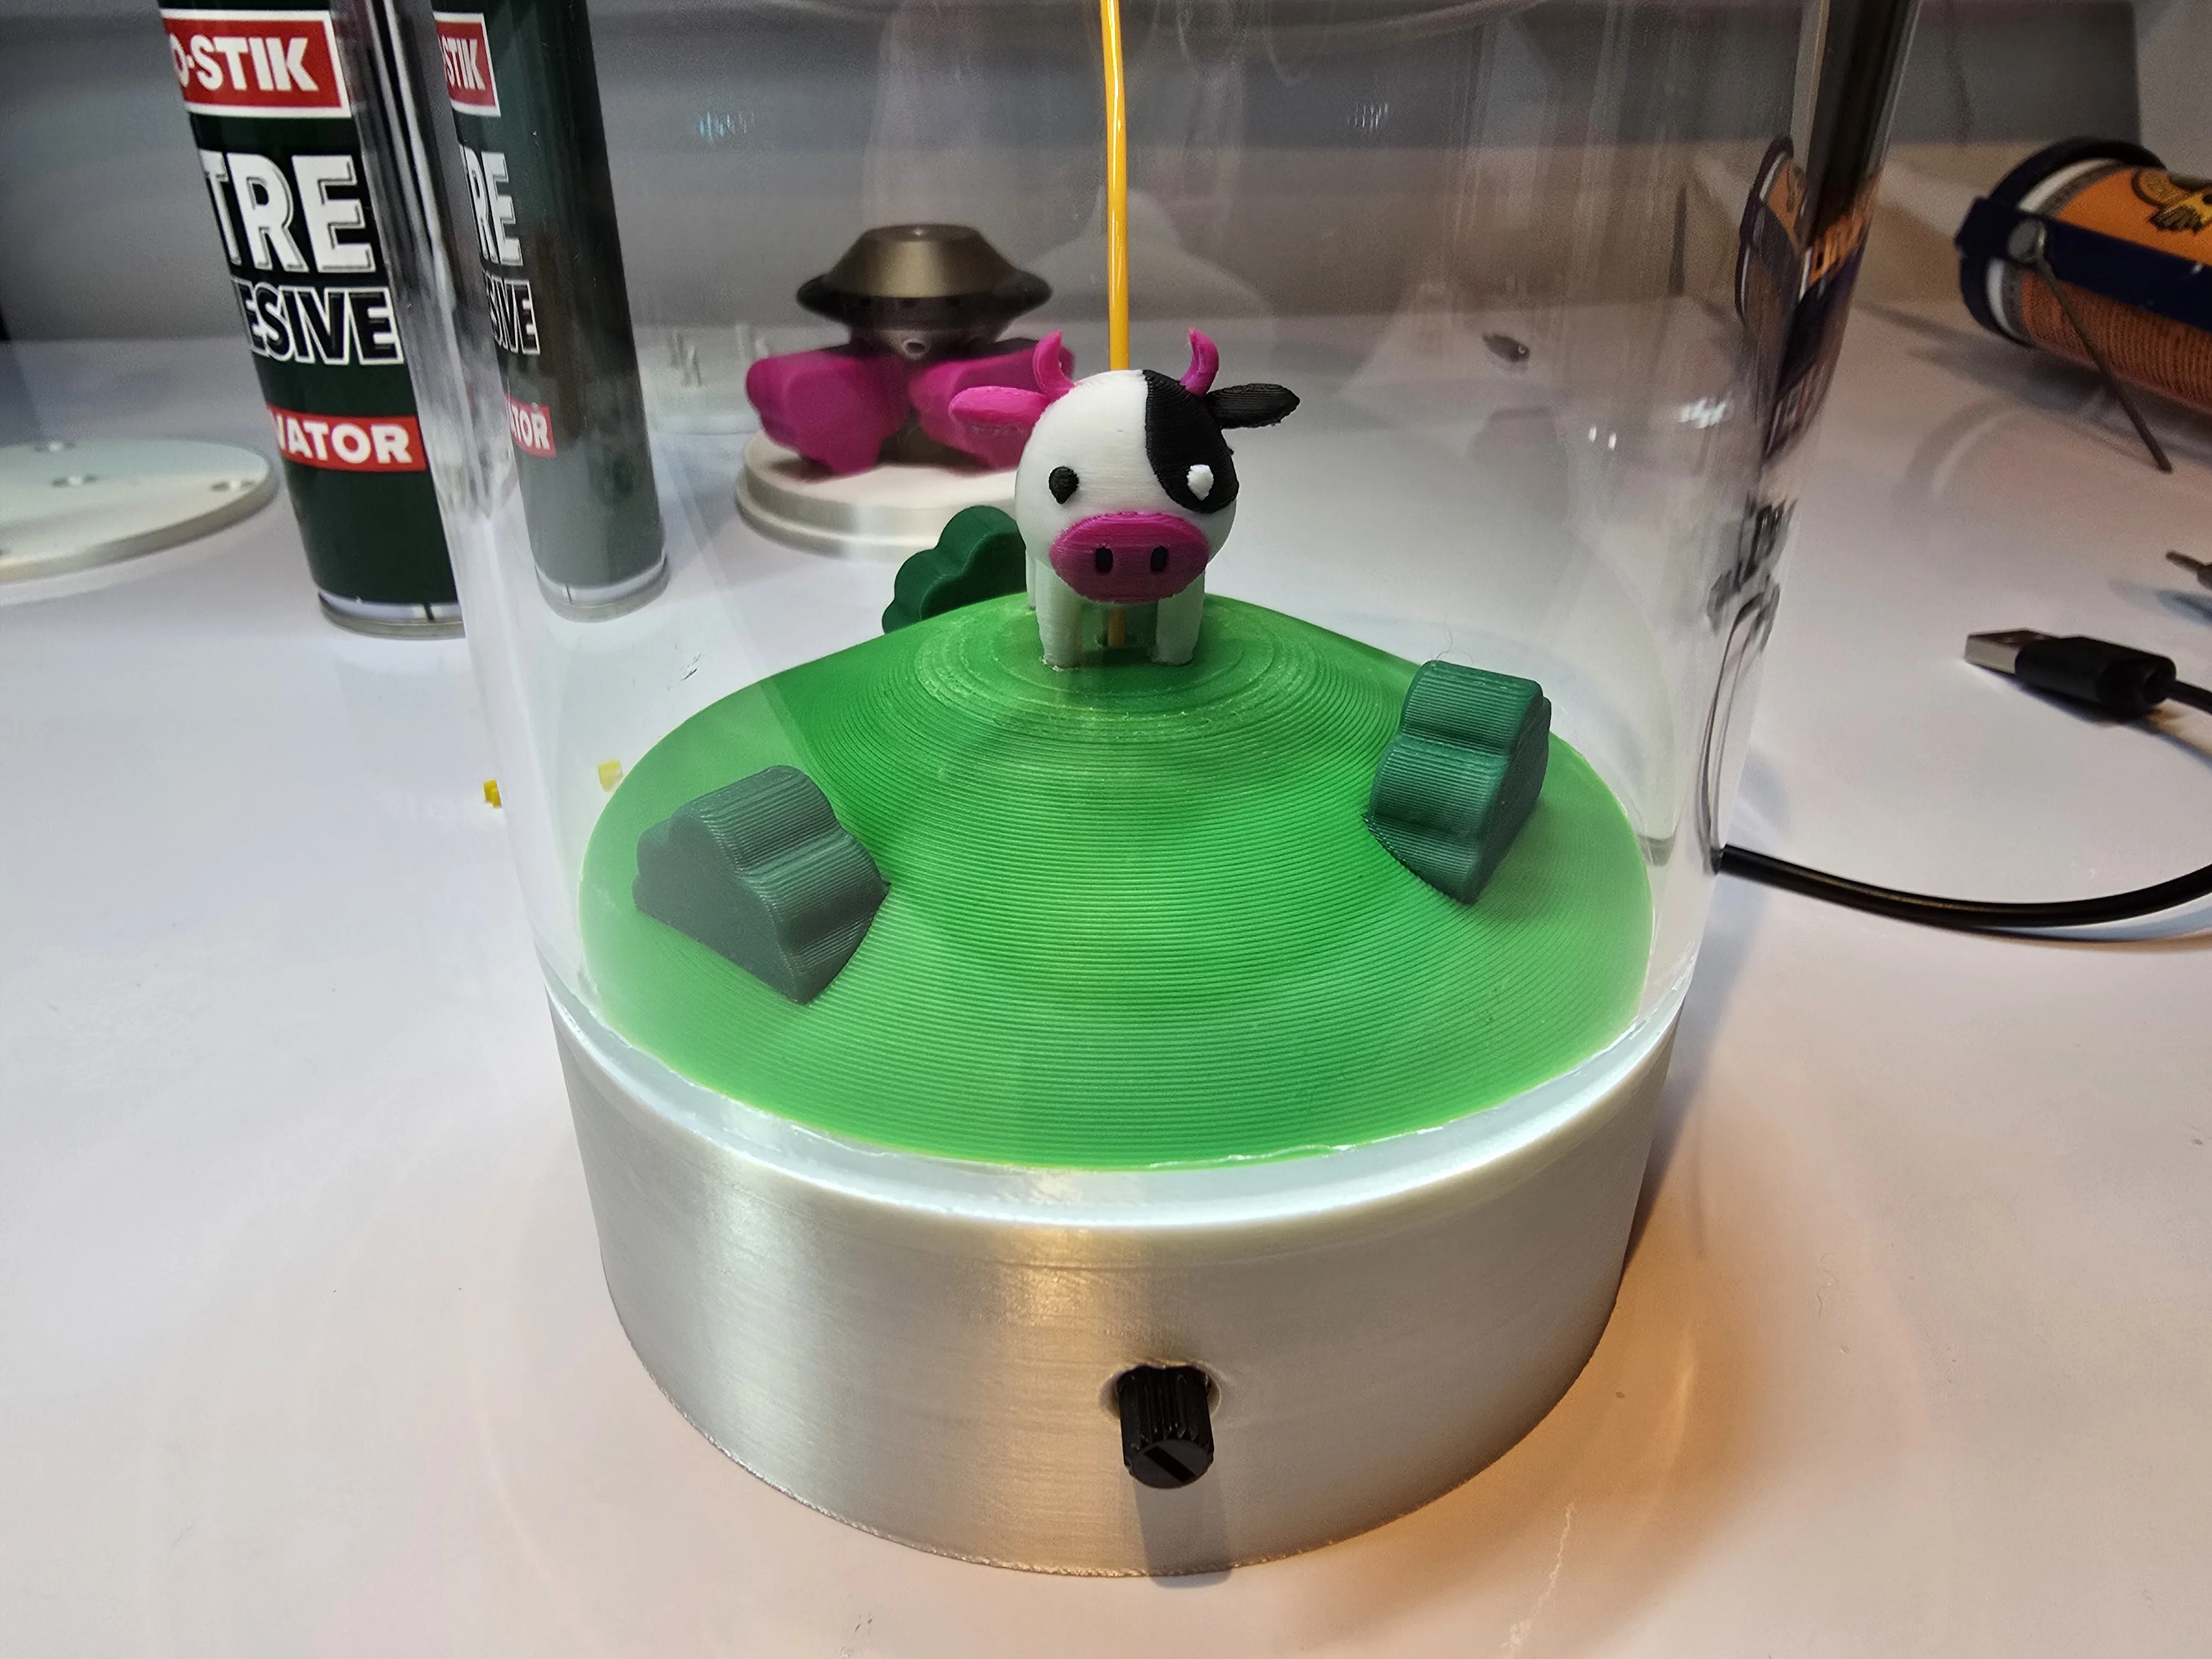
Step 8: Ensuring the acrylic tubing is clean, carefully glue or stick the bottom section to the tubing using silicon (depending on your preference on how you wish to stick together)
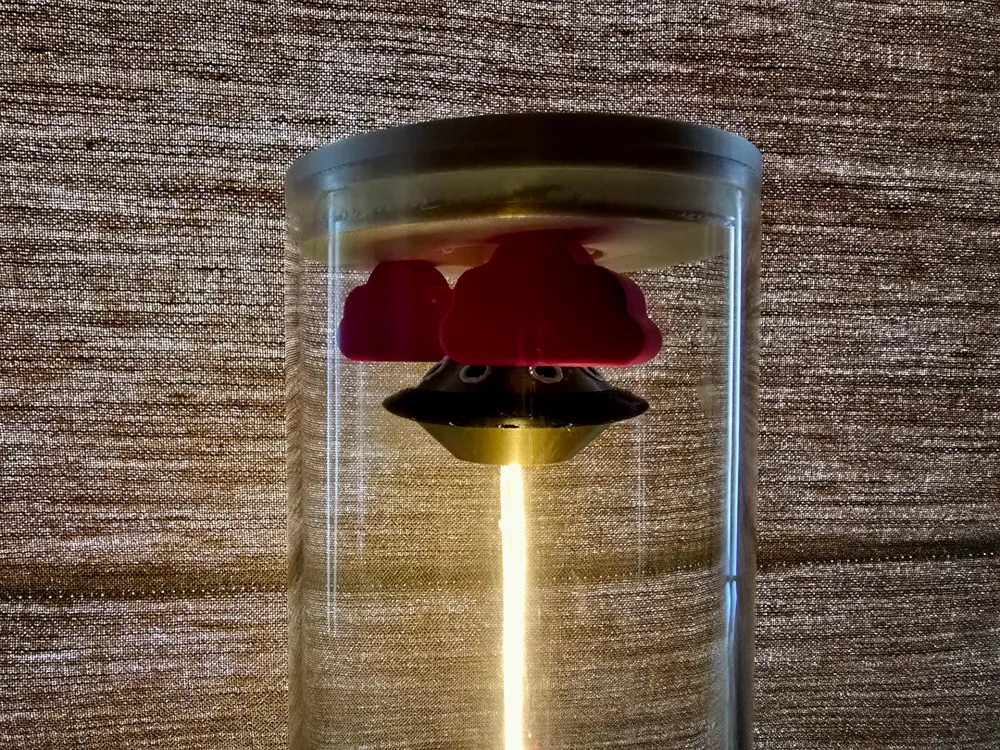
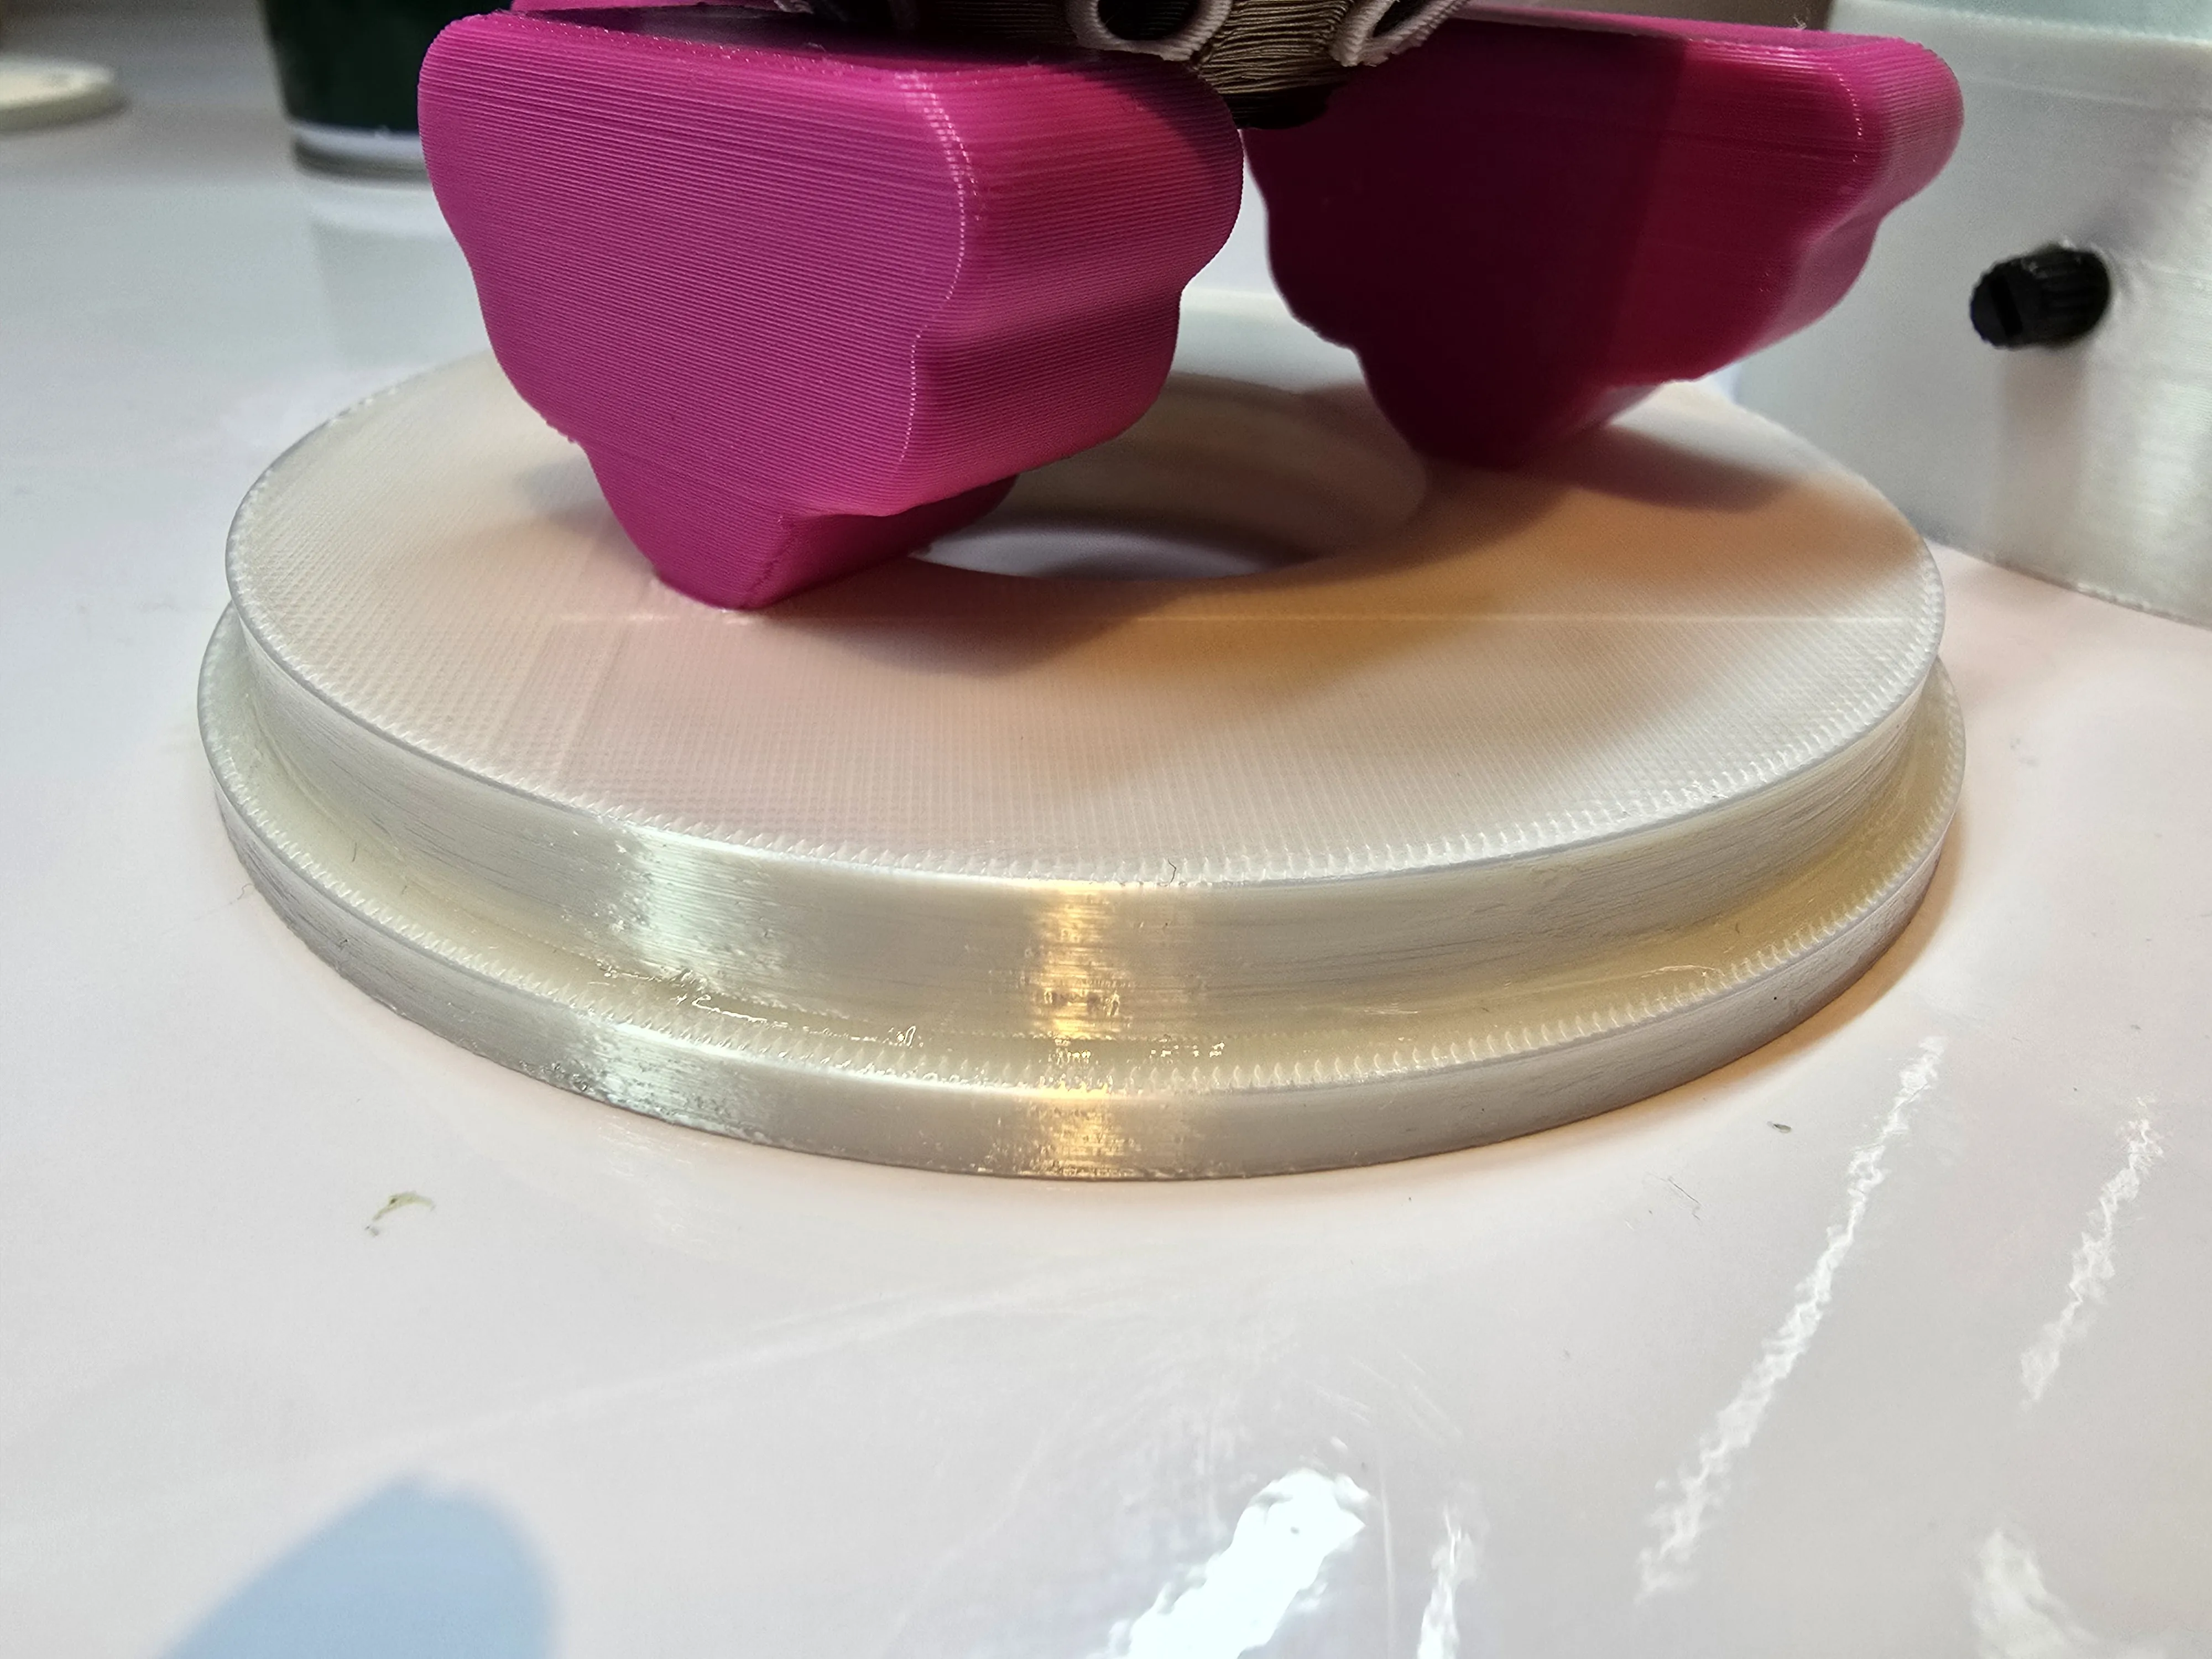
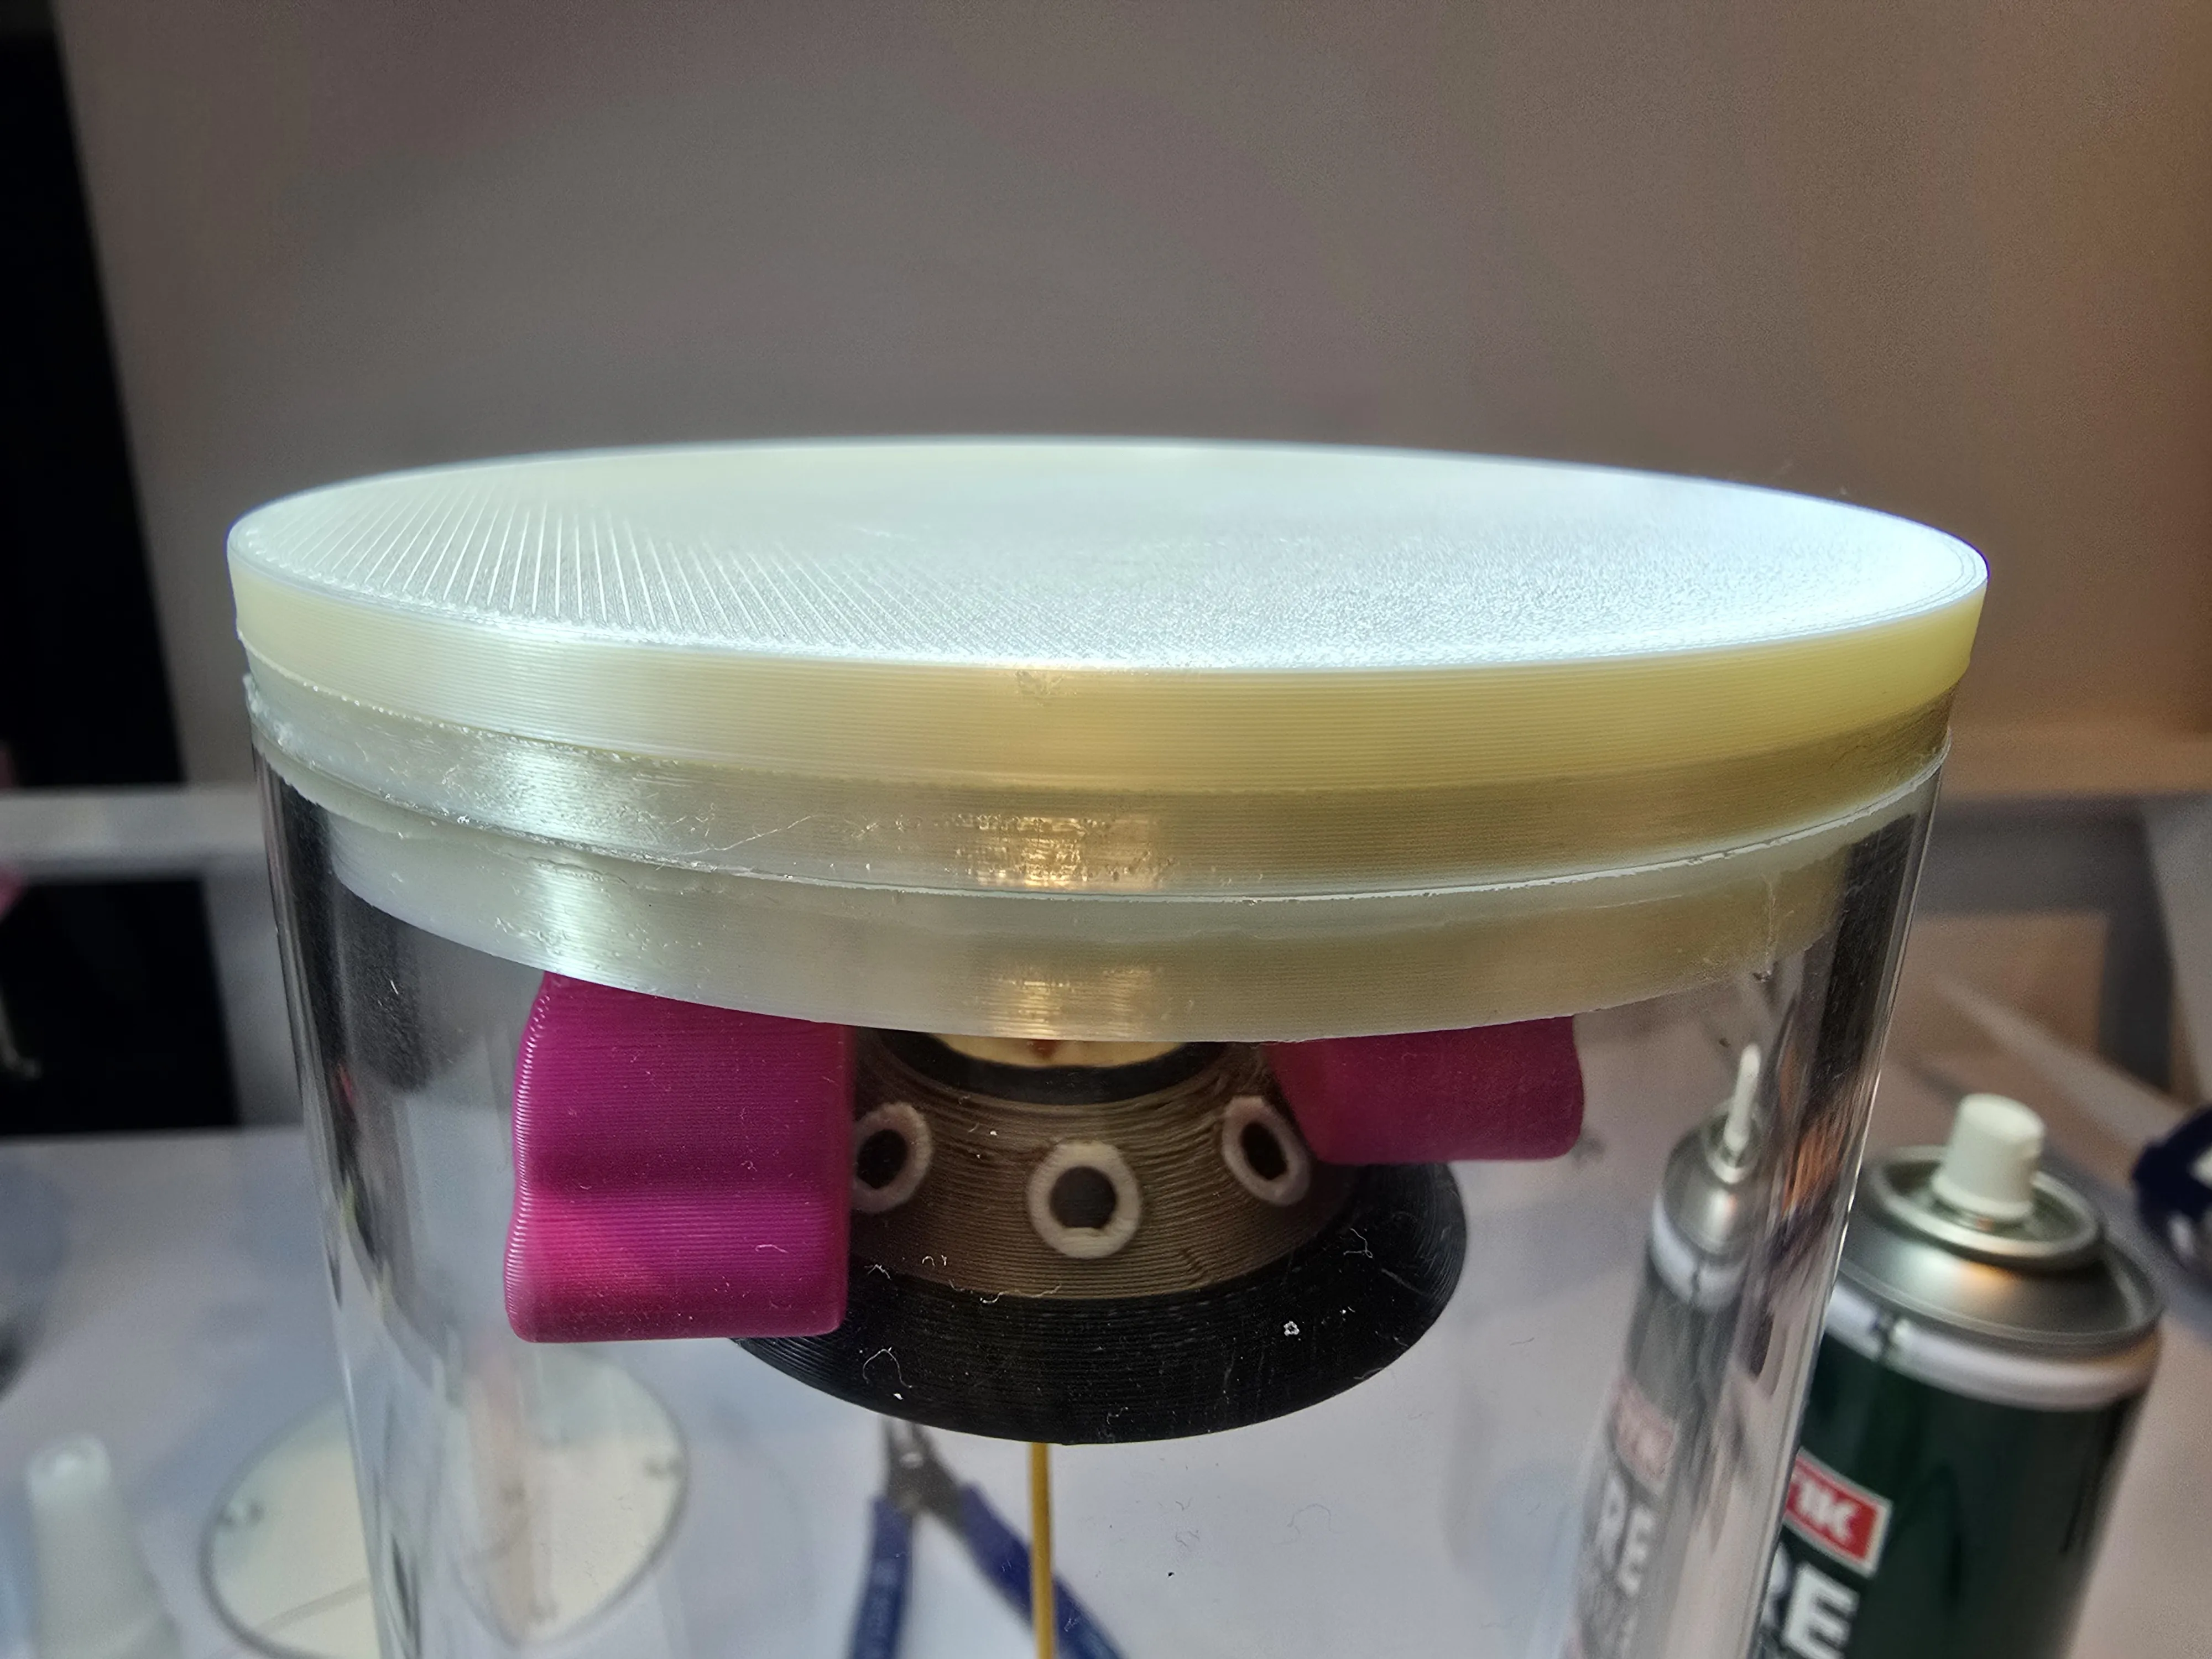
Step 9: Apply glue or silicon to the inner section on the top piece (the piece with the UFO) as shown
Step 10: Before gluing this section to the top of the acrylic tubing we first need to thread the LED strip through the UFO by pulling the thread with heat shrink that is attached to the LED strip that we made earlier and position the top onto the acrylic tubing like shown
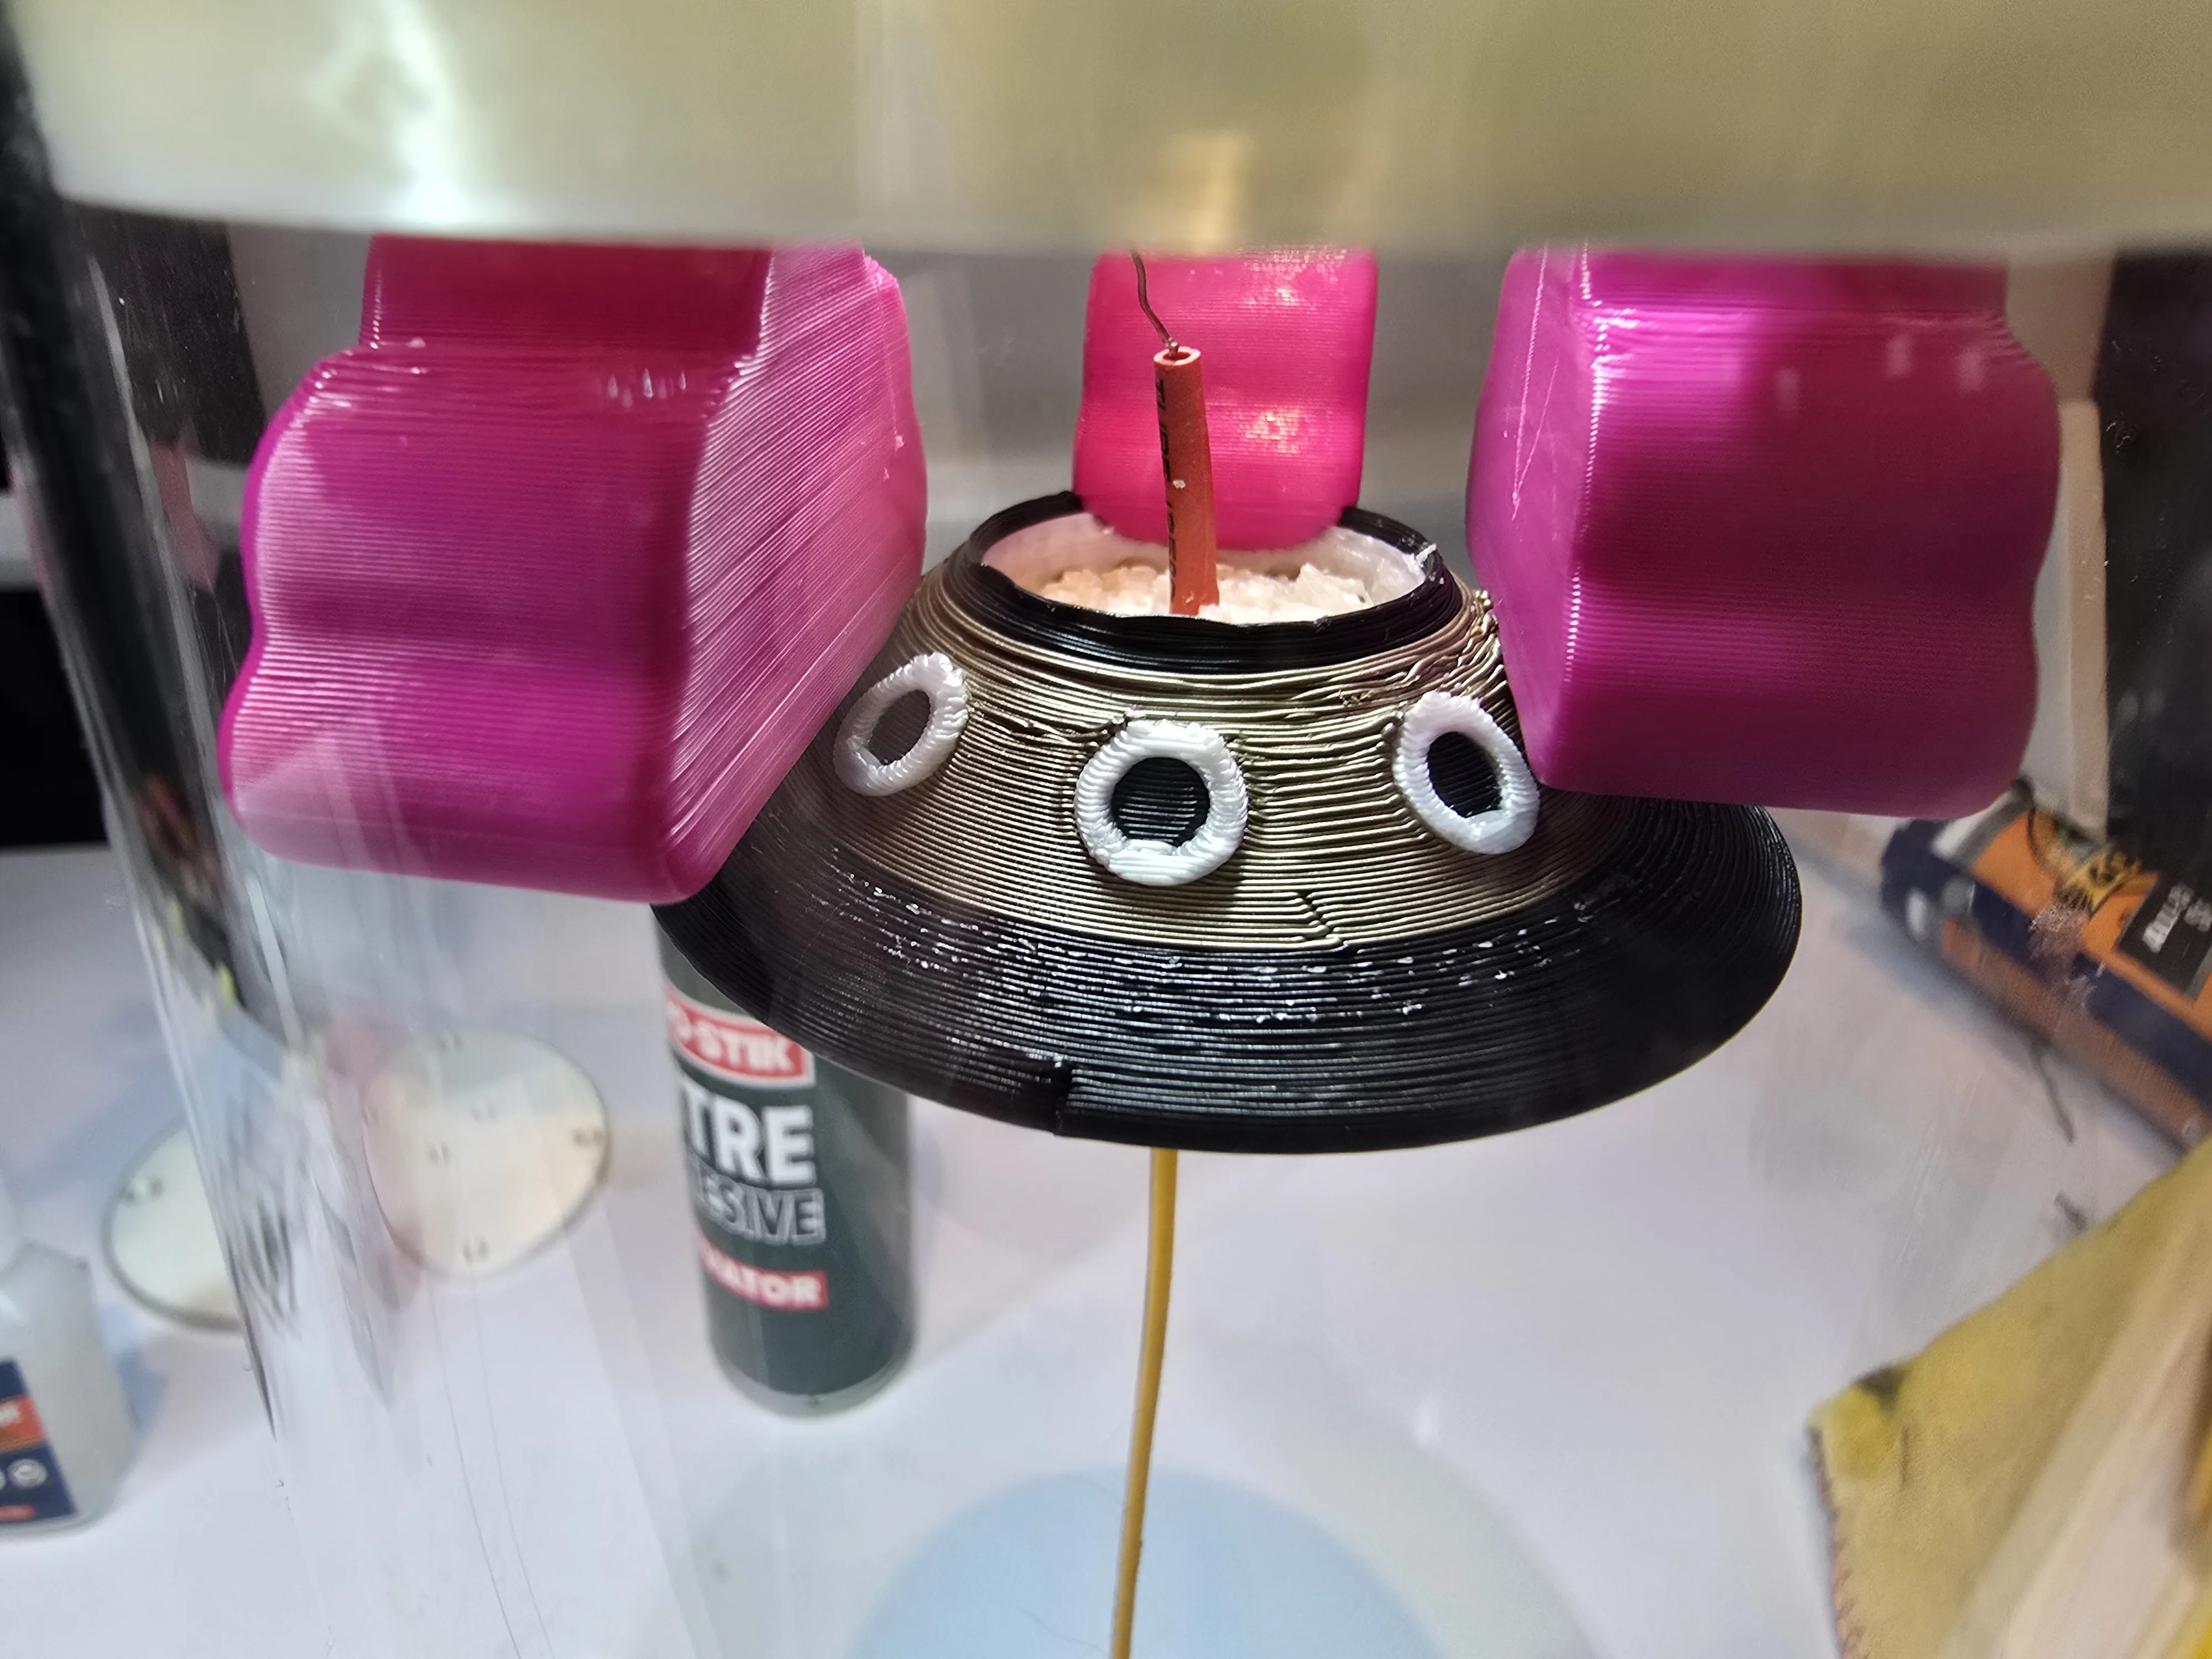
Step 11: Pull the LED strip tight so the LED strip is parallel to the tubing and tense then use super glue to fix the heat shrink to the inside of the UFO once the LED strip is glued inside you can then remove the thread and top of heat shrink tubing with cutters, make sure not to damage the LED strip
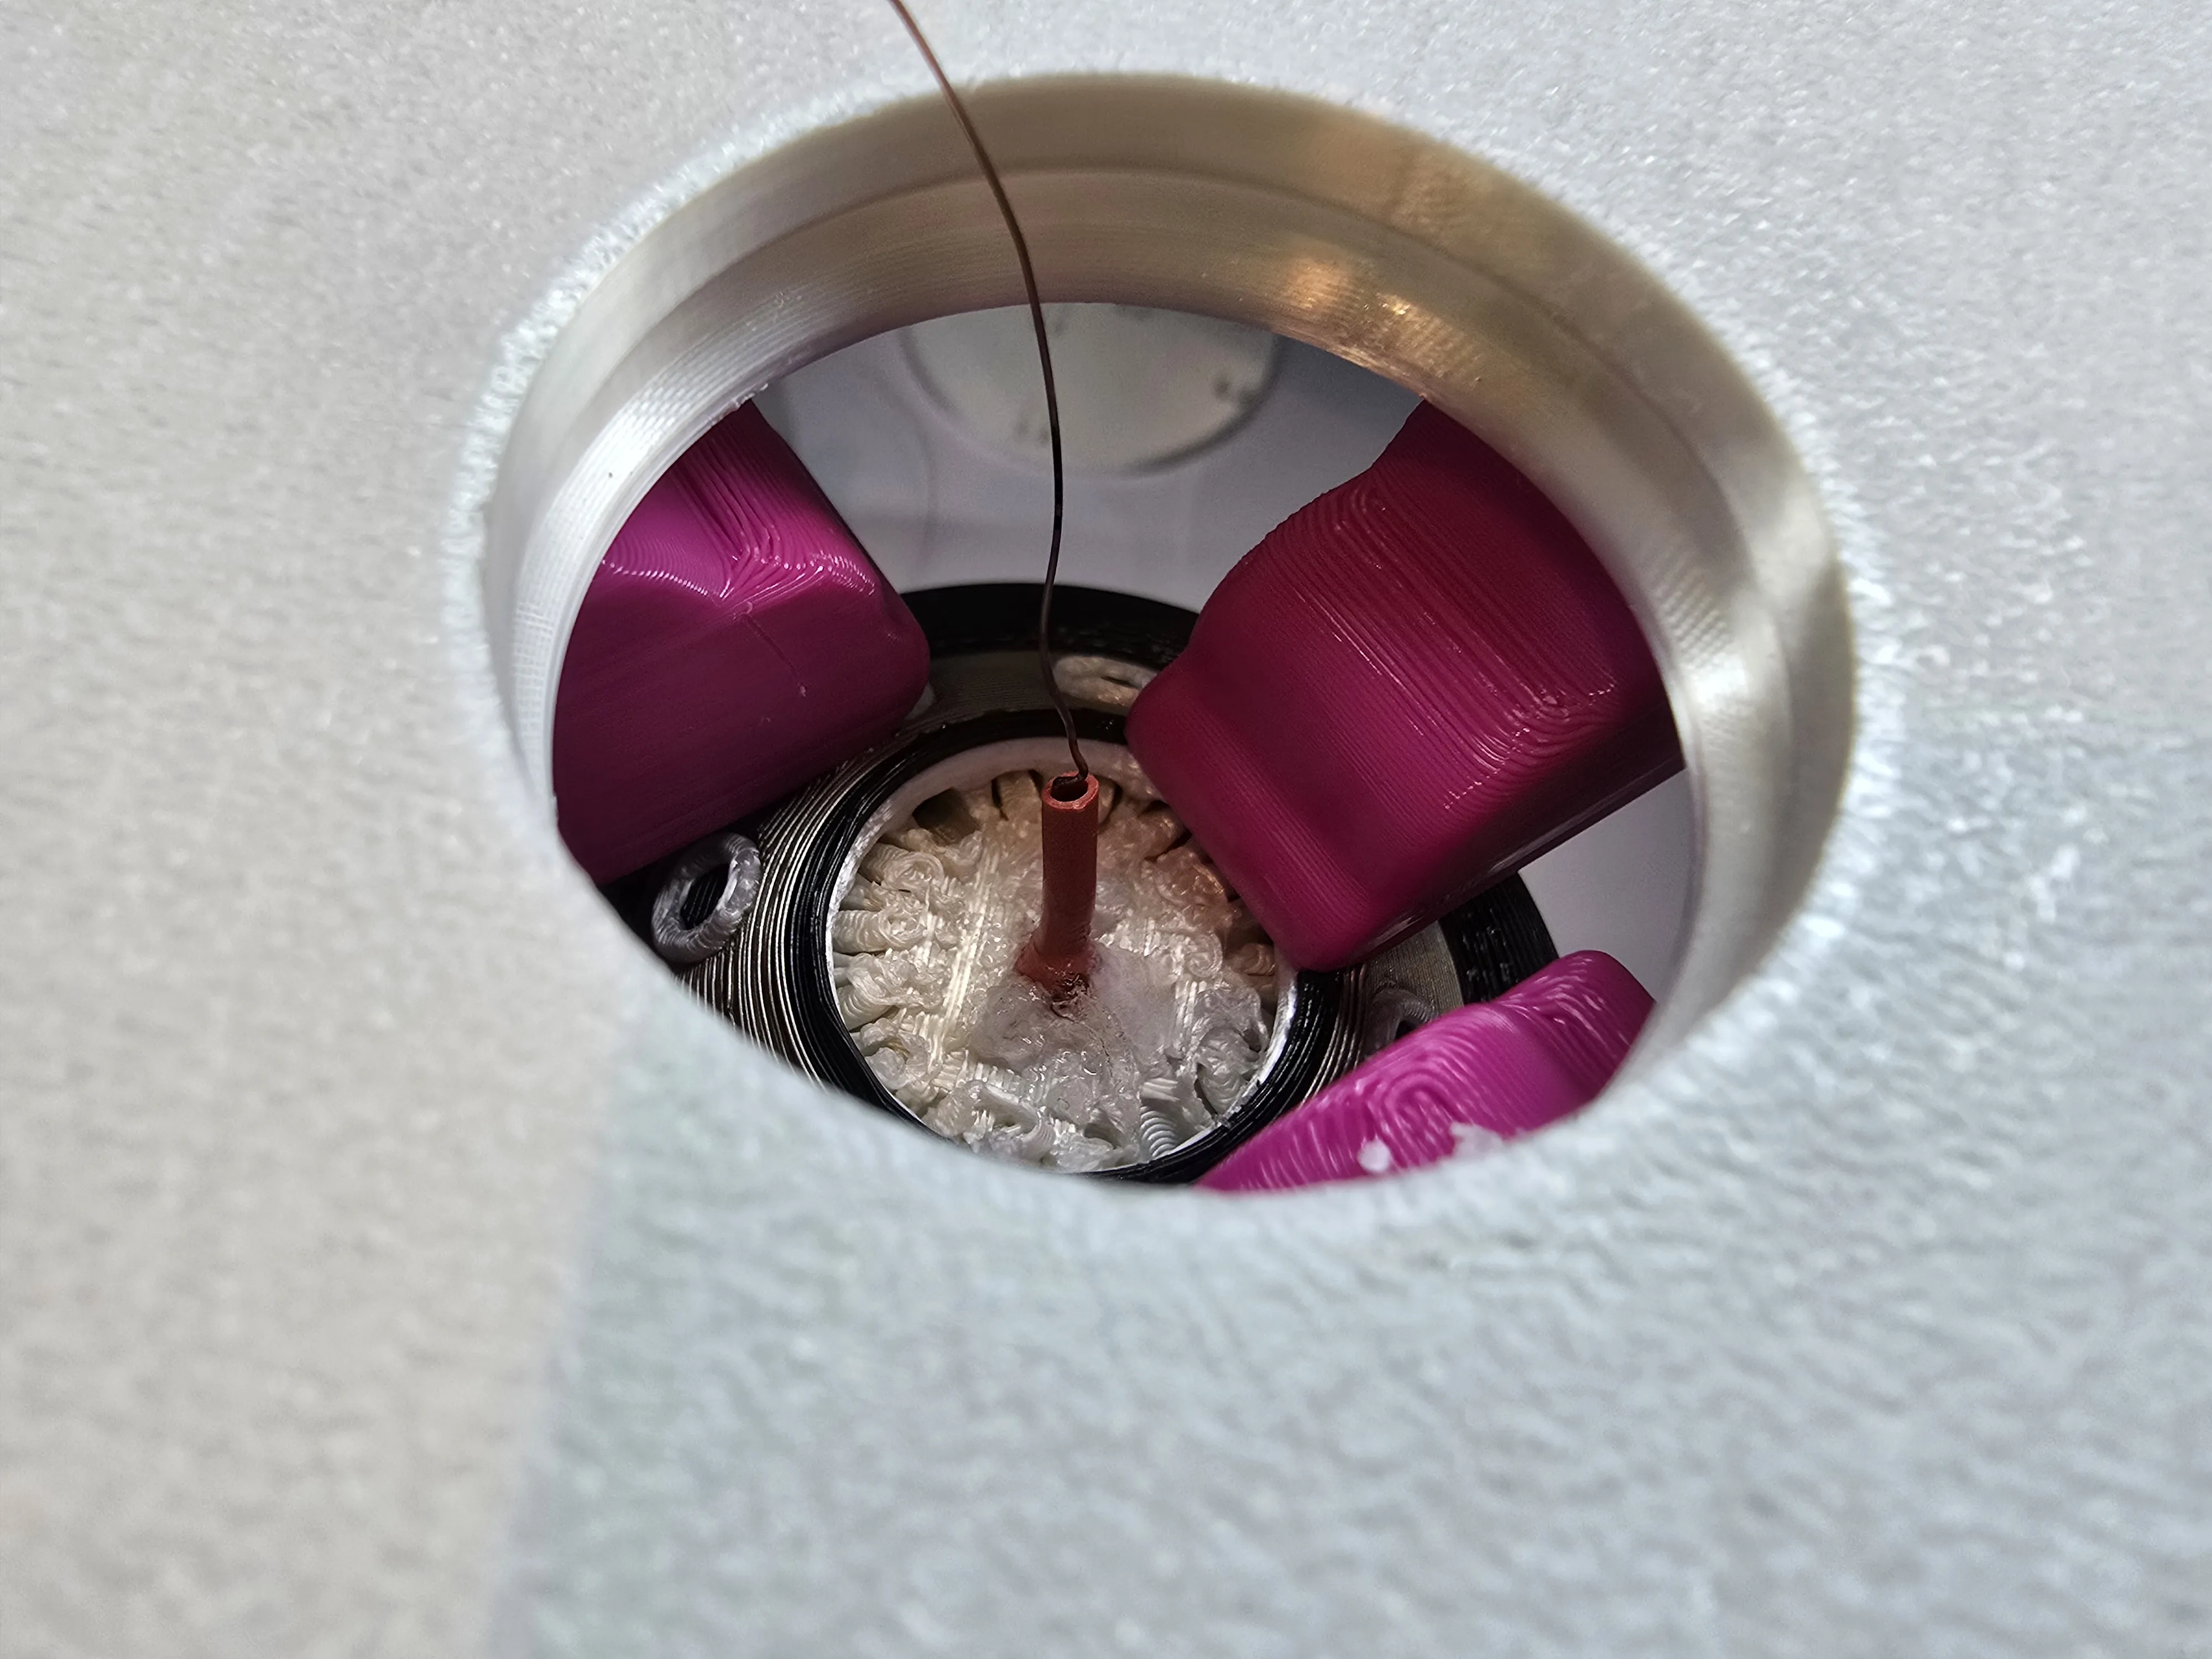
Step 12: Simply push the top cover into the hole on the top to cover the hole in the top
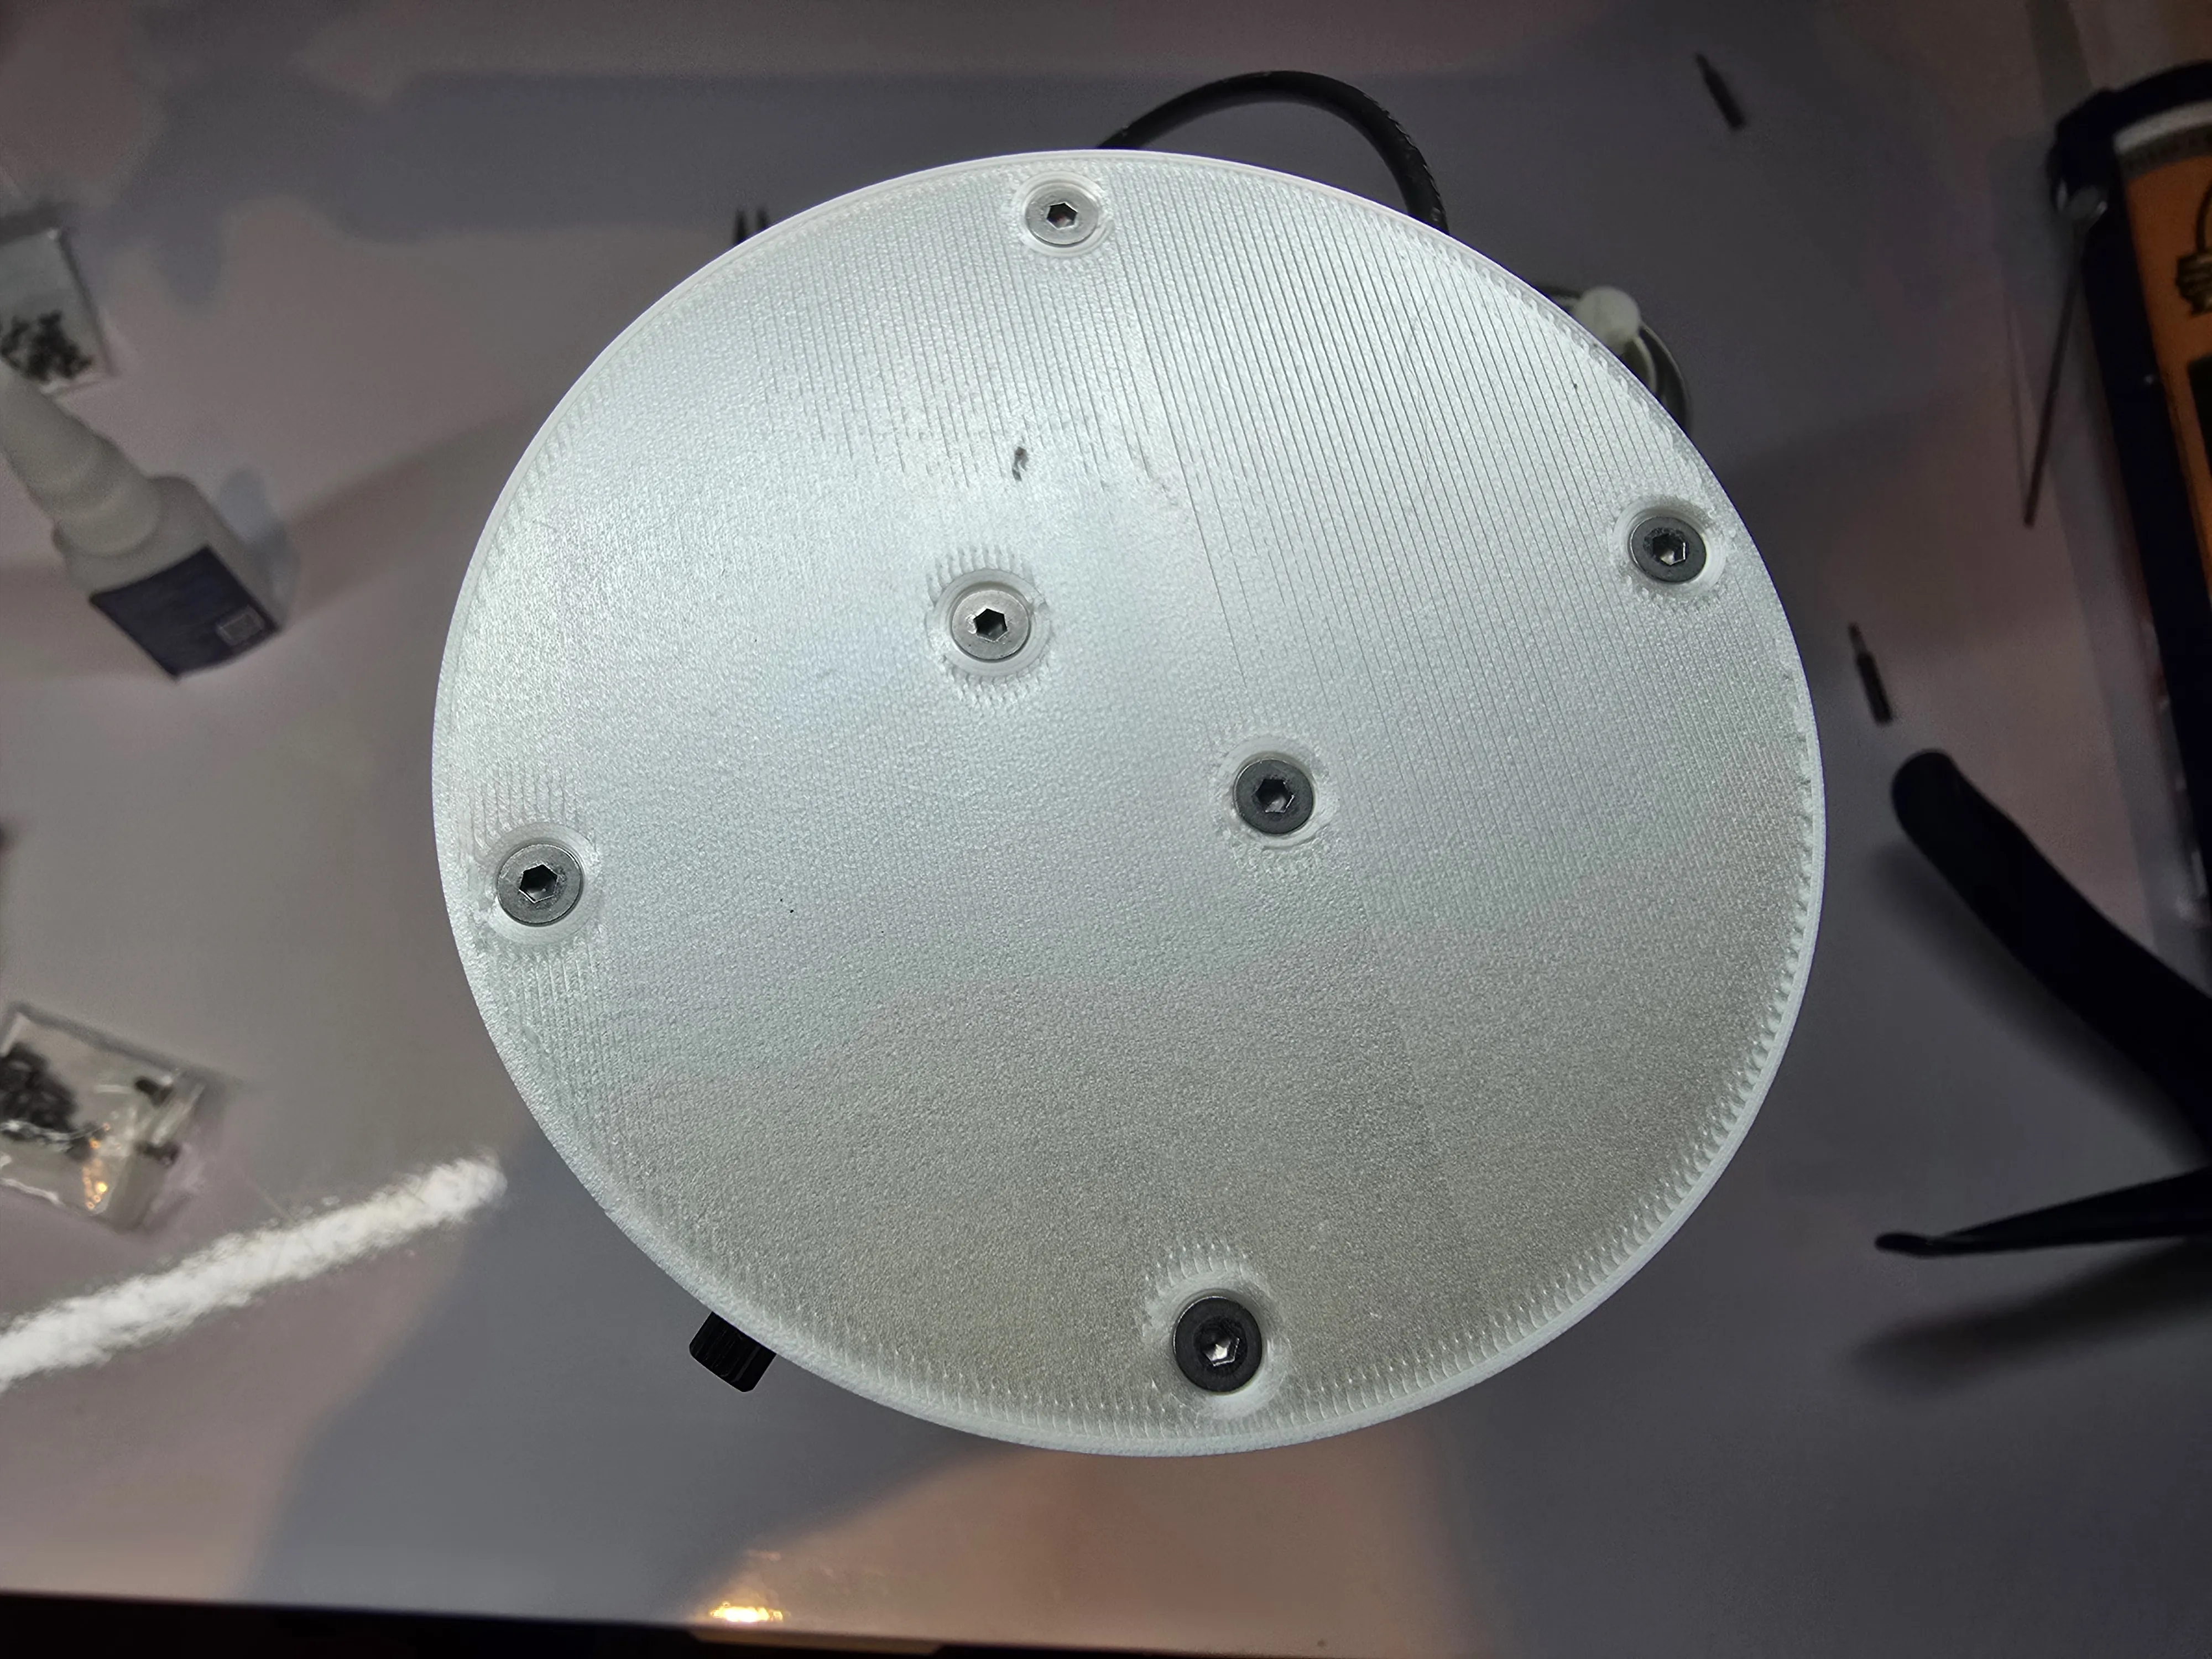
Step 13: Install the Lamp Base Cover using 6x M3x8mm Countersunk Machine Screws (AA086)
These screws thread directly into the plastic - No need for Heat-Inserts
Once completed your lamp will look something like this
Any help required and I'll sure do my best to assist as best as possible & don't forget to check out some of my other fantastic designs out now!
License

You shall not share, sub-license, sell, rent, host, transfer, or distribute in any way the digital or 3D printed versions of this object, nor any other derivative work of this object in its digital or physical format (including - but not limited to - remixes of this object, and hosting on other digital platforms). The objects may not be used without permission in any way whatsoever in which you charge money, or collect fees.


Comment & Rating (58)