
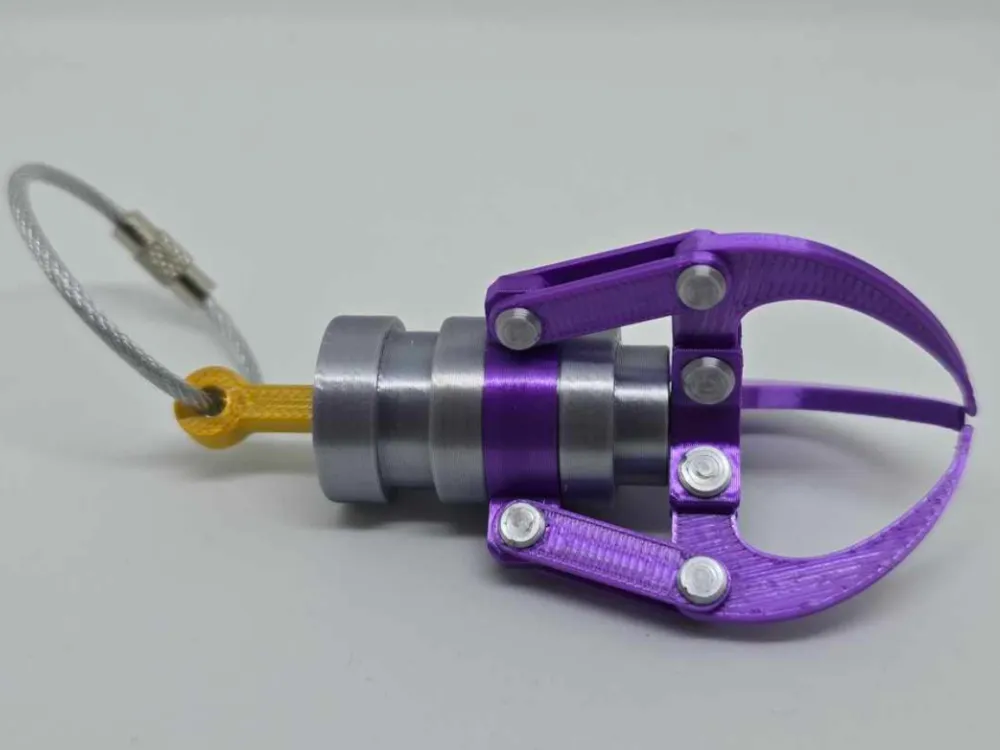
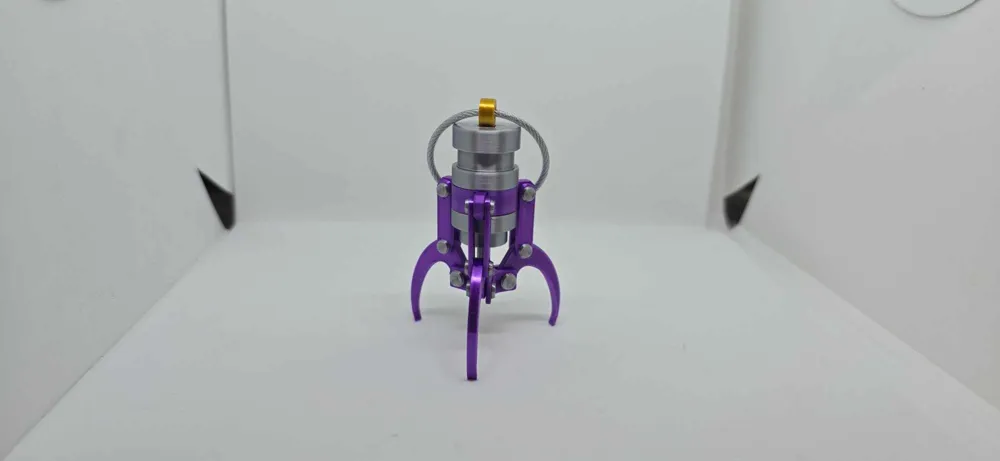
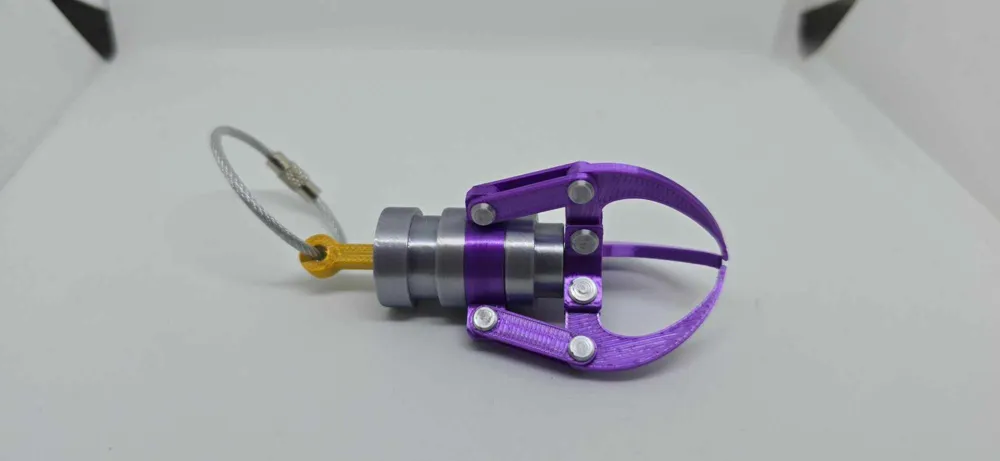
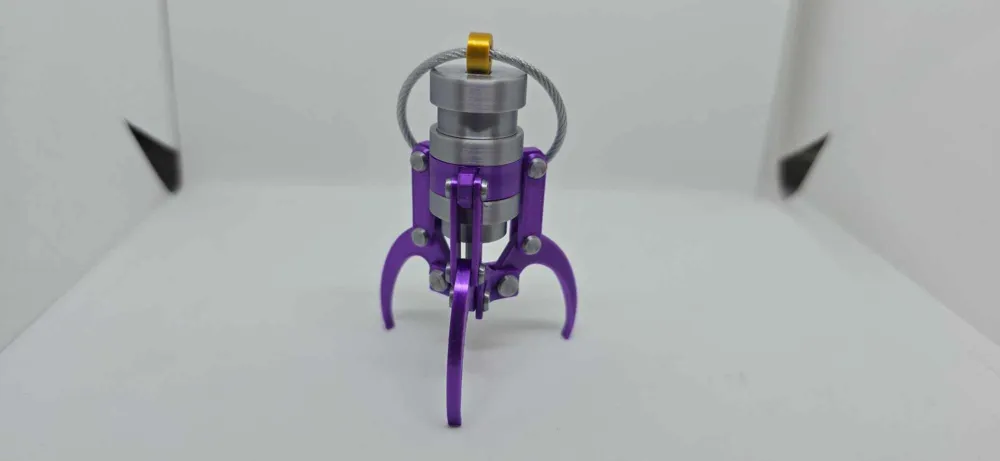
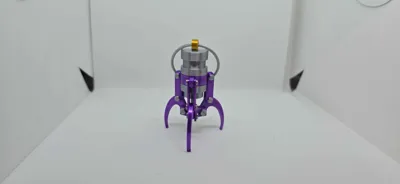
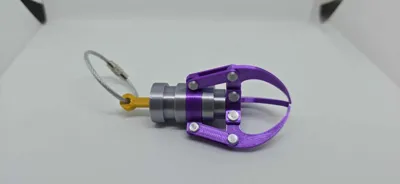
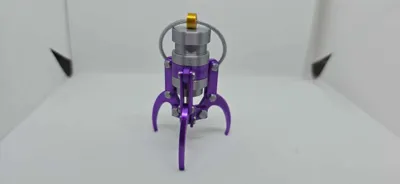
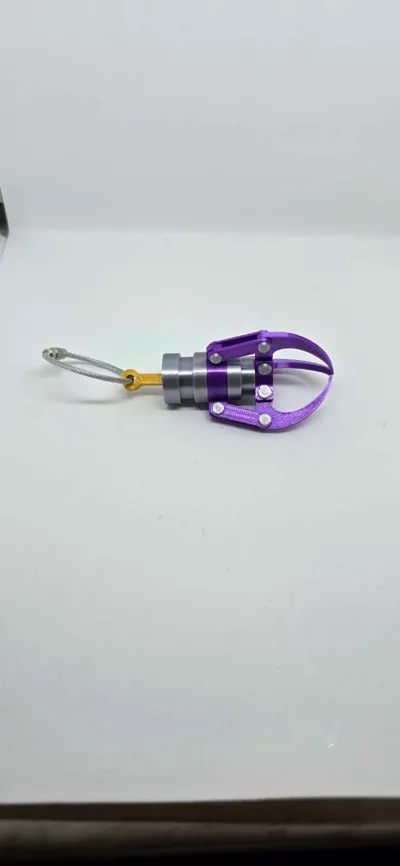
Mini Claw Machine Claw keychain
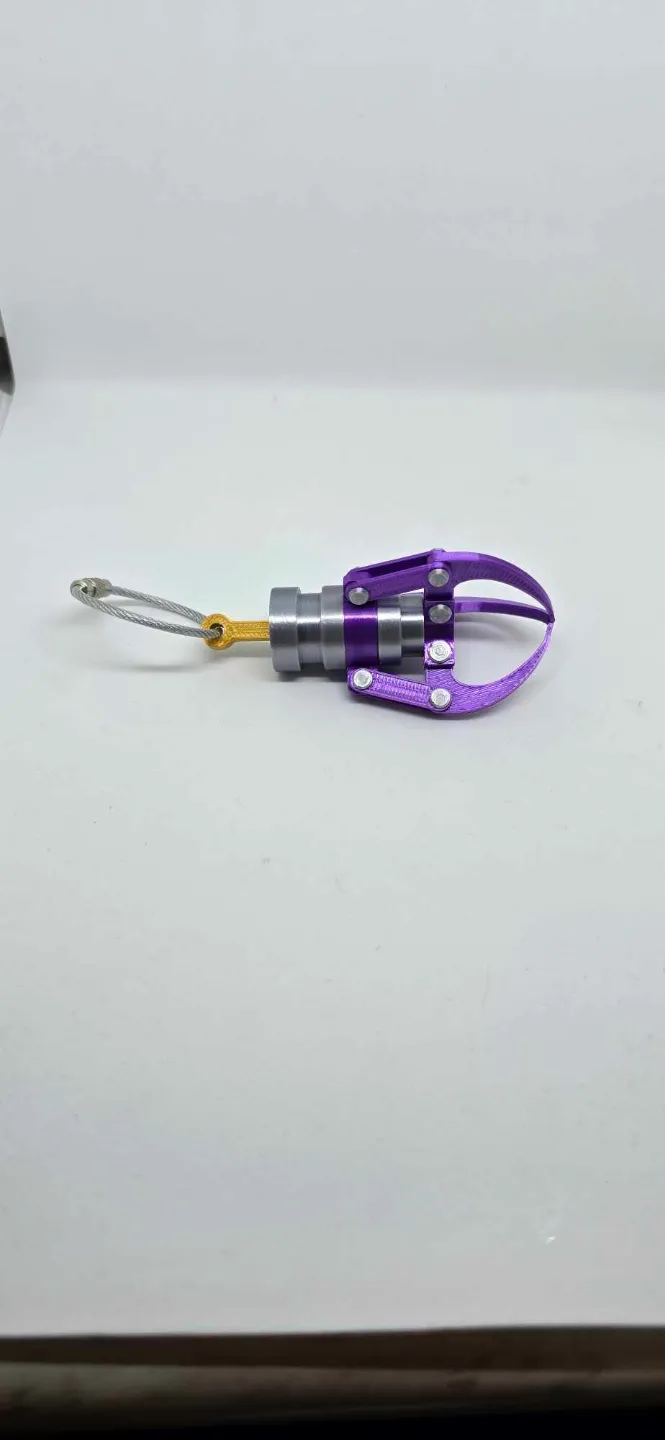
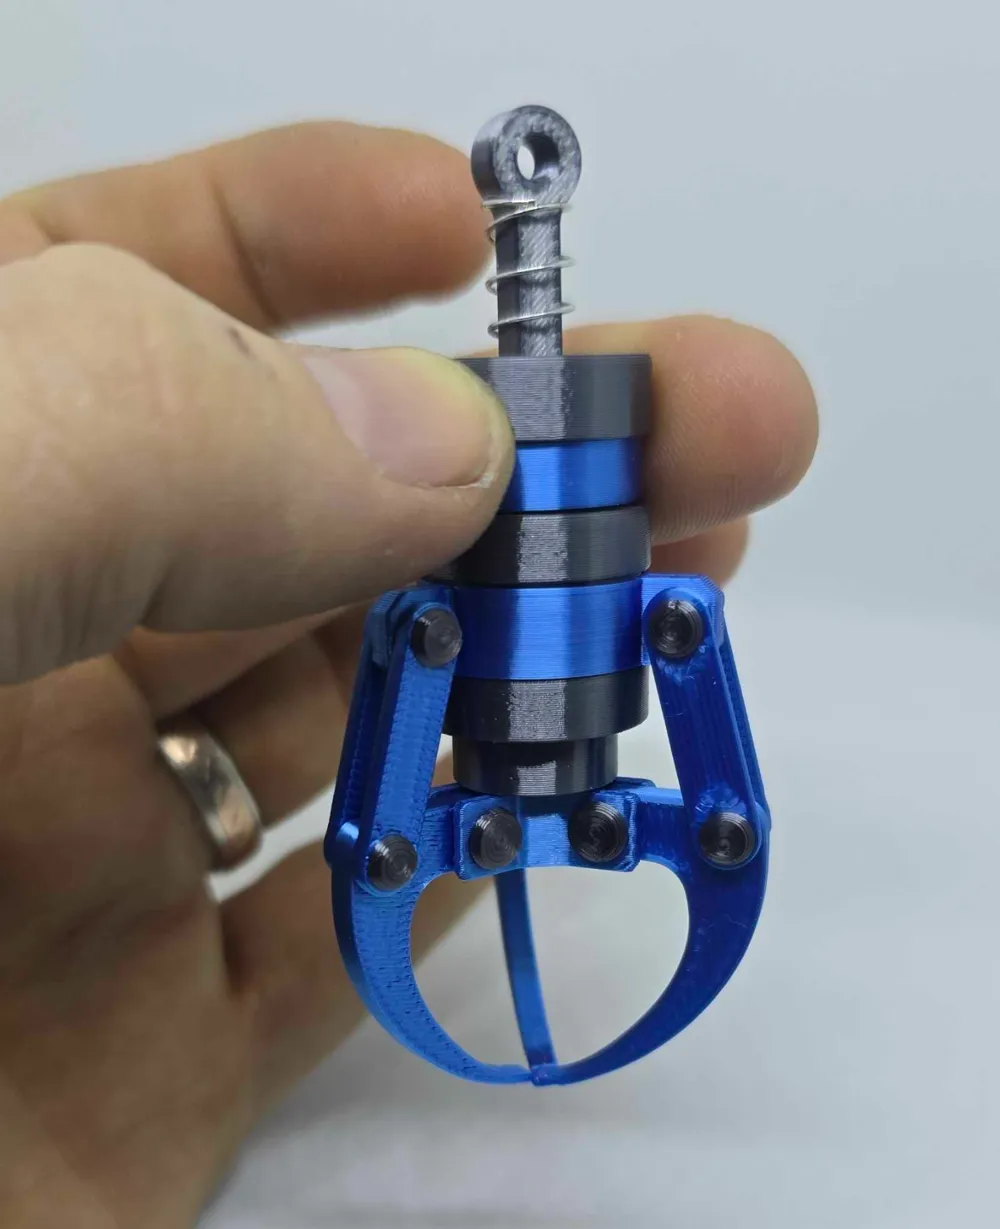
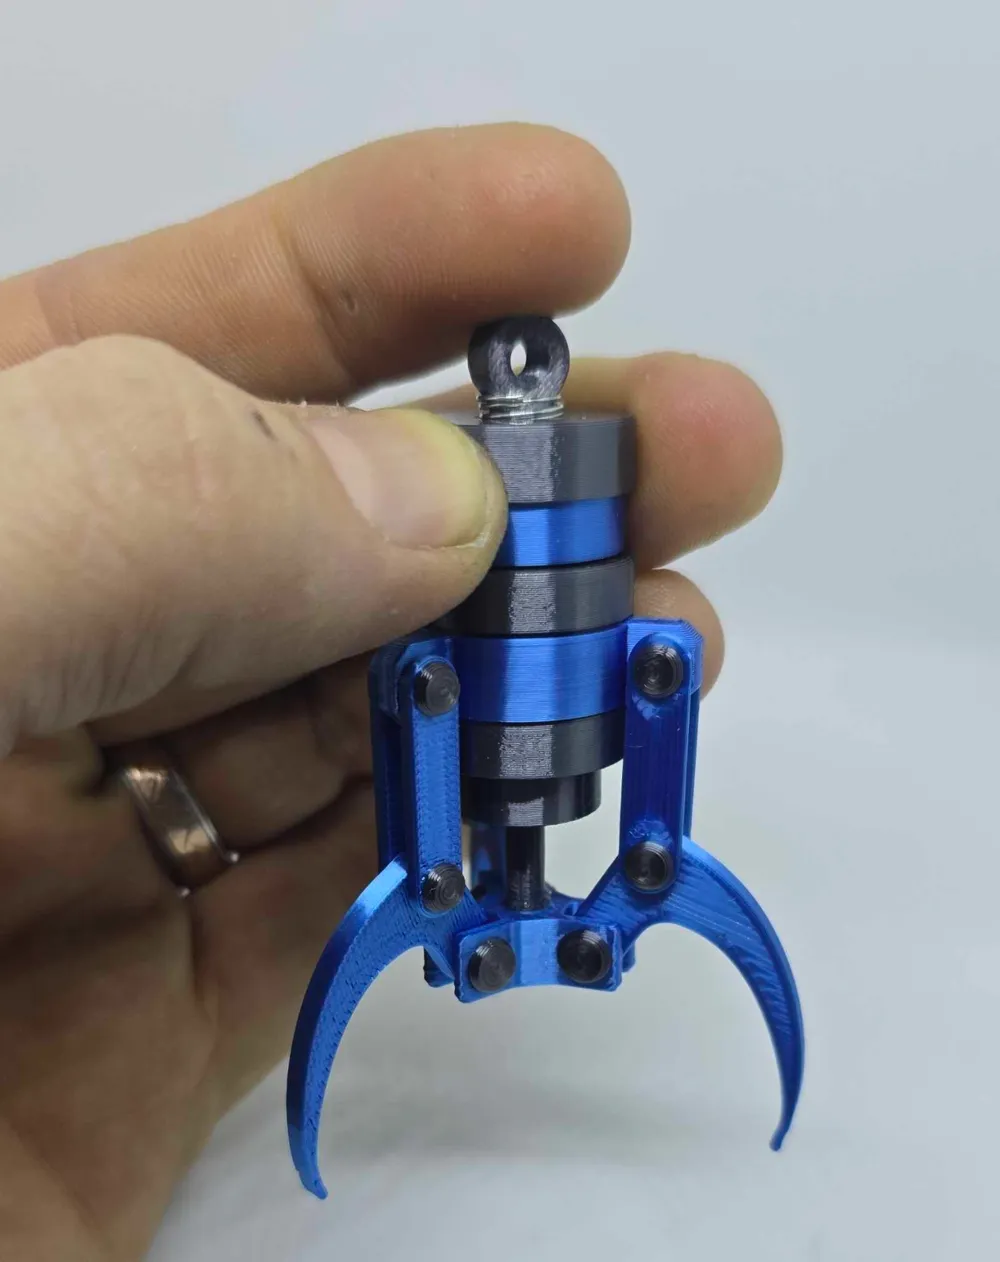
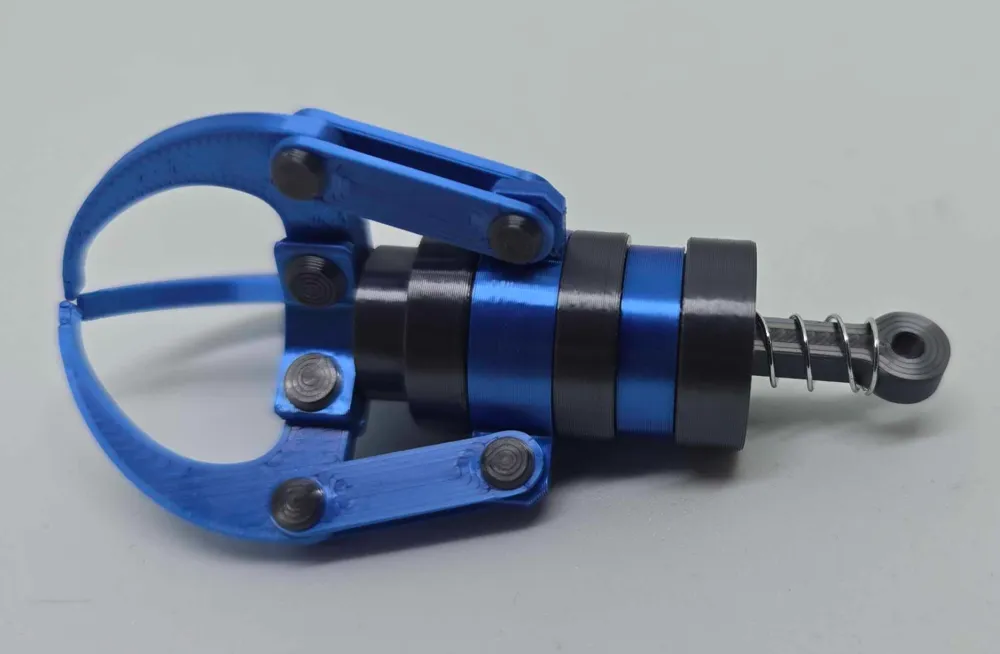

Print Profile(6)




Description
EDIT: I'VE ADDED A VERSION 2.0 THAT HAS A STRONGER CENTER SHAFT, LESS BODY PIECES, AND EASIER ASSEMBLY
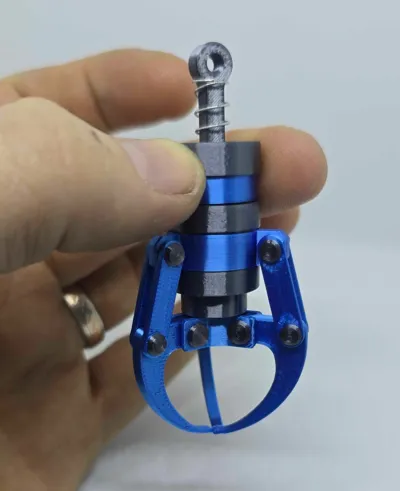
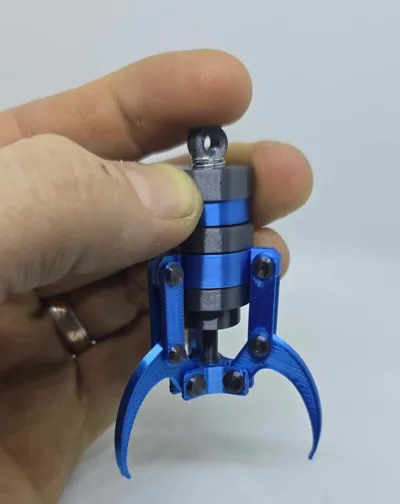
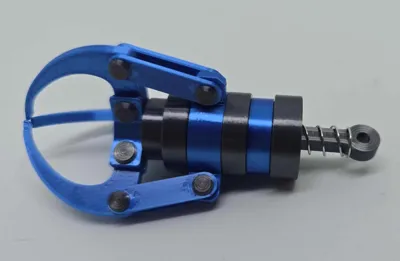
I created a mini claw machine claw keychain. It does require assembly, please review the included instructions.
You will need Glue and sand paper for this project. There are a lot of small rivet parts so printer calibration is a must. I have set up the orientation for all the parts for the strongest pieces, and included my print settings file that worked on both my A1 and My P1s for tolerance. You may need to sand a few seams or elephants foot to get everything to correctly line up.
Prints in separate color parts, no AMS needed.
I recommend a smooth plate with adhesive for the small parts.
3/23/25 - I added a top piece that can accept a 0.5mm x 6.5mm x 10mm compression spring that can be found on amazon. You might need to give it a little stretch on the coils but it sits nicely and keeps the claw closed, while allowing it to still open all the way. Also updated the lower rod to be a little better supported at the joint with a chamfer.
- Click the Download STL/CAD download option to find the additional files, or the download 3mf link to get the updates.
- Print the “topwithspring” to use a 0.5mm x 6.5mm x 10mm compression spring
- Install the spring on the upper shaft before sliding it though the top piece.
You will need to hold it tight while gluing, activator helps
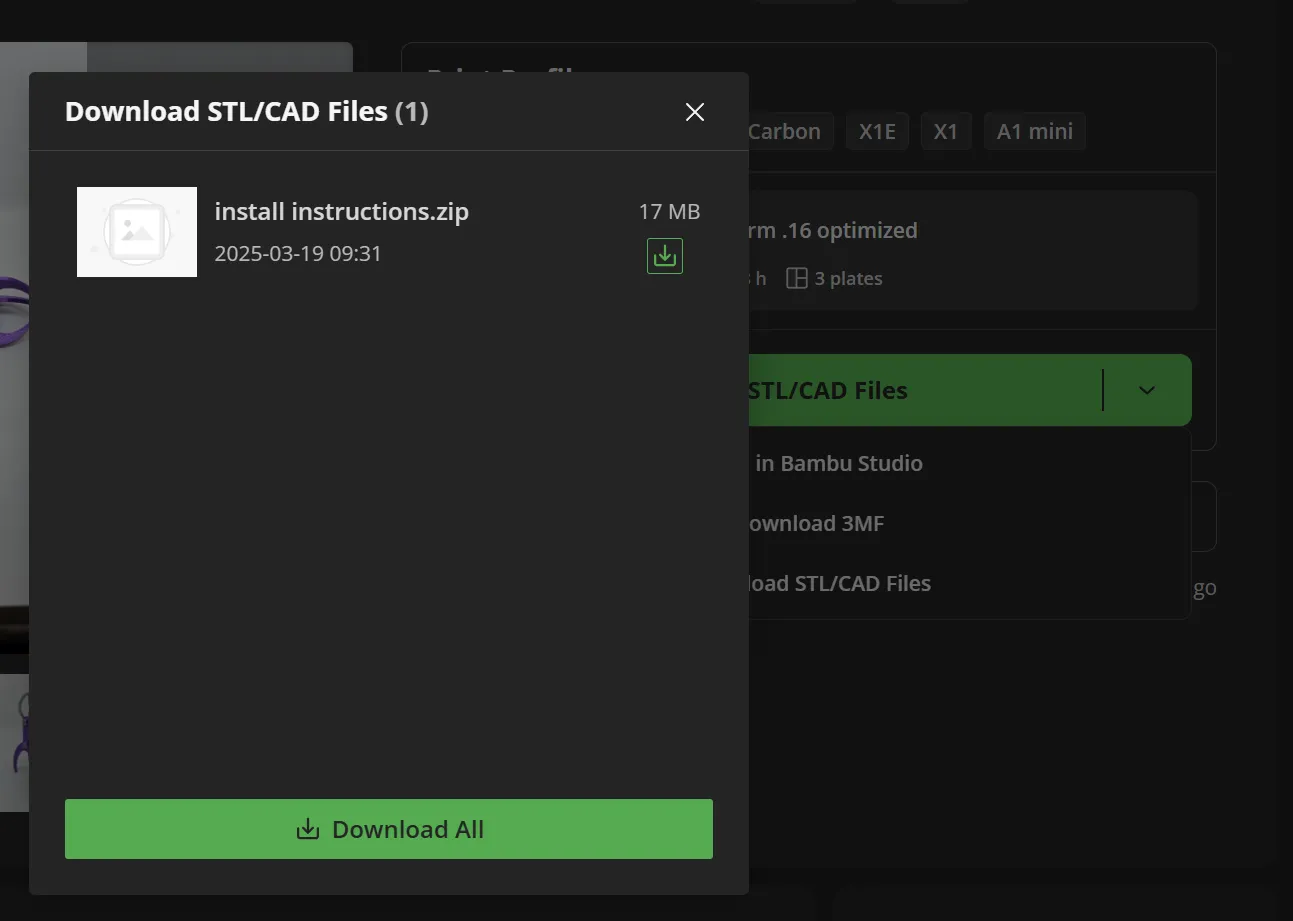
Install instructions txt can be found under the stl/cad files drop down and there's a zip file there.
Install instructions also added as PDF in the documentation link.
Documentation (1)
License

You shall not share, sub-license, sell, rent, host, transfer, or distribute in any way the digital or 3D printed versions of this object, nor any other derivative work of this object in its digital or physical format (including - but not limited to - remixes of this object, and hosting on other digital platforms). The objects may not be used without permission in any way whatsoever in which you charge money, or collect fees.


Comment & Rating (162)