Backup Camera Rearview Mirror Mount


Print Profile(1)

Description
***9/8/25***
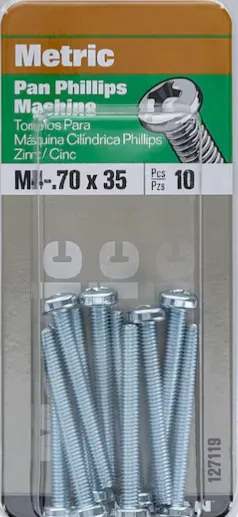
Updated with print profile: This is for one velcro side and one ziptie side each in PETG. I found that running with 2x sides utilizing the zipties the mounts tend to pop off the mirror on very bumpy roads. For the velcro side you should be using M4-0.7 x 35-mm screws to attach. I purchased them from the local blue box store for less than $3.
_______________________________________________________________
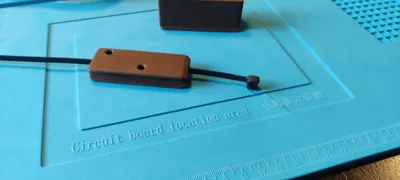
Allows you to attach a modern wireless backup camera on your rearview mirror. You can use cable ties or velcro to mount. I tucked the power cable above my rear view mirror and wired to my uplifter switches. This means I can just swap out the screen if I change something up. The camera side is wired into the marker lights on my camper.
There are two versions available: one for velcro and another for cable ties.
You will need 2x sides and 2x of either the velcro or cabletie versions.
I decided on the cable tie version and used panhead screws I picked up from the local hardware store for under 2 bucks. (M4-0.7mm x 16mm)
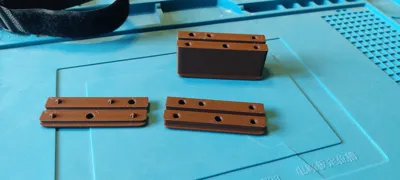
Print in the orientation provided. Printing in two parts allows for quicker print times and no supports required. I added keys to align the parts together for easier gluing. Lastly, if you want it symmetric make a mirrored copy in your slicer. PETG will likely be your friend due to the heat you can see in the cab of your vehicle. I opted to not even glue the parts as the screws snug everything up and the keys keep it all aligned.
Please post your makes if you download so I can improve the design.
Thanks!
Comment & Rating (2)