
Insta360 2-in-1 Selfie Stick Mounting point
Print Profile(4)



Description
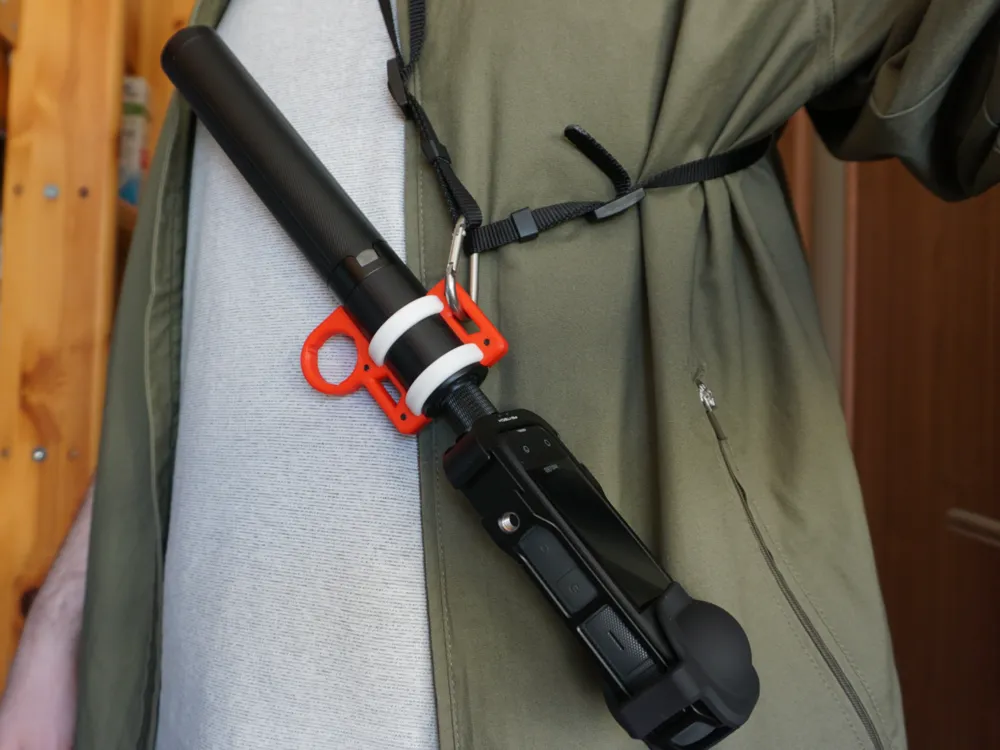
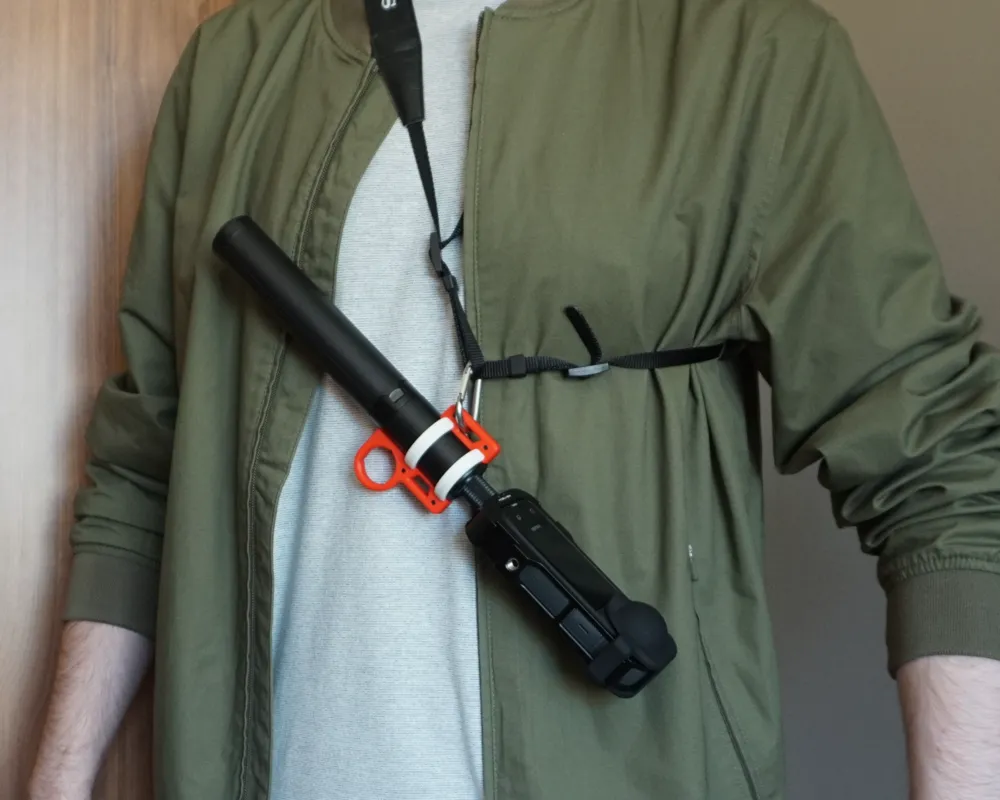
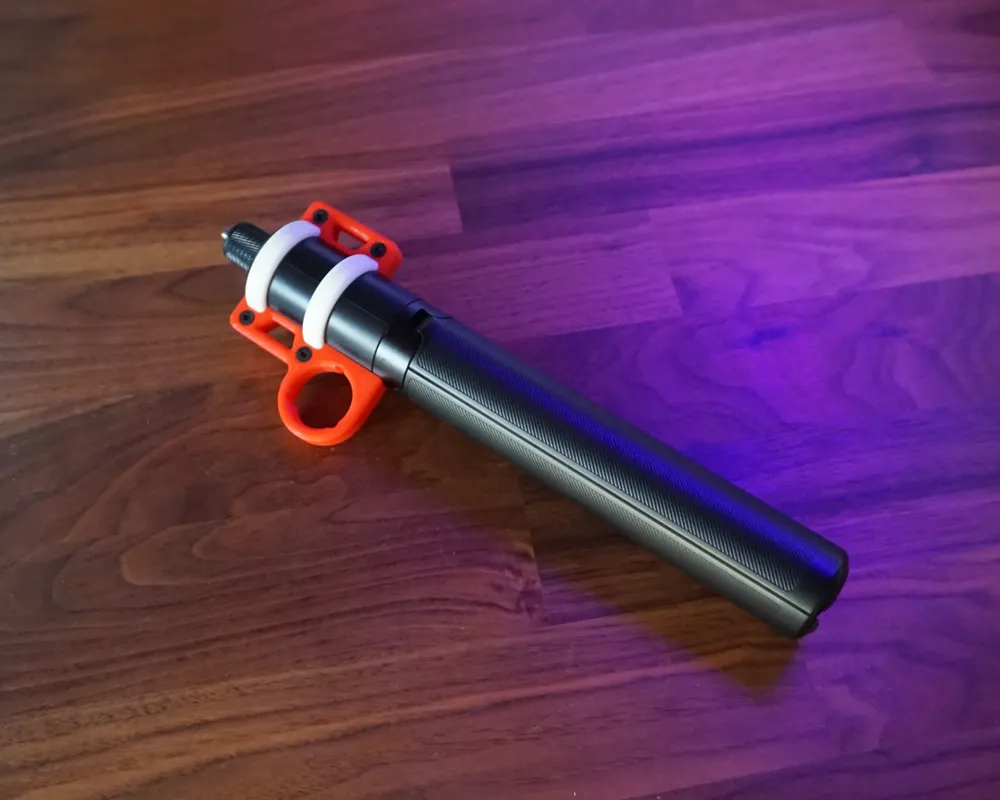
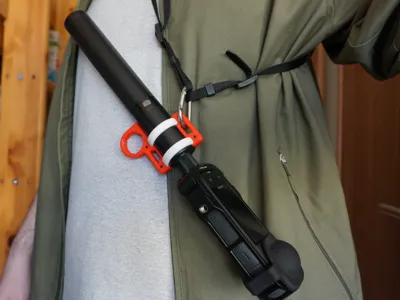
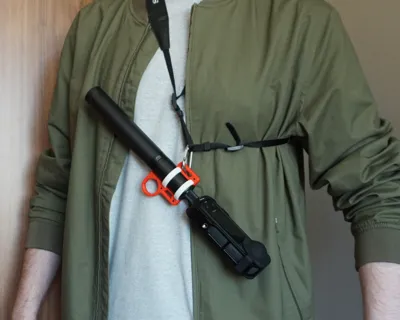
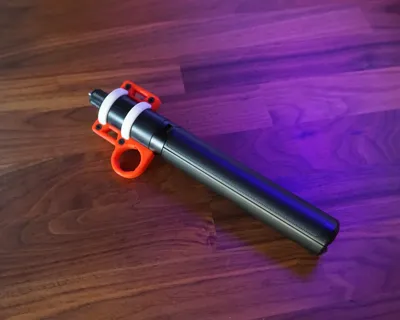
Mounting points for the “Insta360 2-in-1 Invisible Selfie Stick + Tripod”.
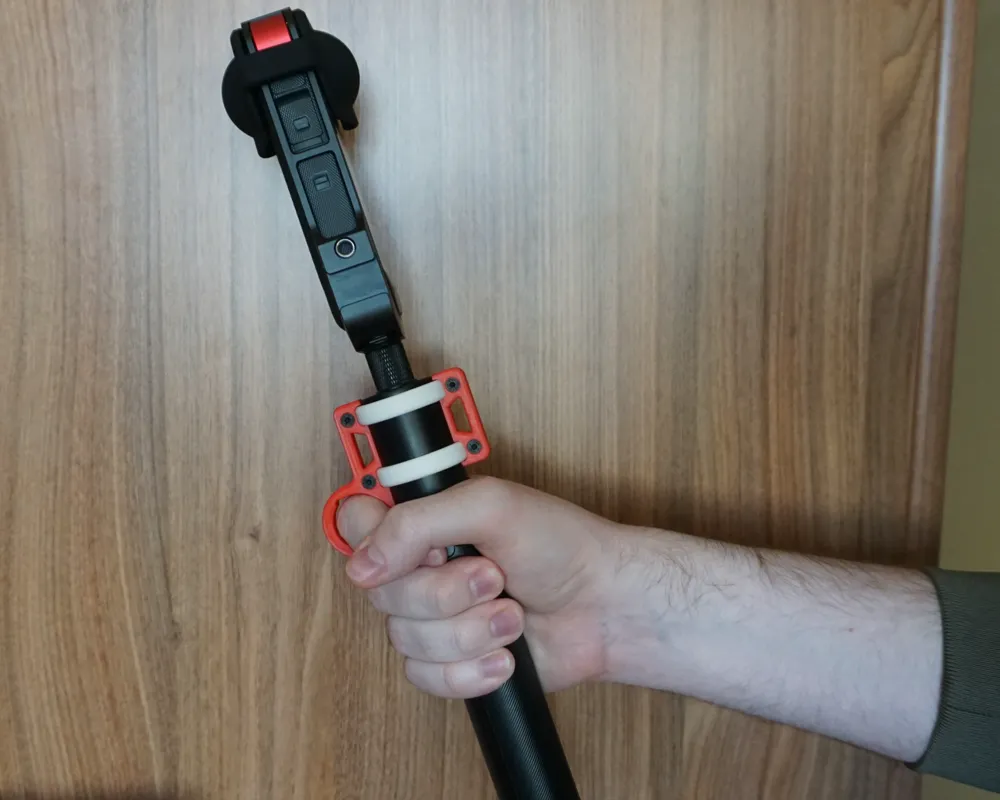

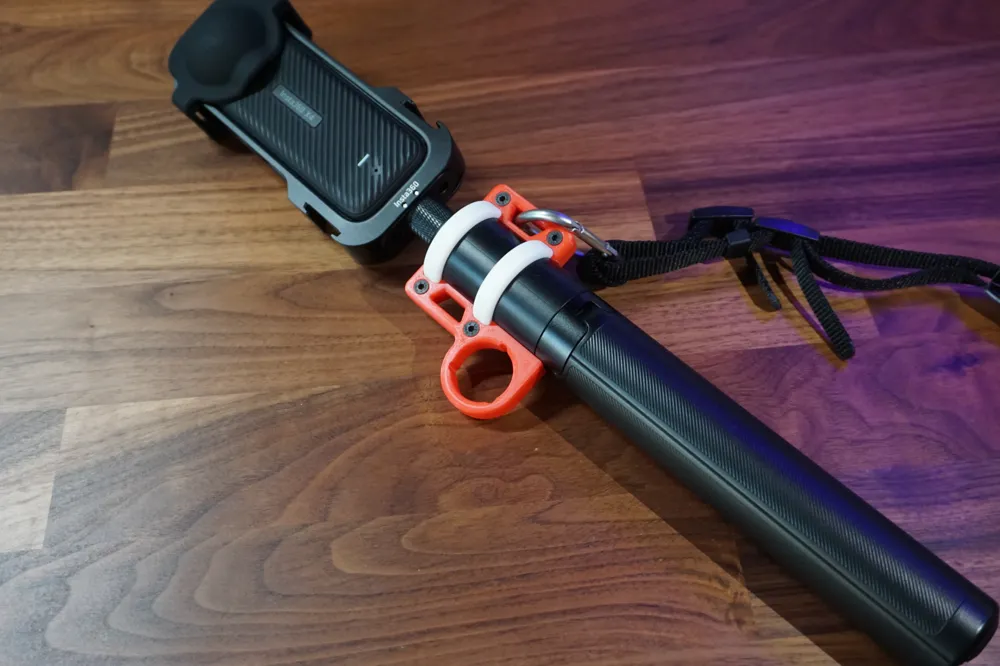
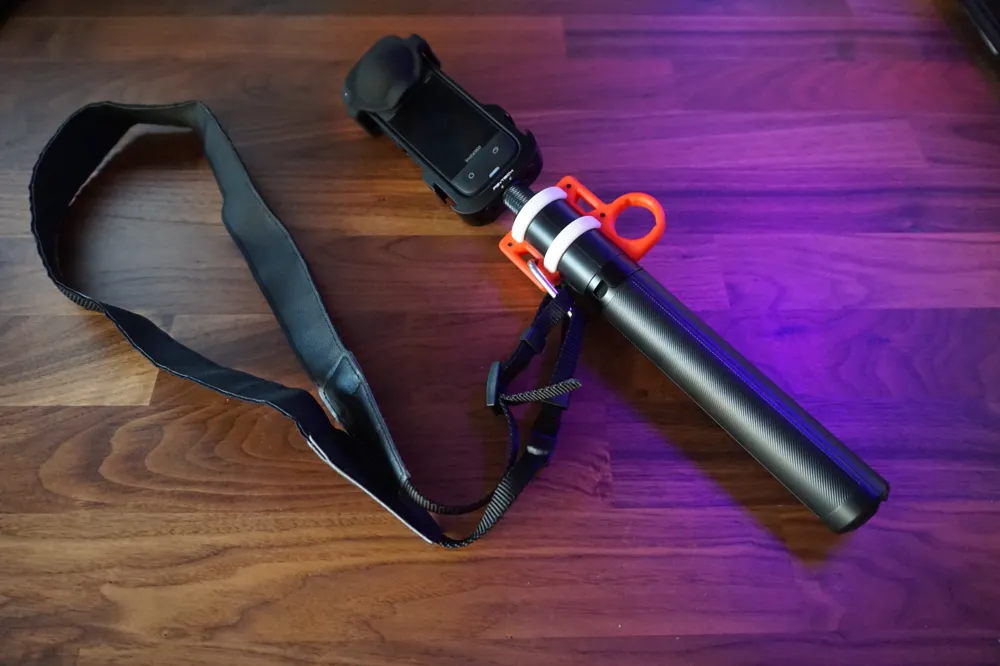
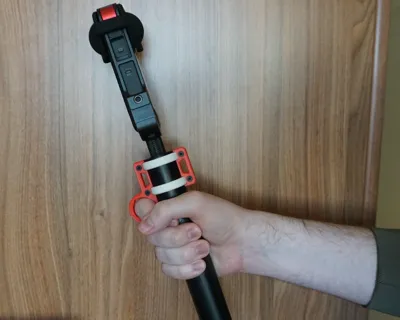
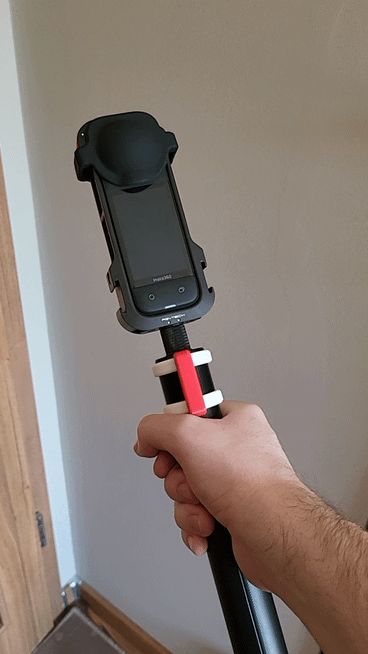
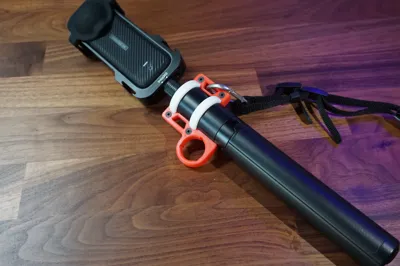
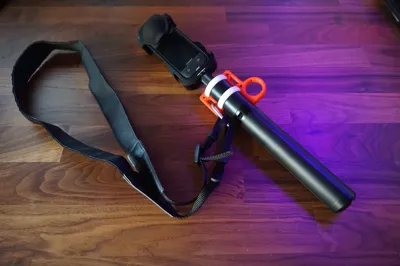
I designed this accessory for this first party selfie stick. It adds 2 small mounting point to the handle of the stick, and also a finger ring. The ring makes it harder to drop it from your hand. The 2 small holes provide a place to either mount a large strap to carry it on your body, or a small wrist strap (like on a wii remote).
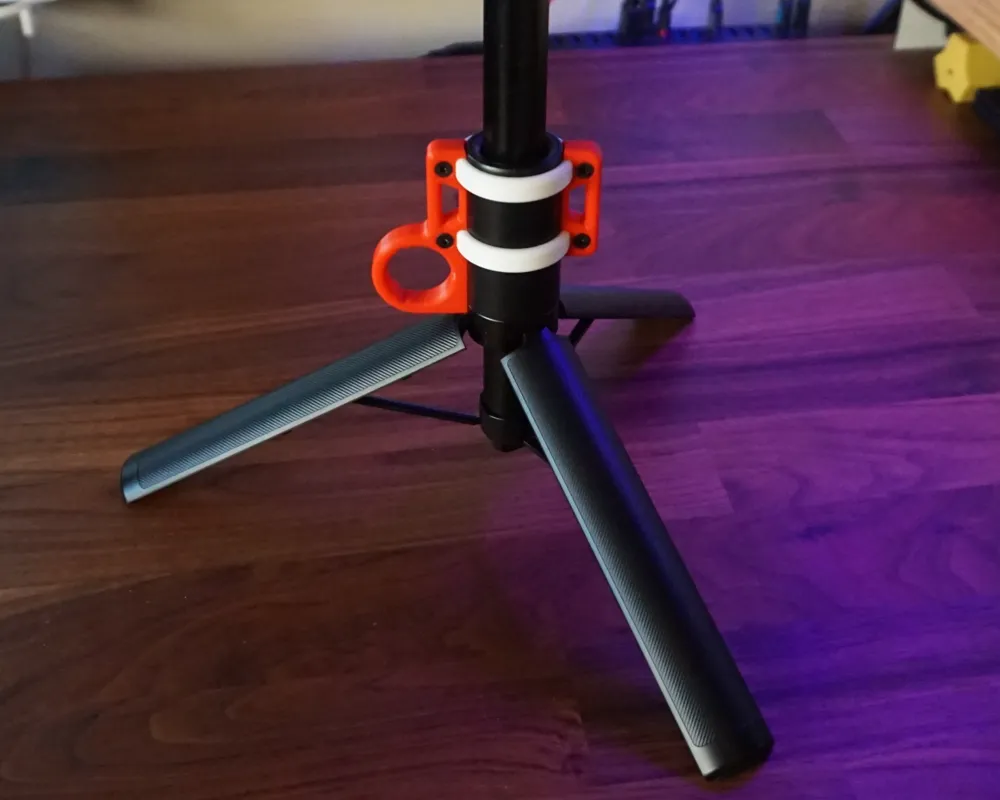
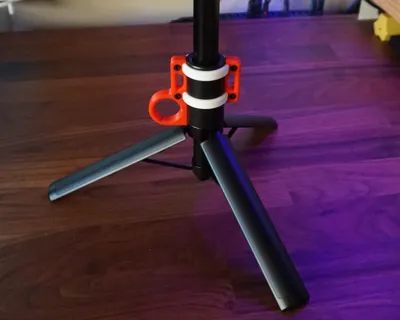
This mount does not block any function of the stick, the tripod still opens normally.
Note: The “faster” print profiles produce the same quality parts, the only difference is the order of operations. The “default” print profiles might have less stringing (if at all), and might have a bit better layer adhesion because of the “true” print by object rule.
Installation:
List of not 3D printed parts:
- 4 pcs of m3 countersunk screws
- double sided tape (the foamy kind that has thickness) (Might be replaceable with thin strips of rubber sheets, did not tried that tho.)
Assembly:
- Screw the camera on the stick.
- Assemble the whole thing without screws and tape.
- Slide it on the shaft of the stick and figure out the direction you want the thing point to.
Align the top of the red things with the top of the handle.
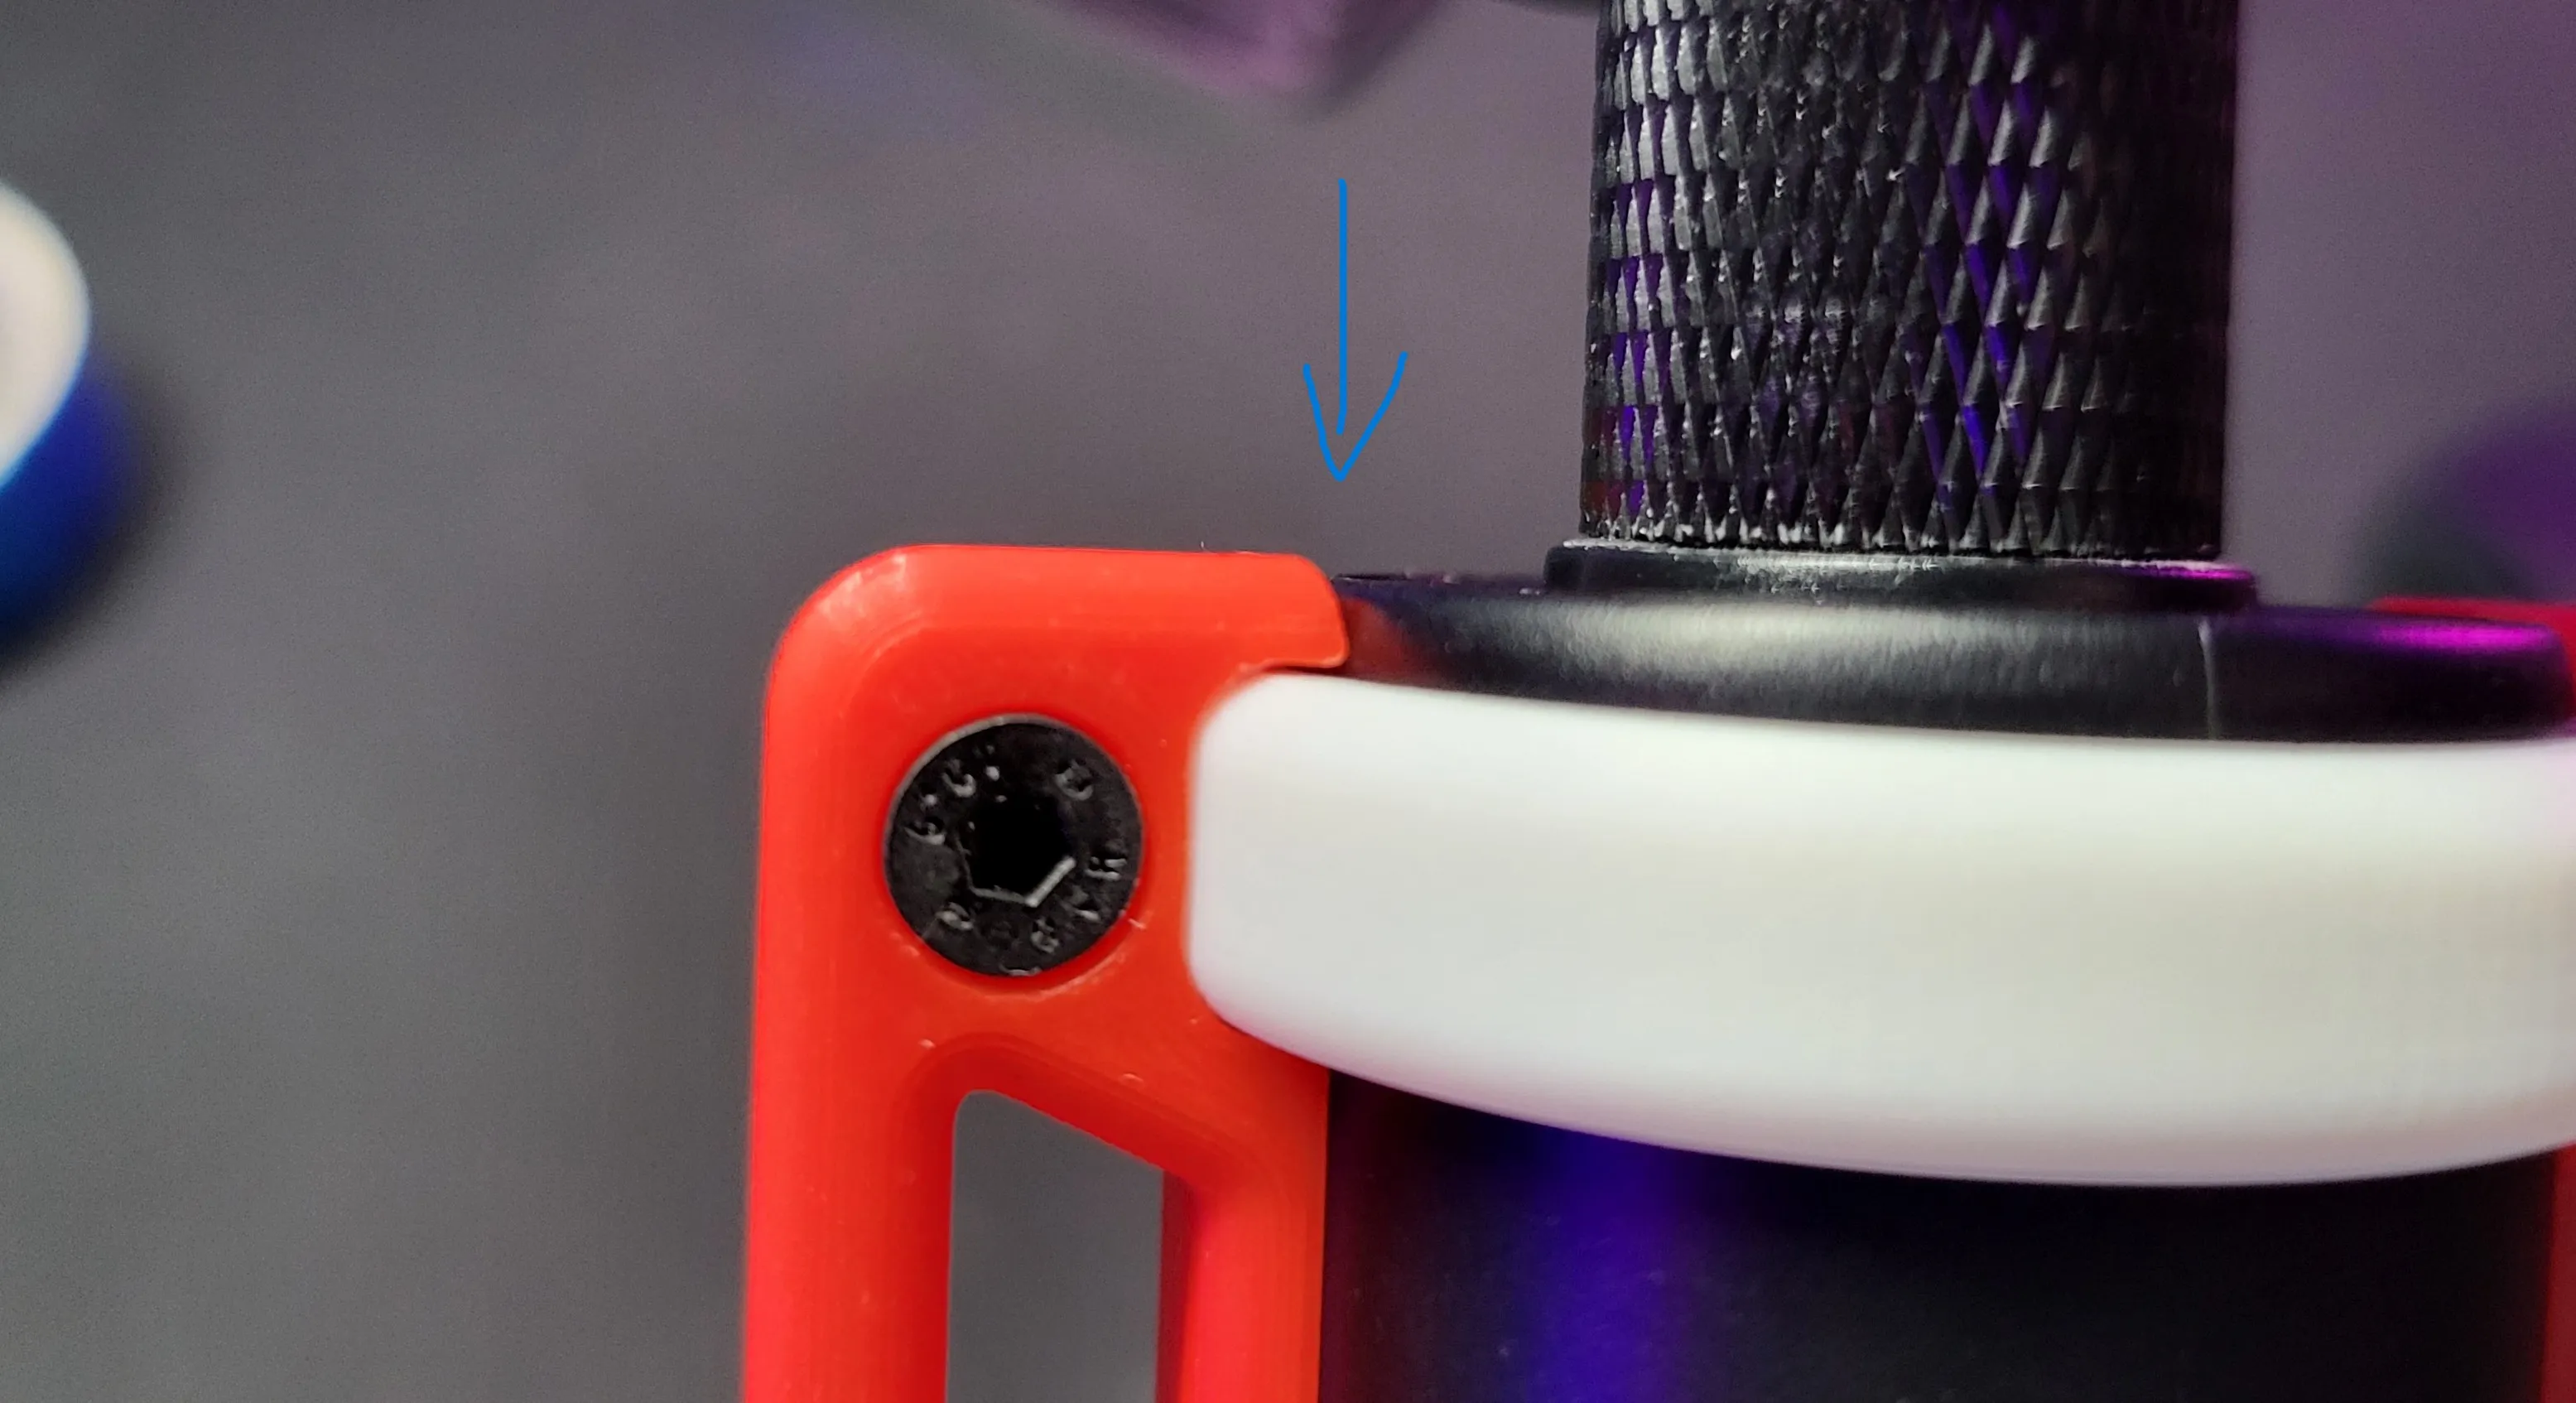
- Mark the height of the white rings (for example with some masking tape).
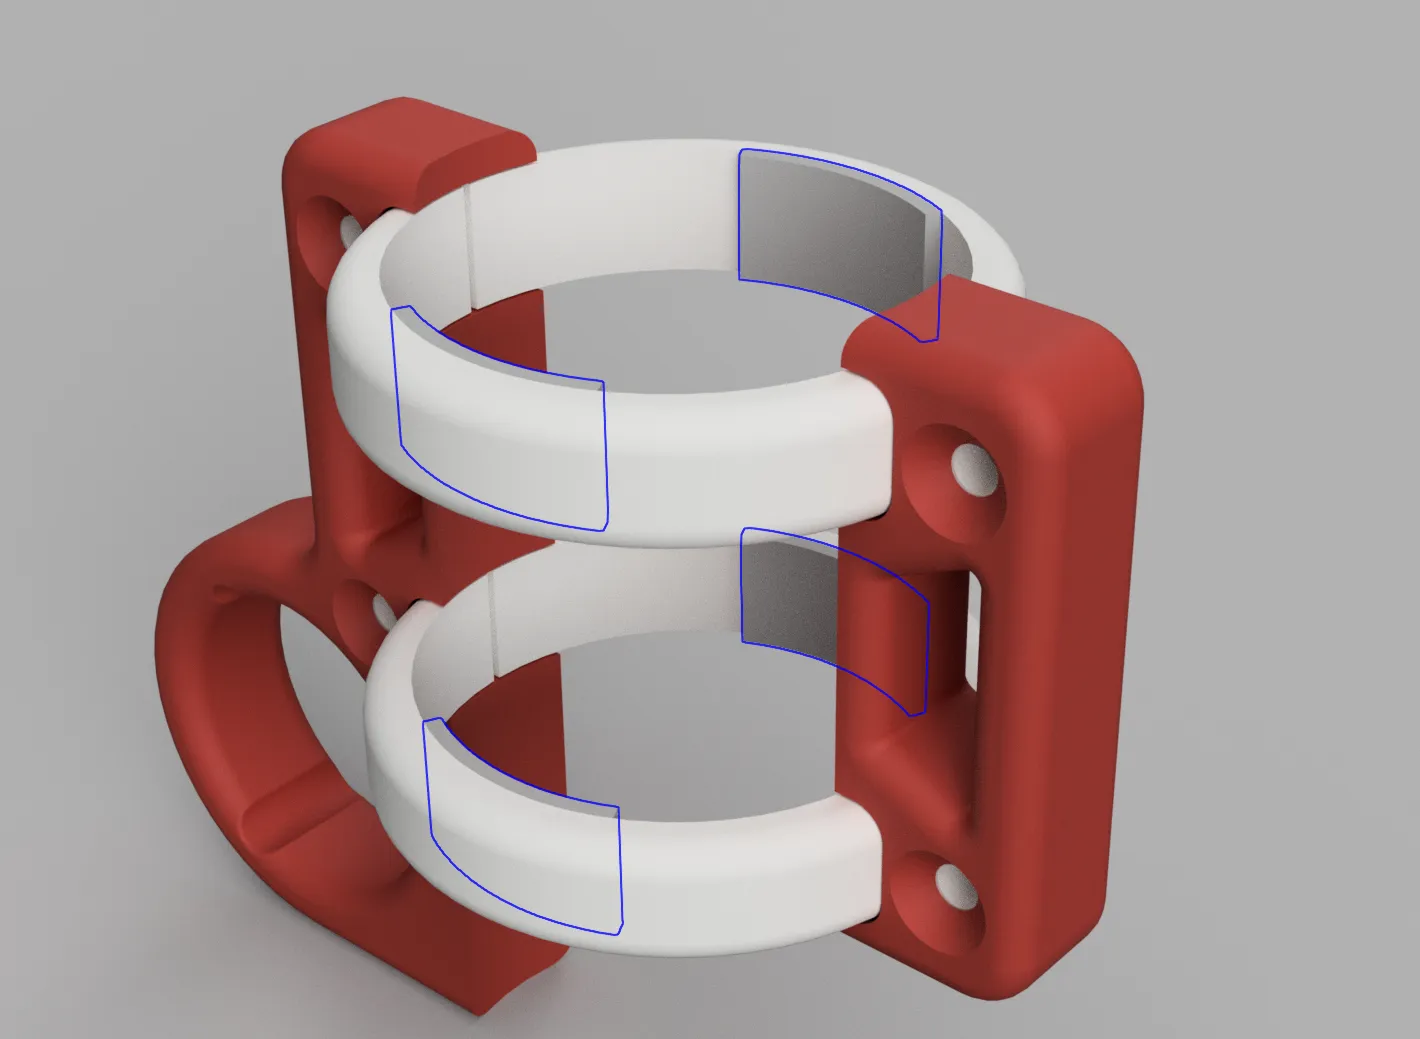
Disassemble it and apply the foam tape to the inside of the half rings. Not necessary to coat the whole thing, Use the picture for reference:
- Install the half rings to the marked positions on the shaft in the previously decided direction.
- Install the side parts and screw them on.
License

You shall not share, sub-license, sell, rent, host, transfer, or distribute in any way the digital or 3D printed versions of this object, nor any other derivative work of this object in its digital or physical format (including - but not limited to - remixes of this object, and hosting on other digital platforms). The objects may not be used without permission in any way whatsoever in which you charge money, or collect fees.


Comment & Rating (13)