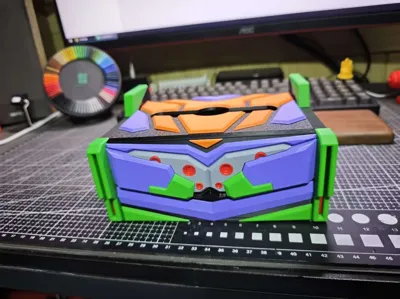
EVA Tissue Box (Unit-01)


Print Profile(2)
Description
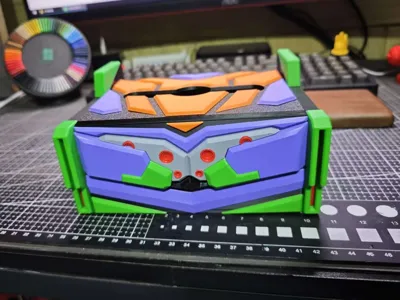
I said I wouldn't do any more, but I saw a netizen mention wanting an EVA one, and figured why not, so I made this Unit-01 version. I considered adding a phone stand, or making the plug a floss container, or turning the shoulder restraints into toothpick holders. But then I decided against it all, because I didn't want to make it that much bigger (mainly because I didn't want to make myself crazy). So, there it is! 😁
PS: I'll note the dimensions of the box here. Outer dimensions: Height 73mm Length 154mm Width 114mm. Inner dimensions: Height 70mm Length 150mm Width 110mm. The same as the previous two.
Boost Me (for free)
It's free, so give me a boost!
Note: This model requires a significant amount of glue. While some parts have alignment features, assembly is still fairly challenging and requires some crafting skills. If this concerns you, please download with caution. And please don't give a low rating just because you don't want to use so much glue.
Step one: It is recommended to first glue and secure the decorative parts with alignment features in the order shown in the image, then attach the remaining pieces.

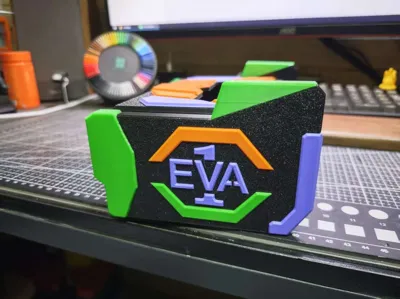
Step two: As with the first step, first glue and secure the decorative pieces with alignment features, and then glue the remaining ones. (Note: Be sure to attach the two EVA logo parts first.)


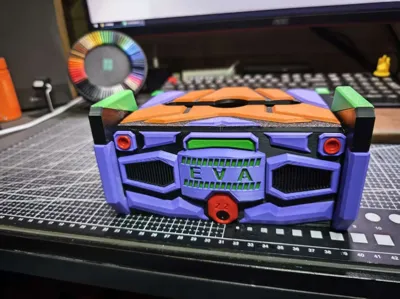
Step three: First attach the side decorations, then attach the box body according to the alignment features, then attach the lettering and you are done. (Note: The green and purple decorative parts have a flat and a raised side. The flat side should face the box; you might want to dry-fit these without glue first.)


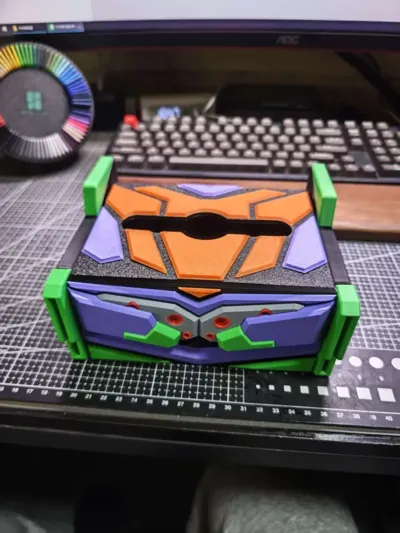
Step four: Press the top cover's decorative parts into place as shown in the diagram. Glue is optional; I found it quite secure without, but I used some anyway. 😁

Finally finished, hooray! 🎉
License
You shall not share, sub-license, sell, rent, host, transfer, or distribute in any way the digital or 3D printed versions of this object, nor any other derivative work of this object in its digital or physical format (including - but not limited to - remixes of this object, and hosting on other digital platforms). The objects may not be used without permission in any way whatsoever in which you charge money, or collect fees.
Comment & Rating (4)