Search models, users, collections, and posts

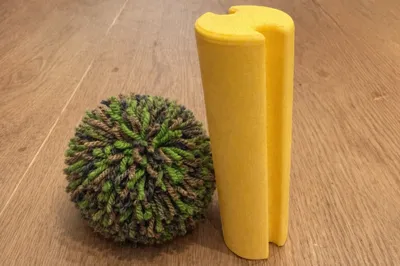
Pompon Pom-Pom Maker
IP Report
GIF
Print Profile(1)

0.2mm layer, 2 walls, 15% infill
Designer
1.8 h
1 plate
Open in Bambu Studio
Boost
94
297
8
3
167
121
Released
Description
Content has been automatically translated.
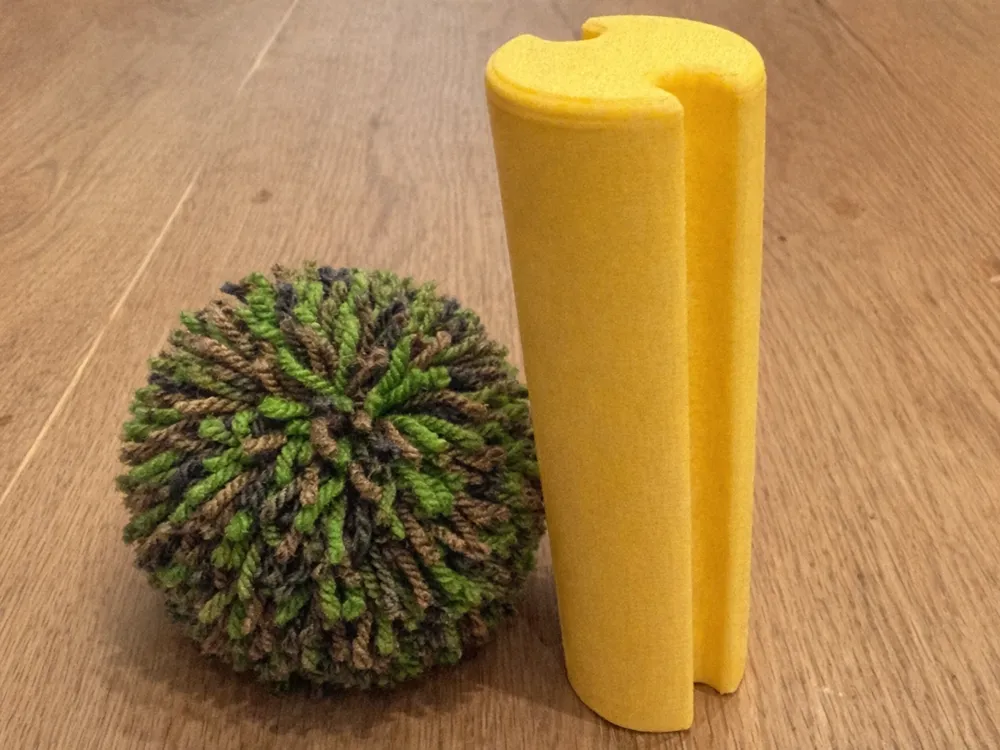
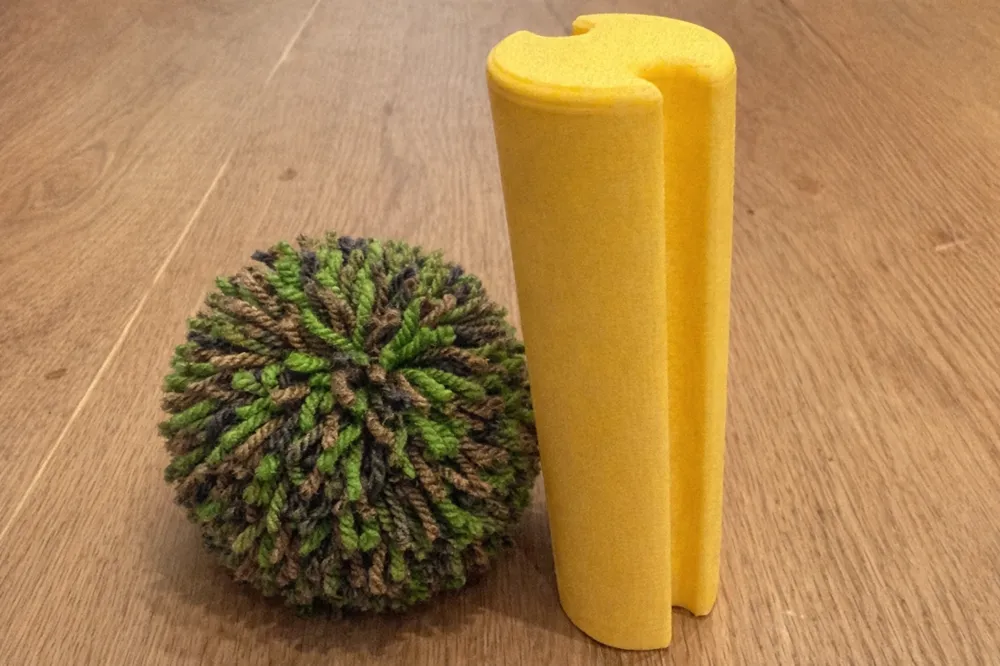
Pom-pom Maker
Quick Guide

- Wrap yarn crosswise around the pom-pom maker
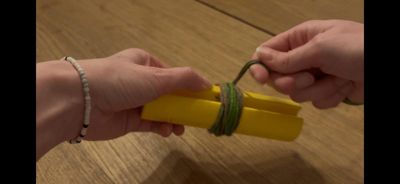
- Thread the securing thread through a guide rail and knot it tightly
- Cut open all loops on the opposite side
- Shape the pom-pom
Important Note on Size
The pom-pom maker is provided in one size
This size is already designed for a maximum, practical pom-pom size
For smaller pom-poms, the model can easily be scaled down
Scaling up beyond the original size is not recommended, as the current size already represents the sensible maximum
The density of the pom-pom is determined solely by the number of windings, regardless of size
Detailed Instructions
- Wind the yarn
Wrap the yarn crosswise around the pom-pom maker
You can use one or more colors simultaneously
The more threads you wrap, the denser the pom-pom will be - First Securing
Thread a separate piece of thread through one of the guide rails
Knot the entire bundle of threads once or twice as tightly as possible to ensure good initial securing - Continue Winding
Do not cut the securing thread, but fold it to the side
Then continue wrapping yarn around the pom-pom maker until the desired density is achieved - Final Securing
Once enough yarn is wound, pass the securing thread 2–3 times through the guide rail and knot it very tightly each time so that the pom-pom does not lose threads later - Cut Open the Pom-pom
Place the scissors in the opposite guide rail
Cut open all loops completely there - Finish
Remove the pom-pom from the pom-pom maker and lightly trim it into shape if needed
Notes
- Ideal for winter hats, scarves, decoration, and craft projects
- Additional sizes can be created by scaling the model
- For best results, always secure it very tightly
License

This user content is licensed under a
Creative Commons Attribution-Noncommercial-Share Alike


Comment & Rating (8)