LED Panel House Lamp


Print Profile(1)

Bill of Materials


- ESP-WROOM-32 USB-C x 1: https://amzn.eu/d/bAhjg9v
- Dupont cable x 1: https://amzn.eu/d/foRo4ZA
- Male USB Type-C x 1: https://amzn.eu/d/goukvtJ
- Female USB Type-C x 1: https://amzn.eu/d/fZuXsvA
- BTF-LIGHTING 3.2FT 1m WS2812b x 1: https://amzn.eu/d/7IgGL2k
- BTF-LIGHTING SMD 3pin 10mm Conector kit x 1: https://amzn.eu/d/0dsm51Z
- Photographic filters x 1: https://amzn.eu/d/iwlBfft
Description
✨ Inspiration and Idea
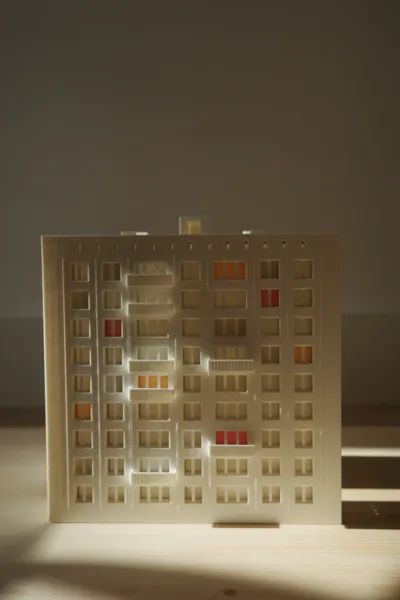
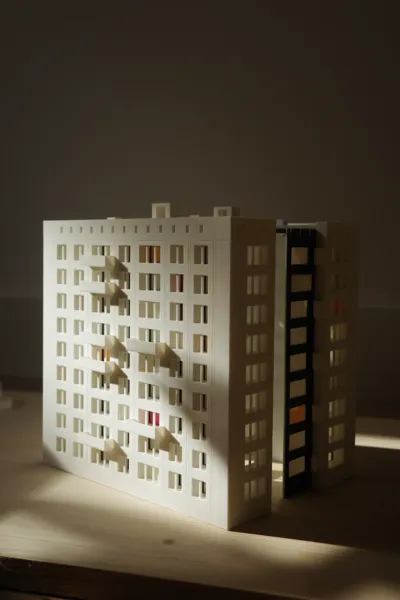
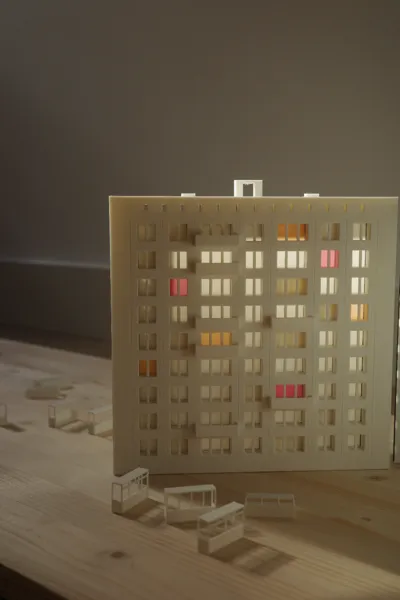
This lamp is inspired by panel buildings that were mass-built in the second half of the 20th century in Germany, France, the Baltic states, the USSR, and other regions. In former East Germany, they became a symbol of affordable housing, while in France, Le Corbusier promoted the concept of standardized housing. In the USSR and the Baltic states, these buildings shaped entire cities, providing homes for millions of people.
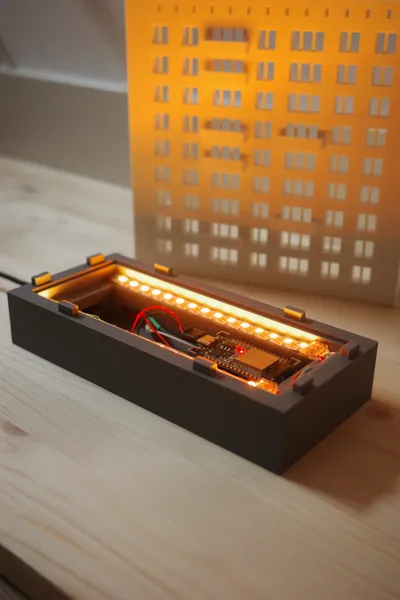
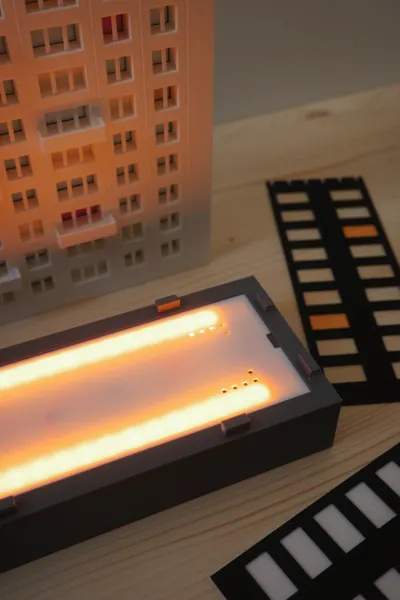
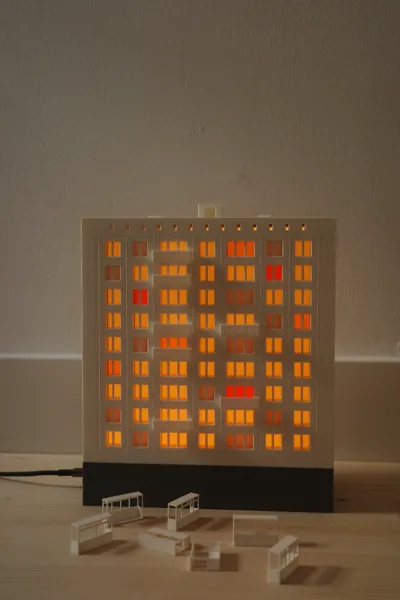
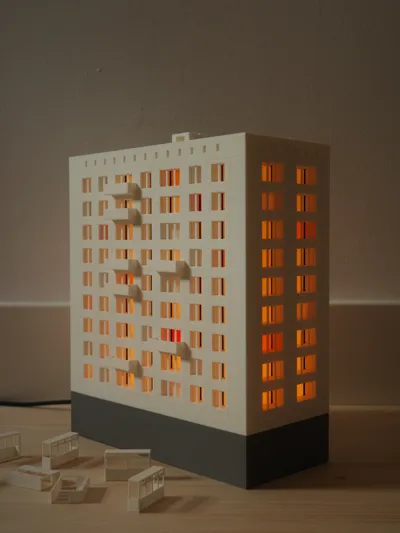
I wanted to capture the atmosphere of these buildings but in a warm and cozy form. Inside, it features an ESP32 with WLED and an addressable LED strip, creating the effect of a "living" building with changing lights.
💡 Assembly, Handcrafting, and Safety Precautions
This model is designed for easy assembly, with all main parts fitting together using carefully designed slot connections. This makes building the lamp straightforward, with only a few manual steps required for additional finishing.
However, some steps involve hands-on work:
- Flashing the ESP32 with WLED to control the LEDs.
- Soldering wires and connecting the addressable LED strip.
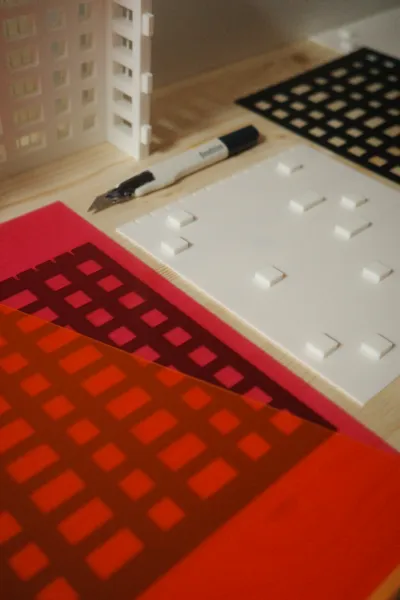
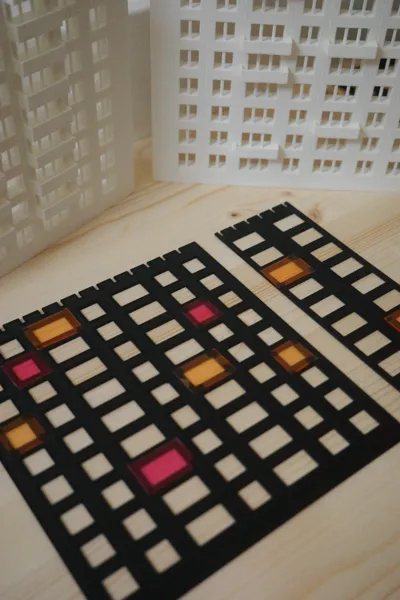
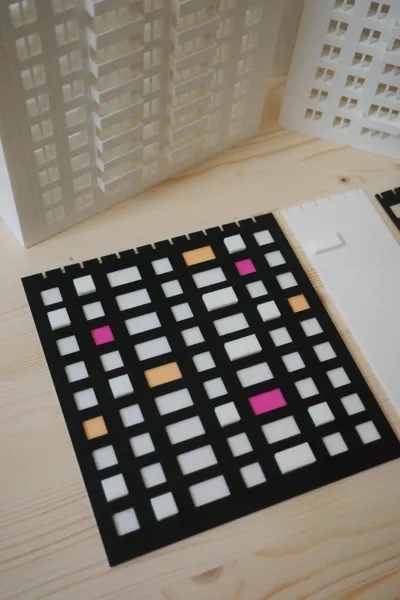
- Cutting and gluing colored transparent inserts for the windows to create different lighting effects.
Printing Precautions
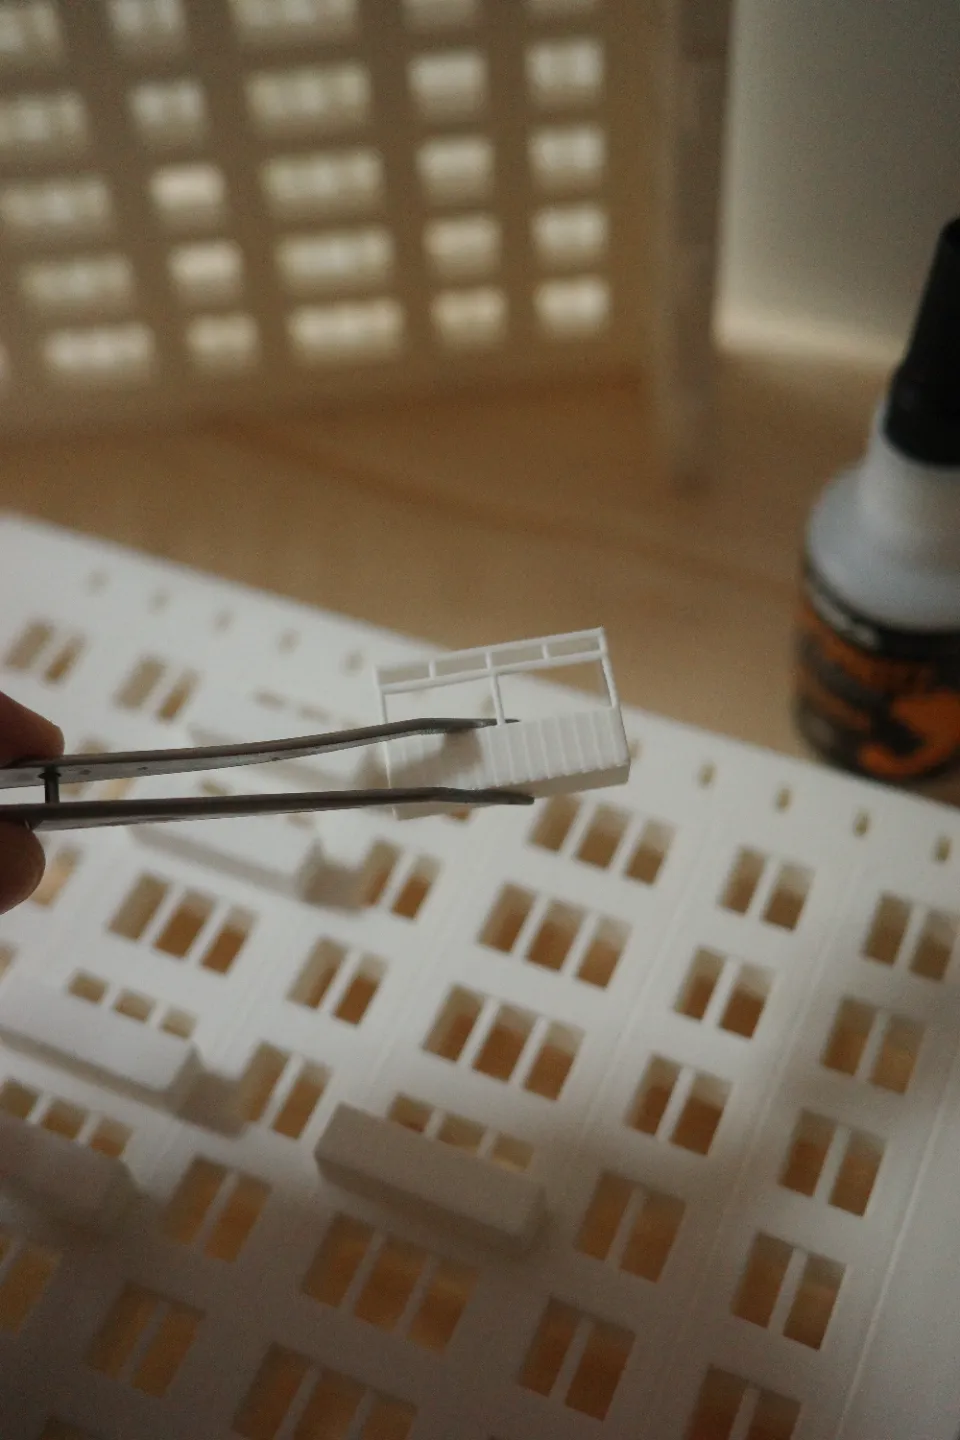
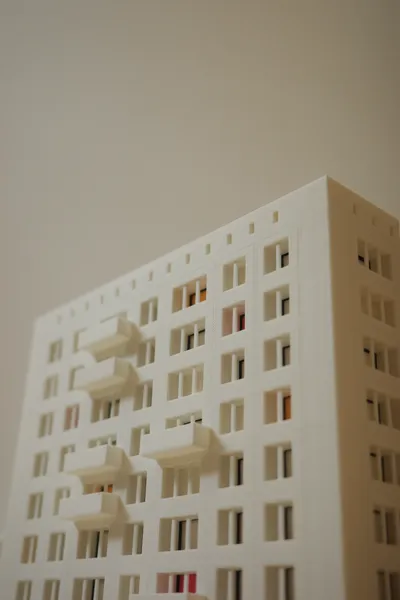
Special attention should be given to printing the main building parts, especially when adding and later removing supports. The thin window frames are delicate and can break if handled roughly during cleanup. Balconies are printed separately to reduce the risk of breakage when removing supports.
If a window frame breaks while removing supports, it’s easy to fix: simply print a small strip of white plastic, 2mm wide and 1mm deep, and carefully glue it in place. This is a quick way to repair damage without having to reprint the entire part.
❤️ Conclusion
This is my first project in modeling and also the first design I’m sharing publicly. I put a lot of time and effort into creating it, striving to make something that would bring joy both to me and to others.
If you decide to print this model and encounter any difficulties, don’t hesitate to reach out—I’ll be happy to help with any issues and update the parts if necessary.
Keep in mind that this is not the easiest project to print, but in the end, it’s absolutely worth it. Please don’t judge me too harshly, and thank you for your time and interest! 🙌
Comment & Rating (16)