
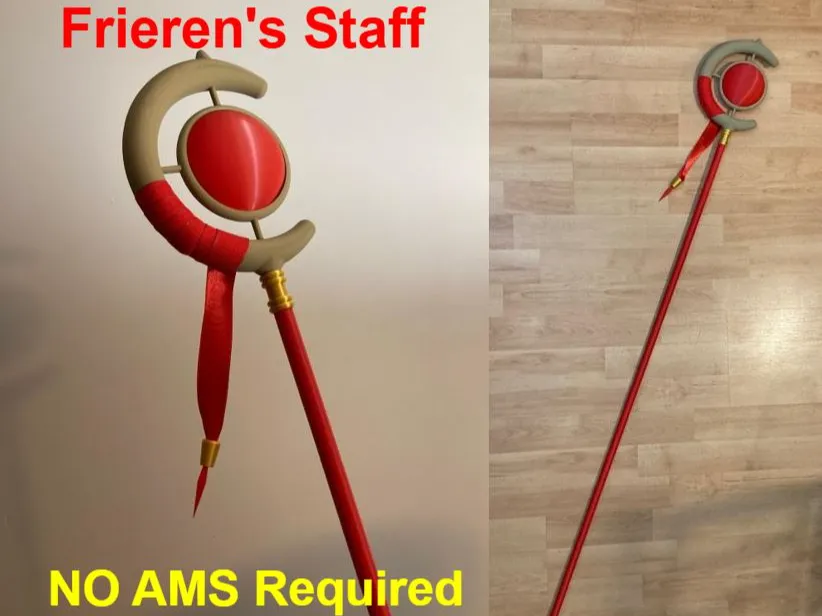
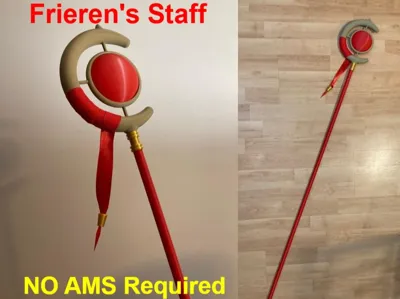
Frieren's Staff
Print Profile(2)


Bill of Materials



Description
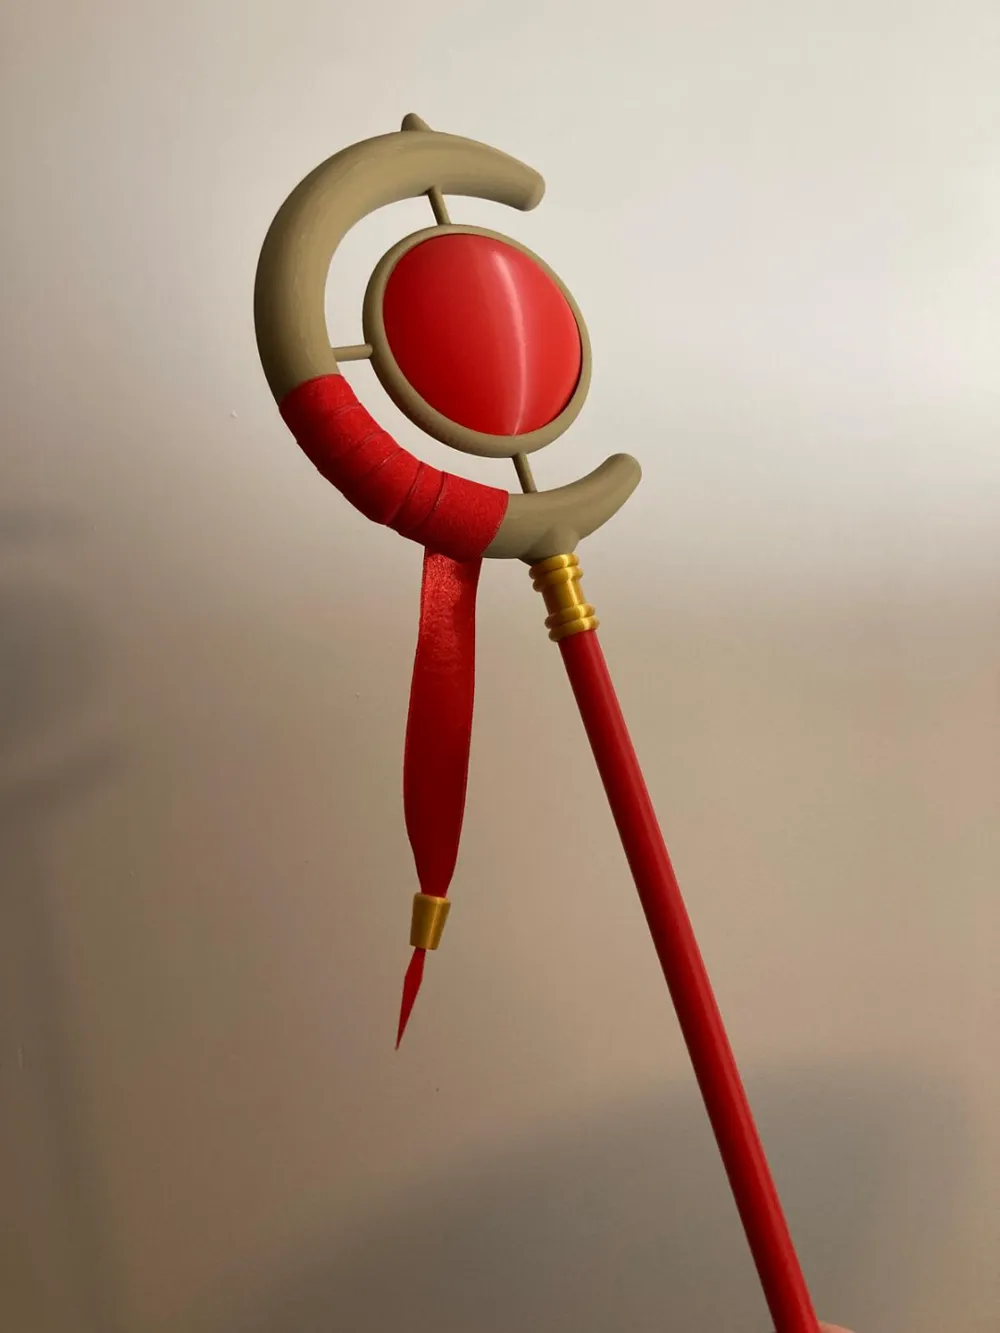
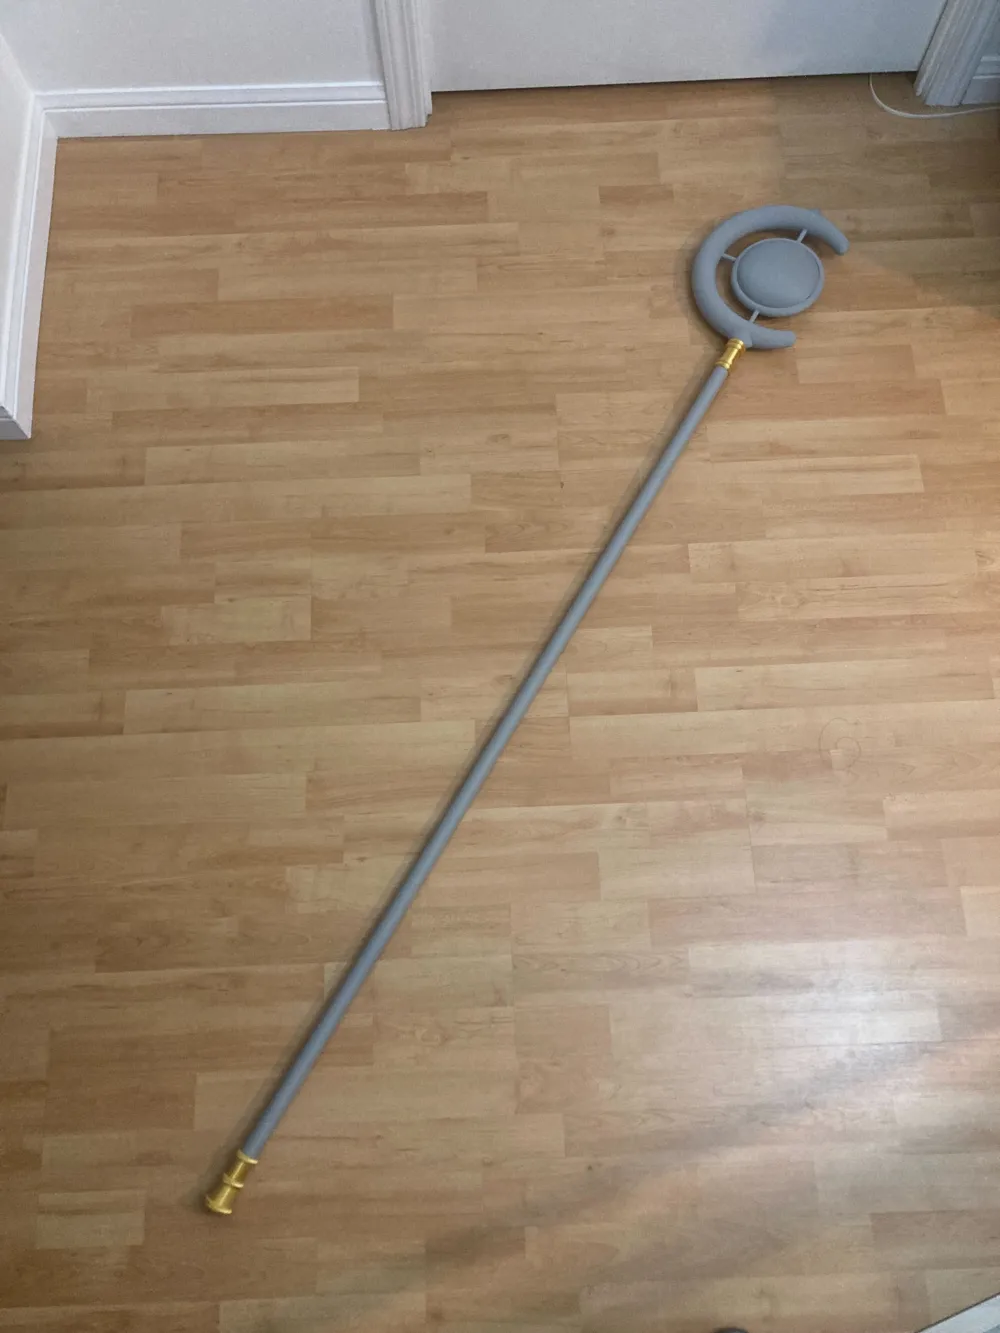
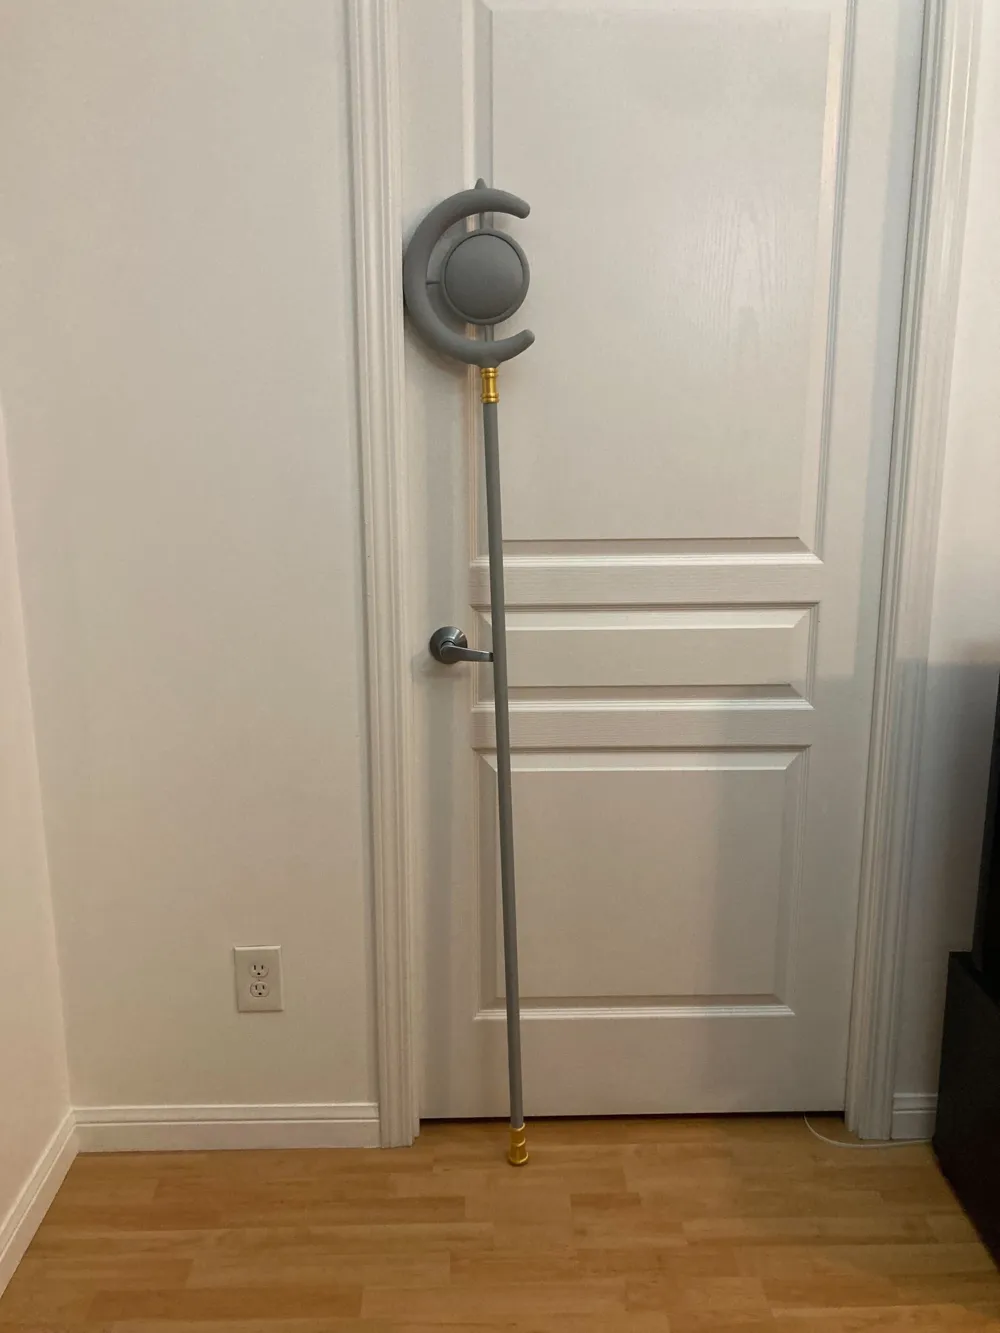
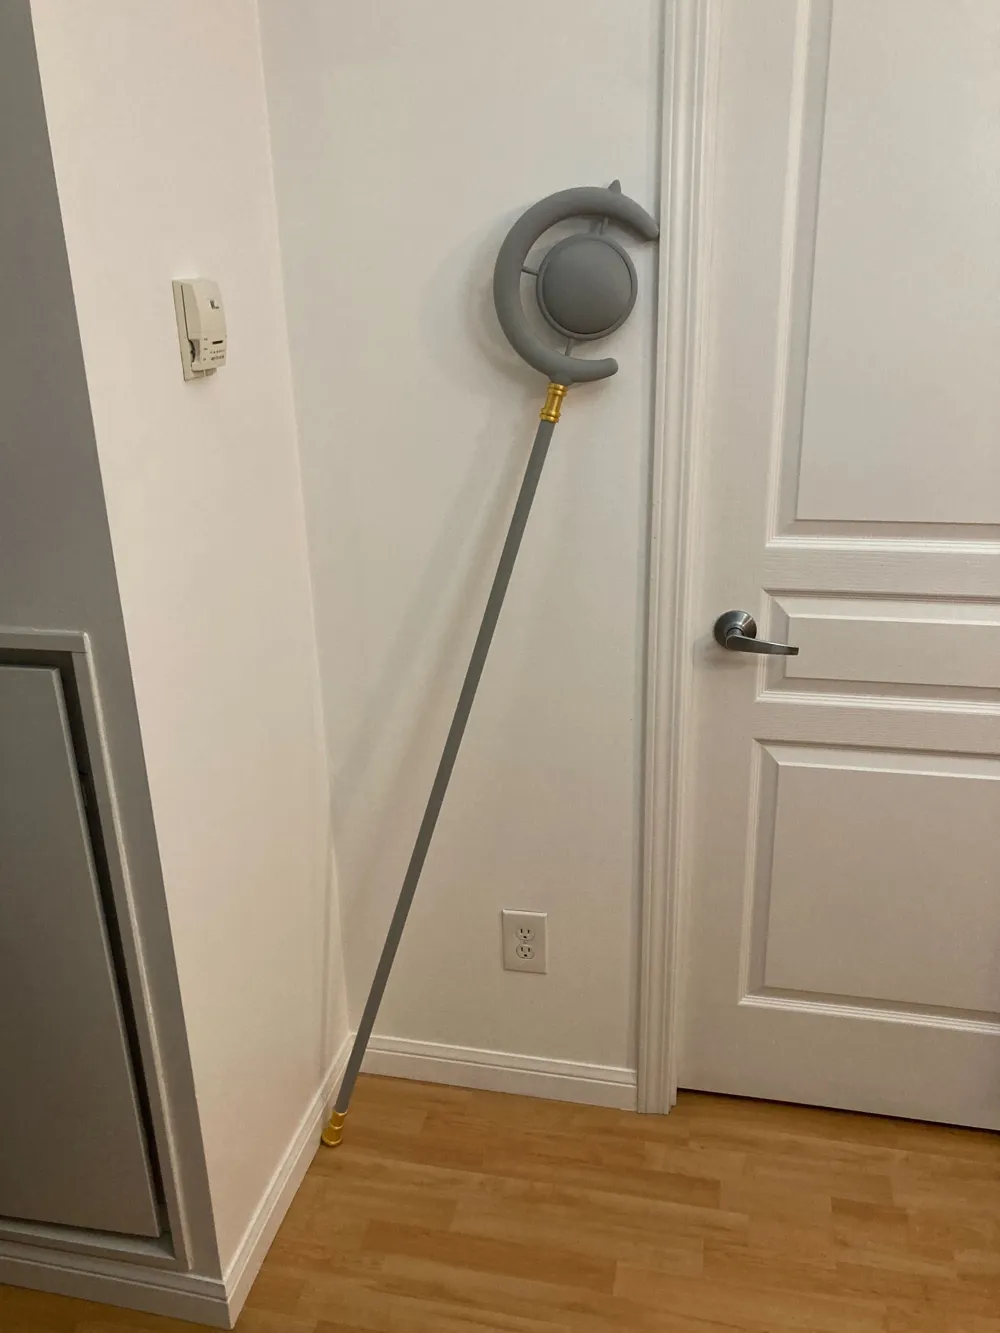
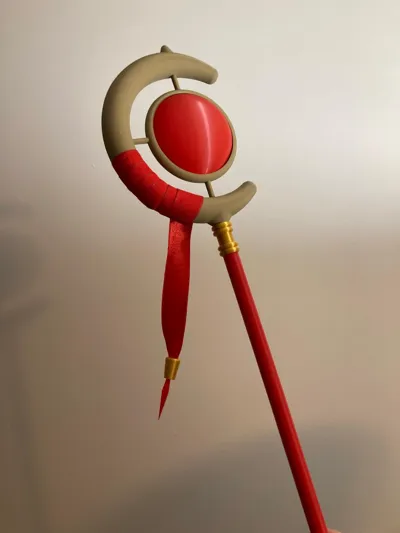
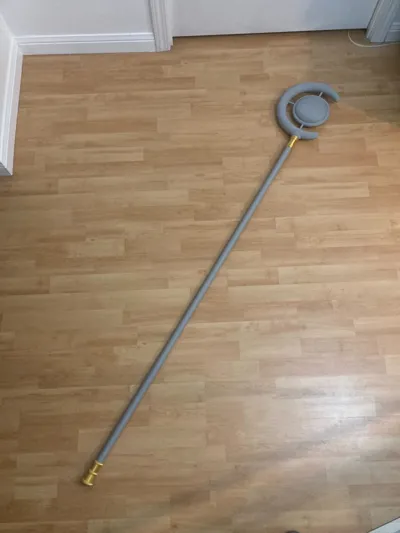
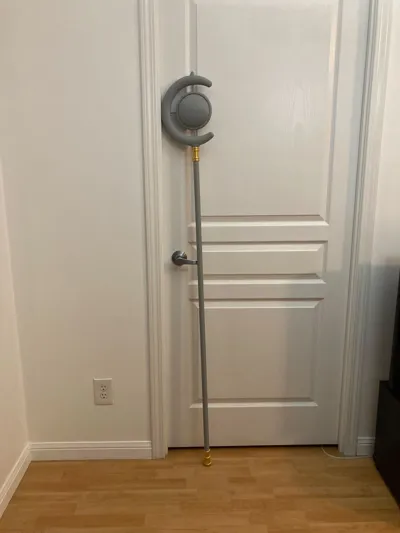
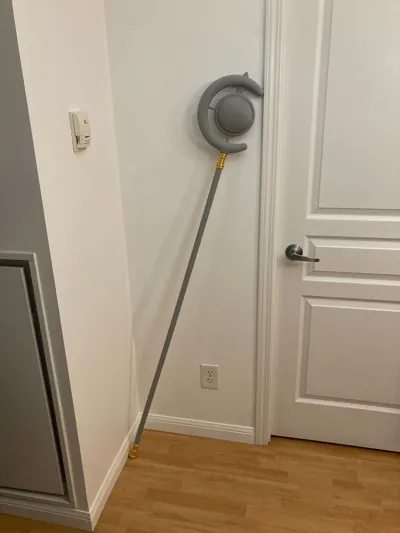
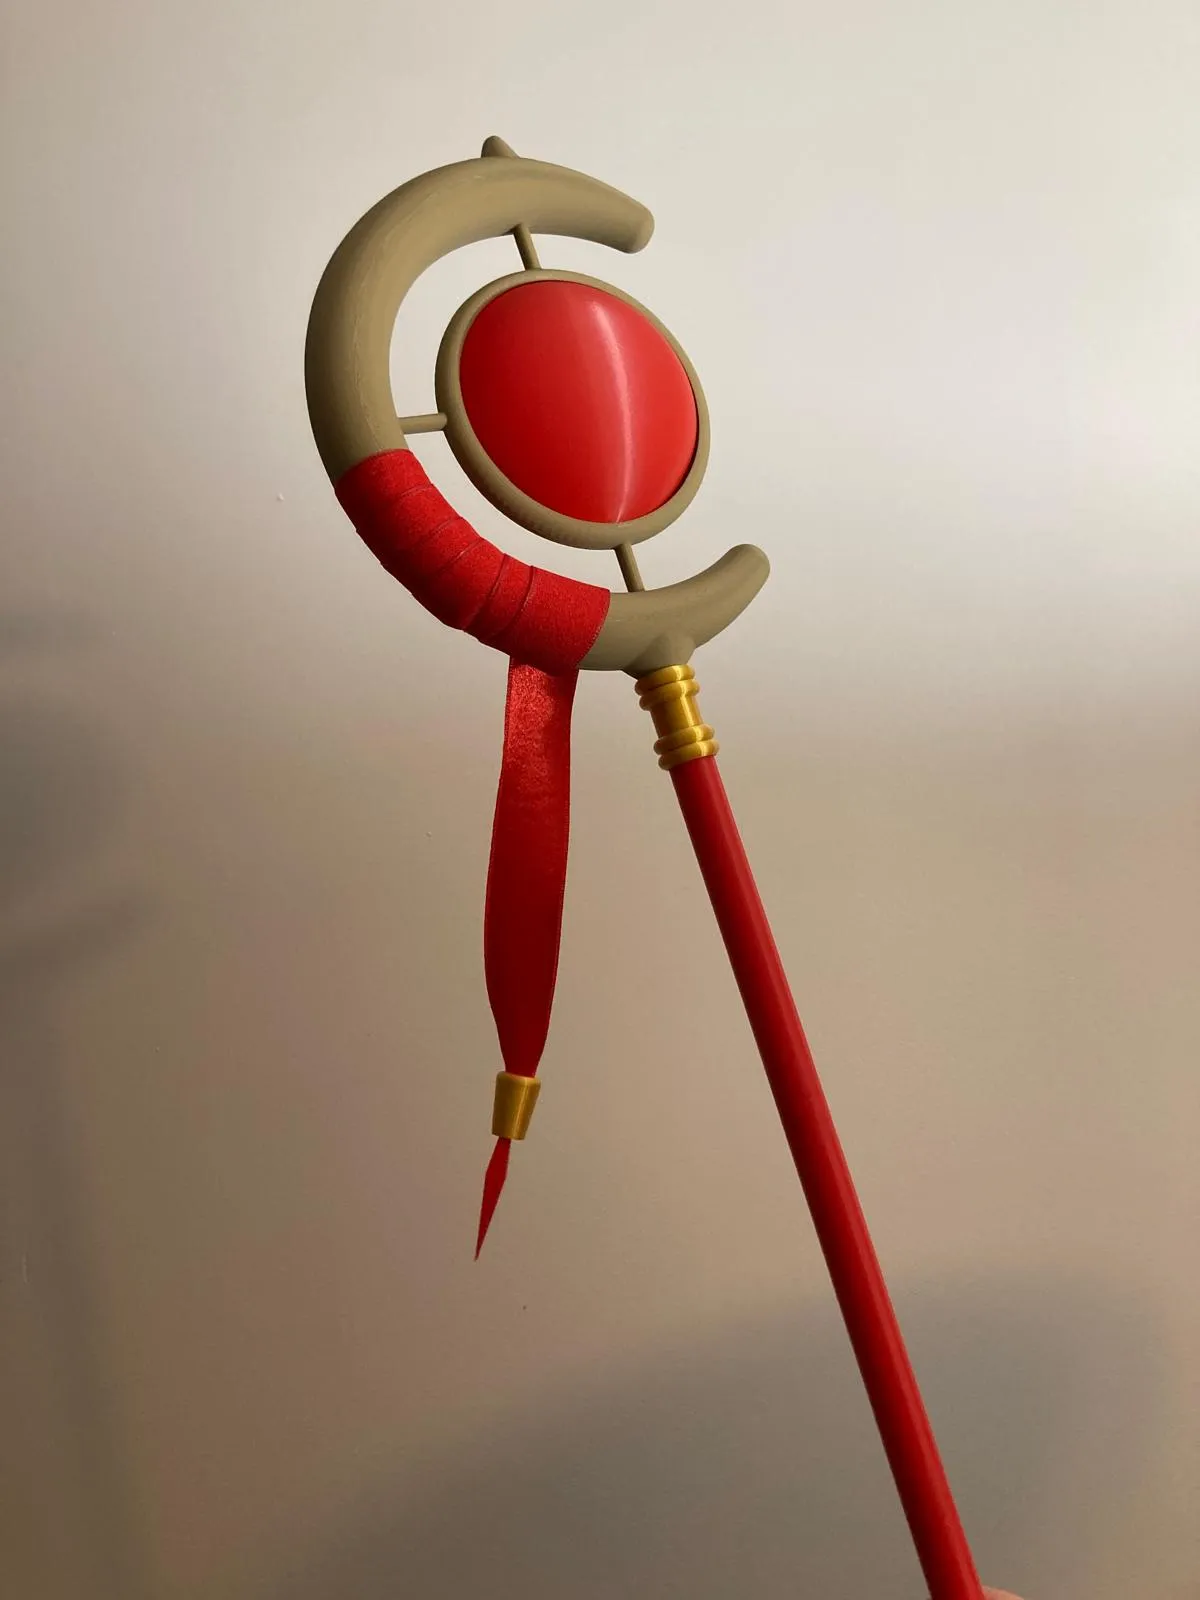
Frieren's staff from Frieren: Beyond Journey's End (葬送のフリーレン).
By printing this model, you too can embark on a journey to retrace the steps of the Himmel the Hero's party with Frieren's staff. Use the staff to cast magic and slay demon!

Staff is printed in multiple parts and then assembled, no AMS required. The size of the model is designed so that it can be printed on an A1 mini. It can probably be scaled up to fit on the bed of the larger Bambu printers.
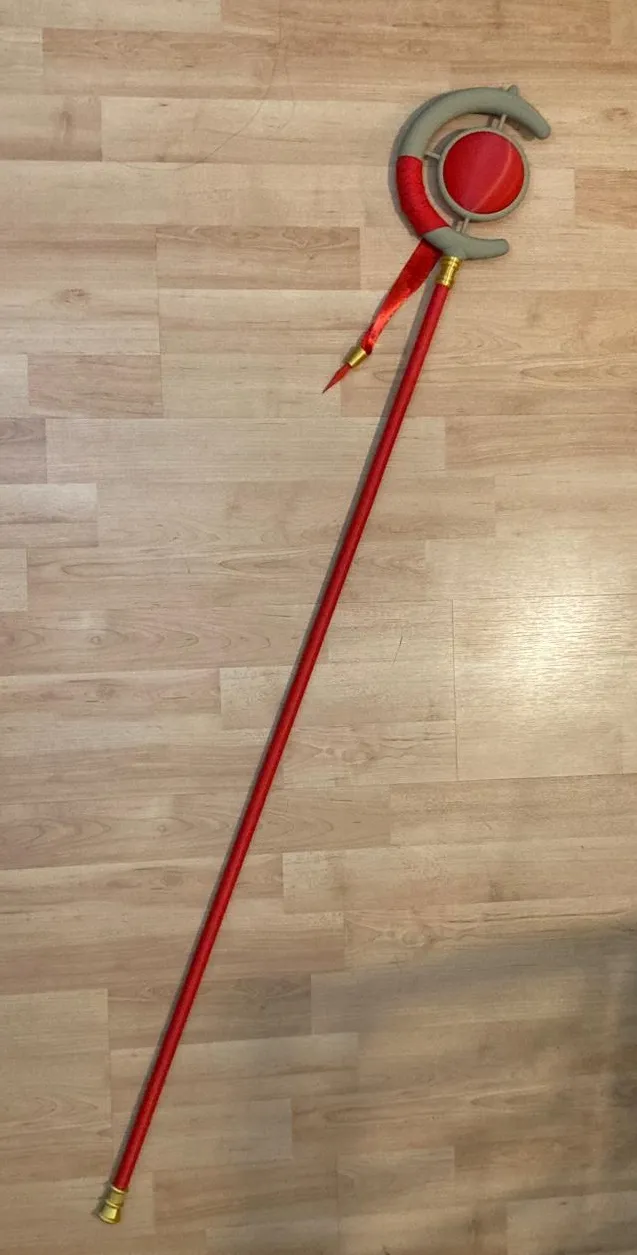
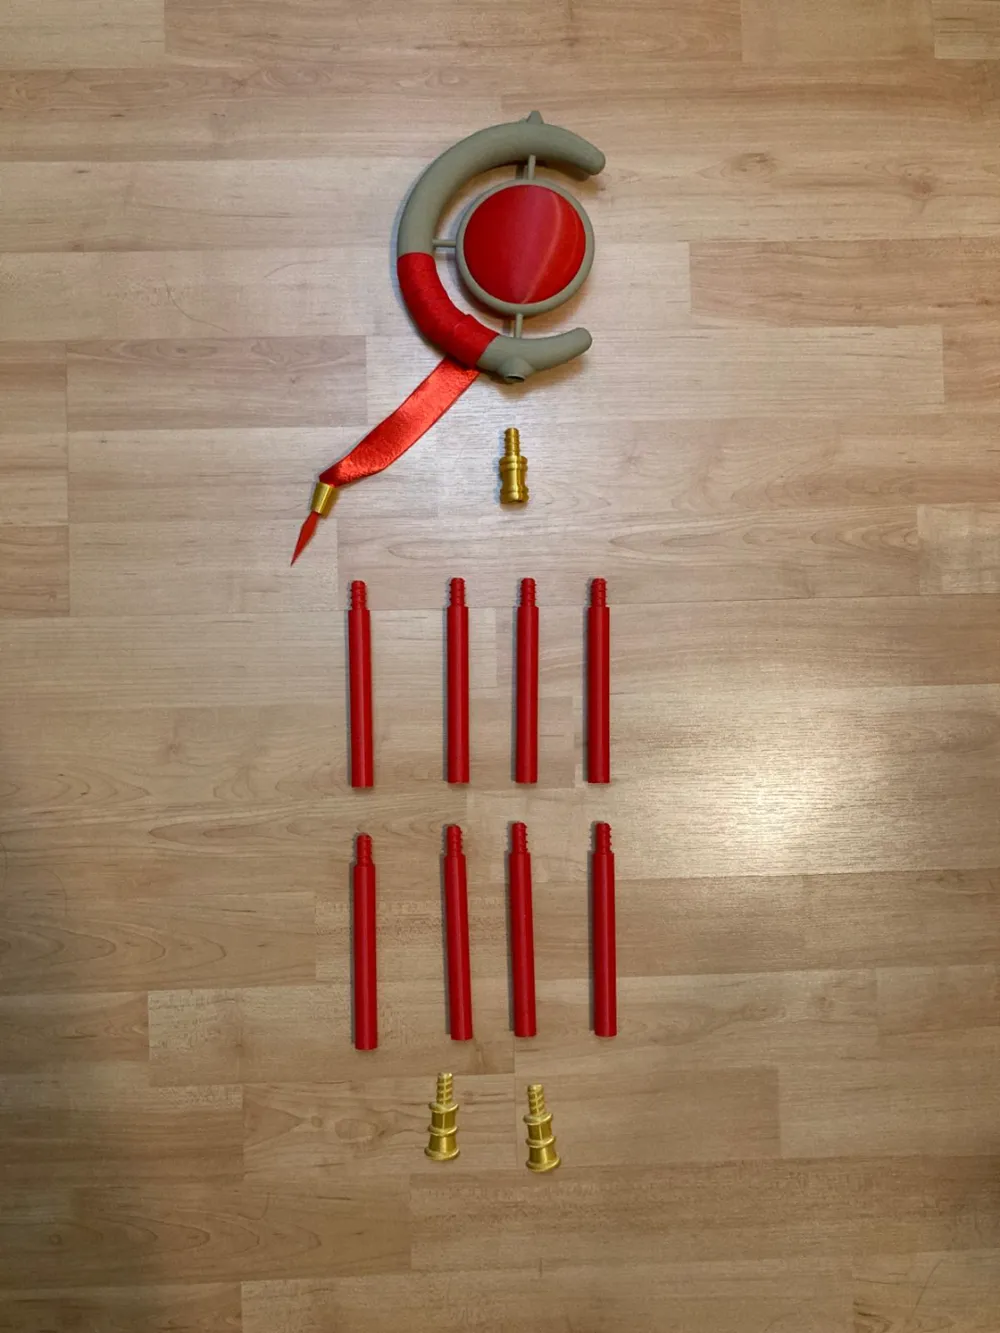
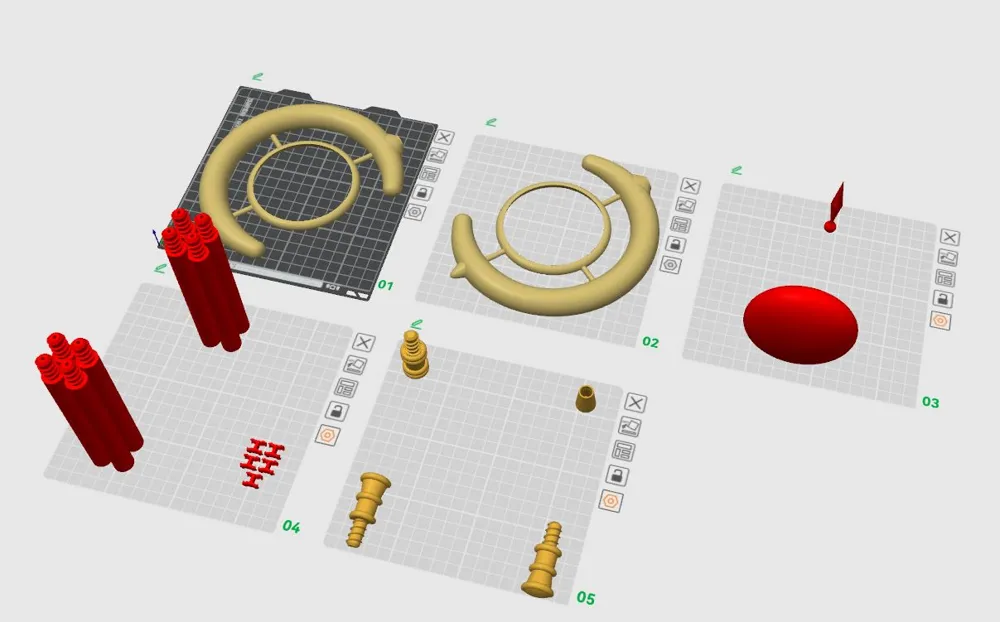
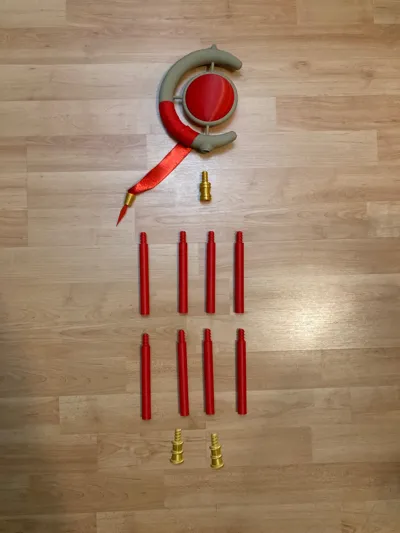
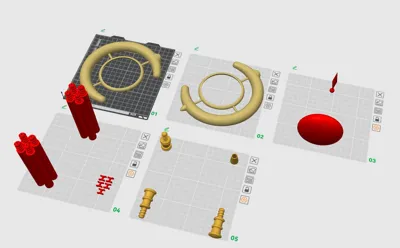
The parts for the model are shown below:
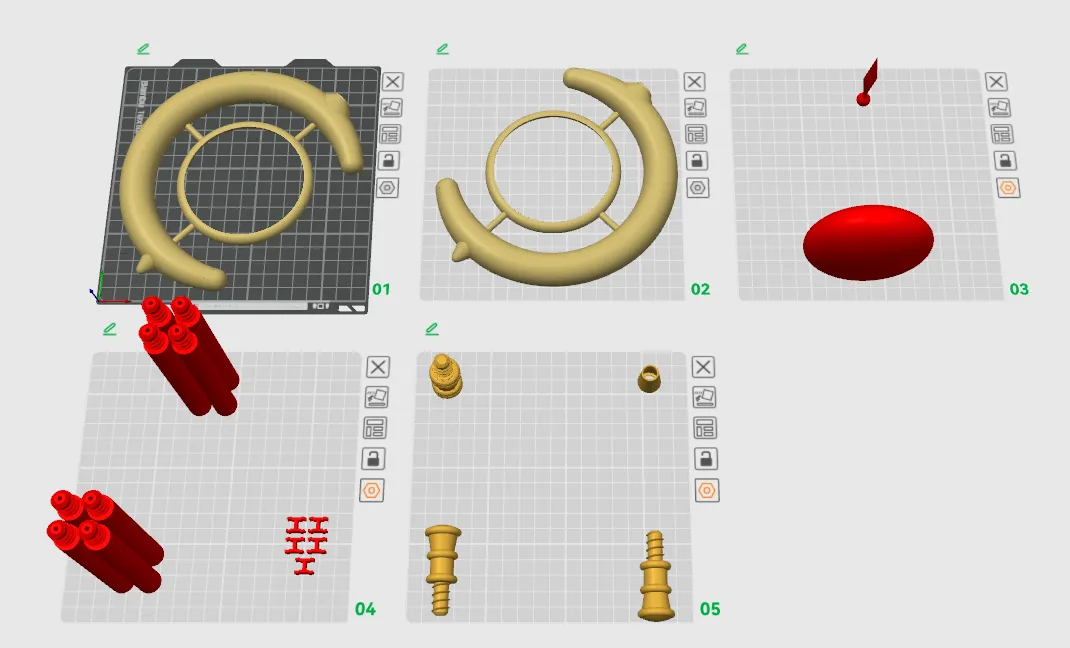
The parts list is as follows:
- Plate 1 and 2: Each plate contains one half of the staff head.
- Plate 3: The center part of the staff and the red jewel that dangles on the ribbon
- Plate 4: Clips that hold each part of the staff head together and the rods that make up the main shaft of the staff.
- Plate 5: The brass/gold parts of the staff. There is a part that connected the head to the main shaft, two parts for the bottom of the staff, and one piece that goes on the end of the ribbon.
Filaments Required:
- PLA Basic: Red
- PLA Silk: Gold
- PLA Wood: Classic Birch
Other:
The ribbon I used is 1 inch (2.5 cm) wide and approximately 28 inches (71 cm) long. I used this one:
- https://canada.michaels.com/product/1-x-5yd-glossy-ribbon-by-celebrate-it-classic-10743116
================================================
Assembly Instructions:
- Insert the clips into one side of the staff head as shown below:
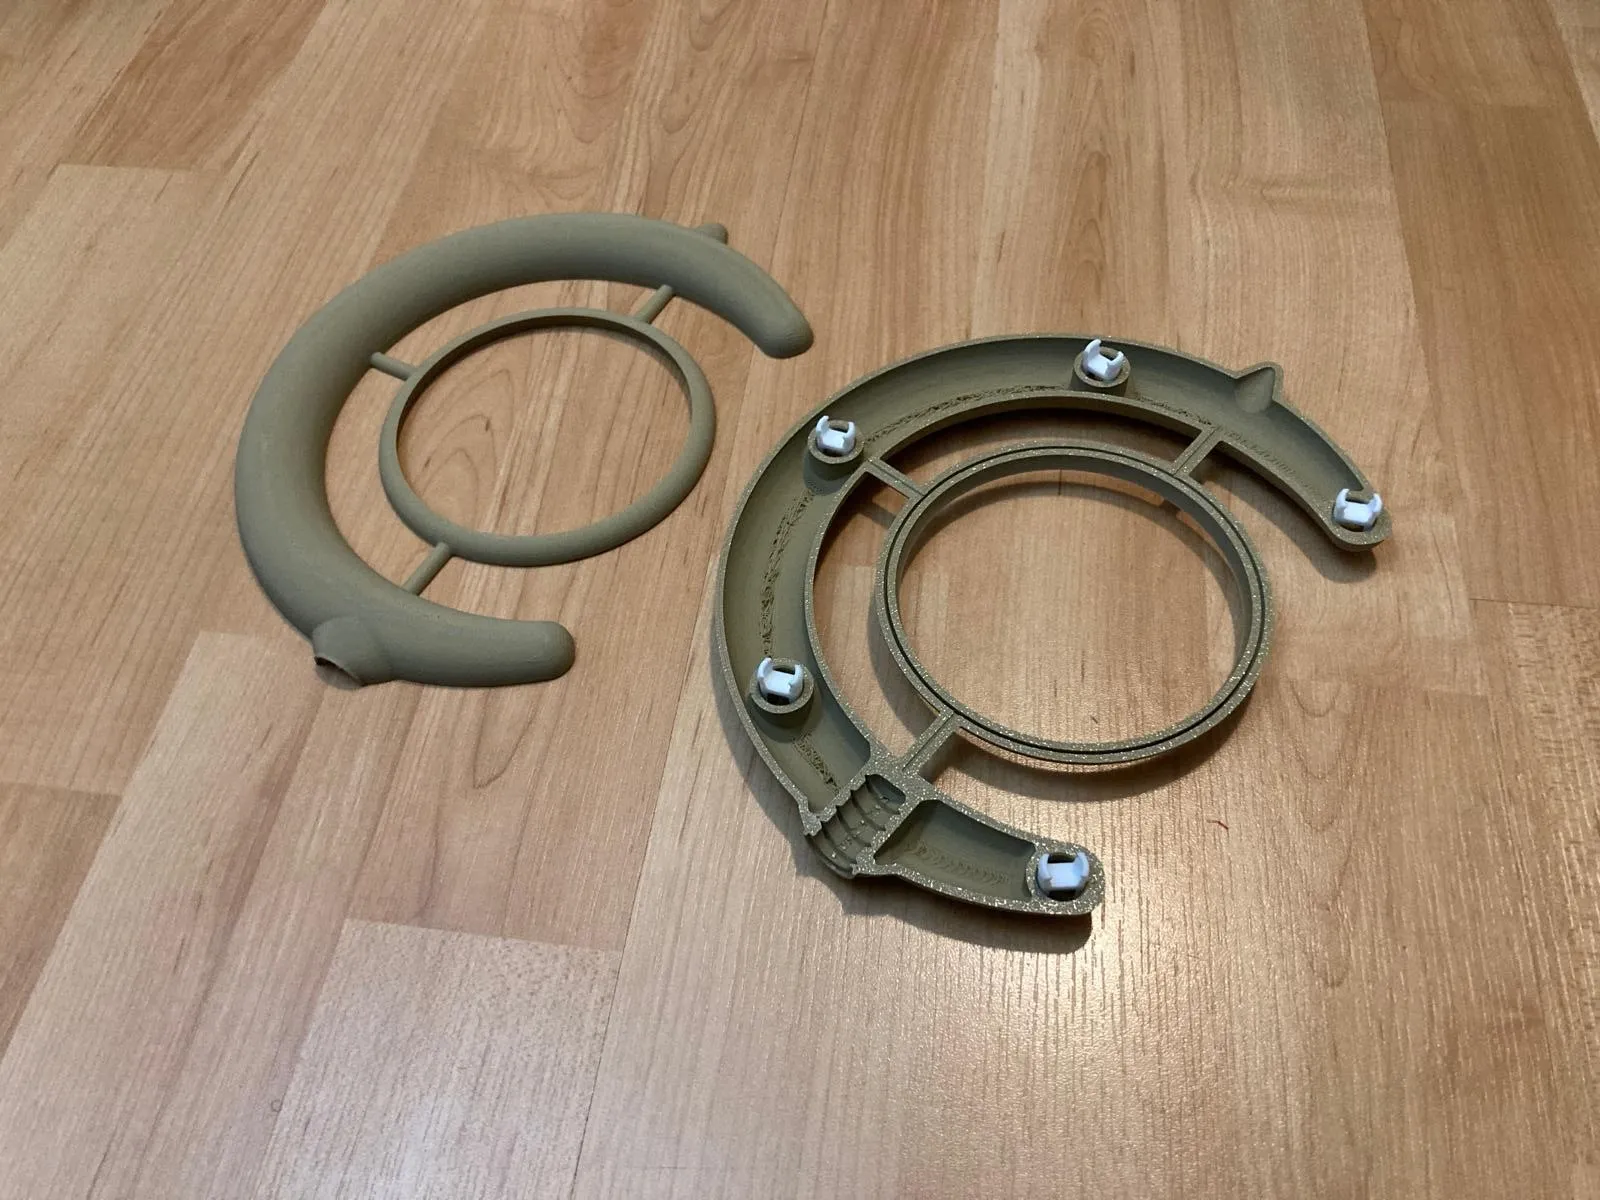
- Place the red staff center piece in between the pieces, then place an approximately 1 inch (2.5 cm) wide by 28 inch long (71 cm) piece of red ribbon in between the parts as shown below, and clip the halves together.
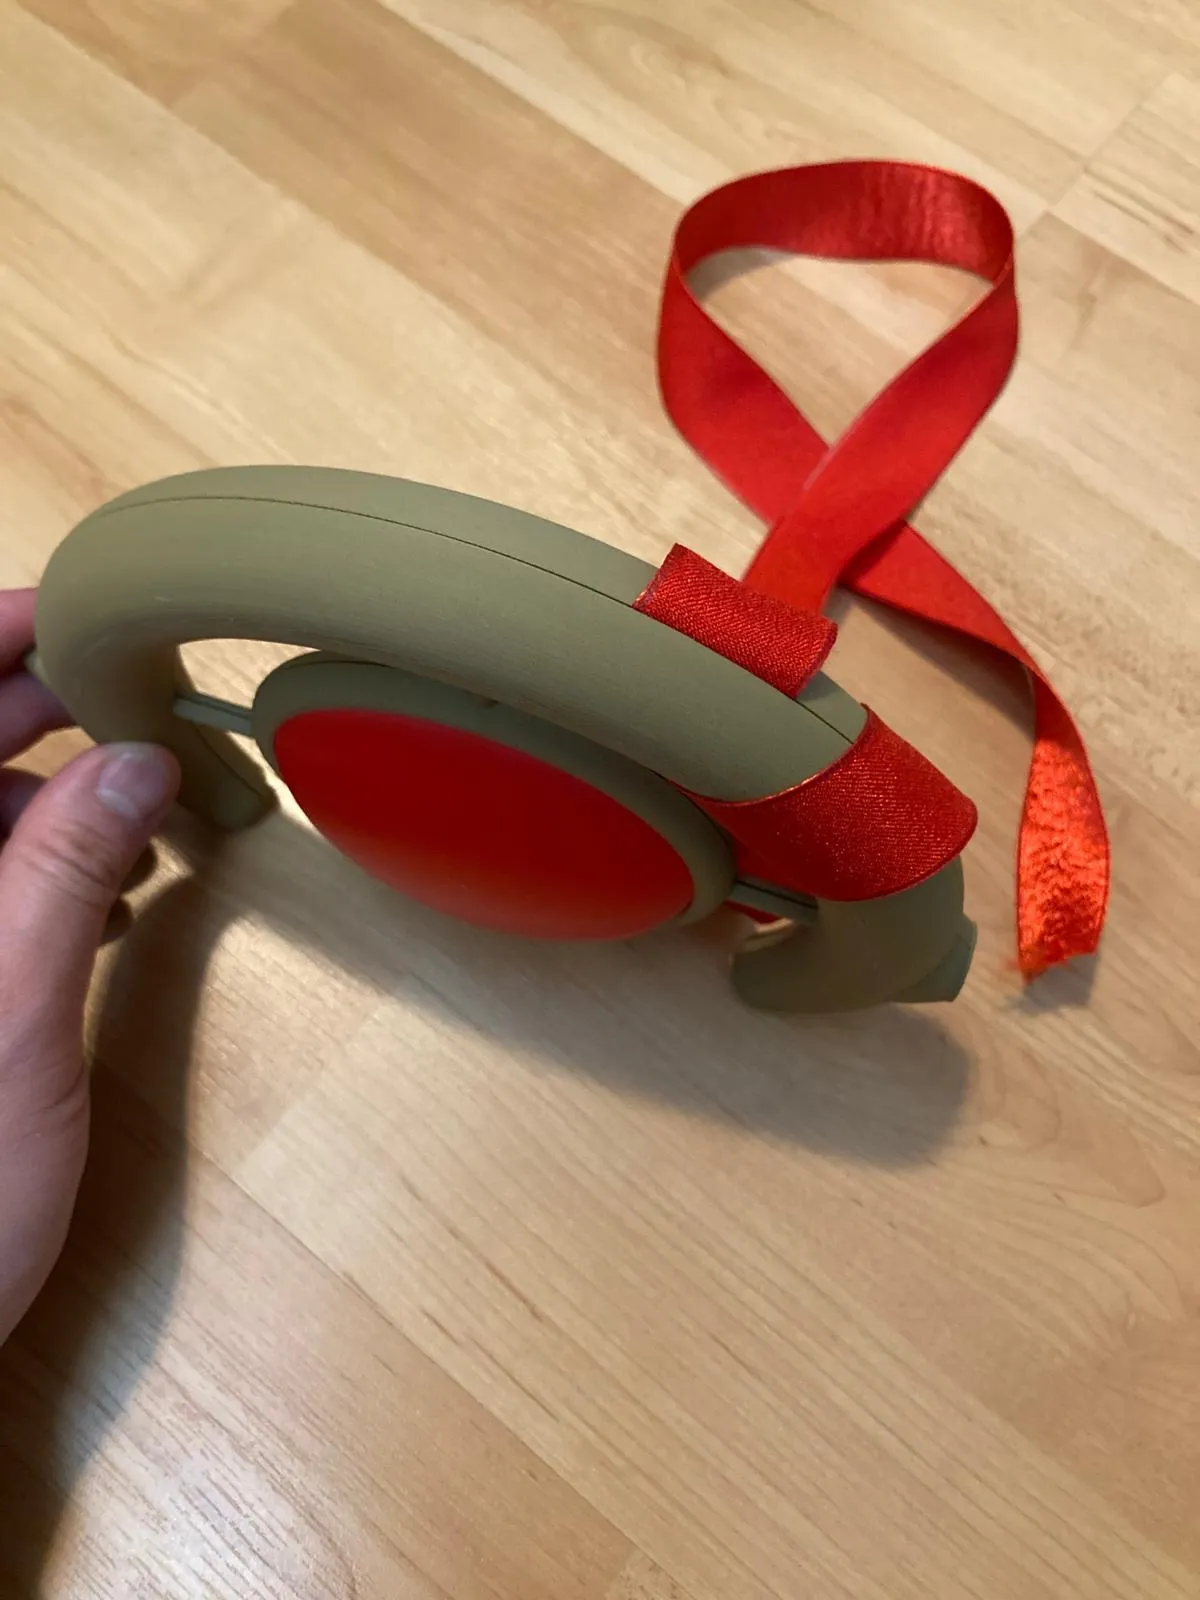
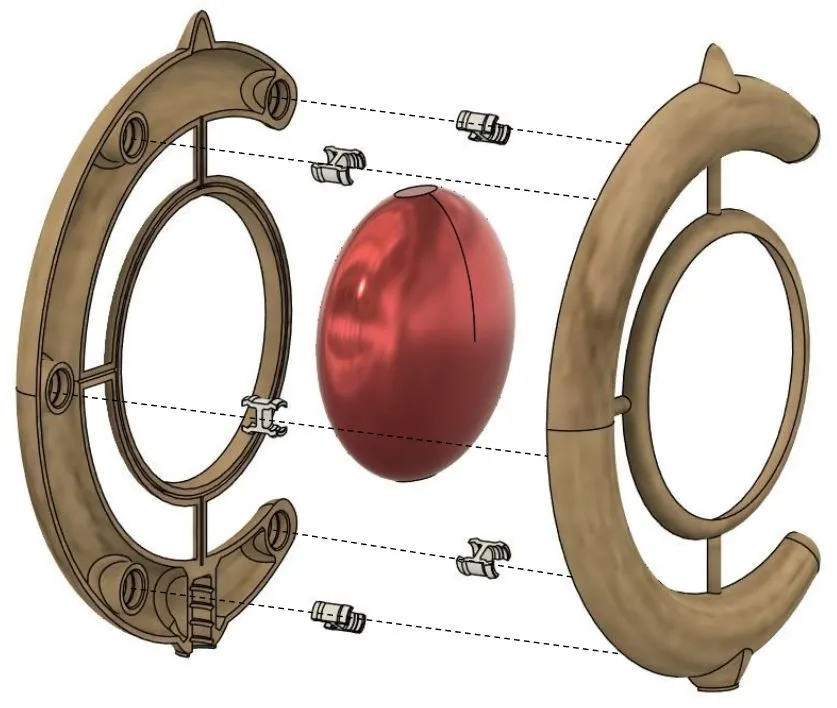
- Wrap the ribbon tightly around the staff head.
- Insert the red jewel piece that is supposed to be at the end of the ribbon into the gold piece as shown below. Be careful when assembling the pieces as they are fragile.
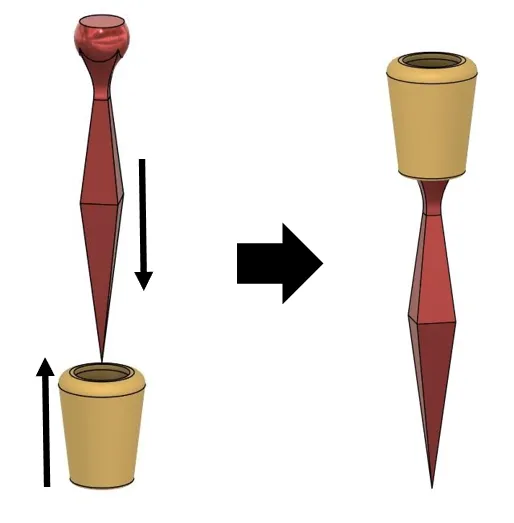
- The parts should look like the picture below:
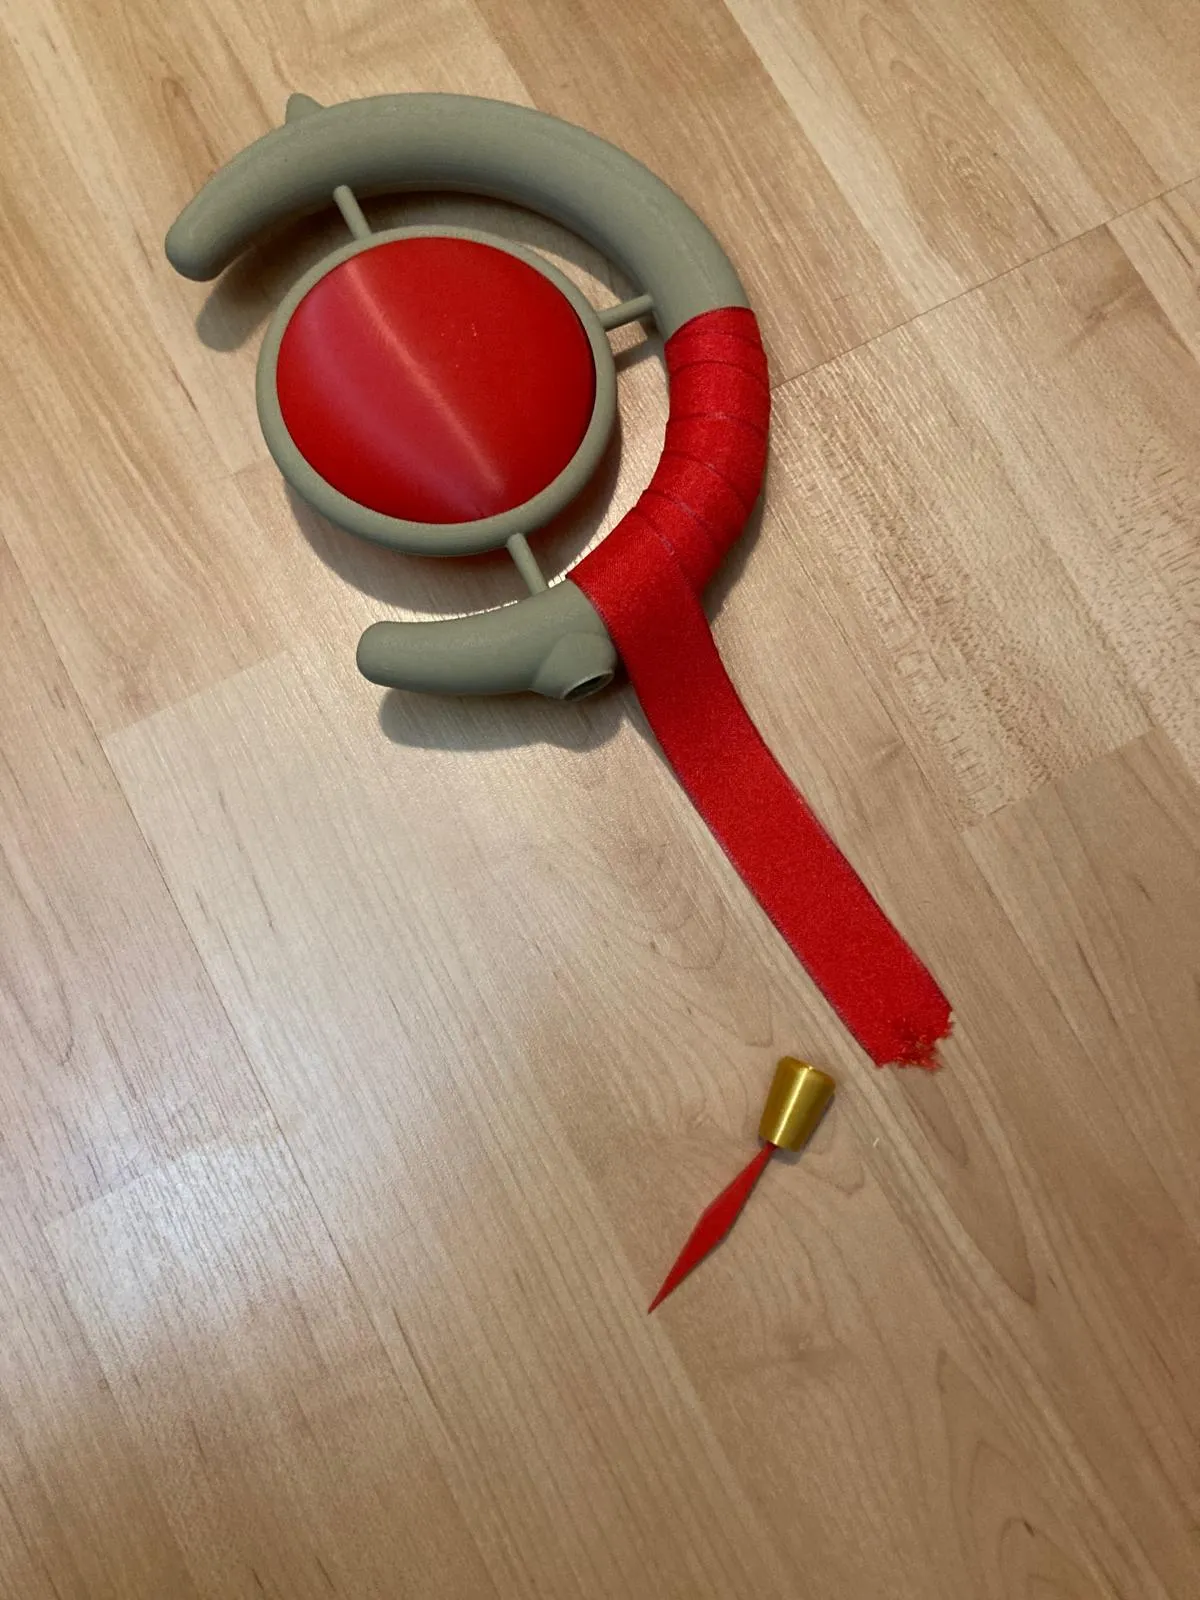
Use super glue or a hot glue gun to glue the ribbon inside the gold part.
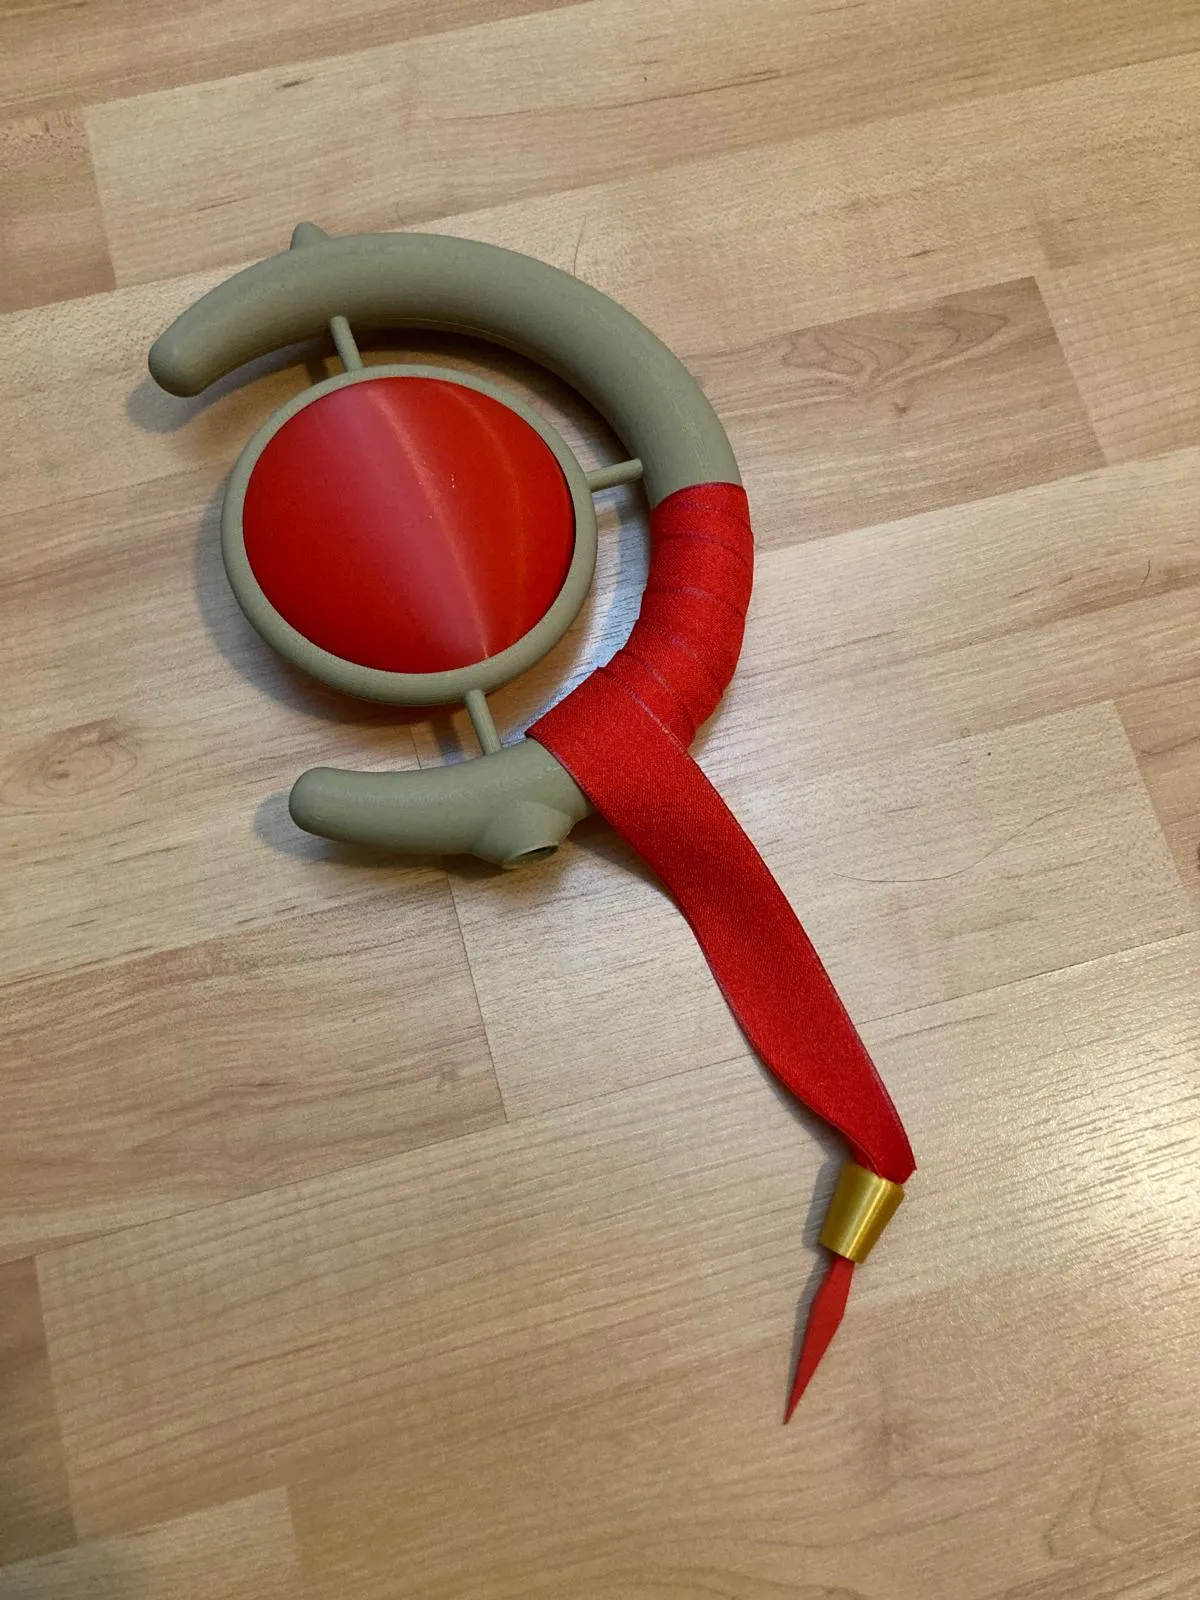
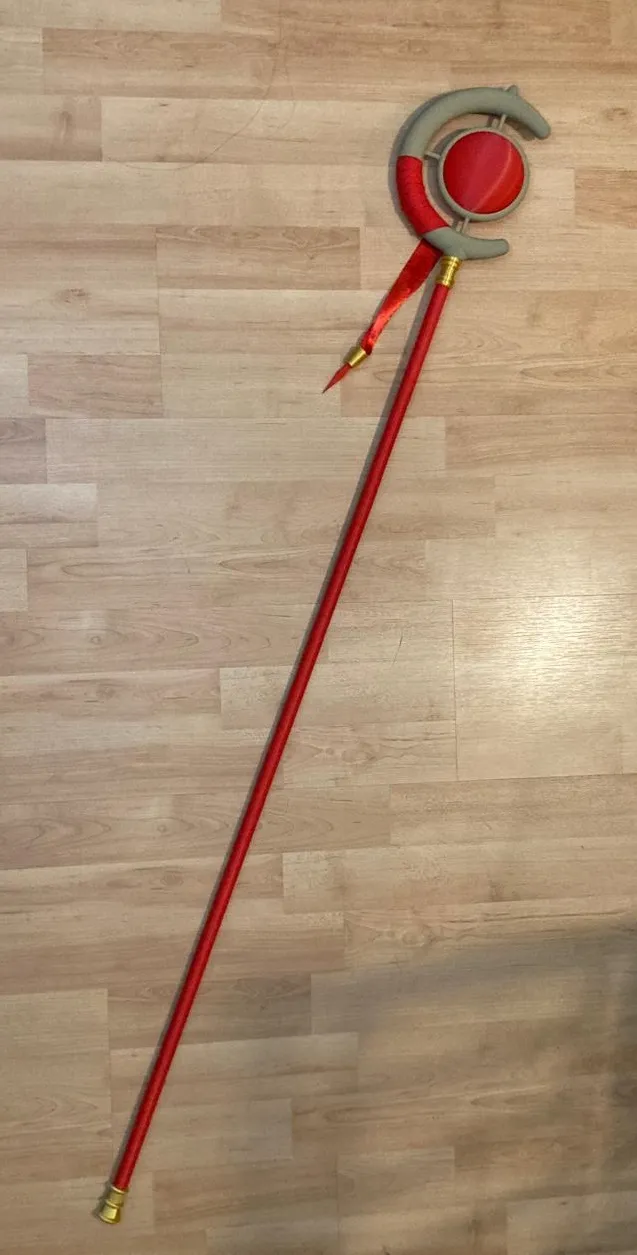
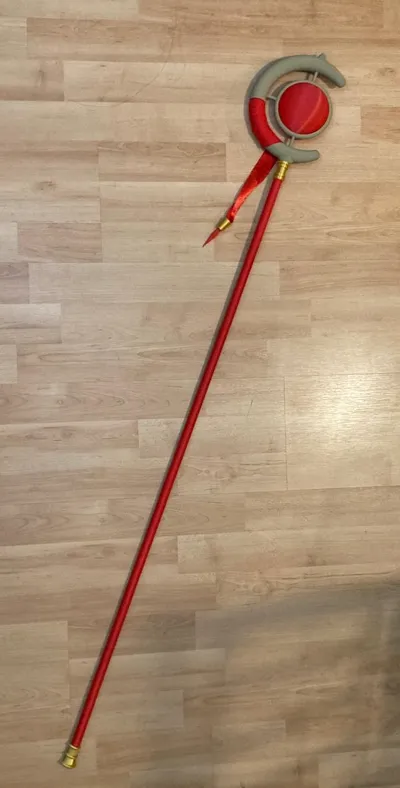
- Screw the gold head-to-rod connector piece into the staff head, then connect all the red staff shaft pieces together with the staff head. DO NOT OVER TIGHTEN ANY OF THE SCREW-IN PIECES. For me, the gold staff-head to rod connector piece was prone to snapping.
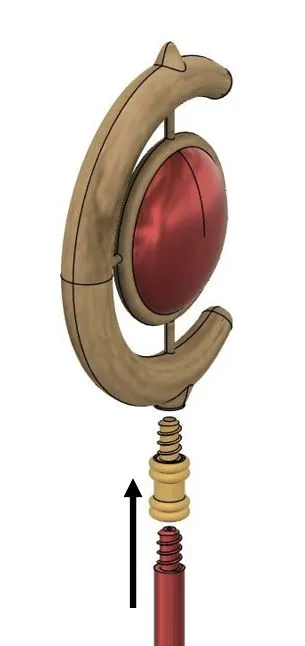
- Finally, put the two end pieces together flat side to flat side, and screw the pieces into the end of the staff.
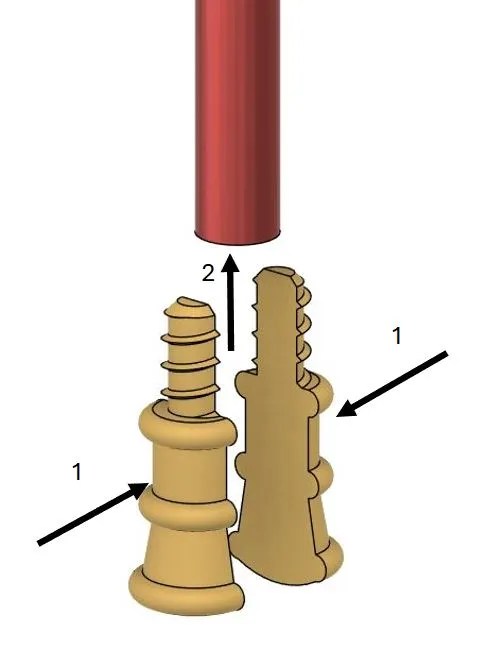
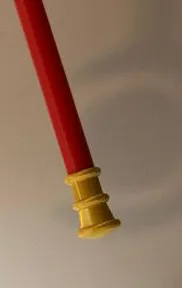
================================================
Congratulations!
You have just created the powerful staff of the Frieren the Mage. I hope printing and building this model is a fun experience.

Please like, download, share, rate, and boost this model if you like it! Let me know if you have any issues with the print as well.
Boost Me (for free)
If you like this model, please consider supporting me by giving me a boost!
License

You shall not share, sub-license, sell, rent, host, transfer, or distribute in any way the digital or 3D printed versions of this object, nor any other derivative work of this object in its digital or physical format (including - but not limited to - remixes of this object, and hosting on other digital platforms). The objects may not be used without permission in any way whatsoever in which you charge money, or collect fees.


Comment & Rating (73)