
ESP32 NodeMCU-32 with temperature & light sensor
Print Profile(1)

Description
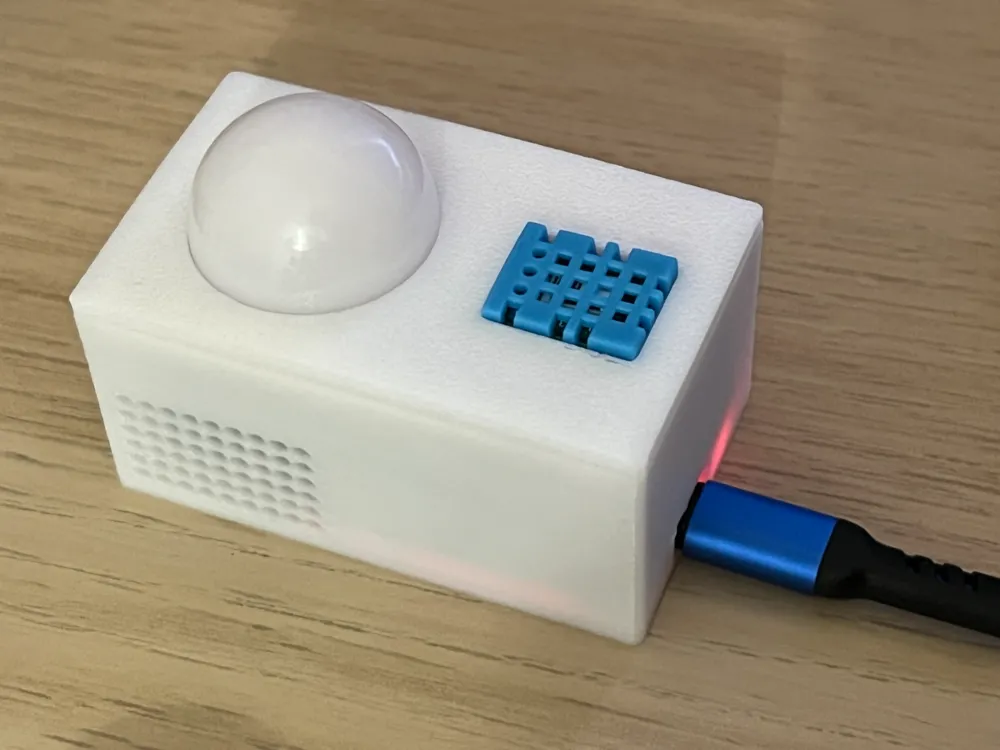
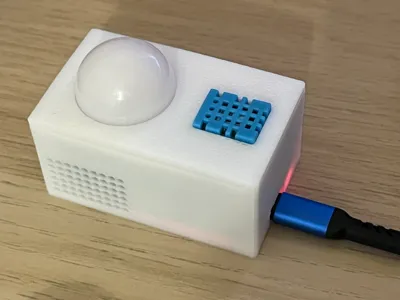
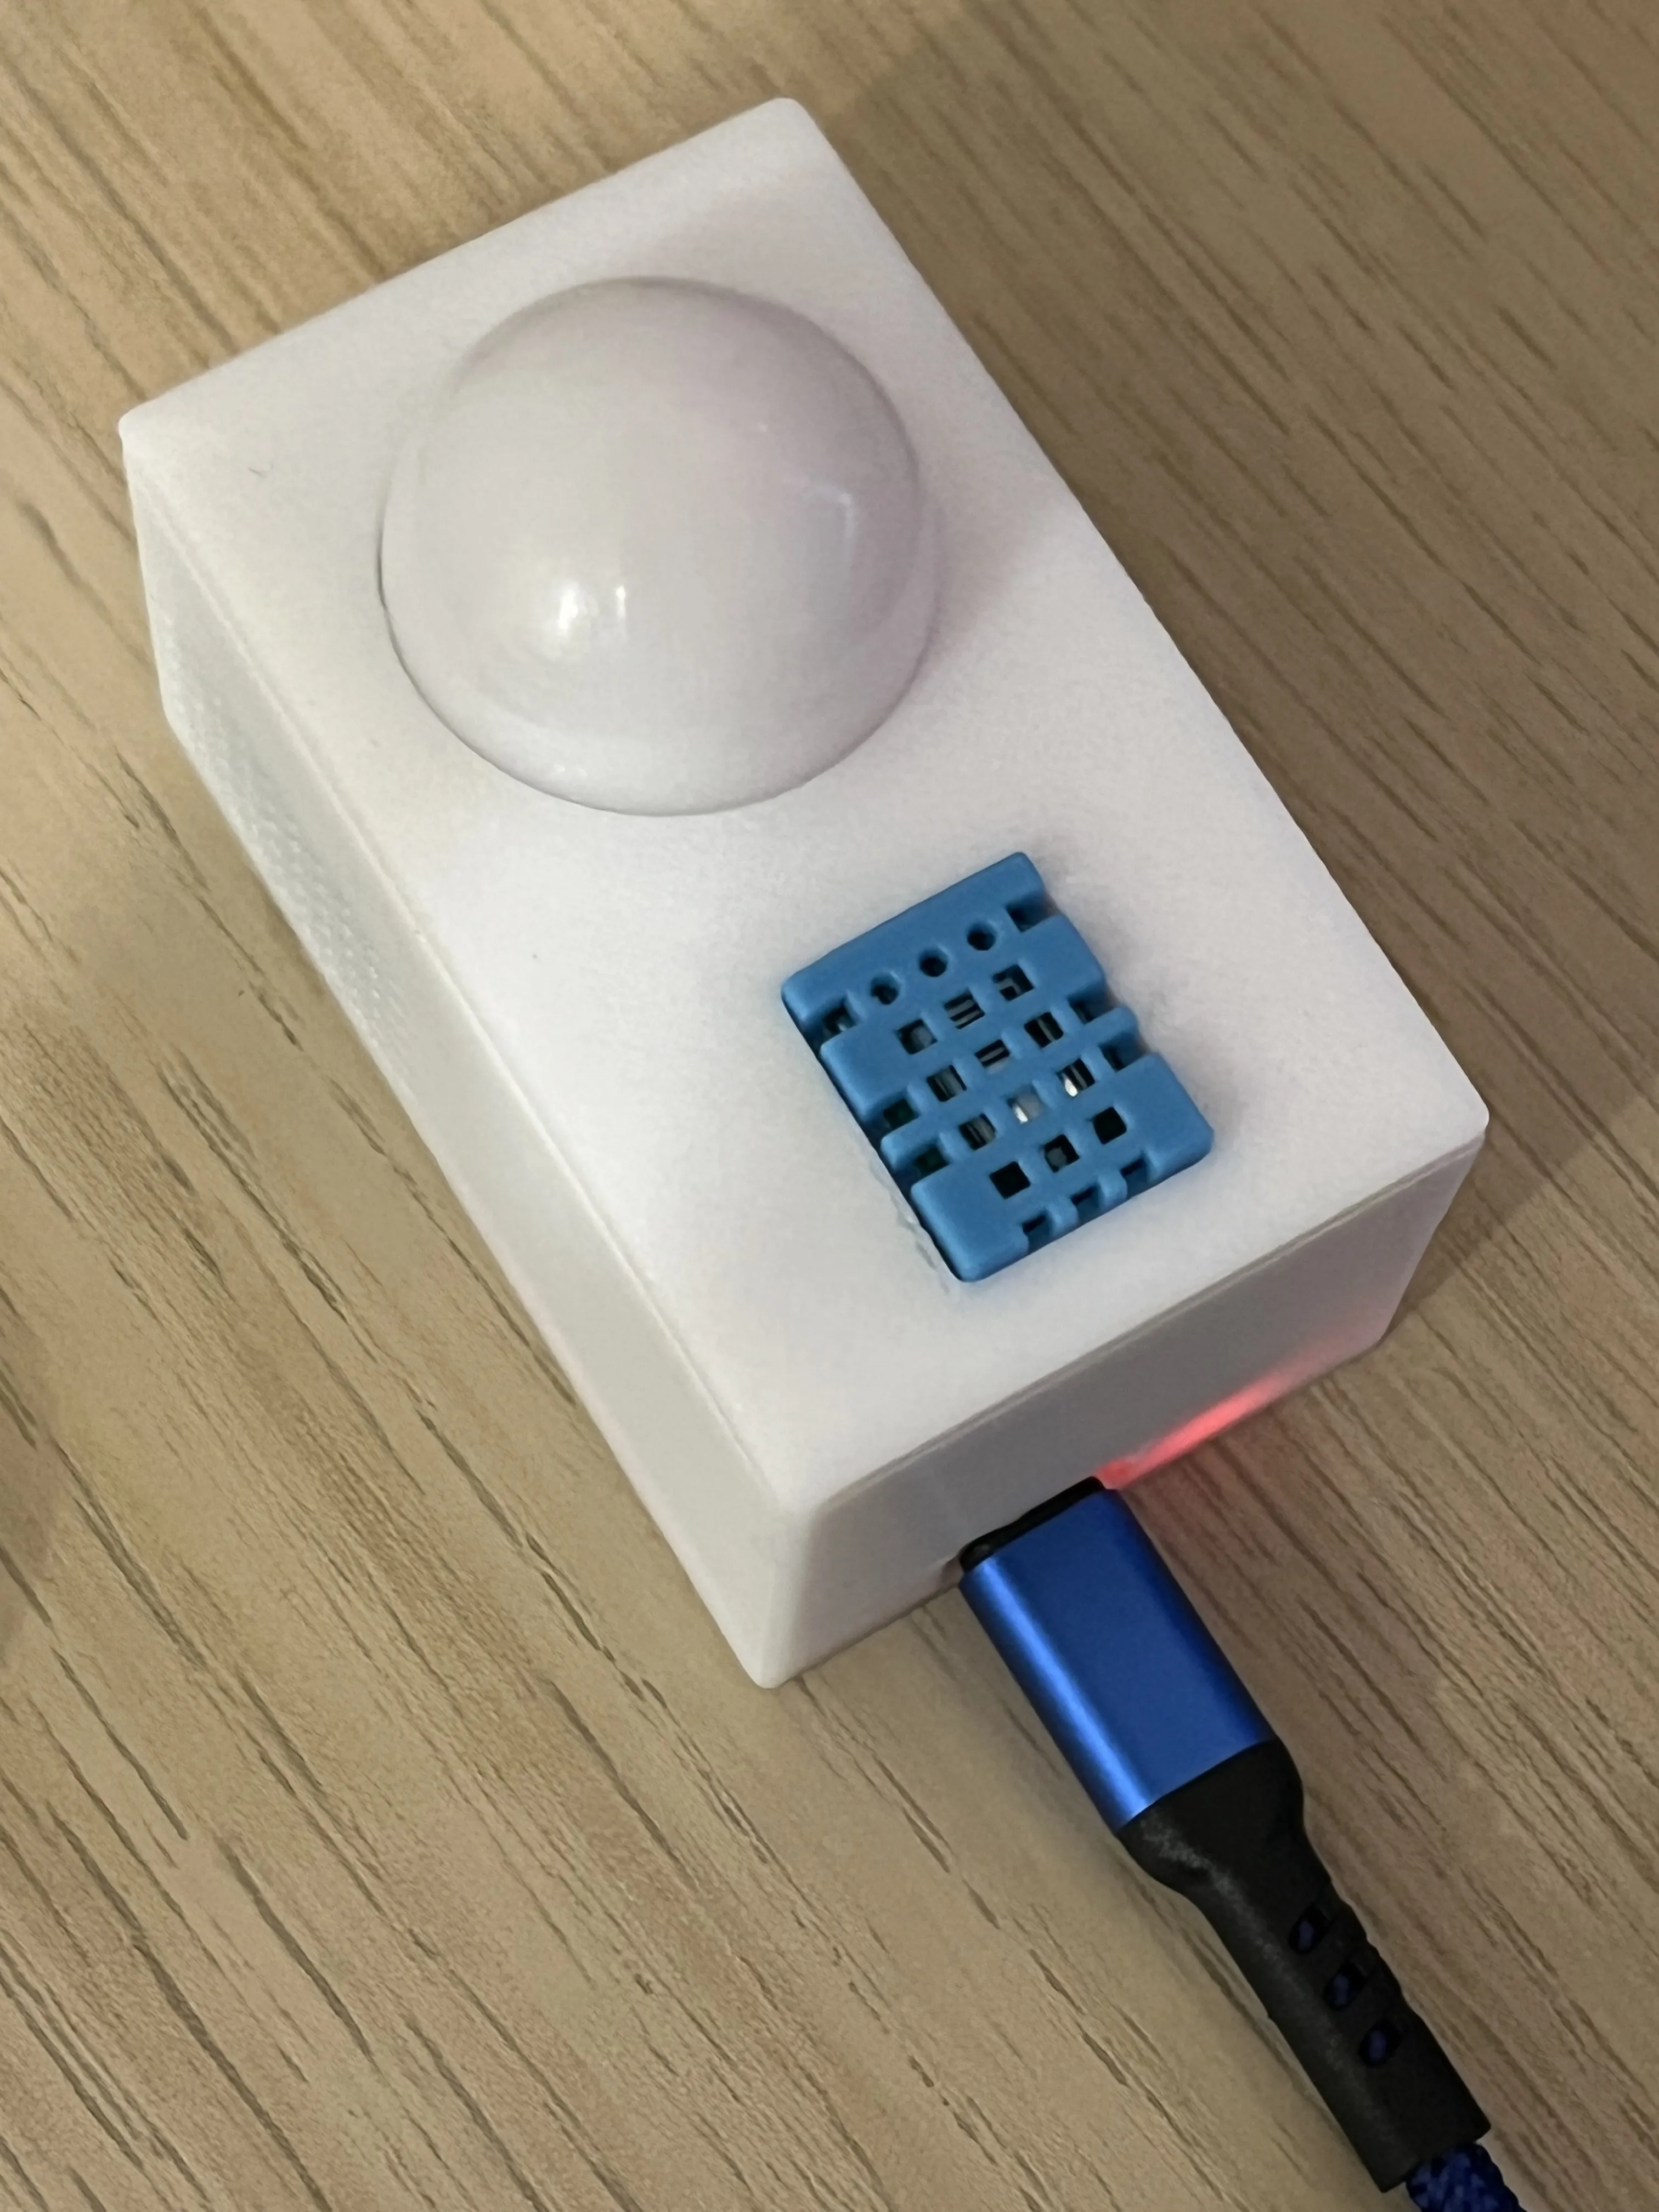
ESP32 - NodeMCU-32 Case with Temperature / Humidity sensor (DHT11) and Light intensity sensor (BHT1750)
- A compact case to hold the NodeMCU-32 MCU, Temperature & Light Sensors
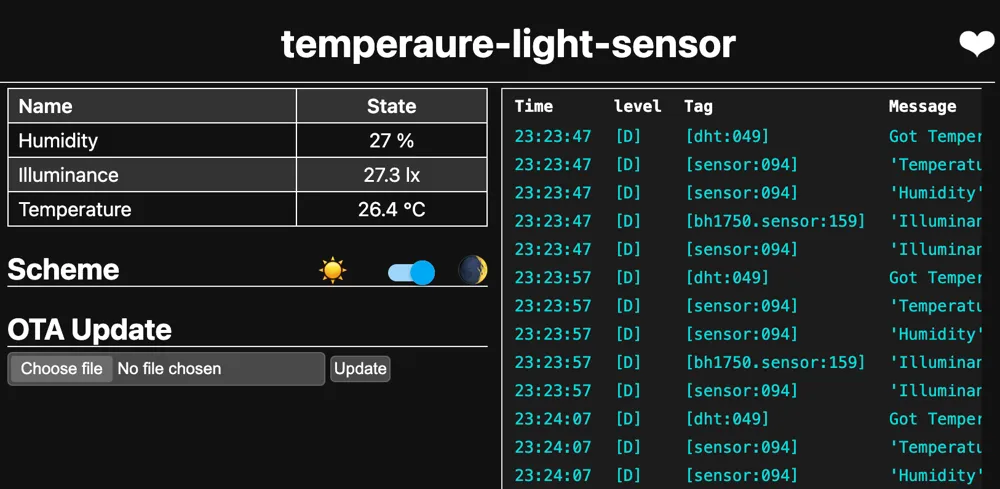
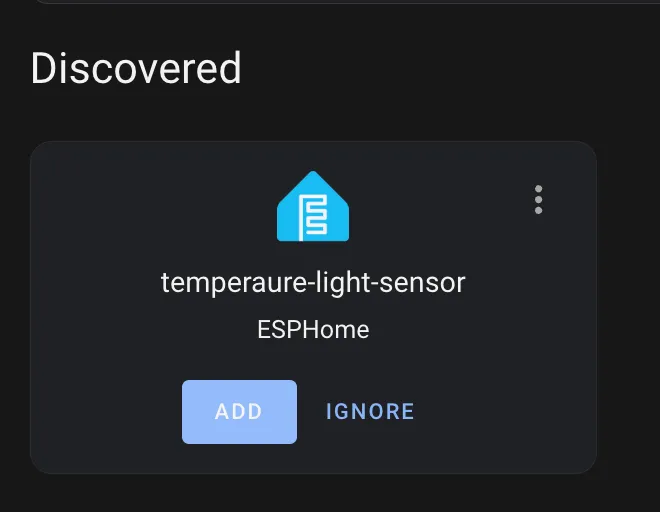
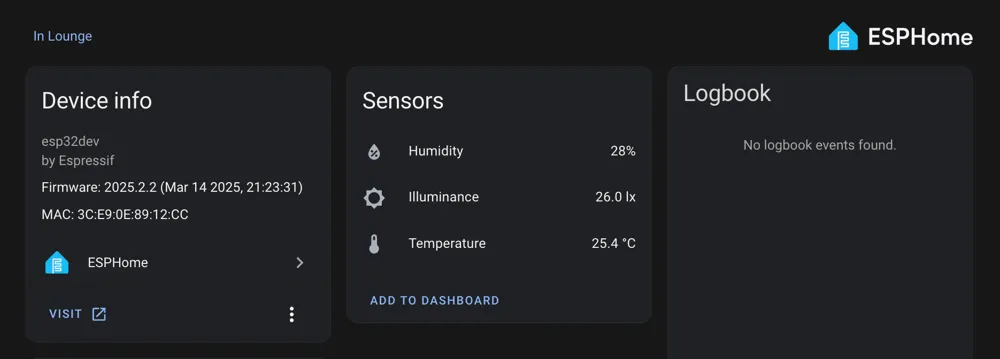
- Can also use with Home Assistant with ESPHome setup (code included)
- Easy to assembly, no glue nor screws are required
- Components can be found from Aliexpress
Components
- ESP32 - NodeMCU32 - https://www.aliexpress.com/item/1005006613312645.html
- DHT11 temperature Sensor - https://www.aliexpress.com/item/4001253056515.html
- BHT1750 Sensor - https://www.aliexpress.com/item/1005005569578672.html
- Dupont cable (female to female) - https://www.aliexpress.com/item/1005008005675778.html
Assembly
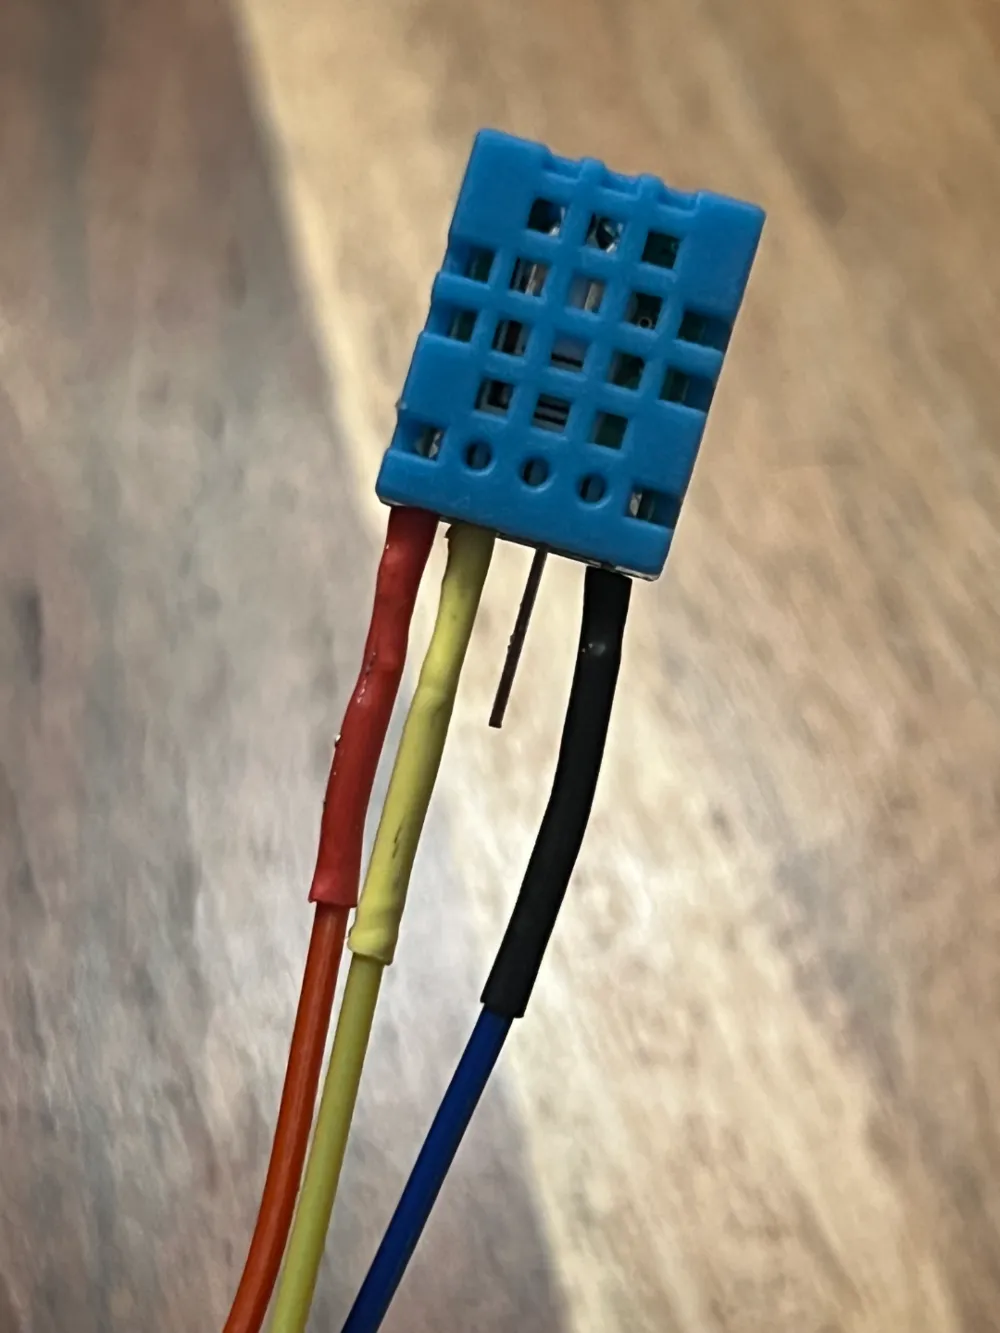
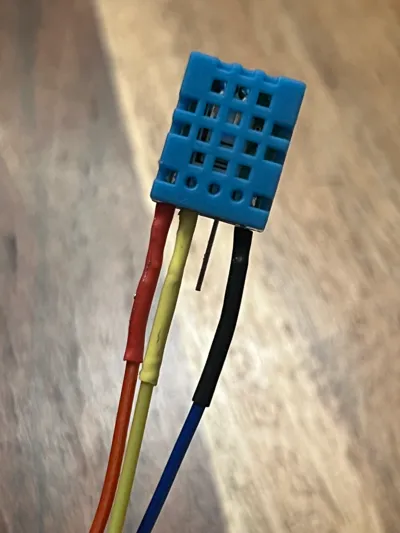
Solder the DHT11 with pin1 (3.3V), pin2 (data), pin3 (ground)
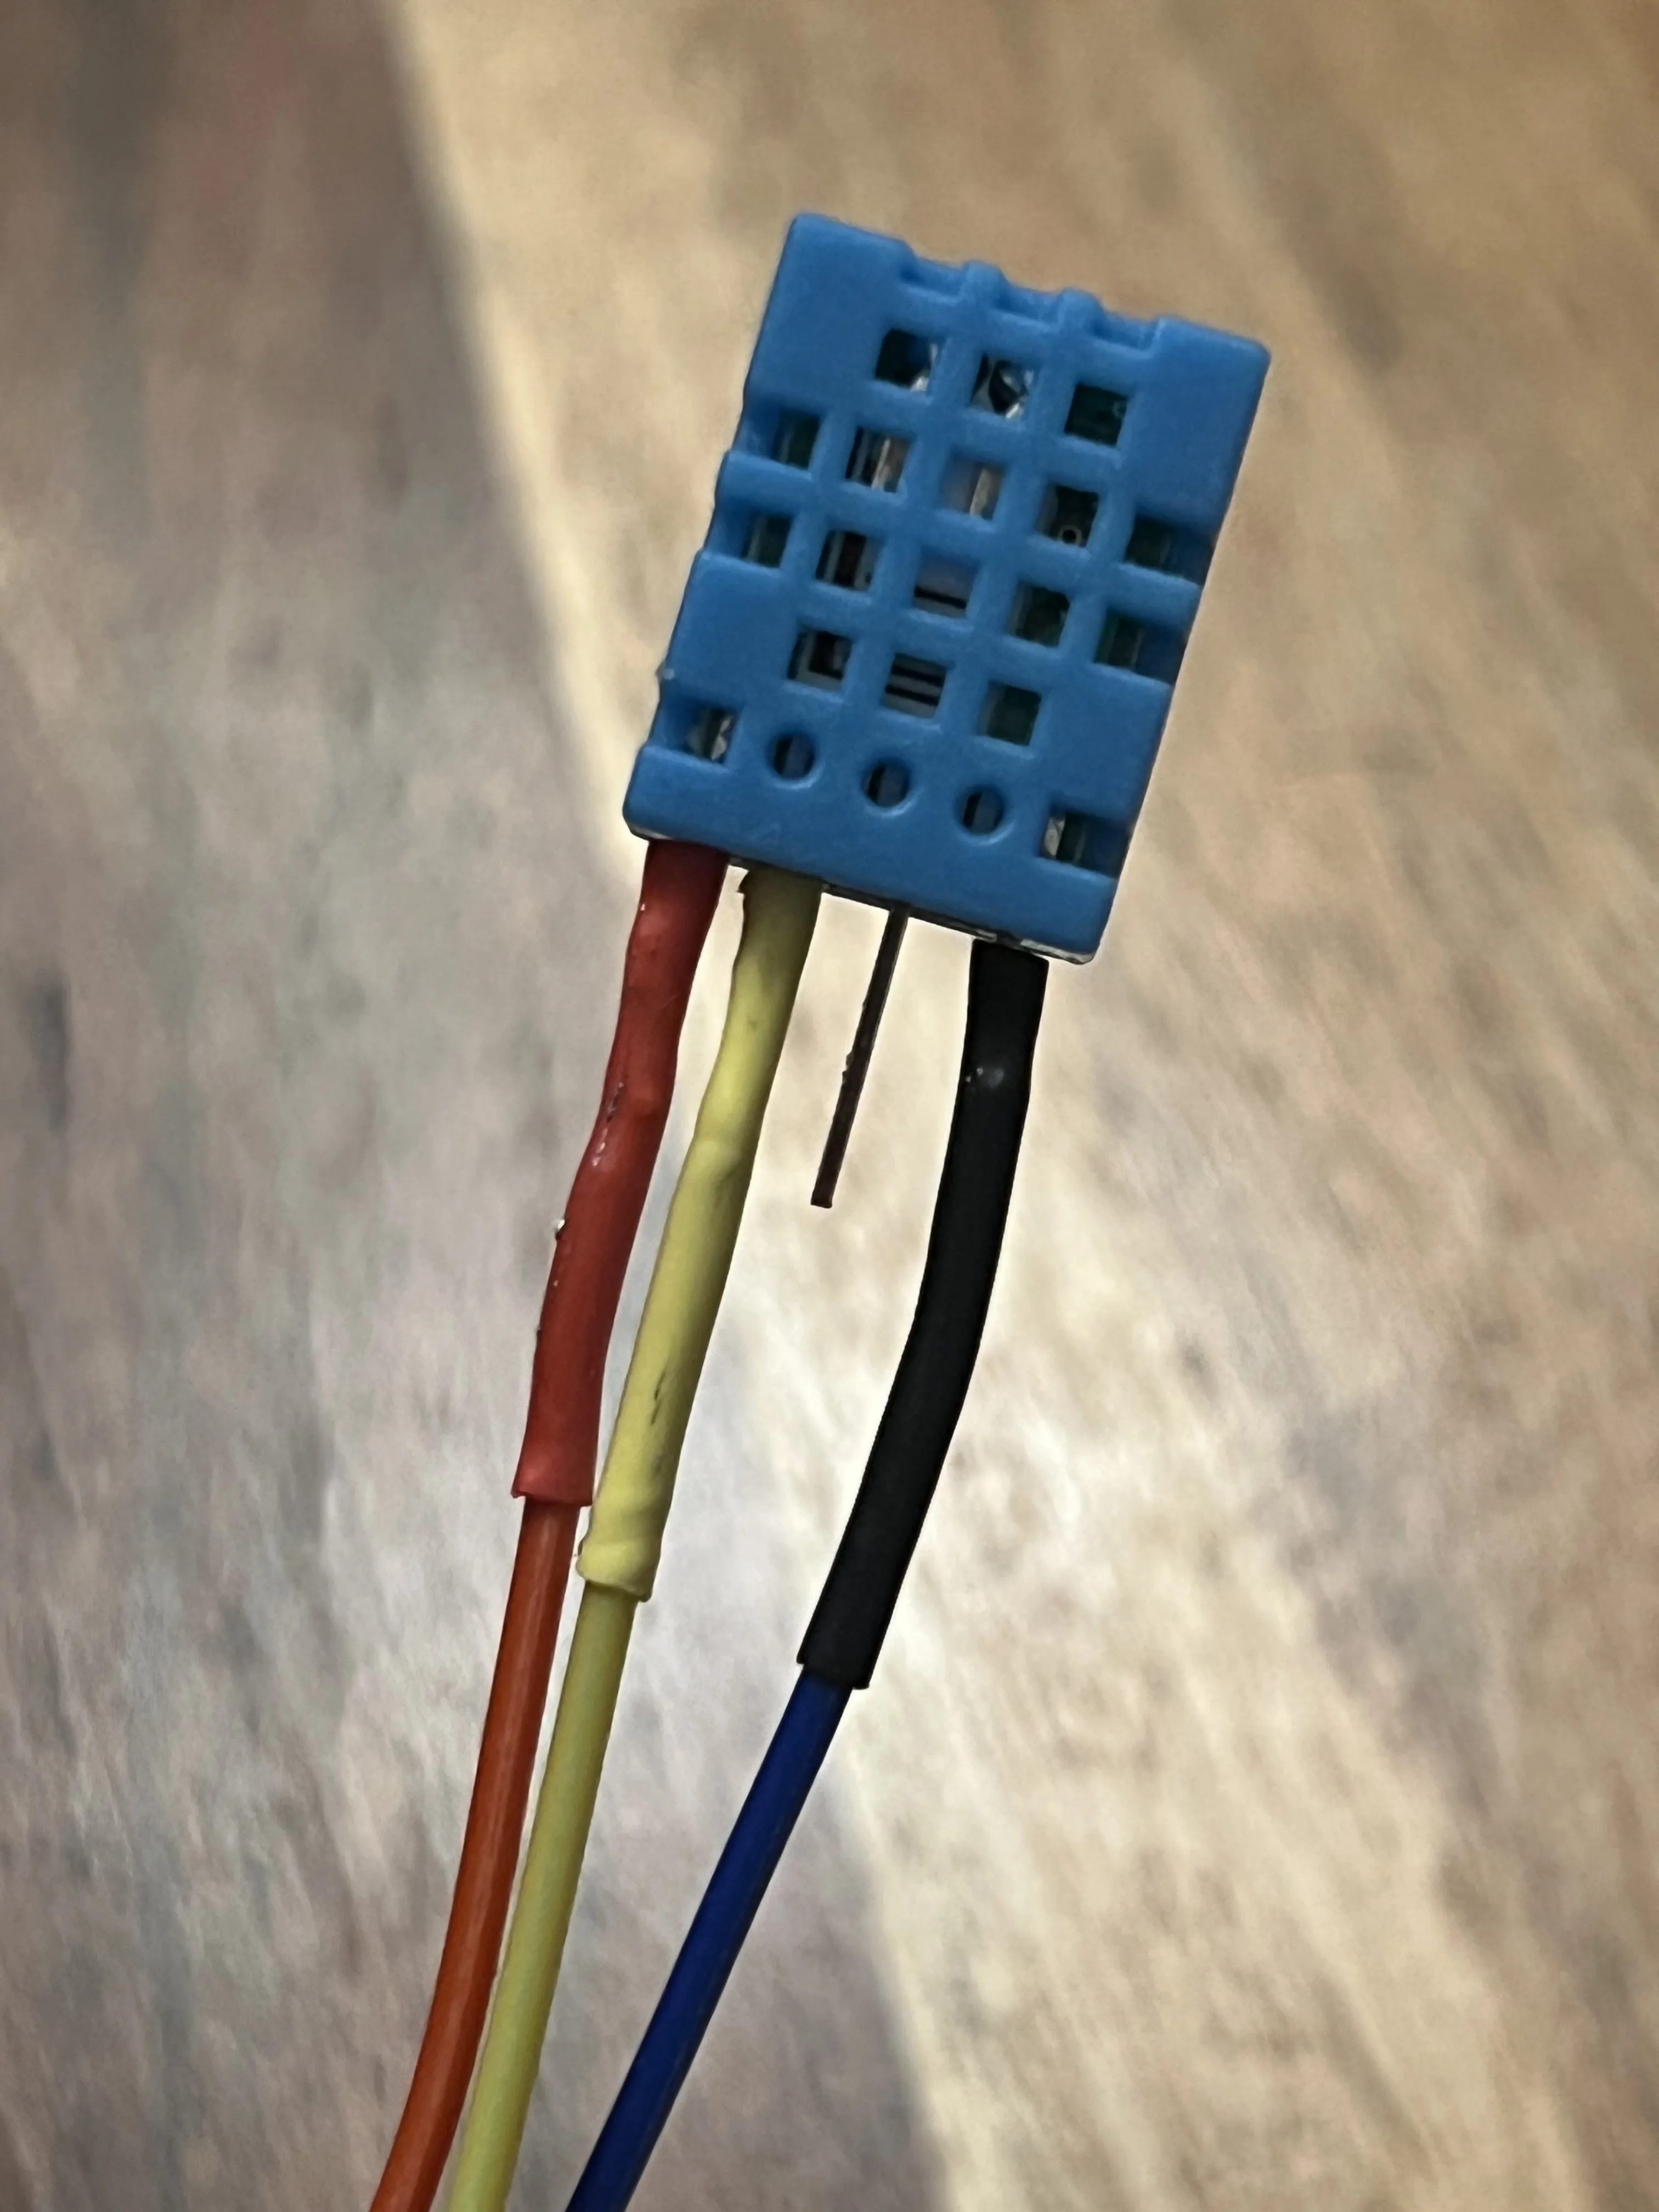
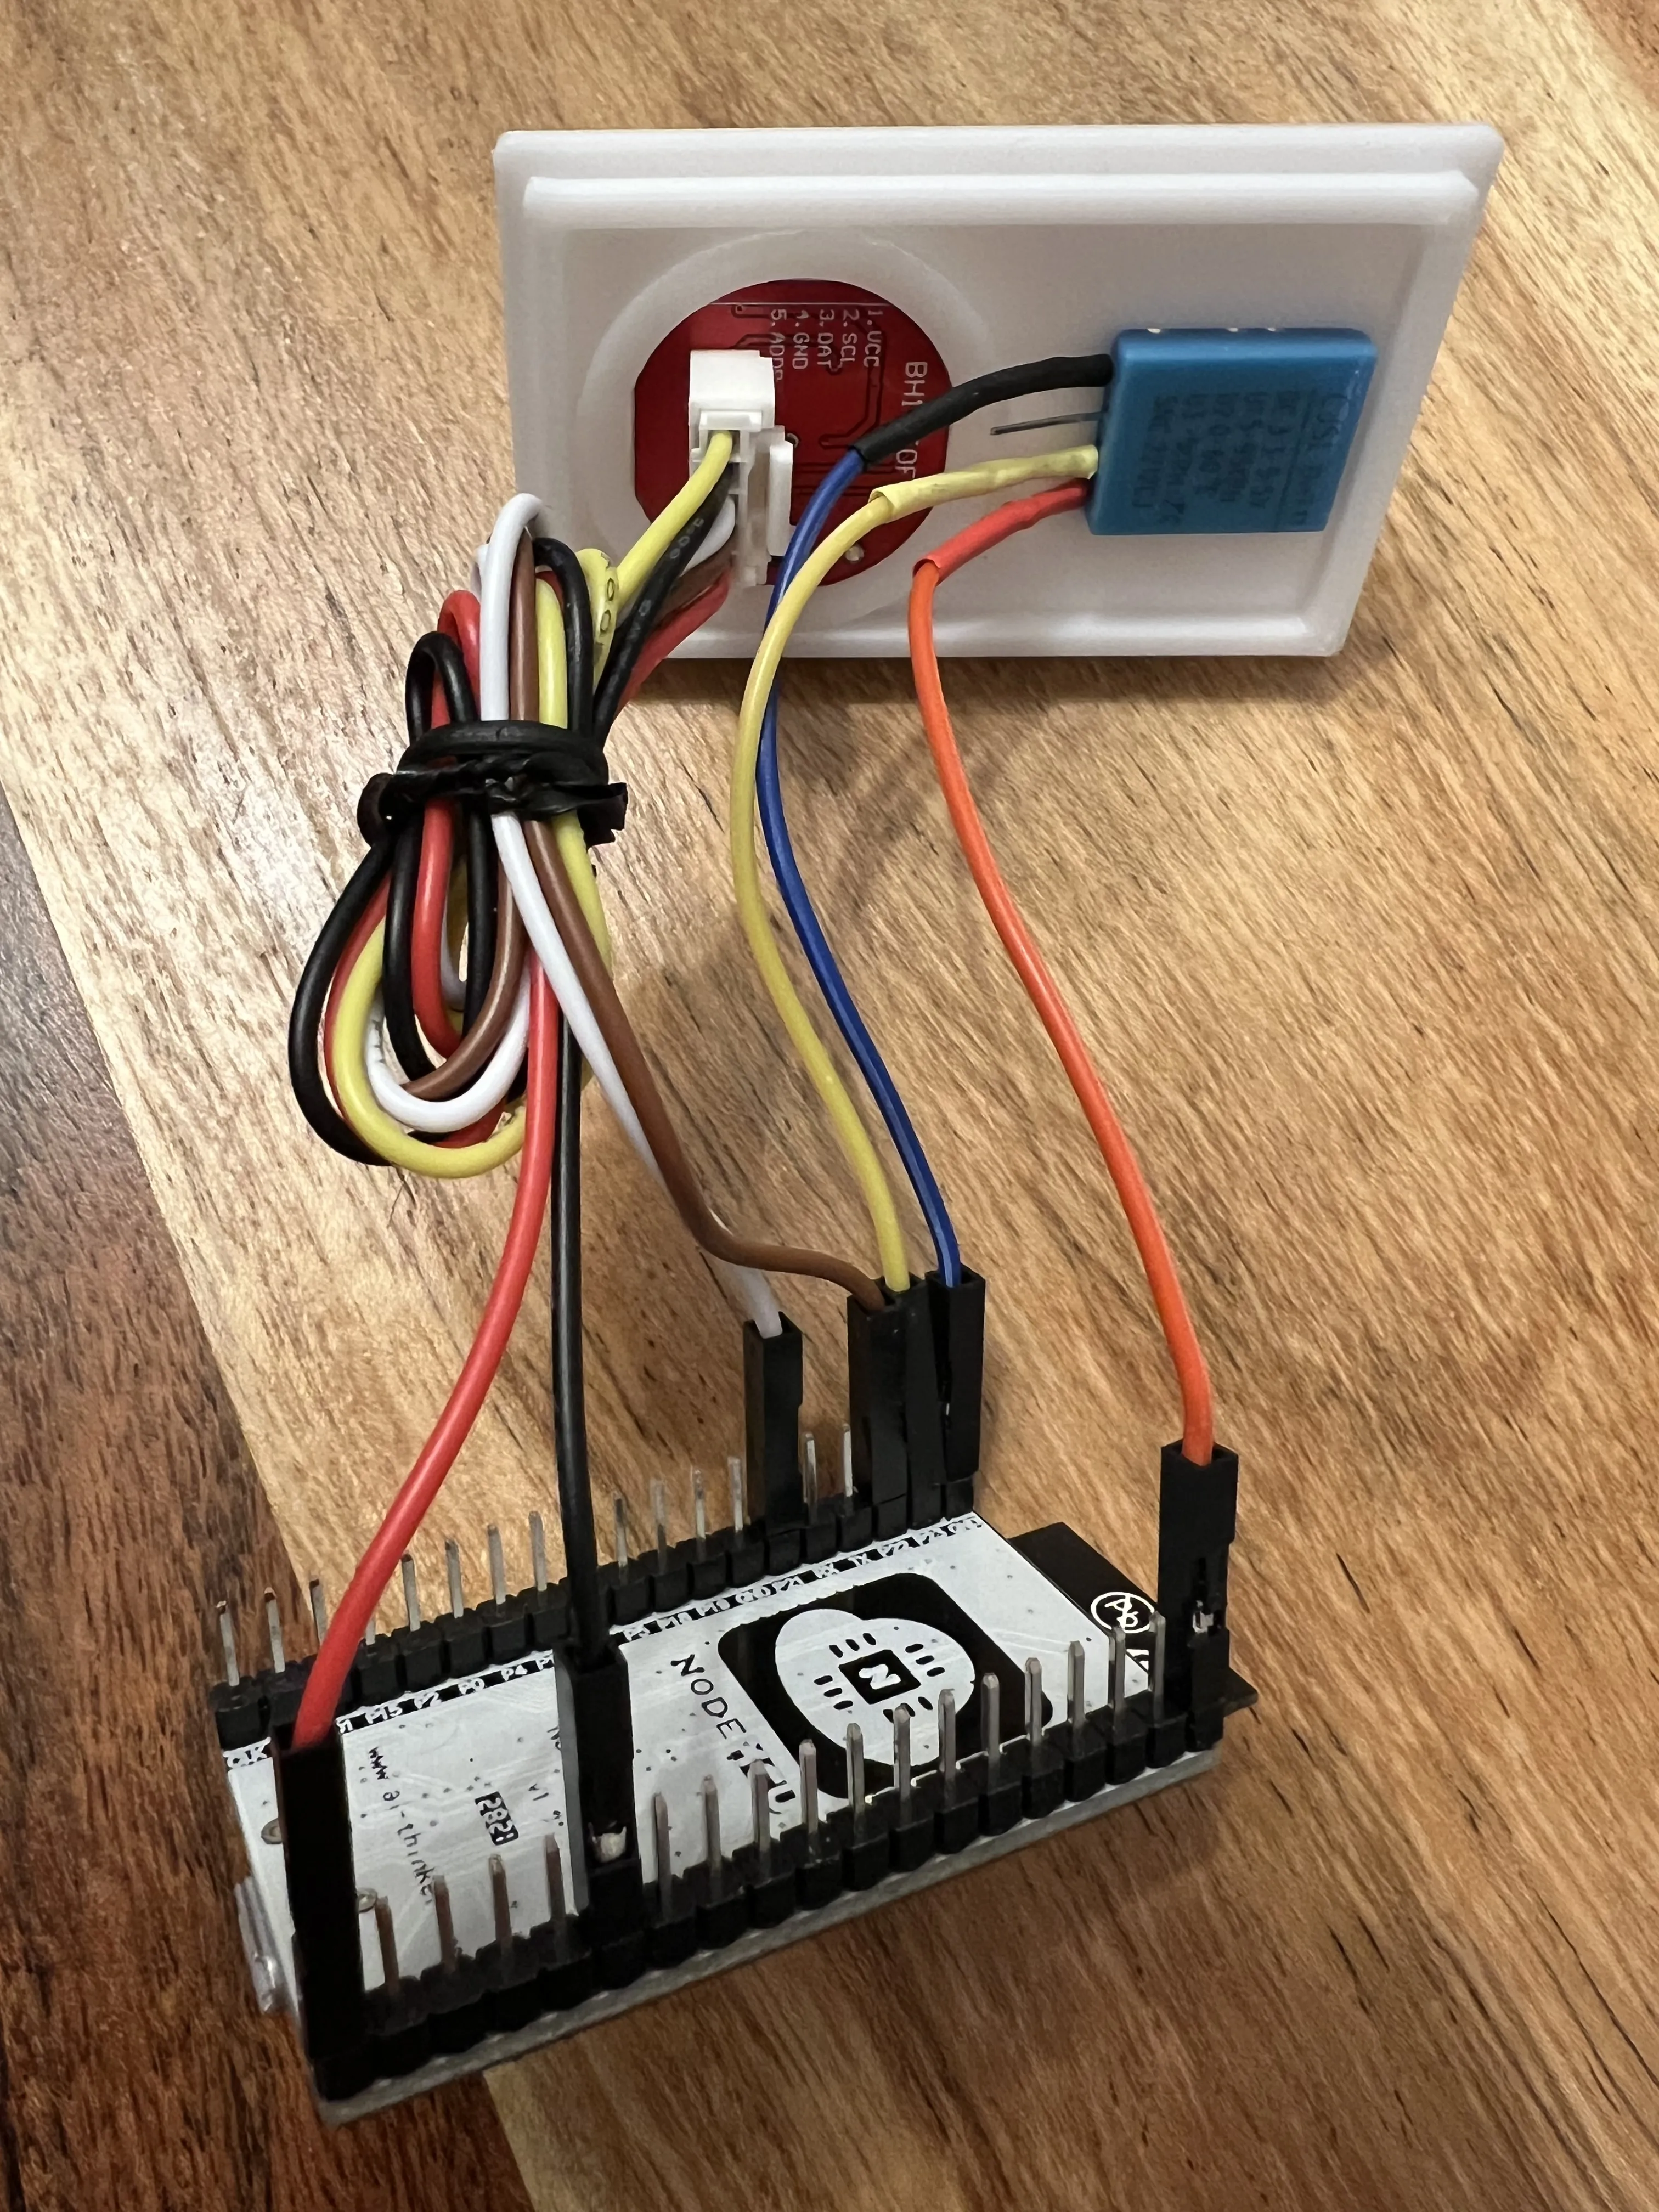
Connect the pin1 to 3.3V, pin2 to P23 and pin3 to GND of the ESP32 board
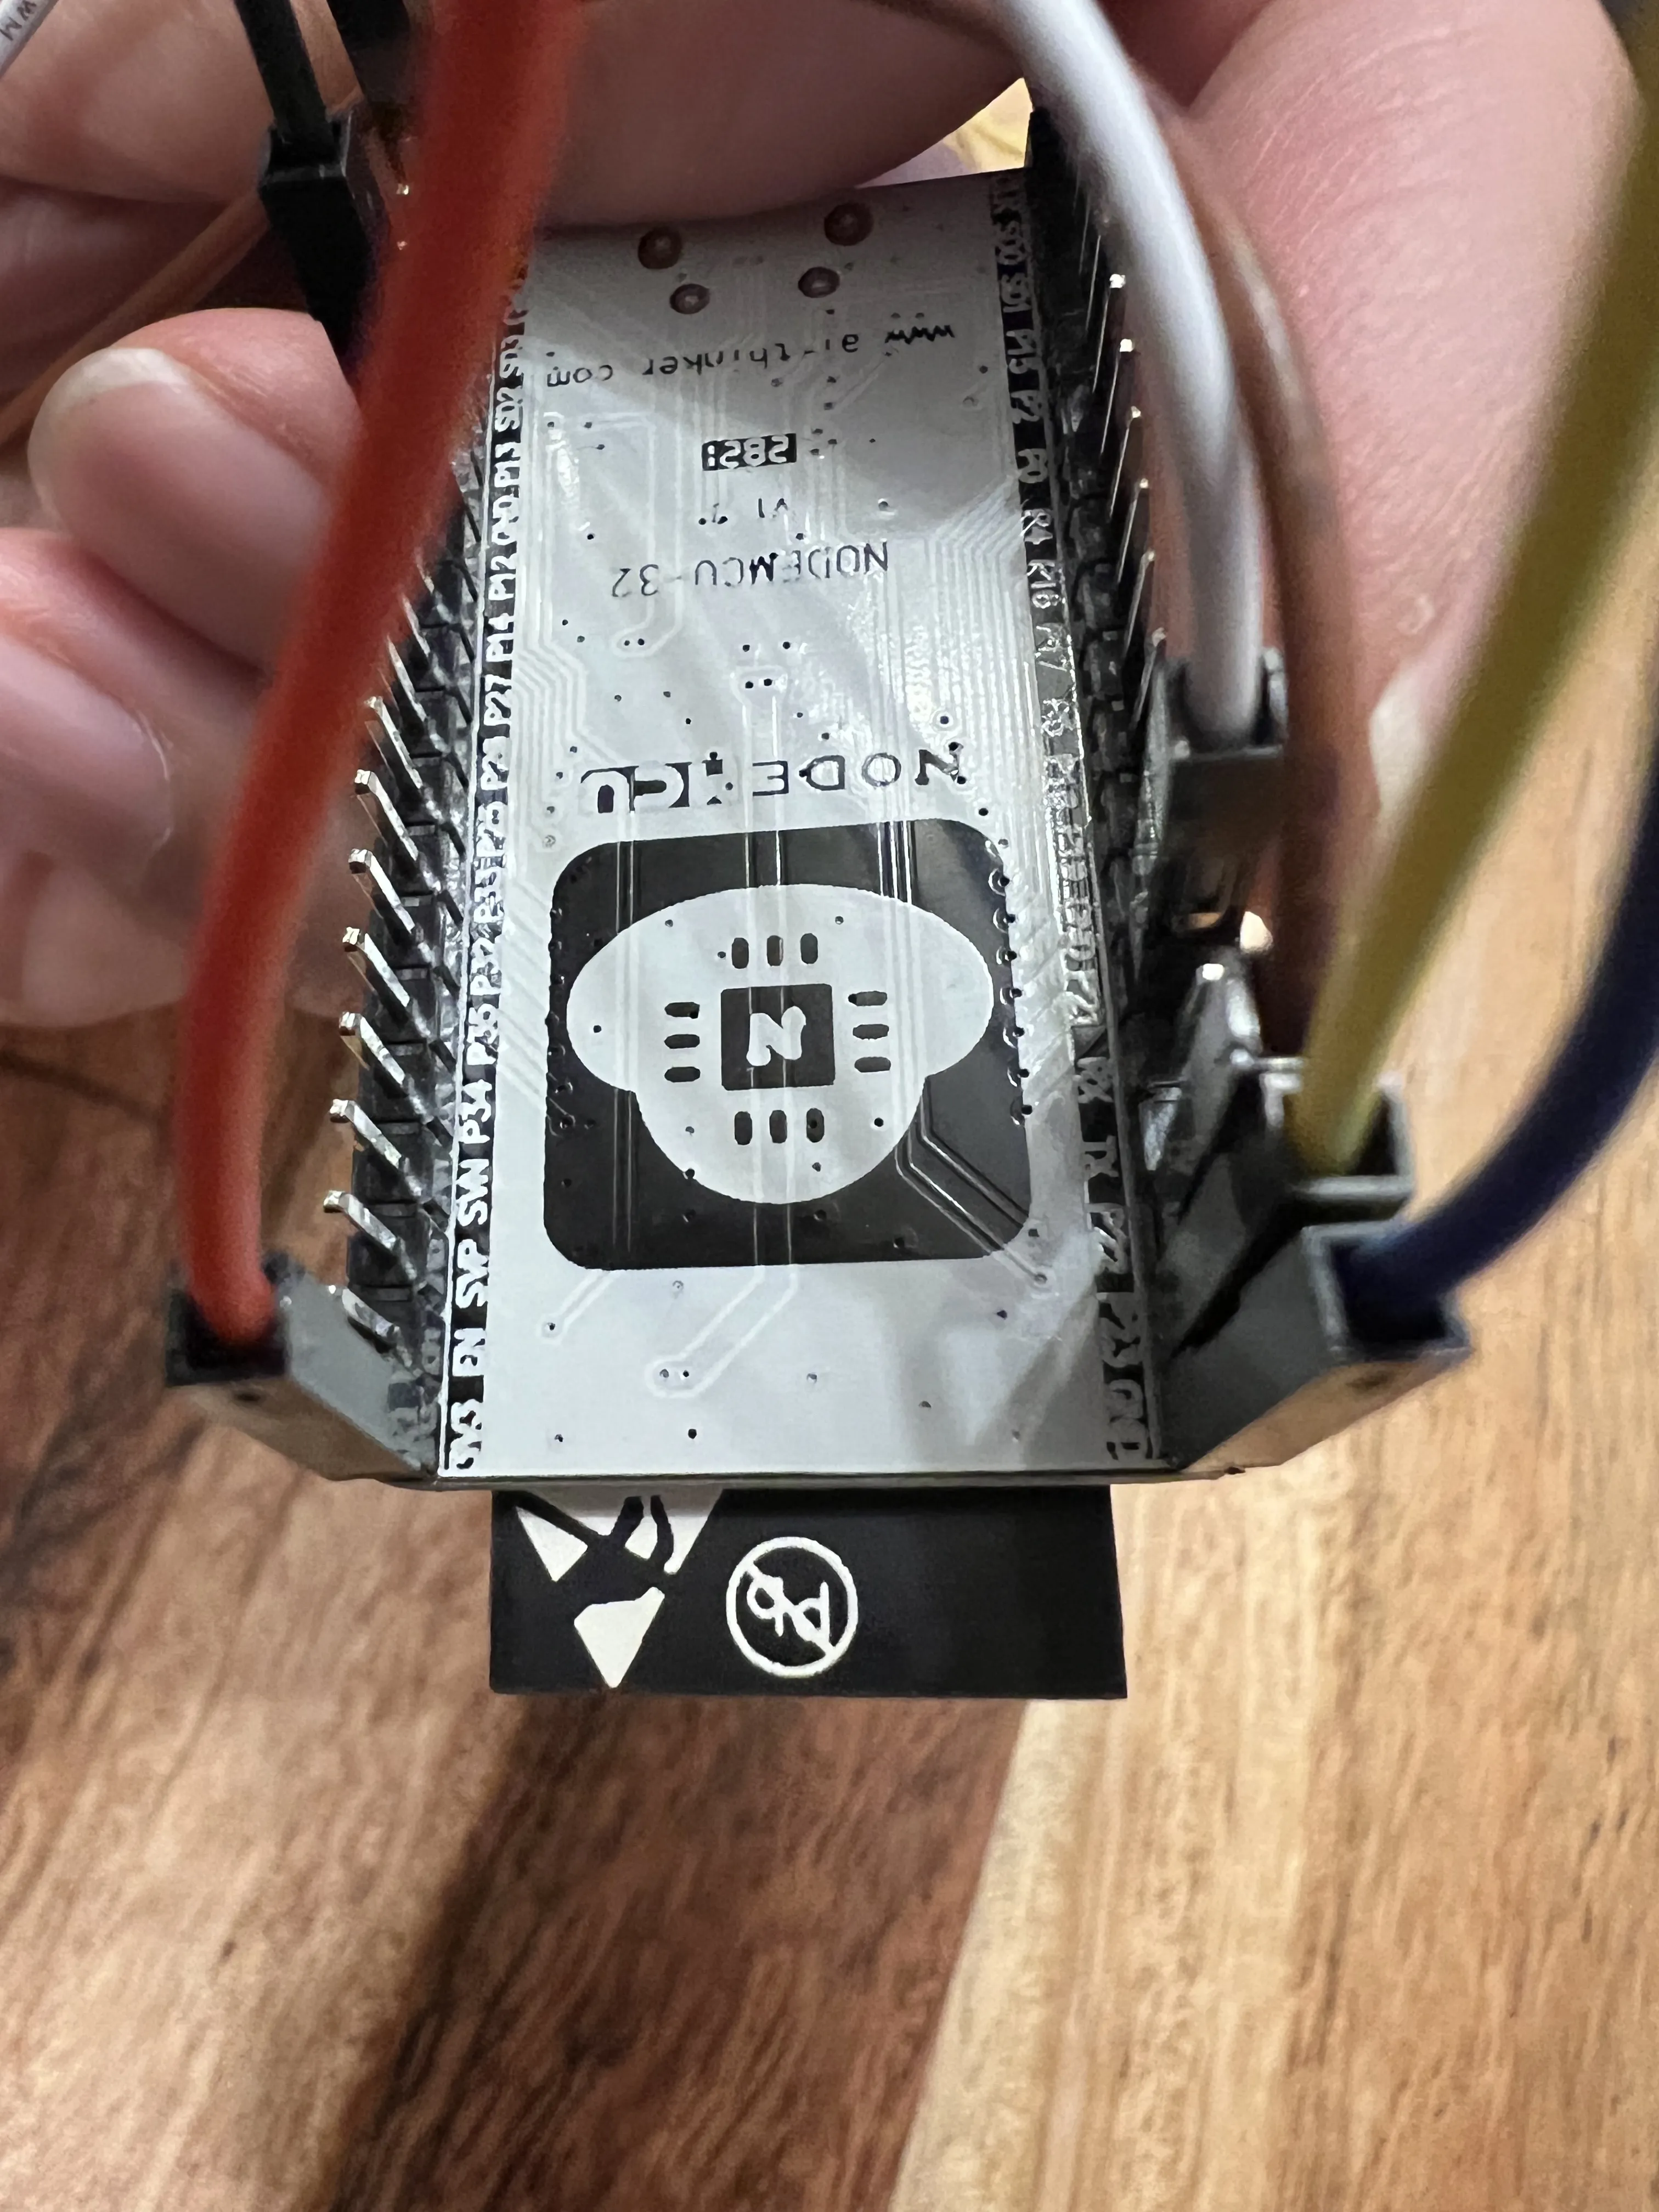
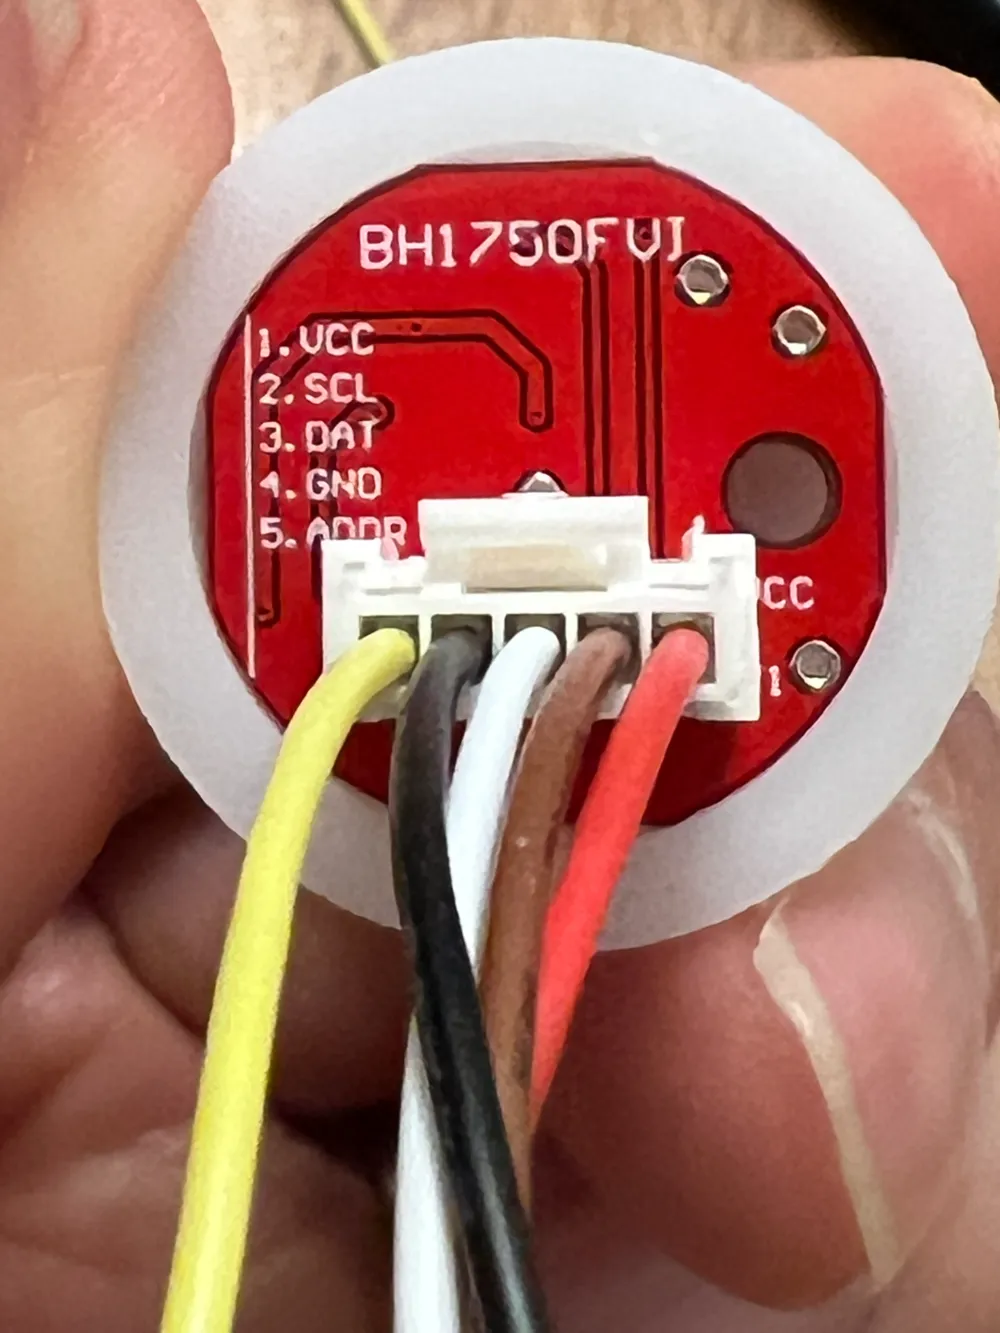
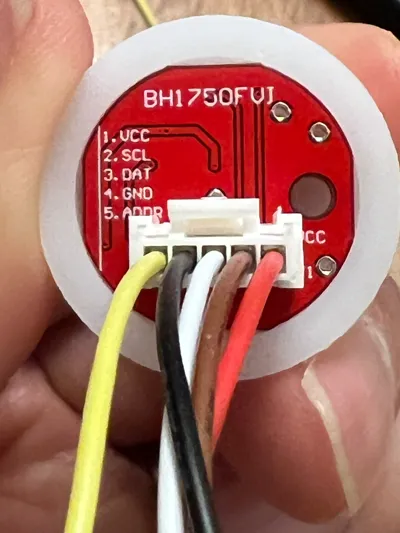
Connect the BH1750 with the supplied connector
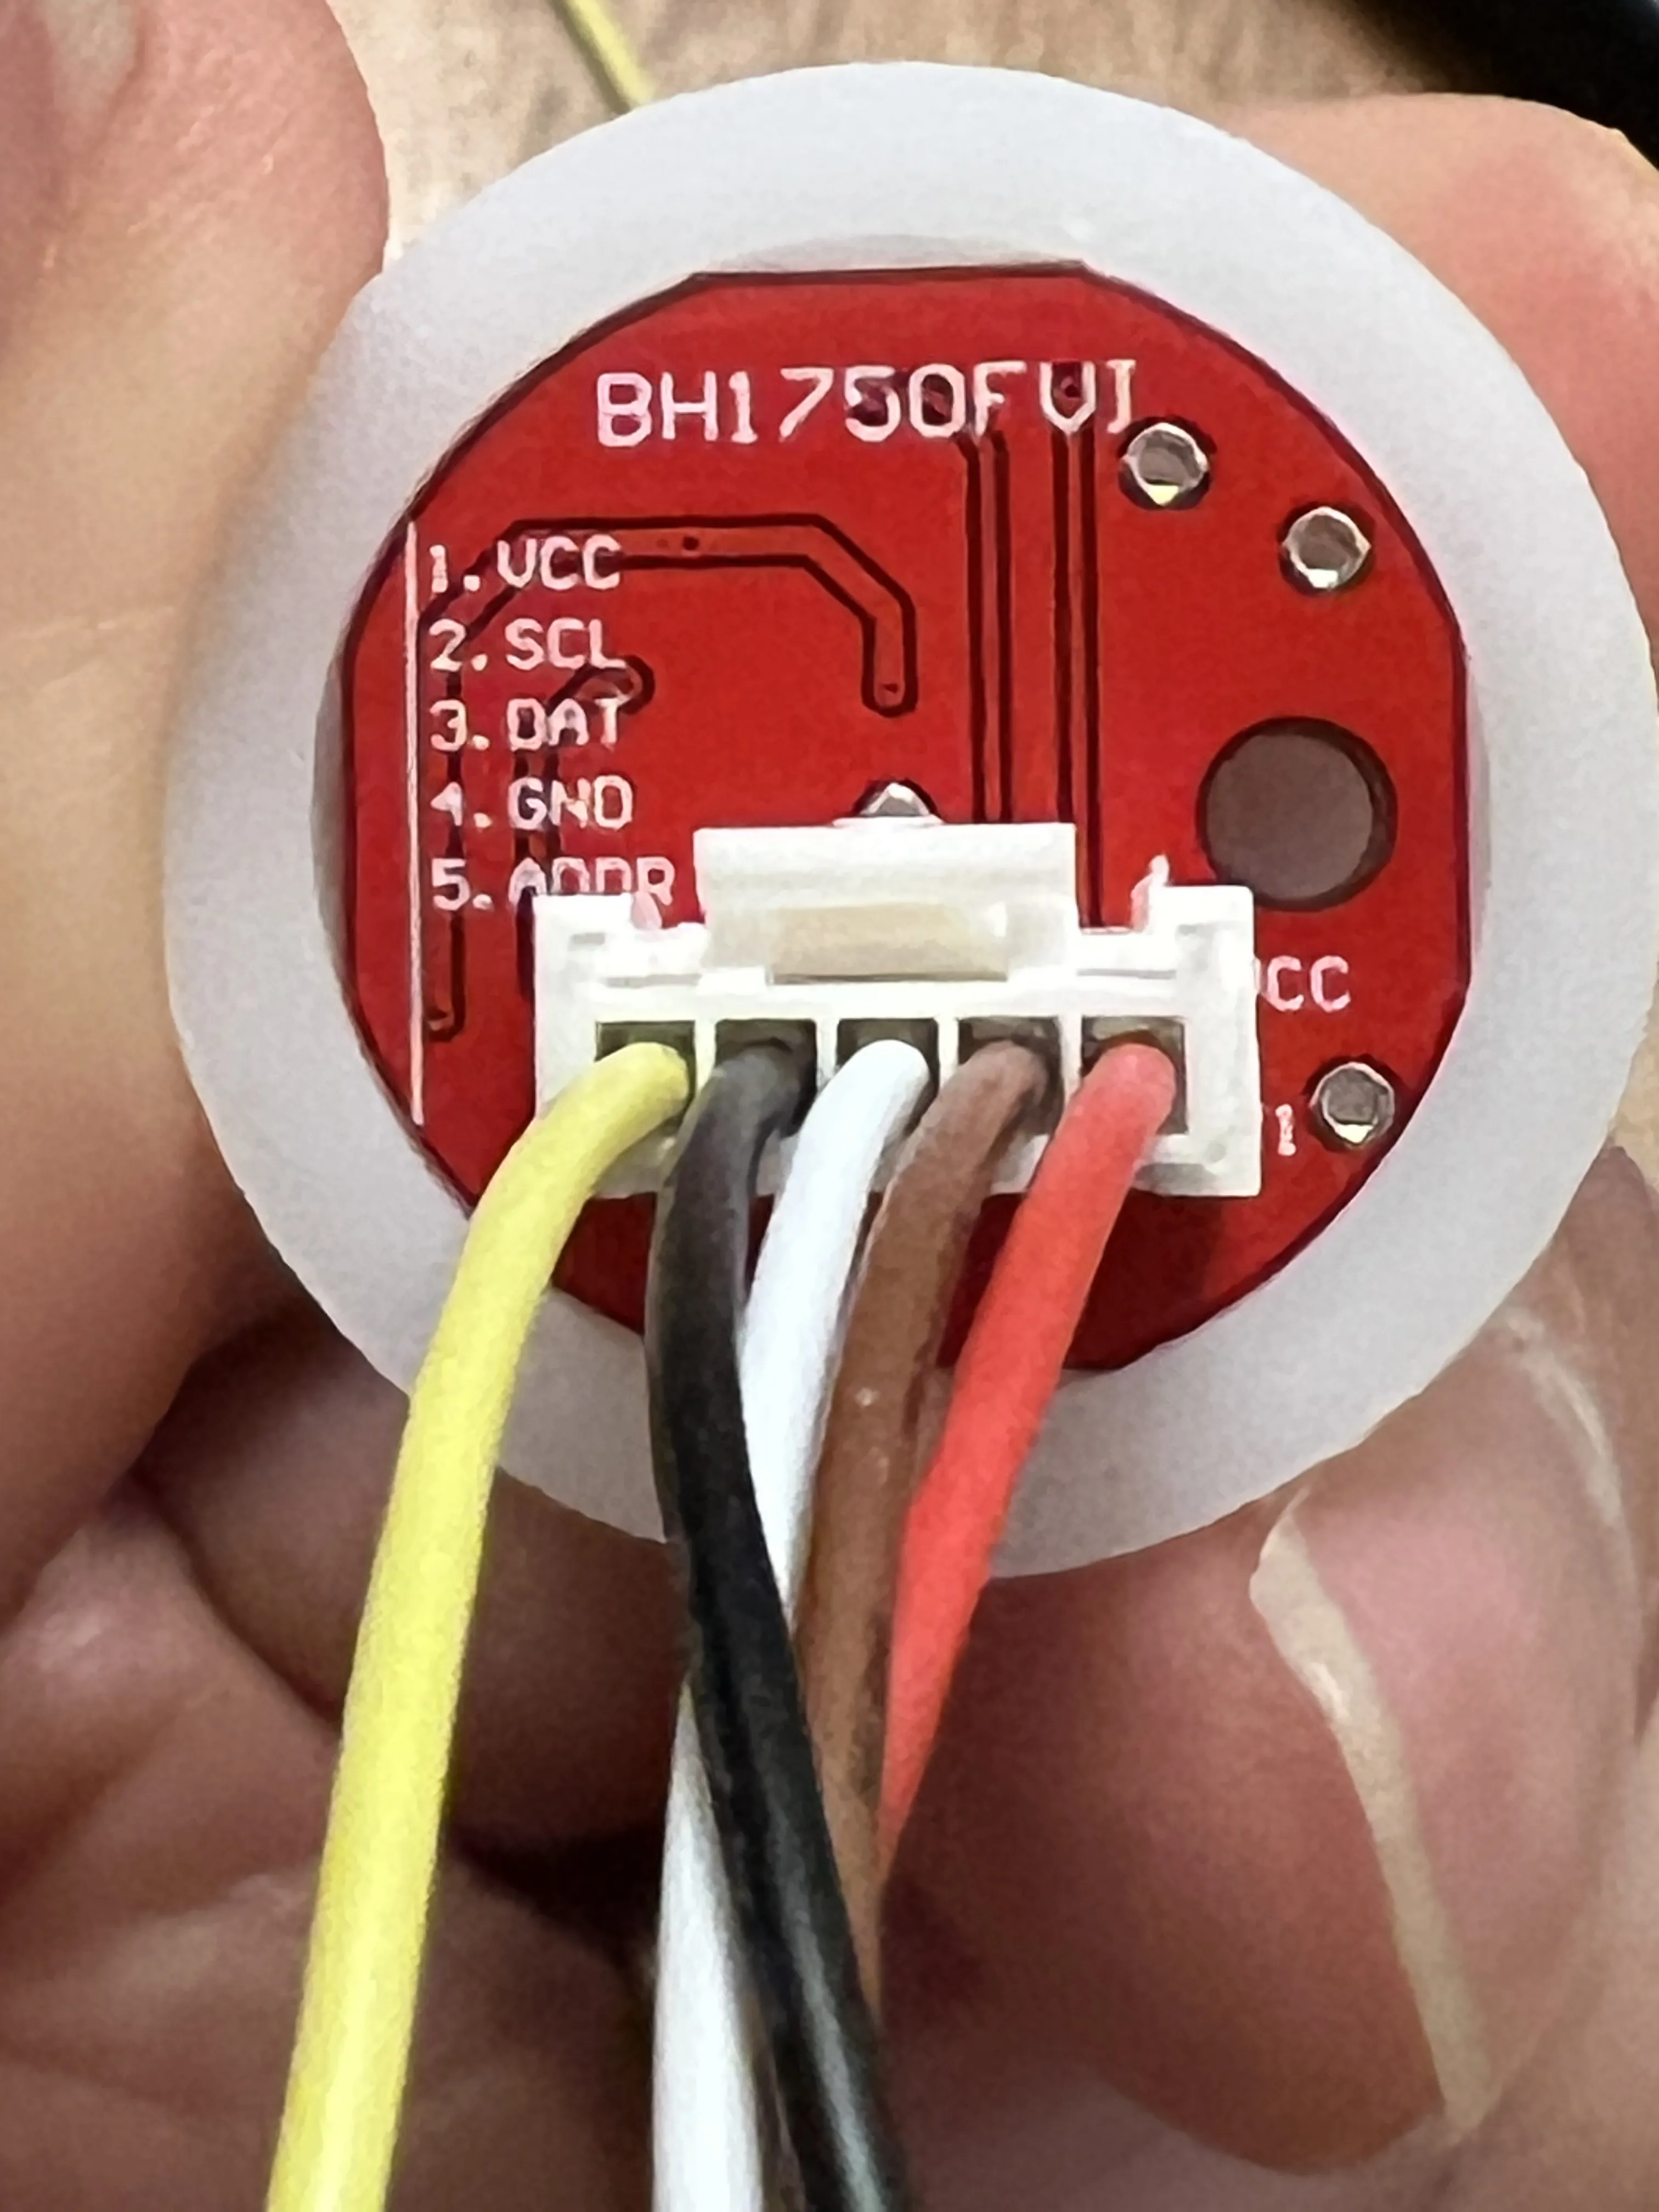
Connect the VCC (red) to 5V, SCL(brown) to P22, DAT(white) to P21, GND(black) to GND of the ESP32 board
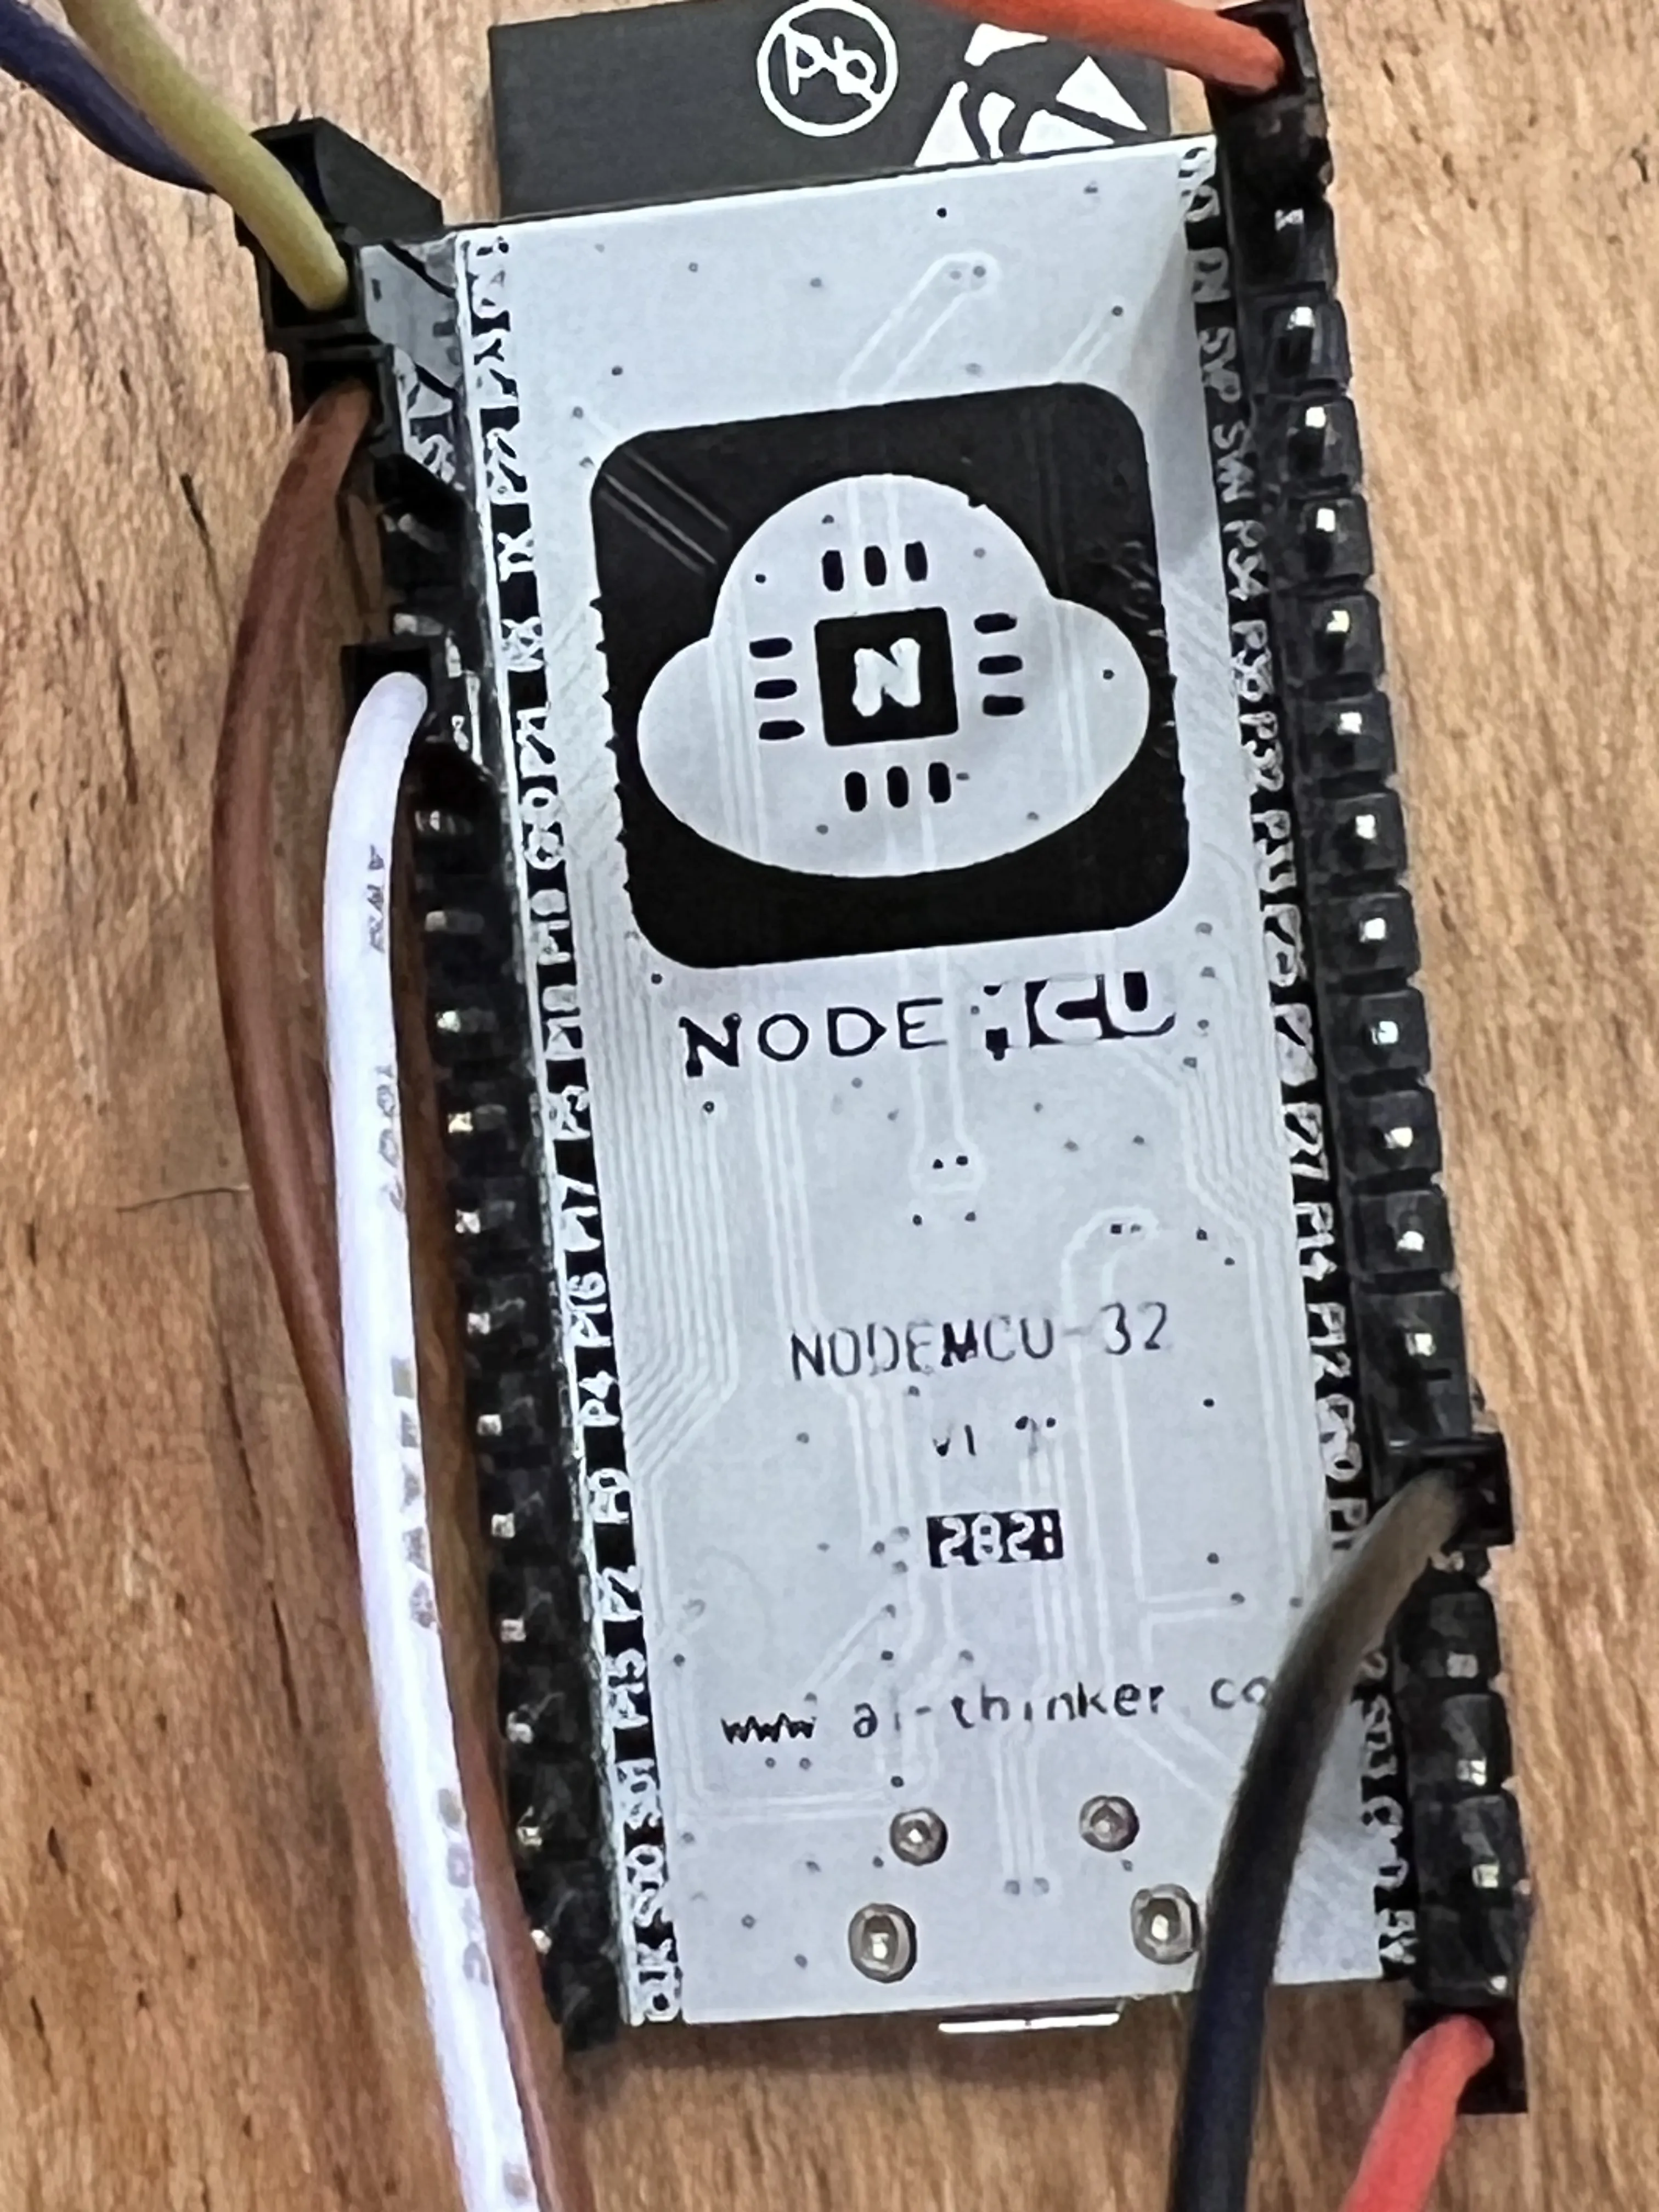
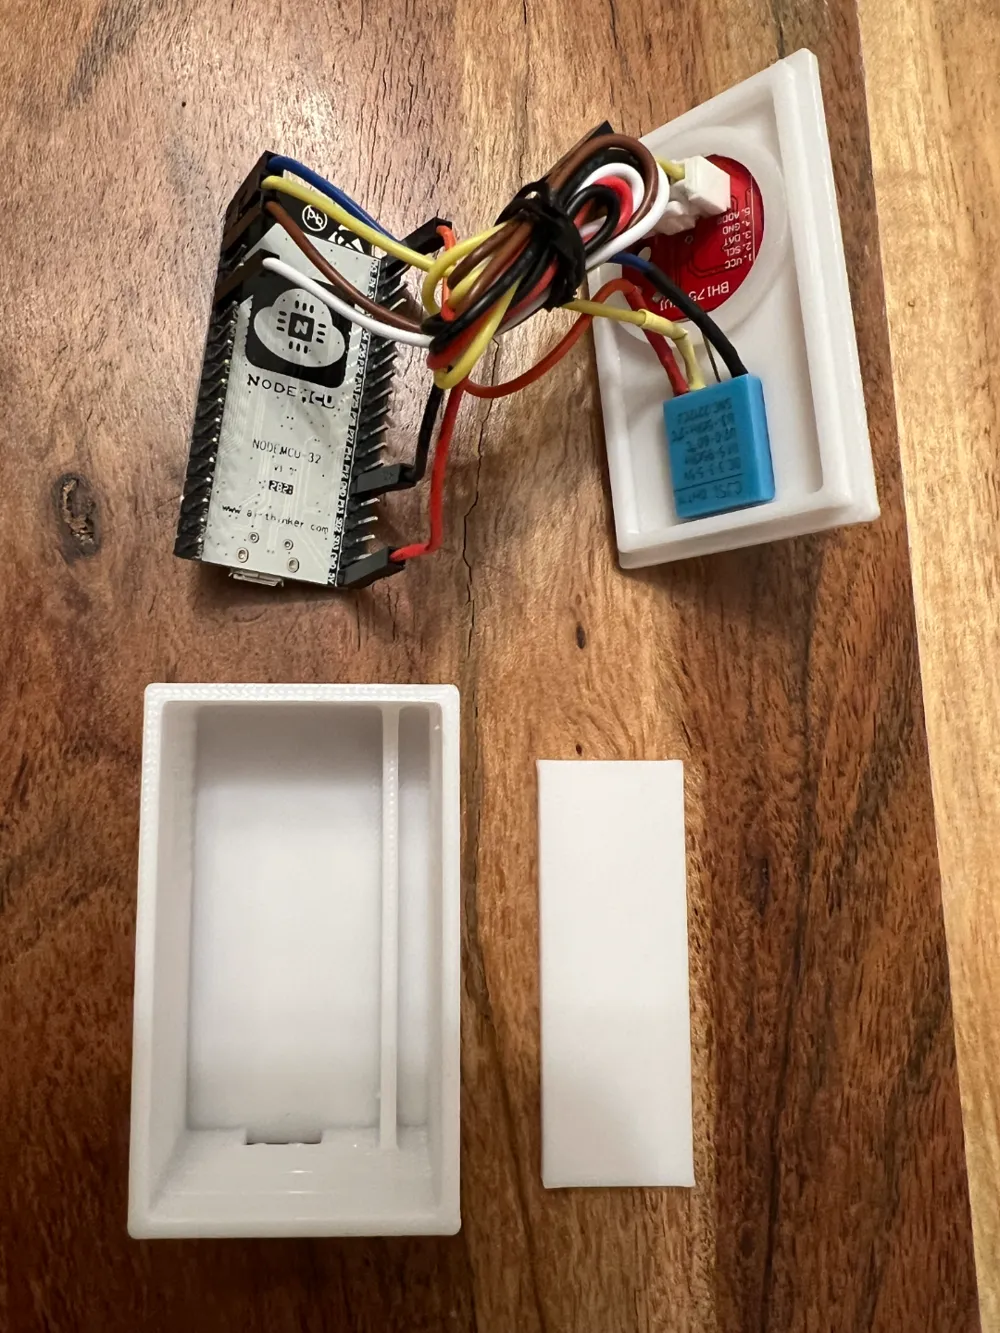
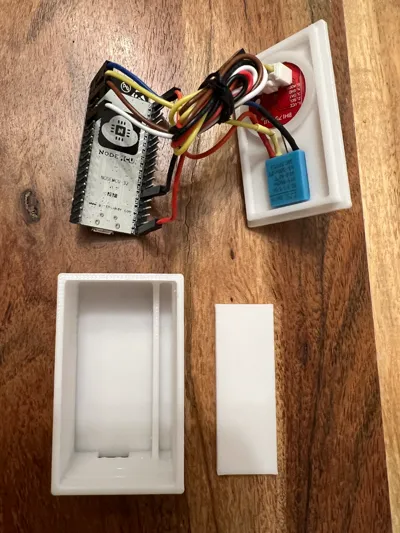
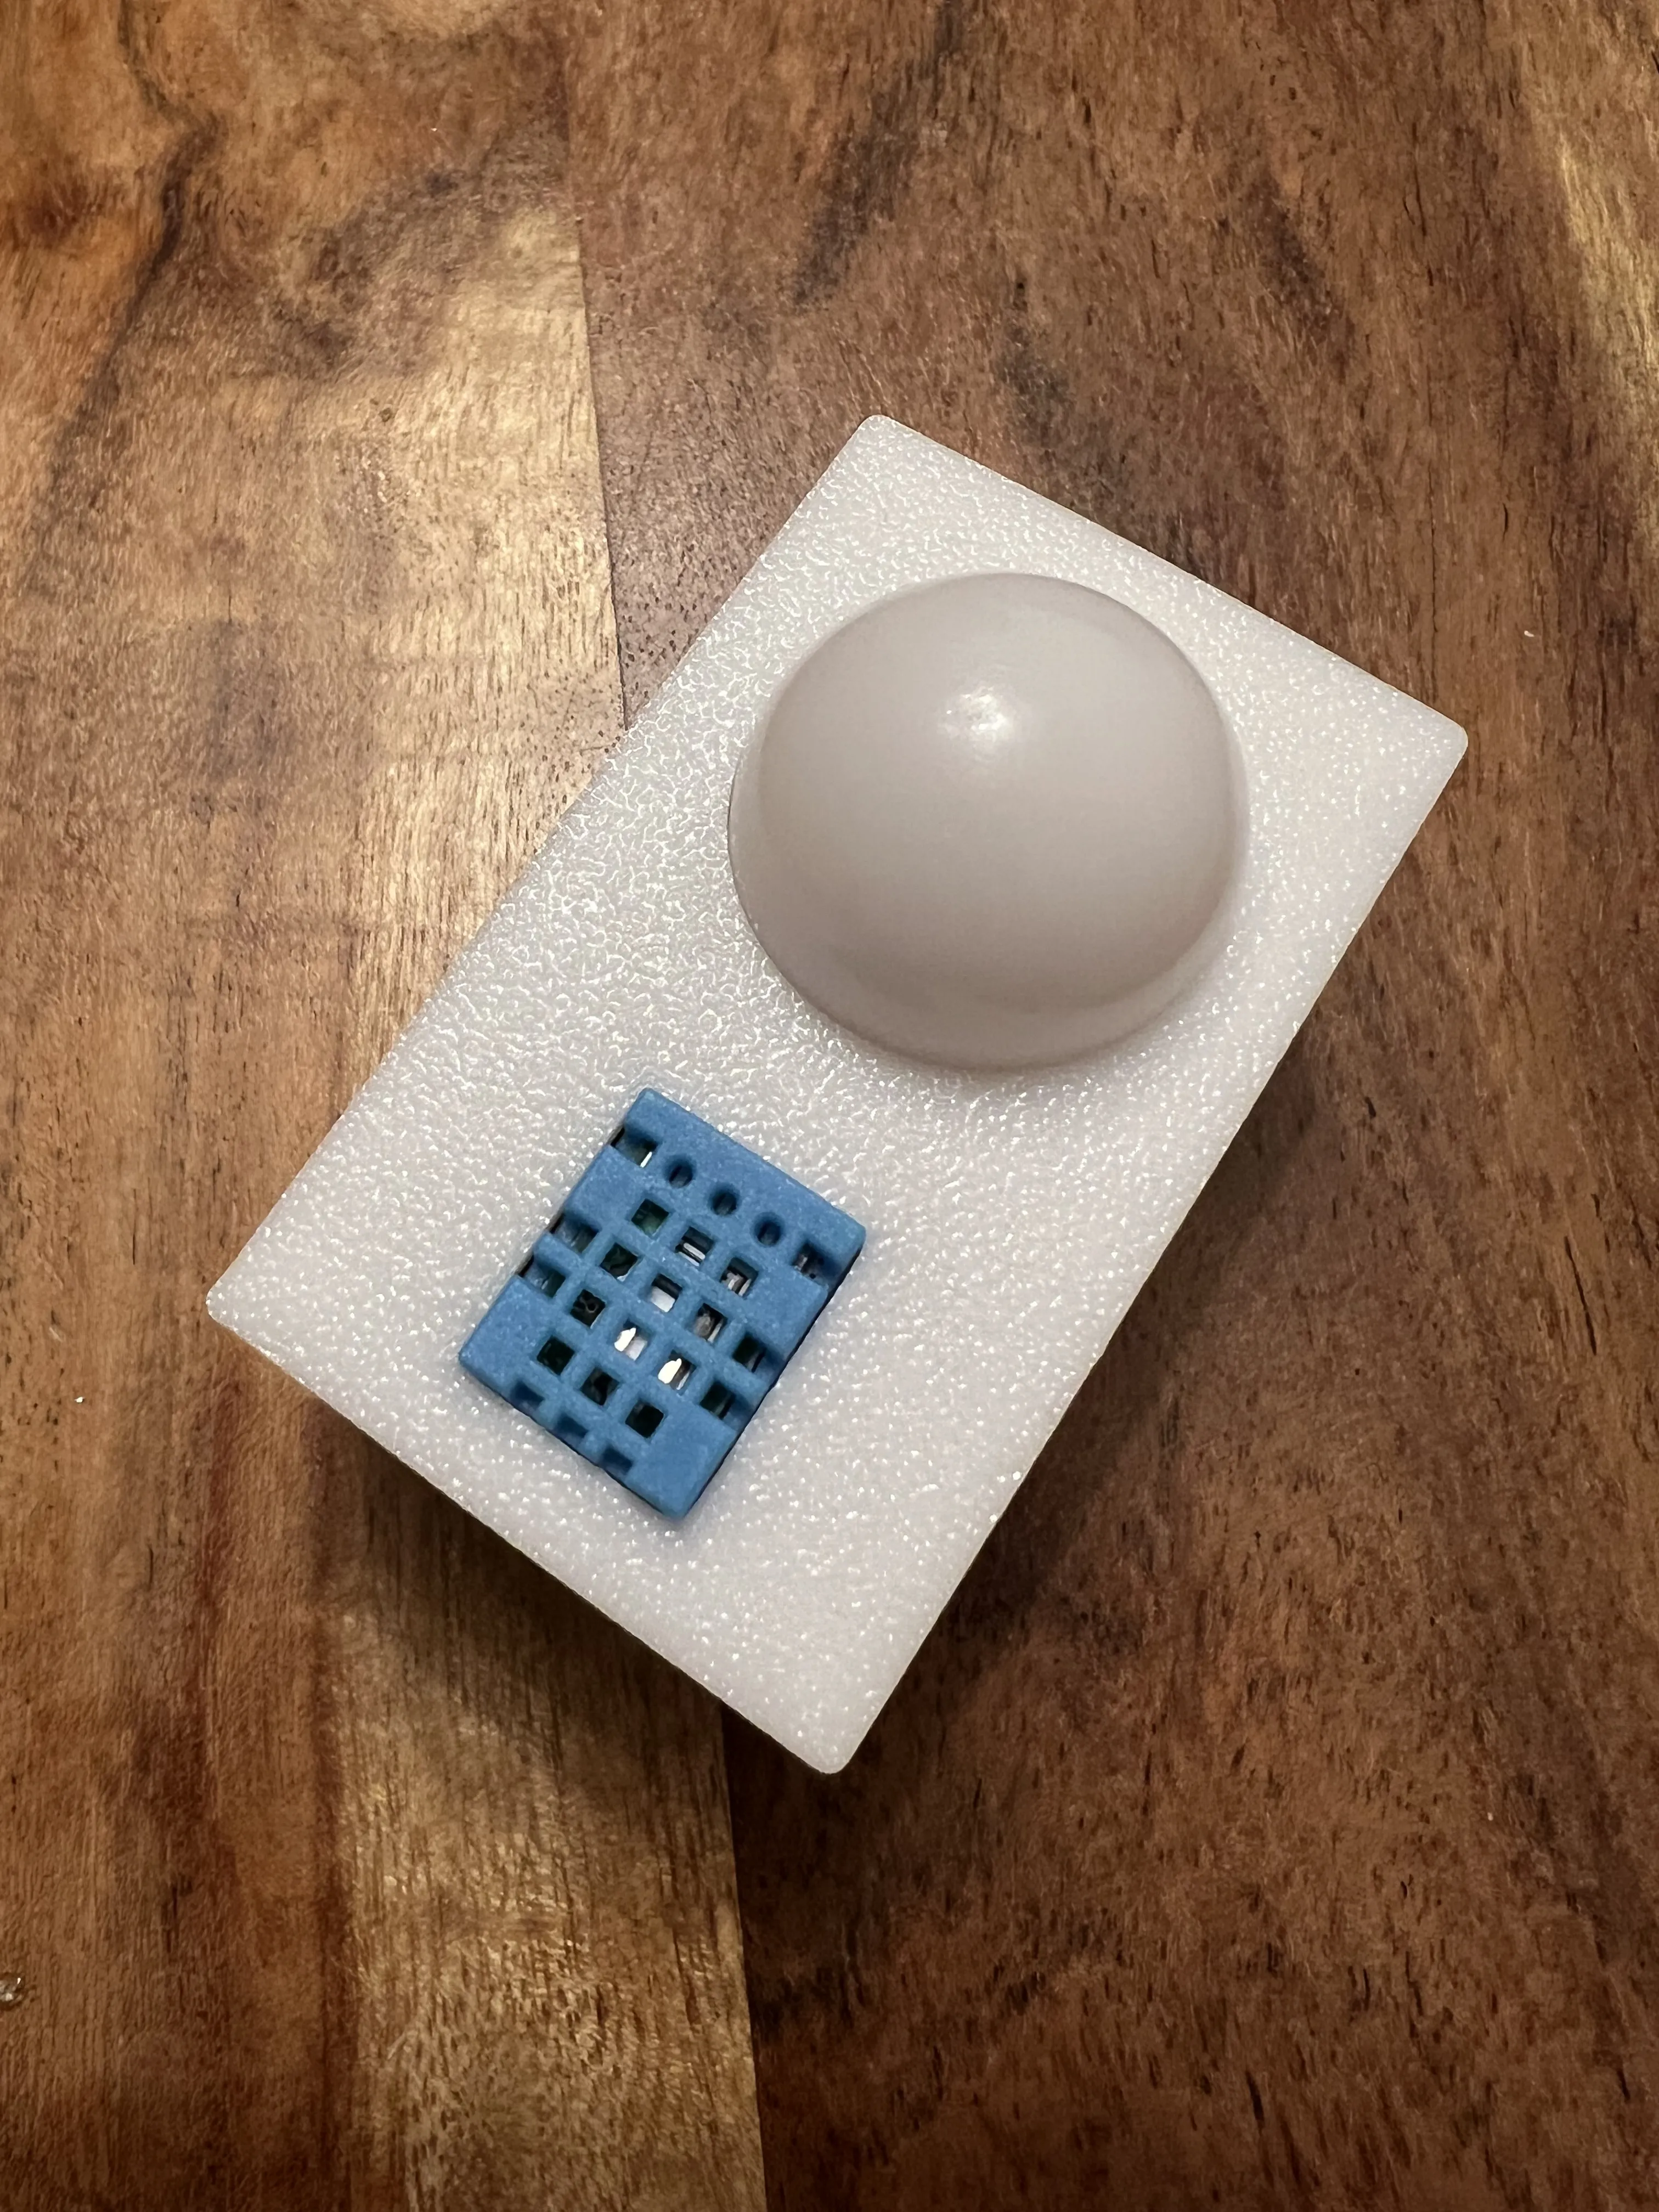
Put the BH1750 light sensor to the cover first and then DHT11 temperature sensor
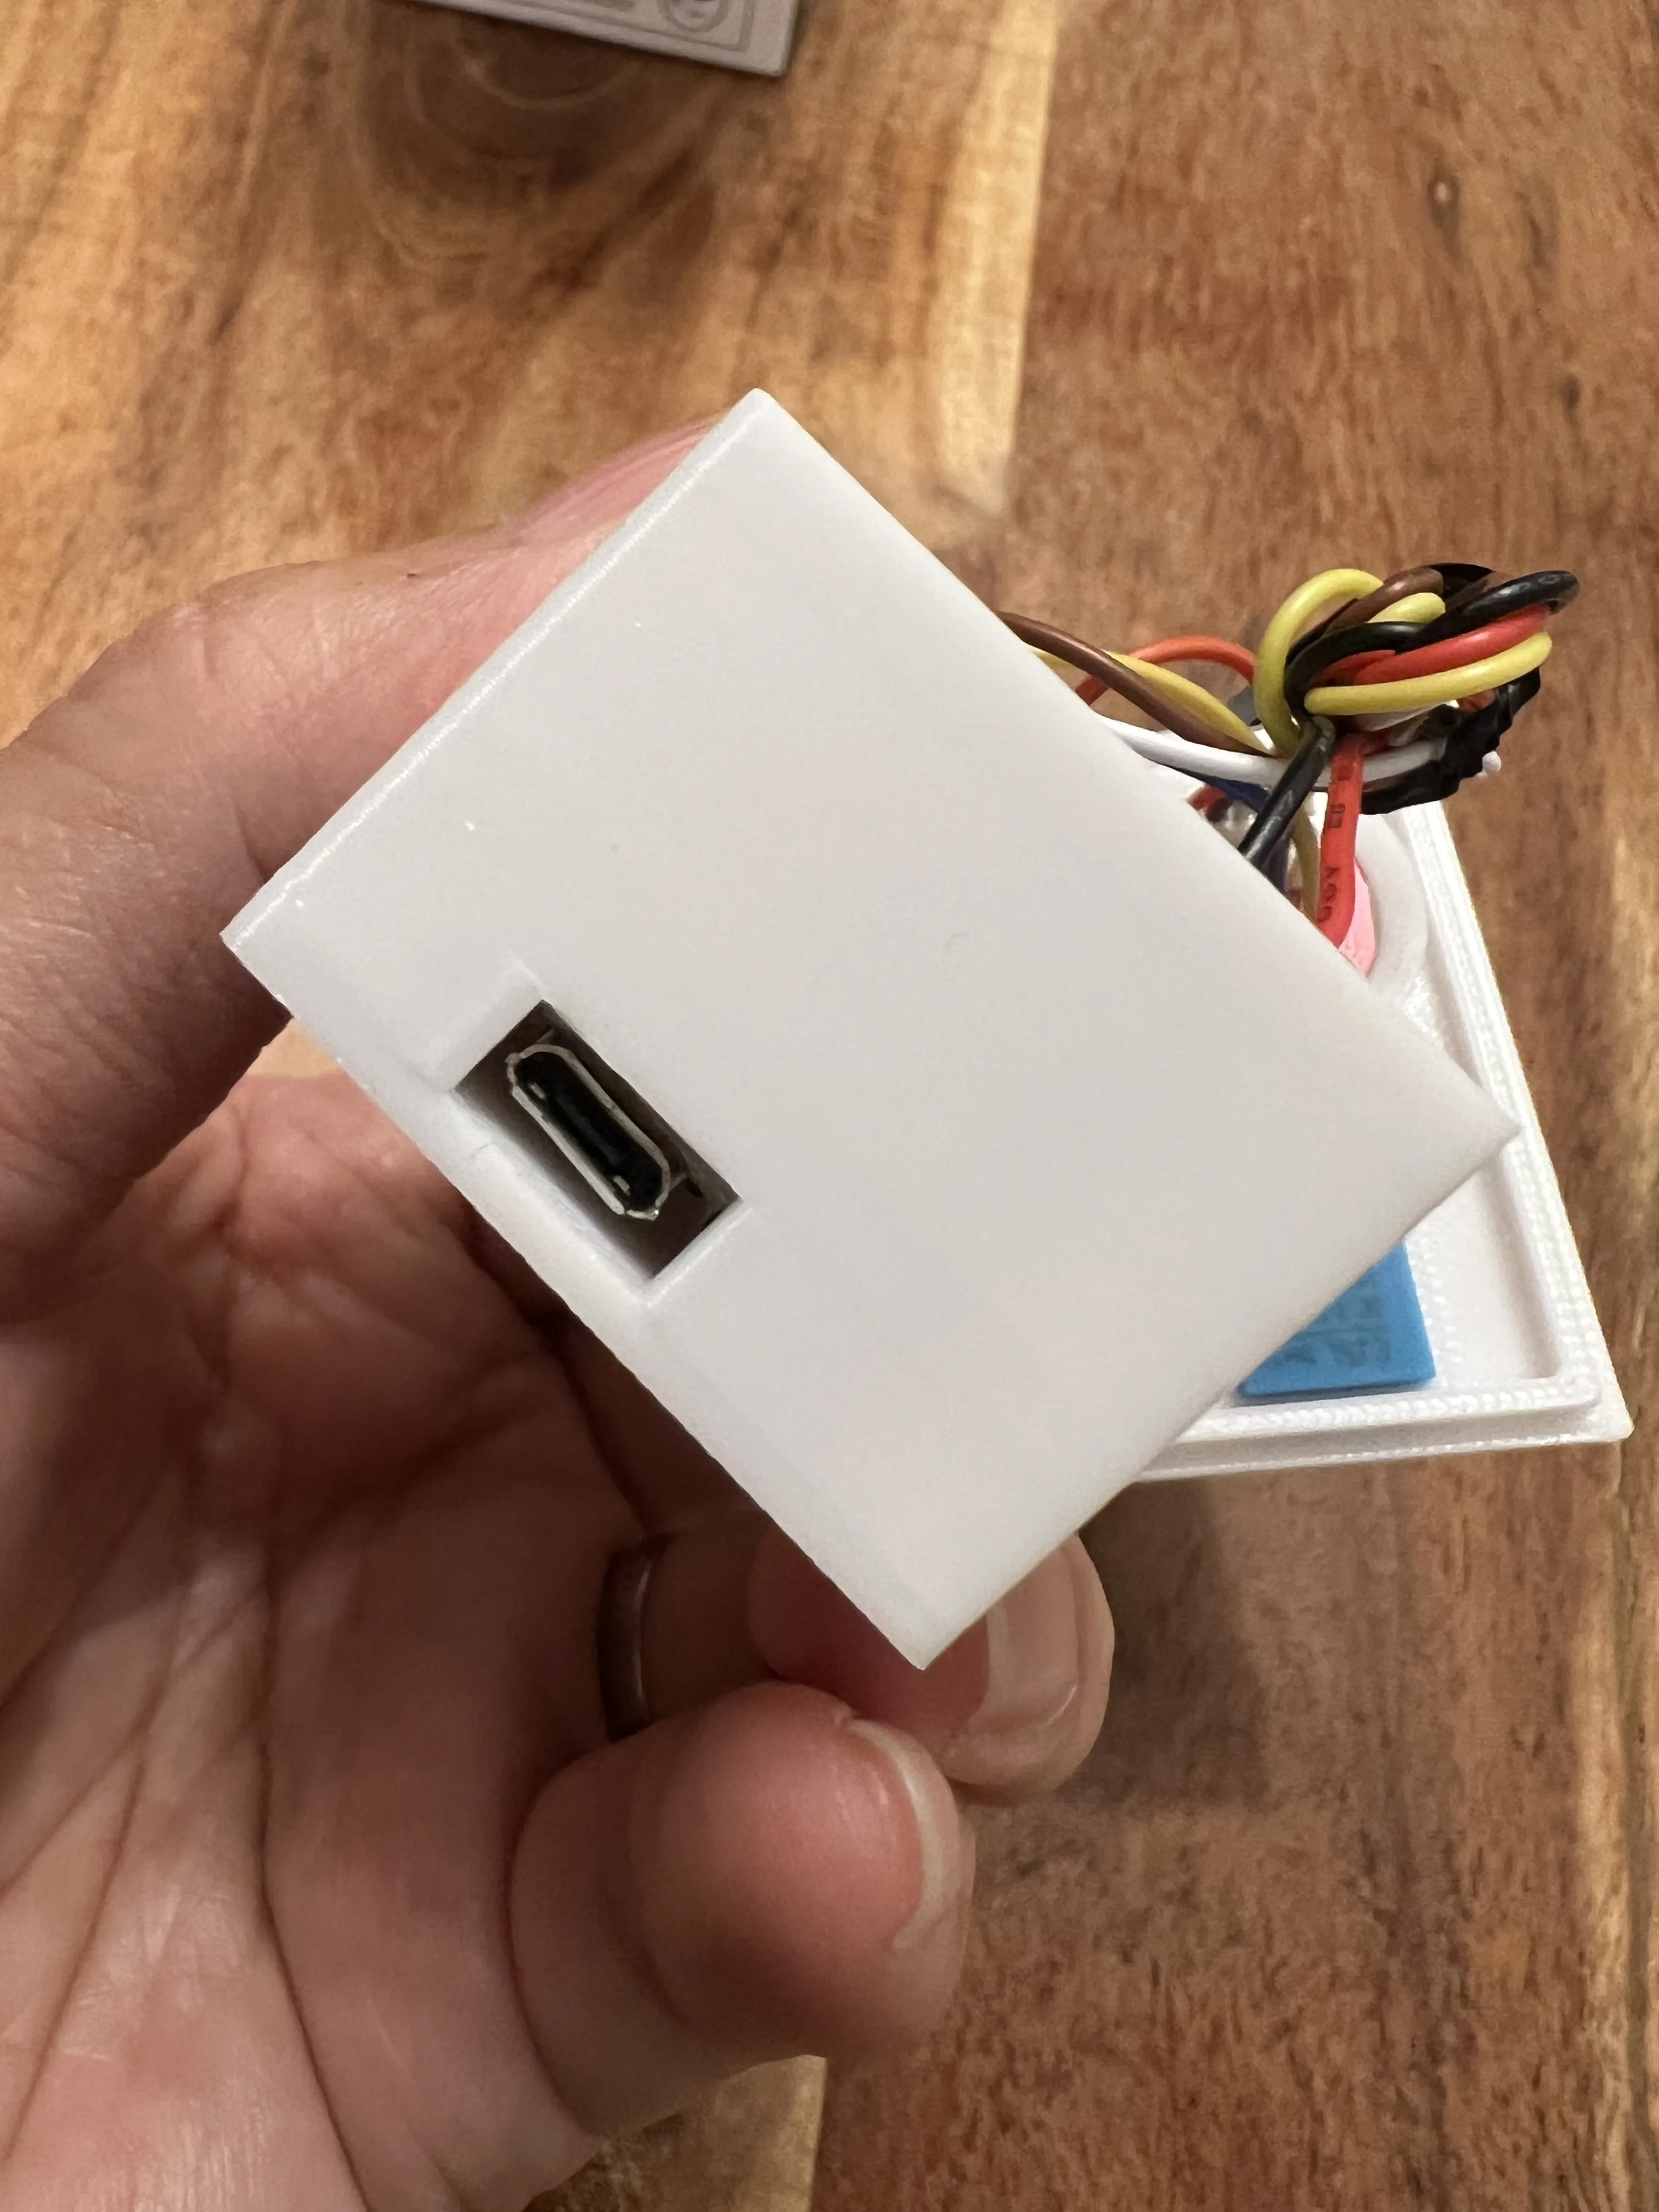
Tie up cables and put the NodeMCU32 inside the case, make sure the USB port facing the side opening. It will be a bit tight fit
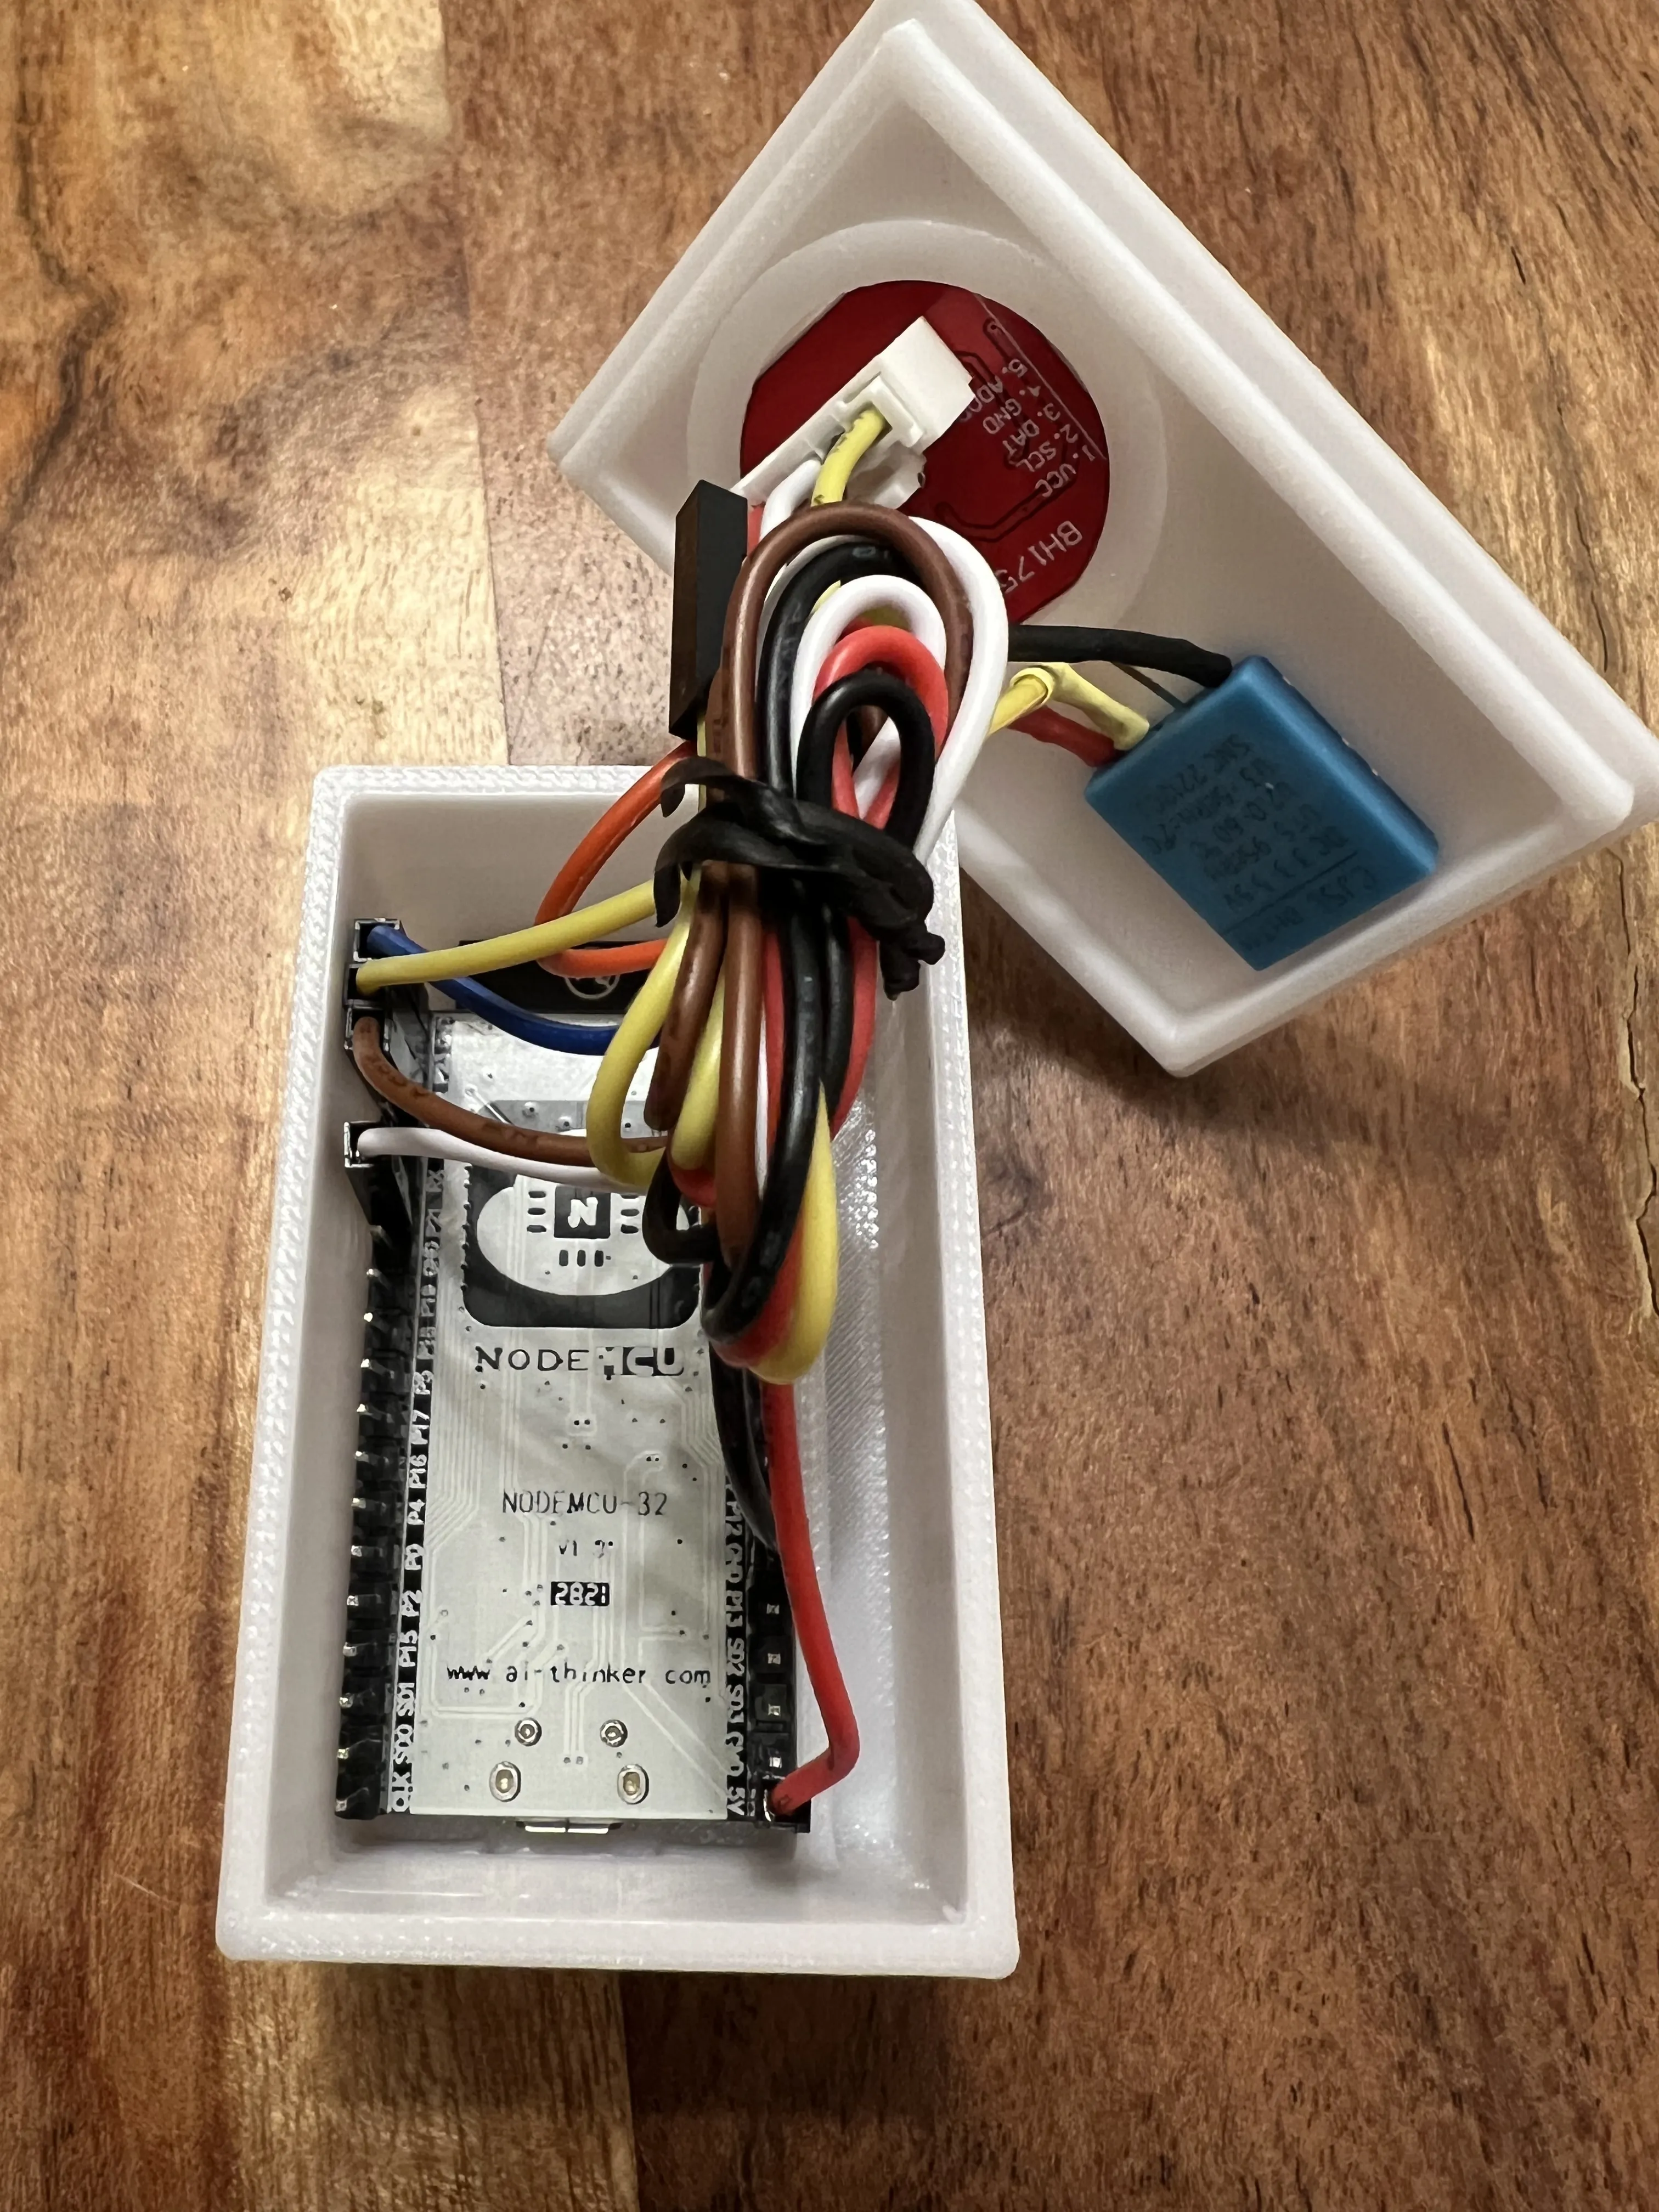
Make sure you can plug the USB cable to the board, you can test it with power, if the board light up with a red LED it will be fine
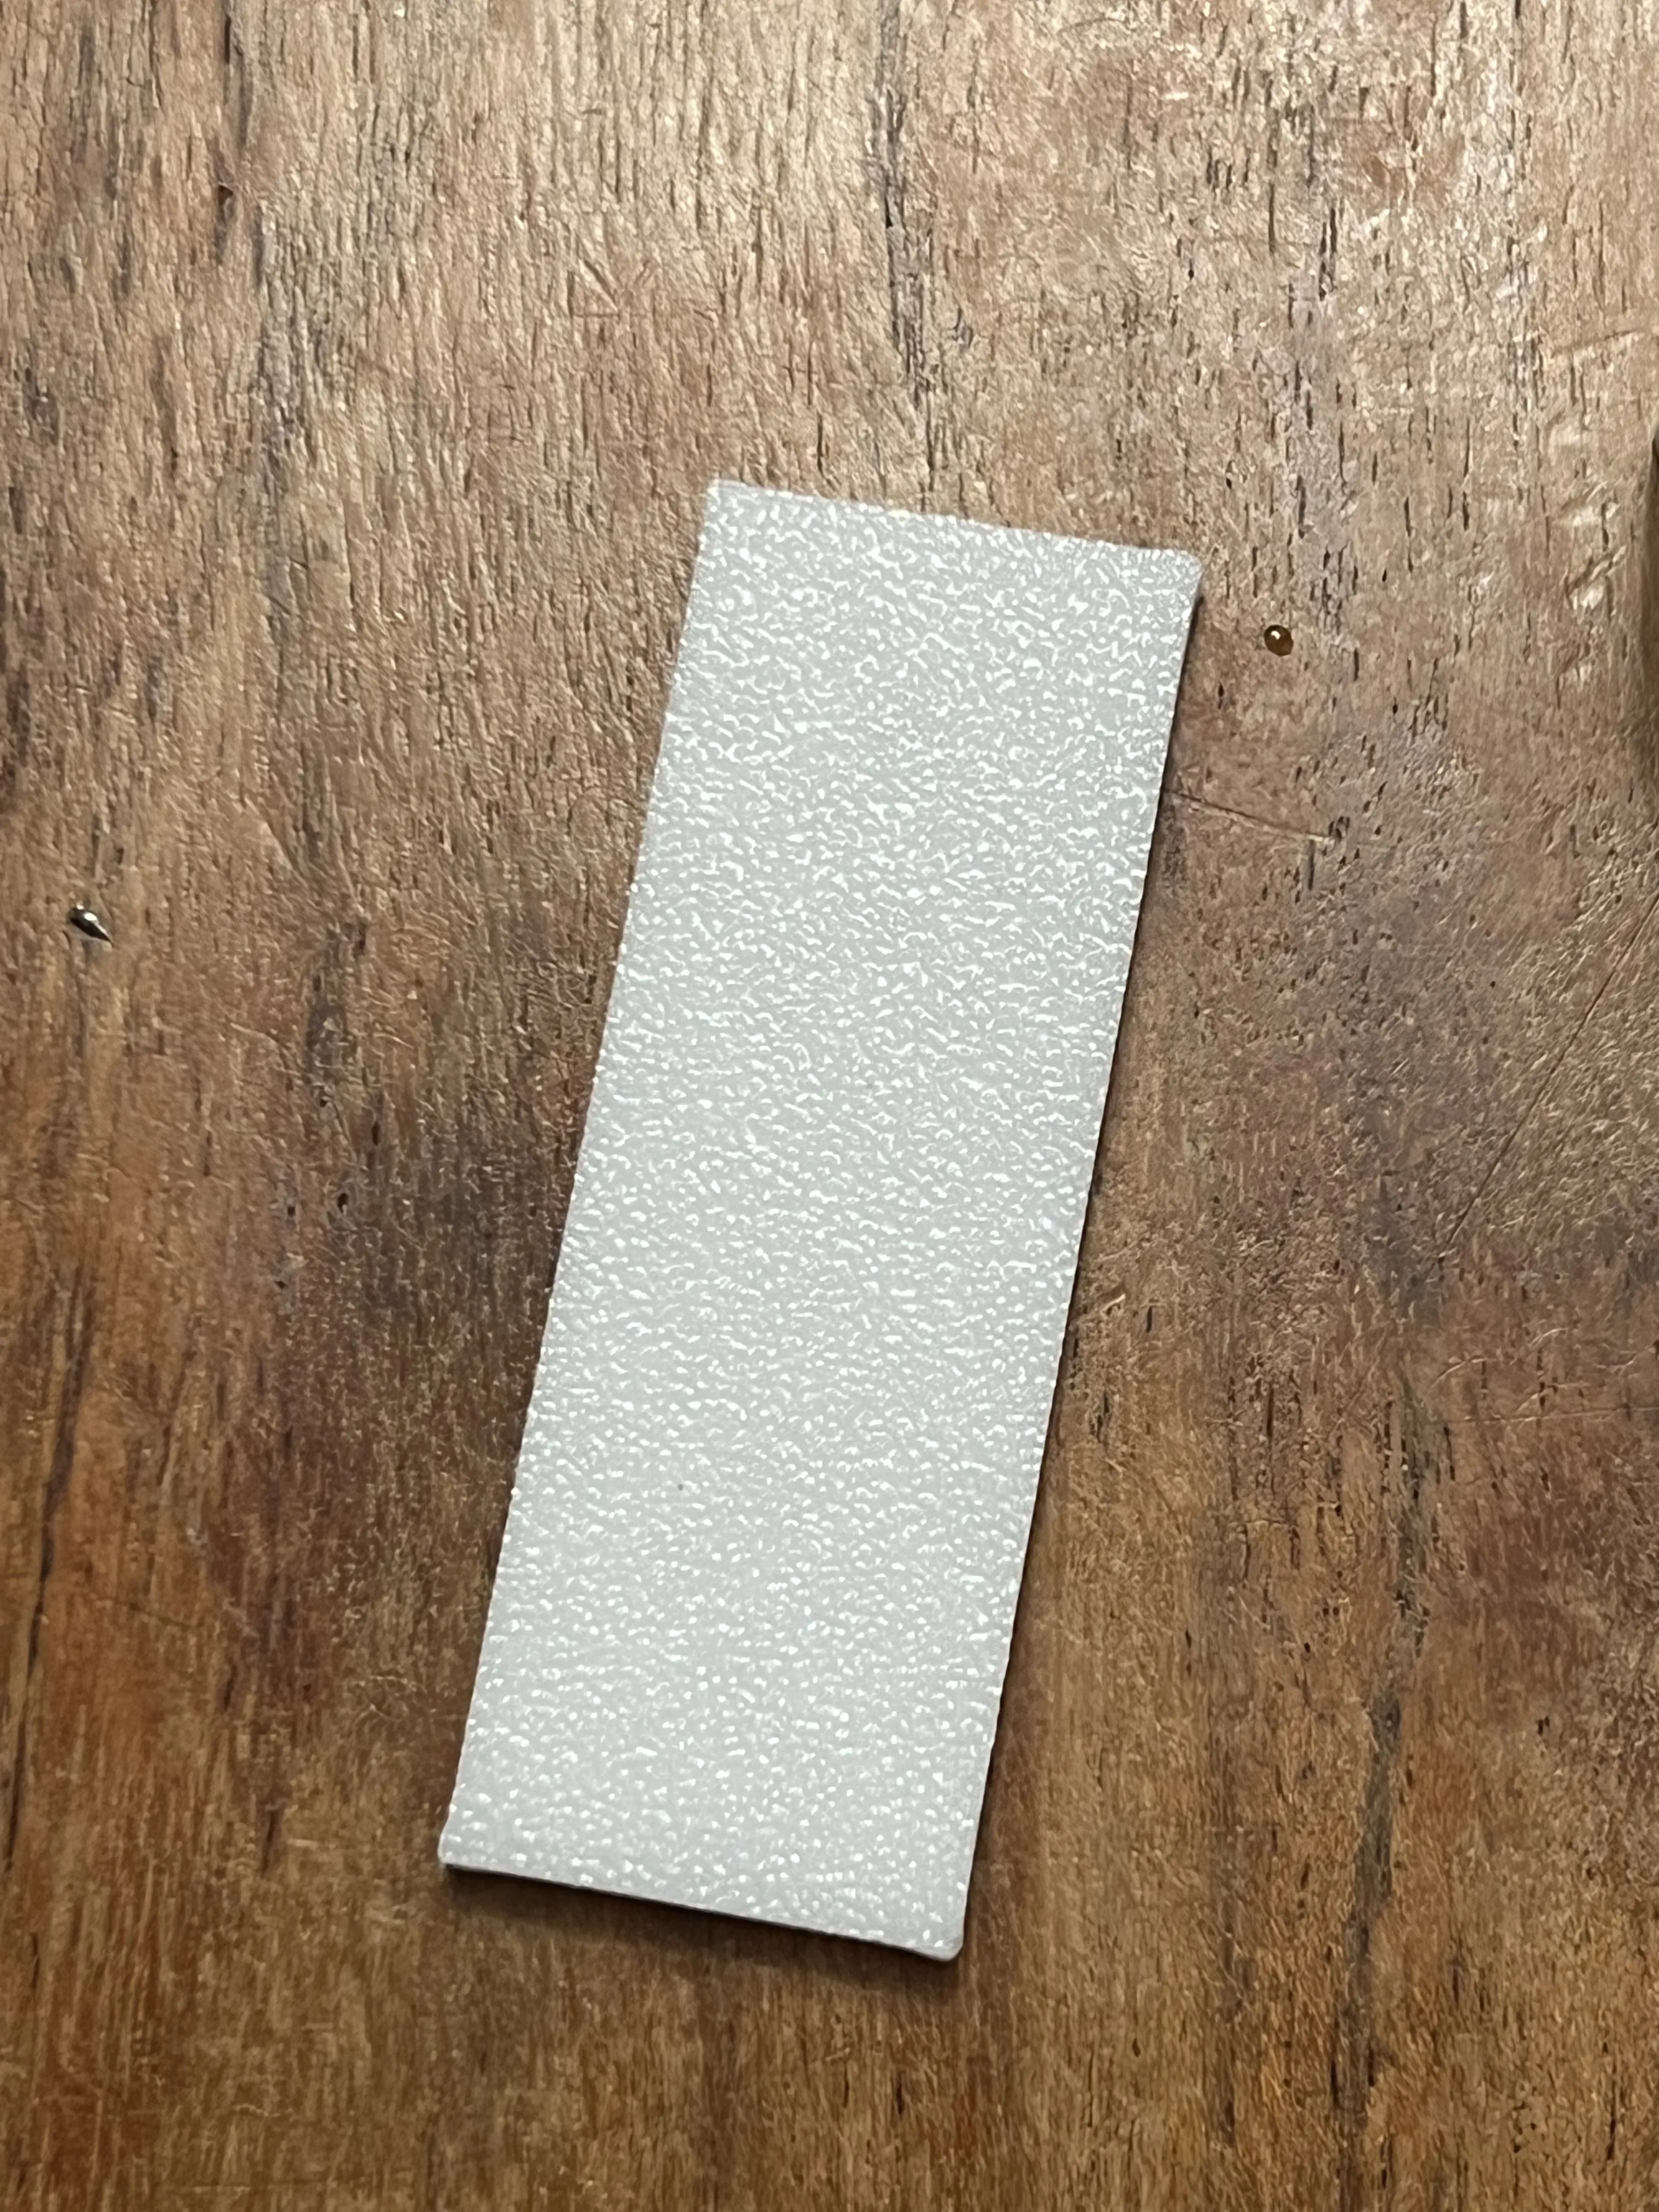
Use the small rectangular plate to fit on the top of the NodeMCU32 board, it will be used to make the board stay in place with little force
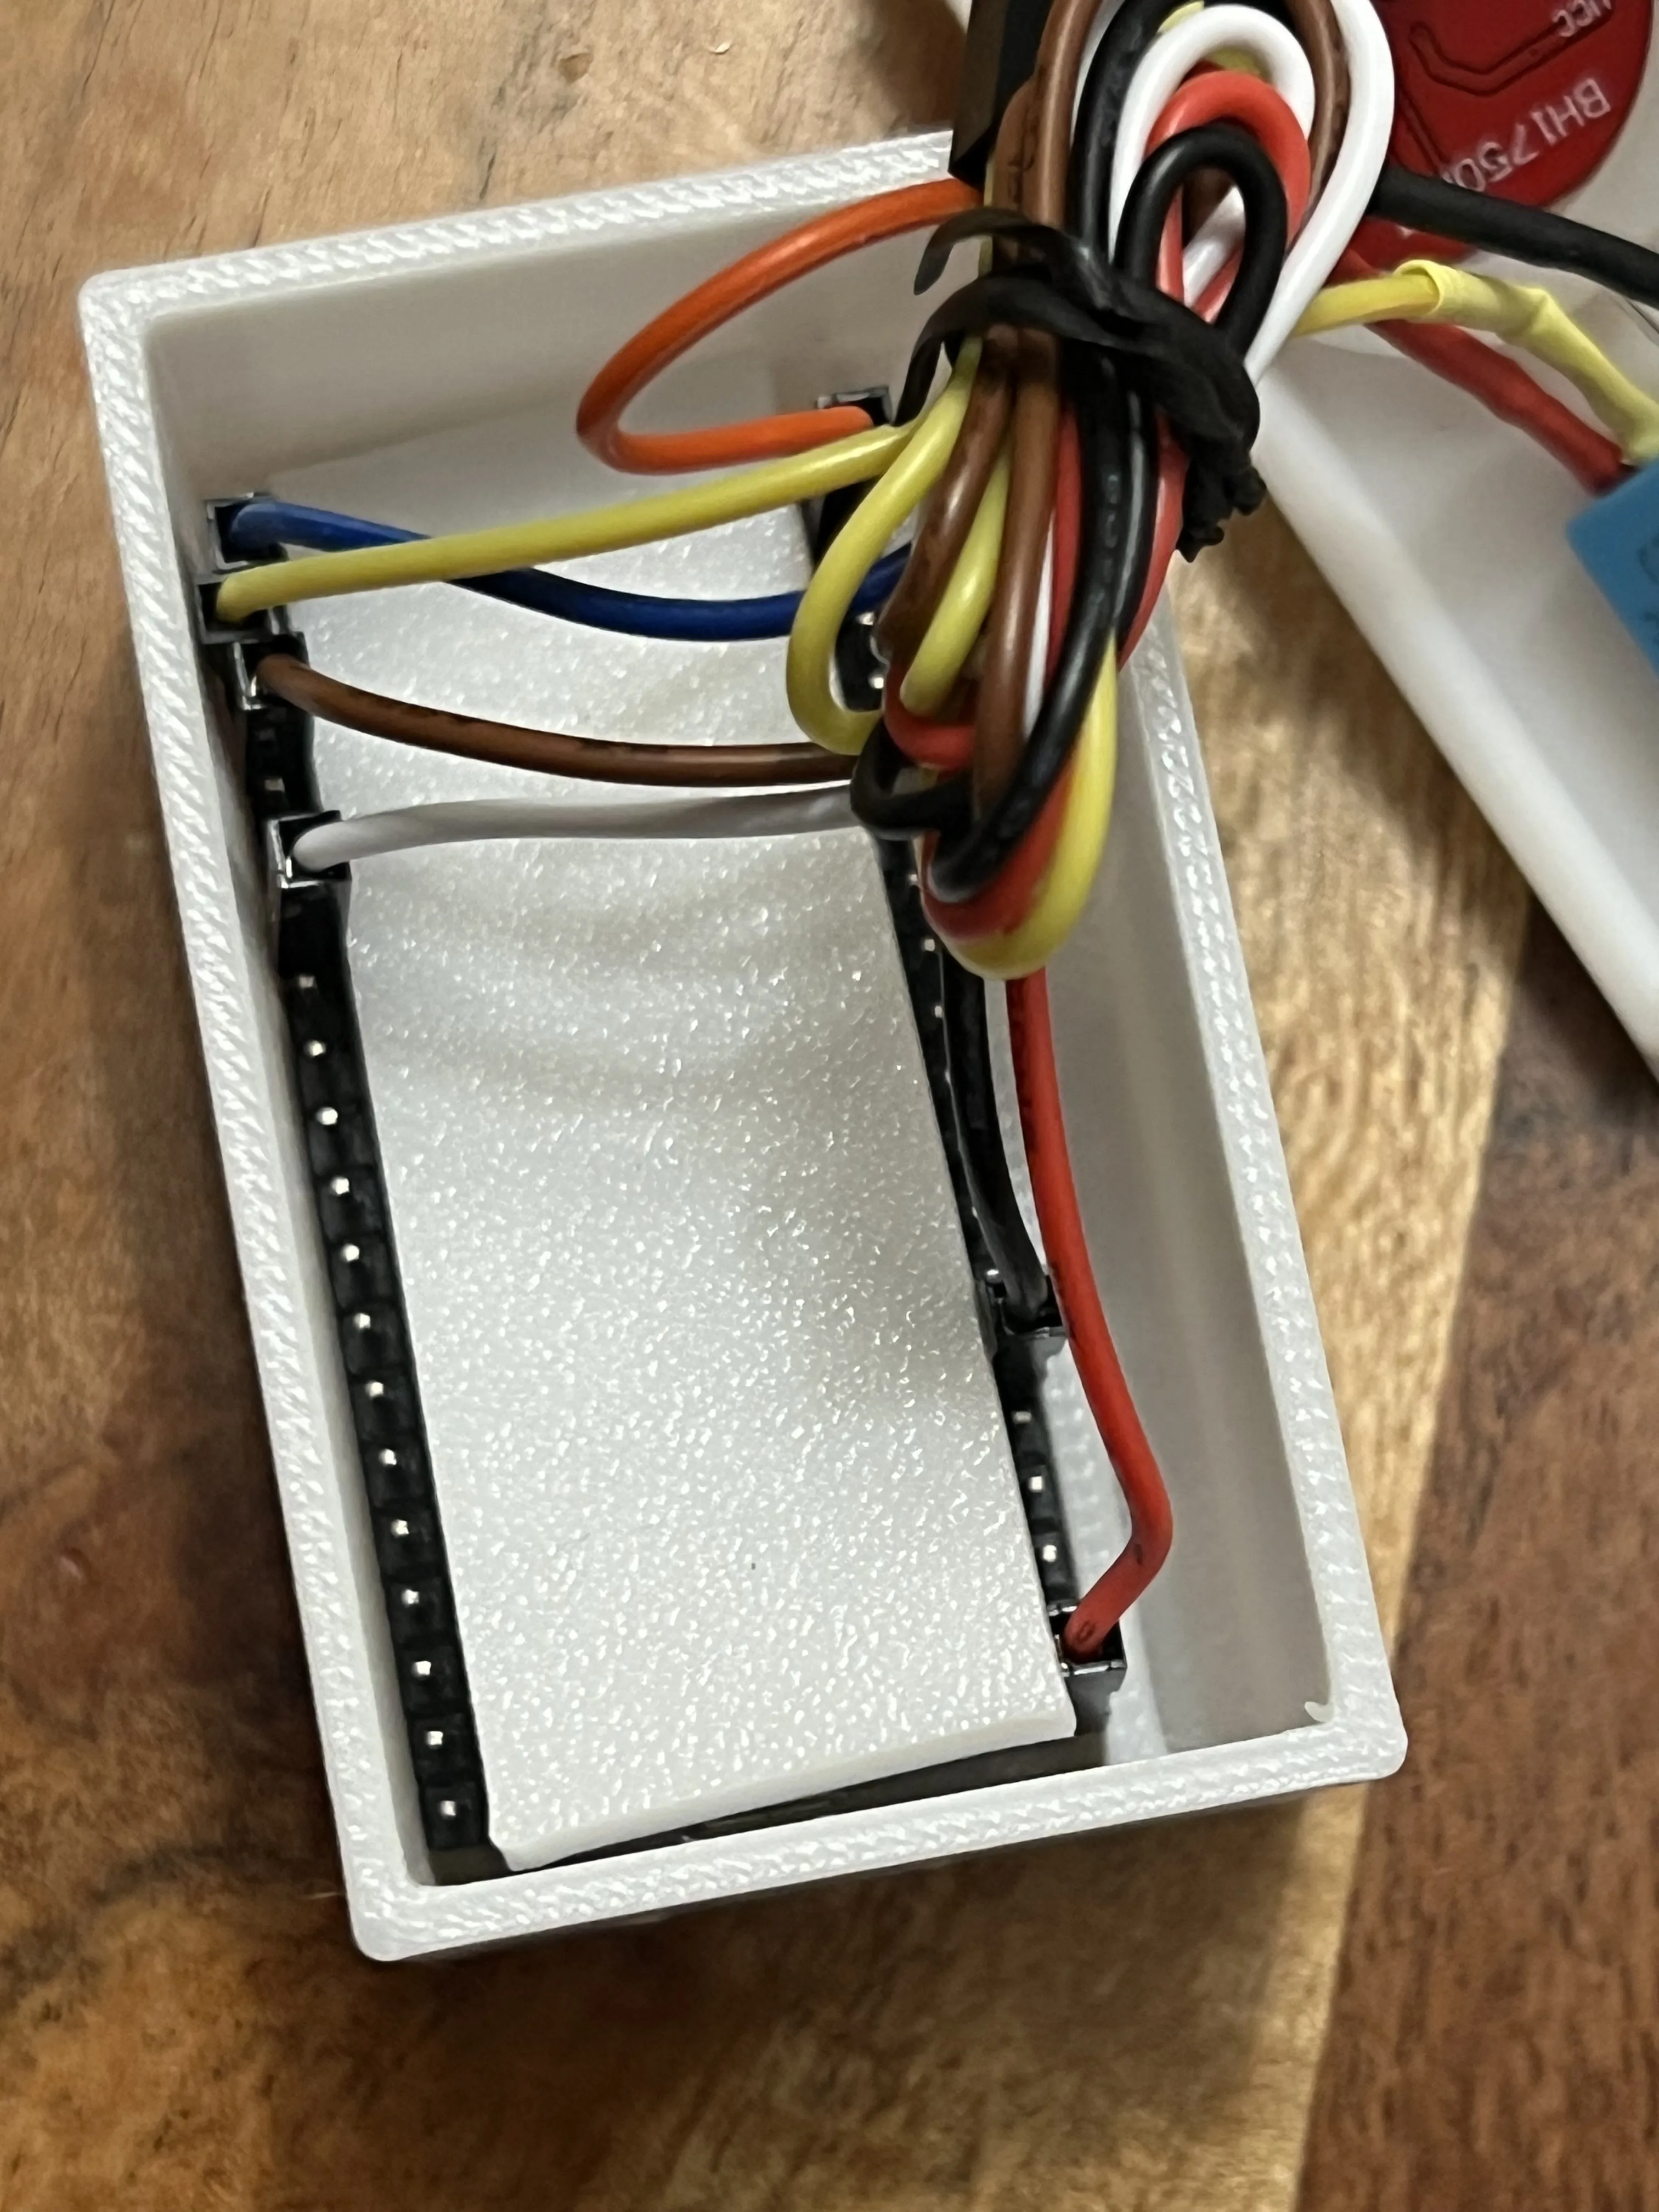
Carefully put all cables inside the case and cover it, power it up again to make sure it works
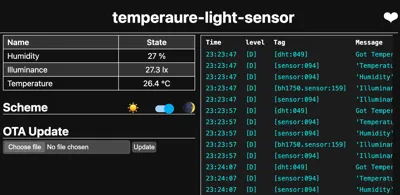
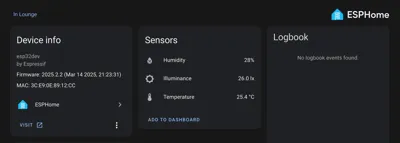
ESPHome
- Installation - https://esphome.io/guides/getting_started_hassio.html
- YAML code attached in documents
Boost Me (for free)
Documentation (1)
License



Comment & Rating (14)