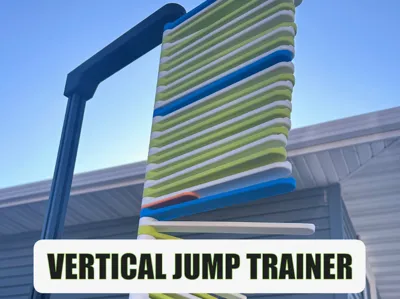
Vertical Jump Trainer


Print Profile(2)


Bill of Materials
- 8mmx500mmChromeRod x 1: https://www.amazon.com/dp/B08JG4X7WT?ref=ppx_yo2ov_dt_b_fed_asin_title&th=1
- 1500mm1010AluminumExtrusion x 4: https://www.amazon.com/dp/B0CR5WP2Z9?ref=ppx_yo2ov_dt_b_fed_asin_title&th=1
- 1010Bolt10mm x 15: Amazon
- 1010Washer x 15: Amazon
- 1010Tnut x 13: Amazon
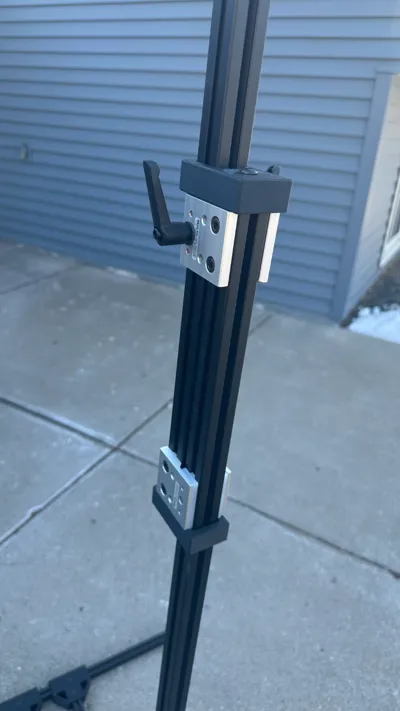
- 1010LHandleBrake x 2: https://8020.net/addoncomponents/addingmotion/linearbearingshimsbrakes/lhandlelinearbearingbrakekit/10-series.html
- M3x10mmBolt x 2: Holdstherodontheframes
- M3SquareNut x 2: HoldstherodontheFrames
- 1010Unibearing x 4: https://8020.net/addoncomponents/addingmotion/unibearings/singleshortunibearing/10-series.html
Description
FOLLOW me for new updates and models - https://makerworld.com/en/@menerso
Check out my other sporting related models - https://makerworld.com/en/collections/6583222-sport-accessories
UPDATE 04-16-26 - Added a 3030 extrusion set of parts. You can download them from the STL files above. I have not tested them so test before printing all the parts. Let me know in comments if you run into any issues.

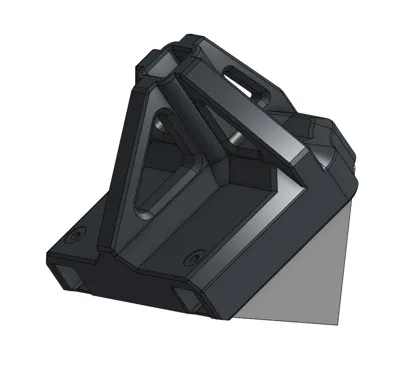
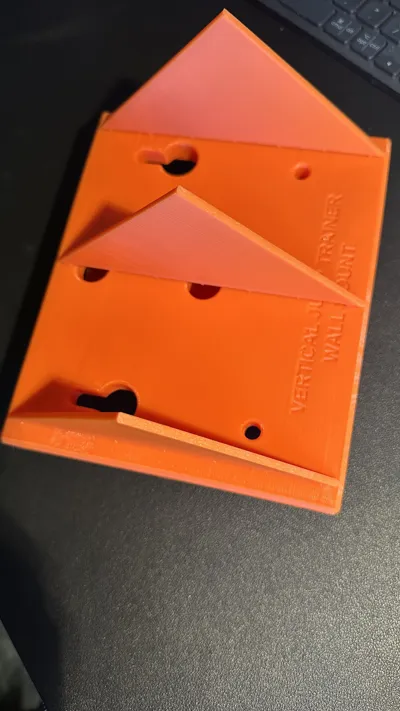
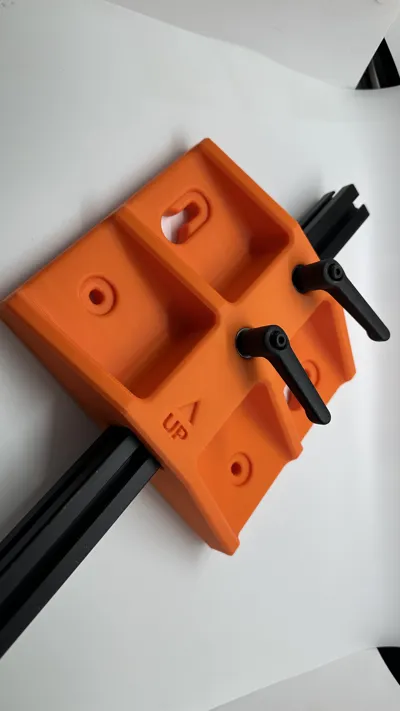
UPDATE 05-07-25 - I have created a Wall mount after a recommendation from a user. If you use the wall mount, you should make sure to mount it to a sheet of plywood that can span two studs or to a solid wall.
Wall mounting does not need any of the models starting with the BASE text. It only needs 2 Frame pieces and the Sticks printed.
The Wall Mount comes with built-in supports so that it can be printed at an angle to increase strength. I also would encourage a strong filament like ABS or ASA, etc.
There are holes in the back to help with inserting the screws for the tightening levers.


-----------
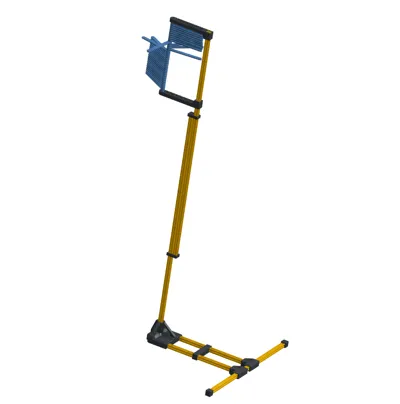
JUMP TRAINER MODEL
My daughter is into volleyball, and I looked online for a jump trainer and they are SOOO expensive. I figured I could build one for less money and be able to improve my modeling. Here is what I came up with.
Be sure to use ASA or ABS filament for strength and if you use it outside. I used Bambu ASA-CF for all the frame parts for extra strength. The sticks are printed in ABS.
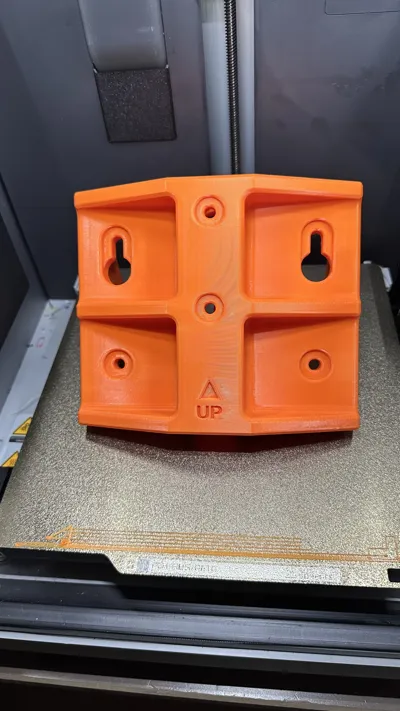
For printing the Stand V3 part, I already put supports into the model so that you do not need any supports. After printing, the 4 supports just snap off and you are good to go. Since printing at an angle, the part is much stronger to the extrusion load put on it.

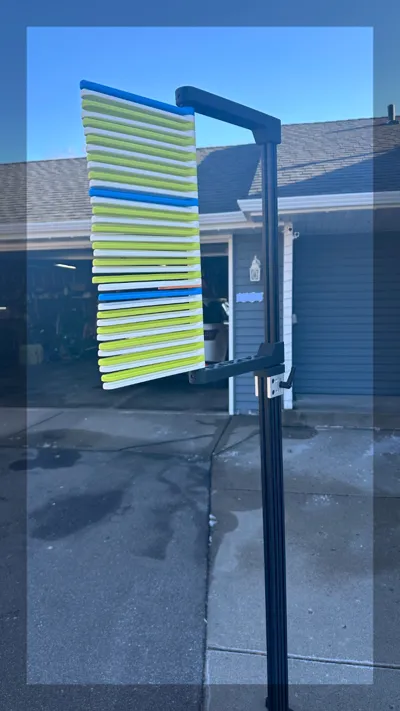
Once everything is assembled, you should still stand on the back of the stand and hold the upright extrusion to support it when someone jumps. Jumpers should NOT be slapping the sticks when jumping…. they just need to push the stick to the side.
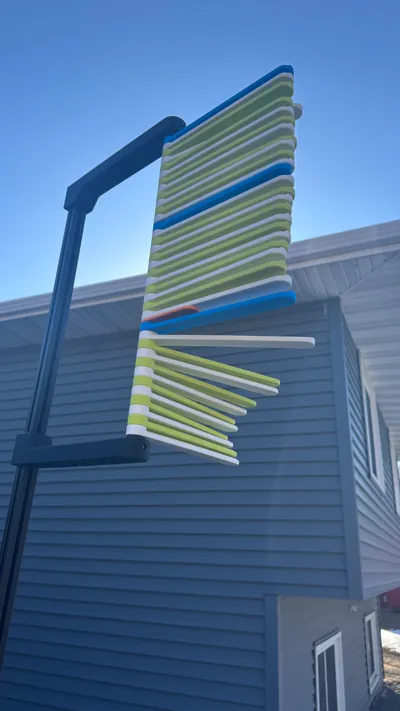
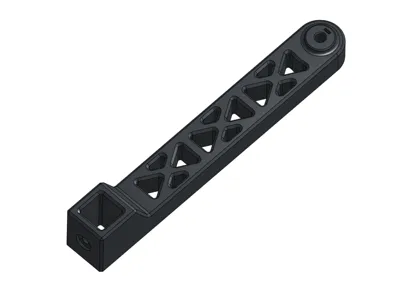
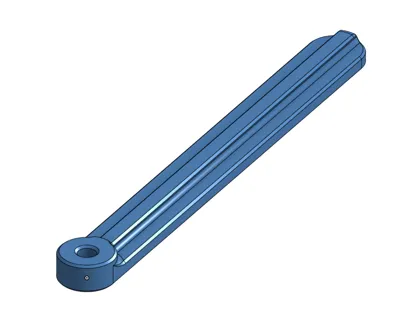
Each Stick is ½ inch in height. So, if you alternate the sticks in color, you can visually see each ½ inch or same color = 1inch of height achieved. You can then put another color at each 6 inches also. Pictures show mine with white and Green for each inch and Blue for each 6 inches.

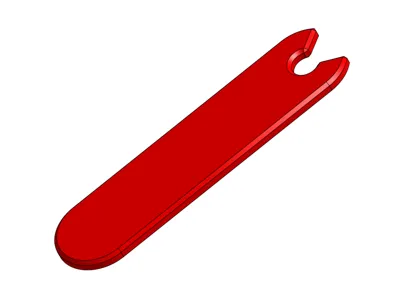
The Marker stick can be used to “snap” onto the rod as a way of remembering the last or highest jump. It easily snaps in and out.
1010 Extrusions:
- Two of the 10 series 1500mm extrusions will be used as the vertical extrusions
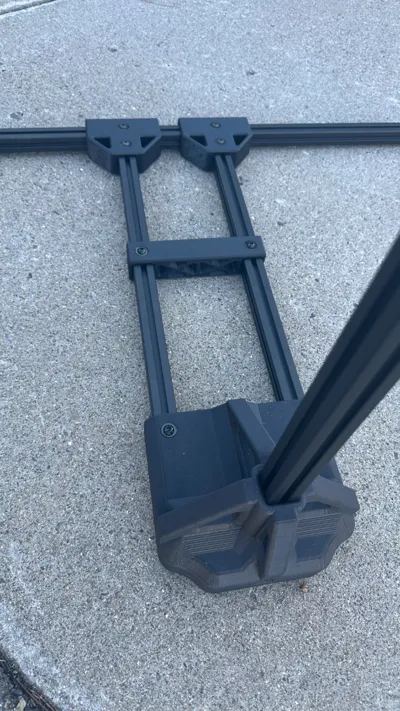
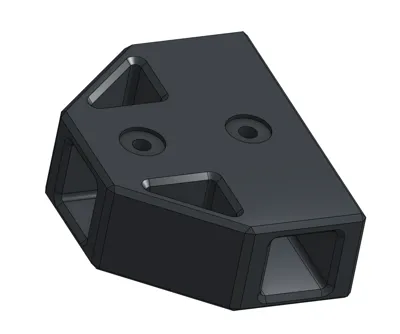
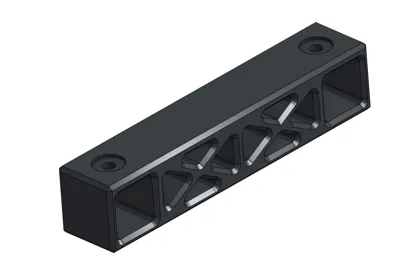
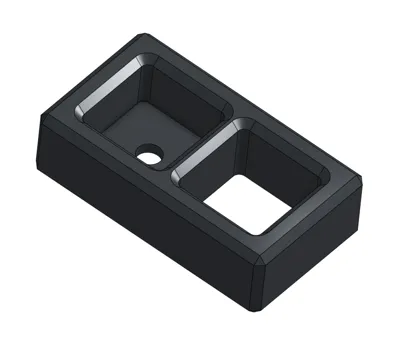
- Cut one of the 1500mm extrusions in half. These will be use from the Stand V3 thru the Base Separator into the Base T-caps
- The last extrusion can be cut down to 3 feet. This will be used for the horizontal brace going through the Base T-caps and adding the Base End cap to the ends. Do this first, then slide in the two extrusions that go into the base.
To use the Jump Trainer:
- Set up in an open space
- Swing all the sticks out so that they are facing away from the stand.
- Have the jumper stand under the sticks with their arm raised and hand flat.
- Adjust the extrusion slider so that the bottom stick is just above the jumper's fingers.
- Now have the jumper jump from a position directly under the sticks and move the highest stick they can.
- Now you can measure with a tape from the ground to the bottom of the sticks and then count up from there to find the final height.
You may want a long stick to reset the markers so the stick out flush.
---------------------------------------------------------------------------
Locations of printed parts

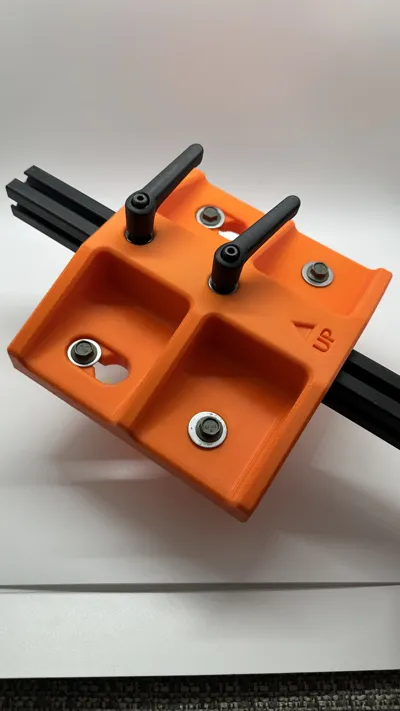
The unibearings are used for easy sliding and locking in the height. Notice that one set of unibearings are attached (screwed) to one of 1500 extrusions and the other set is attached to the other 1500mm extrusion.

Links to parts:
The jump trainer seen in the pictures uses a 500mm rod, but you can use whatever size you want. You will just need to print more sticks to fill out the longer size.
- 1x 500mm rod that hold sticks - https://a.co/d/0aGpdfWg
- 4x 1500mm 80/20 10 series extrusions - https://a.co/d/010XwfS3
- 4x 10 series unibearings - https://8020.net/6760.html
- 2x Unibearing handles - https://8020.net/6850.html
- Screws and T-nuts - https://a.co/d/0eZQFmHP
The wall mount doesn't need any unibearings, only the unibearing handles. It also only needs one needs 1x 1500mm extrusion.
Boost Me (for free)
Hoping to get enough points to pay for a Bambu H2D or the new H2C. It is FREE and it really helps me out. Thank You!!
Membership
Want to support me with a small monthly tip or open a commercial license to sell some of my prints?
Check out my other models and Collections. Why not give me a FOLLOW since you are there.
I post new models and updates to models frequently.

License
You shall not share, sub-license, sell, rent, host, transfer, or distribute in any way the digital or 3D printed versions of this object, nor any other derivative work of this object in its digital or physical format (including - but not limited to - remixes of this object, and hosting on other digital platforms). The objects may not be used without permission in any way whatsoever in which you charge money, or collect fees.
Comment & Rating (29)