
Strip cutter tool (balsa and soft materials)

Print Profile(1)

Bill of Materials
- M4_nut x 1:
- M4x30_screw x 1:
- M3x5_screw x 2: If_not_using_self_tapping_screws
- M3_heat_set_insert x 1: If_not_using_self_tapping_screws
Description
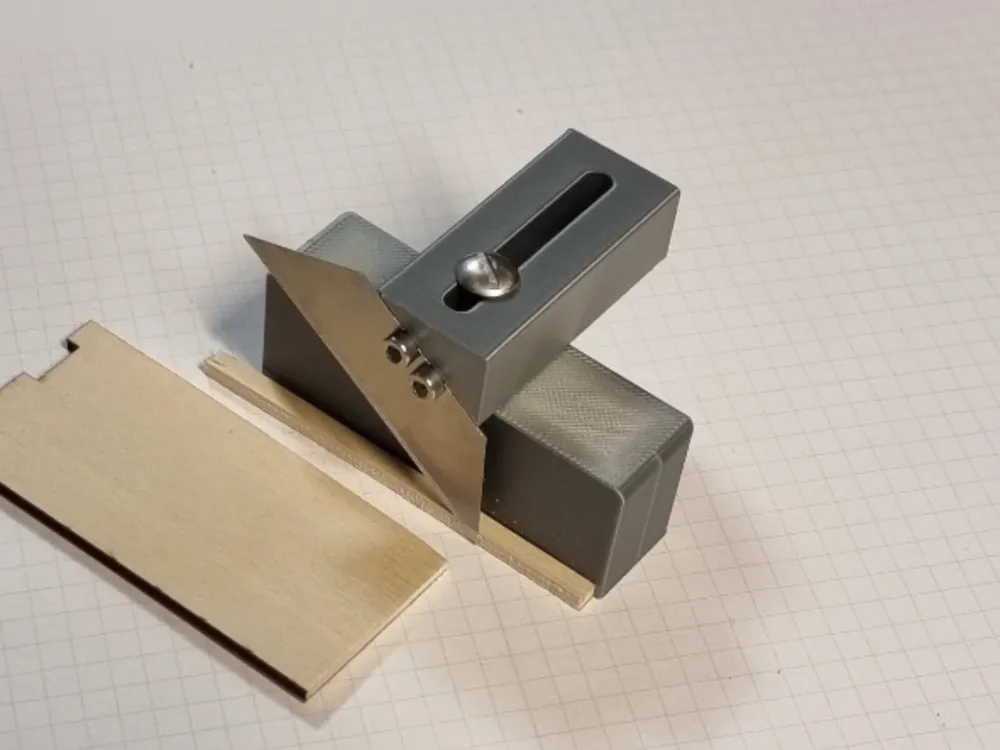
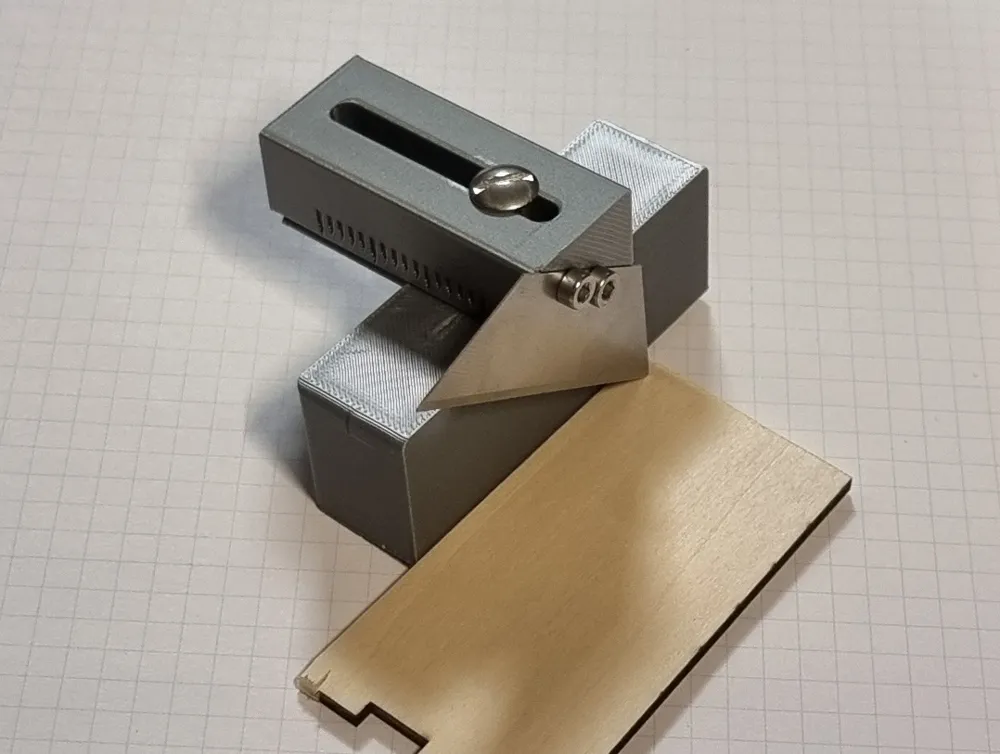
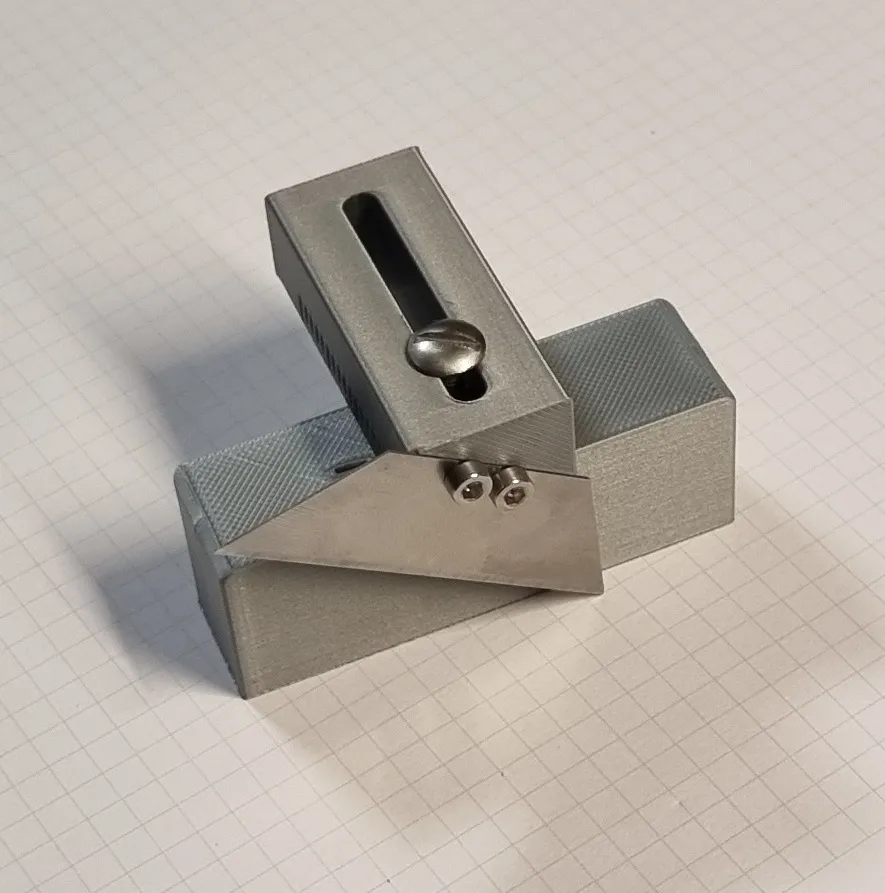
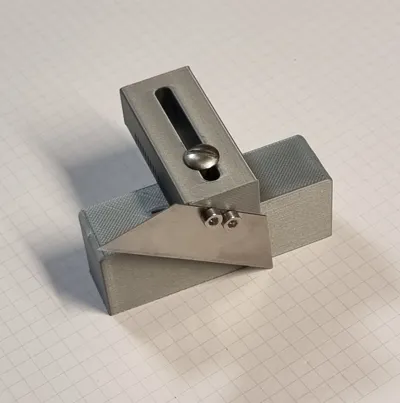
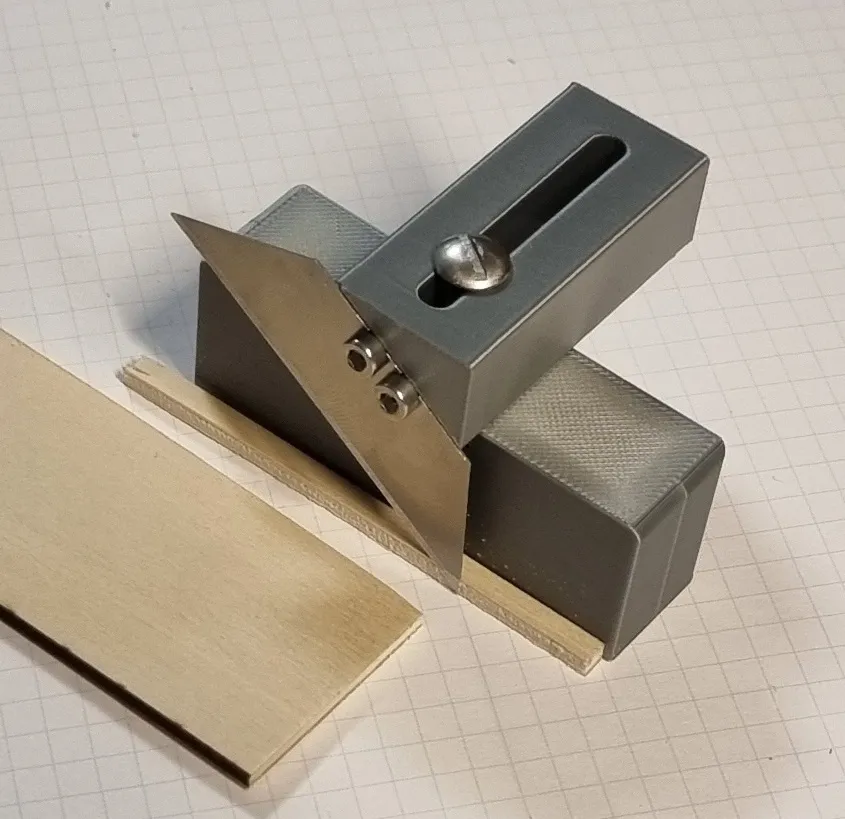
A strip cutter hand tool. Intended for balsa wood but will work with other materials as well. I even managed to cut through 3mm basswood plywood in multiple steps.
Features
- Easy to make - Requires only two printed parts and minimal additional hardware
- Adjustable - Easy to adjust the width of the strip
- Integrated scale - For rough width adjustment even without a ruler
- Two options available - with heat set inserts or BT3 self tapping screws
- Designed for balsa wood but will work with other soft materials as well
Boost Me (for free)
Thank you for supporting me.
Assembly
Required parts
To make this project you will need:
- Printed parts - print the version you want, either with M3 heat set inserts or BT3 self tapping screws
- 1x M4 nut or M4 heat set insert
- 1x M4x30 screw
- 2x M3 heat set insert and 2x M3x5 screw or 2x BT3x6 (BT3x5 also works) self tapping screw
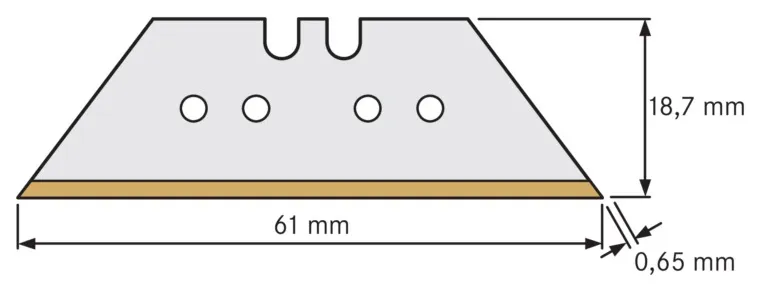
1x trapezoidal knife blade (should be a standard size)
Step 1
Install the M4 nut from the bottom in to the bottom part. Alternatively, install the M4 heat set insert.
The hole for the nut is made very tight so some force will be required to push the nut in. Make sure it is pushed in completely.
Slide the top part in the bottom part dovetail guide. If is is hard to move, push it through a few times to wear down the surfaces. It should get easier with only a few moves. This will make installation later easier, when you will have the blade attached.
Step 2
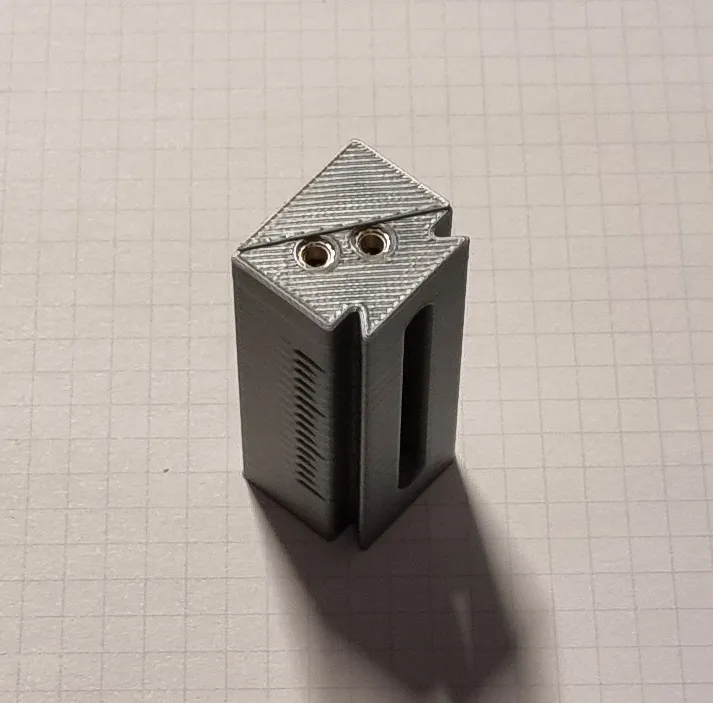
Install heat set inserts in to the top part. Make sure that the surface is flat, otherwise the blade won't sit well. If you are using self tapping screws, skip this step.
Step 3
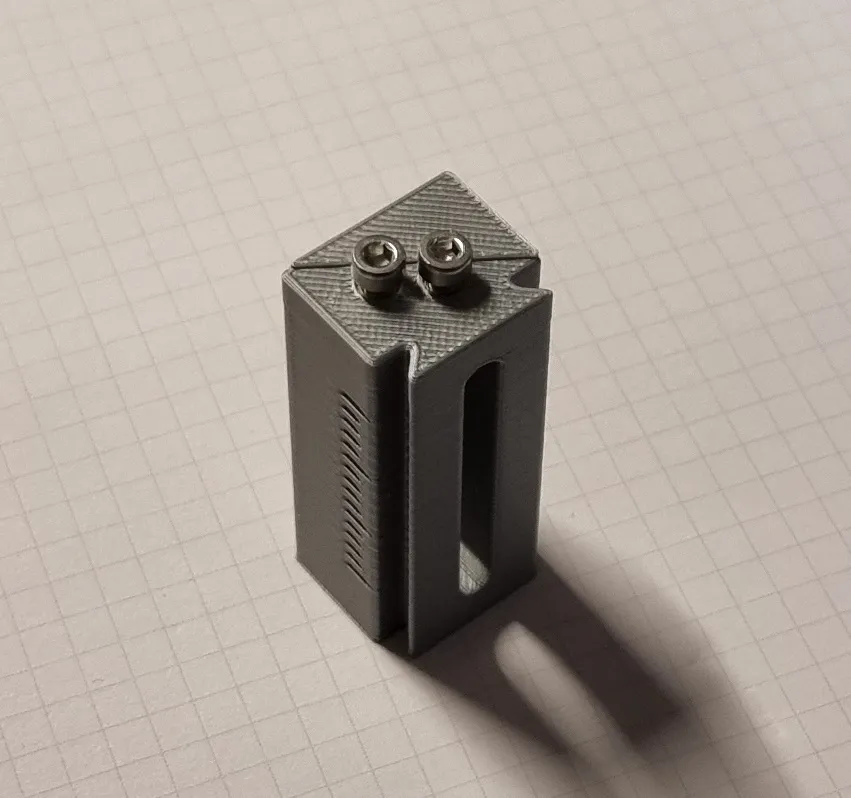
Screw in the M3 screws or self tapping screws. Leave enough room for the blade.
Step 4
Install the blade. Be careful so you don't cut yourself. The top part has a small indent and edge which fixes the blade in place.
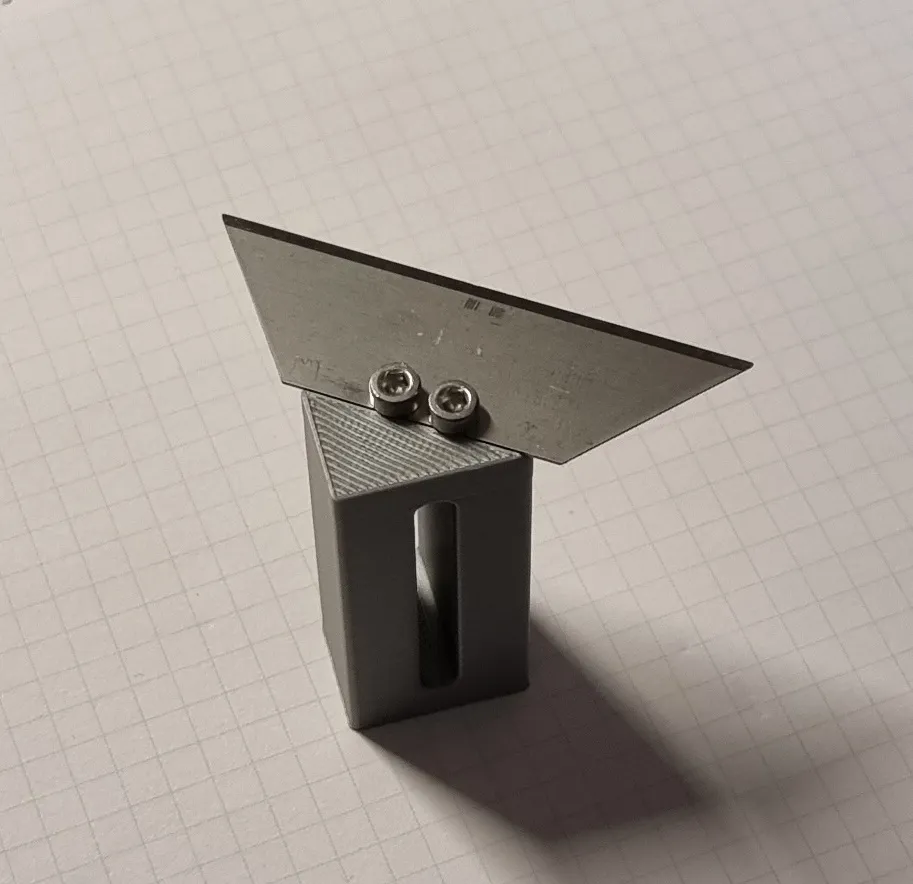
Step 5
Slide the top part with the blade into the bottom part.
If you are worried about cutting yourself or if it doesn't slide in easily, remove the blade. Then install the top part without the blade, move it around so it becomes easier to move, and install the blade back in.
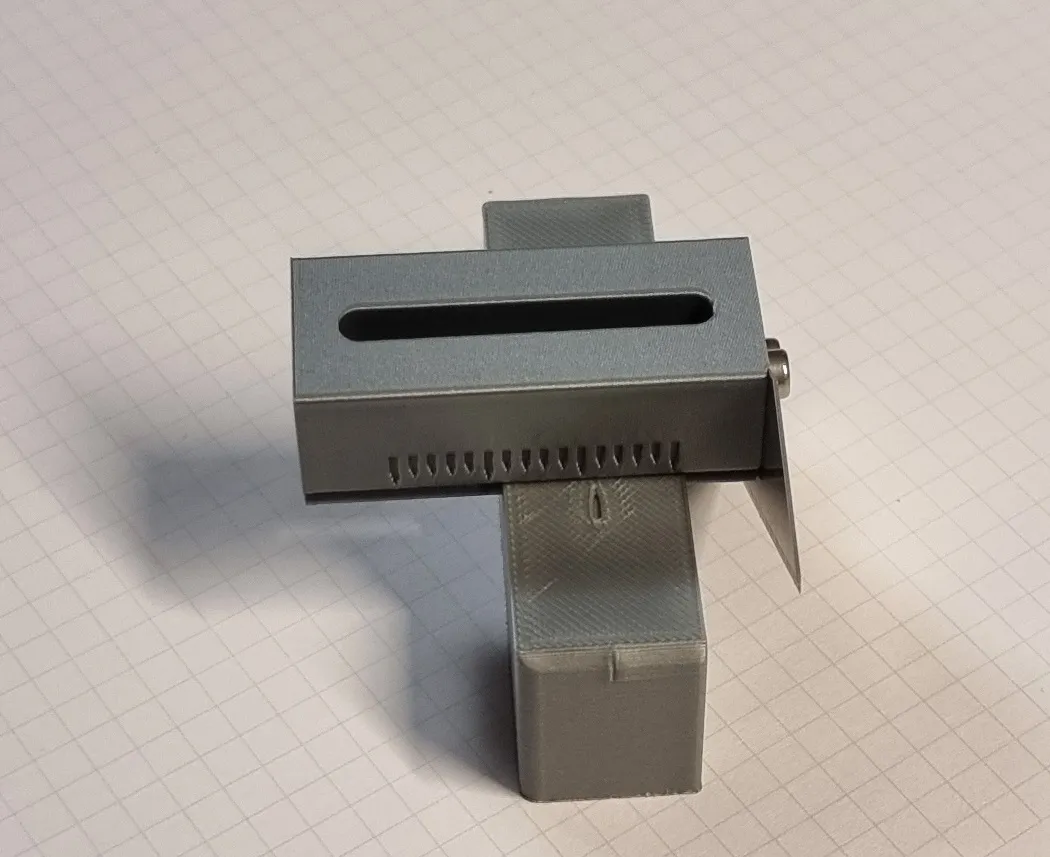
Step 6
Add the M4 screw to fix the top part in place.
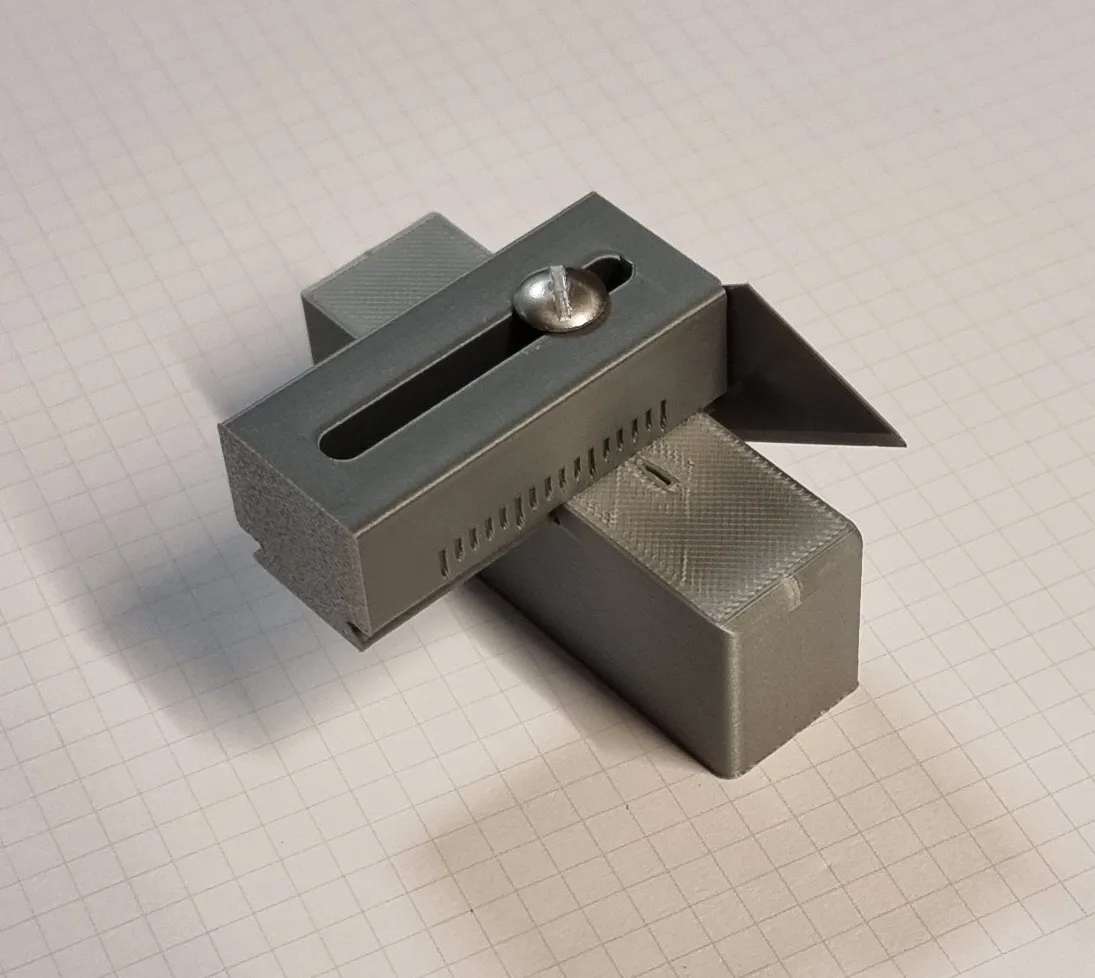
Step 7
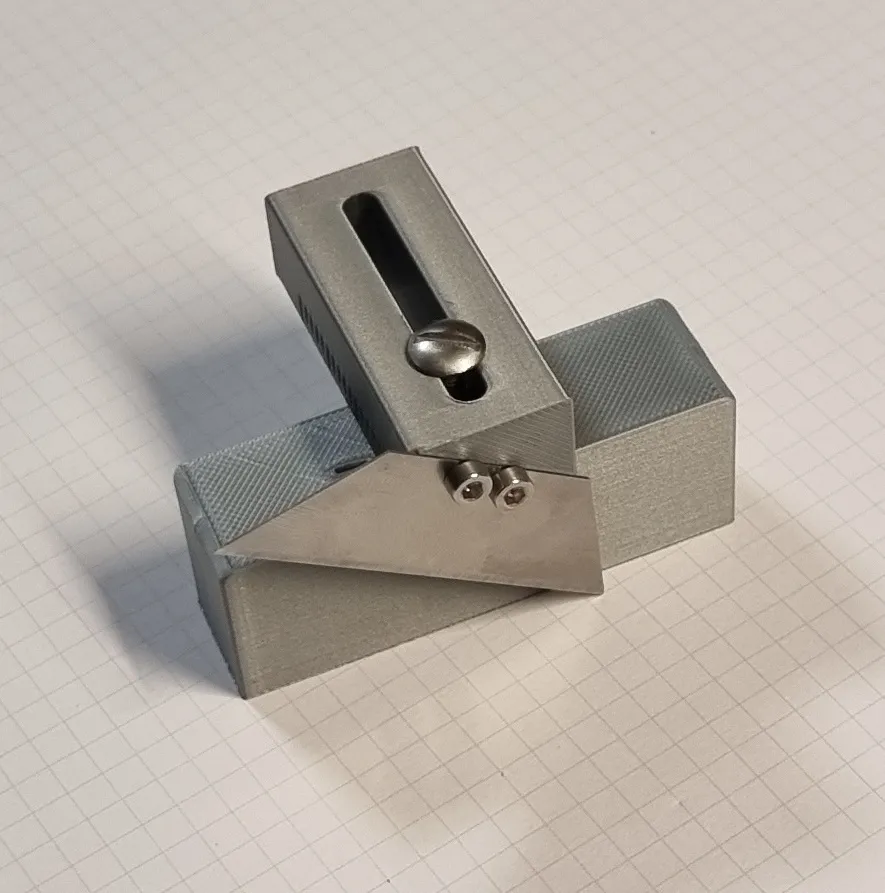
You are done.
To adjust the width, loosen the M4 screw. Do not forget to tighten it back again.
This cutter is intended for soft materials. You can also cut through harder materials but you will need to make more passes. Do not press too hard or the blade may move from its place. I managed to cut a 3mm basswood plywood in multiple steps. Go slow, apply pressure but not too much and repeat until you cut through the material.
License

You shall not share, sub-license, sell, rent, host, transfer, or distribute in any way the digital or 3D printed versions of this object, nor any other derivative work of this object in its digital or physical format (including - but not limited to - remixes of this object, and hosting on other digital platforms). The objects may not be used without permission in any way whatsoever in which you charge money, or collect fees.


Comment & Rating (10)