
4 Speed Manual Transmission - Upgraded
Print Profile(4)





Description
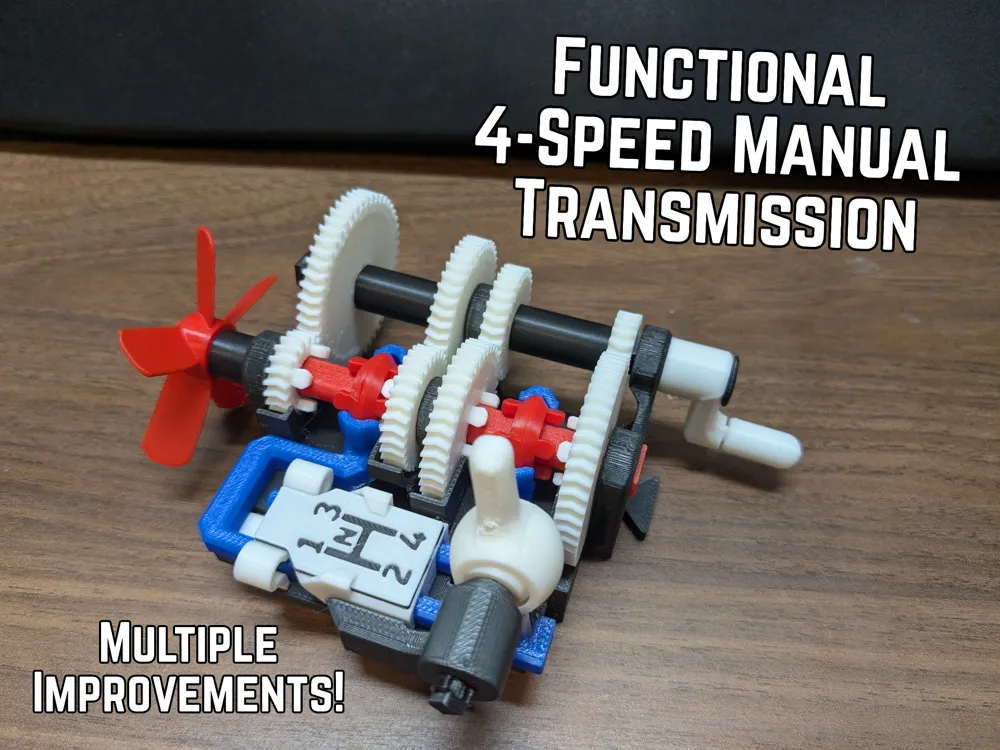
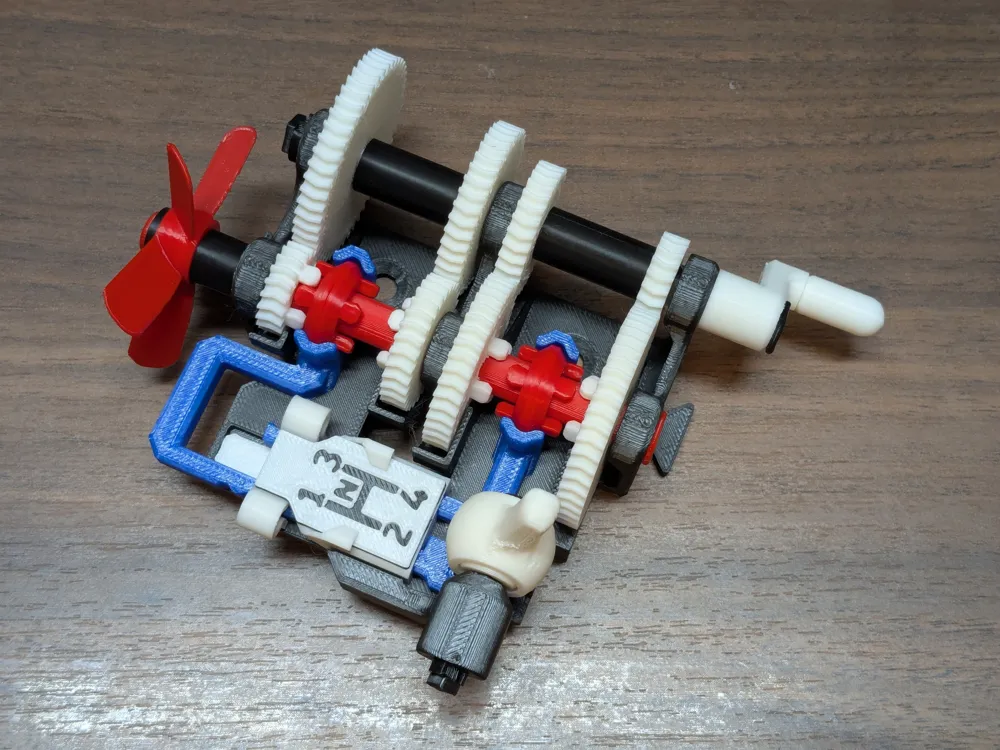
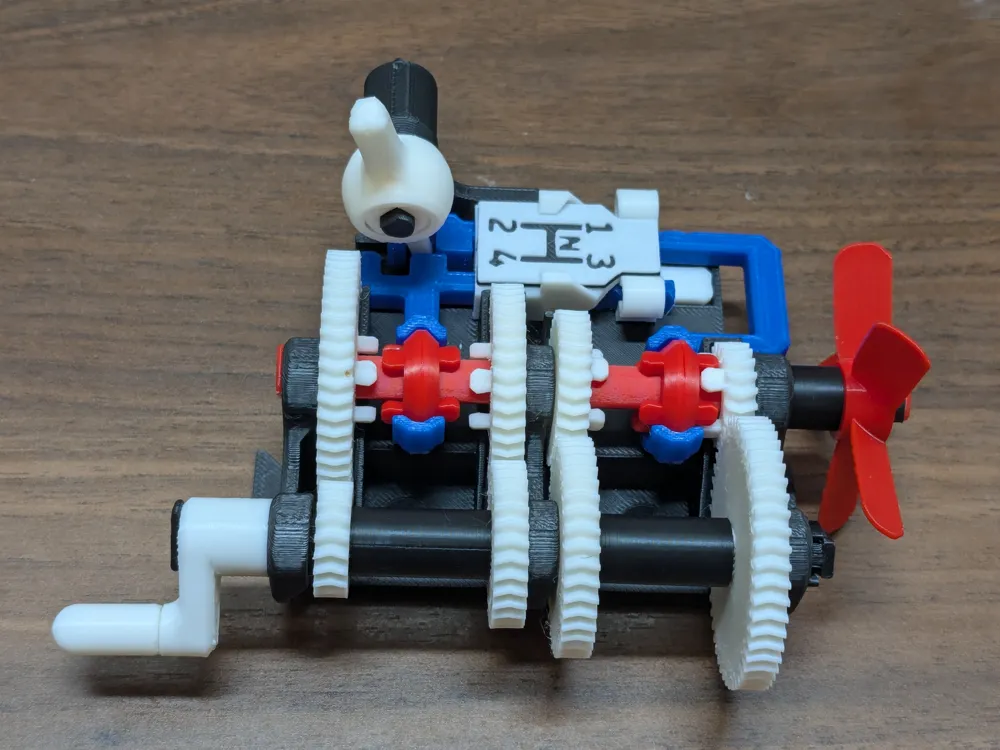
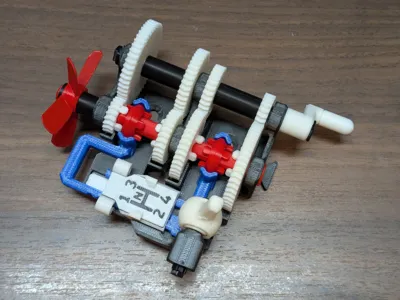
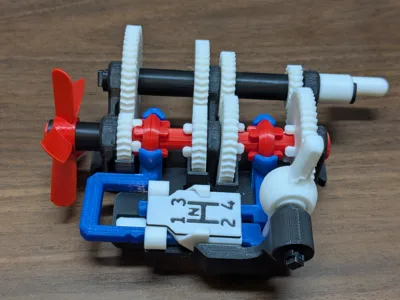
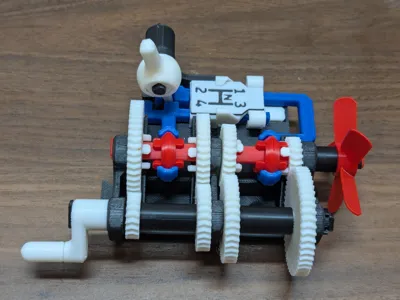
A functional, fully-printed mechanical model demonstrating the basic principles of how a 4-speed manual car transmission works . This remix includes several existing upgrade remixes of the original, plus many of my own improvements.
My Improvements:
- Added retaining channels for the output gears, preventing them from un-meshing at high speeds

- Added a print-in-place rotating handle grip to make it easier to turn by hand
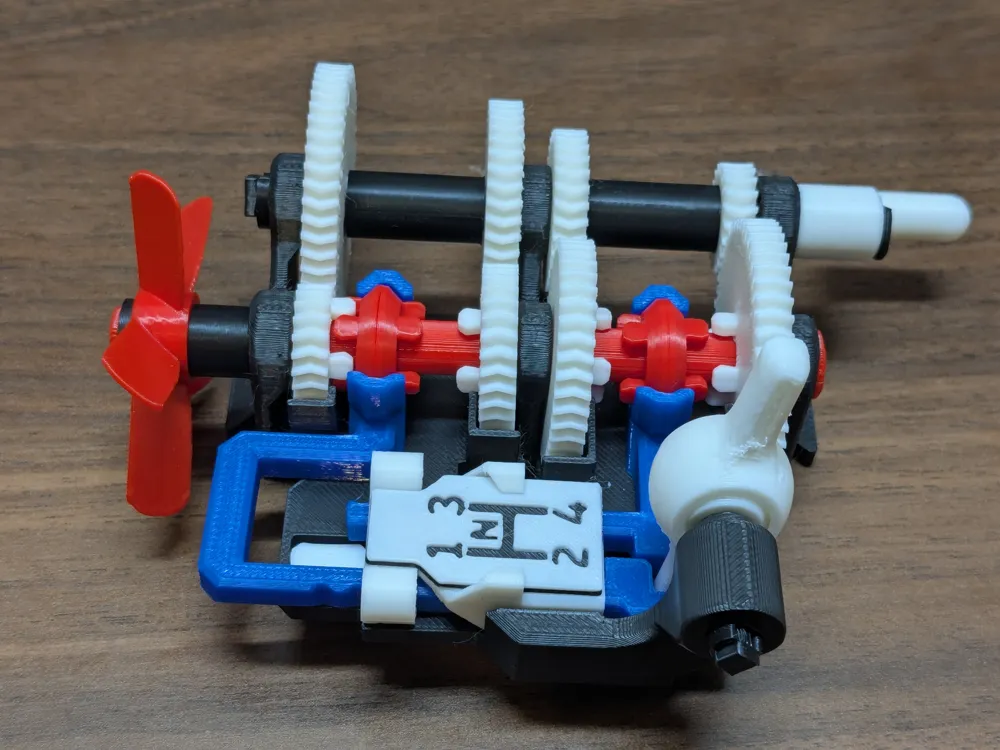
- Added a AMS-friendly decal to more clearly show the gear shift positions
- Added print-in-place clips to the existing gear guide so the decal can be attached to it without glue
- Adjusted the tolerances on the gear guide so you no longer have to use a literal hammer to smash it into place on the base
- Added a “lock” bar that keeps the gear guide in place (since it's not insanely tight anymore)
- Slightly increased the tolerance on the gear selector's shaft hole to account for undersized hole printing
Improved parts from the following remixes are also included with this model:
Want to connect this to a model engine? Check out this remix.
Printing
Just use the provided print profile, everything is already oriented and supported correctly. Like the original, the only parts that require supports are the hand crank and the gear selector.
This only includes the parts needed for manual operation; if you want to drive this using an actual motor you can find those specific parts in the original model, and they should integrate just fine with this one.
Assembly
Please refer to the assembly videos in the original model (click here) for the majority of the assembly. It does not actually require lubrication (I never used any), but the operation may be smoother with it.
These instructions are specific to this remix:
- The decal with the gear locations just slots under the arms on the gear guide.
- The lock piece presses into the space in the base behind the gear guide. Make sure sure the gear guide is pressed as far in as it will slide. You can scale the lock piece in your slicer if you need to make it slightly longer or shorter to account for your printer's specific tolerances.
- Gently bend and twist the endcap of the rotary handle to break it free (it prints with a 1-layer gap so shouldn't be too hard to separate). Once free, rotate and move the endcap around for a bit to wear off any internal imperfections until you get a smooth rotation.
Gear Positions
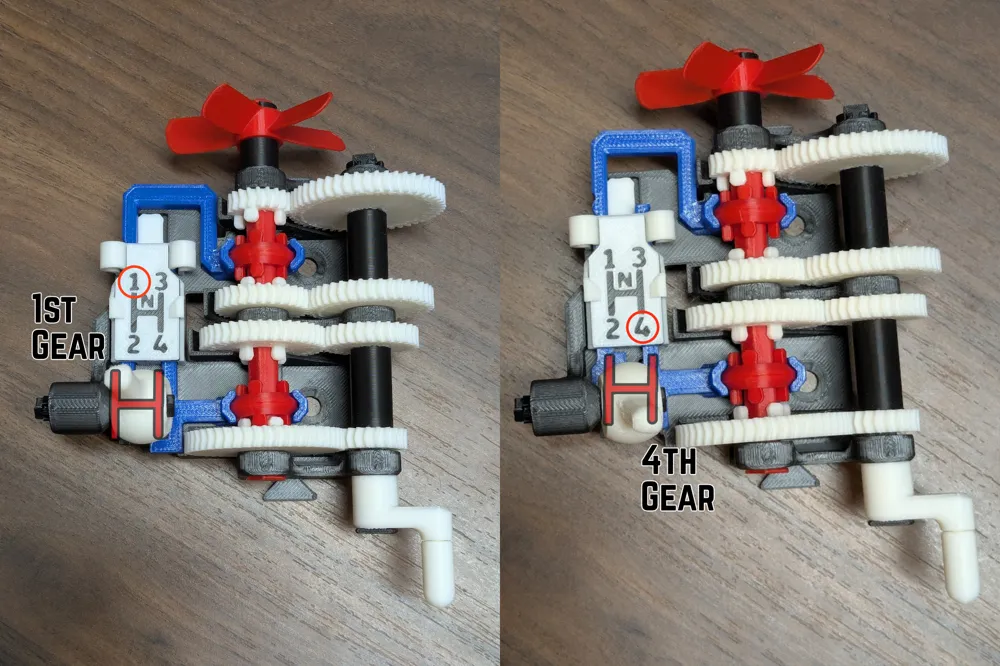
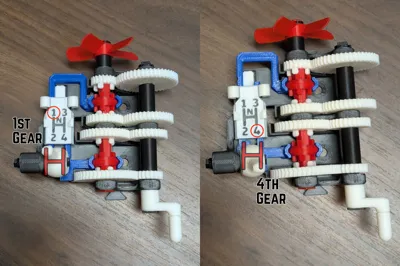
Since this is a frequent point of confusion, here's a diagram showing how the gear numbering works relative to the shifter. Just like in a real car, the positions indicate where the TOP of the shift stick (the only part that you would see when sitting in a car) should go to put the transmission into that gear.
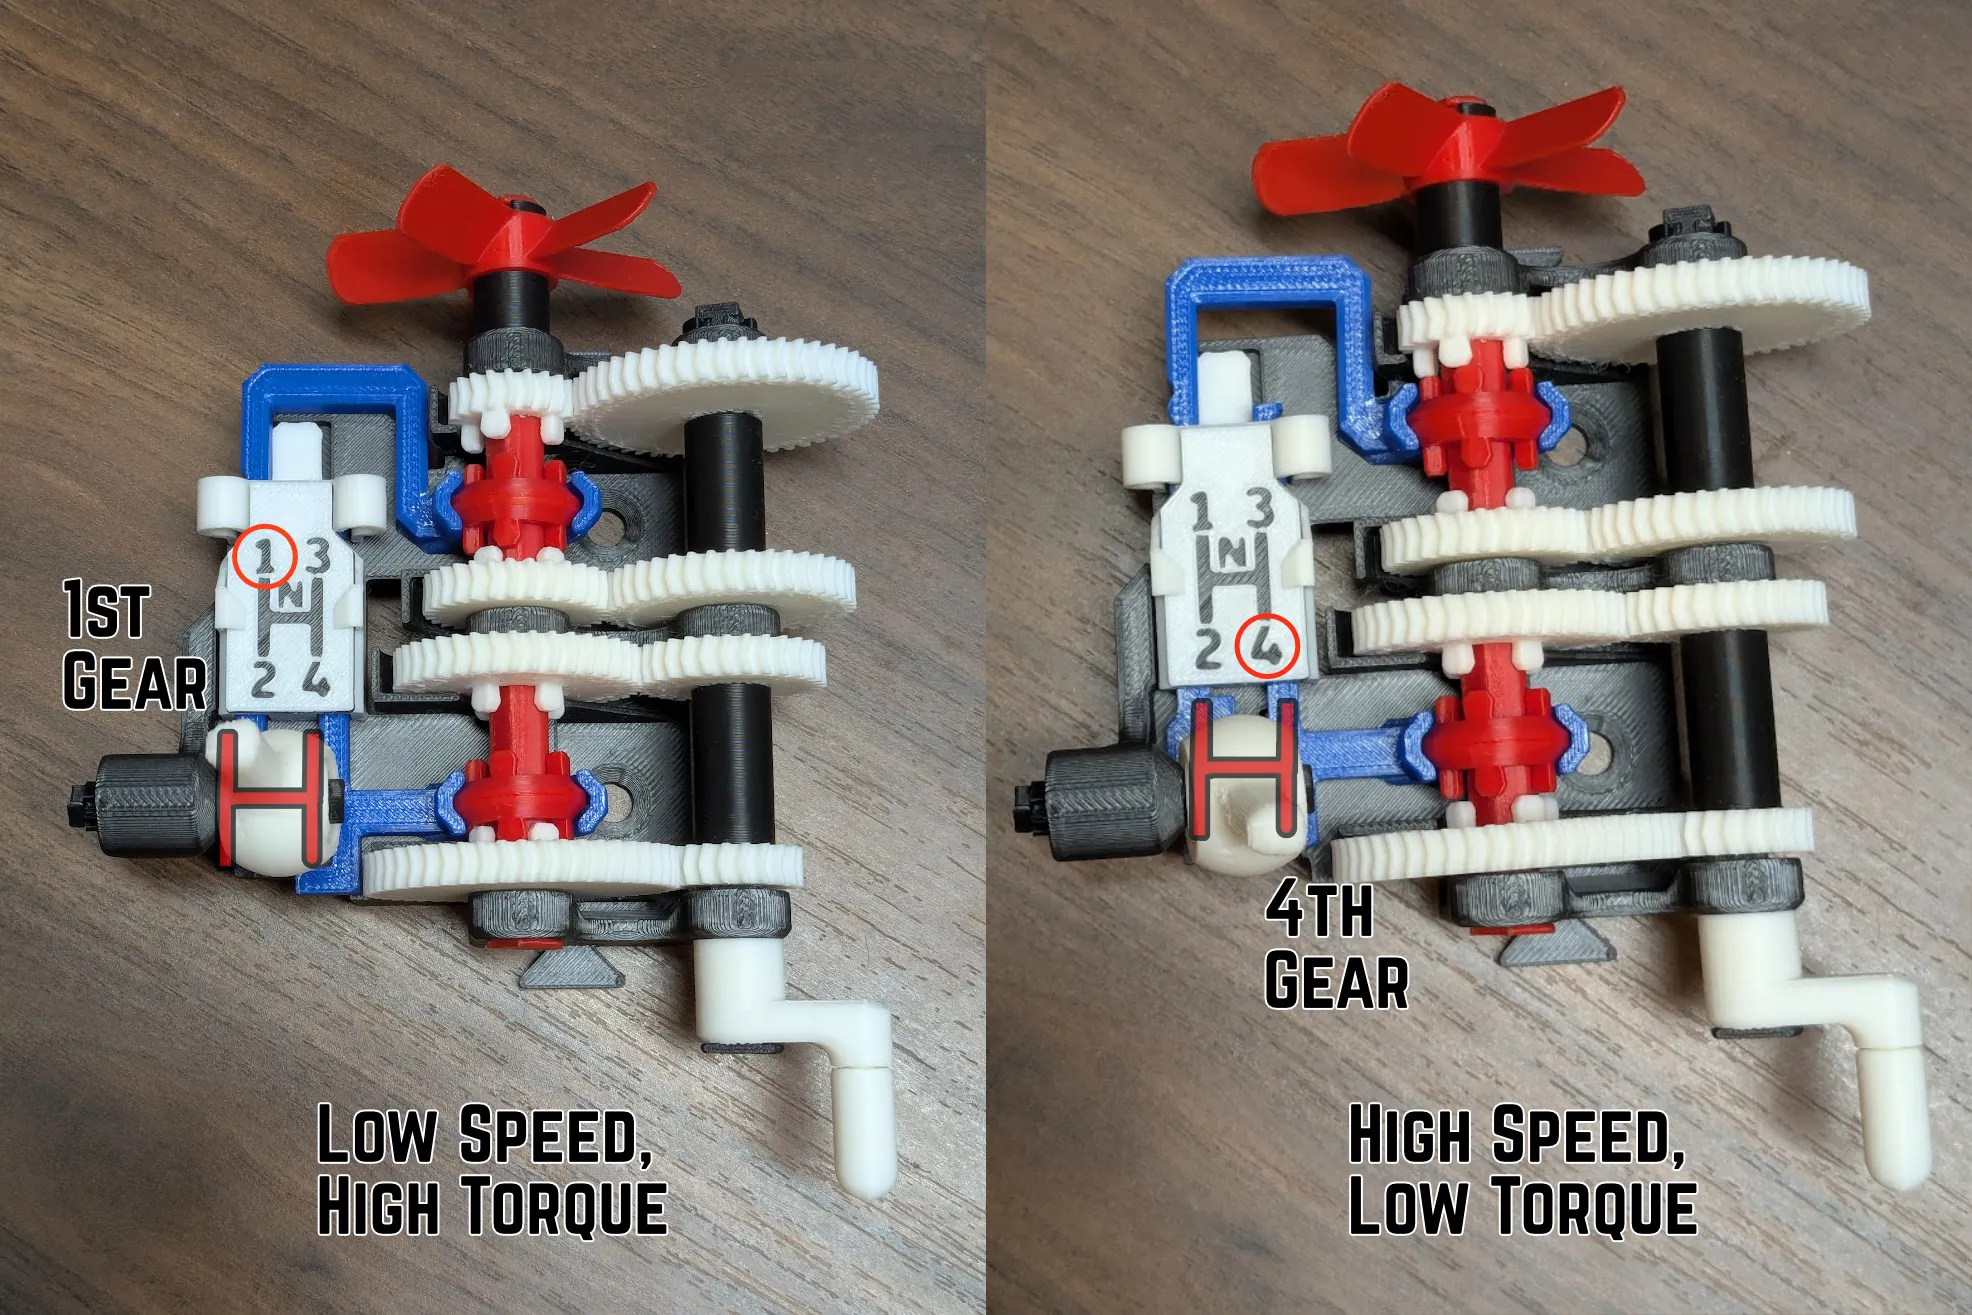
New April 2026: I added a “Inverted Gear Guide” profile that has the gear numbers swapped to align with the bottom of the selector instead, since many people find that more intuitive.
Boost Me (for free)
Like it? Leave a like.
LOVE it? Boost it!
This remix is based on

License



Comment & Rating (516)