Magnetic TO DO List Using Clip Art or Graphics


Print Profile(1)

Description
Boost Me (for free)
Please boost if you find the design useful.
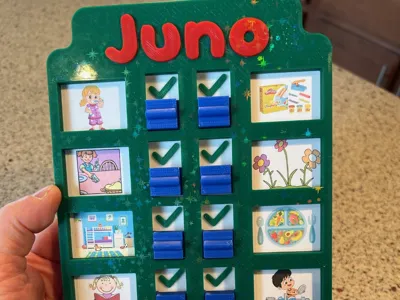
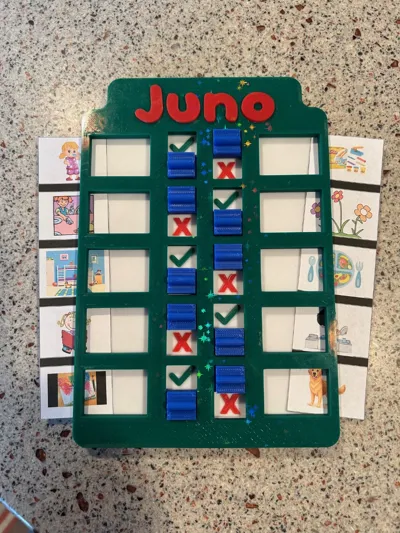
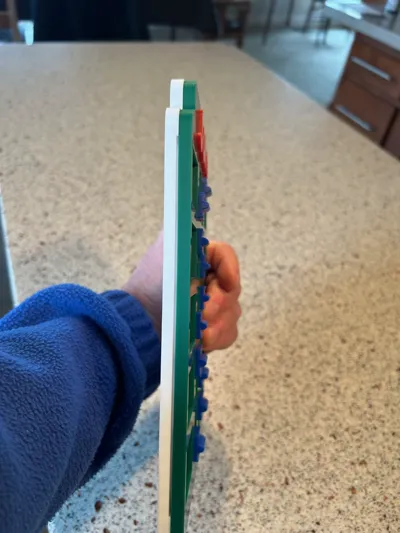
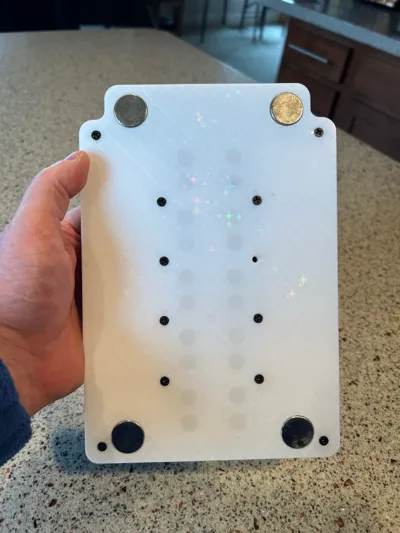
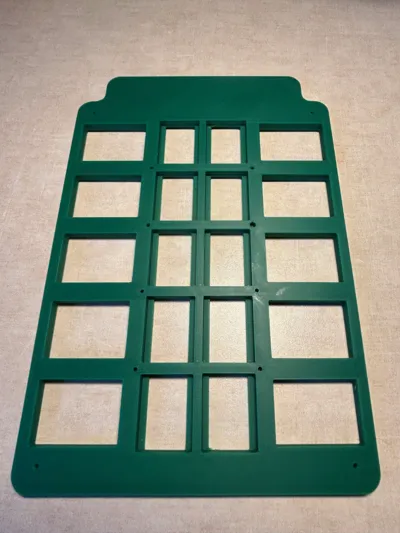
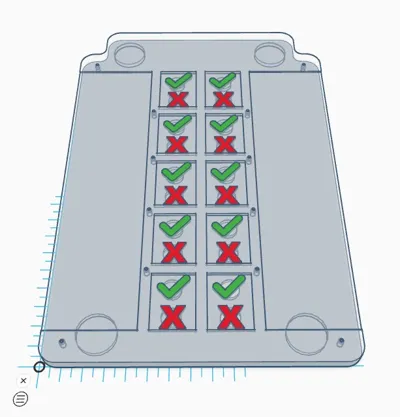
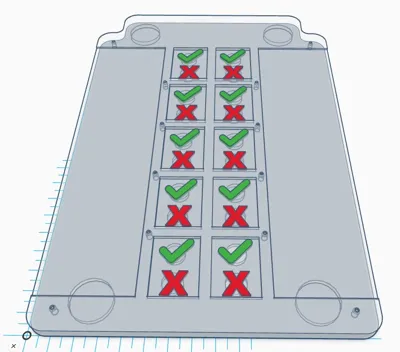
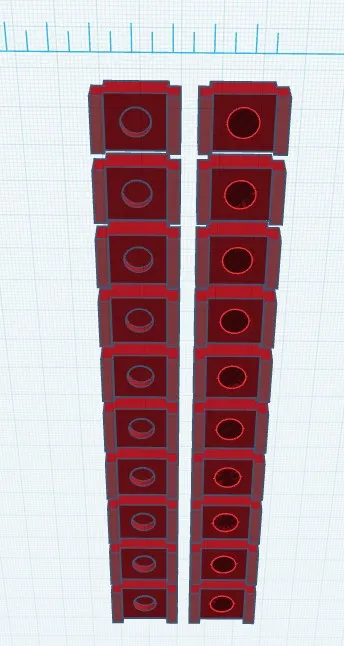
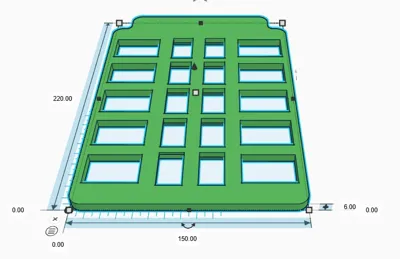
Ten item task list for kids and others. Task list are a printed list using clip art, text, graphics or stickers. Word & Excel files included in the zip file and PDF File. This design uses three different magnet sizes: 20mmx3mm, 10mmX3MM & 8mmx3MM. Buttons are moved up and down and held in place by magnets. NO FRICTION with the button movement. I have included two different button styles, you only need to print TEN buttons. The top and bottom plates are held together with M3X10mm flat head machine screws. I also printed the top plate using the Bambu Starry print plate for added effect. The “X”'s and “Check Marks” have 10mm x 3mm magnets embedded in the print. See the pix where to add a pause in the slicer to add the magnets. MAKE SURE to orient the button magnets and the magnets in the base plate CORRECTLY! You ONLY get one chance to do it correctly. Using the Starry print plate gives the buttons a smooth bottom eliminating any friction. I added a drop of super glue to each magnet in all of the buttons. Buttons will need support when printed. The top plate does not have a name embedded. I'll leave that up to you. I Used TinkerCAD, embedded the text, made a copy of the text, then made the original a hole. Then printed the “Juno” separately. It was a tight fit, but no glue was needed to hold the text in place.
Possible changes or improvements going forward:
- Add positioning pegs & holes in the bottom and top plates to help with alignment.
- Use heated inserts for the M3 Screws and use less screws.
- Print the X's and check marks in a separate plate face down on the starry plate. Then on the bottom plate extrude the X's and check marks. Afterward, glue or pressure fit the X's and check marks together.
Comment & Rating (1)