
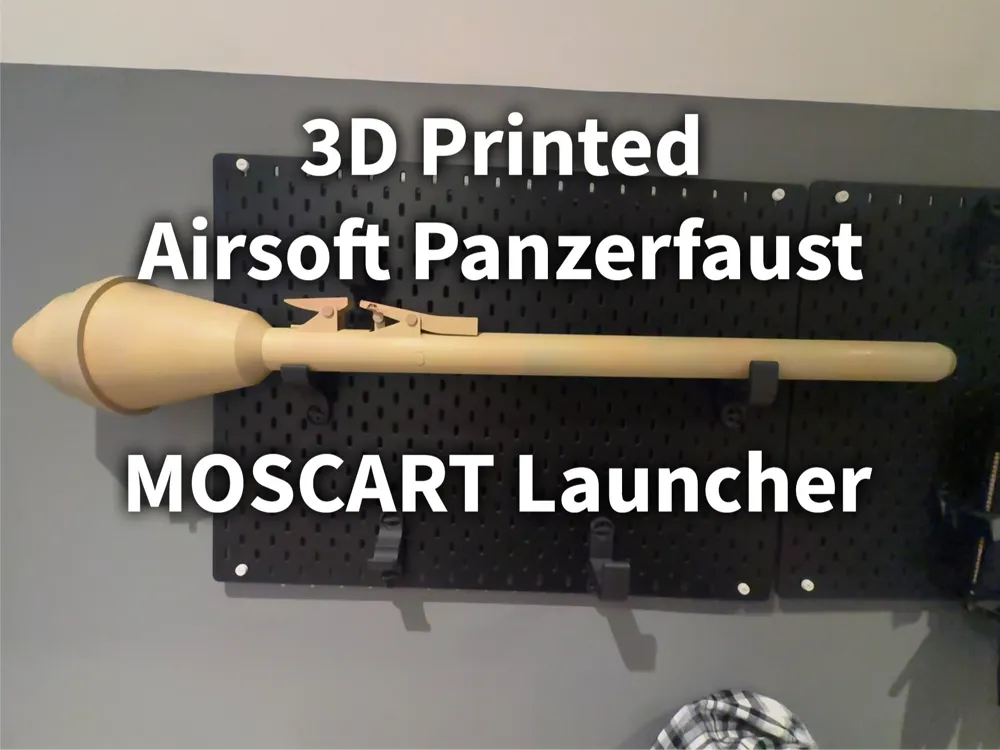
3d Printed Airsoft Panzerfaust MOSCART Launcher
Print Profile(4)


Description
based on the panzerfaust 60/100 used by germany during ww2, i plan to make more of these moscart launchers such as for the RPG-7, the US bazooka and the M79.
assembly requires no screws or parts to be sourced, only glue/superglue, even so the only part that requires glue outright is the sight spring, though i do recommend after you confirm that everything fits together correctly and the mechanism functions that you then dissassemble and glue the pins into place when you reassemble.
in the assembly video the MOSCART shell i use is a Nurprol 120 round, it should be able to accommodate virtually any MOSCART shell, i have not tested its use with a TAGINN kick shell as i do not own one, if you own one and test it i would love to hear the feedback on it as im not sure how much different their dimensions and operation is.
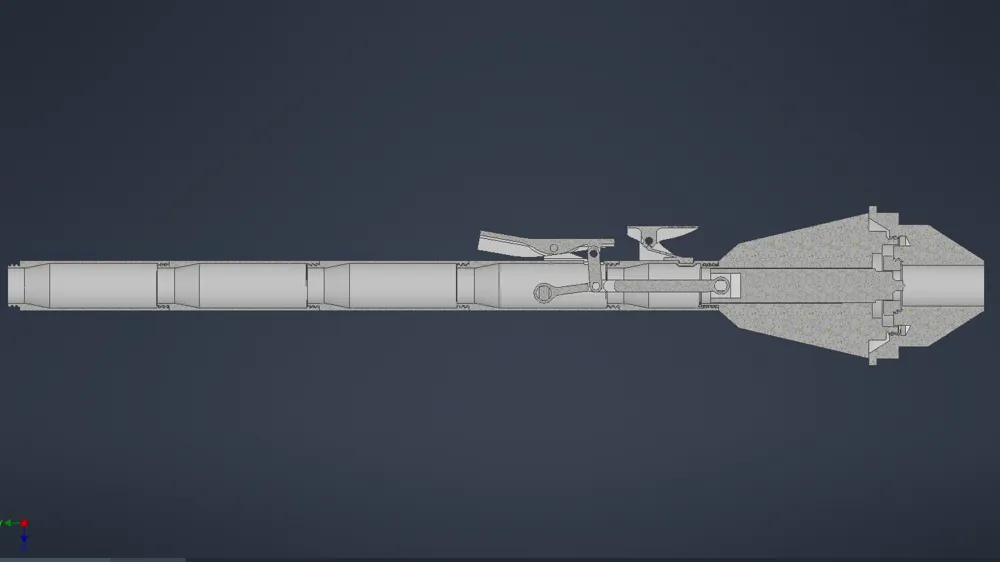
the mechanism is pretty simple, its an over centre mechanism actuated by the firing lever that pushes a piston into the firing pin of the MOSCART shell, you may need to press the leaver down again for the moscart shell to close back up
i printed all the parts out of bambulab ABS-GF, except for the sight spring which needs to be printed out of a more springy material such as PLA, i used Bambulab Matte PLA, PETG may also work, though i havent tested it, after assembly i then sprayed it in two tones of tan with spray paint.
there are 4 print profiles for this, the panzerfaust small parts contains all the required parts except for the two halves of the head, and the two profiles for the head are for with or without an AMS, one uses support interface material, the other does not, i used ABS-GF with PAHT-CF for my interface material, you should be able to change the material in the app slicer to whichever fillament combo you wish, the non AMS just uses normal tree supports, the last print profile is an adapter that gives you the ability to have 2 panzerfausts on each end, because why not!
if you have any issues/breakages please let me know as i can use this information to refine the design
Assembly Instructions:
License

You shall not share, sub-license, sell, rent, host, transfer, or distribute in any way the digital or 3D printed versions of this object, nor any other derivative work of this object in its digital or physical format (including - but not limited to - remixes of this object, and hosting on other digital platforms). The objects may not be used without permission in any way whatsoever in which you charge money, or collect fees.


Comment & Rating (17)