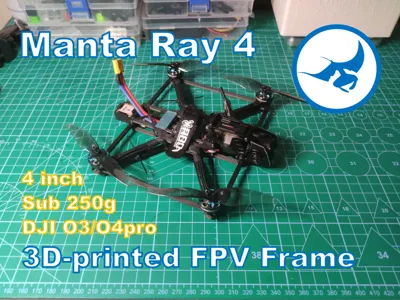
Manta Ray 4 - 3D-printed FPV frame


Print Profile(3)


Bill of Materials

Description
Update 2025/10/17
I made a printed O4 pro mount for this frame. Here


This is a 3D printed 4 inch FPV frame for sub 250g micro long range build.
Design features:
Prestressed structure to keep the frame rigid and light.
Modular O3/O4pro air unit using Speedybee25 head.
Compact low profile body design for lower air drag.
Material and build:
1. Print the frame parts. I used PET-CF (recommended). Other rigid filament like PLA+ or PETG-CF should also work, but might need to play with the tuning.
2. Apply 4 m2*10 screws to the bottom plate to mount the flight controller. All screws are self tapping, please be slow and gentle.


3. Assemble electronics and add them to the bottom plate. Part list in my build:
FC: NeutronRC AT32F435 mini AIO 3-5s 55A (Any 25.5mm AIO rated for 4s 4inch build)
Motors: Rcinpower 1404 2750kv (Any motor of similar size & kv, 9mm mounting pattern)
RX: Newbeedrone ELRS diversity rx (Any receiver)
GPS: BZ-181 (Any GPS module, the TPU mount is for 18mm size)
Props: Genfan 4024 2-blade
VTX: DJI O3 air unit
VTX mount: Speedybee bee25 nose kit
24 * m2*10
2 * m2*14
6 * m2*6
4. Put GPS module into the GPS mount. Assemble GPS mount and middle plate to the bottom plate with 2 m2*14 screws.


5. Press the top plate firmly onto the bottom & middle plate, tighten the GPS screws and add 6 m2*6 screws from underneath.
6. Use 4 m2*10 screws to install the speedybee25 nose module. The 2 printed 5mm standoffs are on the back side.


7. Use 16 m2*10 screws to assemble motors. Pinch the 3 layers of arm together hard and apply screws first. Then tight screw in diagonal terms into the motor. Make sure there is no gap between the motor and the arm during assembly.
8. Finishing up. Add battery pad, battery strap. Wrap motor cables with electronic tape. Plug the air unit into FC.


9. Setting, tunning, and fly!


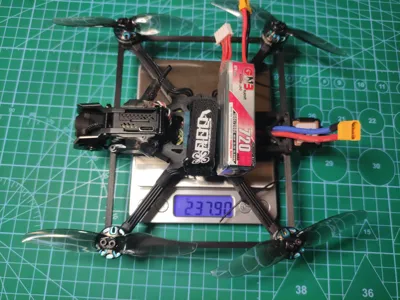
The noise profile of this frame is not great but works fine after basic tunning. My build has a total weight of 171g. With 4s 720mAh Lihv battery the weight comes to 238g. I got 11min+ cruising flight time on it.
Leave your feedback if you find this frame interesting. Also check my previous 75mm and 2 inch frames:


License
You shall not share, sub-license, sell, rent, host, transfer, or distribute in any way the digital or 3D printed versions of this object, nor any other derivative work of this object in its digital or physical format (including - but not limited to - remixes of this object, and hosting on other digital platforms). The objects may not be used without permission in any way whatsoever in which you charge money, or collect fees.
Comment & Rating (8)