
Water lily snack bowl holder

Print Profile(3)


Bill of Materials

Description

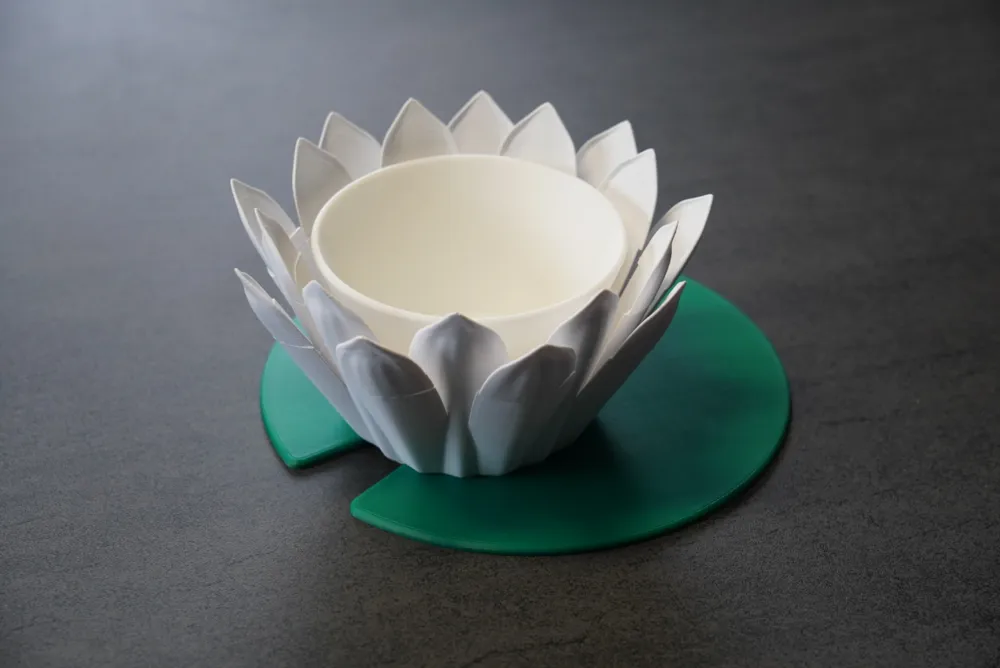
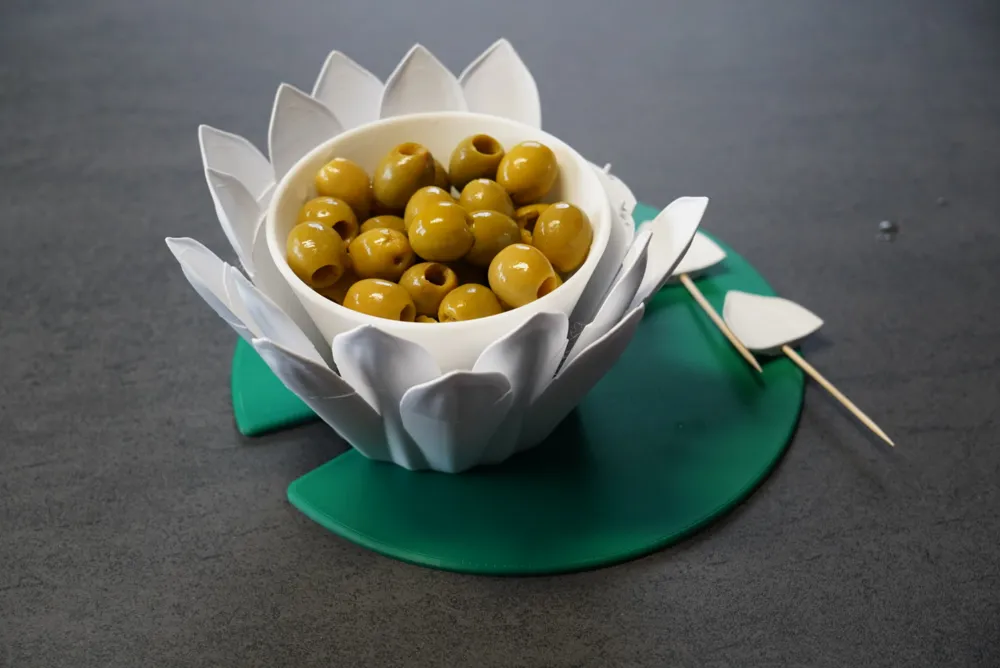
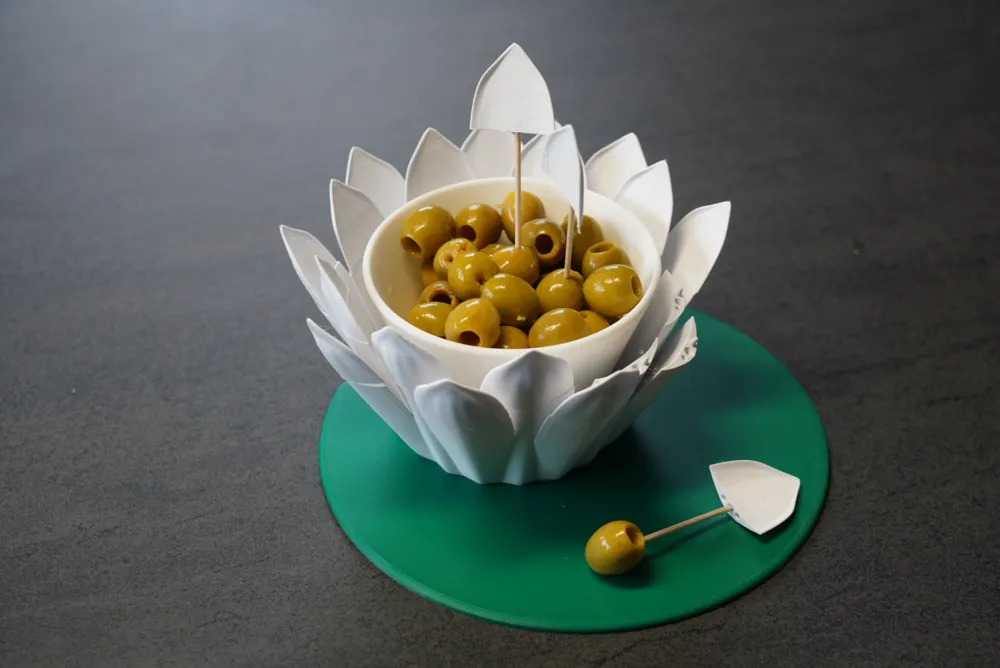
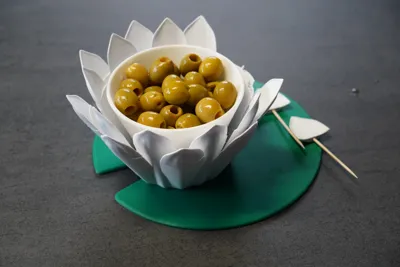
Surprise your guests with an elegant water lily.
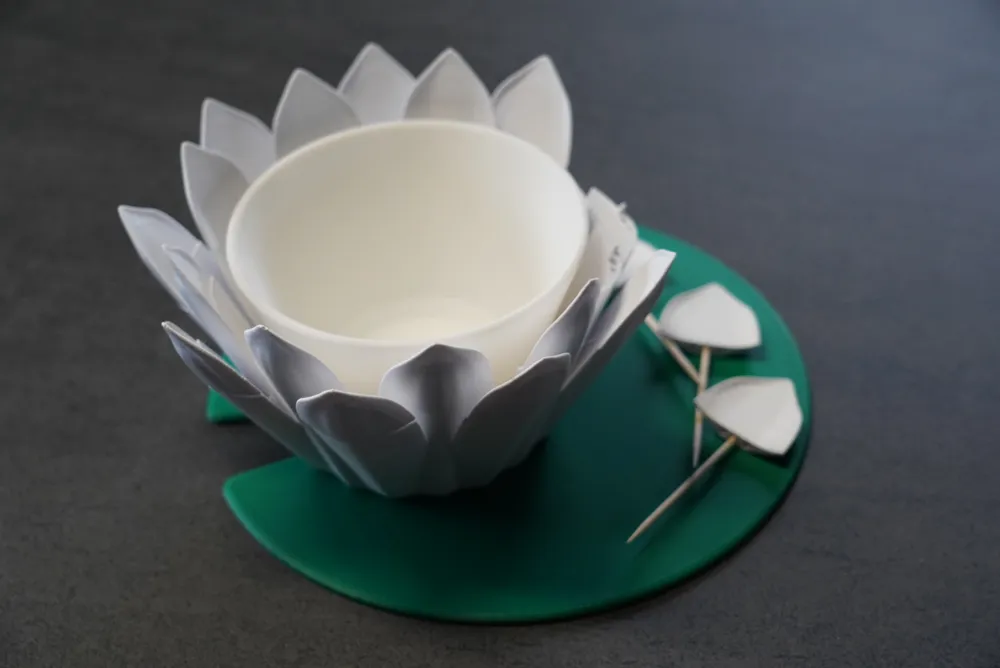
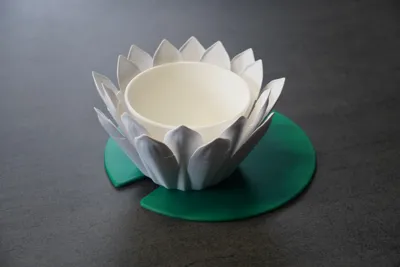
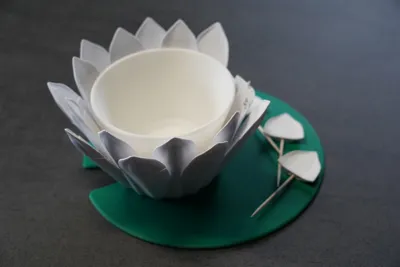
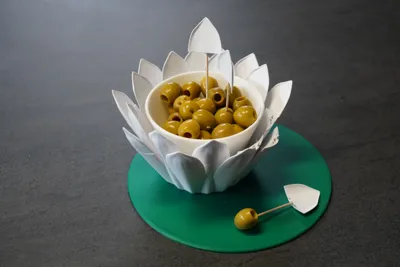
Centered around a bowl, the petals embrace it to resemble a water lily. The petals are actually 2 separate pieces, one of which holds a toothpick, which is hidden from sight until you take off the top of the petal.
Attention: read assembly instructions below!
There are 2 versions of the design. One is designed for the Corcelain “Triangle” bowl, that rests on the leaf of the water lily and can be screwed in place, the other for an IKEA bowl (I used the bowl with product code 502.589.50 - IKEA 365+ bowl , but other similarly sized bowls work as well), that should be much easier to find for everybody. The IKEA bowl isn't held in place, but still can't slide off the base because of the petals that surrond it.
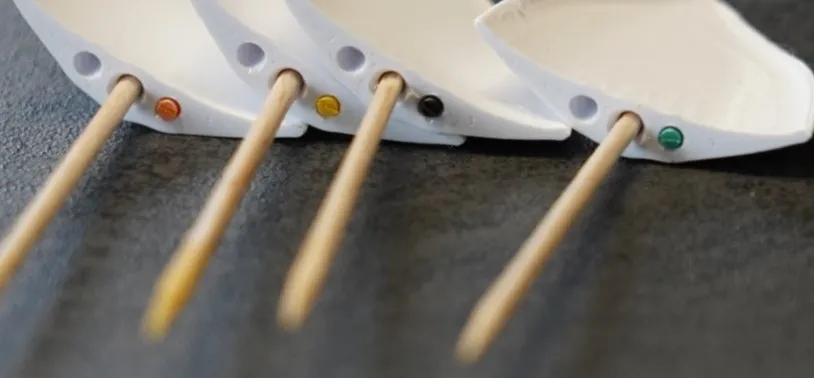
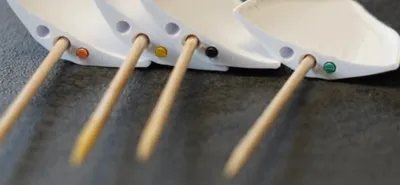
The toothpicks can just be pushed into the top of the petal, and can easily be replaced after use. Every top of the petal has room for a little piece of filament that you can jam in and then cut off, so your guests can recognize their petal and toothpick by the color (as shown in one of the pictures). Only clean toothpicks are supposed to go into the base of the petals, to keep those clean, so put them on the leaf of somewhere else, or even better… just keep snacking until the bowl is empty.
I used Bambu Lab PLA Basic mistletoe green for the leaf, and eSun PLA+ cool white for the petals.
If you print the ironed version, I suggest calibrating the ironing settings for your printer and the green filament and then setting the appropriate values in Bambu studio. I used this model for the ironing calibration: Complete Ironing Test for Pla and Petg by tholey - MakerWorld
Assembly instructions:
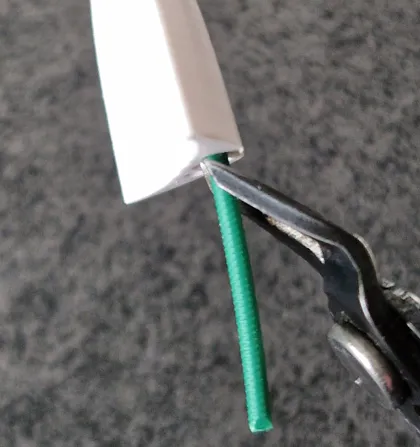
The IKEA version is designed with a larger diameter hole in the bottom, so it's necessary to jam a bit of filament into the hole in the top of the petal as in the picture below, or else the top won't align properly with the bottom. For the Corcelain version, that is optional, but also gives a cleaner look. Cut the part of the filament that sticks out off at an angle and let it stick it a bit, so it will fit in the hole in the base of the petal and ensures optimal alignment of the two parts. The angle shown in the picture works best.
Use different colors of filament if you want to help people recognize their toothpick!
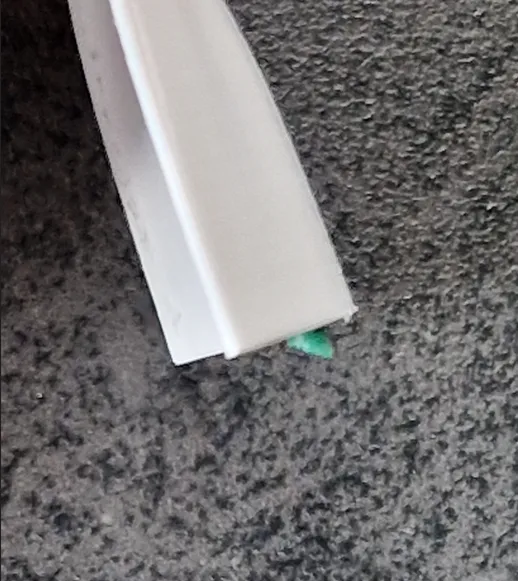
When that's done, jam a toothpick in the middle hole of the top part of the petal, and insert the combination into the base.
License

You shall not share, sub-license, sell, rent, host, transfer, or distribute in any way the digital or 3D printed versions of this object, nor any other derivative work of this object in its digital or physical format (including - but not limited to - remixes of this object, and hosting on other digital platforms). The objects may not be used without permission in any way whatsoever in which you charge money, or collect fees.


Comment & Rating (0)