Nasberry Pi


Print Profile(1)

Description
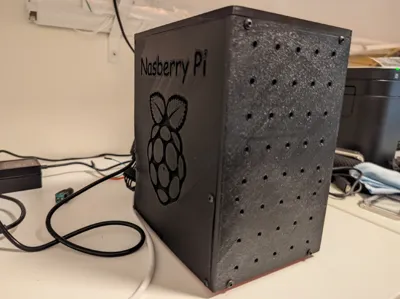
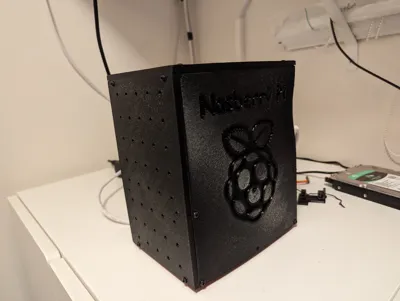
I decided to build my own power efficient NAS using a Raspberry Pi 5 and two 3.5" HDDs, and some hats.
The below components is what im using
- Raspberry Pi 5 8 GB
- Geekworm X1009 Sata controller
- Geekworm X1001 NVME controller
- HatBRICK! Commander PCIe-switch (2 PCIe)
- Kingston NV2 M.2 NVMe Gen 4 250GB
To make everything work, you need M3 standoffs (yup, M3, not M2.5) which I discovered after the design that is the wrong dimension. I solved it by simply drilling out the holes in the different boards to 3 mm. Works perfect. You also need M3 threaded inserts in order to tighten the screws used.
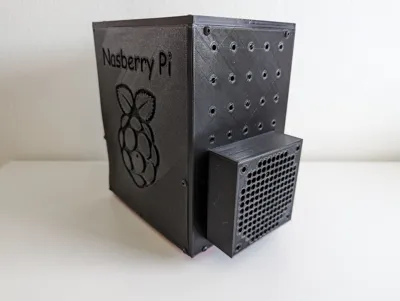
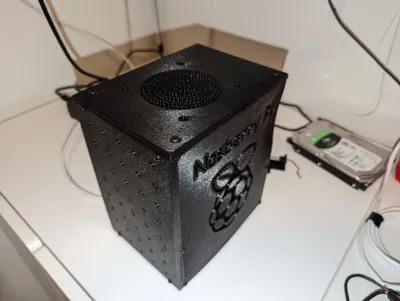
The top plate has cutout for a 80mm fan, but I havent got to try that out yet.
The most difficult part of the assembly is to get the threaded inserts level, but once thats done, its just a matter of screwing it all together.
There is no back plate available as of right now, but that is on my to-do list and to add that here as well.
The pictures of my prints have two faults.
- The sides raised for some reasons on my print bed, but thats an error on my end, not with the model itself.
- The screws used to fasten the HDDs make the sides bend a bit, but I added a cutout in the HDD bay so that shouldnt be an issue anymore if you decide to print the case.
Boost Me (for free)
Like what you see? Hit me with a boost for more of these kinds of builds.
Comment & Rating (2)