Search models, users, collections, and posts
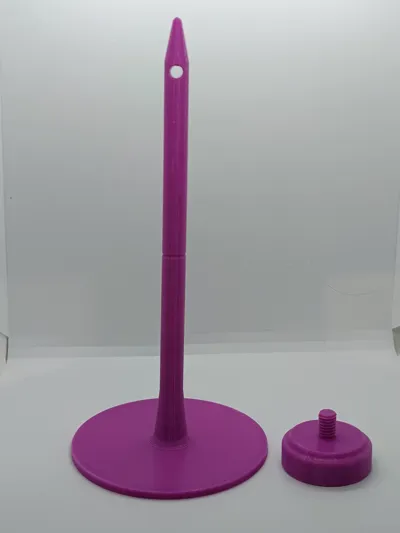
yarn winder
IP Report


Print Profile(1)

0.2mm layer, 4 walls, 15% infill
Designer
9 h
3 plates
Open in Bambu Studio
Boost
394
1135
27
5
583
312
Released
Bill of Materials
List other parts
- ballbearings608zz x 4:
- screw_M3x10mm x 1:
- screwclamp x 1:
- anti_slip_mat x 1:
Description
Content has been automatically translated.
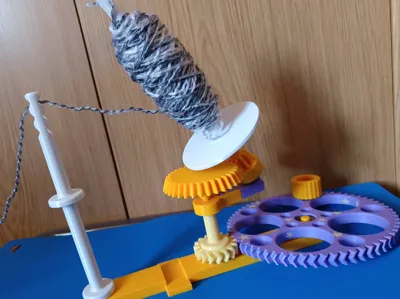
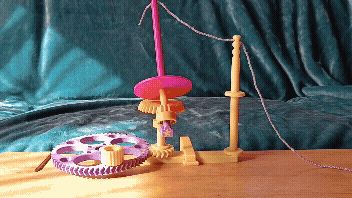
With this yarn winder, you can wind a skein of yarn into a ball
UPDATE 07.03.2026
- replaced the fixed gear with V2 ( fixedgear )
- small adjustment in the bore
- shorter rod
How it works
- attach the winder with a screw clamp, for example, to a table
- it is best to place a piece of anti-slip mat underneath
- fasten your yarn skein onto a swift
- thread the beginning of your yarn skein through an eyelet of the side rod
- and through the eyelet of the spindle
- turn the large gear with the knob, the small dark yellow gear rotates around the larger yellow gear and winds the yarn onto it
The blue wool in the photo is 100 grams
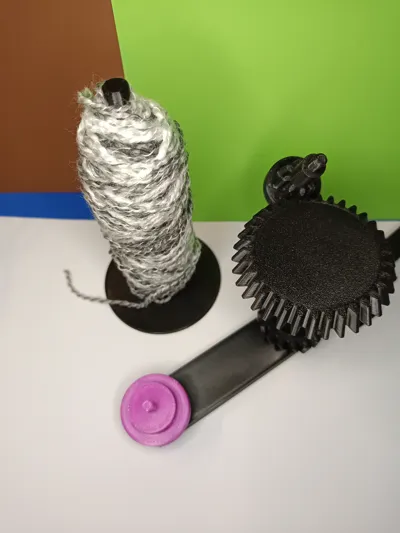
The ball of yarn can
- be unwound from the inside
- pull the ball upwards
- hold the beginning firmly
- push the ball from bottom to top off the rod
- pull the ball upwards
- be unwound from the outside
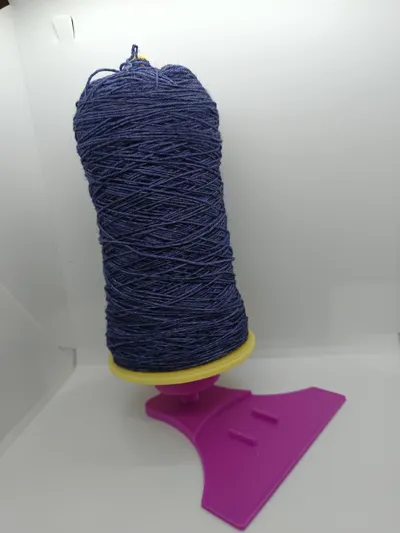
- with the adapter, you can easily get a rotatable yarn holder
- unscrew the yarn holder from the winder
- screw the yarn holder with the yarn onto the adapter
- place the adapter on the winder instead of the large gear
- or onto the base of the yarn swift https://makerworld.com/de/models/1195390-yarn-winder#profileId-1207945
- with the adapter, you can easily get a rotatable yarn holder
- the screw clamp can be found here: https://makerworld.com/de/models/1158951-screw-clamp#profileId-1164672
ATTENTION
- only tighten the screws very lightly
- it may not be possible to remove the ball bearings from the parts without destroying the printed parts
- as the last step of assembly, insert the large wheel with the knob offset so that your hand does not bump it when turning. Hold the gear slightly at an angle for this
- the upper larger gear, which is fastened with the M3 screw, does not rotate
- different settings are defined in the print profile, even within one part
UPDATE:
- changes to the yarn holder and adapter to make them even more stable, both have also been replaced in the print profile
- all parts can also be printed in PETG
I printed the winder with different filaments
- black PLA Basic
- purple PLA Matte
- light yellow PETG Basic
- yellow PLA Basic
- white PLA Basic
- pink PETG Basic
Assembly:
- first remove the tree supports, they break off very easily
- the ball bearings are inserted into these positions
- carefully screw and insert all parts as shown in the pictures
 |  |  |
 |  |  |
 |
License
This user content is licensed under a Standard Digital File License.
You shall not share, sub-license, sell, rent, host, transfer, or distribute in any way the digital or 3D printed versions of this object, nor any other derivative work of this object in its digital or physical format (including - but not limited to - remixes of this object, and hosting on other digital platforms). The objects may not be used without permission in any way whatsoever in which you charge money, or collect fees.
Comment & Rating (27)