Spool Racer Wind-Up Toy


Print Profile(1)

Description
Download my newest model here! ;) https://makerworld.com/en/models/2555081
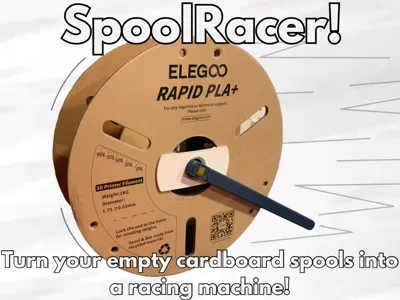
Introducing the SpoolRacer – a fun and eco-friendly toy that gives empty cardboard filament spools a whole new life! If you’ve ever found yourself with a bunch of leftover spools, this little project is the perfect way to turn them into something awesome. Using just a rubber band and a little bit of winding, you can transform these spools into a wind-up racer that zips across the floor!
It’s super simple to put together if you use my assembly guide, and once you do, you’ll have a fun new toy to race against friends or just watch zip around. It’s a great way to get creative and make something out of what would normally be tossed in the recycling bin. Plus, it’s an awesome way to show how recycling and playtime can go hand-in-hand.
So grab those empty spools, wind up your rubber band, and get ready to race your very own SpoolRacer!
For assembly, please refer to the guide below⬇️
Boost Me (for free)
Models like these are difficult to make. Boosting means so much to me. It's a great way to show your support! :)
Membership
If you would like to support me even more, please sign up for the support tier of my membership. This helps me pay for filament so I can keep on producing models like this. Let's keep the good vibes going! ;)
To make assembly a whole lot easier, I also designed a custom assembly tool!
Step 1:
Take your rubber band of choice and put it onto the cap with the hook. If you are using small rubber bands, it is recommended to use a few of them. If you are using one large rubber band, I recommend looping it around twice.


Step 2:
Put the cap with the hole in it onto your spool. It is best to put 1 side in and the bend it so the other side goes in. Once in, press down firmly to get it flat.


Step 3:
Attach the assembly tool to the rubber band(s) and slide the smallest piece on, through the whole assembly tool.


Step 4:
Slide the bar through the rubber band(s) and remove the assembly tool. Then pull the rubber band(s) through and snap the 2 pieces together as shown.


Step 5:
Slide the whole bar through the spool and the hole on the other side. The repeat step 2 to get the other cap on.


Step 6:
Slide the bar all the way through and put it in it's hole.


Step 7:
Wind it up and let it rip! Don't wind too far or else it will rip itself. (No pun intended)
Membership
If you’d like to support me, consider joining my Support Tier Membership! For just $3 a month, you’ll be making a huge impact on my work. Your contributions help me keep creating, improving, and innovating! 😁
No AI is used in this model. All of my models are made by me in Fusion 360.
License
You shall not share, sub-license, sell, rent, host, transfer, or distribute in any way the digital or 3D printed versions of this object, nor any other derivative work of this object in its digital or physical format (including - but not limited to - remixes of this object, and hosting on other digital platforms). The objects may not be used without permission in any way whatsoever in which you charge money, or collect fees.
Comment & Rating (15)