
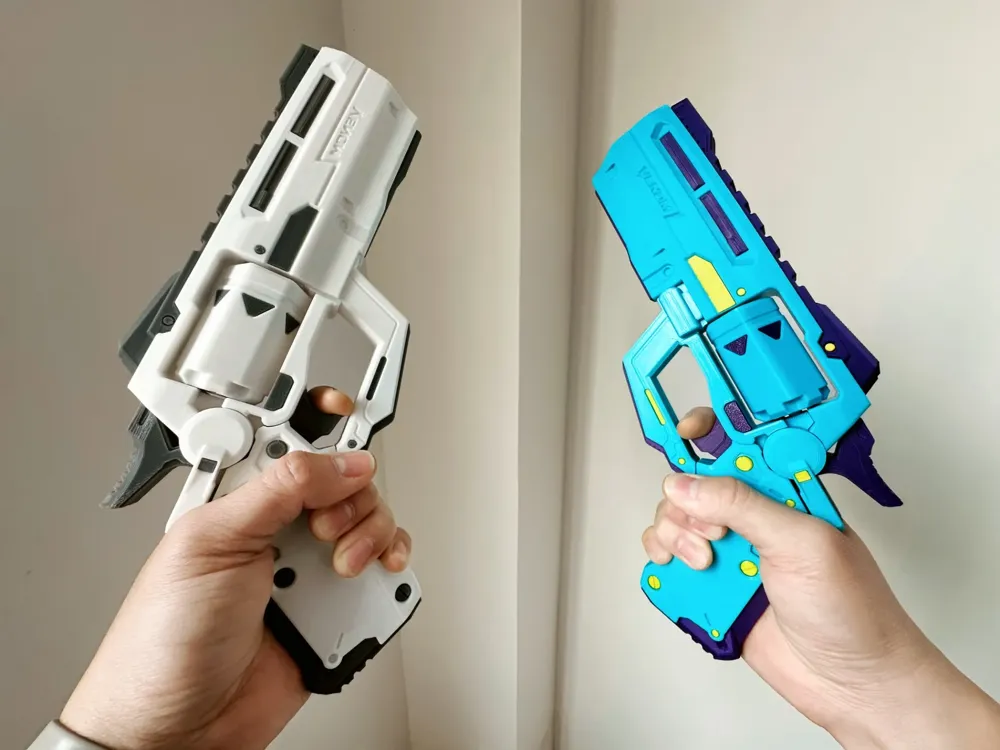
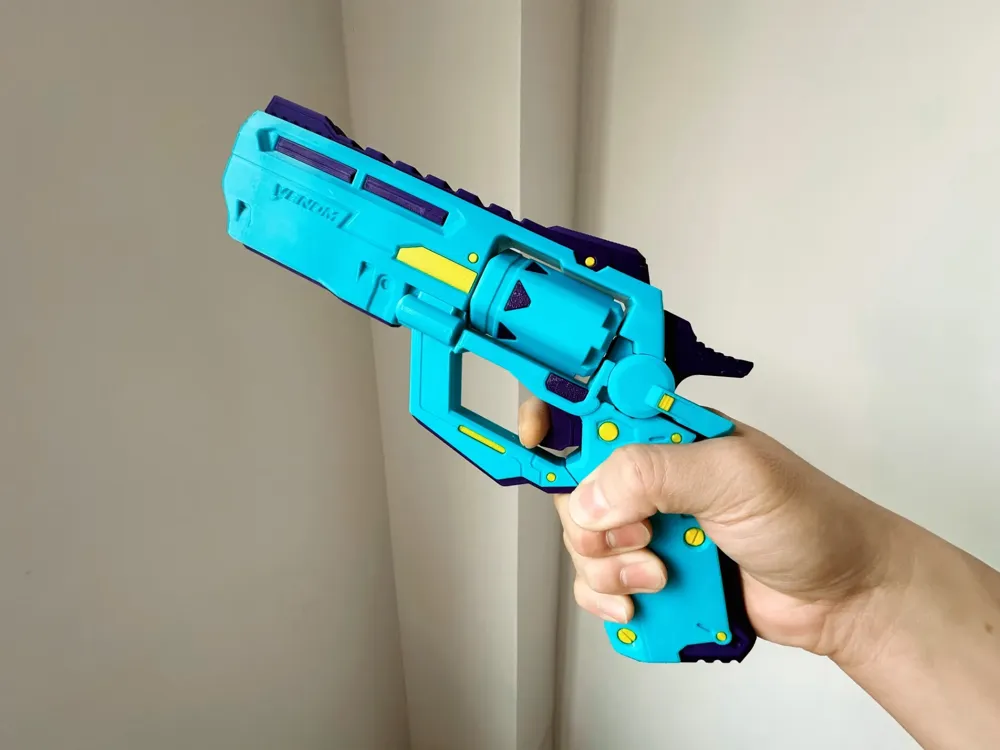
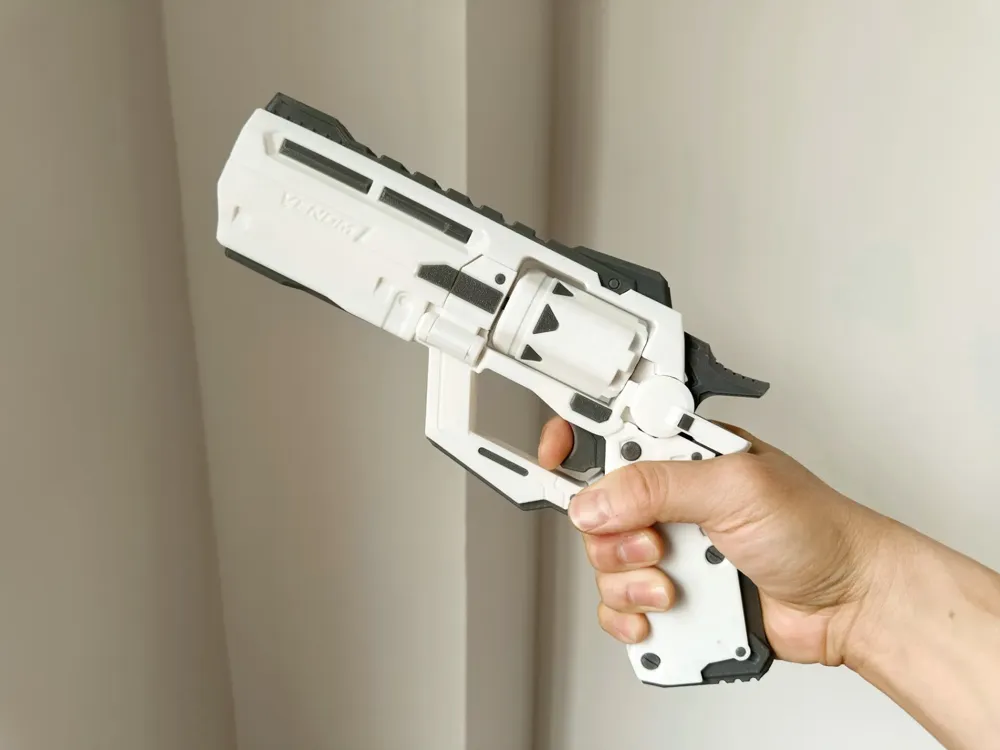
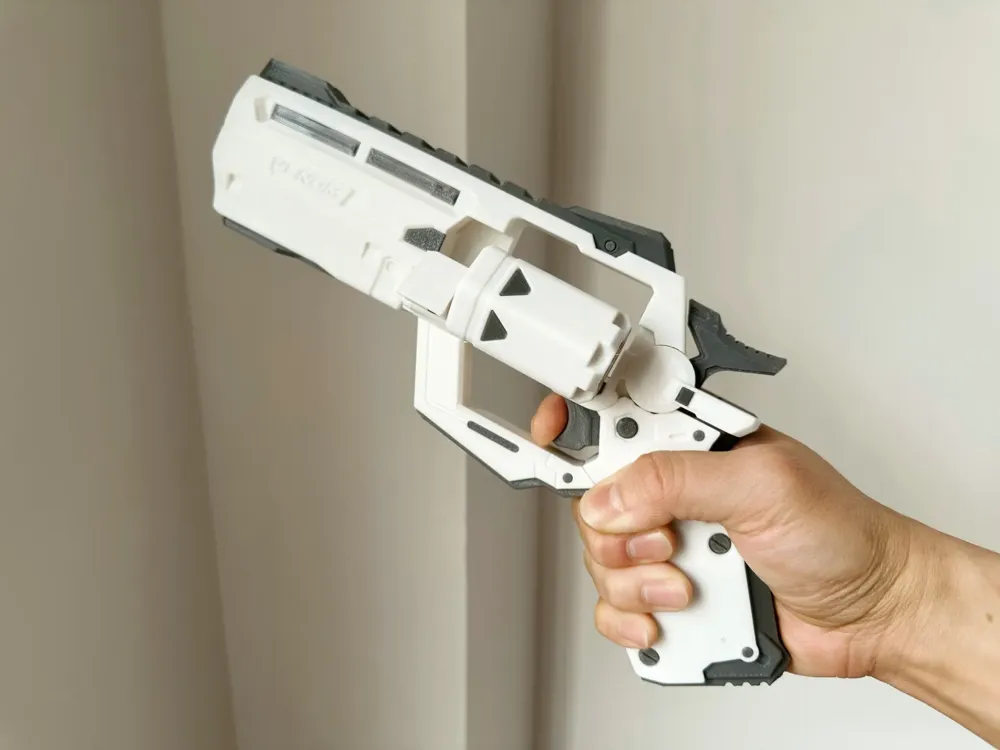
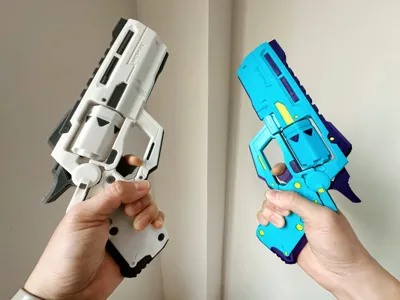
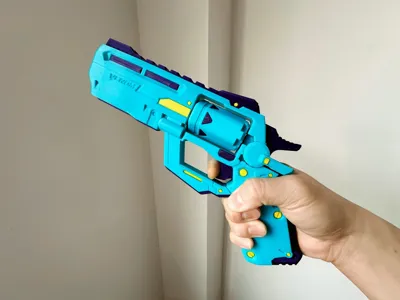
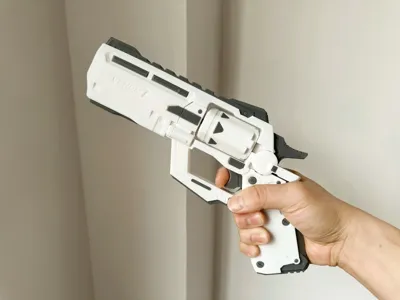
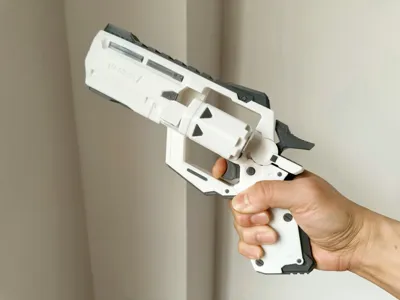
Venom X Sci-Fi Style Pistol
Print Profile(4)
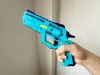

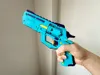
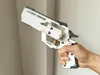
Description

The model is available in standard and metal-free versions, the standard version featuring an additional magazine ejection function.
Standard Metal Parts List:
M3 x 25 Socket Head Cap Screws
M6 x 35 Cylindrical Pins
bambulab D6 x 3 Round Magnets (CA007)
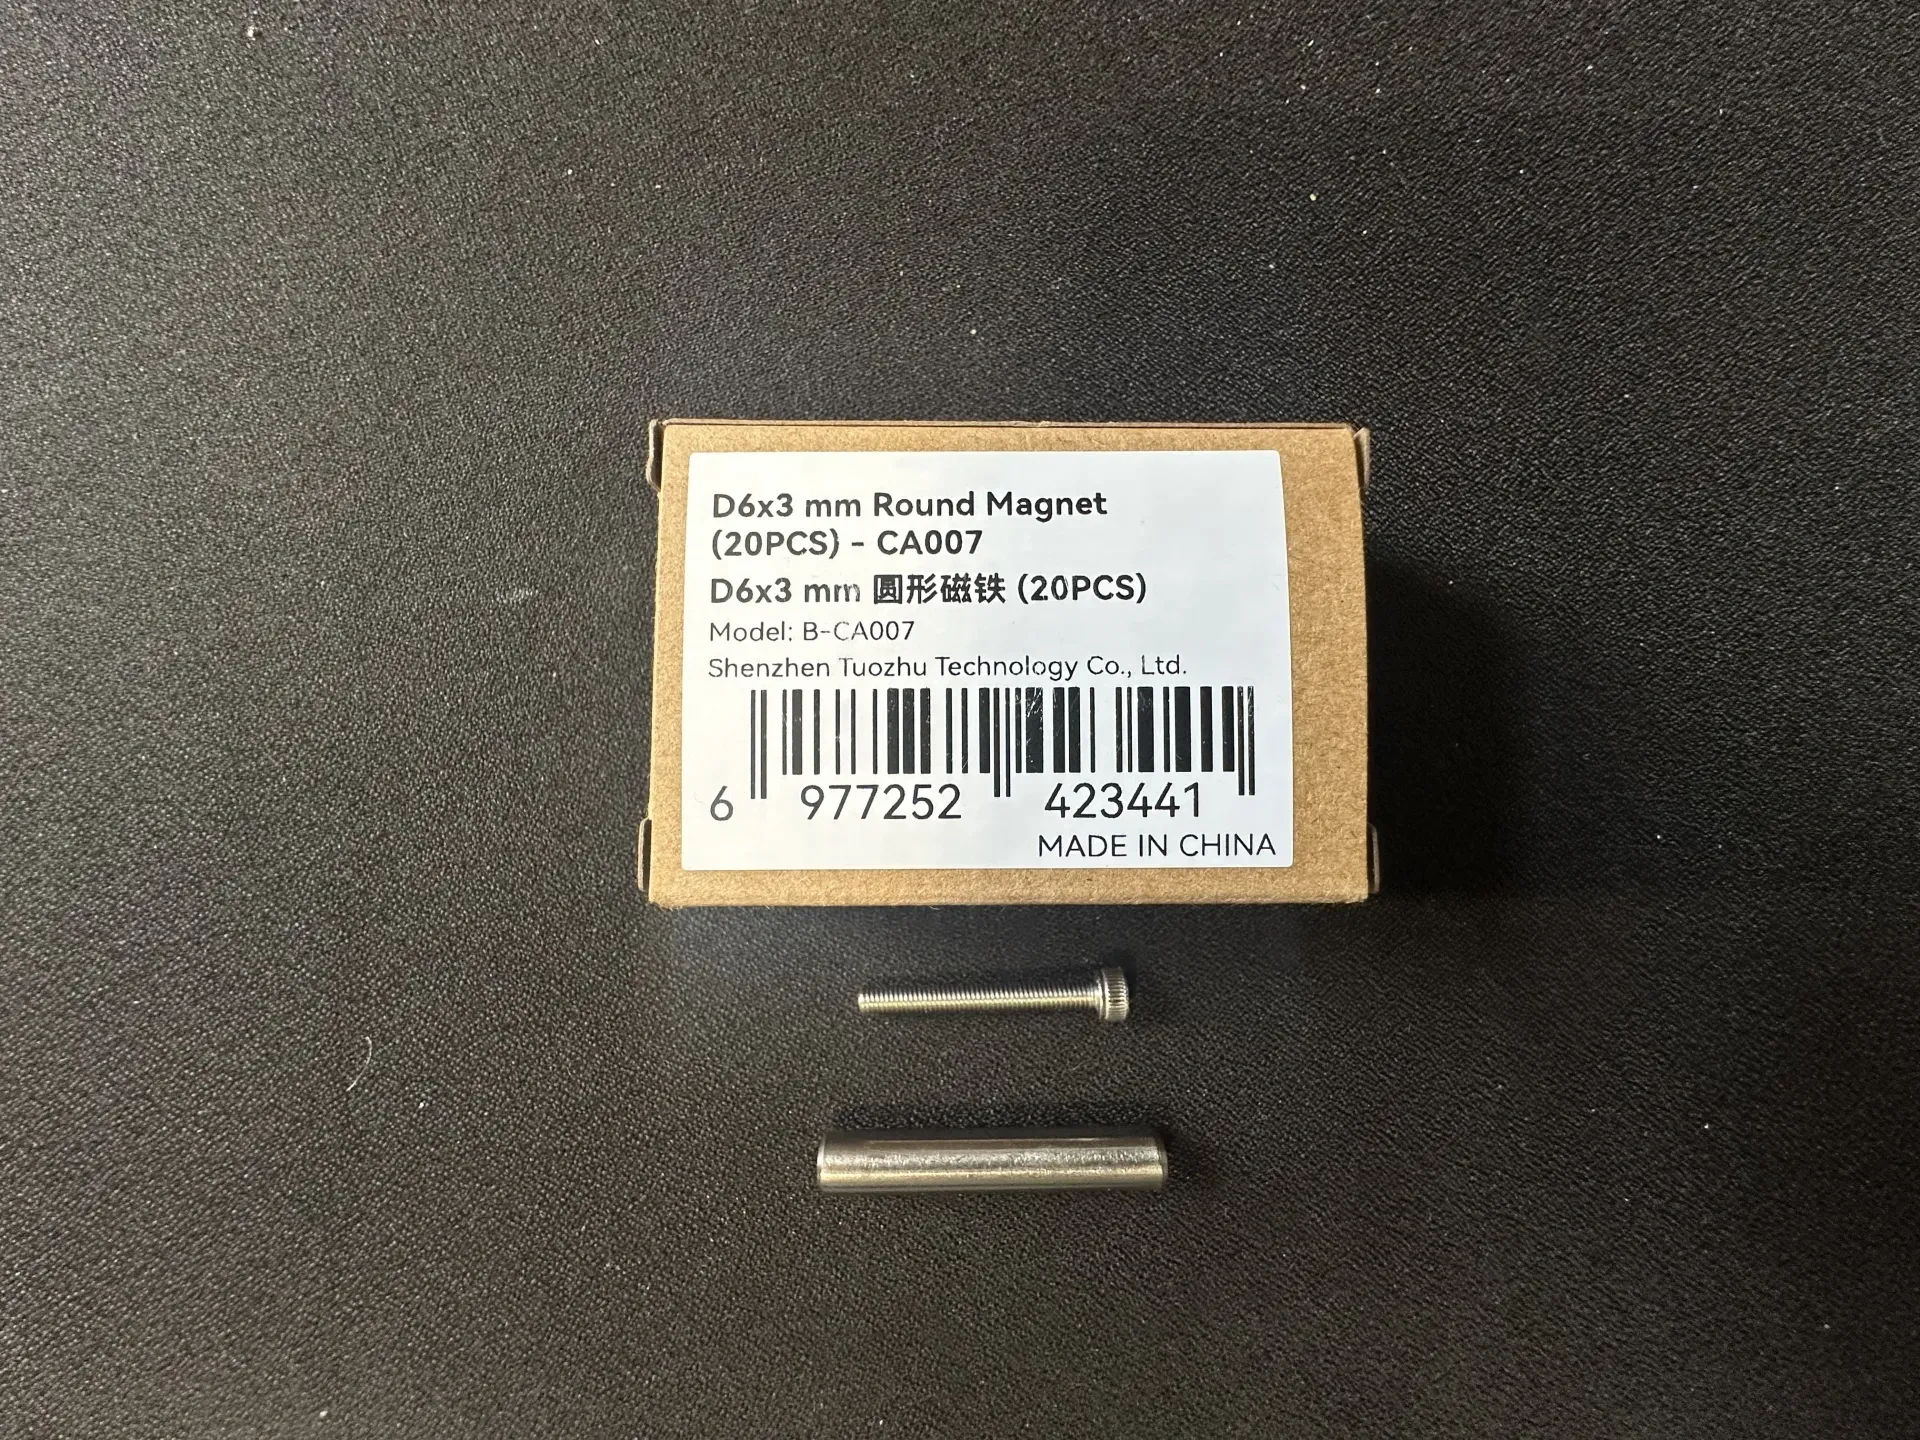
Assembly Instructions:
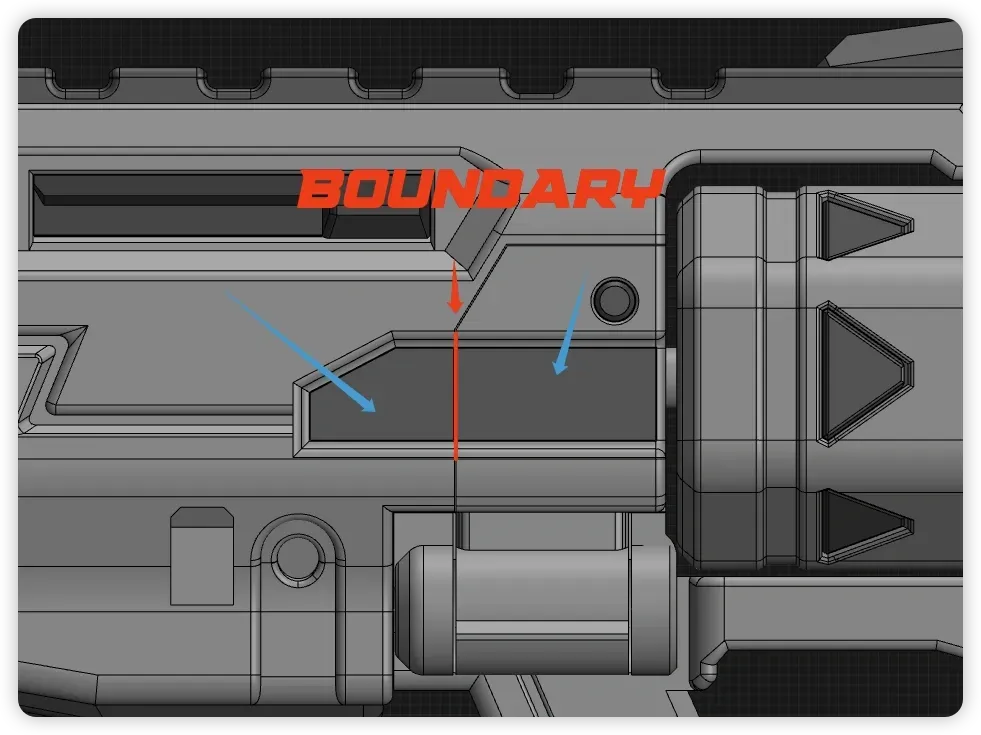
When adhering the two decorative plates, ensure they do not extend beyond the boundaries, as this may impede magazine retraction.
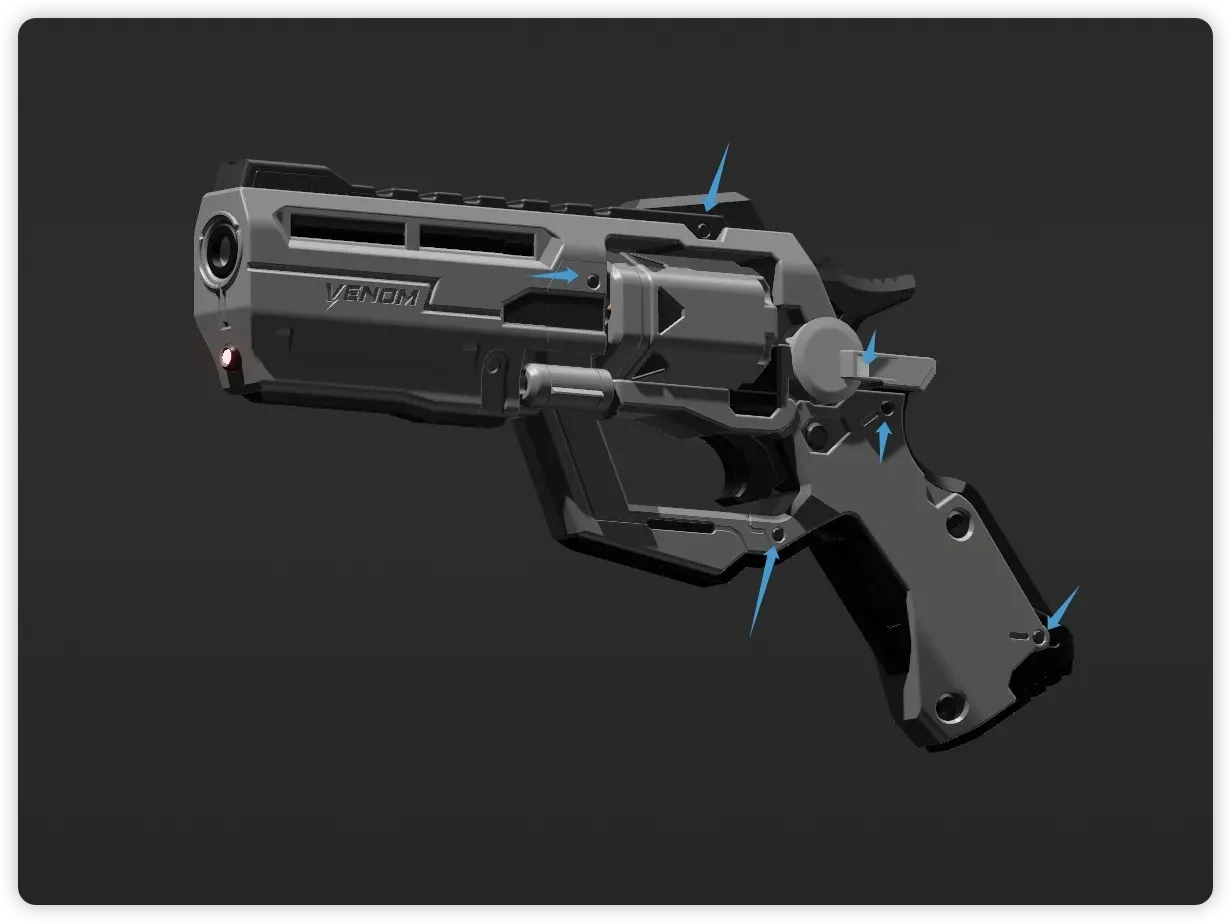
Initially try installing the smaller decorative pieces without adhesive, pressing them into place. The size of the gap may vary depending on the printer and filament used.
For the standard version, remember to identify the magnet polarities before installation. Mark the magnets to avoid confusion.
Like this model type, give it a thumbs up!
Boost Me (for free)
If you enjoy this model, please boost me. Your support fuels my creation of more high-quality models🤡
👀 For enthusiasts of this model type, remember to follow for immediate access to upcoming releases and development updates. Share your valuable feedback on models under development.
Adhesive Bonding Tips:Beginners are advised to use 409 adhesive with a small dropper (usually included with purchase). Its lower fluidity enhances control. Less is more—a moderate amount suffices for a secure bond. Many parts are designed with interlocking features to prevent easy disassembly. Excess adhesive can lead to overflow and affect aesthetics. Avoid applying adhesive to part edges to prevent overflow during assembly.
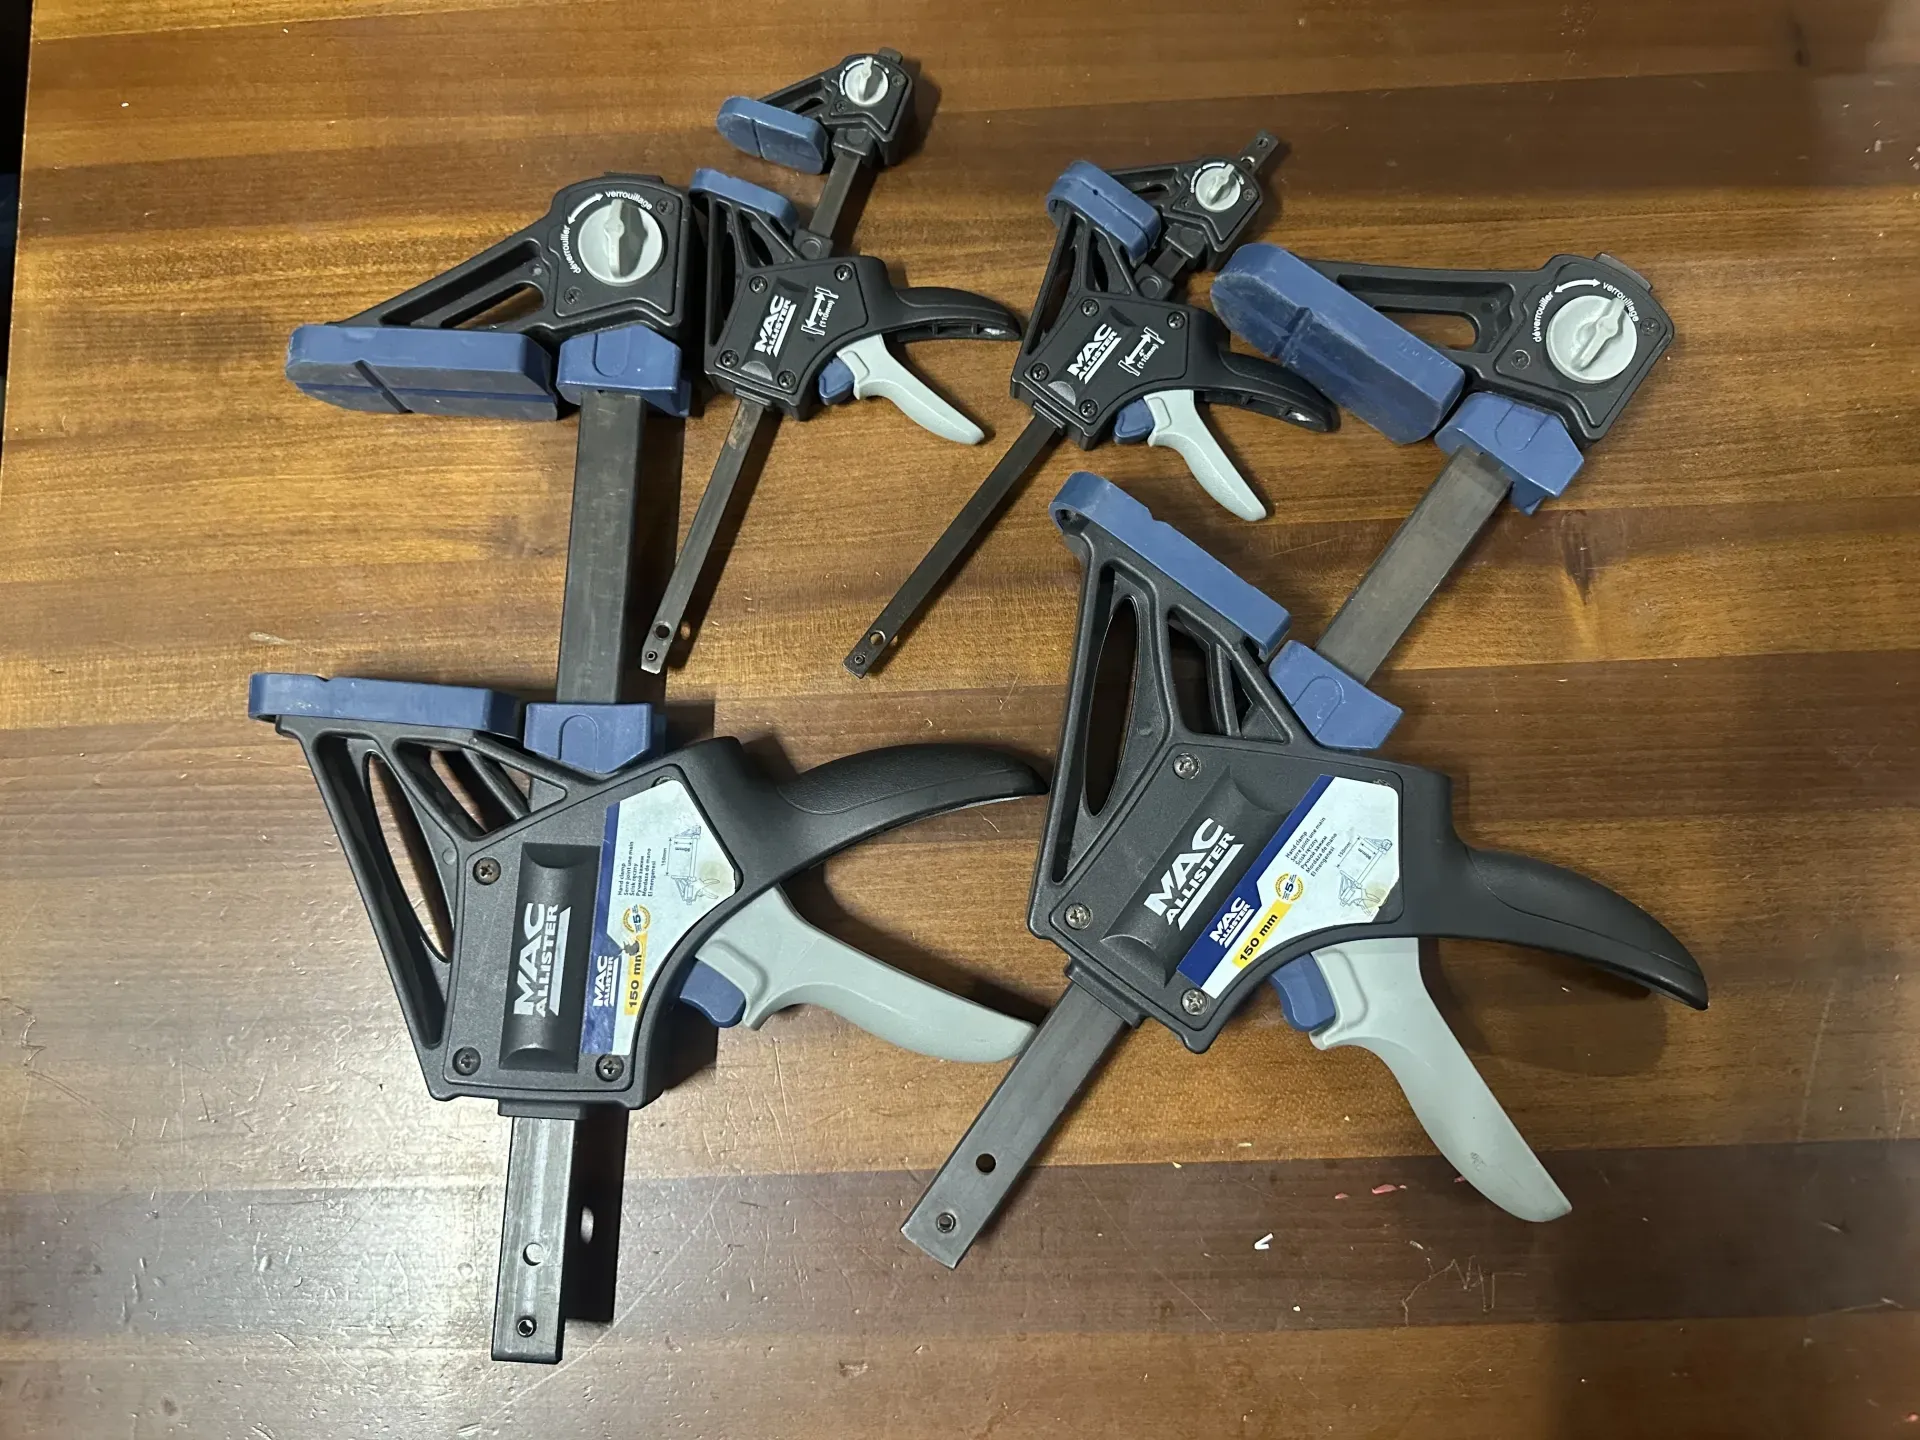
During bonding, use clamps or weights to secure the assembled parts, minimizing gaps.
Allow the adhesive to fully cure before proceeding.
Complete Assembly Log:
License

You shall not share, sub-license, sell, rent, host, transfer, or distribute in any way the digital or 3D printed versions of this object, nor any other derivative work of this object in its digital or physical format (including - but not limited to - remixes of this object, and hosting on other digital platforms). The objects may not be used without permission in any way whatsoever in which you charge money, or collect fees.


Comment & Rating (134)