
Retractable WDT Espresso Tool


Print Profile(5)


Description
Boost Me (for free)
Feel free to leave a boost if you enjoyed the model!
I love using WDTs when making espresso, but i don't like having such sharp needles out in the open. I have longed for a WDT which can be retracted while still being useable single handedly to not interfere with the workflow. I wasn't able to find one that was functional and looked nice so i decided to take a stab at making my own.
Print Instructions
- .4 nozzle
- .2 layer height
- I normally print in the following orientation:
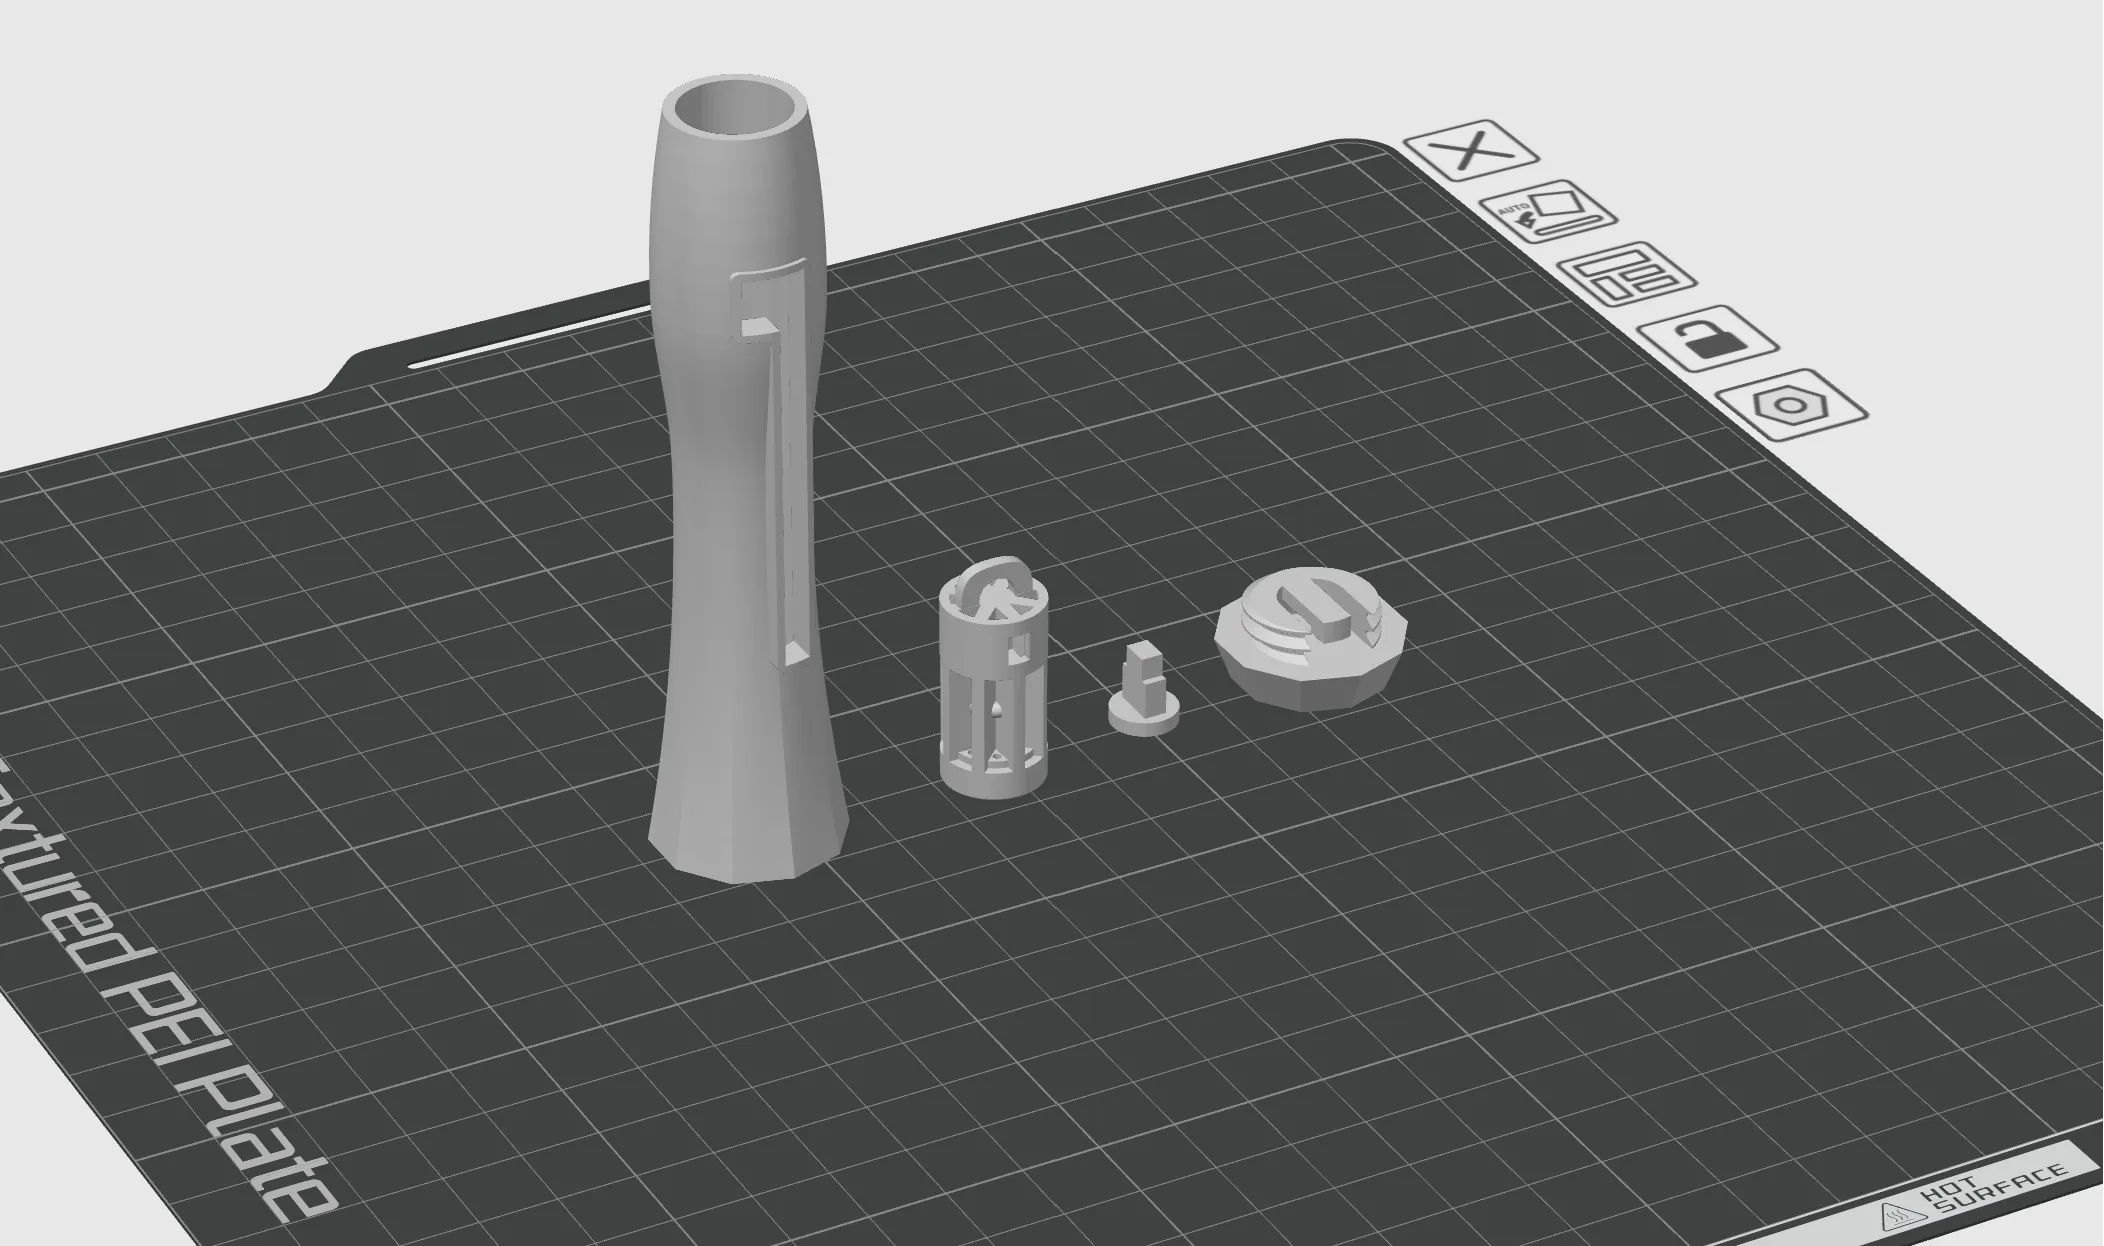
- You will need to place a small support on the bottom piece like this:
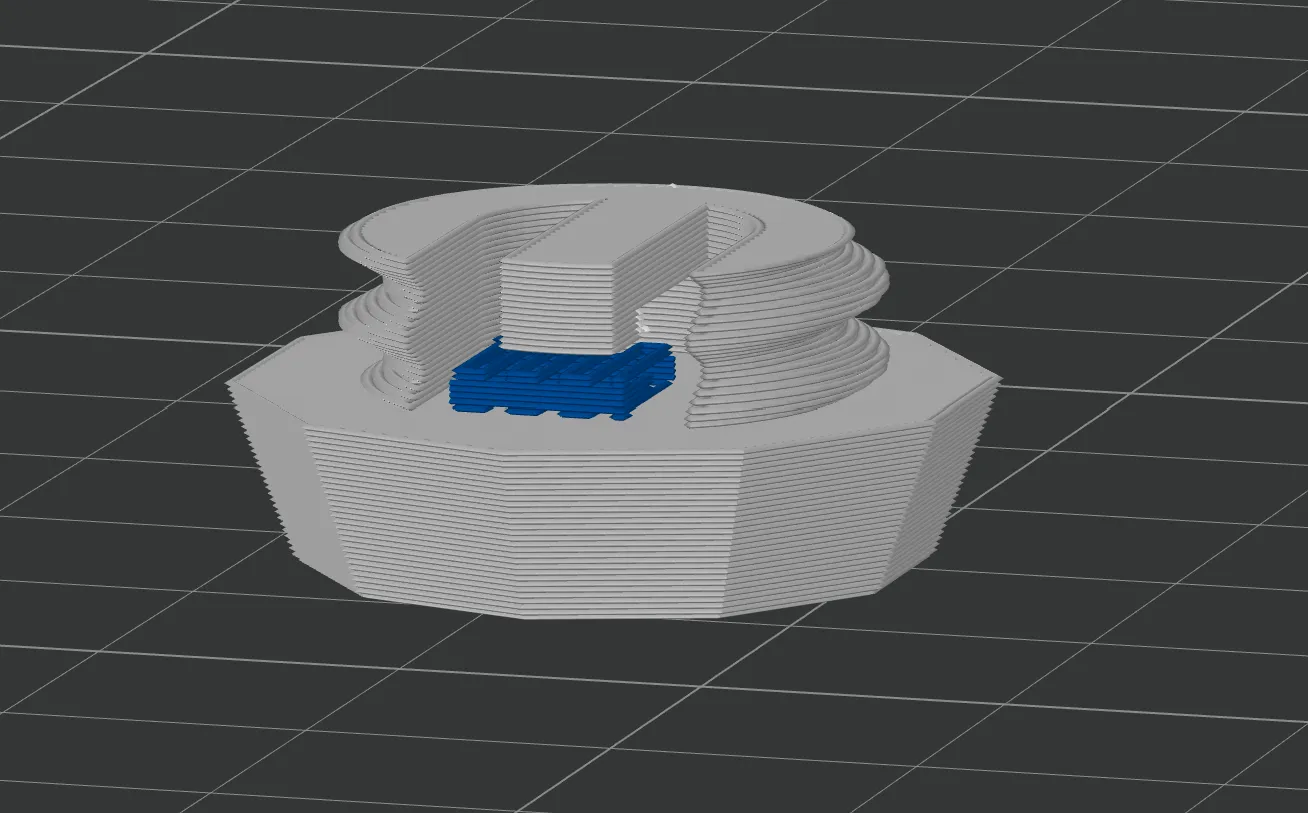
- Other than that, no support or brim should be required
External material needed
- Rubber band, i purchased a pack with different sizes to experiment with which size worked the best for me.
- 8 Needles with dimensions .3mm x 50/60mm depending on which variant you are printing. Any acupuncture needles with the handle type you see in the pictures should do. This updated design will work with both 20 and 30mm handles (30mm are the most common)
- Super glue (optional)
Assembly instructions:
- Before getting started, check to see if you have any stringing inside the shell from the printing process. This can happen near the overhangs at the top, and if so just make sure to remove and pieces that would interfere with the sliding mechanism
- Attach rubber band to inner piece
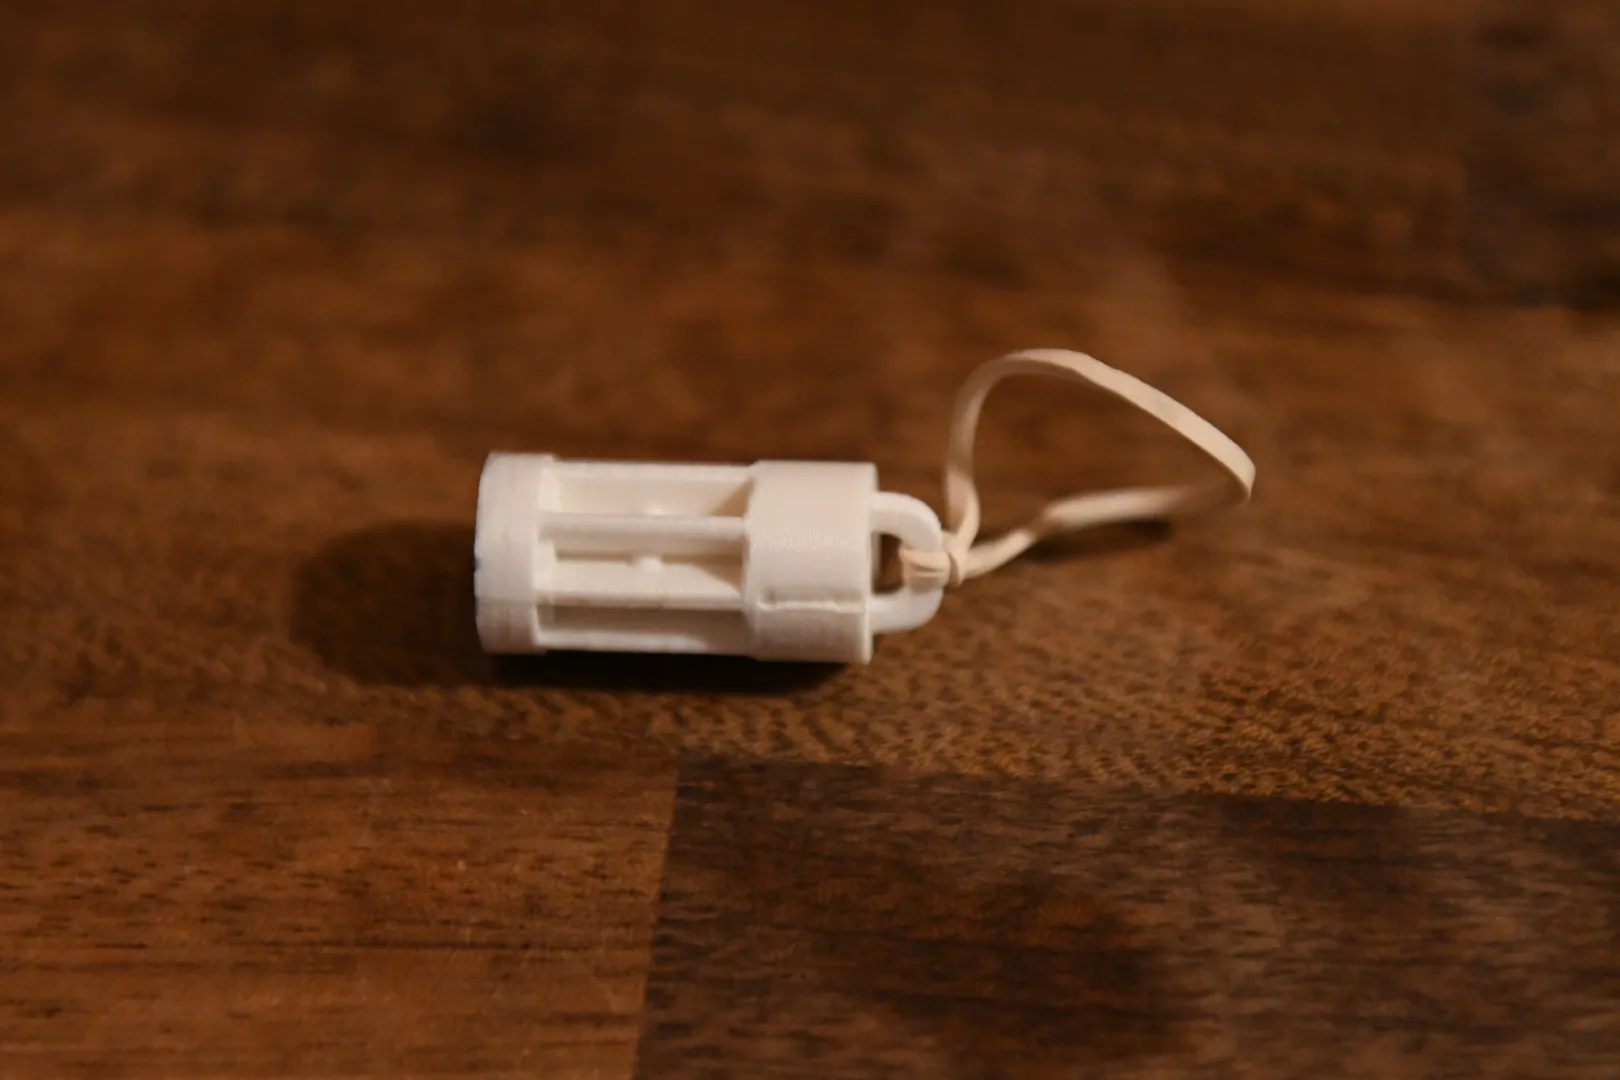
- Insert needles into slots. Optionally you could add some super glue here to ensure the needles don't slide up and down during operation
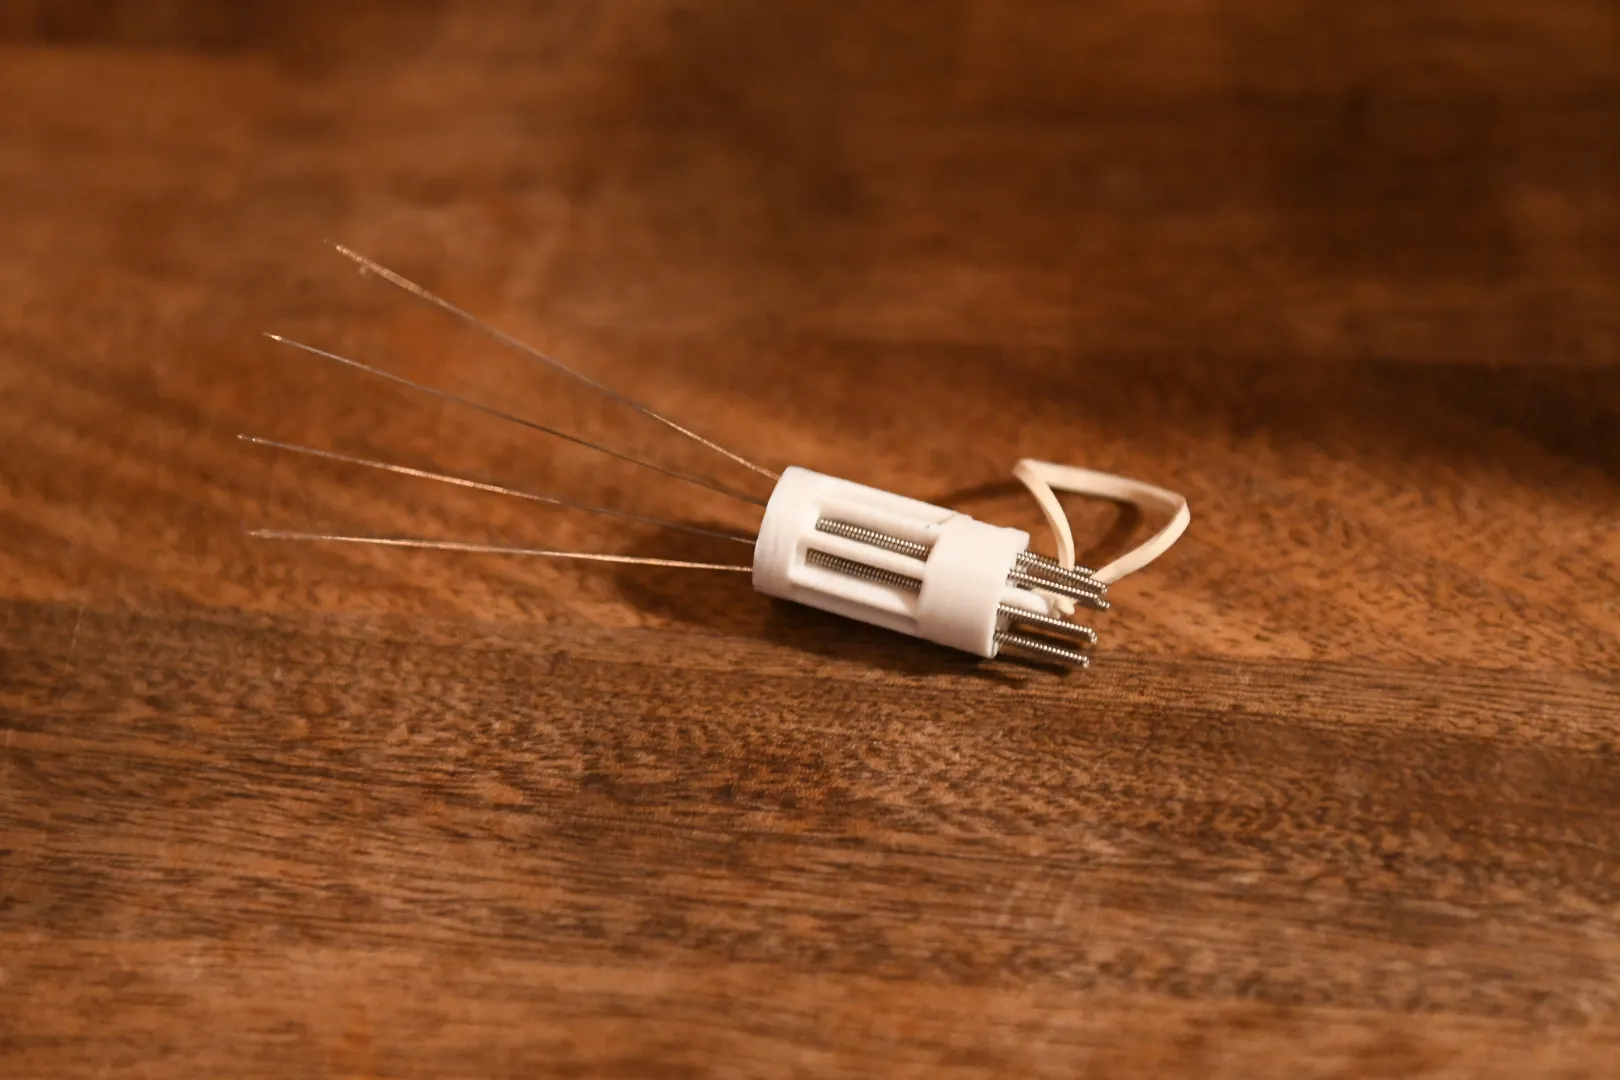
- Insert the inner piece into the shell from the top and pull the rubber band through
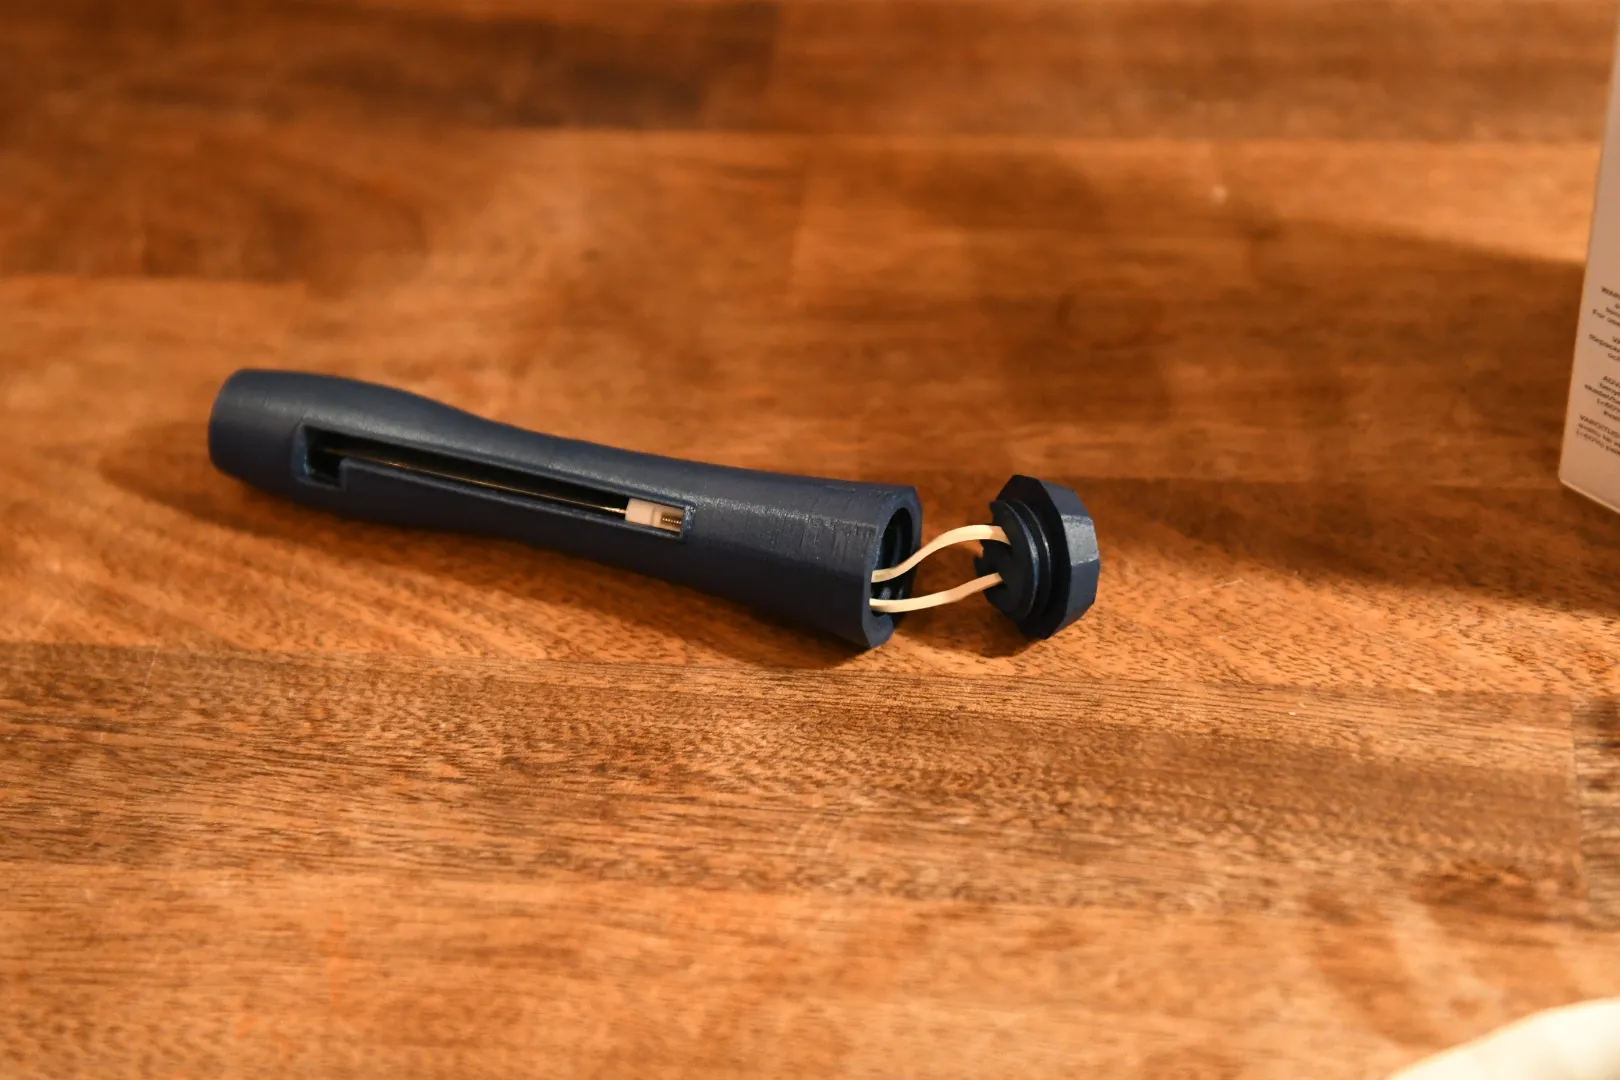
- Attach other end of rubber band to the hook on the base and screw shut.
- Attach the finger nub to the inner piece. This part can be a bit tricky because the inner piece will be under tension from the rubber band. Optionally you can add super glue to this piece to ensure it stays in place (I always glue this part)
- Your done! I find that the sliding mechanism gets even better over time as you use it and fines from the coffee fill in the gaps between layer lines. If you find yourself needing more tension you can unscrew the bottom and spin the rubber band as many time as needed to add tension.
License

You shall not share, sub-license, sell, rent, host, transfer, or distribute in any way the digital or 3D printed versions of this object, nor any other derivative work of this object in its digital or physical format (including - but not limited to - remixes of this object, and hosting on other digital platforms). The objects may not be used without permission in any way whatsoever in which you charge money, or collect fees.


Comment & Rating (151)