Tambourine


Print Profile(4)


Description
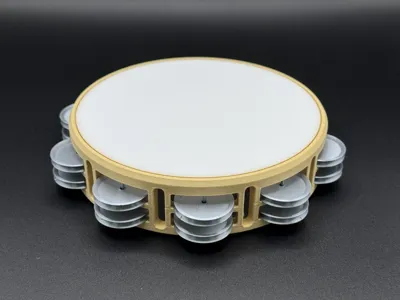
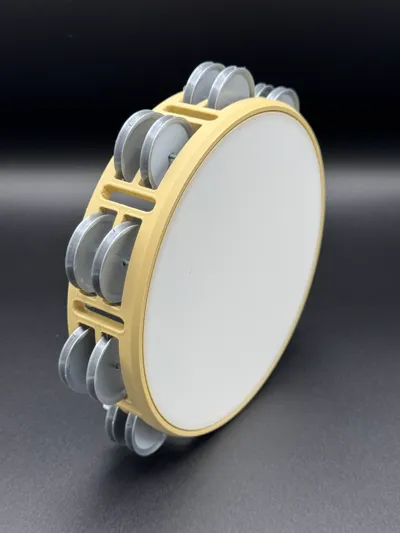
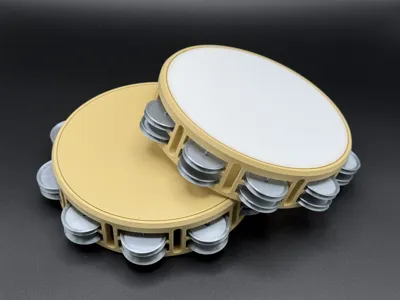
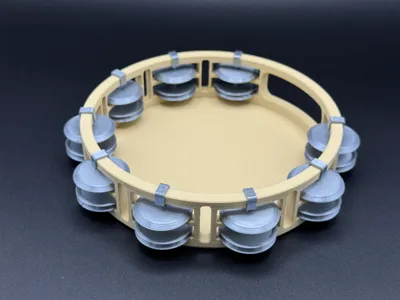
This tambourine was made to be able to work without any non-printed parts or superglue. It was designed to sound and look as much as possible like a real tambourine. With a modern and simplistic aesthetic, this percussion instrument is perfect for showing your inner musical self.
Printing Instructions:
- Prepare the Print Bed (Important Step!)
- Clean the print bed thoroughly with alcohol or, preferably, isopropyl alcohol to ensure proper adhesion.
- Attention! Additional adhesive for the print bed is highly recommended! I suggest using 3D-Lac spray or alternatively hairspray for PEI print beds, and a glue stick for Bambu’s original Cool Plate.
- Download the Print Profile
- Download the pre-configured print profile for Bambu Studio.
- Download the pre-configured print profile for Bambu Studio.
- Open the File
- Open the file in Bambu Studio.
- Open the file in Bambu Studio.
- Select Your Printing Options
- Choose your filament type and color.
Select your print bed type (e.g., textured or smooth).
- Confirm your printer settings, ideally for a Bambu Lab printer.
- Start Printing
- Begin the print job. All necessary supports are already included in the print profile.
Assembly Instructions:
- Carefully remove drum from build plate with a bed scraper.
- Remove all supports by applying downward force at the base of the tree supports.
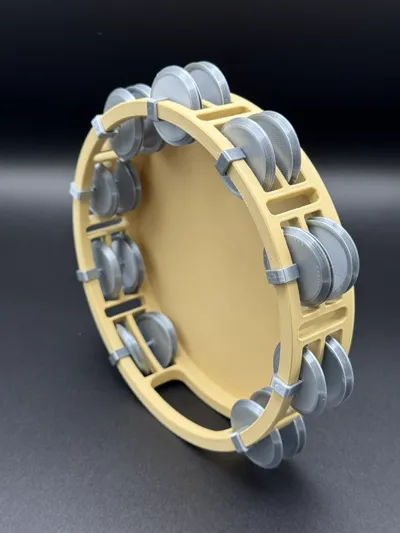
- Insert the plates with one pair facing towards each other and one pair facing away. Bend a piece of filament so it is straight and Insert it through all the plates and into the groove at the bottom (As shown in photo) cut the filament flush and repeat until all the plates are used.
- Insert the clips on top of the cut filament and I between the guiding recesses. (Guiding recesses not shown in photo)
- Enjoy :)
License
You shall not share, sub-license, sell, rent, host, transfer, or distribute in any way the digital or 3D printed versions of this object, nor any other derivative work of this object in its digital or physical format (including - but not limited to - remixes of this object, and hosting on other digital platforms). The objects may not be used without permission in any way whatsoever in which you charge money, or collect fees.
Comment & Rating (19)