Search models, users, collections, and posts

Vacuum Valve for Bag or Container
Remixed by
IP Report
Print Profile(1)
0.12mm layer, 3 walls, 25% infill
Designer
7.7 h
5 plates
Open in Bambu Studio
Boost
206
706
56
15
579
206
Released
Description
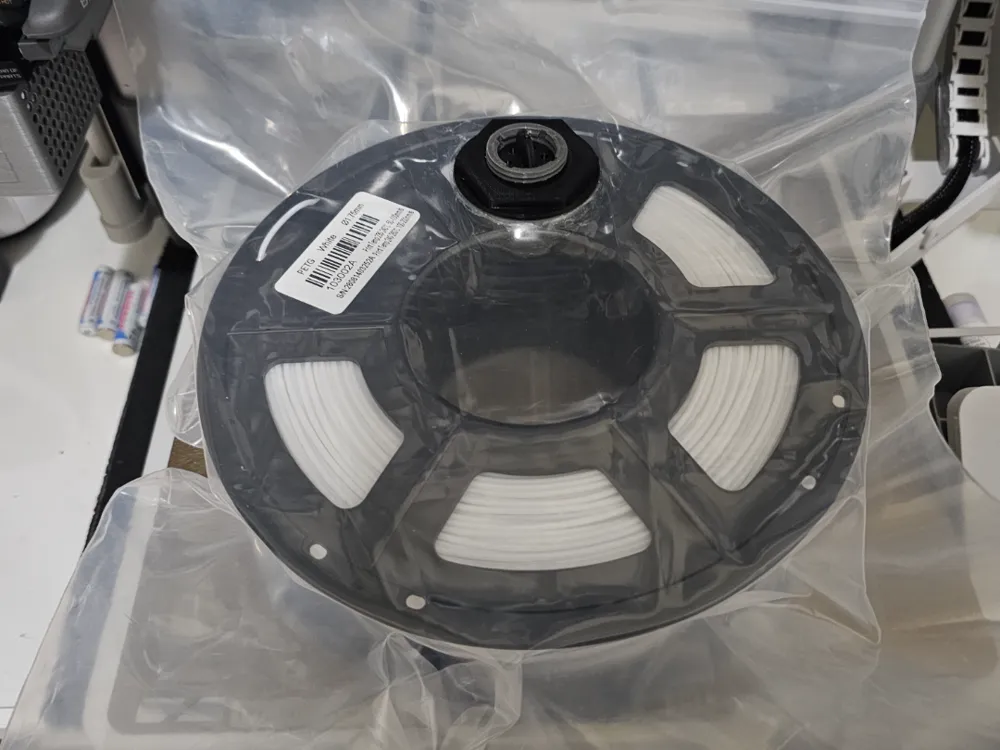
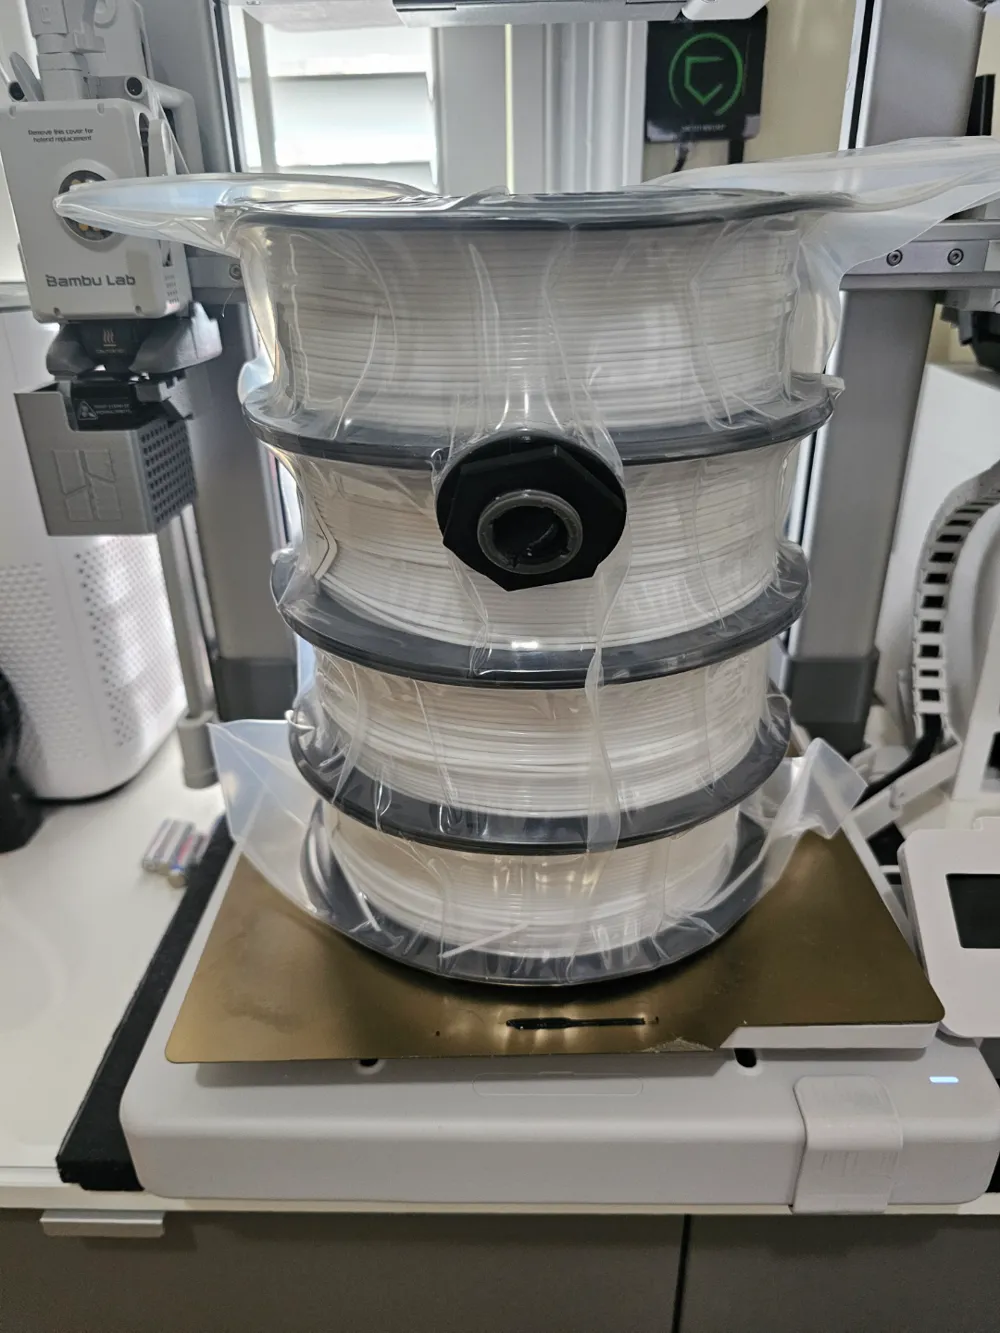
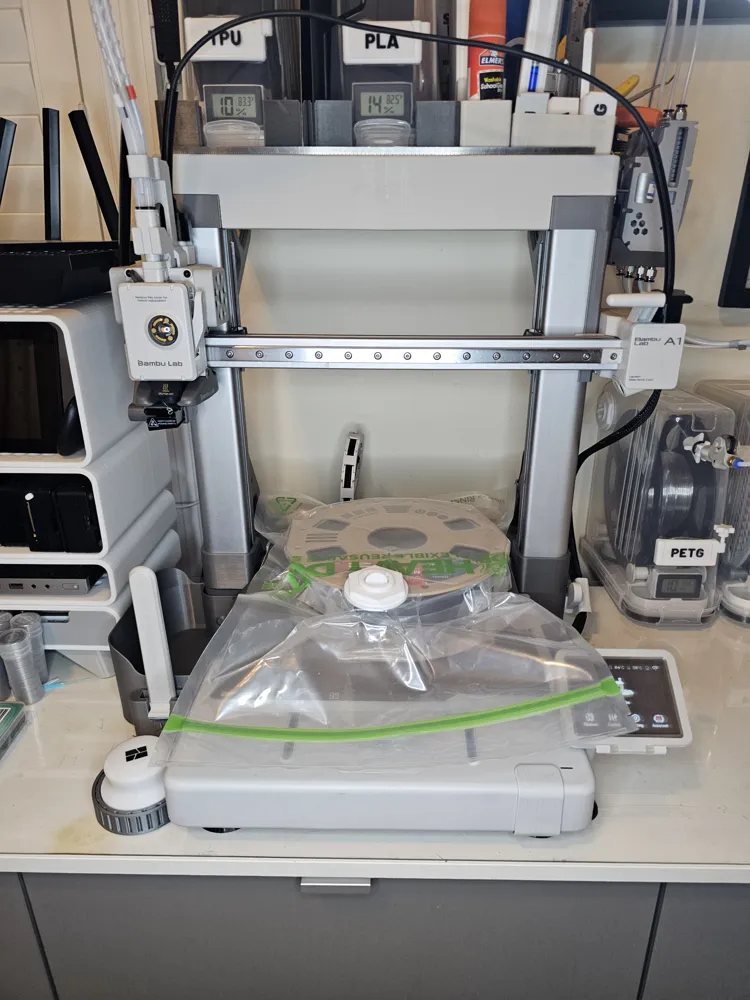
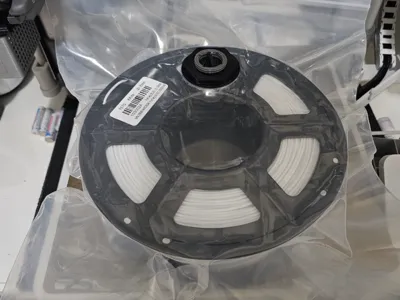
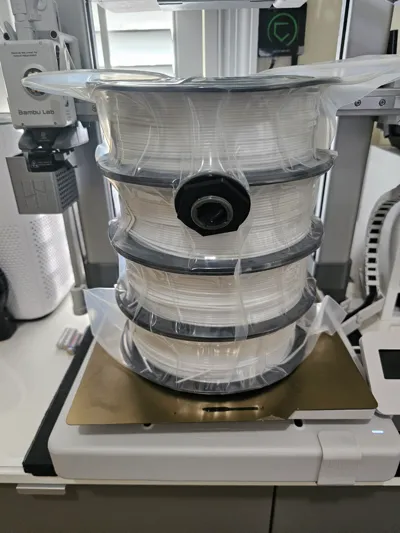
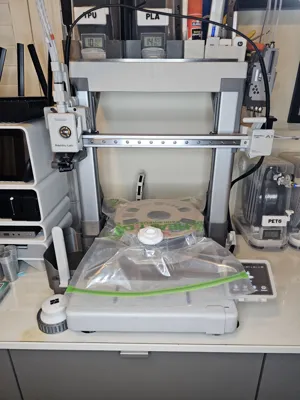
DIY Filament Storage Vacuum Bag
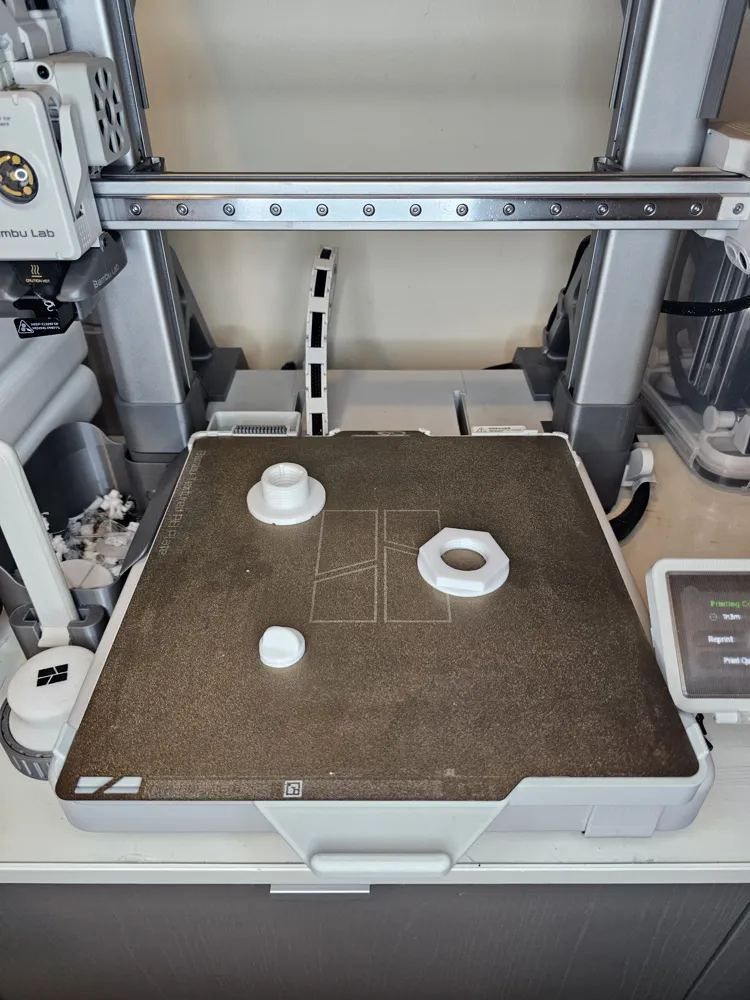
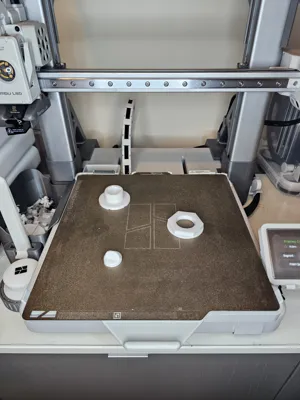
Add this valve to any air tight container or resealable plastic bag to vacuum store filament spools or any other items as needed. I printed in PETG and TPU, This uses both smooth and textured plates.
An important note – this is only as good as the quality of the bag seal. My best results were with double seal bags. Zip Seals do not hold vacuum over time. For long term storage using bags, you must vacuum and seal the bag like the manufactures do!
Printing the TPU Seals- You may need to adjust the profile settings for your printer and filament. If you are unsure and need help, search Maker World and someone has likely posted a print profile for your printer and filament selection.
This is a remix of 310Blacksmiths Vacuum Check Valve - https://www.thingiverse.com/thing:4698070
Alterations:
- Rounded the edges on the valve assembly to make it more plastic bag friendly.
- Added a matching flange to the valve nut to shield the sharp corners.
- Thickened the valve body base to stiffen sealing surface.
- Added flutes to the bottom of the valve body.
- Added fillets to the valve body to add strength at interior corners.
- Added detents to the valve body to accept the insertion of a wrench to secure the body during installation.
- Extended the Threads of the valve body to allow for use with plastic containers. A 2.5-gallon pail with a gamma seal can hold 4 refills or rolls and holds its seal long term.
- Filled holes in the valve boss. There is plenty of room for air to move between the boss and body.
- Added length to the Boss to increase the number of threads.
- Added a flange gasket.
- Added wrench to tighten the valve boss.
- Added a detent wrench to hold the valve body stationary during installation.
- Added a socket to tighten the valve nut during installation.
- Added adapter to accept Food Saver accessory hose.
- Added a simple template to locate a hole for the valve body in the bag. Place the backer in the bag and the stamp on top outside and just trace the stamp with a razor knife or pen.
Assembly-
I would suggest a very light coat of a lubricant on the threads and the bottom of the boss when assembling to prevent seizing/galling. The seal and gasket need to be printed with TPU. I used silicon sealant and an o-ring for the valve seal (14X2.5) instead with great results.
Order of assembly:
- valve body
- flange gasket (or silicon sealant)
- bag
- valve nut.
- valve seal. Or 14 X 2.5 O-Ring. or Both
- valve boss.
This remix is based on

License

This user content is licensed under a
Creative Commons Attribution-Noncommercial-Share Alike


Comment & Rating (56)