
Display tower for your dragons

Print Profile(2)


Description
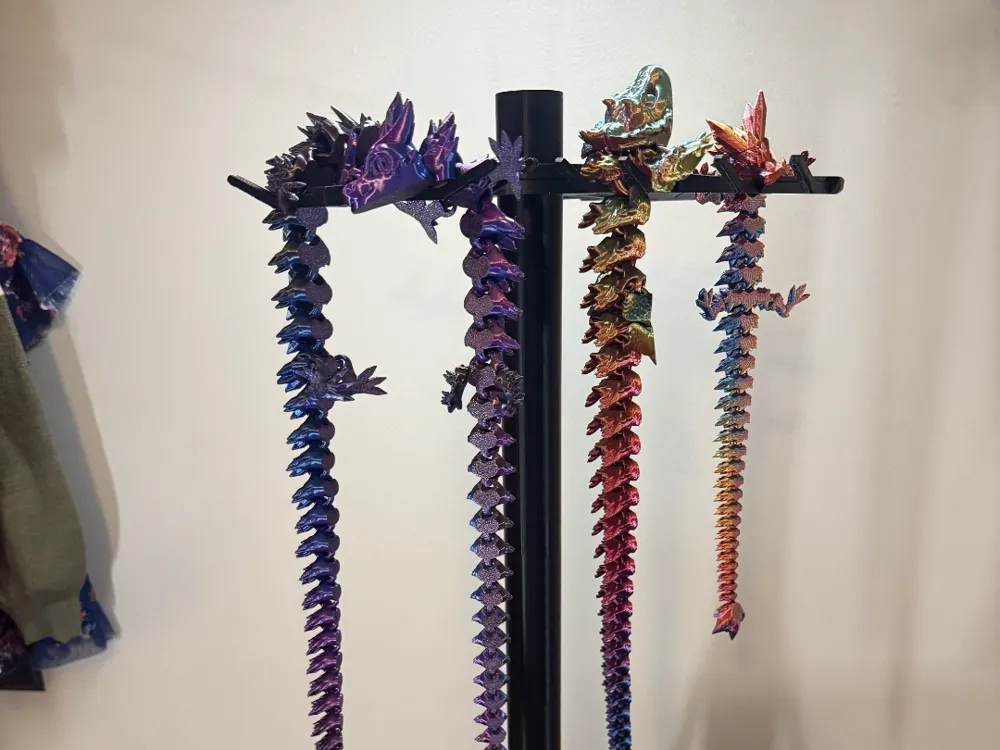
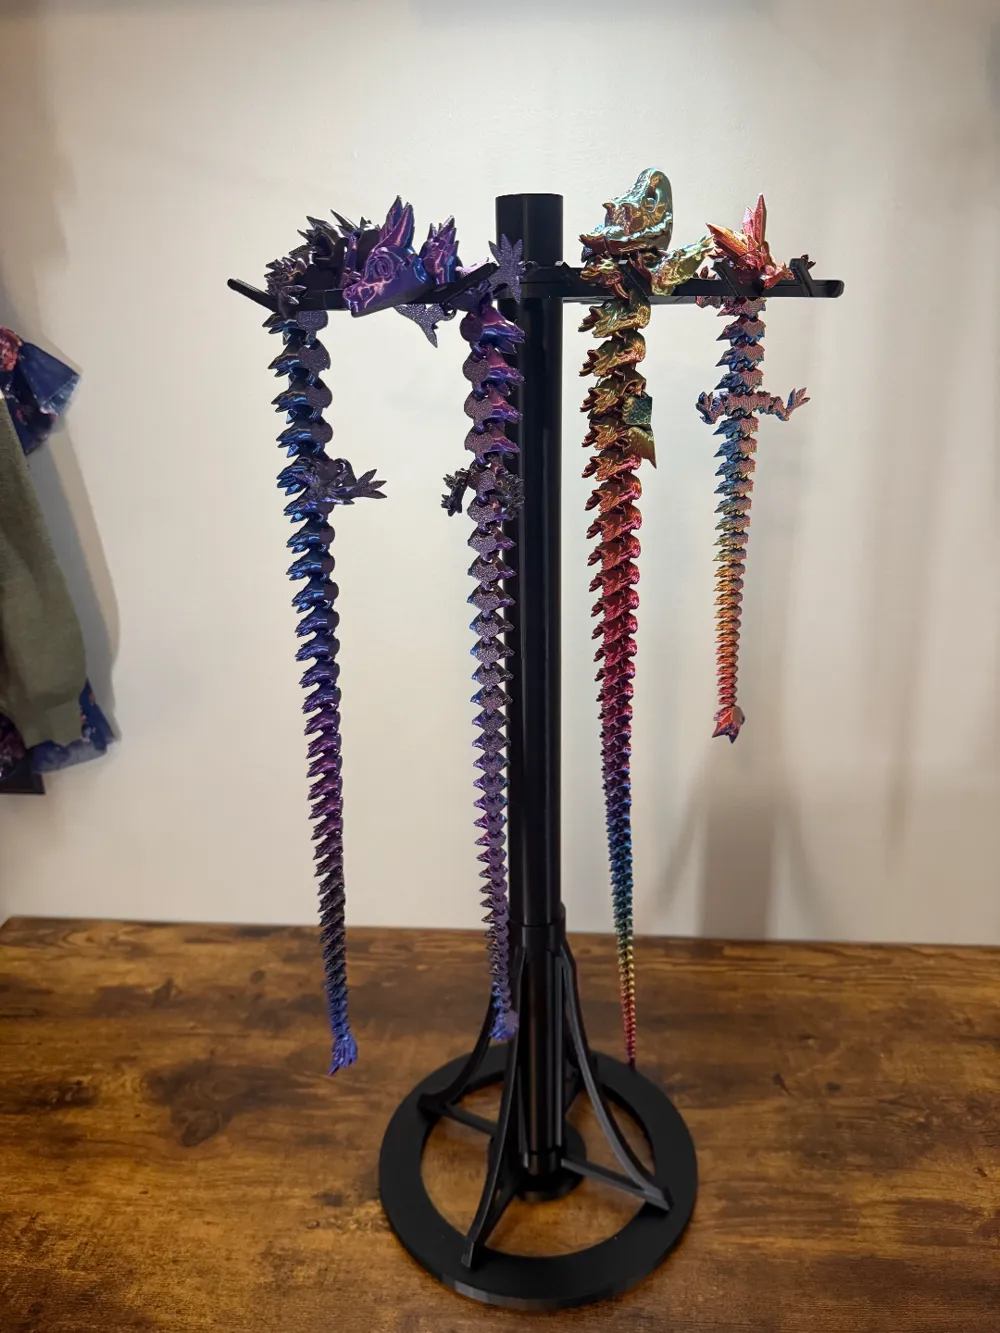
I was looking for a retail display for dragons, but none did everything I wanted. My list was:
- Adjustable
- Modular
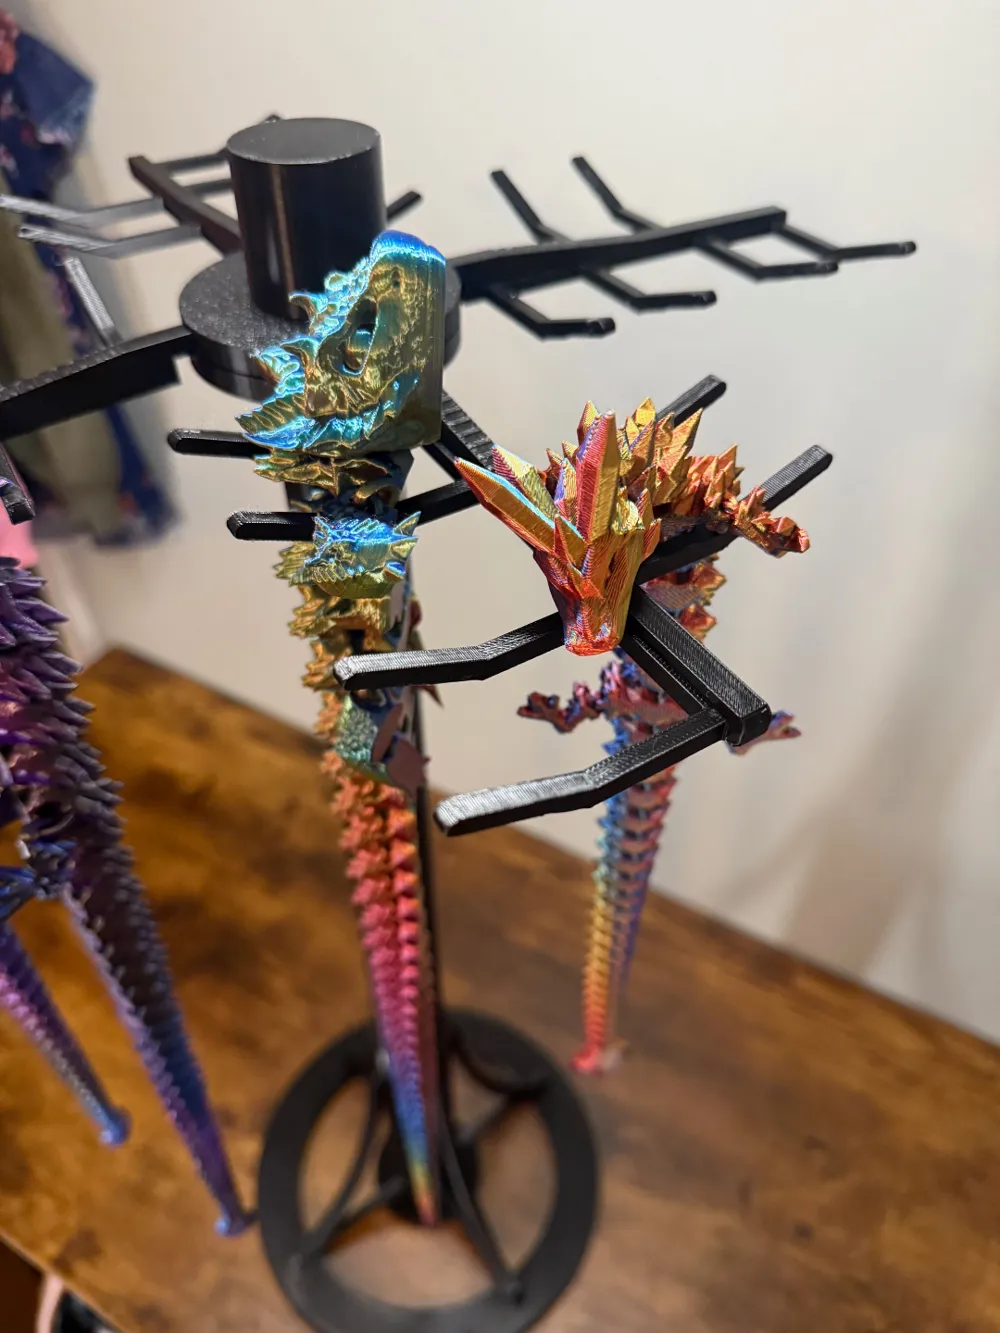
- Individual hangers
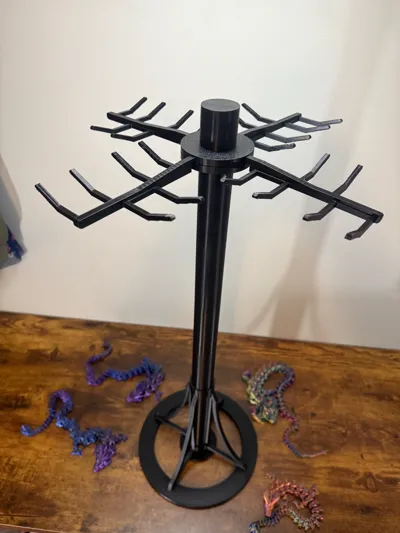
I made a display for my keychains and I was asked if I could come up with something similar for dragons, so here we are. This display shares much of the concept and design from the other model, but it had been upgraded for the larger dragons.
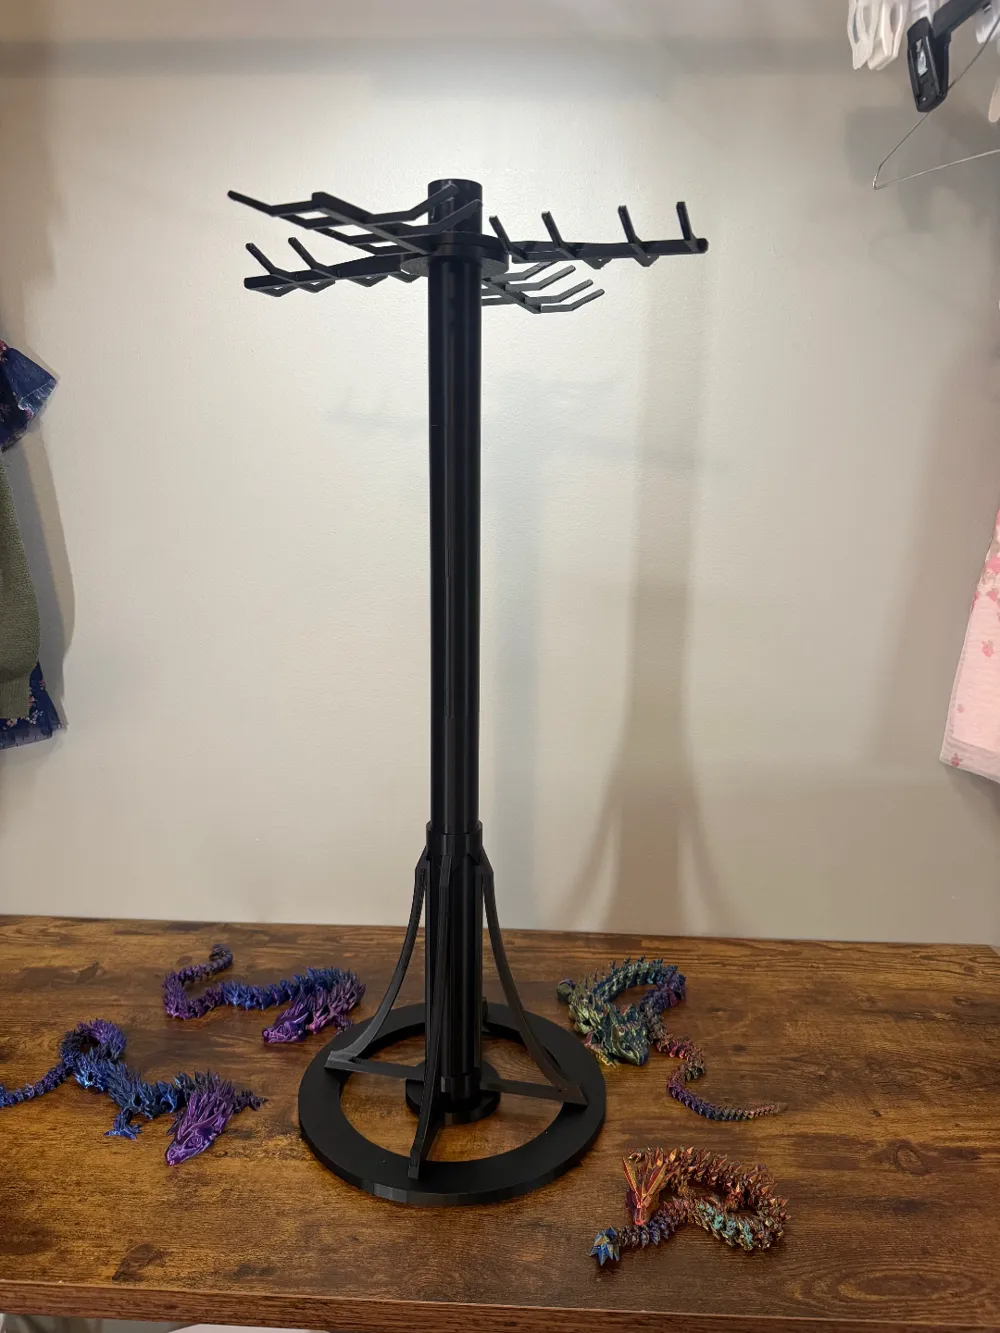
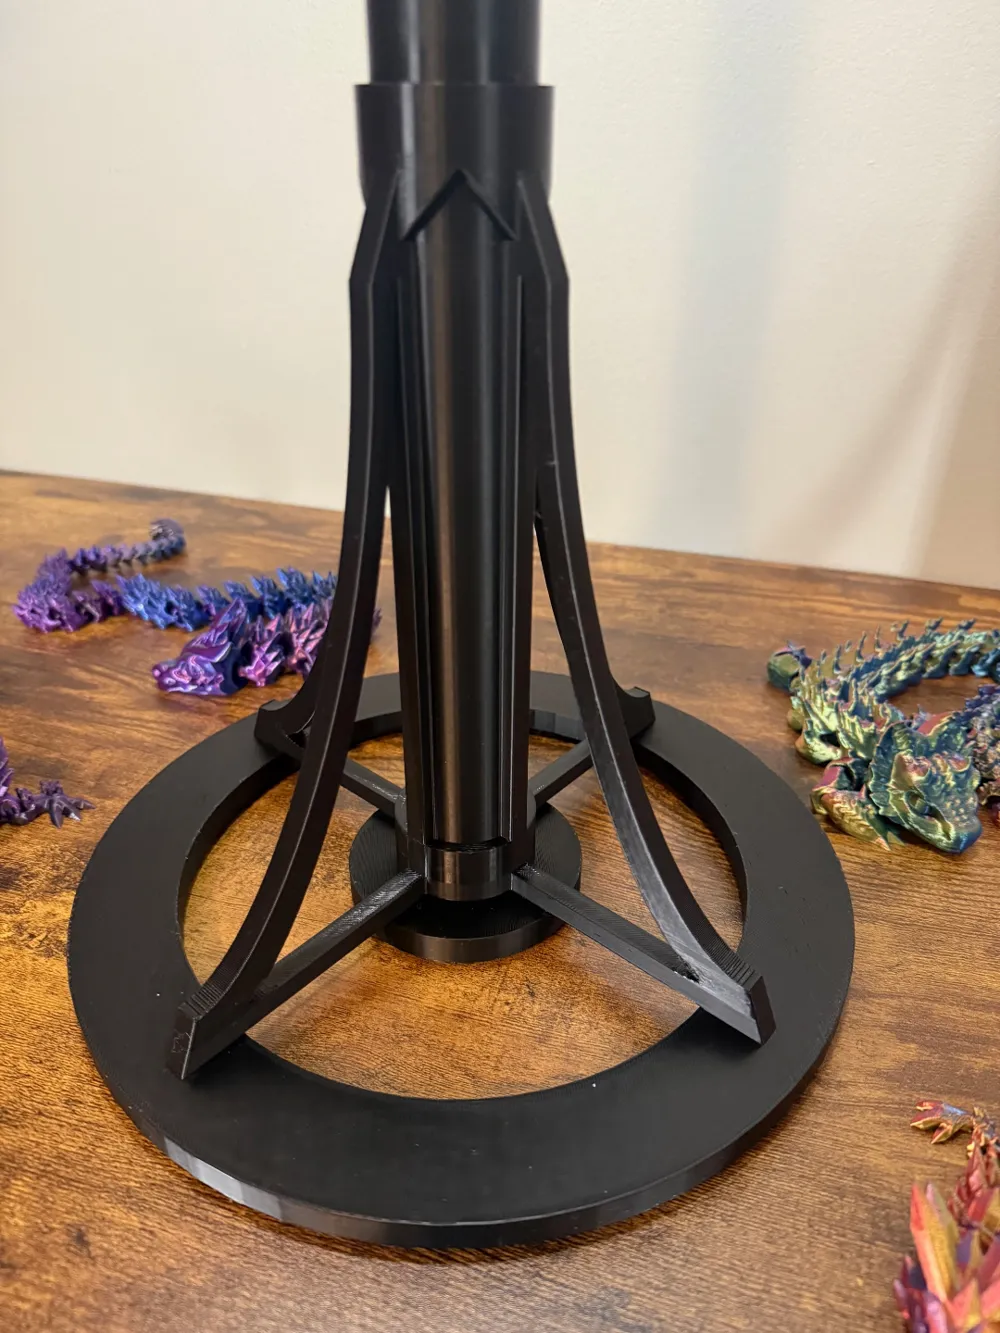
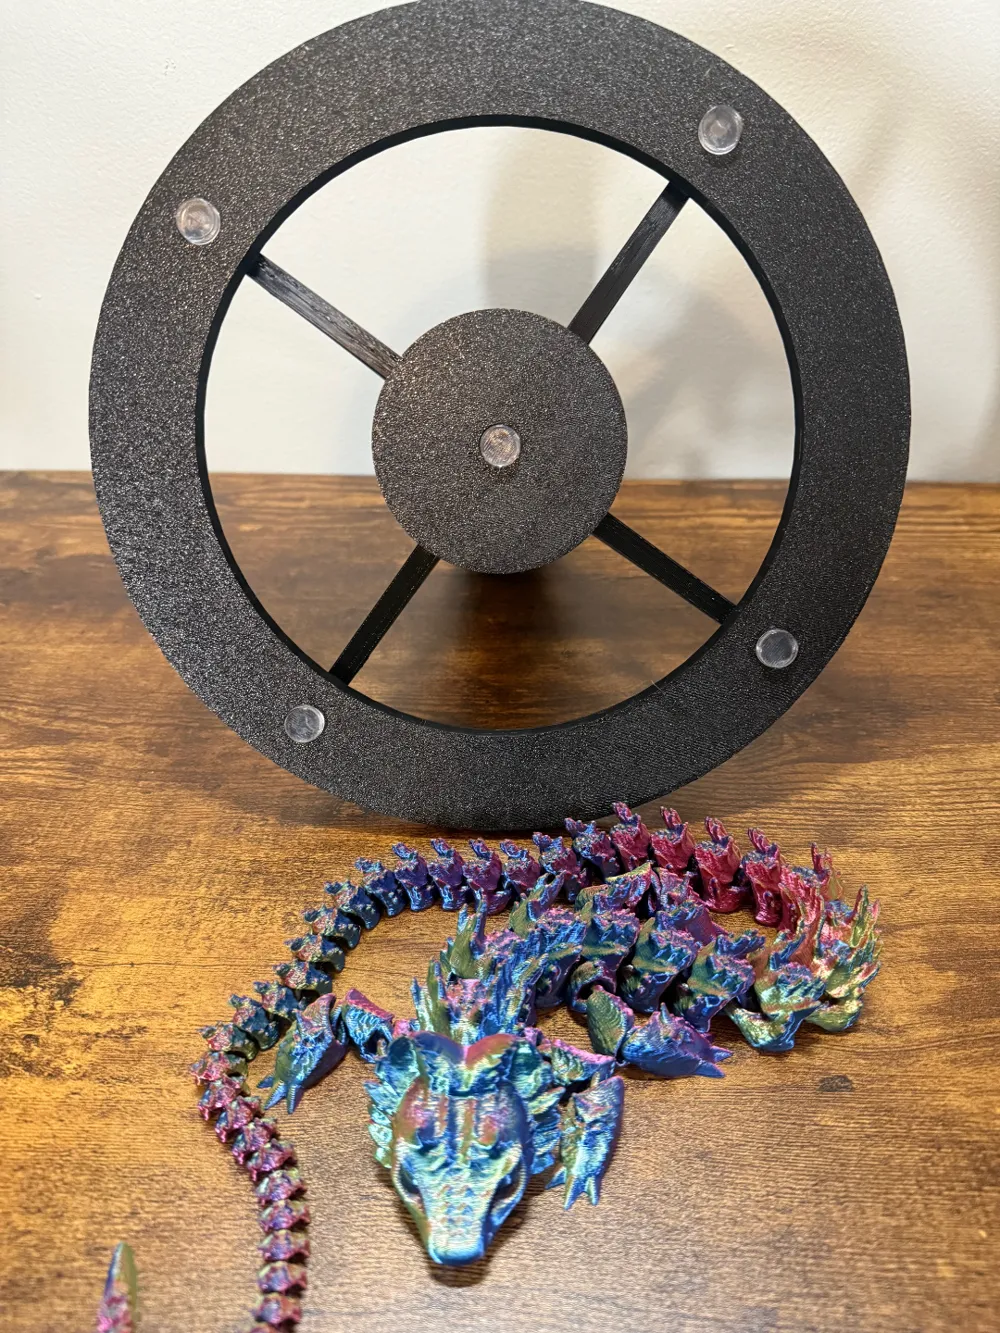
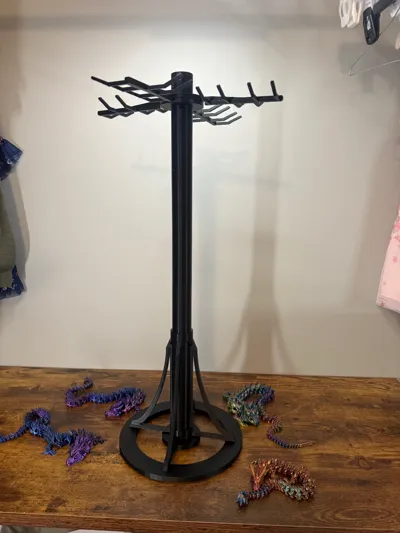
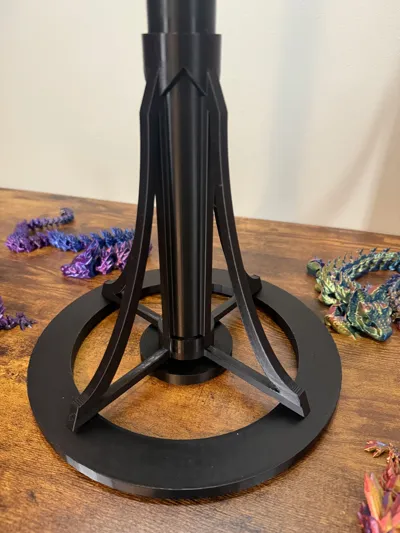
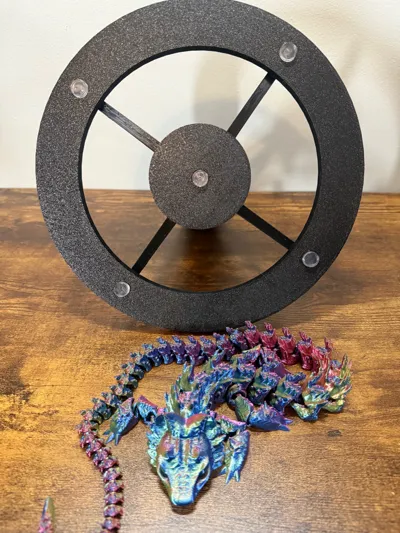
The base has a diameter of 253mm making it stable enough to hold the display stable, but still fit on the 254mm build plates. There are 5 recesses in the bottom to allow you to add 12.7mm rubber pads to prevent the stand from shifting. I use these pads.
Scotch Clear Adhesive Bumper Pads 40 PCS, Self-Stick Rubber Pads 1/2" Round, Cabinet Door Rubber Bumpers, Designed to Protect Cabinets and Drawers, Sound Dampening, Transparent (SP951-NA)
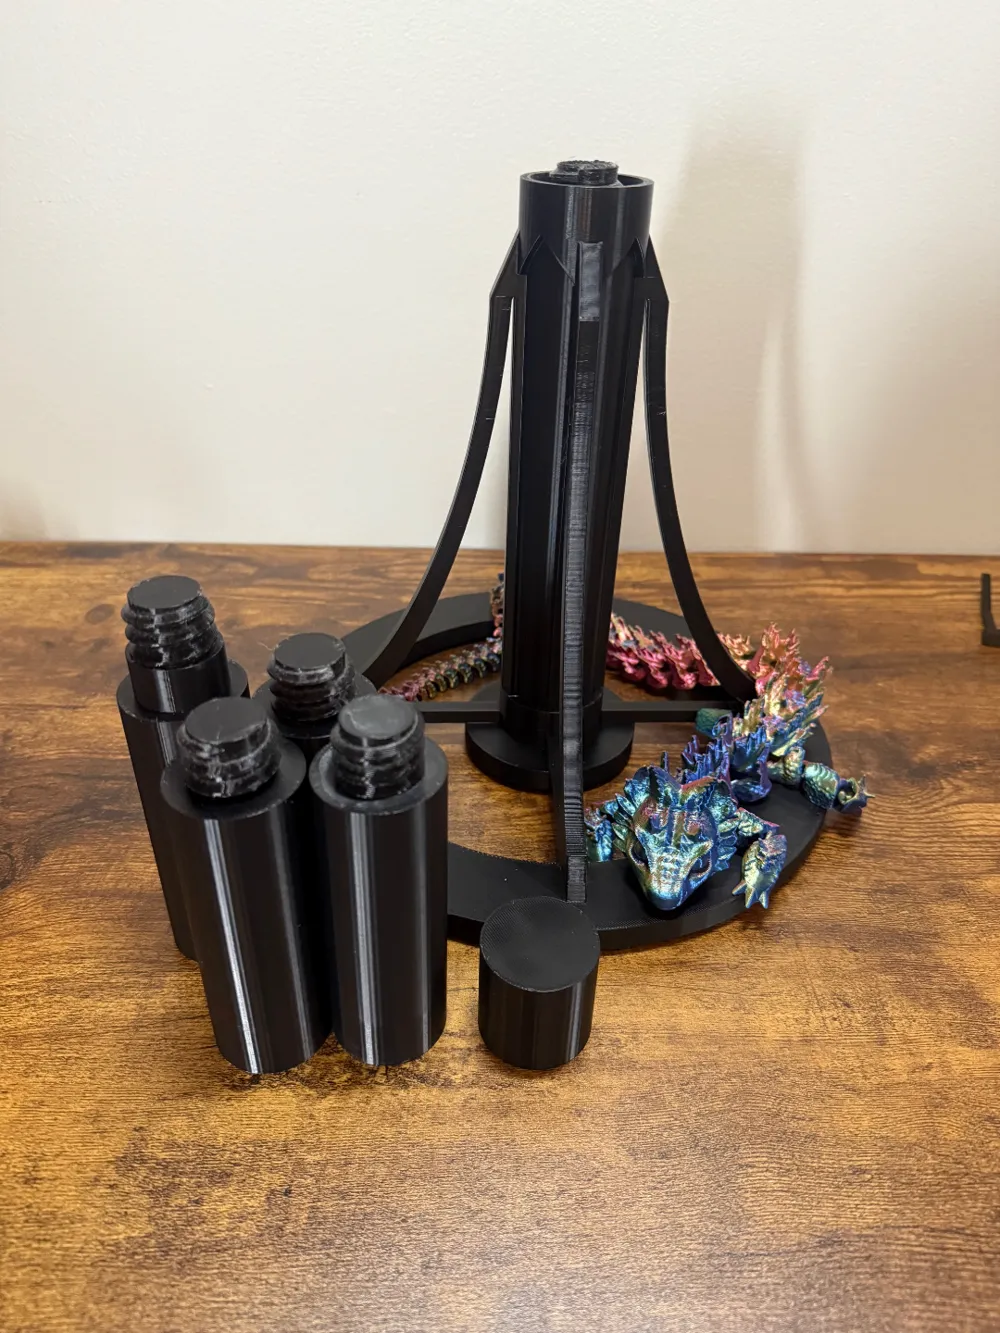
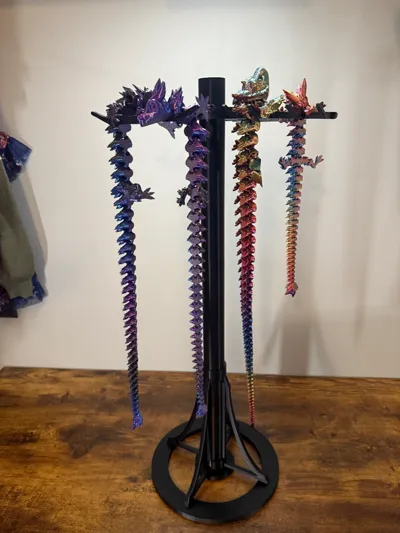
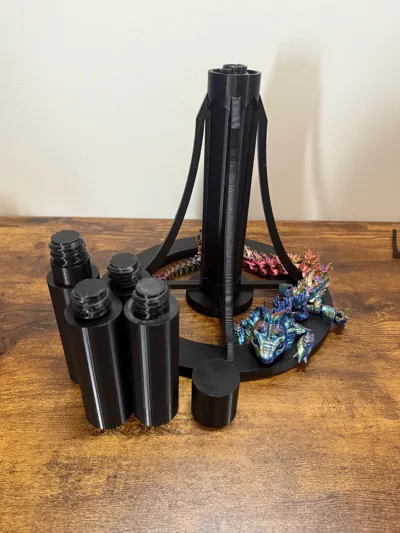
The base itself has a height of 219mm and each intermediate shaft increases the tower height by 106mm. If you use 3 middle shafts and I top shaft, you can easily hang a dragon that is 2 ft long. If you only want to display smaller dragons, remove a shaft to lower the top.
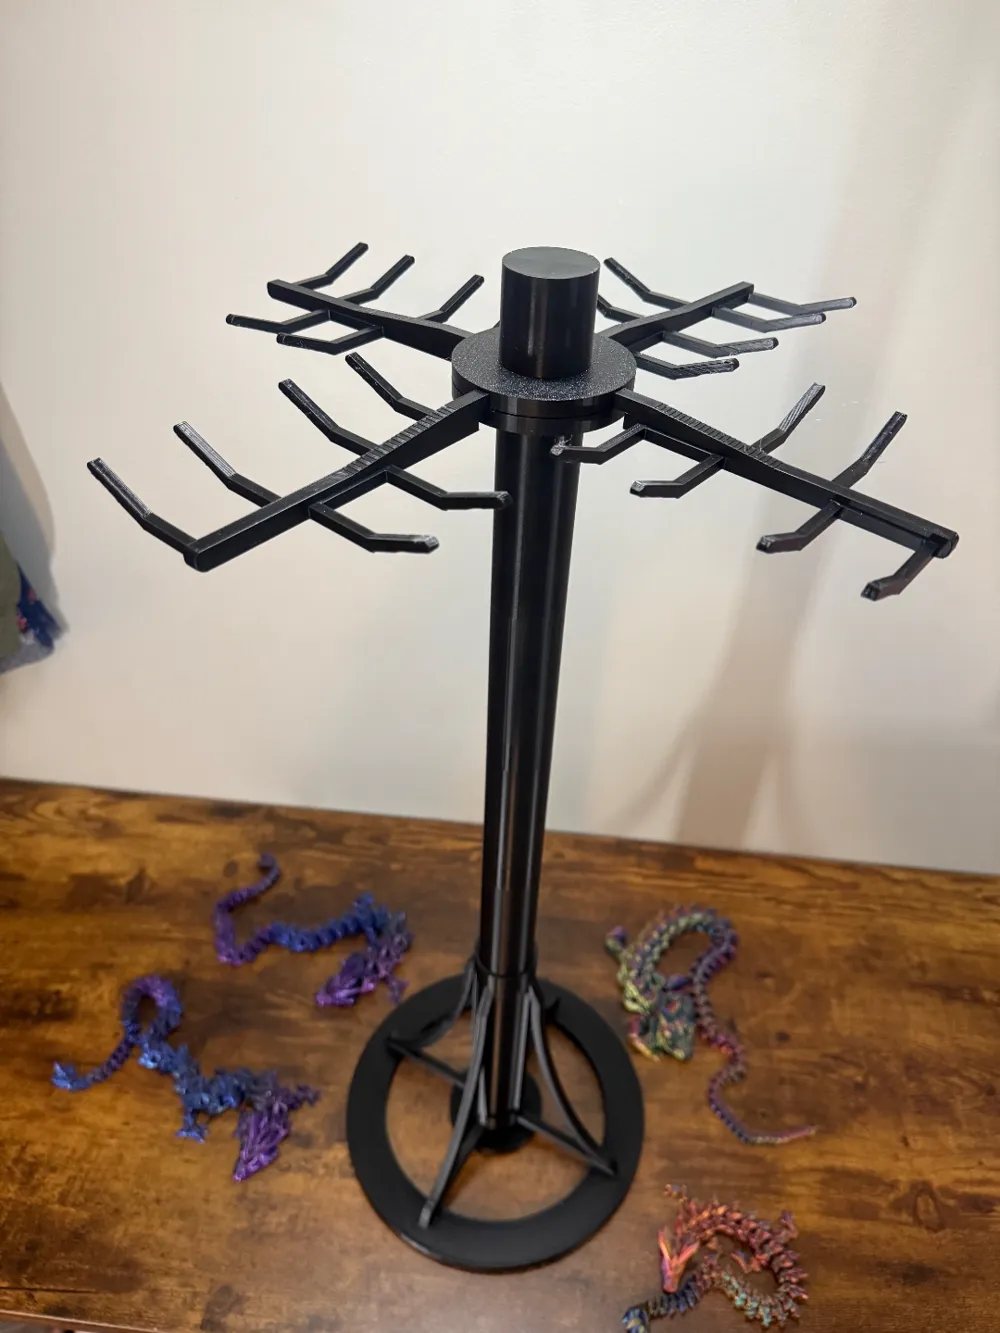
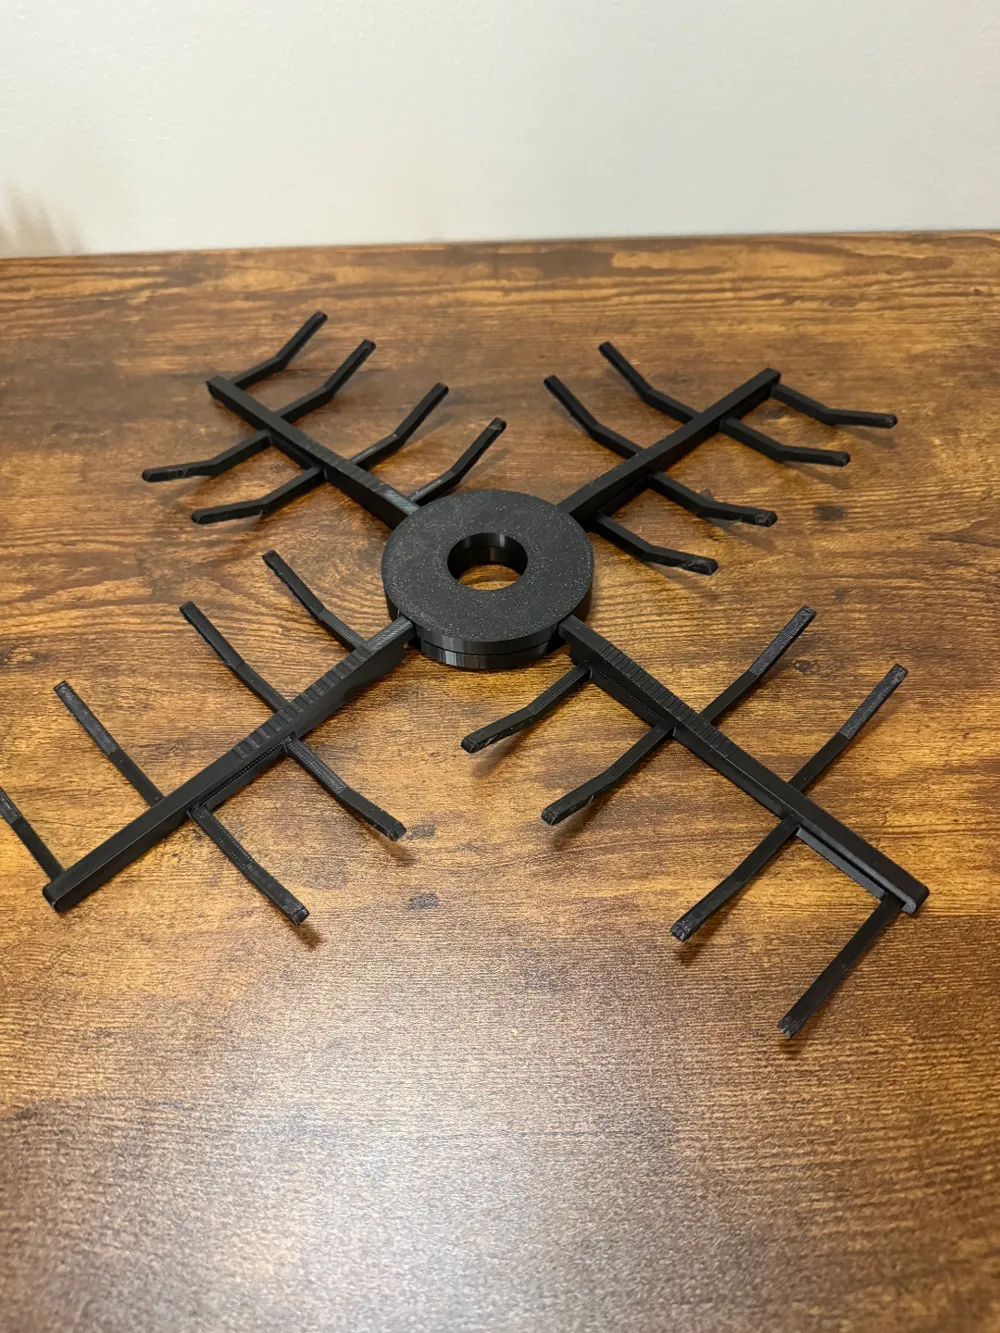
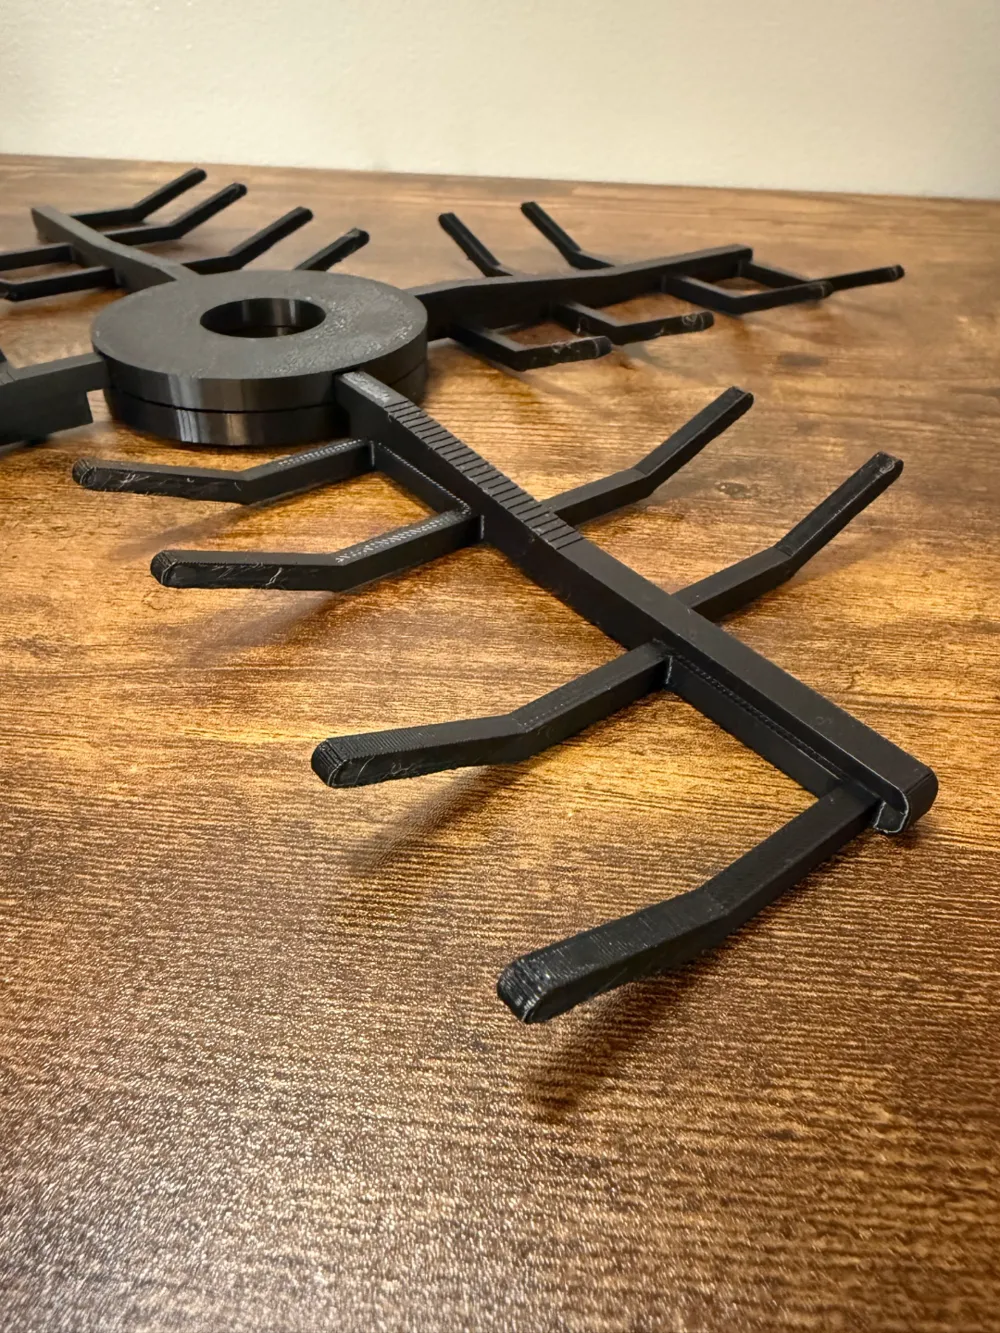
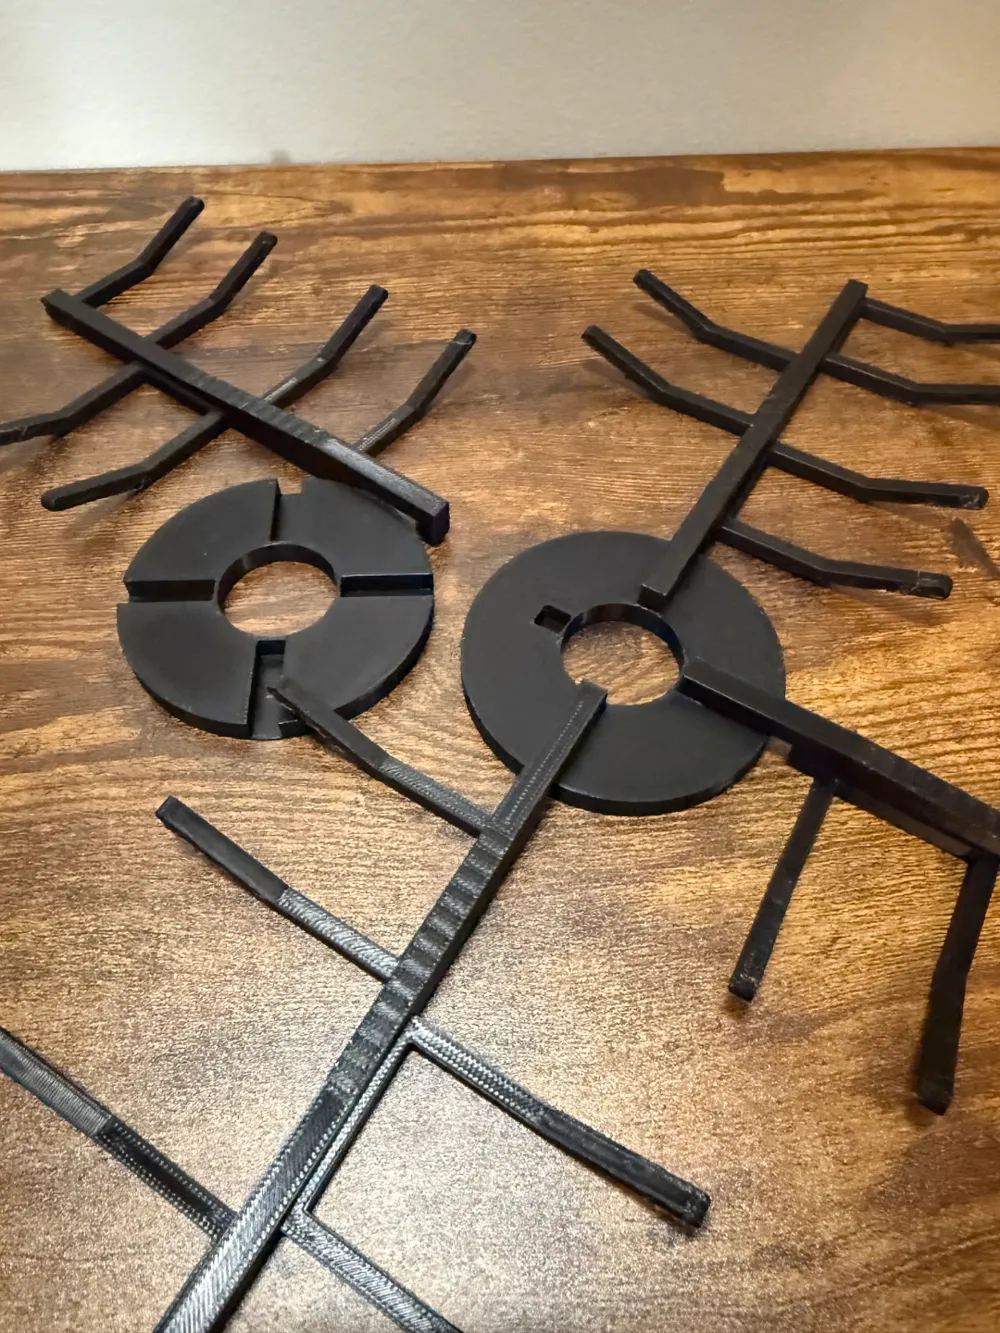
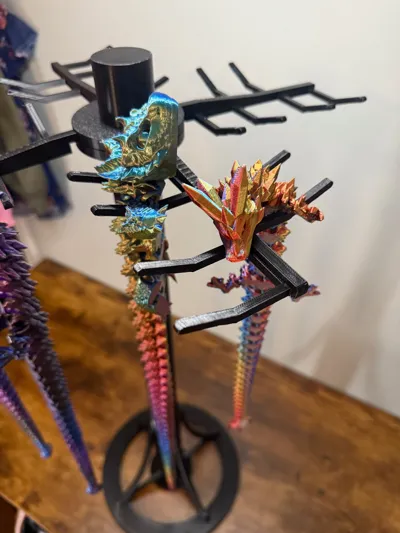
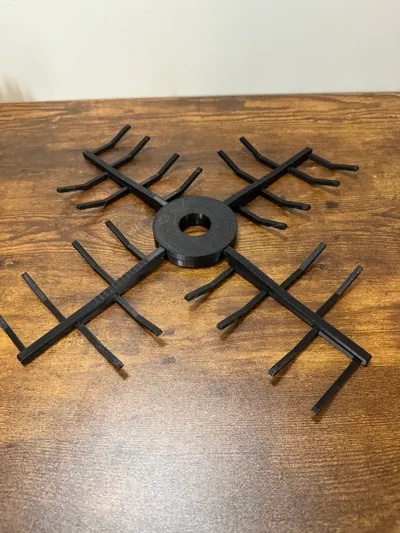
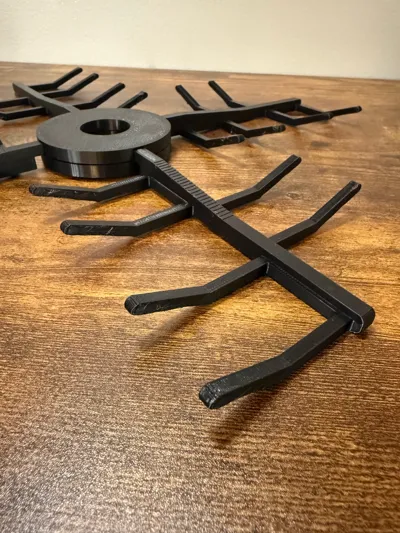
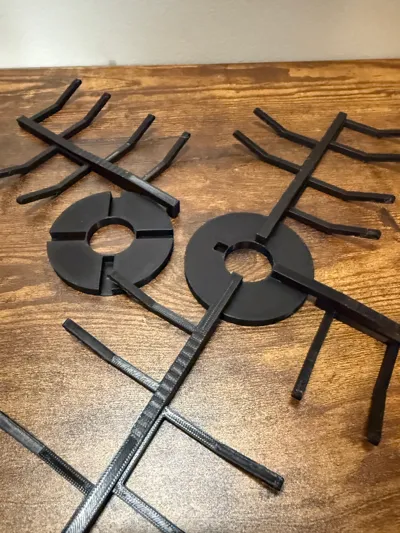
The spinner is my favorite part. The hanger arms have 3 individual dragon hangers, allowing each one to be removed separately. Each spinner is made of 3 components; top and bottom mount and hangers. The mounts have slots and notches aligning the arms in the correct locations. You simply insert the ends of the arm into the bottom circle and then sandwich them with the top. Everything is just press fit and they hold together well. The next shaft or top with keep them together.
Building the whole display is pretty straight forward.
Screw your desired length shaft onto the base. After assembling the spinner, put it onto the shaft. Screw the next shaft on and tighten until it reaches the spinner. You can adjust how free the spinner moves by simply loosening the shaft by a little bit. The nature of 3d printed threads allows for a “notched” feel, so once you have it set, it stays that way. Now you just add another shaft, then spinner and finish it off with the top.
The base and shafts are printed with .28mm height and varying wall and infill amounts. I did hollow the shafts to save time and filament, so I increased walls and infill to compensate and retain strength. The spinner and arms are .20mm height to keep the dimensions more accurate.
I am still very new to 3d designs, so I am very open to suggestions and advice.
You can check out my Keychain tower that inspired this.
License

You shall not share, sub-license, sell, rent, host, transfer, or distribute in any way the digital or 3D printed versions of this object, nor any other derivative work of this object in its digital or physical format (including - but not limited to - remixes of this object, and hosting on other digital platforms). The objects may not be used without permission in any way whatsoever in which you charge money, or collect fees.


Comment & Rating (45)