
Gabarit de perçage Festool MFT-3 96 mm / 20 mm

Print Profile(1)

Description
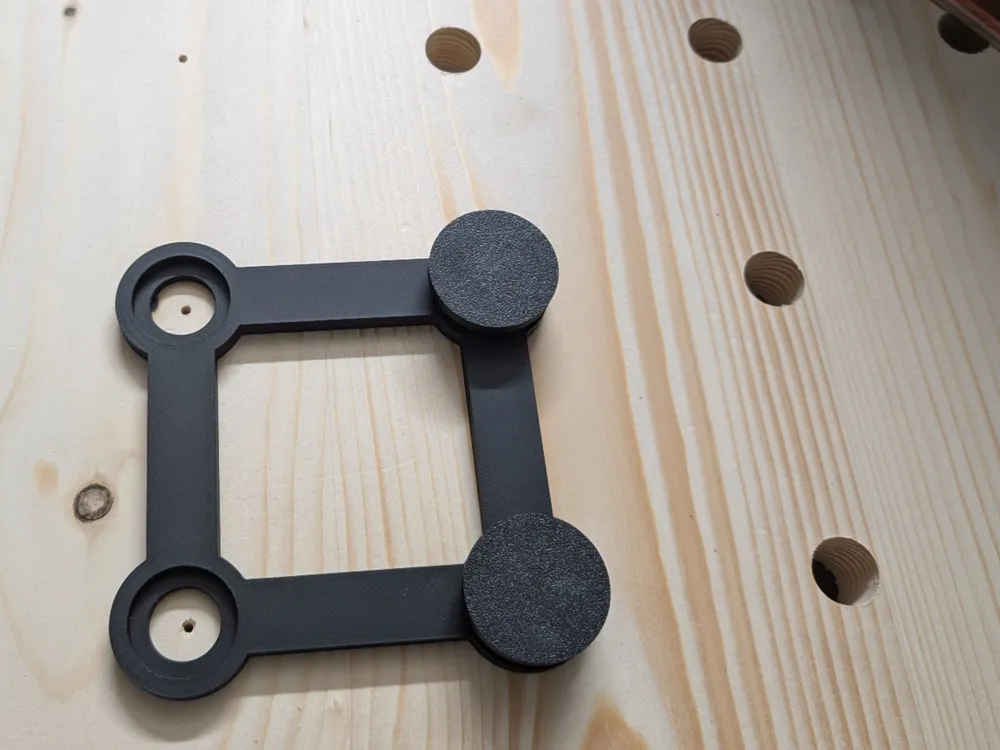
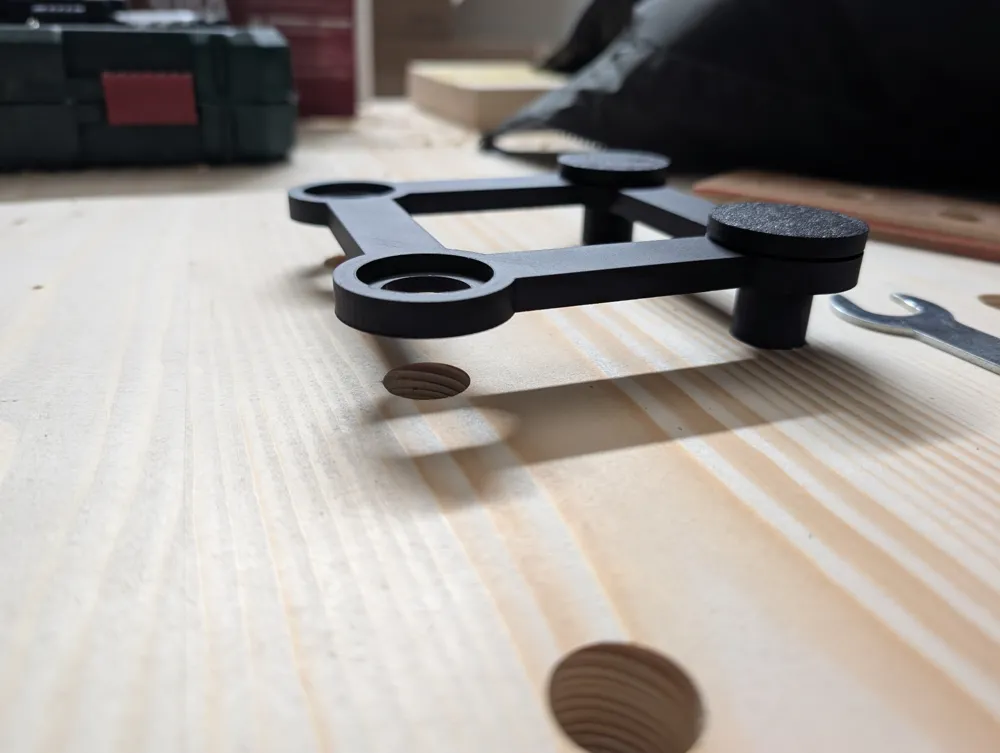
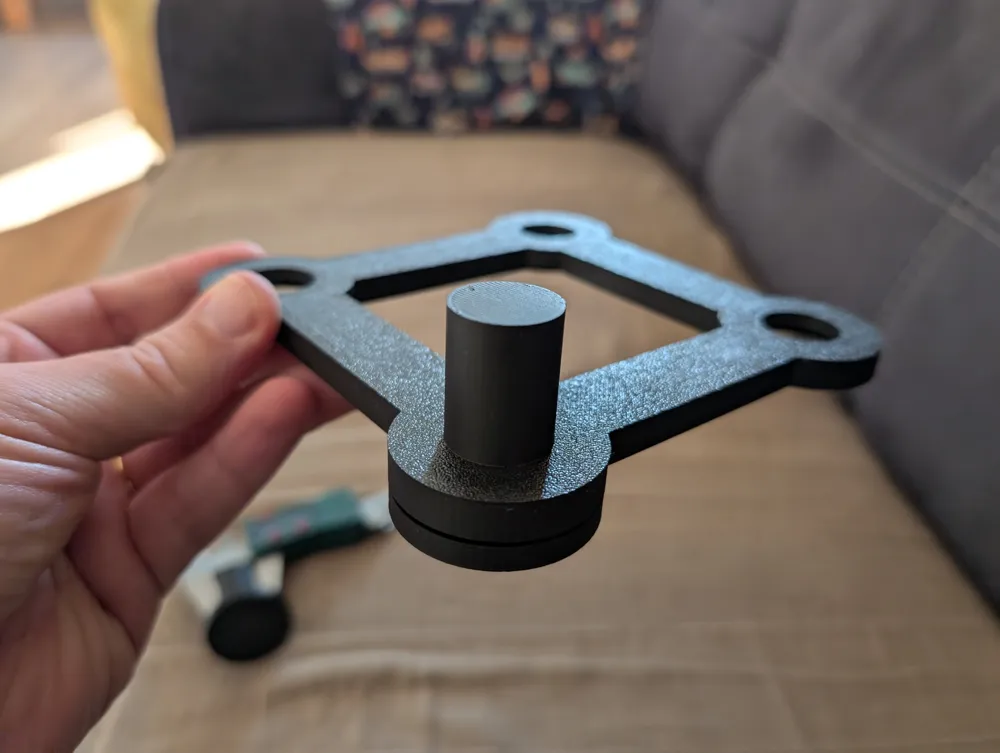
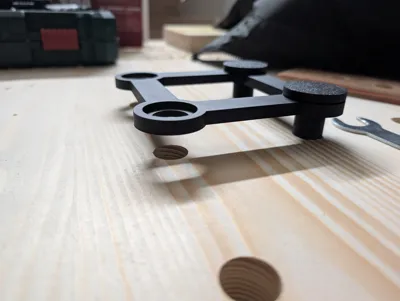
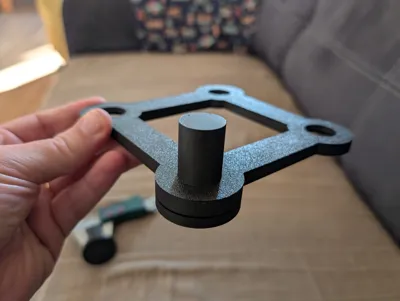
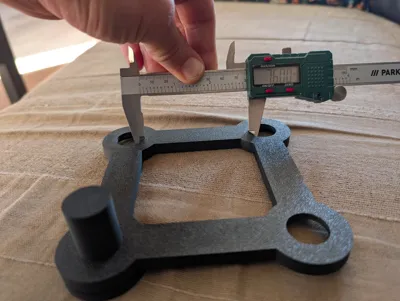
This is a woodworking workbench drilling jig template.
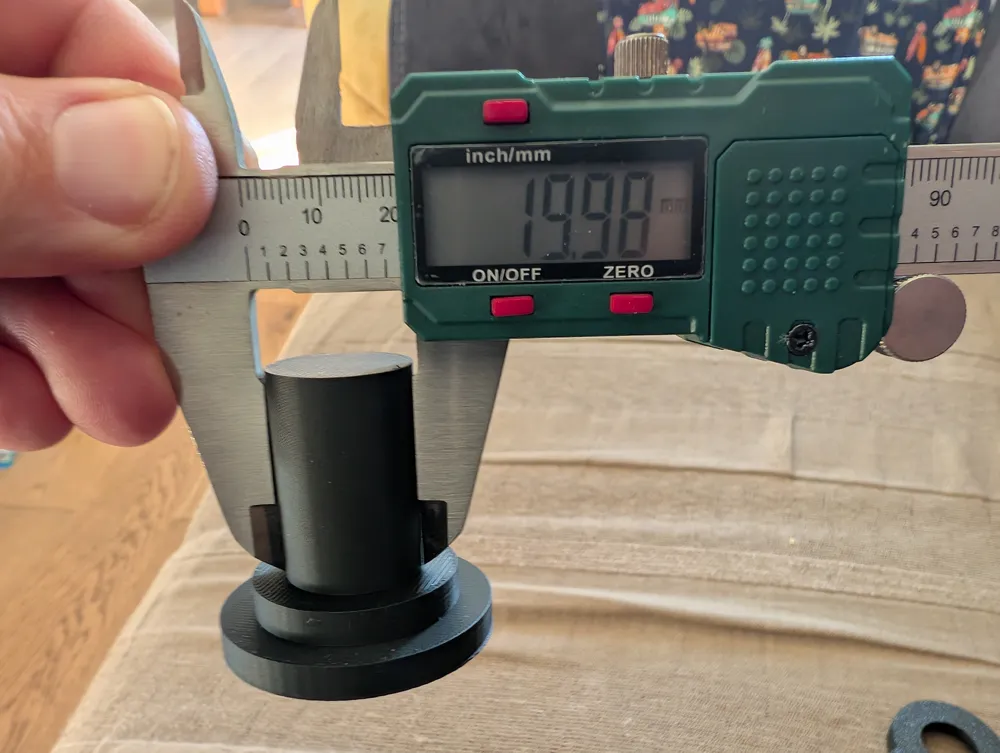
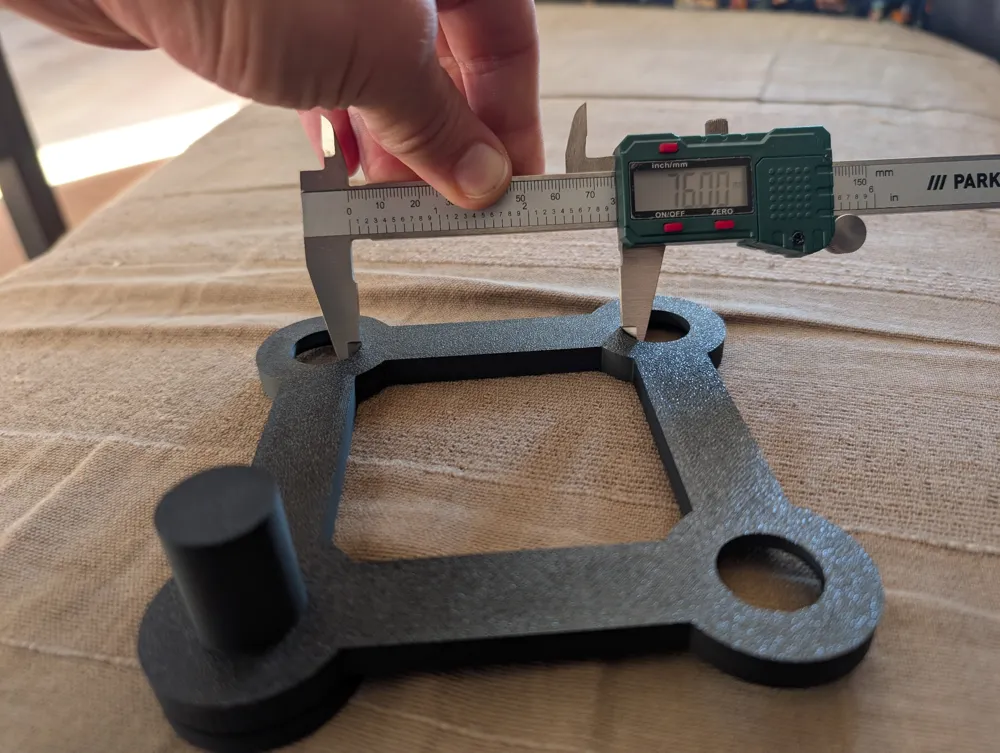
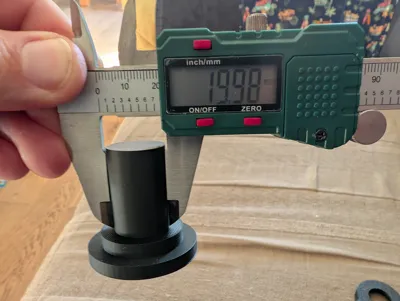
I could not find any jig offering sufficient precision with very tight tolerances, so I made my own (see photos for measurements).
My goal is to have a jig that provides zero play to ensure holes are exactly 20mm in diameter, not a millimeter more.
INSTRUCTIONS
- Jig Positioning
- Position the jig on the workbench.
- Use the half-moon stops against the workbench edge for perfect alignment.
- Securely clamp the jig using one or two clamps to prevent movement during drilling.
- Drilling the Holes
- Use a 10 mm drill bit for a centered pilot hole.
- After the pilot hole, use a router with a suitable bit to enlarge and refine the hole, ensuring a clean and perfectly perpendicular drill.
- Repeating the Process for the Entire Workbench
- After drilling the first two holes, use them as reference points.
- Move the jig, repositioning it using the pre-drilled holes and solid stops to ensure even spacing.
- Reclamp the jig if necessary before drilling each new hole for stability.
- Finishing
- Once all holes are drilled, lightly sand the edges of each hole using a sanding block or deburring tool to remove any imperfections.
- Check the alignment and squareness of the holes to ensure the workbench is ready for efficient use.
This jig guarantees precise and consistent drilling, ideal for installing accessories such as stops, clamps, or hold-down presses.
License

You shall not share, sub-license, sell, rent, host, transfer, or distribute in any way the digital or 3D printed versions of this object, nor any other derivative work of this object in its digital or physical format (including - but not limited to - remixes of this object, and hosting on other digital platforms). The objects may not be used without permission in any way whatsoever in which you charge money, or collect fees.


Comment & Rating (17)