
Mechanical Iris Fidget Toy
Print Profile(3)


Description
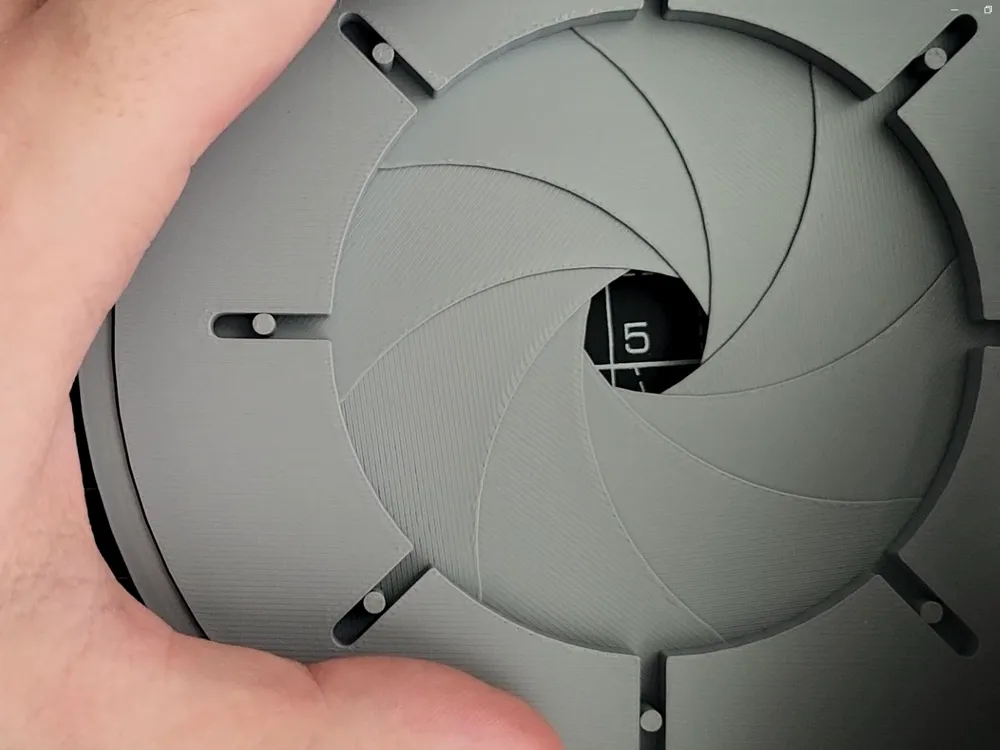
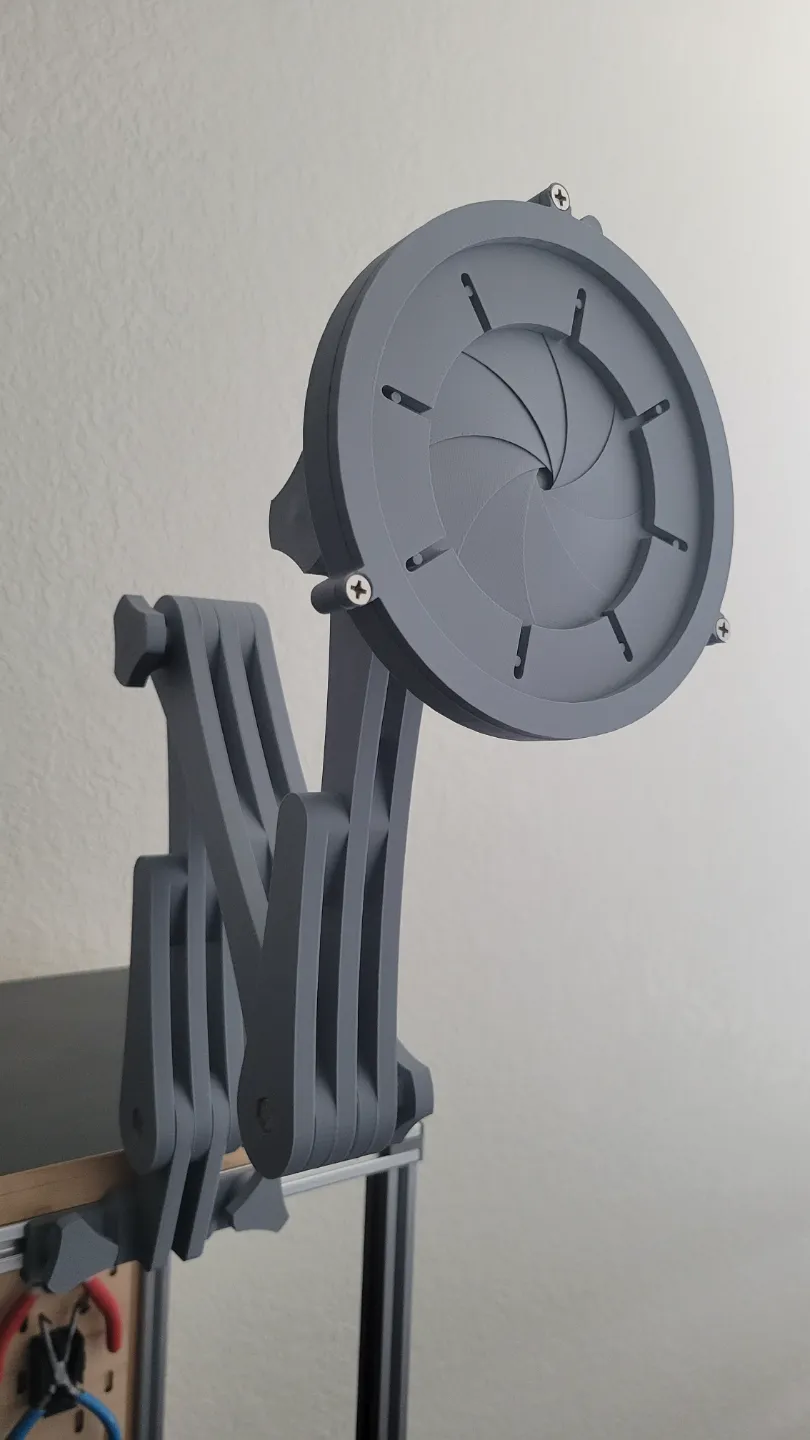
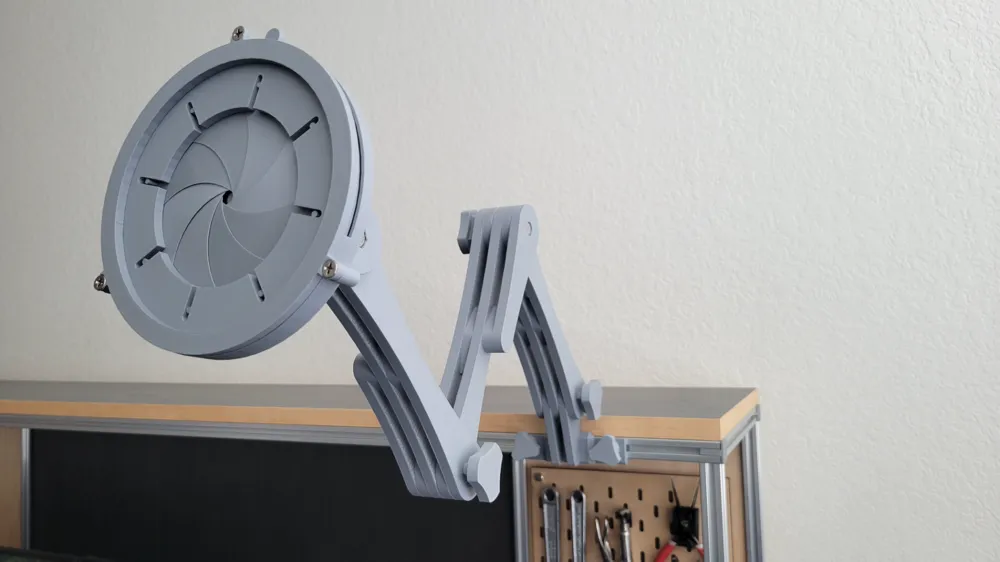
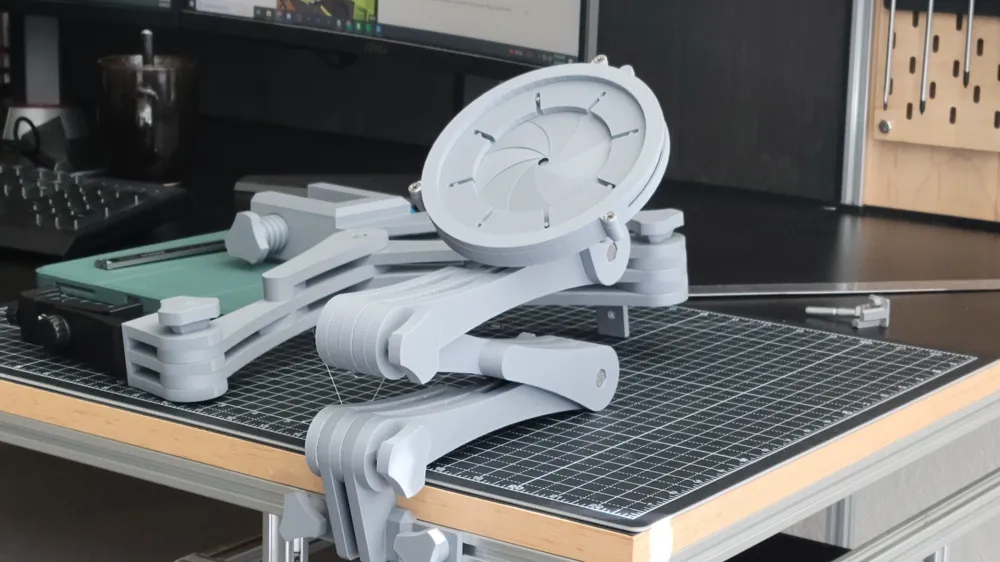
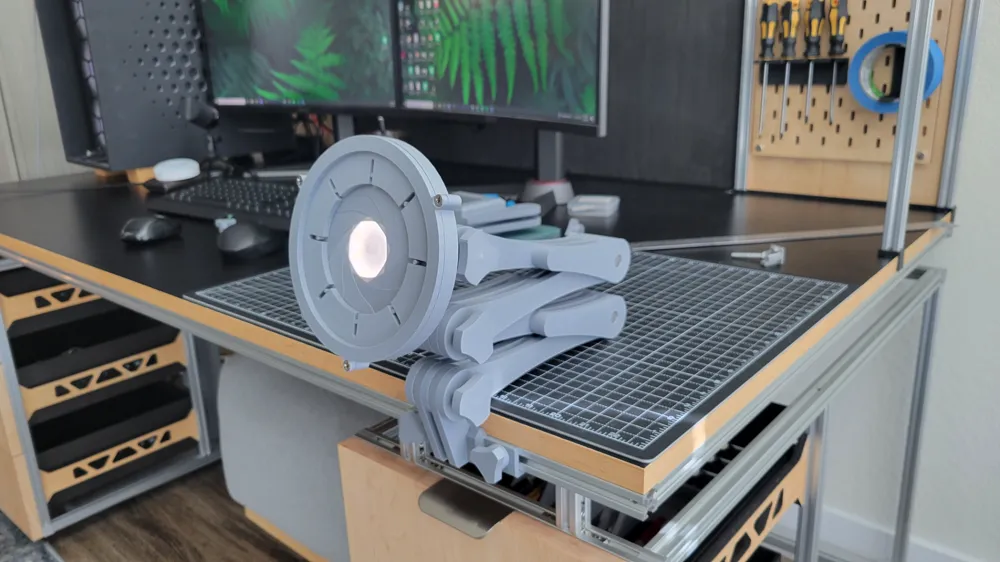
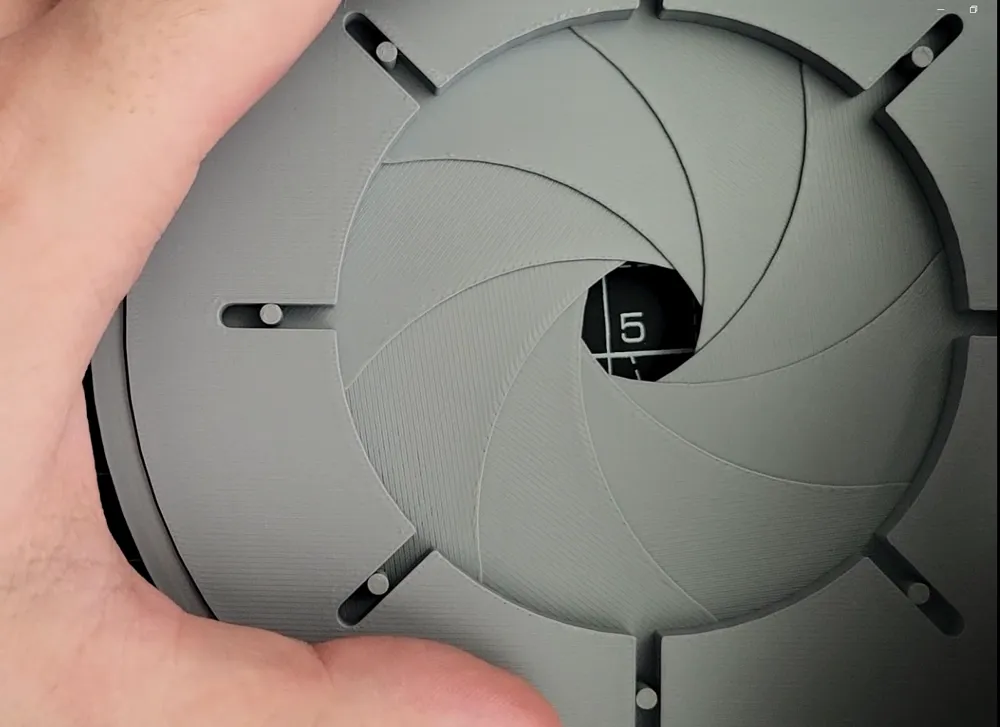
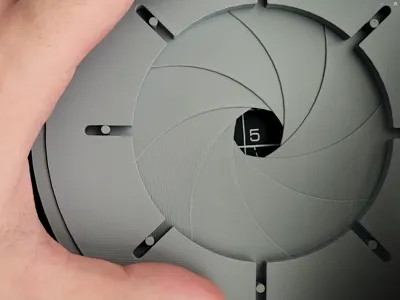
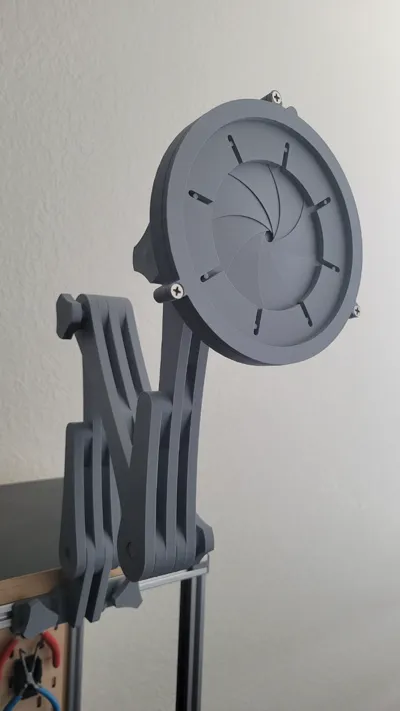
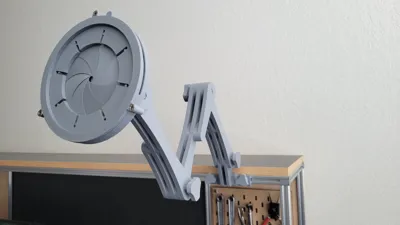
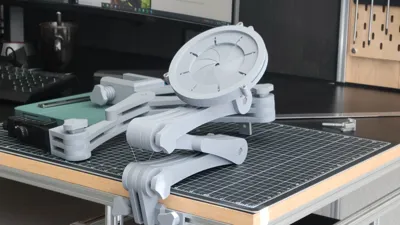
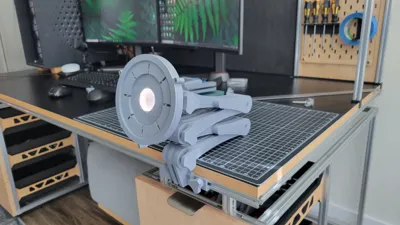
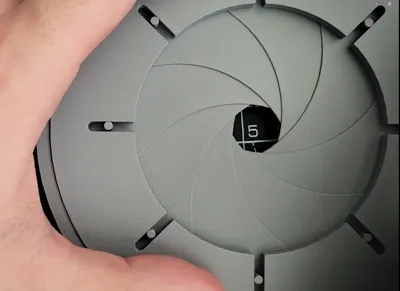
This is a model that I originally made for another project but after learning how fun it was to play with I branched it off into its own toy. You will need to print the blade plate twice to get all of the parts that you need. This is a mechanical iris, the center changes diameter as you twist it. I would suggest gluing the pins on the fins or attach them in any way that you prefer so they dont move around to much.
A couple people have asked for more instruction on how to put this together, I have added diagrams of the steps and some commentary below to help you.
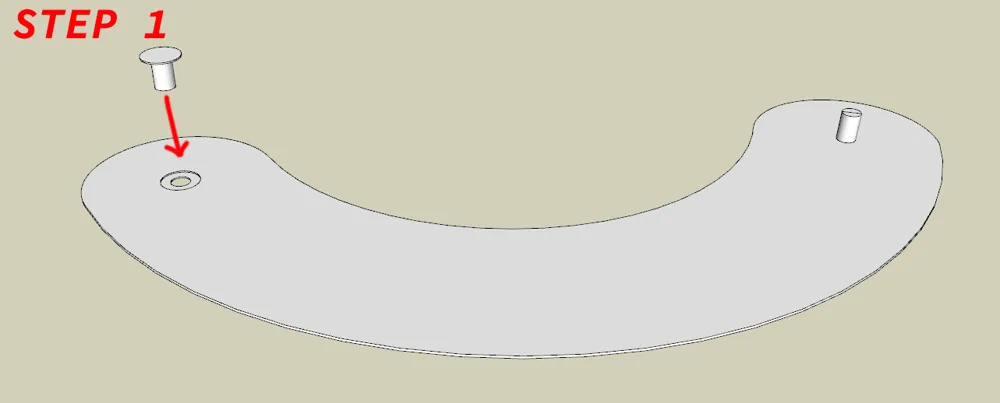
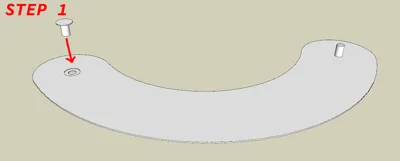
Step 1: You will need 8 blades in total, the plate can be reprinted again and there are extra pins just in case but 2 are not needed. Assemble the pins onto the blades, they should be facing down and the lip should be flush with the rest of the fin on the top. I would suggest gluing these down to the blade so they always stay in place. Do this for all 8 blades.
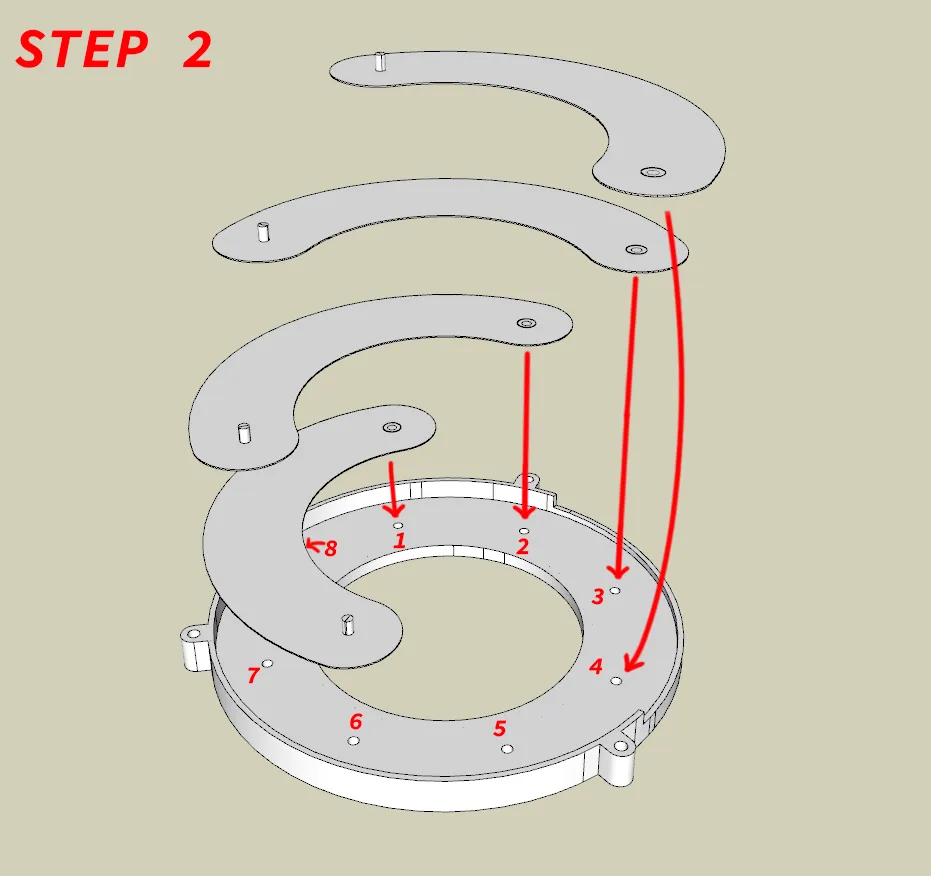
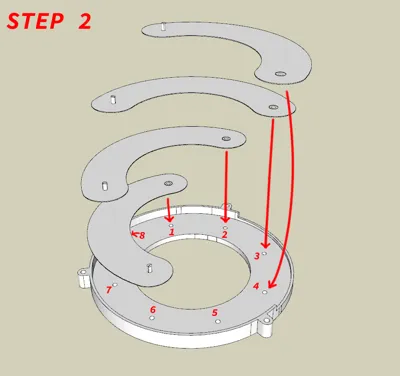
Step 2: Drop the blade and the pin that you just glued into the hole on the bottom, you can start with 1 like in the diagram and then move clockwise. The next blade that you put down in 2 should be laying on top of the blade you just put in. This will be the case for every blade and they continue to sit on top of the previous one as you work your way around. Once you start to hit the holes for 6,7, and 8, the starting pieces will be covering them up, lift them up gently and continue to add the final blades. When they are all in you should see that there are 8 pins sticking up and that each piece is layered onto its neighbor.
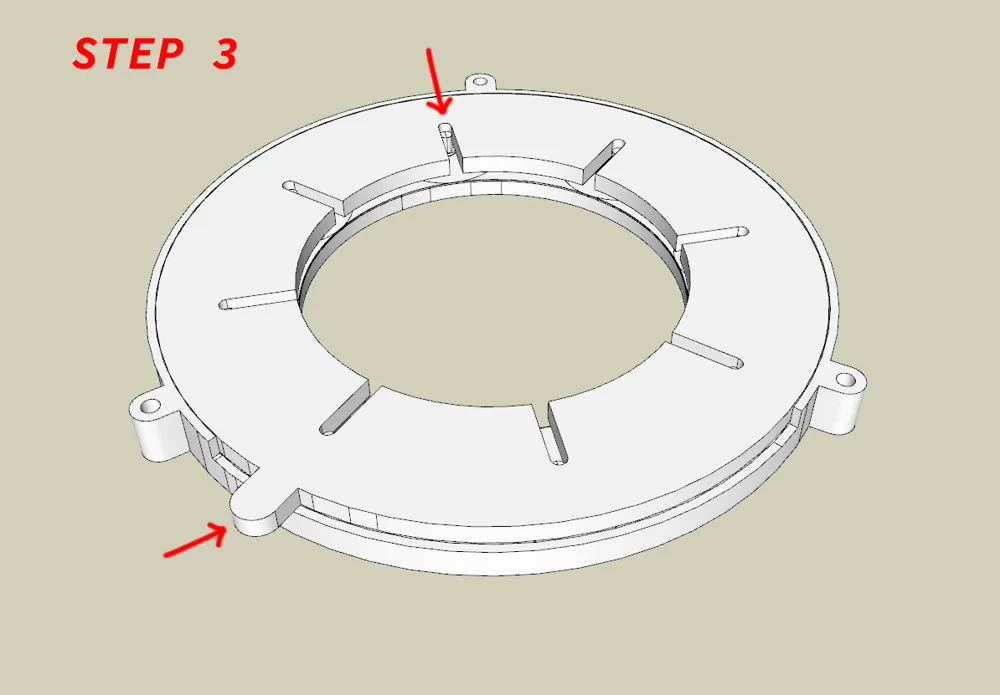
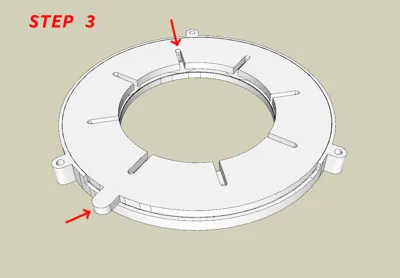
Step 3: With the 8 pins that are sticking up from the last step, the next part can get put on. The pins should all slign with the channel on this layer. You can slightly jiggle it to get everything into place but they should all align and that will tell you that it was assembled correctly. The “tab” of this part should be set to the left most it can be while aligning with that pin, by turning this layer to the right with all of the pins in the channel, you should see the iris close as its rotated. These parts should slide easily so if there is a large amount of resistance, something is misplaced.
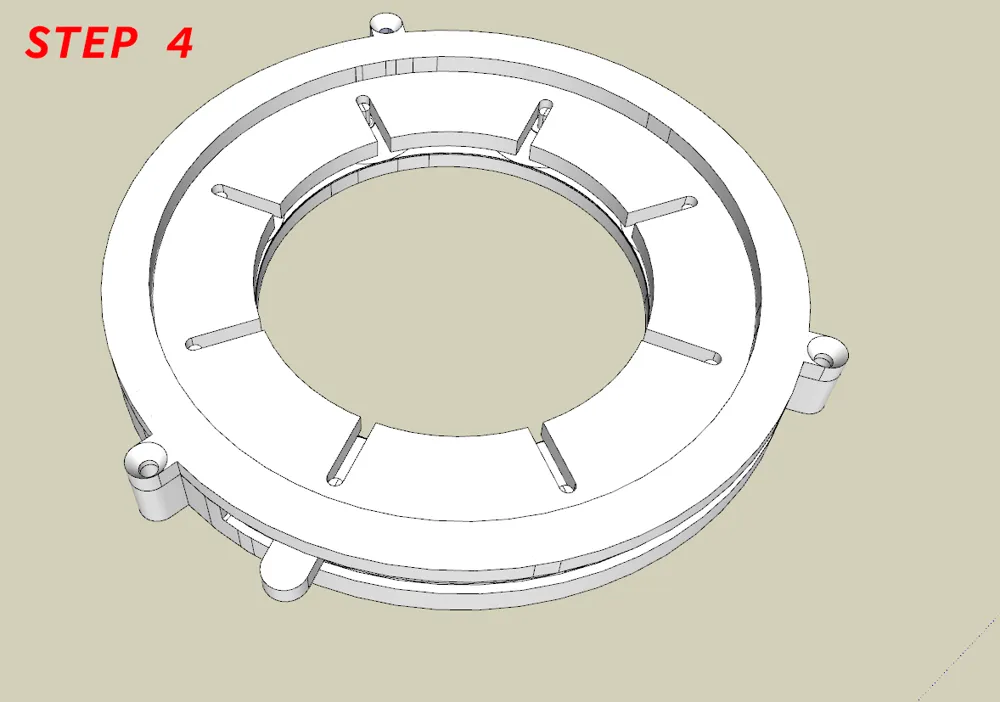
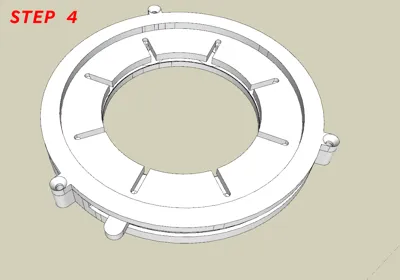
Step 4: Place the final top cap on and screw in the three mounting holes to the bottom plate around the perimeter.
License



Comment & Rating (110)