
Fidget – Walkman Cassette Music Player Toy

Print Profile(2)


Description


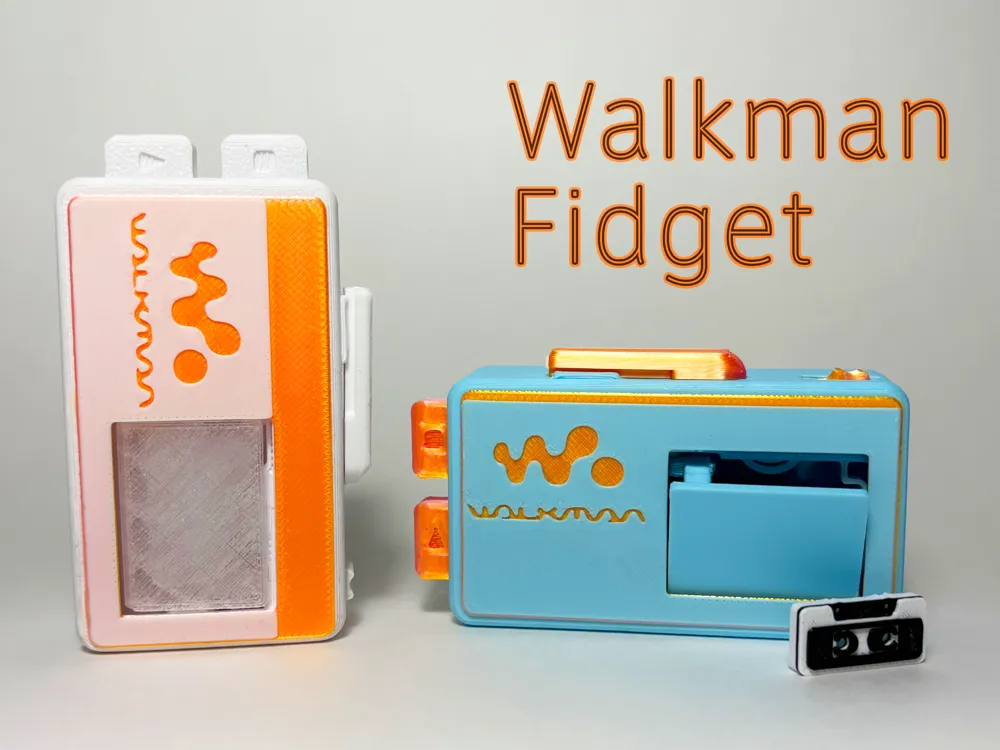
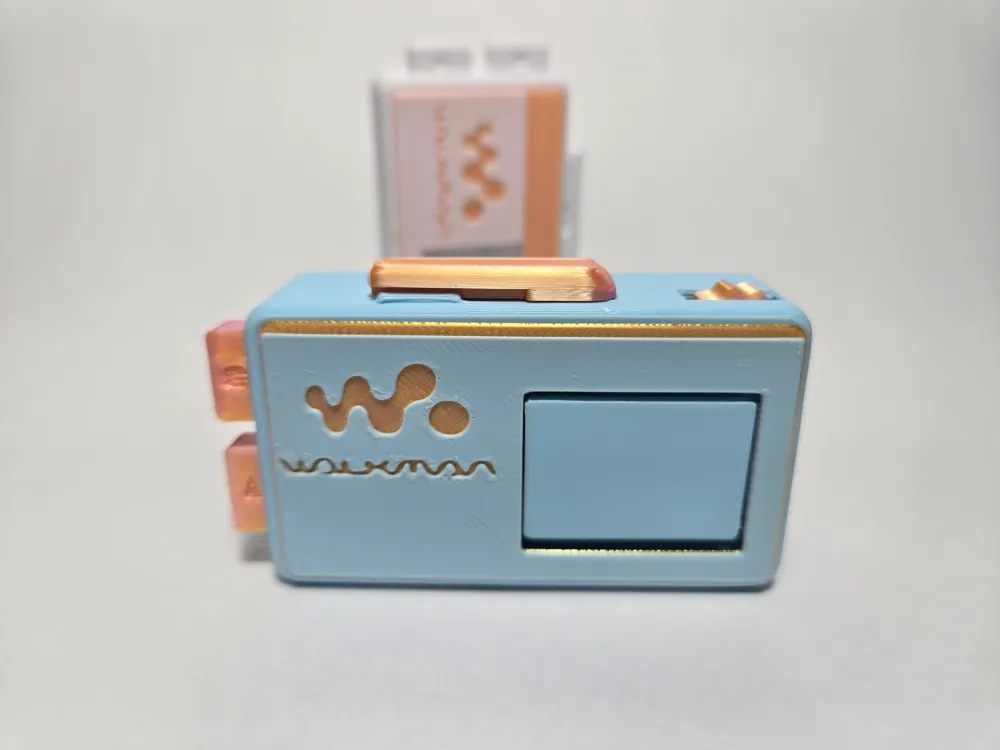
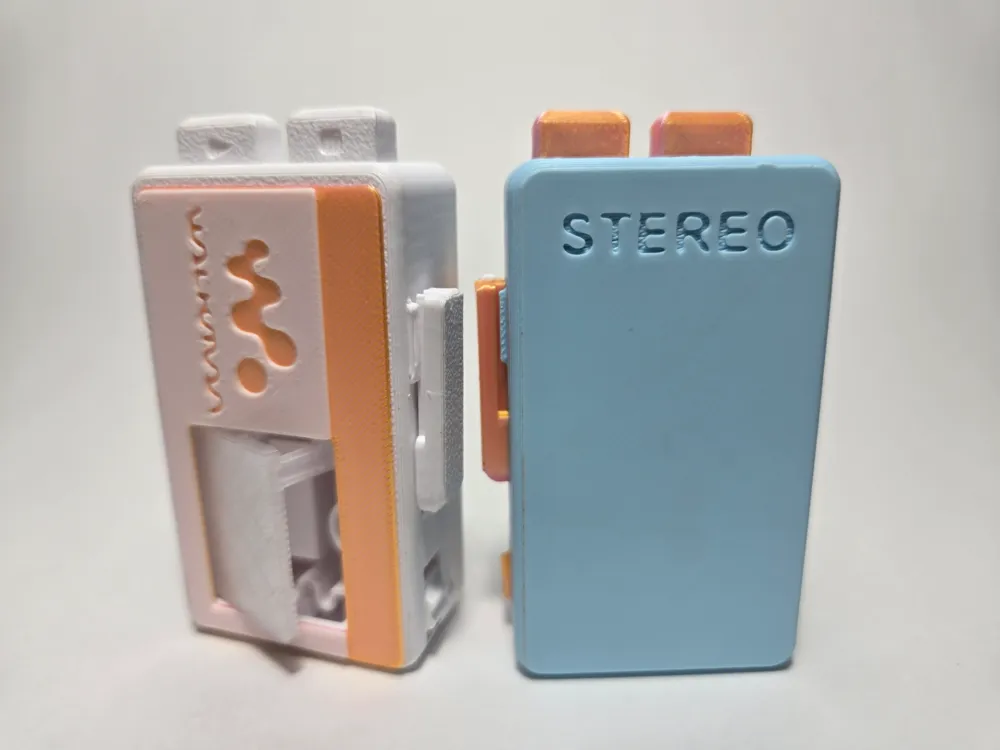
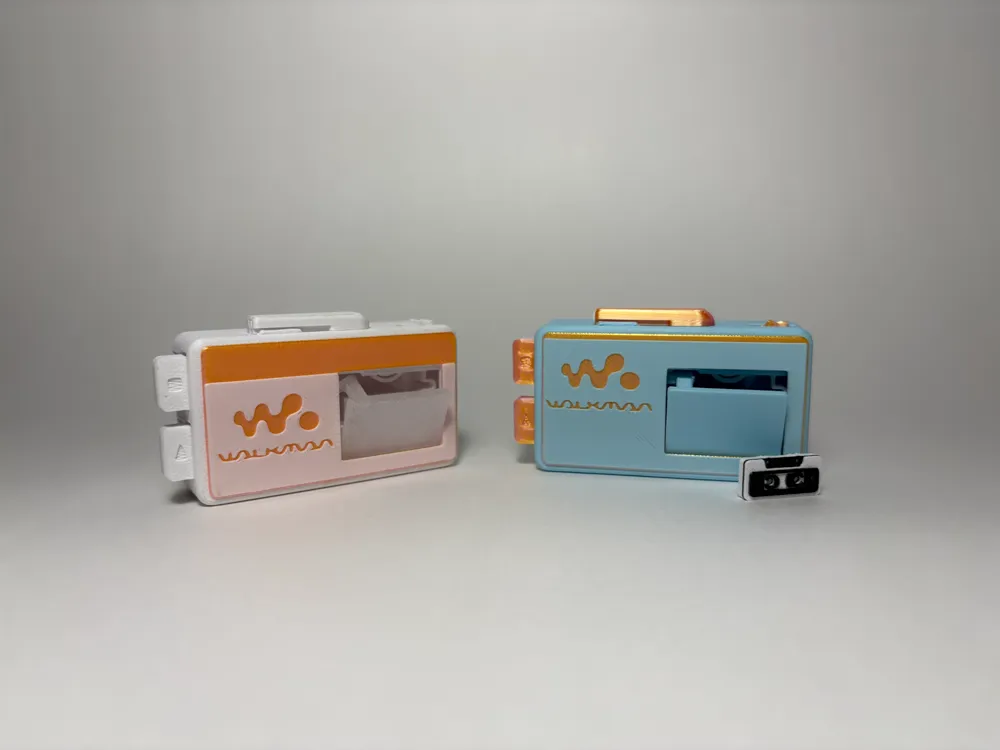
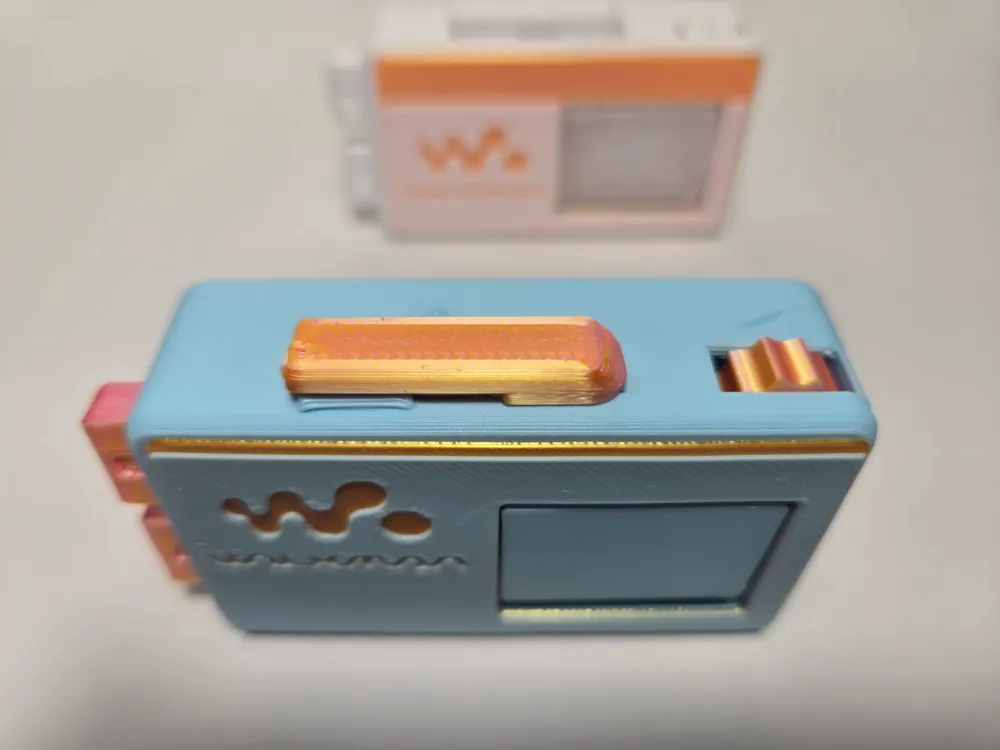
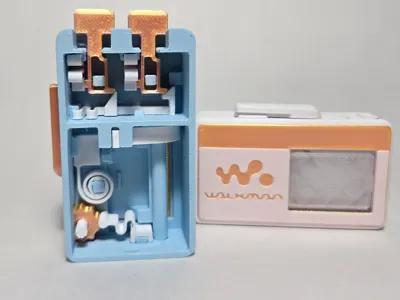
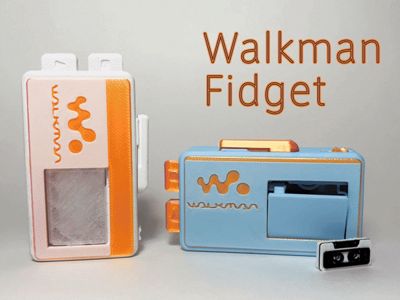
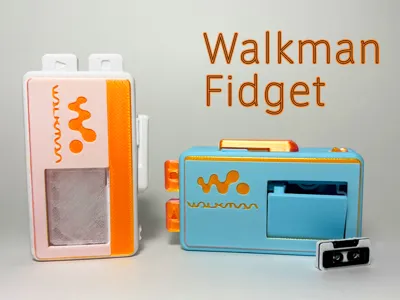
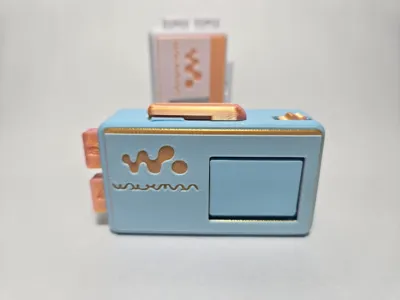
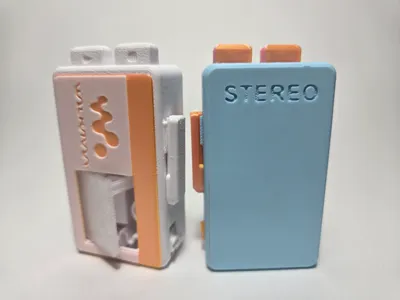
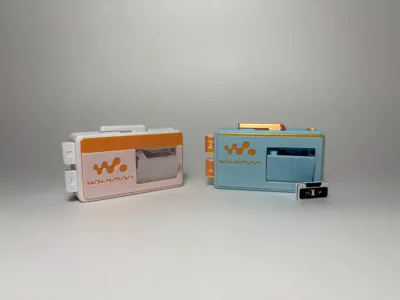
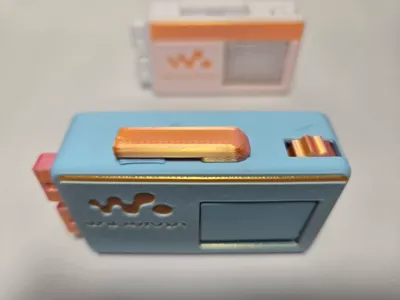

A fun fidget that looks and feels like a real mini cassette music player!
Take a look at my other retro-inspired electronic fidget design!
Youtube link for demo and assembly:
If you ever owned a cassette music player (or Walkman) in the ’80s or ’90s, you might remember the satisfying feel of pressing the buttons or ejecting the cassette lid. This fidget is designed to recreate that experience!
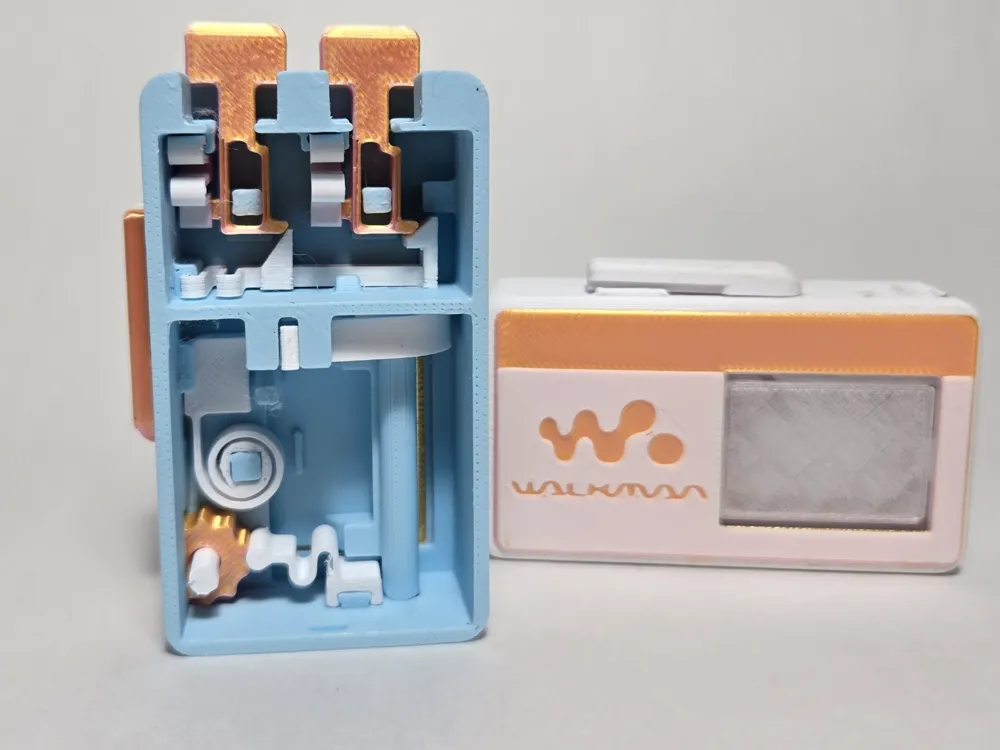
I carefully designed the intricate mechanism, drawing inspiration from the internals of a real Walkman and other popular fidget designs. While assembly requires a bit of patience, the result is a durable and highly enjoyable fidget toy.
To ensure durability, I refined the design many times. The internal springs must be printed with PETG, as PLA is NOT suitable for springs.
I provide two print profiles:
- Quick Print (<2 hours, all PETG) – Highly recommended for try it out!
- Detailed Version – Features a tribute design inspired by the Sony Walkman logo on the front panel and allows for a colorful PLA outer box. Please still use PETG for internal springs.
Give it a try and enjoy the nostalgia!

Assembly guide:
I recommend watch the Youtube video I uploaded for the clearer instruction. If you cannot watch the video, please use the gifs below as a reference for assembly. They are much lower resolution though due to gif size limit.
All Components Animation:

Components:
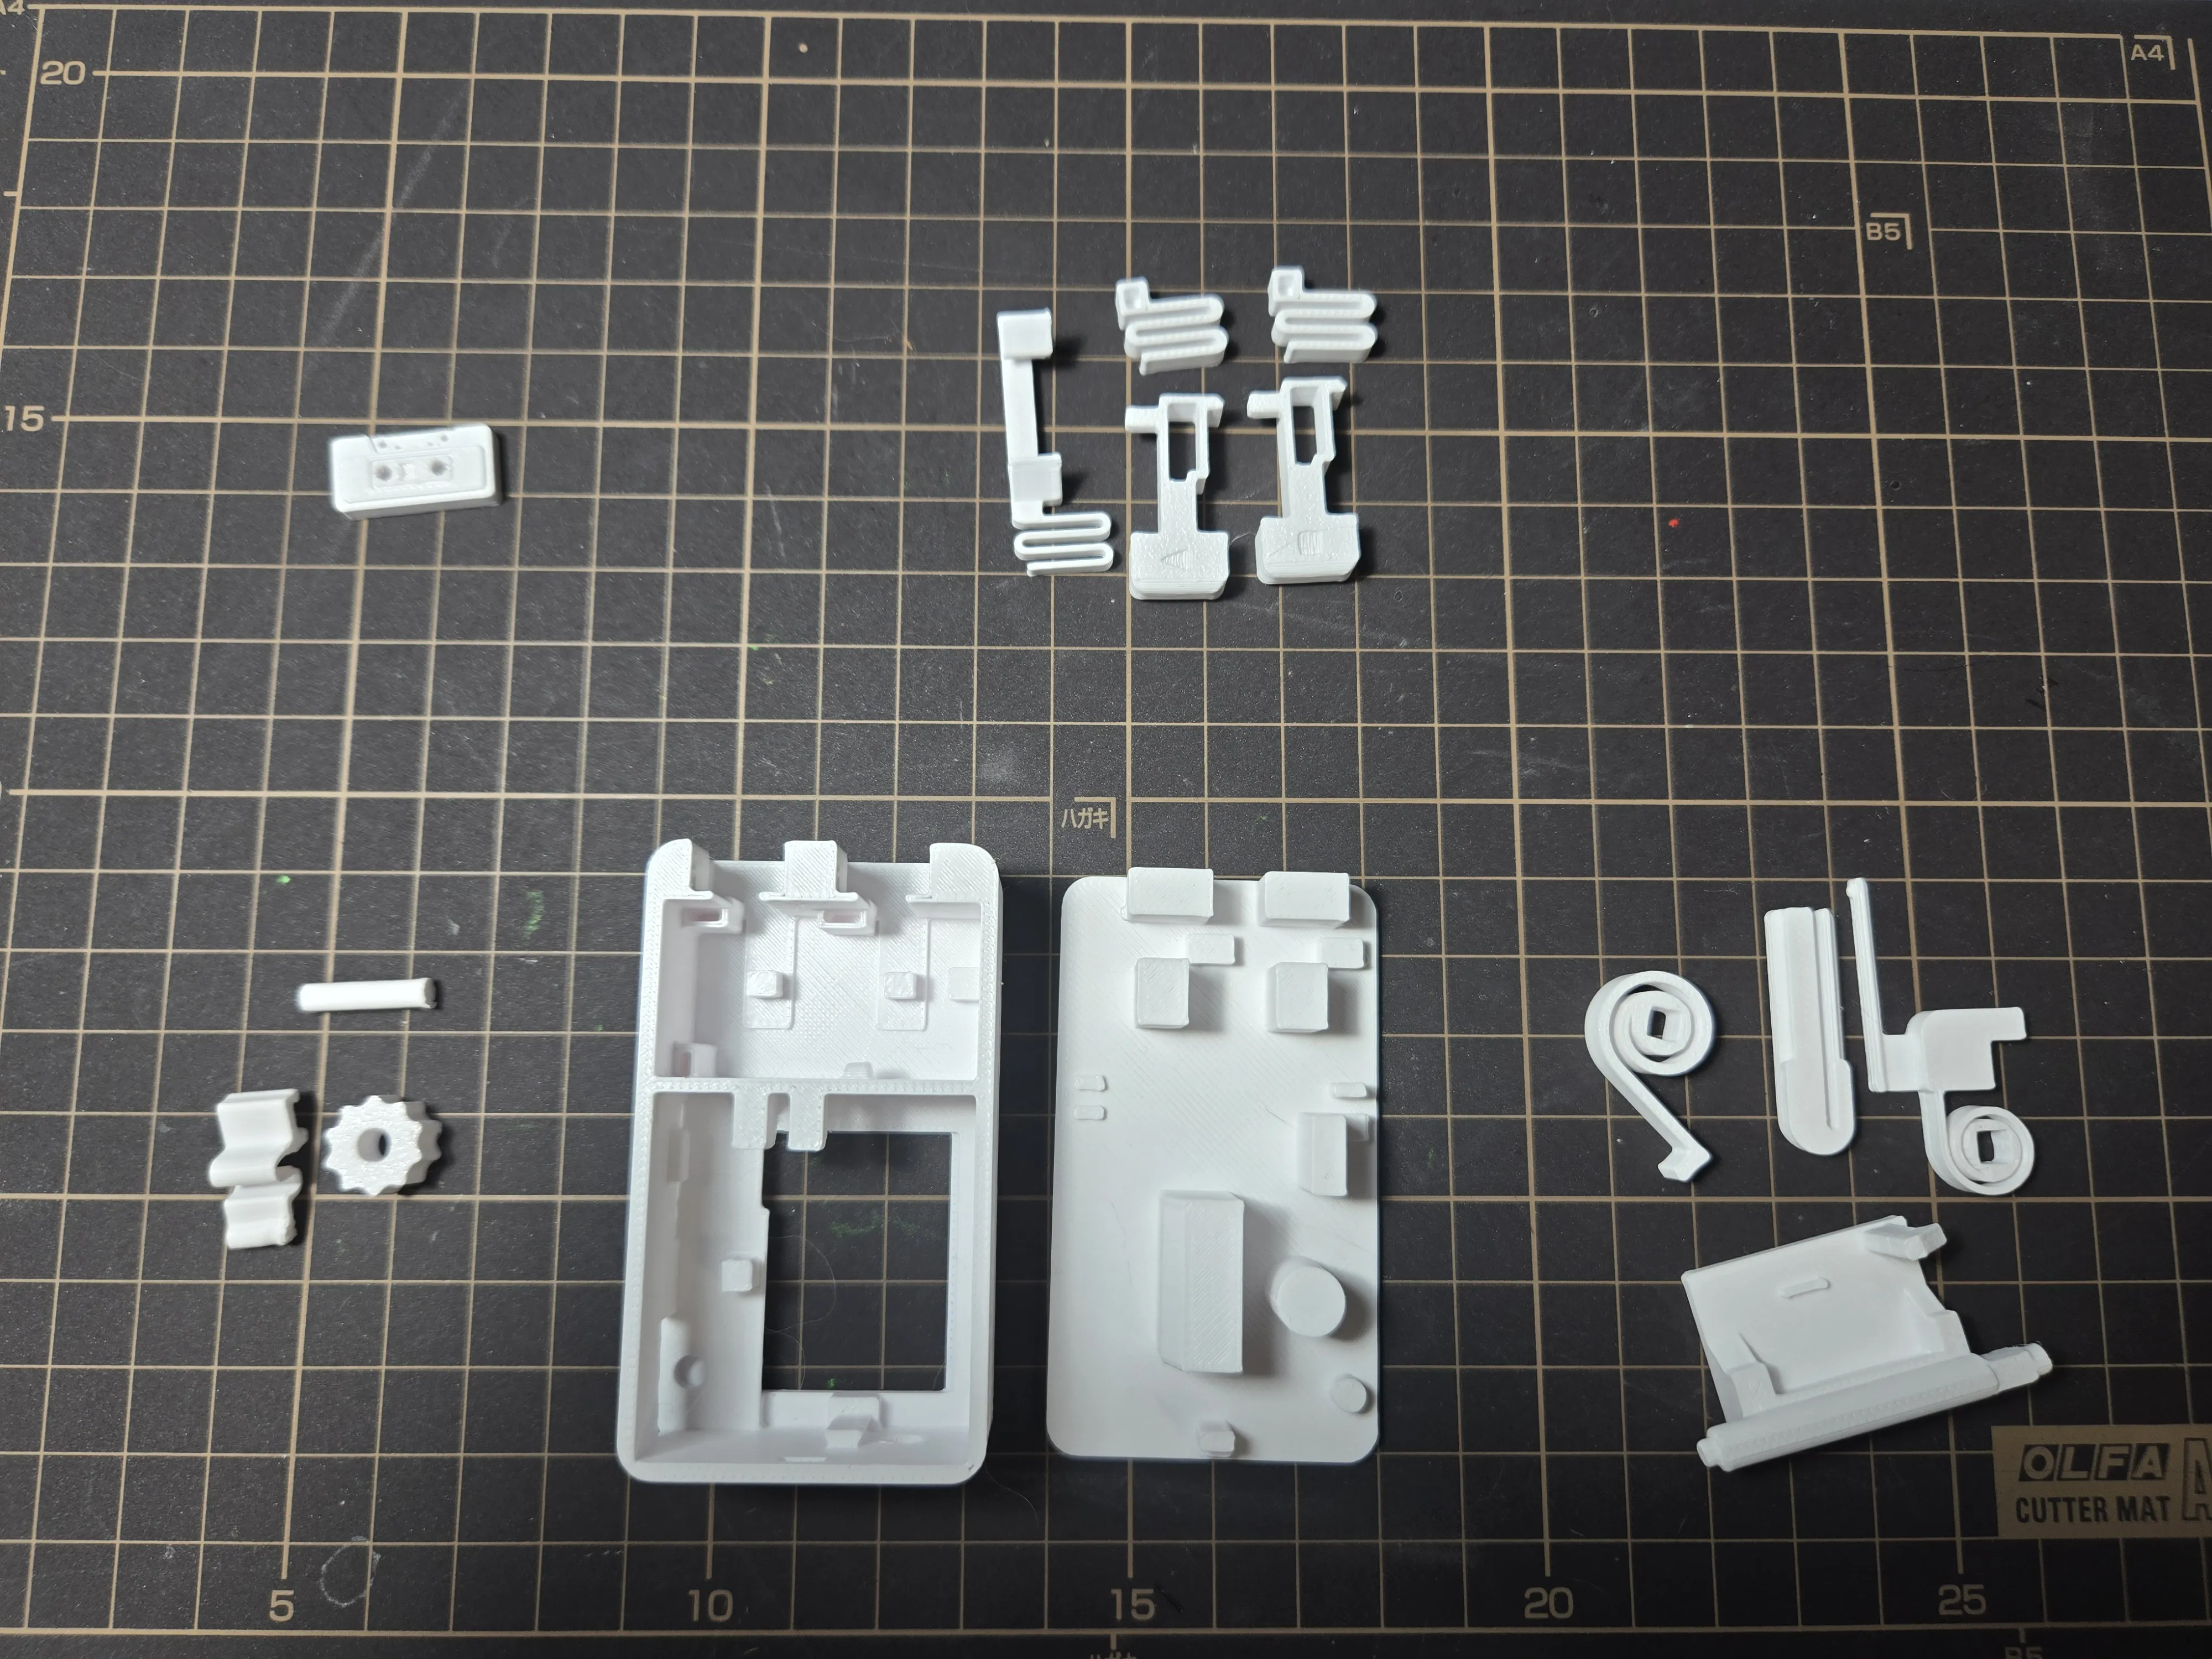
Step-by-step assembly guide:
- Install the spiral spring onto the axle of the lid, paying attention to their relative orientation.

- Insert the lid into the box. Slide in the spiral spring into the slot on the box, and align the right end of the axle to the right hole first.
- Keep right end in hole, then force the left end into the left hole. Need a bit force.
- This is the most difficult step as you need force the axle into the box. If you really cannot do so, use a knife to shorten the axle a little bit.

- Slide in the side slider

- Now we start with the top compartment for the buttons.
- First install the spring piece into the slot at the bottom.

- Assemble springs onto buttons

- Put the buttons into box. “Play” button on right, and “stop” button on left. Insert the springs into slots.

- Now the wheel clicker:

- insert the wheel and the axle into place.

- Slide in the spring
- After verifying things moving correctly, begin to install the back plate.
- Insert the bottom first.
- Align the middle slot.
- Then push in the top.
License

You shall not share, sub-license, sell, rent, host, transfer, or distribute in any way the digital or 3D printed versions of this object, nor any other derivative work of this object in its digital or physical format (including - but not limited to - remixes of this object, and hosting on other digital platforms). The objects may not be used without permission in any way whatsoever in which you charge money, or collect fees.


Comment & Rating (132)