
Splash Guard for Thermomix TM5/6

Print Profile(2)


Description
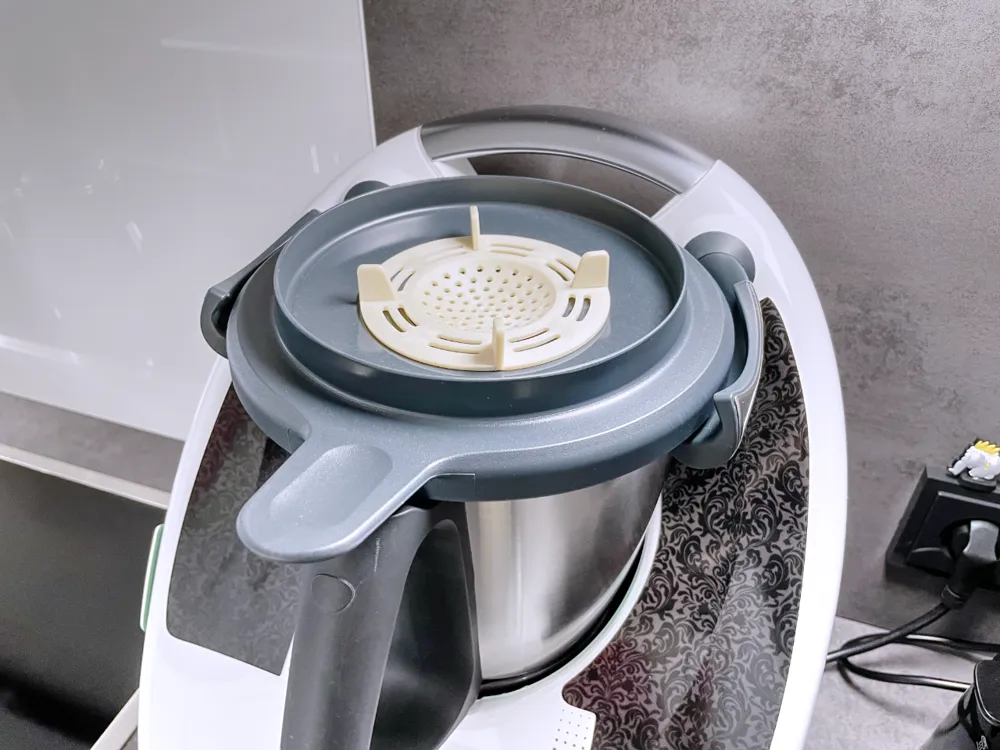
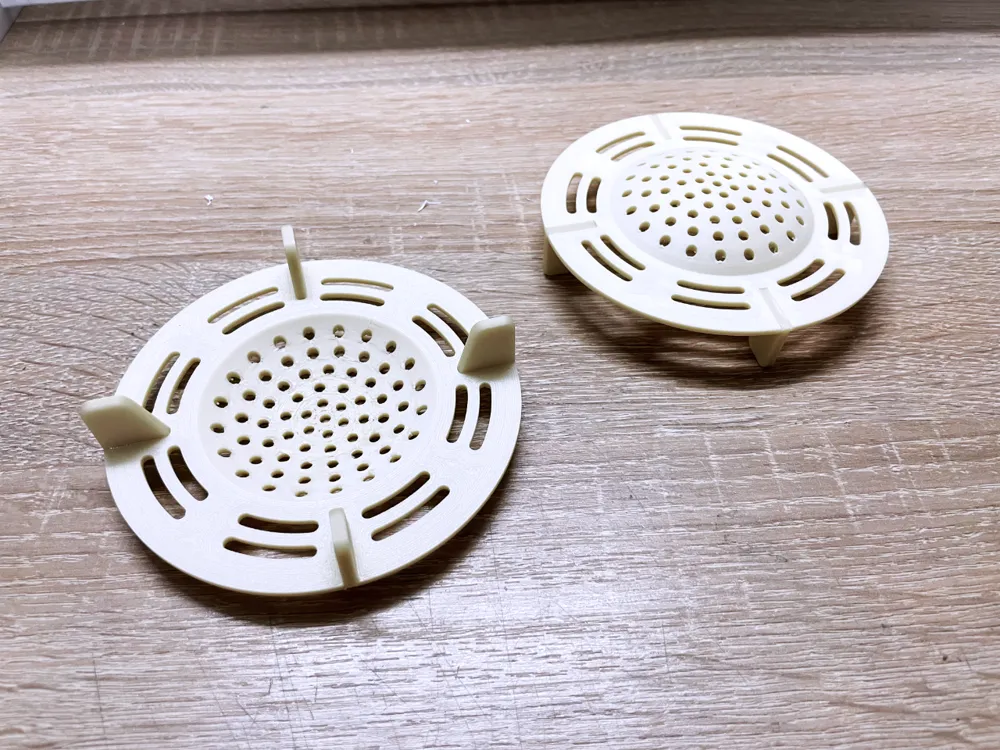
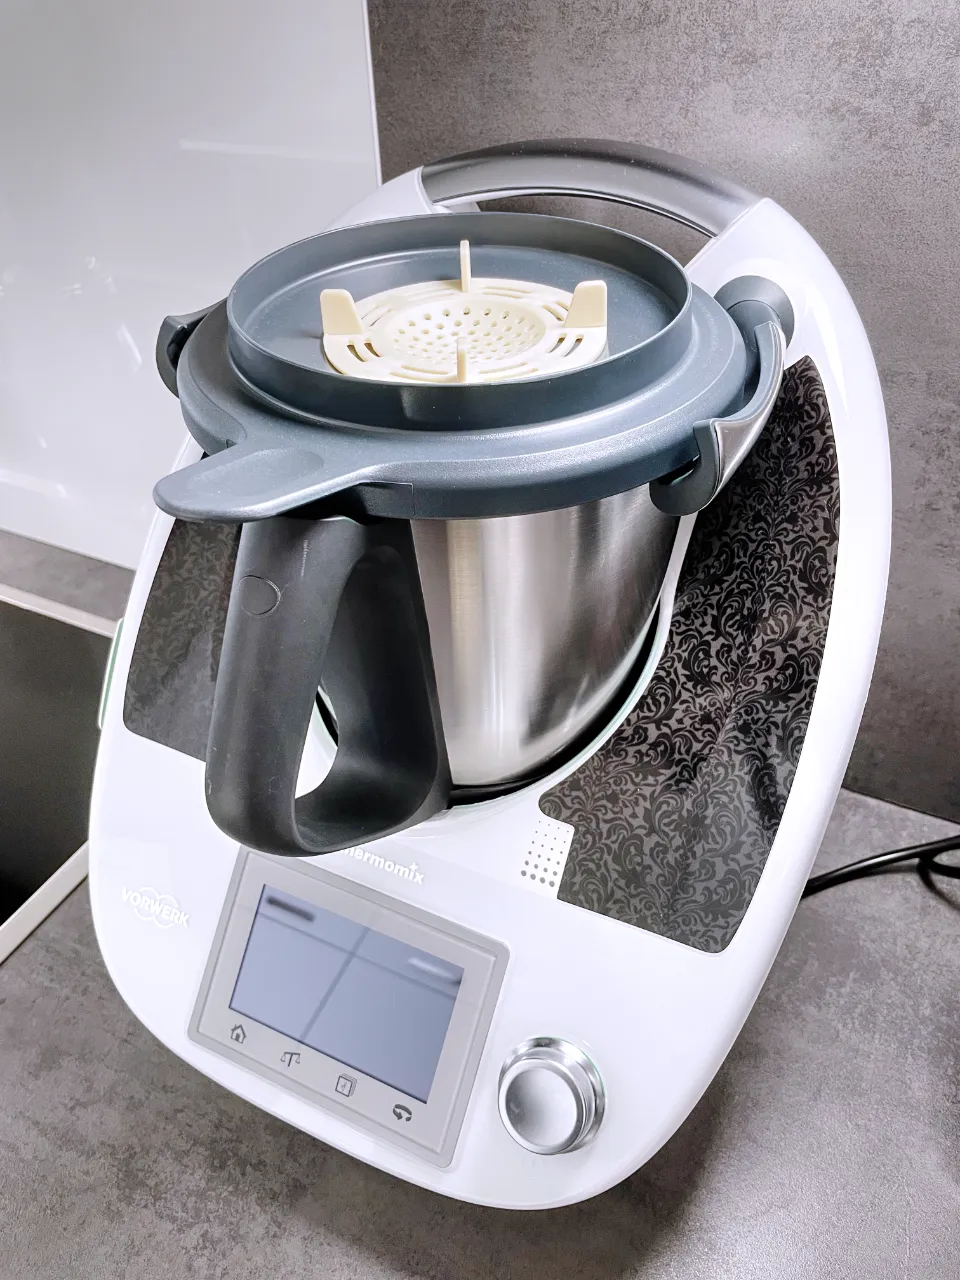
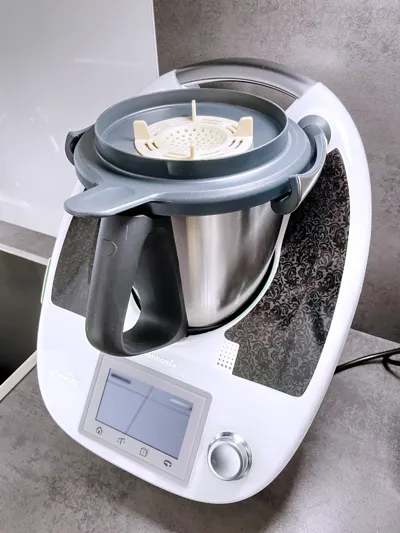
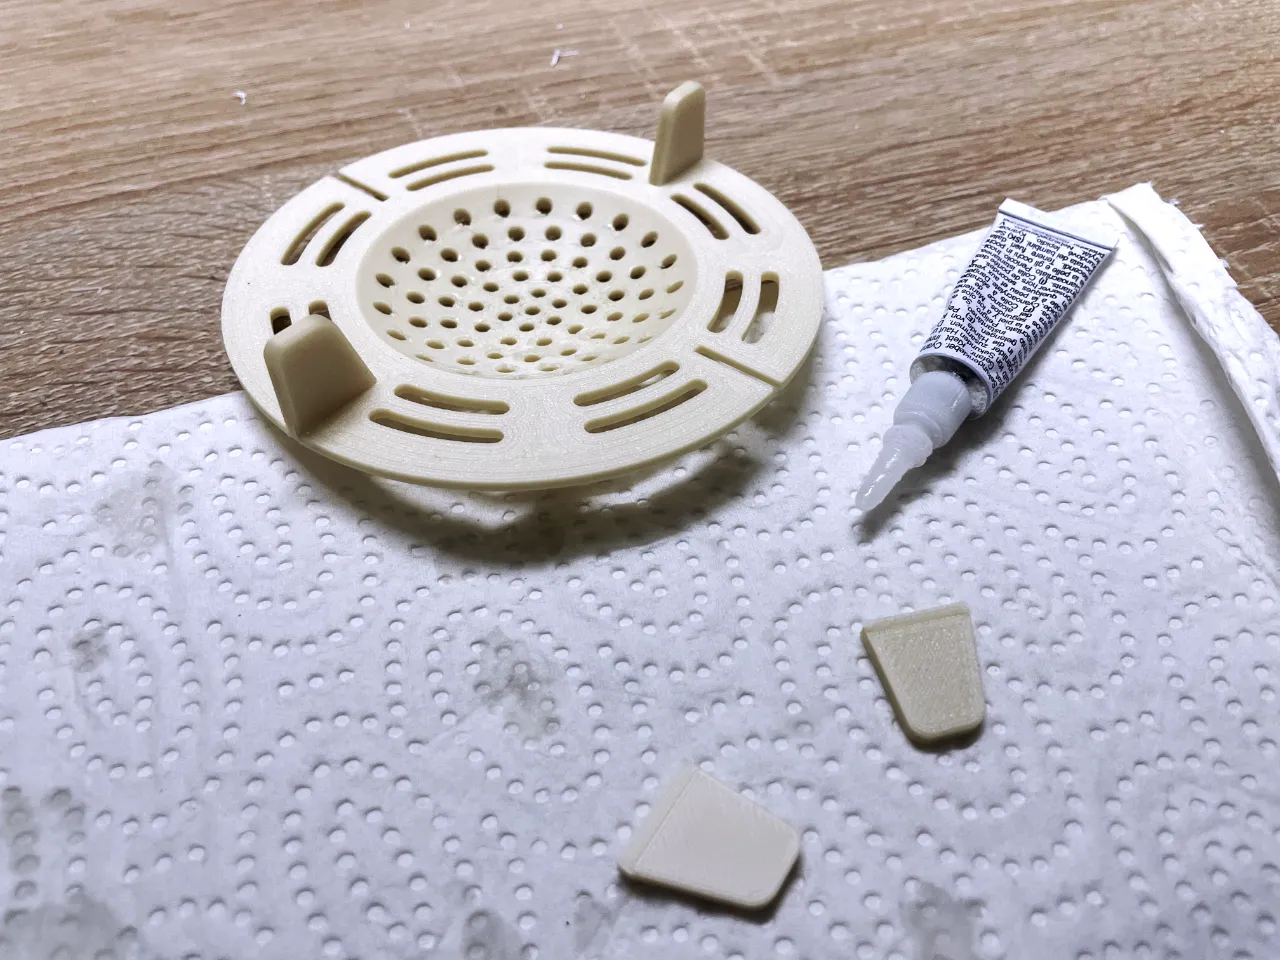
My wife wants a splash guard for the Thermomix. So I design this model. The challenge was, to design it printable. So I made the handles as extra parts, which have to be inserted into the splash guard. It's designed with zero tolerance, to get it straight fit. Be sure to use a filament, which has a high vicat temperature, so it can resist the high temperatures on the lid of the Thermomix while cooking. I used Extrudr GreenTec Pro, which can resist up to 160°C VICAT A / 115°C HDT/B and is printable like PLA. But all filaments with a heat resistance above 100°C should be okay (check here). I recommend to use food safe filament only. Do not print it in PLA!
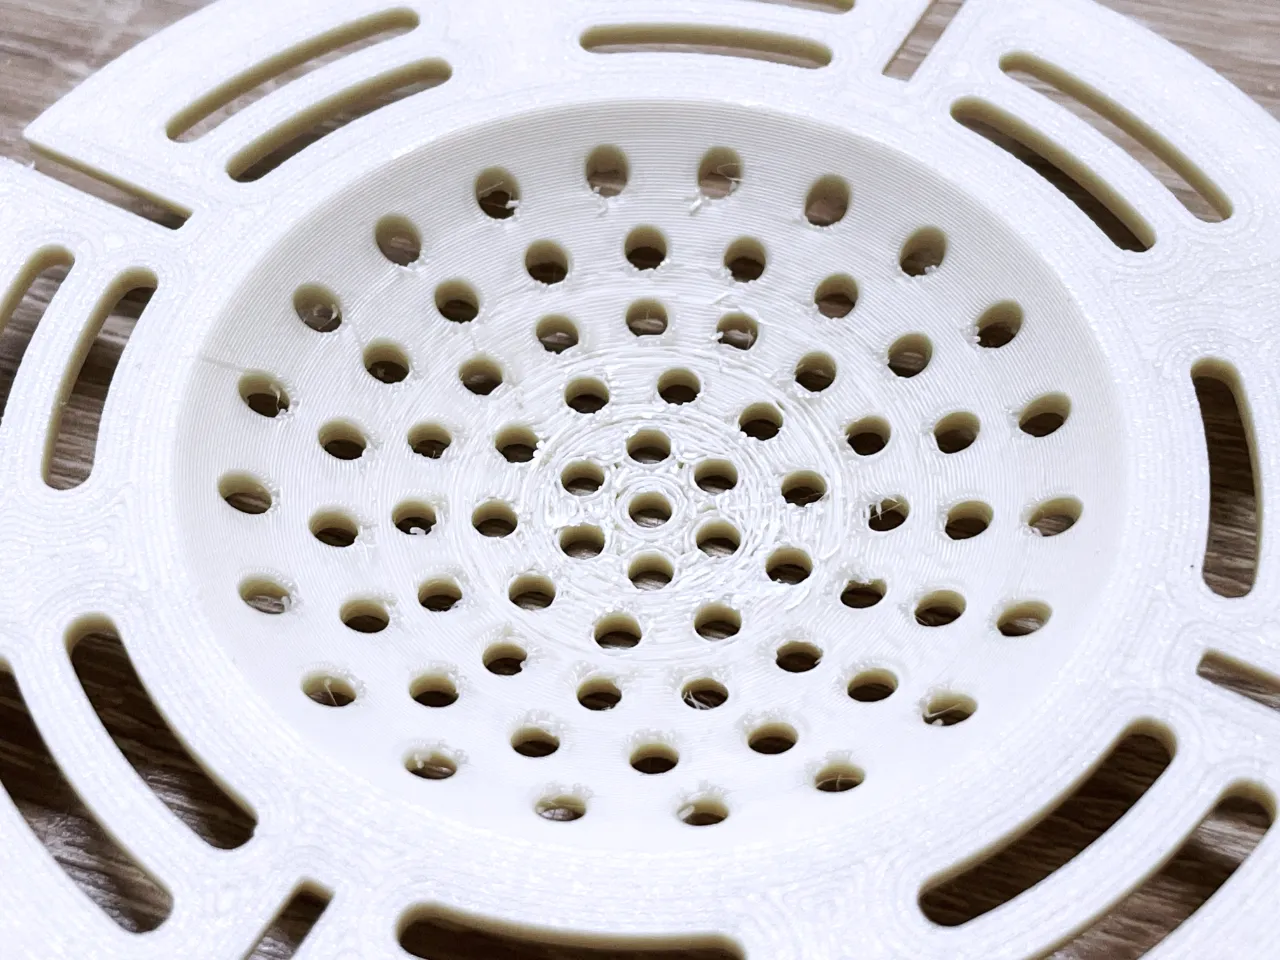
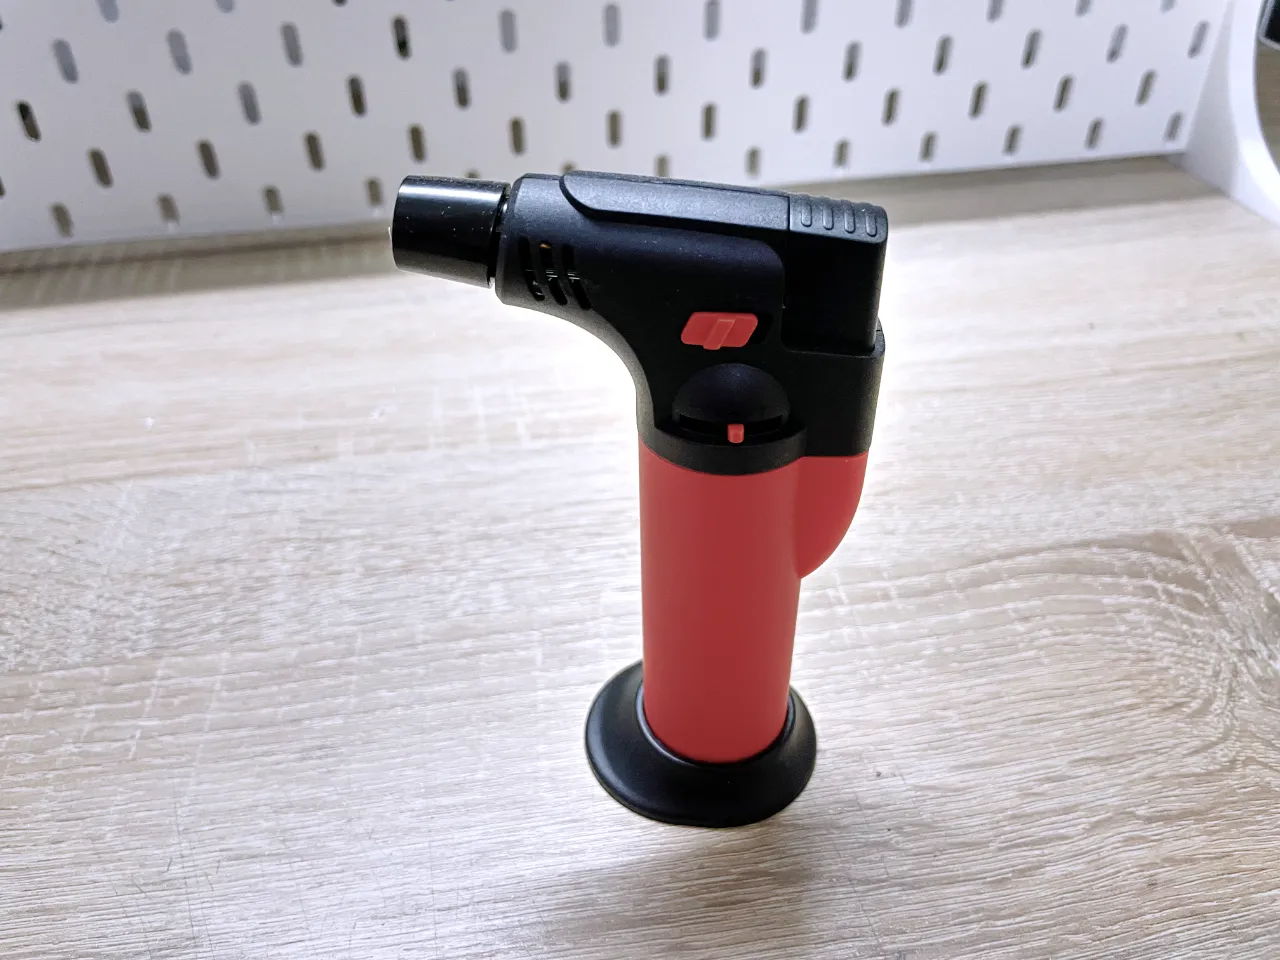
Because of the tough overhangs of the design, I used something like a gas lighter gun to heat the layers and residues from support and smoothen them by the finger. But be carefully to not overheat it. If you print it using Orca Slicer, the overhangs are slightly better.
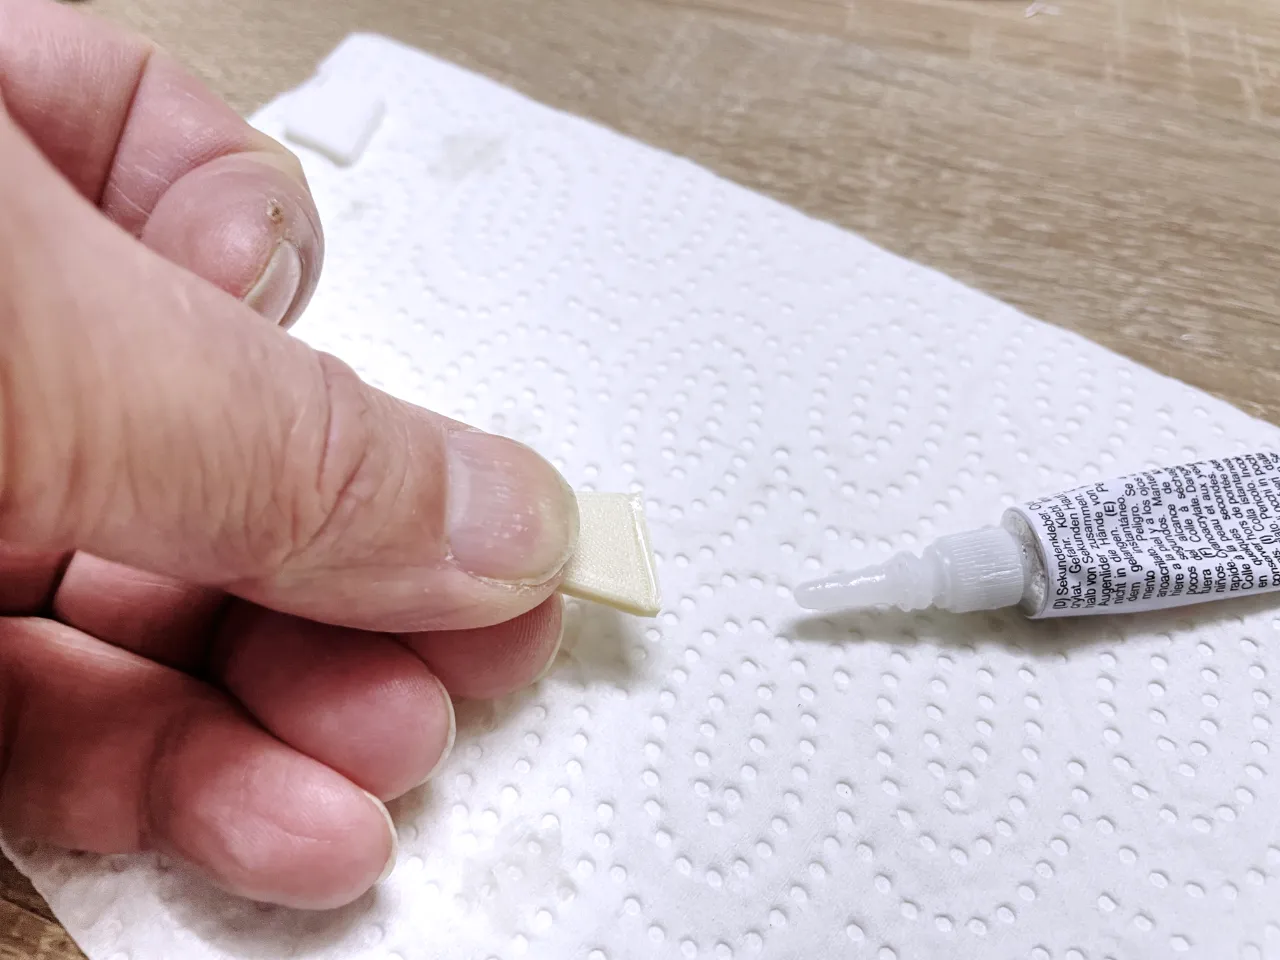
When attaching the handles, I applied a thin layer of superglue to the notch on the handle on both sides before I pushed the handle into the splash guard.
To improve the printing of the overhangs, change the bridge settings in the slicer. Rise the bridge flow up to 1.5 (or 150%) and slow down the print speed of bridges to 10mm/s. This improves the surface a lot. After printing regardless if you printed with or without support, you can post process the surface by sanding and after that smooth it using a mini gas lighter gun or a hair dryer.
License



Comment & Rating (73)