
Tunable 17-key Kalimba

Print Profile(2)

Description
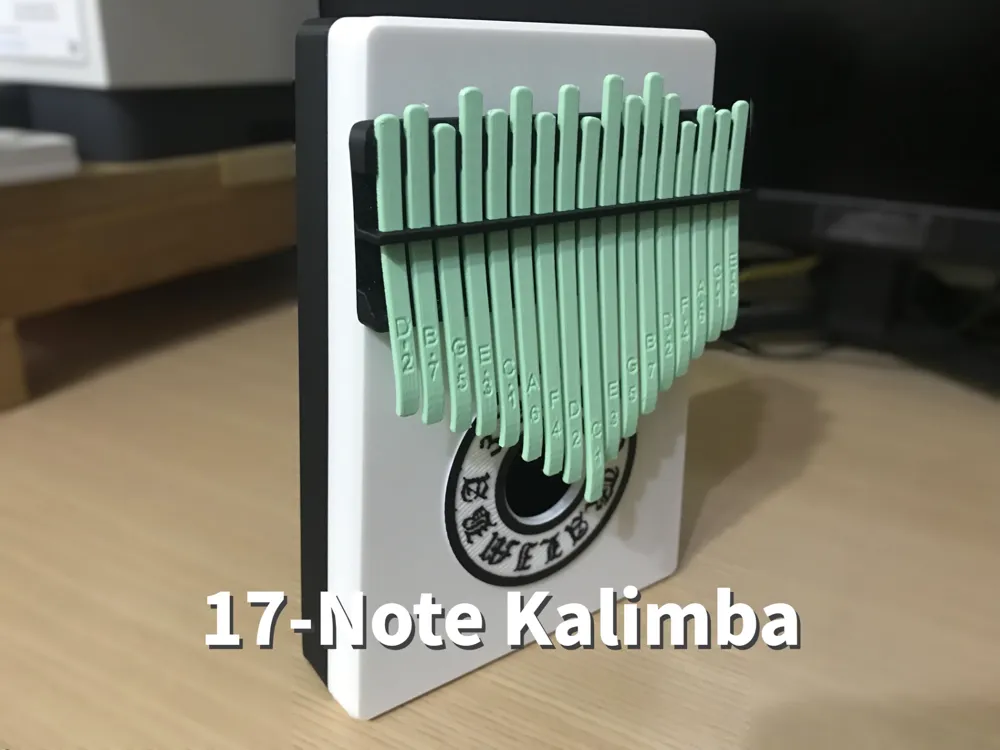
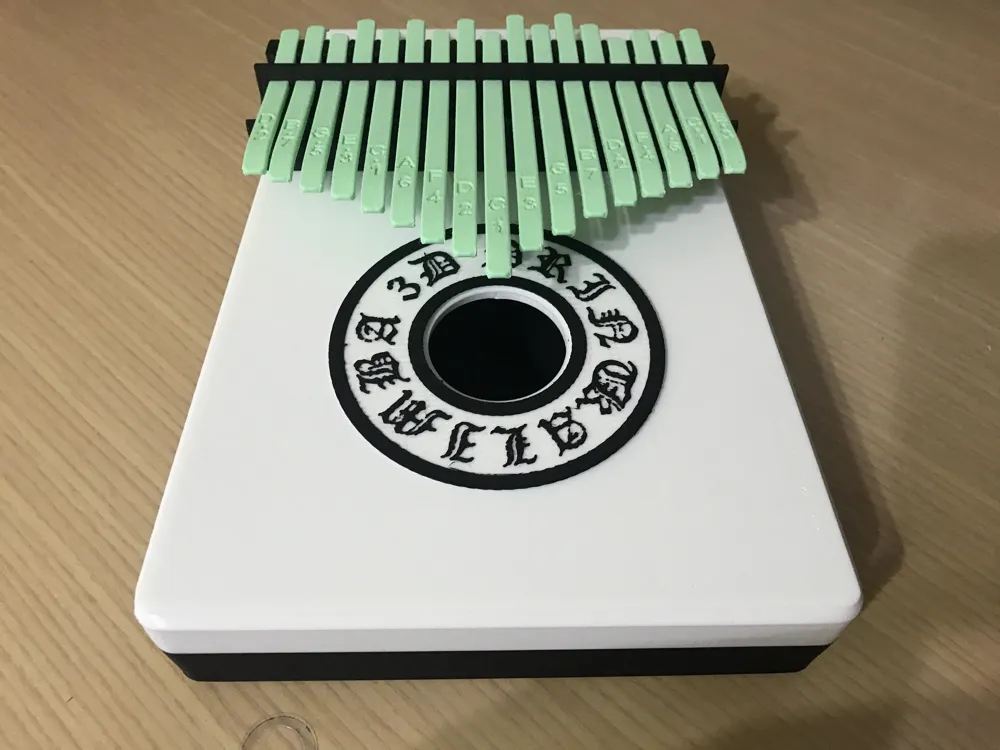
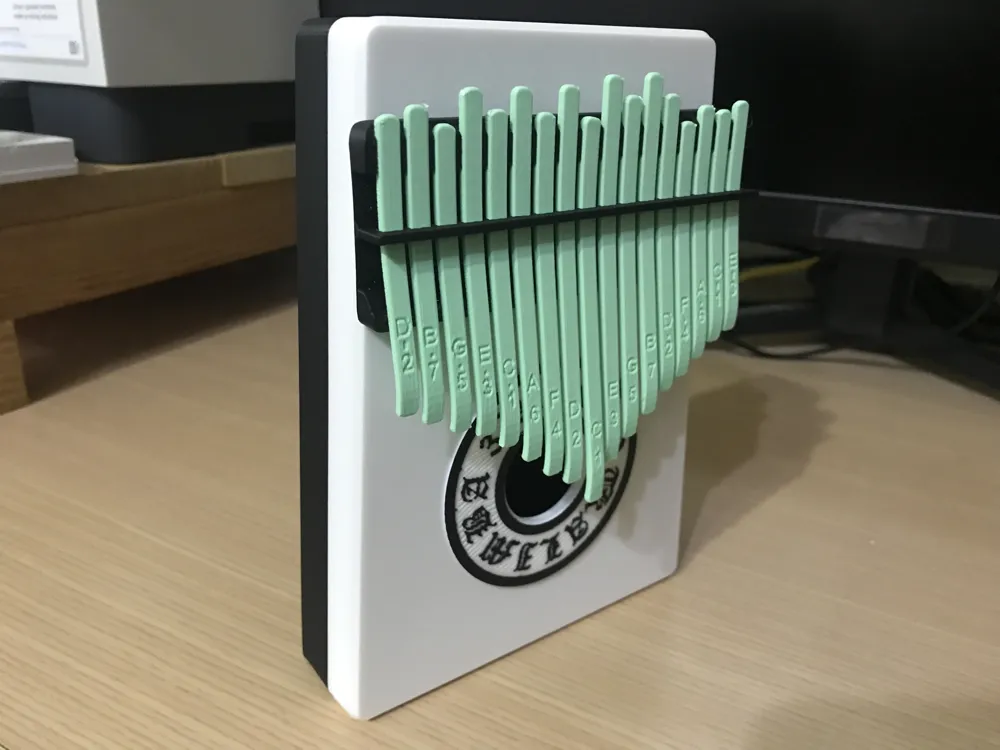
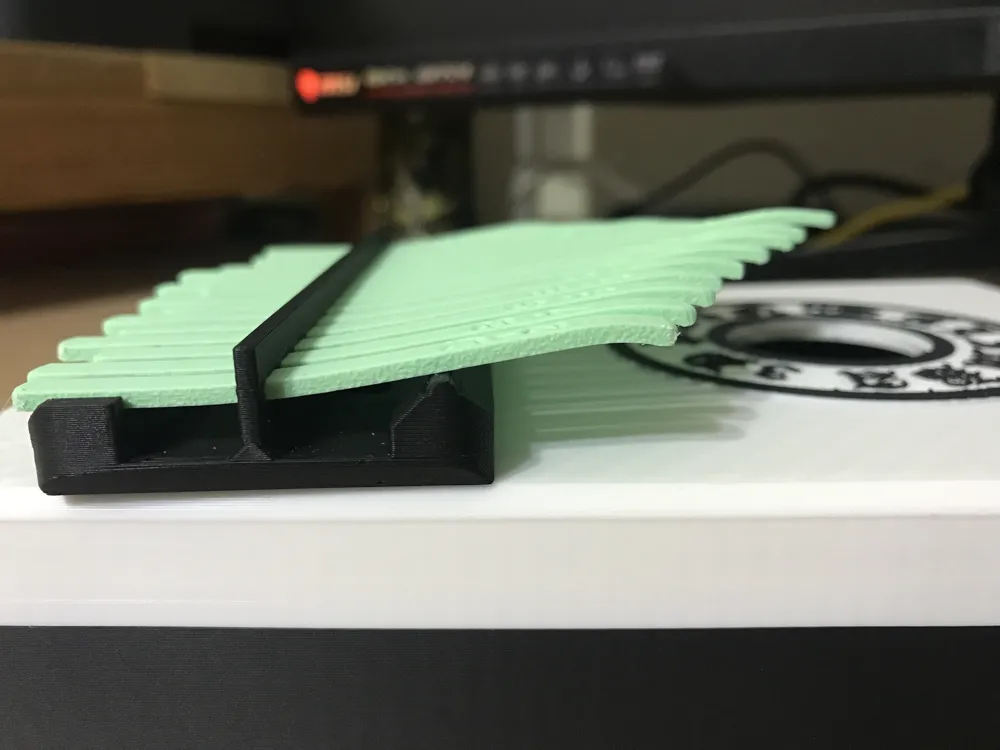
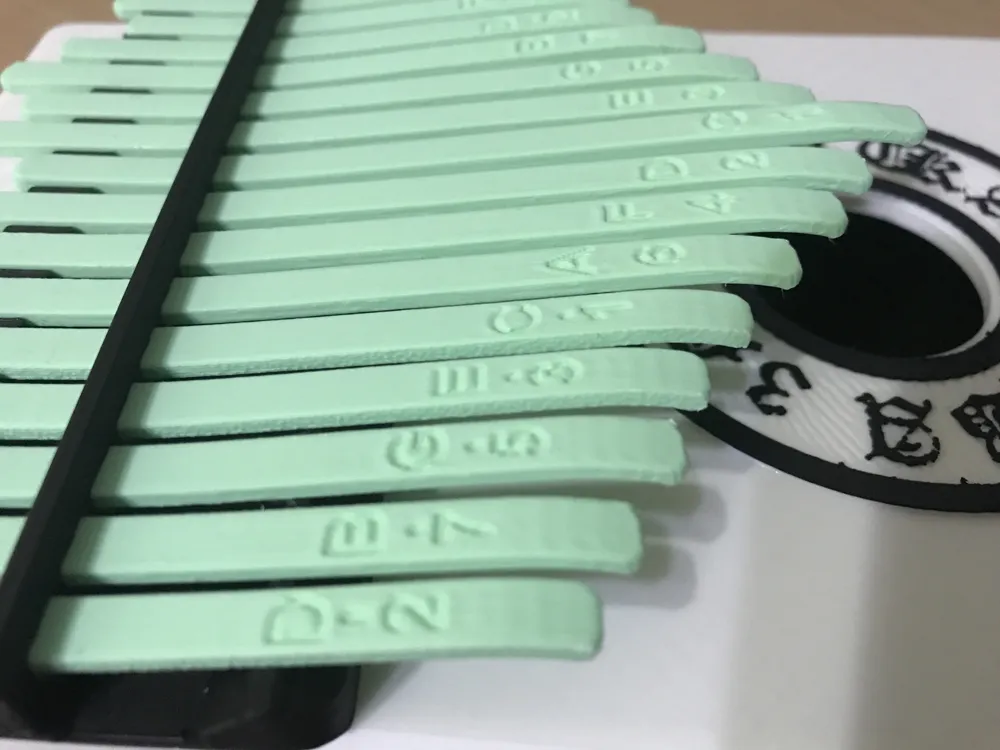
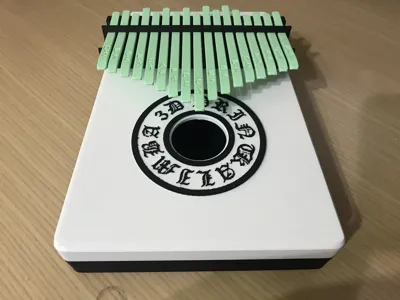
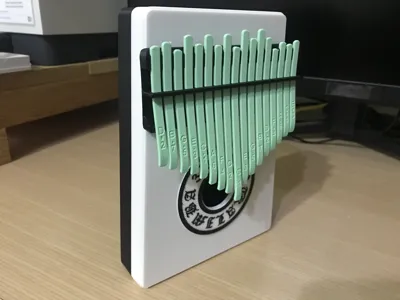
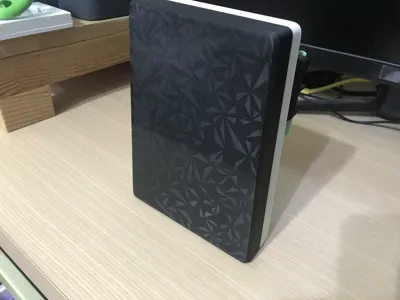
A 17-Key Adjustable Kalimba
All components are 3D-printable
Approximate dimensions: 180 x 120 x 60 mm
Range: C3~E5
The tines are adjustable for precise pitch
Recommended materials:
Black: Bambu Lab PLA Matte Carbon Black 11101
White: PolyMaker PolyLite PLA
Green: ESUN PLA matte Mint Green
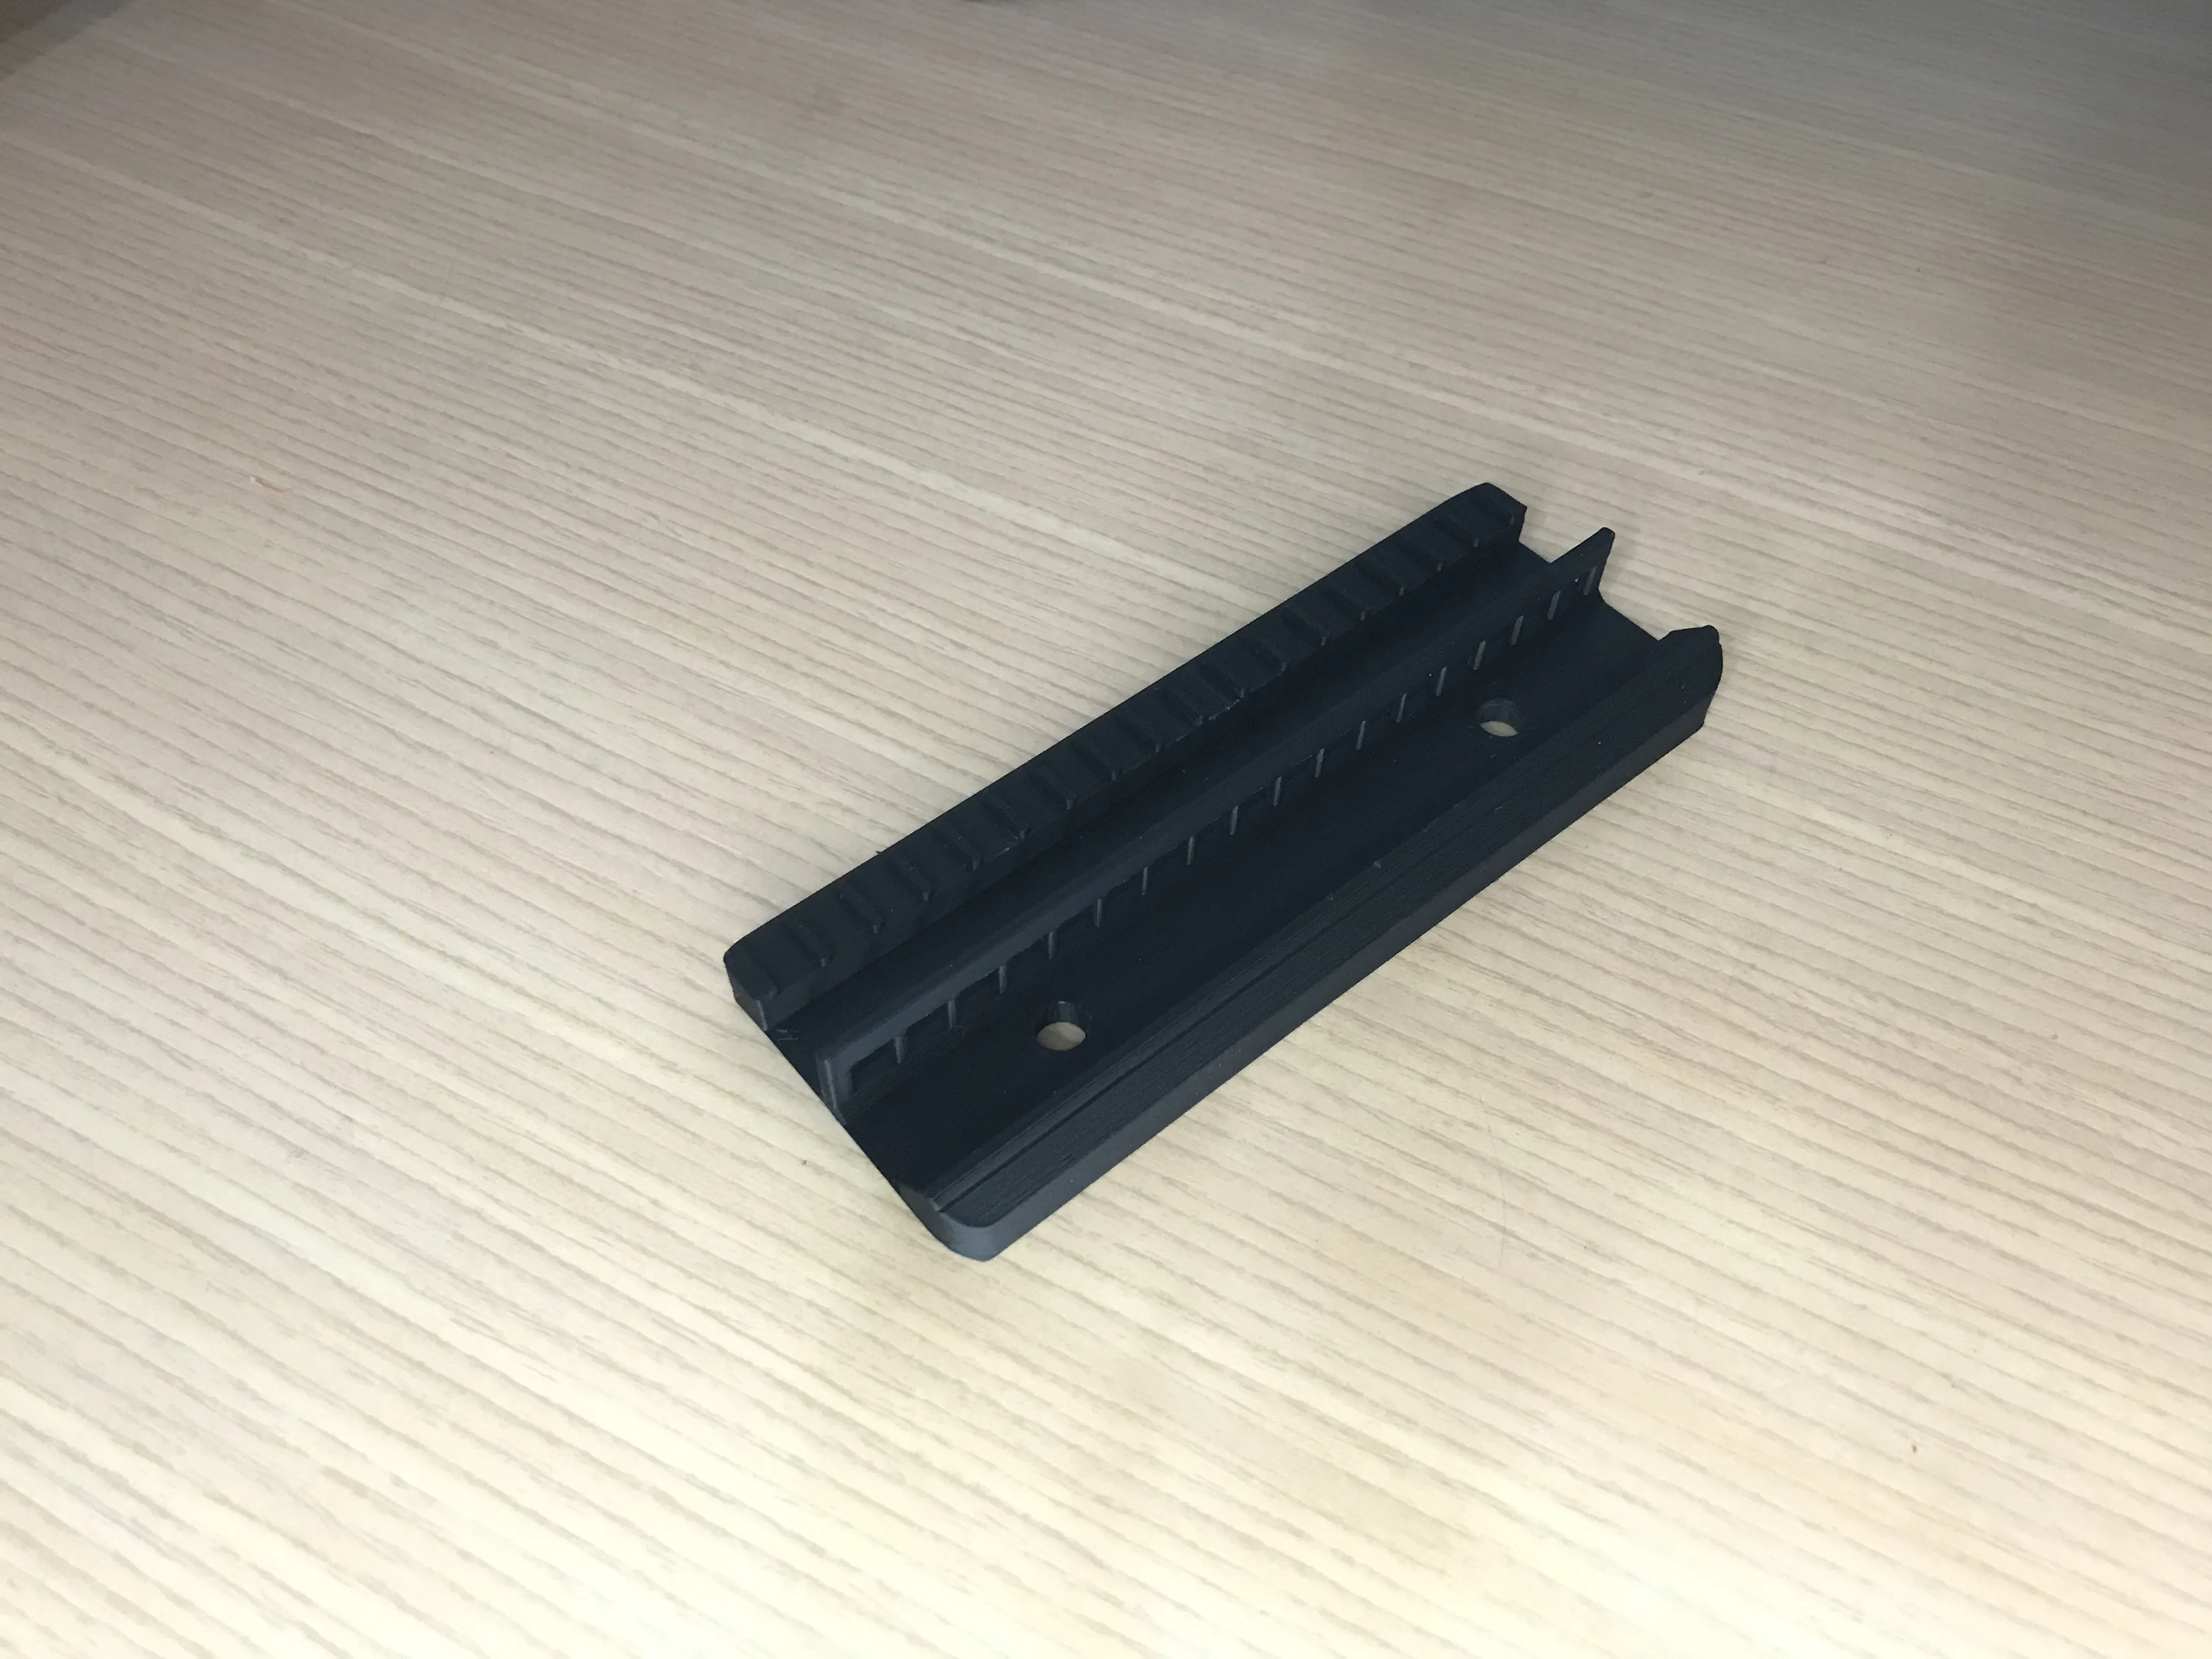 | 1. Tine Bracket
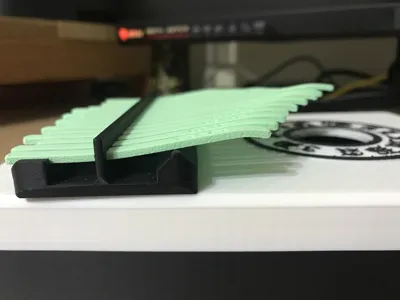
Connects the tines to the soundbox Features 17 holes
Ensure a snug fit against the soundbox to minimize noise Use adhesive for assembly |
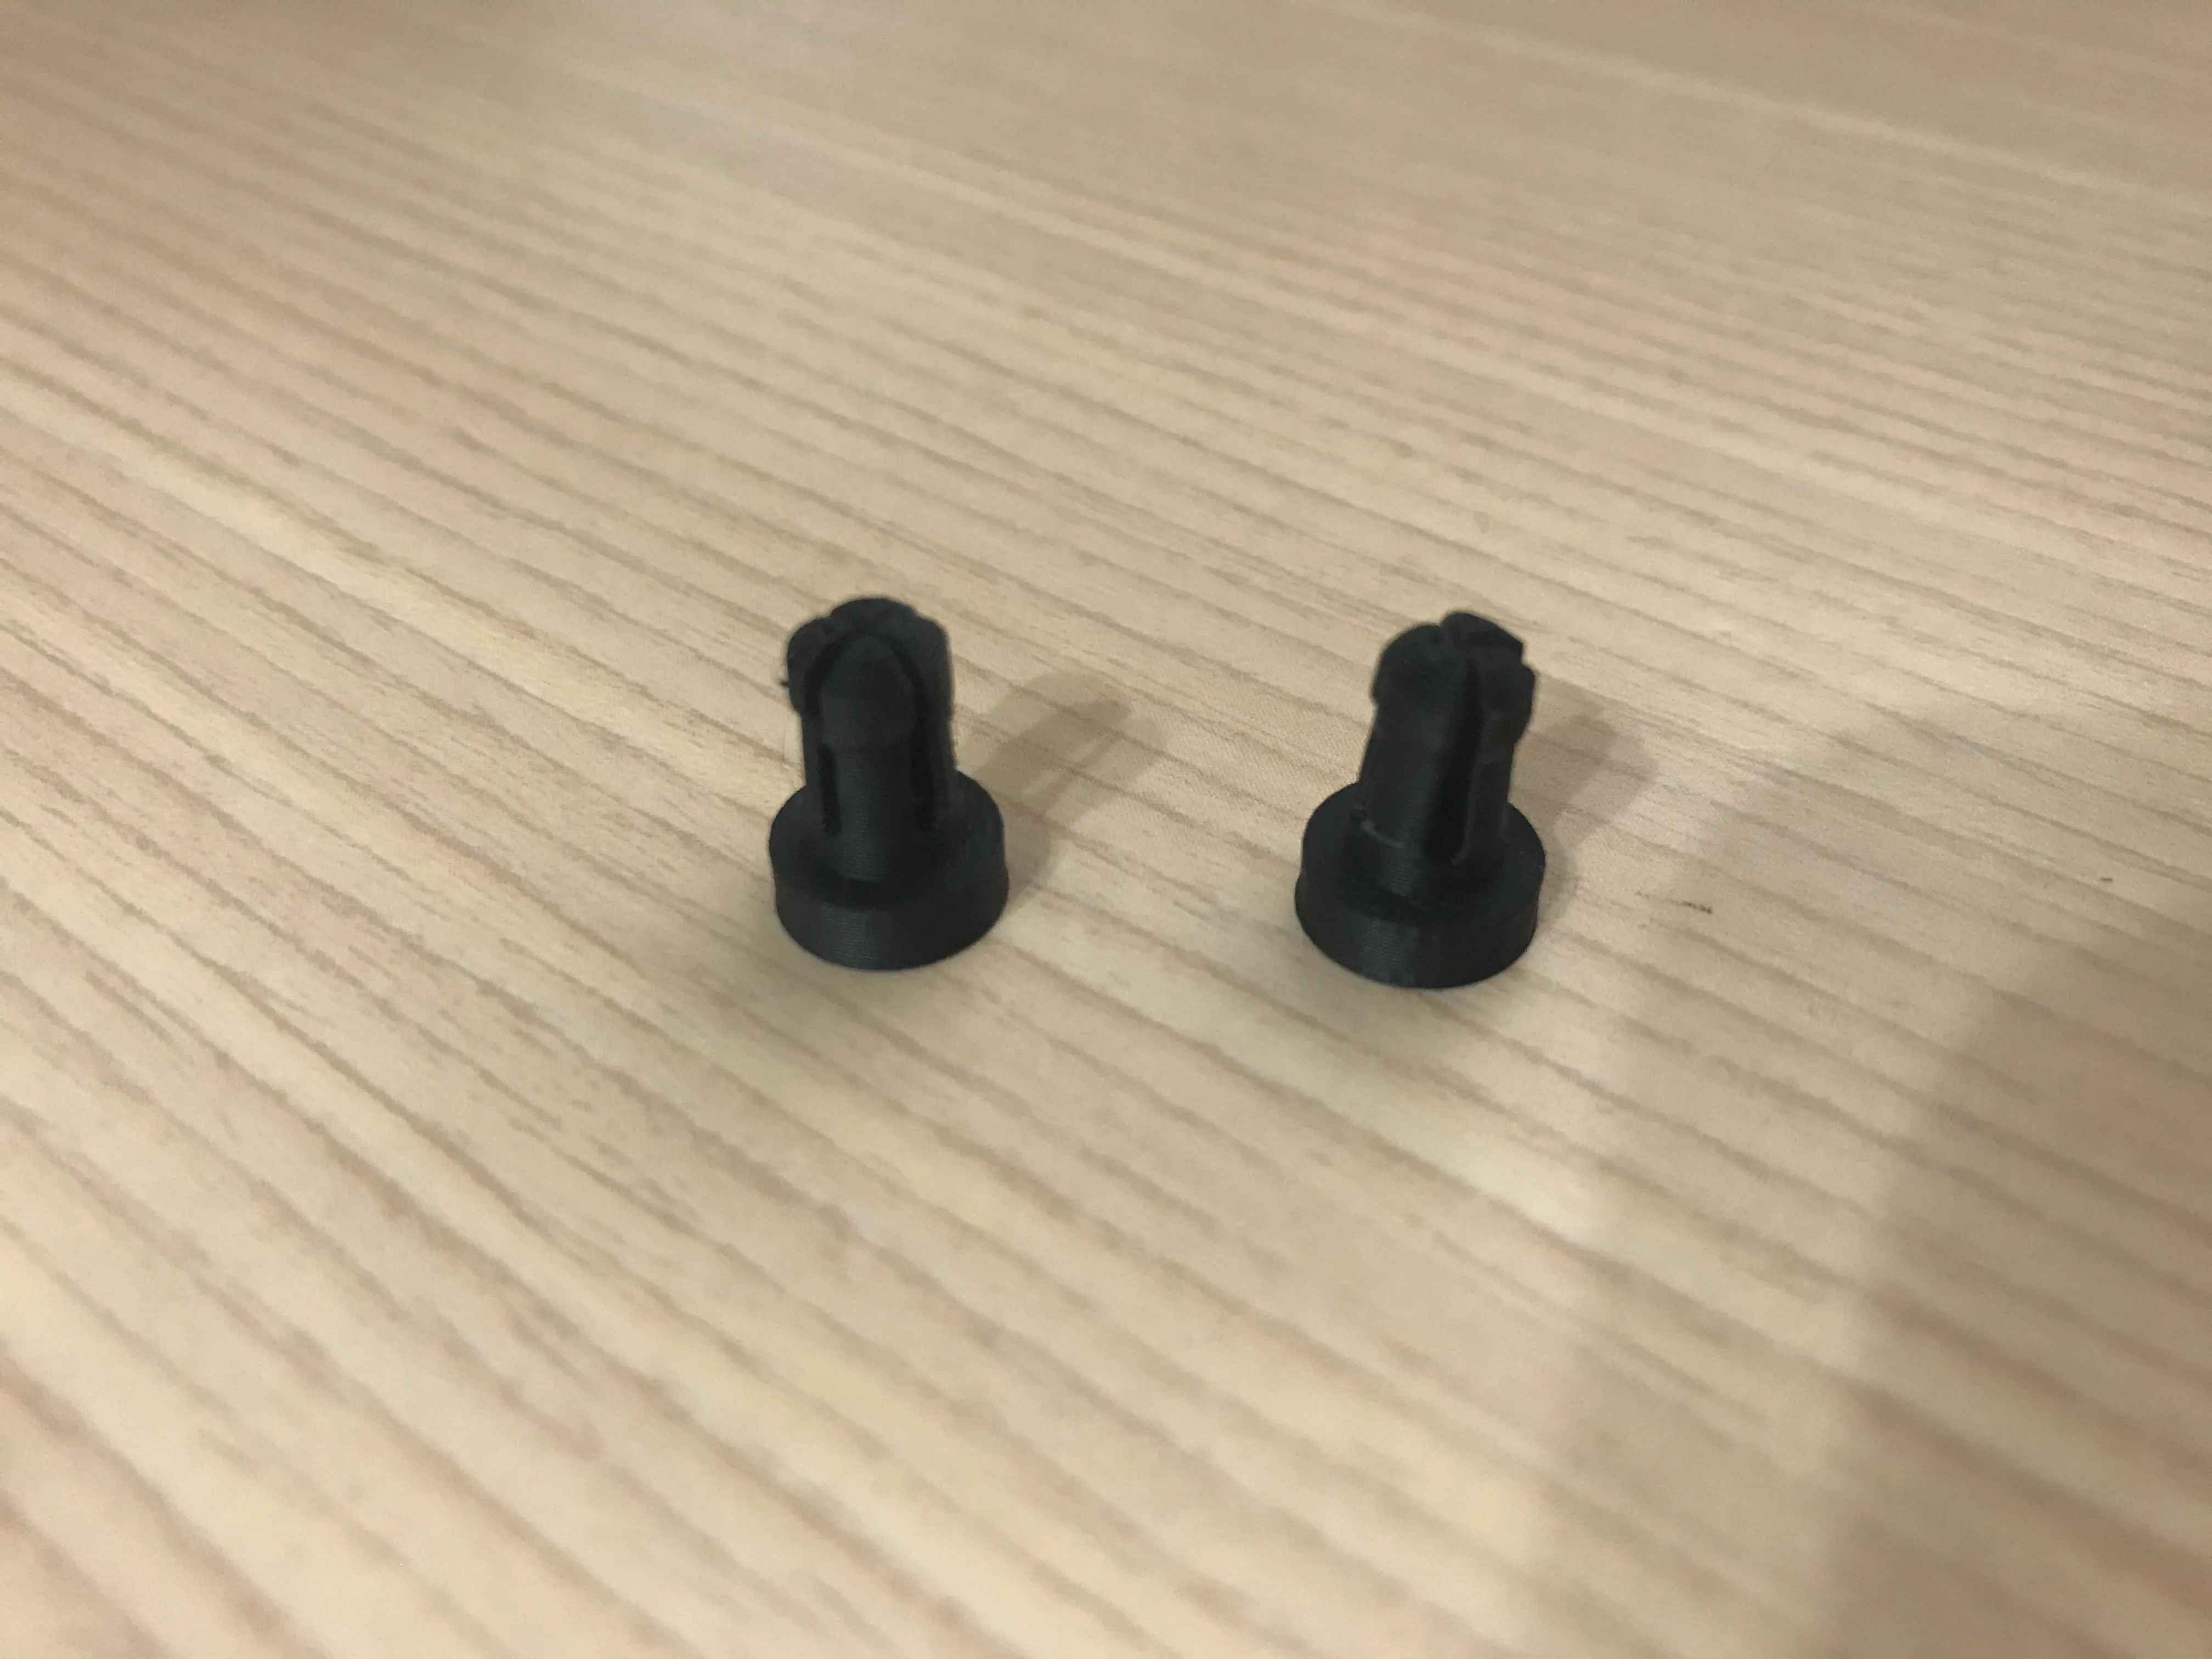 | 2. Positioning Pins
Facilitates quick and accurate assembly of parts 1, 2, and 3
May be retained or removed after adhesive cures |
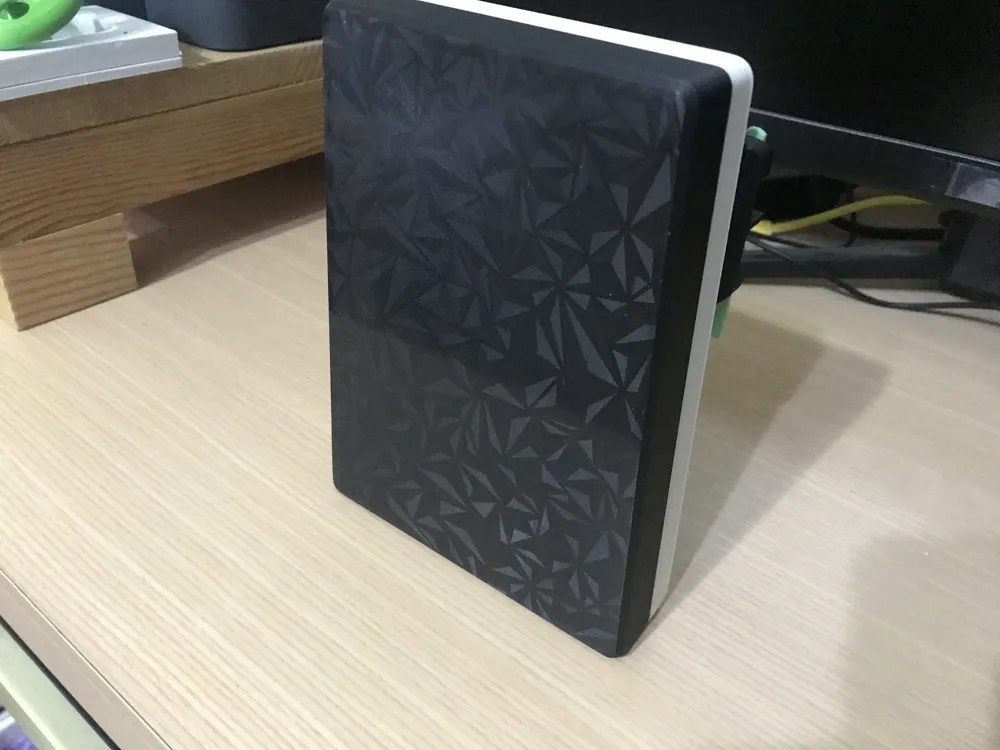
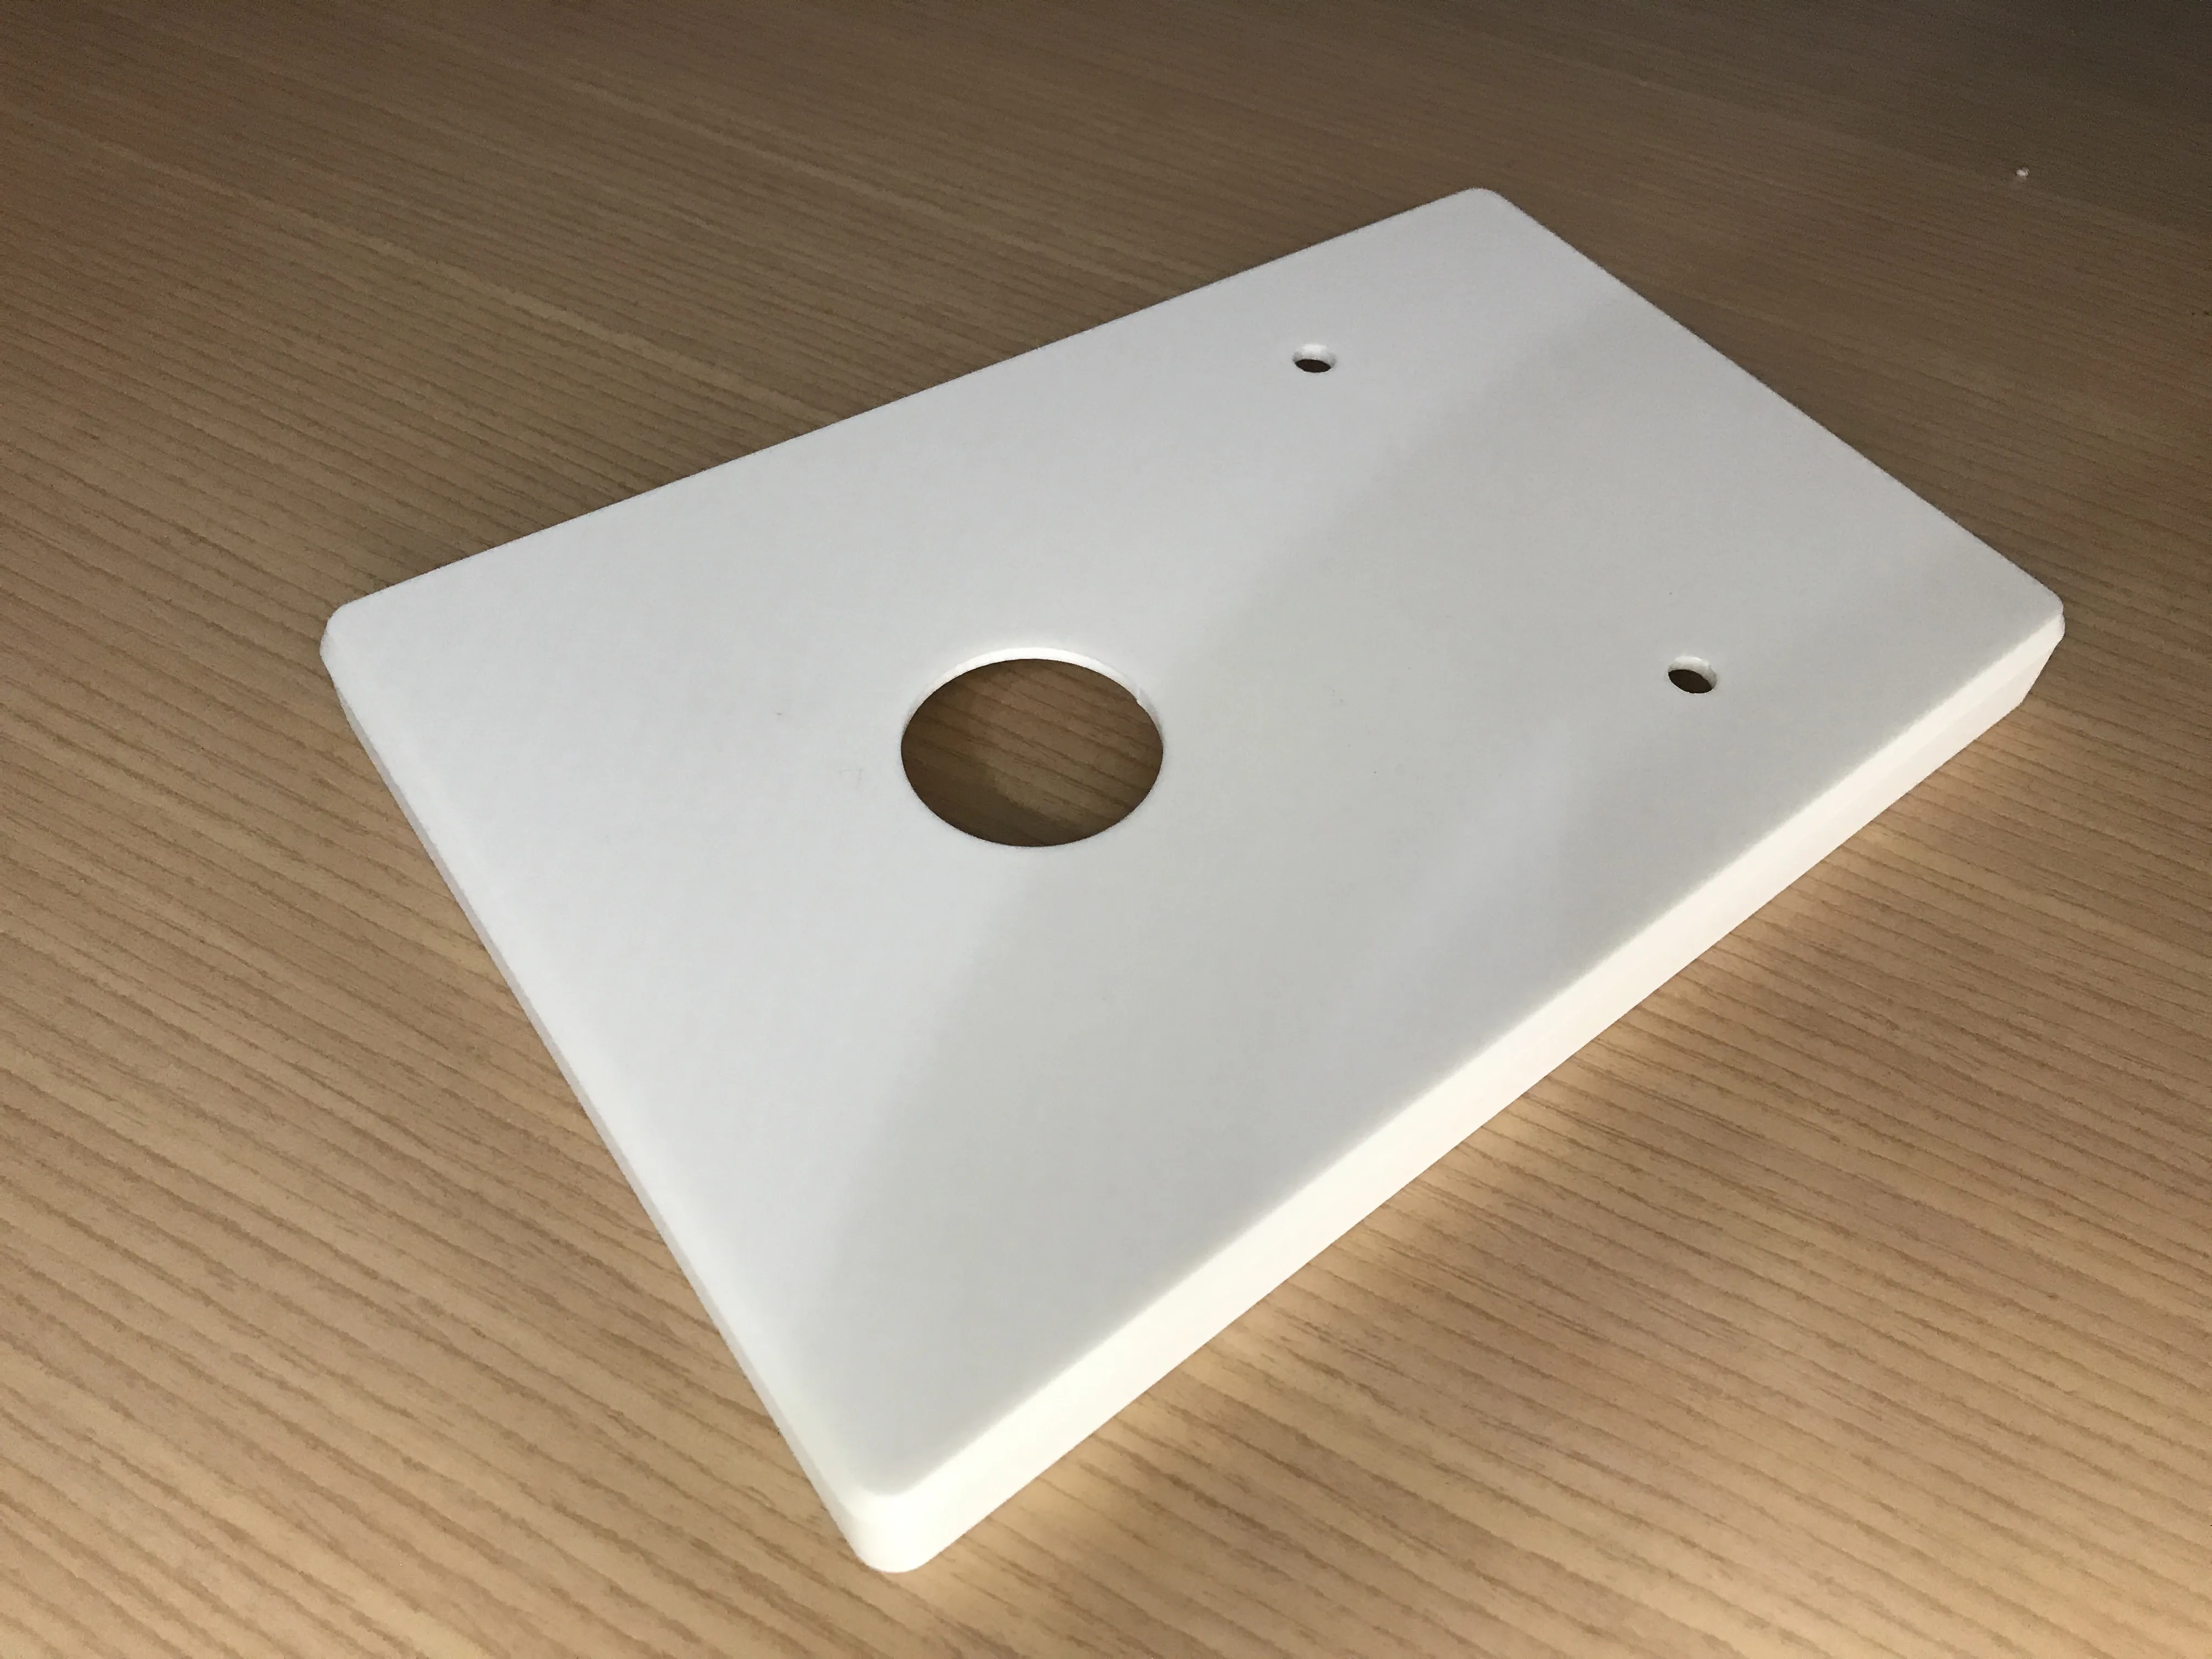 | 3. Upper Soundbox
Print parts 1, 2, and 3 before assembly
Insert the positioning pins from below into part 3 Apply adhesive to the base of the bracket and align with the holes |
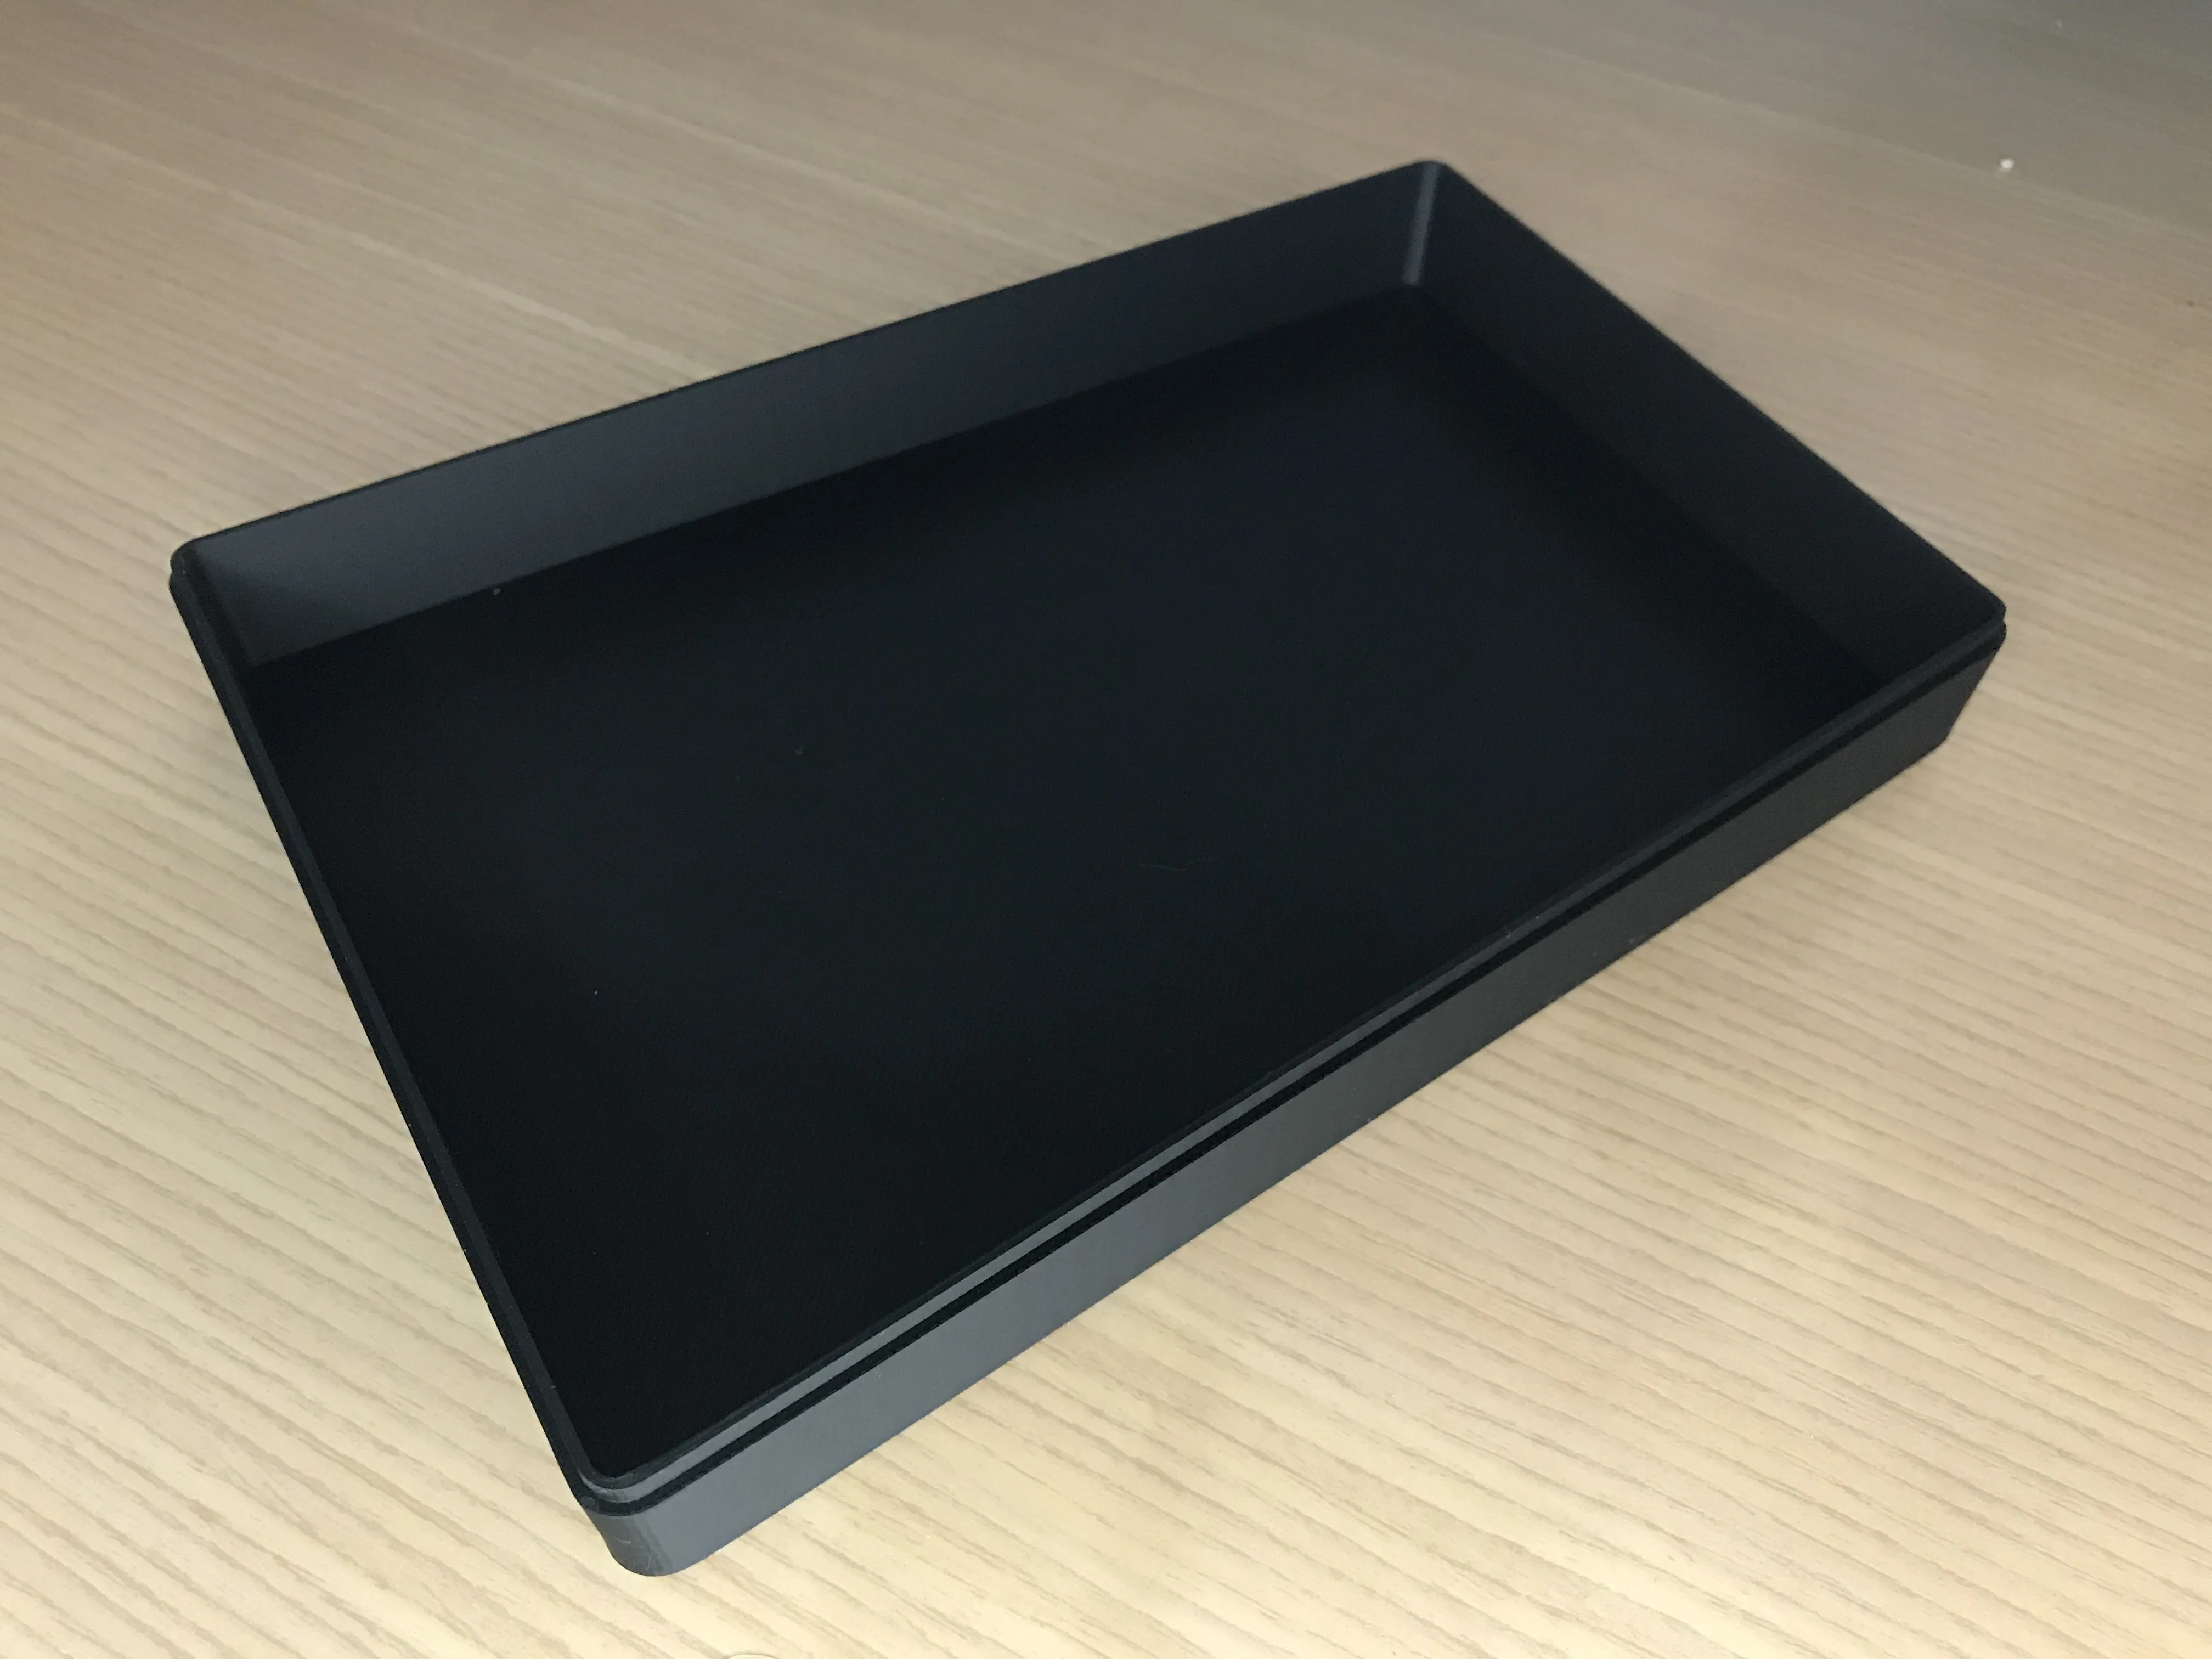 | 4. Lower Soundbox
Adhesive is recommended |
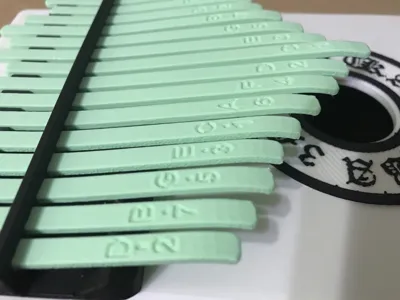
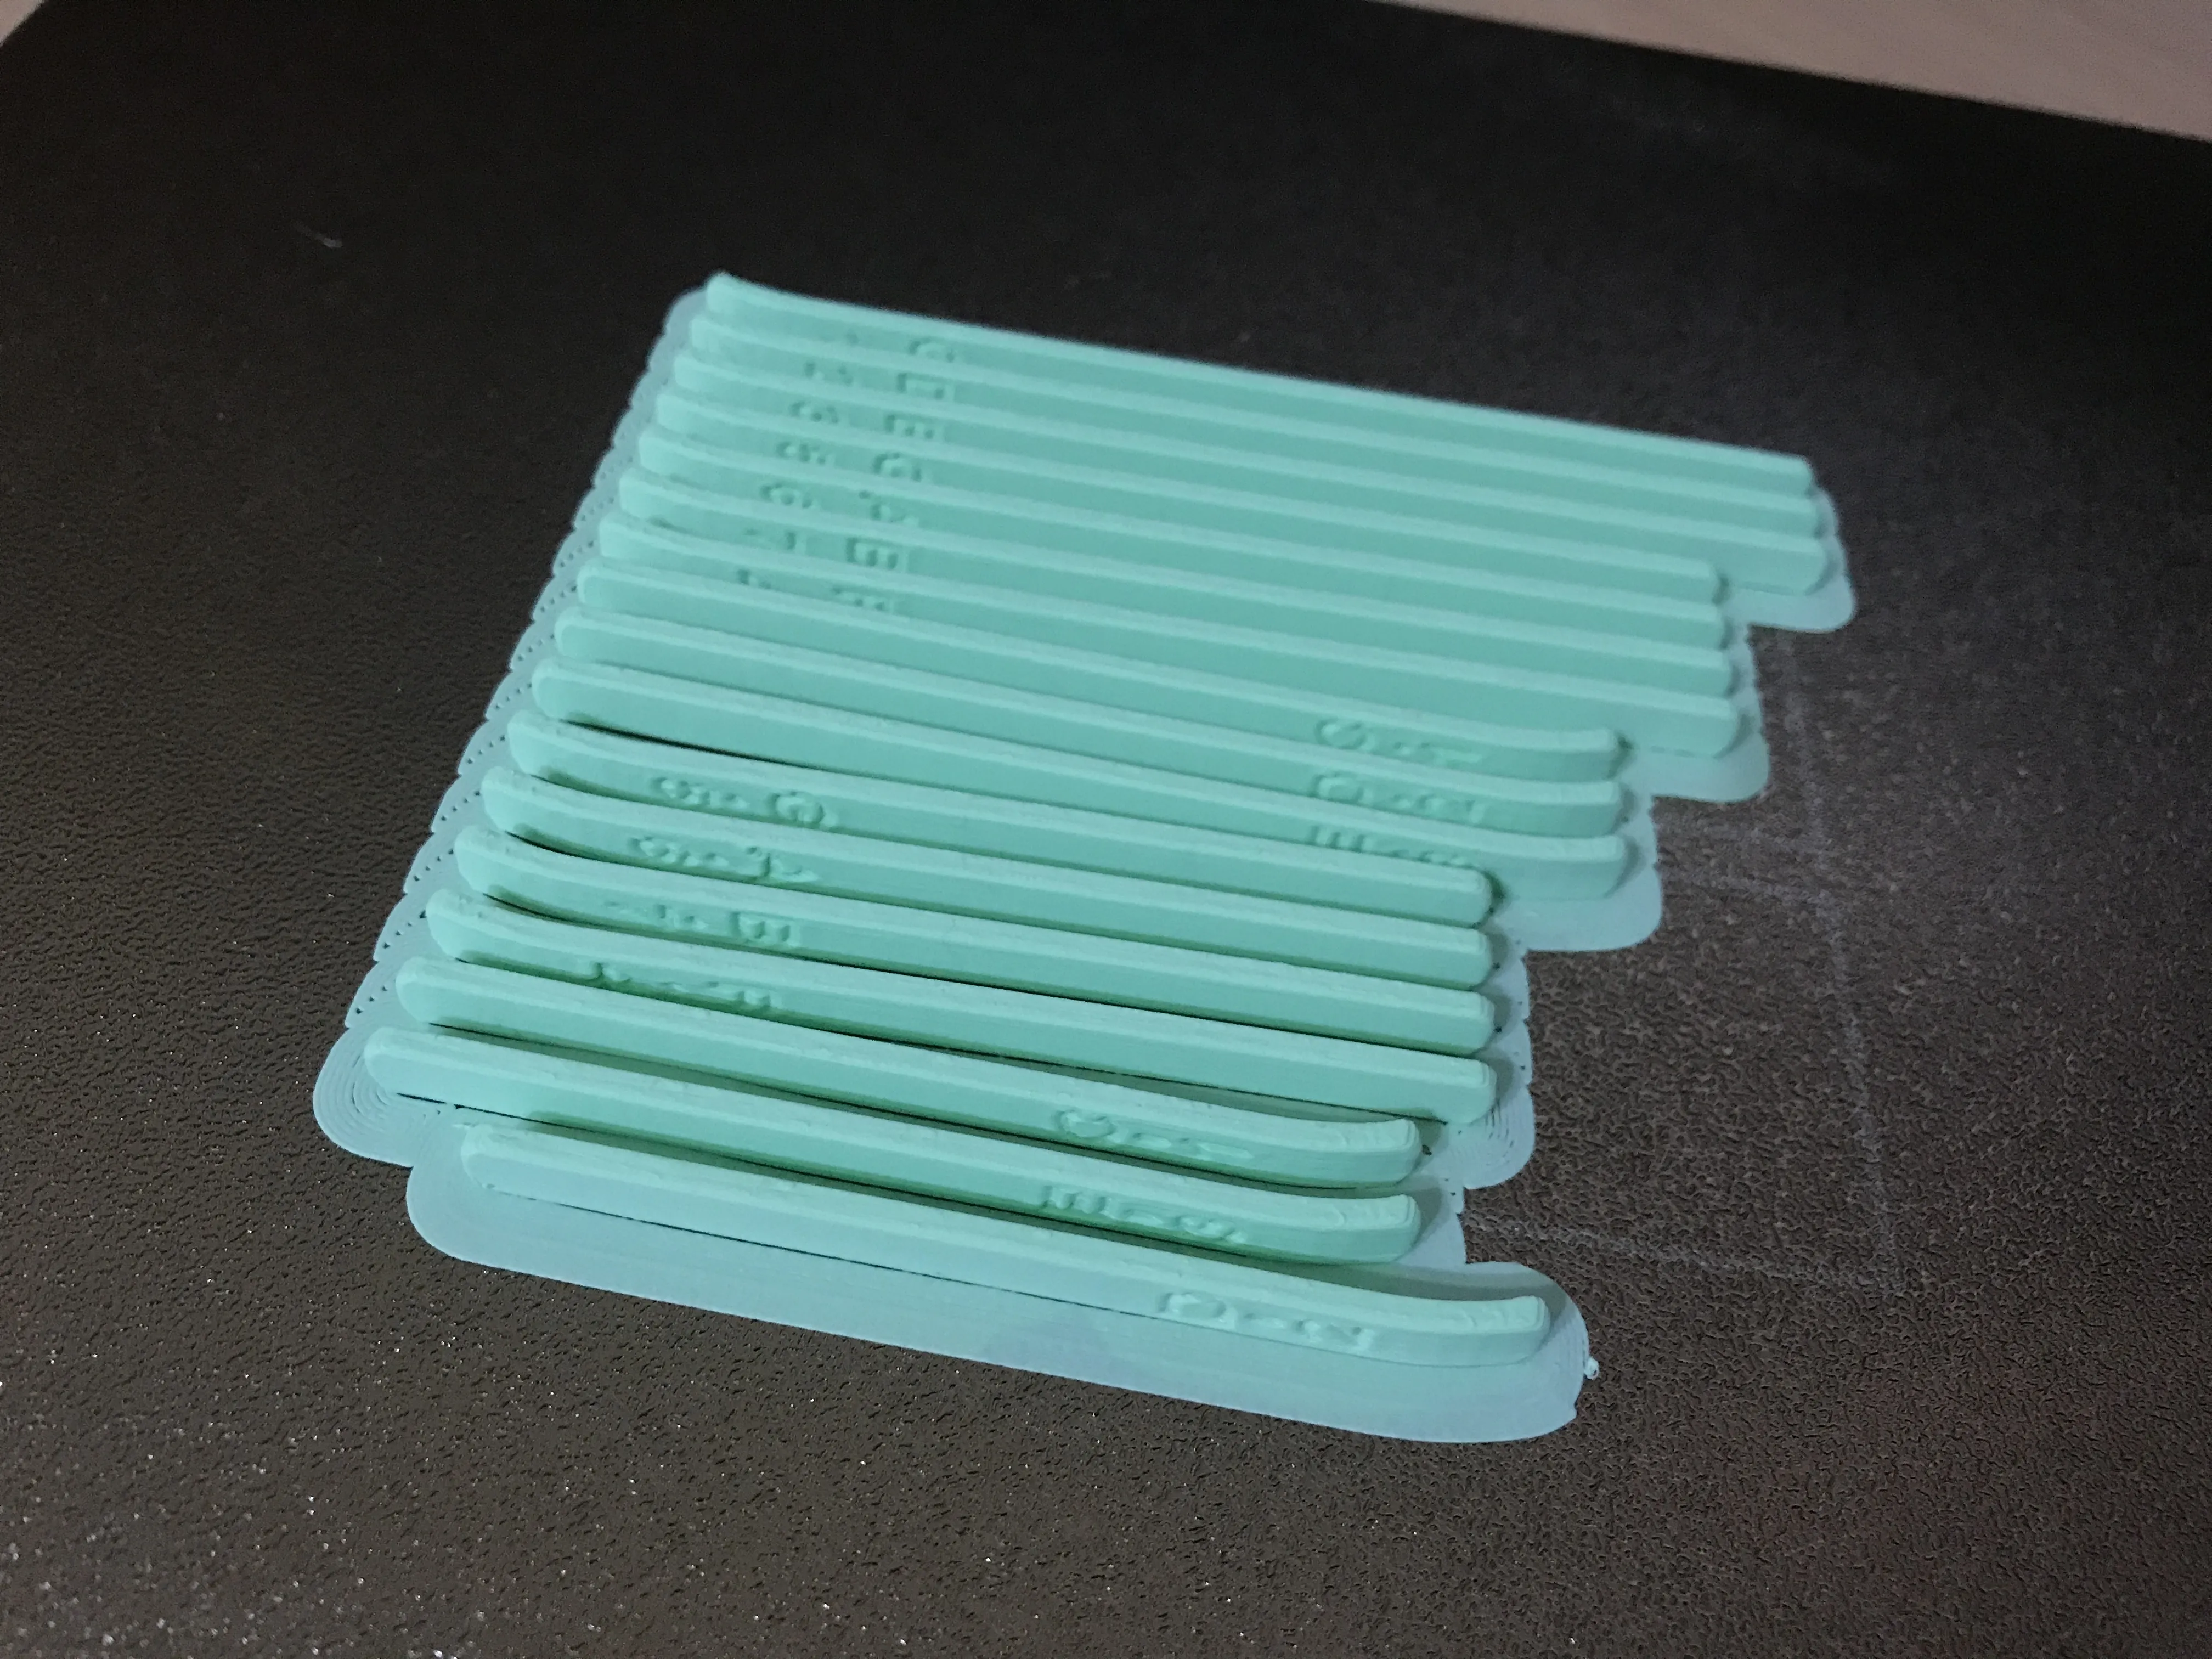 | 5. Tines
Leave the brim intact initially Remove individually during installation This ensures neat alignment
Observe orientation during installation The engraved, slightly curved end faces outward Insert the other end into the bracket
Begin installation with the central, longest tine (C) Insert the engraved side up Use needle-nose pliers or a flathead screwdriver to gently lift and push the tine into the groove
Do not use adhesive |
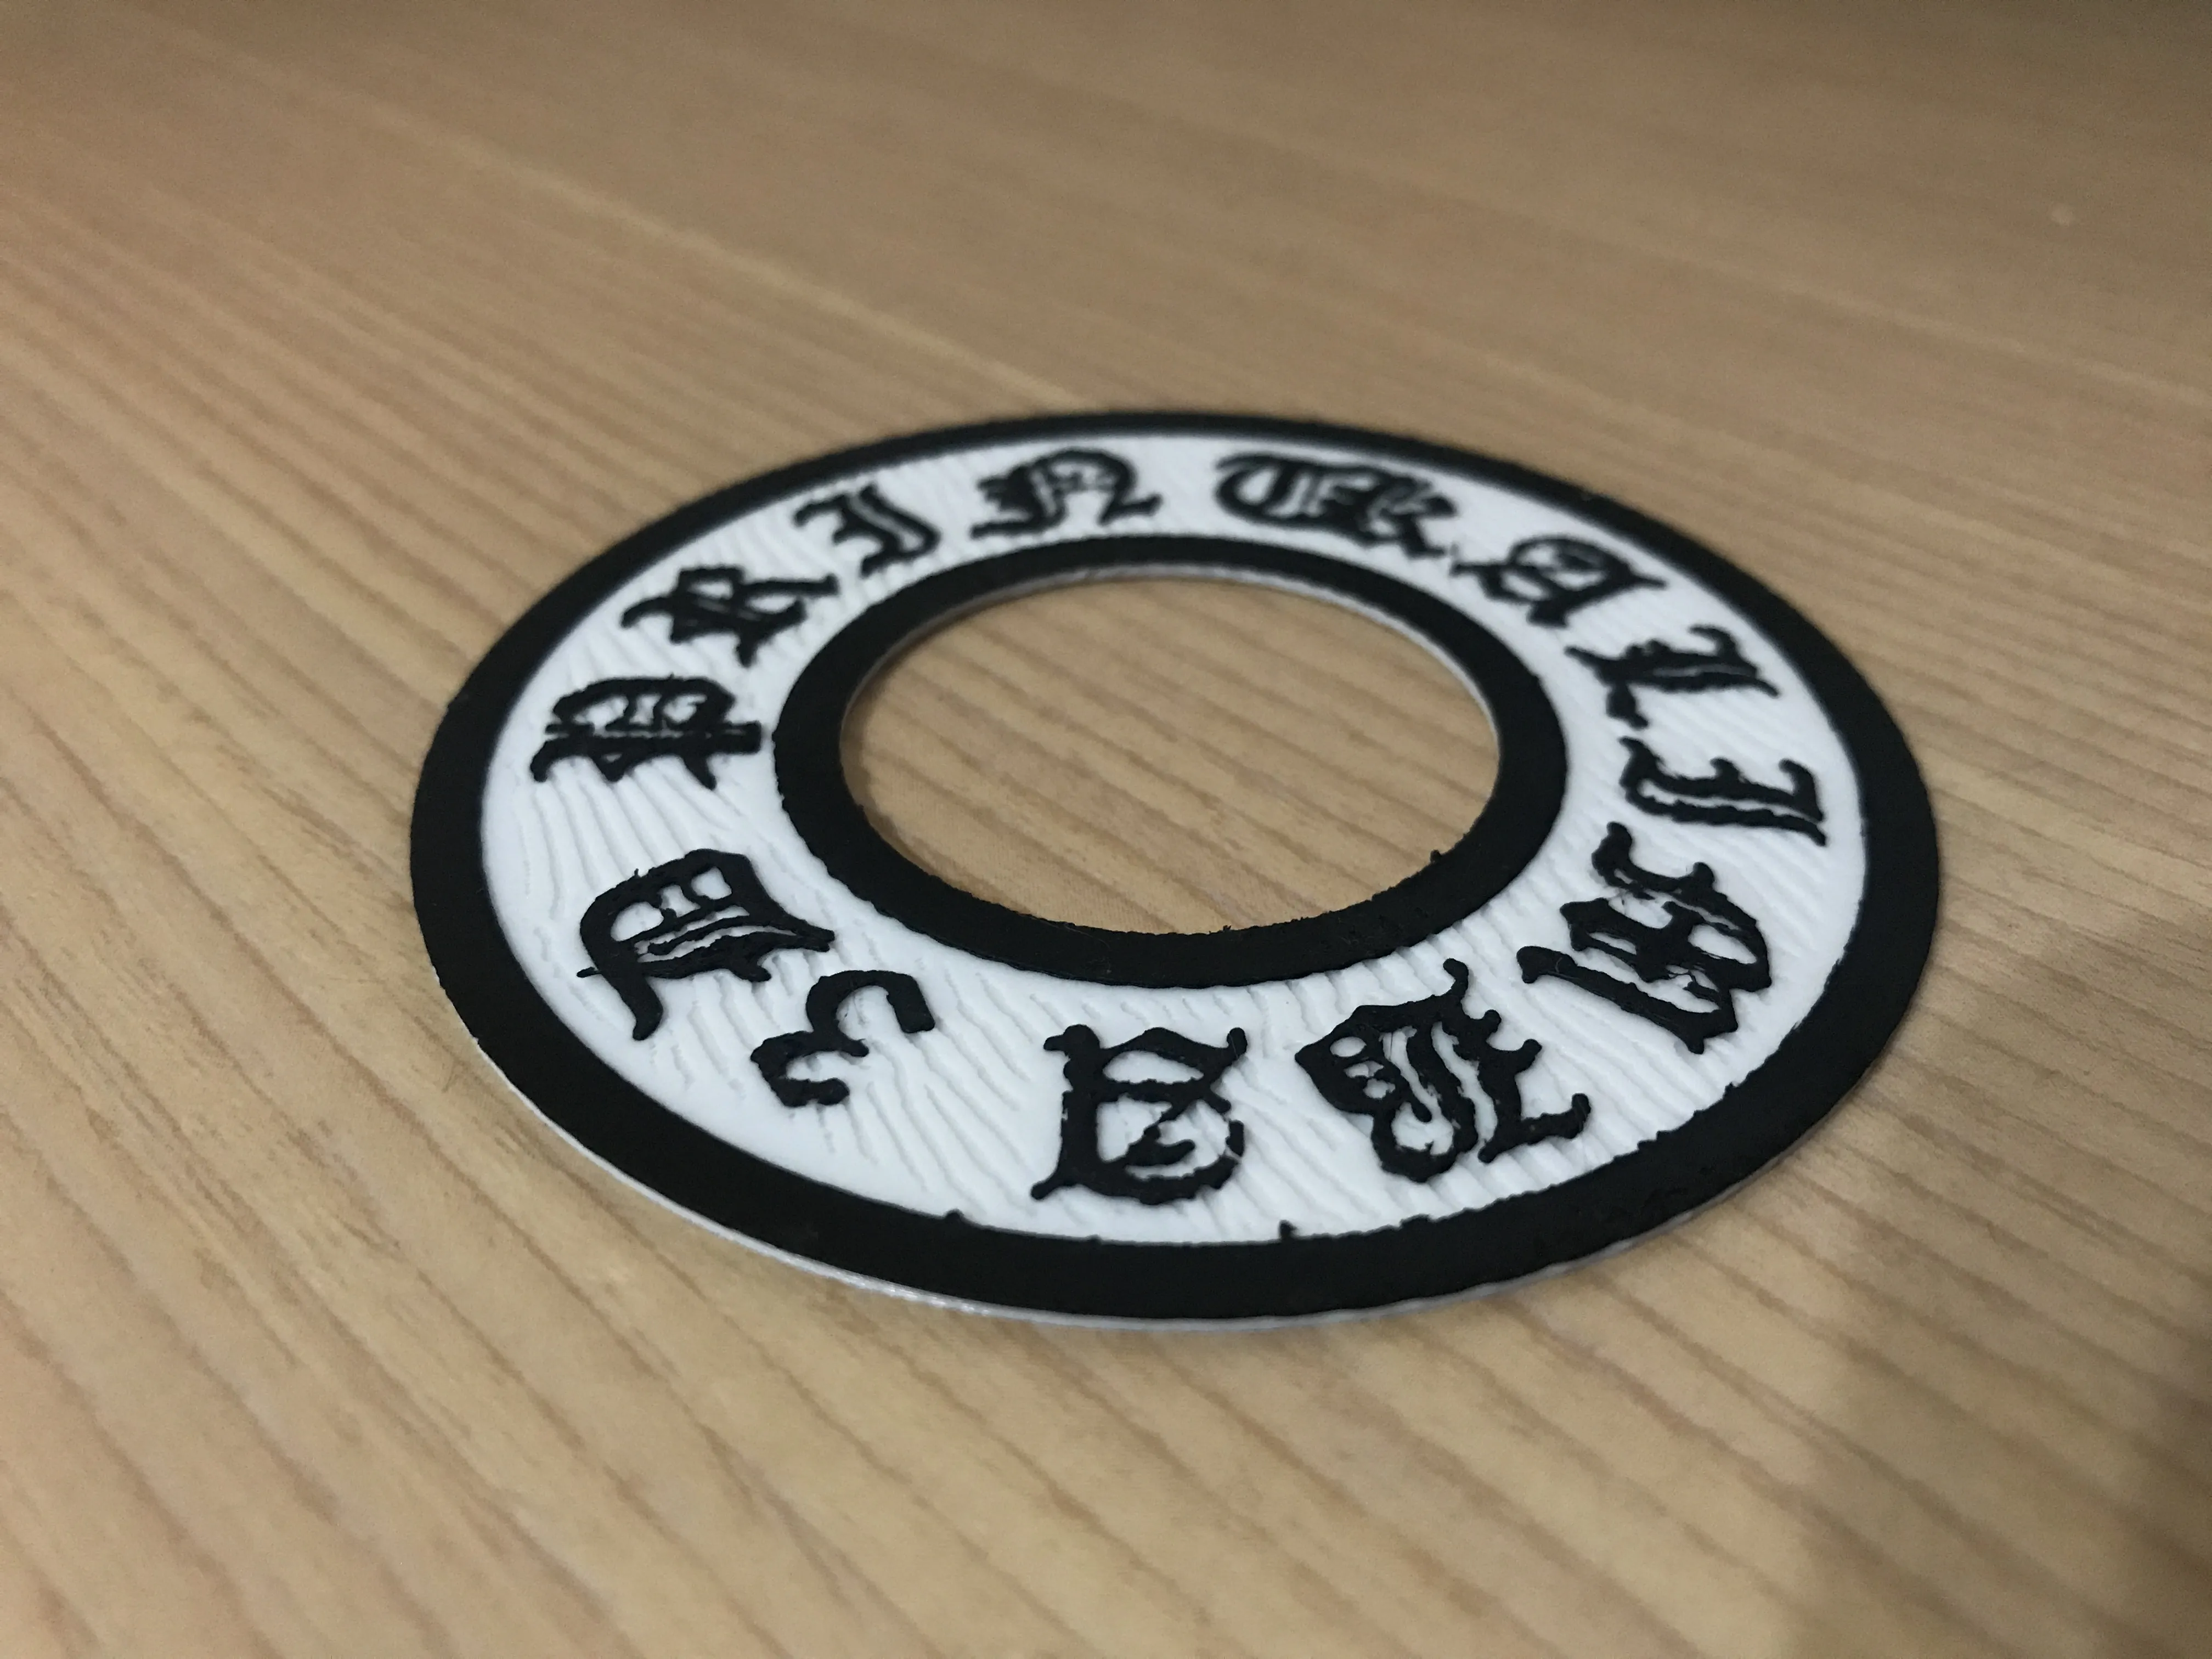 | 6. Decorative Plate
Features the inscription “KALIMBA 3D PRINT” in Old English
Enhances the aesthetic appeal
Secure using adhesive or double-sided tape |
Tuning Guide
Use a tuner or app
Adjust the tines by moving them and plucking to achieve the correct frequency
Reference frequencies for C3~E5 are listed below

Playing Tips
Avoid forceful pressing, which inhibits optimal sound production
Gently pluck the tines at a 10-20 degree angle from the bracket towards the sound hole, employing a delicate, caressing motion
Enjoy playing!
License

You shall not share, sub-license, sell, rent, host, transfer, or distribute in any way the digital or 3D printed versions of this object, nor any other derivative work of this object in its digital or physical format (including - but not limited to - remixes of this object, and hosting on other digital platforms). The objects may not be used without permission in any way whatsoever in which you charge money, or collect fees.


Comment & Rating (50)