Artesian well - Artesian aquifer


Print Profile(1)

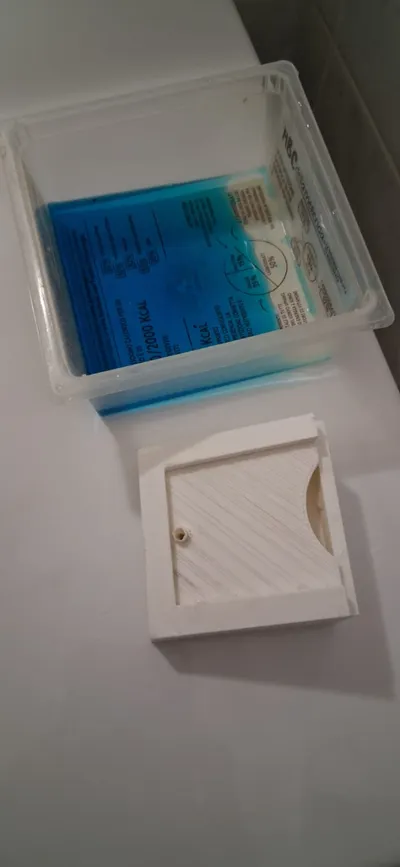
Bill of Materials
- cannuccia x 1:
Description
An artesian aquifer is a type of confined aquifer situated between two impermeable layers of earth, such as clay or compact rock. This unique geological formation creates a scenario where the water within the aquifer is subjected to pressure exceeding atmospheric pressure. This is due to the weight of the water in the upstream area (recharge zone), located at a higher altitude and within a permeable region allowing rainwater infiltration and aquifer replenishment. This pressure can force water to the surface through a well (an artesian well), eliminating the need for pumping. By perforating the upper impermeable layer to reach the artesian aquifer, water can spontaneously surge to the surface due to the inherent pressure. In essence, the artesian aquifer constitutes a unique hydrological system where water pressure facilitates spontaneous upward flow, making it a valuable source of potable water.
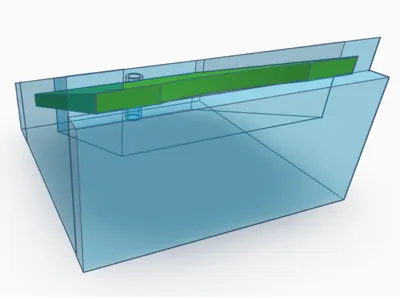
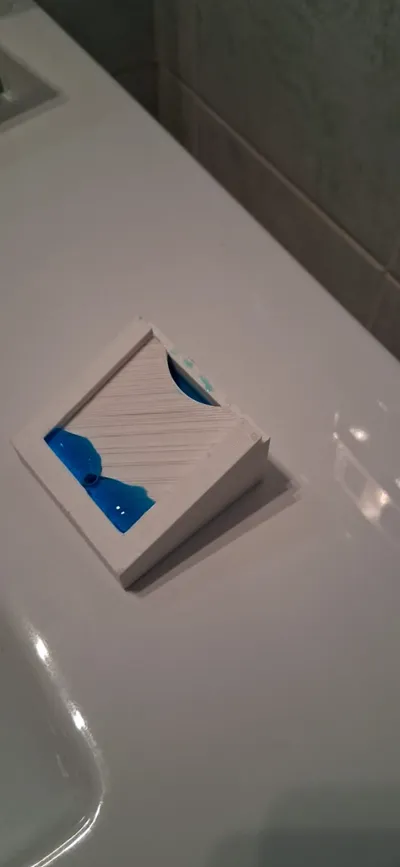
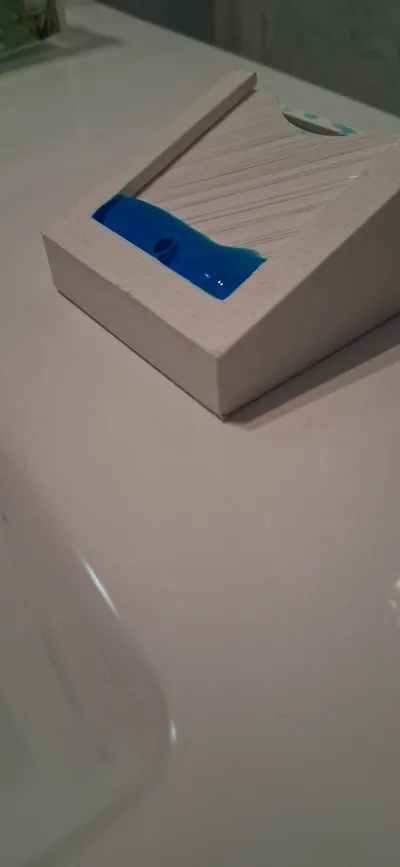
The constructed model comprises a small reservoir with an inlet for water positioned at a higher elevation than an outlet through which a small tube, representing an artesian well, is passed. This tube extends beyond the reservoir's top, representing the impermeable earth layer, to reach the water reservoir, which symbolizes the artesian aquifer.
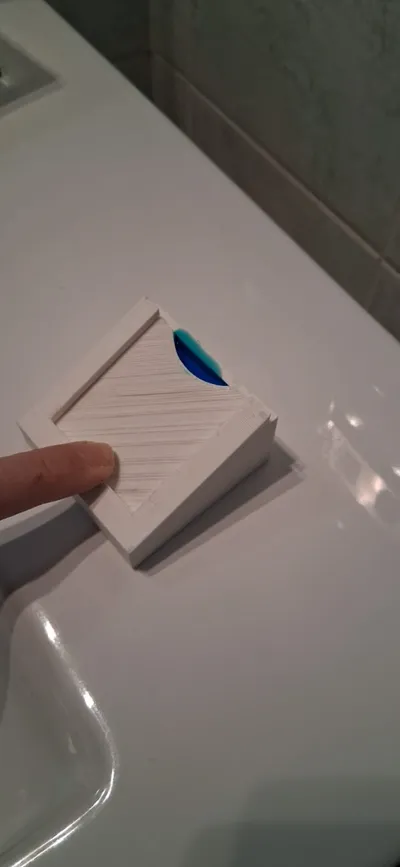
Assembly is straightforward: First, remove any support material from the guides on the reservoir's main part. If printed entirely in PLA for cost-effectiveness, as I did, this may prove somewhat challenging, but a suitably sized flat-head screwdriver will gradually remove the supports. Next, insert the flat lid into the designated guides, ensuring correct orientation (minor filing of edges with sandpaper may be necessary). Subsequently, insert a straw into the hole in the lid (depending on the straw's diameter, slight enlargement of the hole might be required). Push the straw until it touches the bottom, then trim it just above the hole.
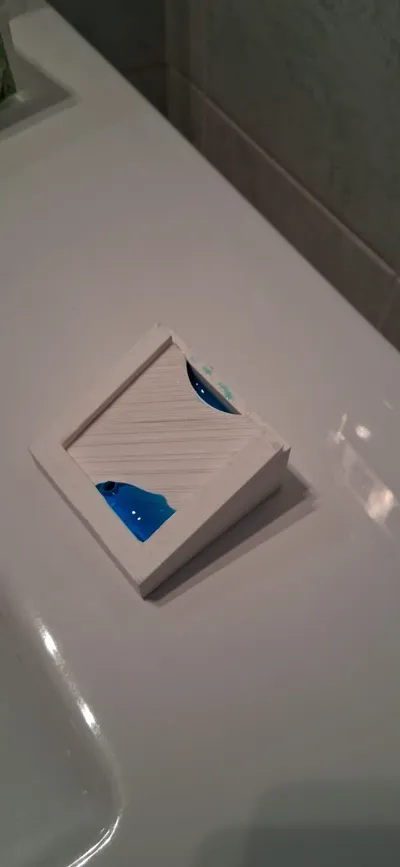
Usage: Cover the straw with a finger while filling the reservoir with tap water. Once full, removing your finger from the straw will cause the water to spout until the tube's upper surface lies below the water level within the reservoir.
For enhanced visualization, dilute a small amount of food coloring (available in any supermarket's baking section) into the water to color it.
Comment & Rating (0)