
Pump Motor Model 1 - Centrifugal End Suction
Print Profile(7)


Bill of Materials



Description
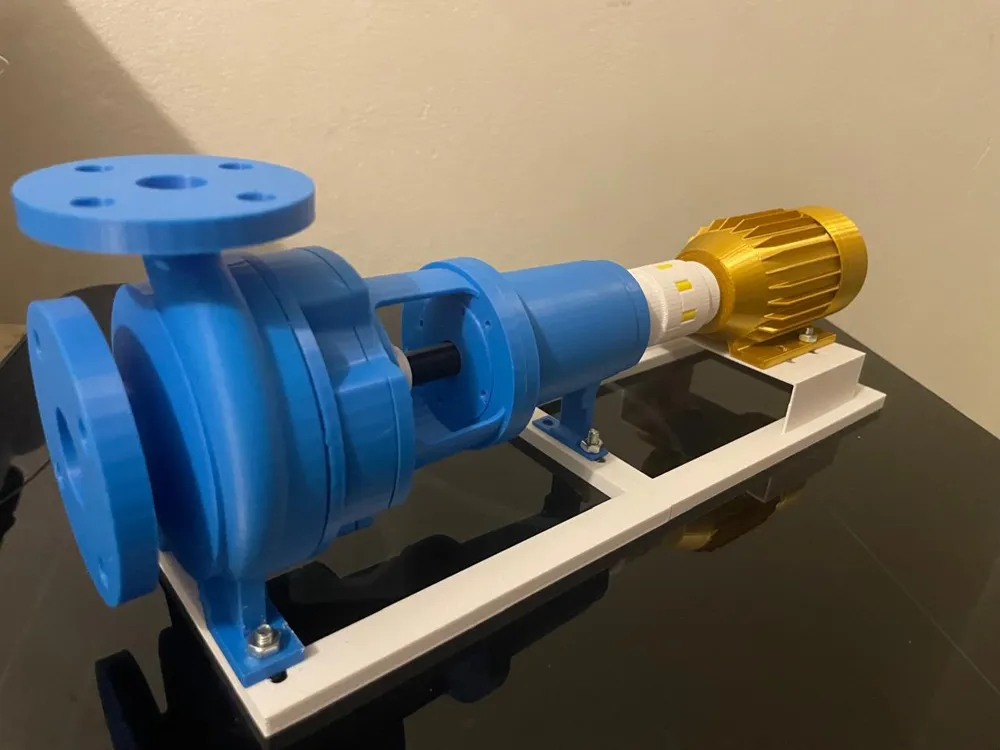
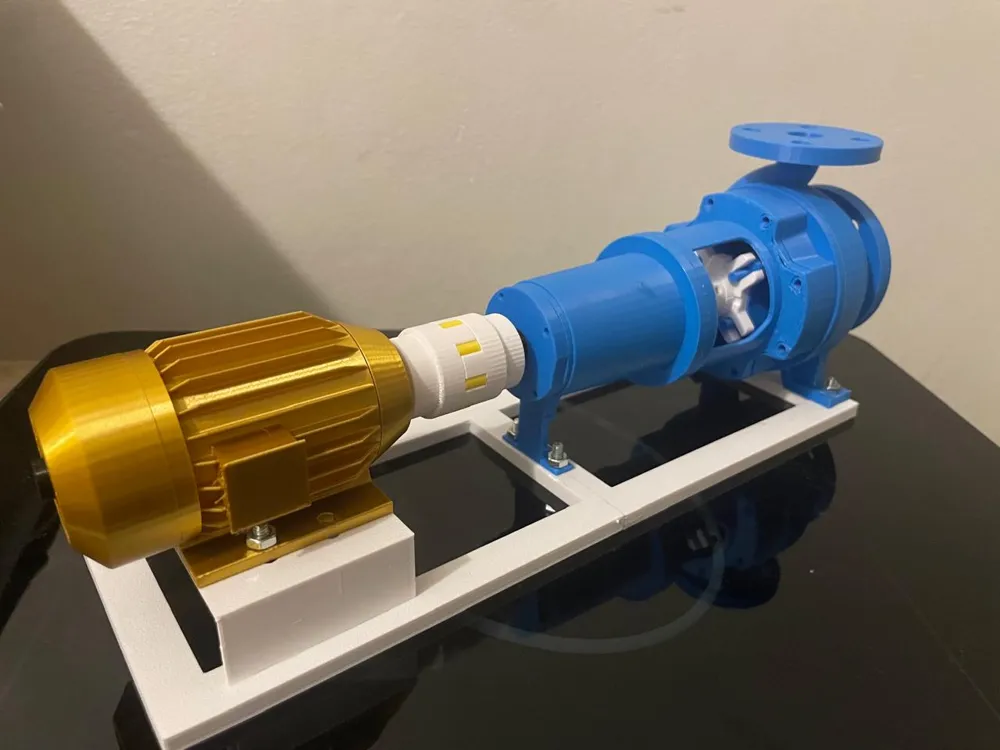
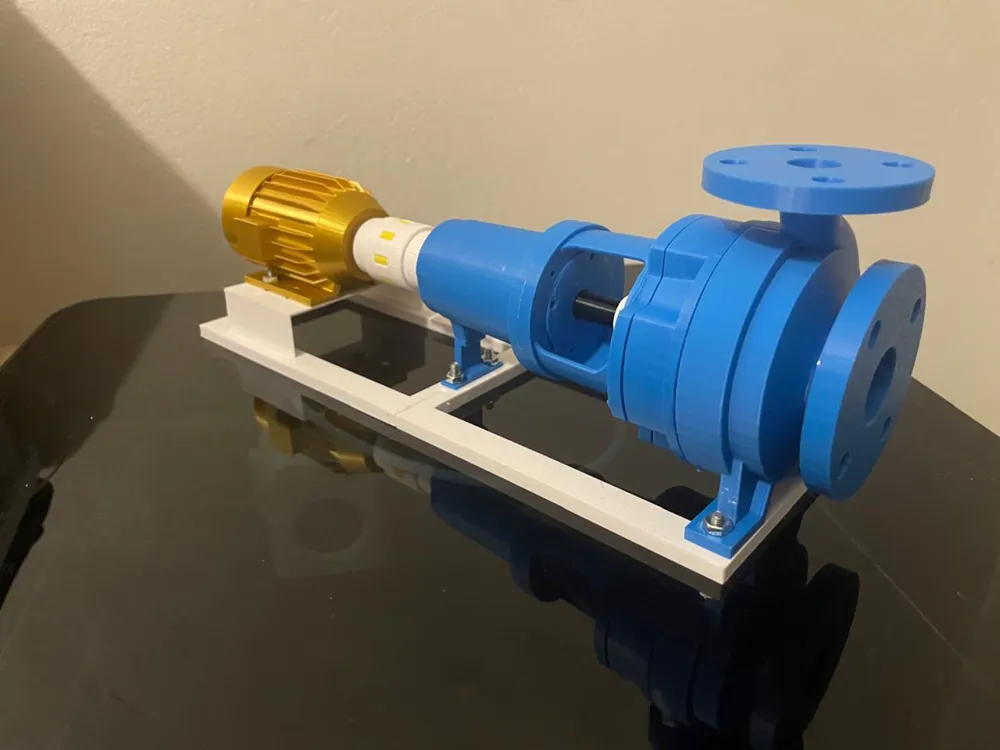
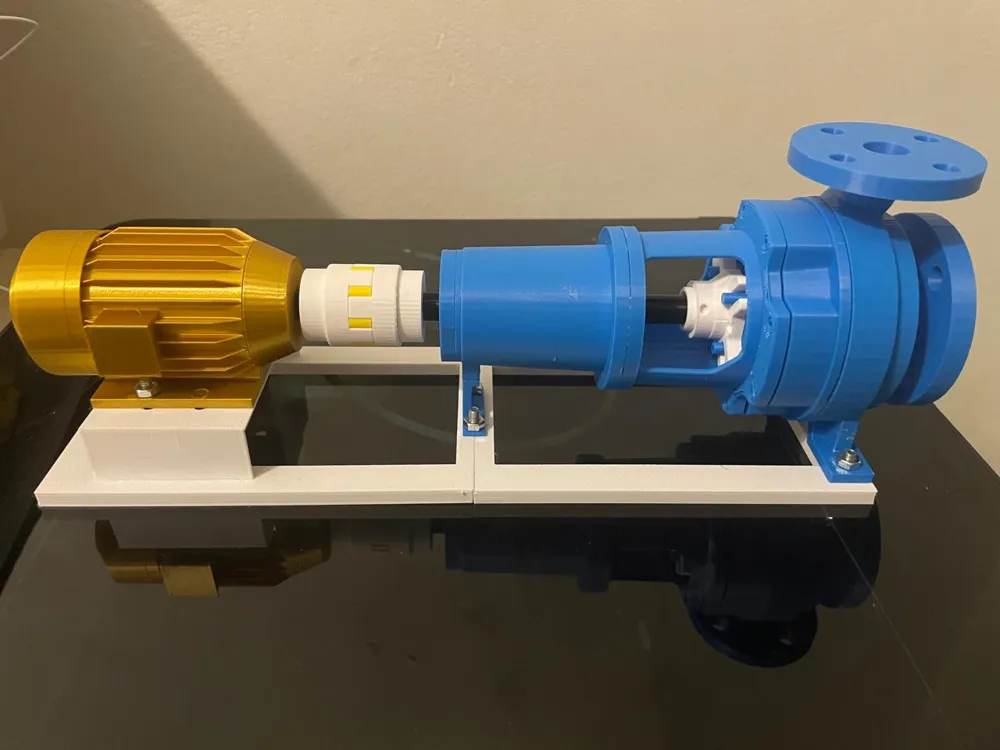
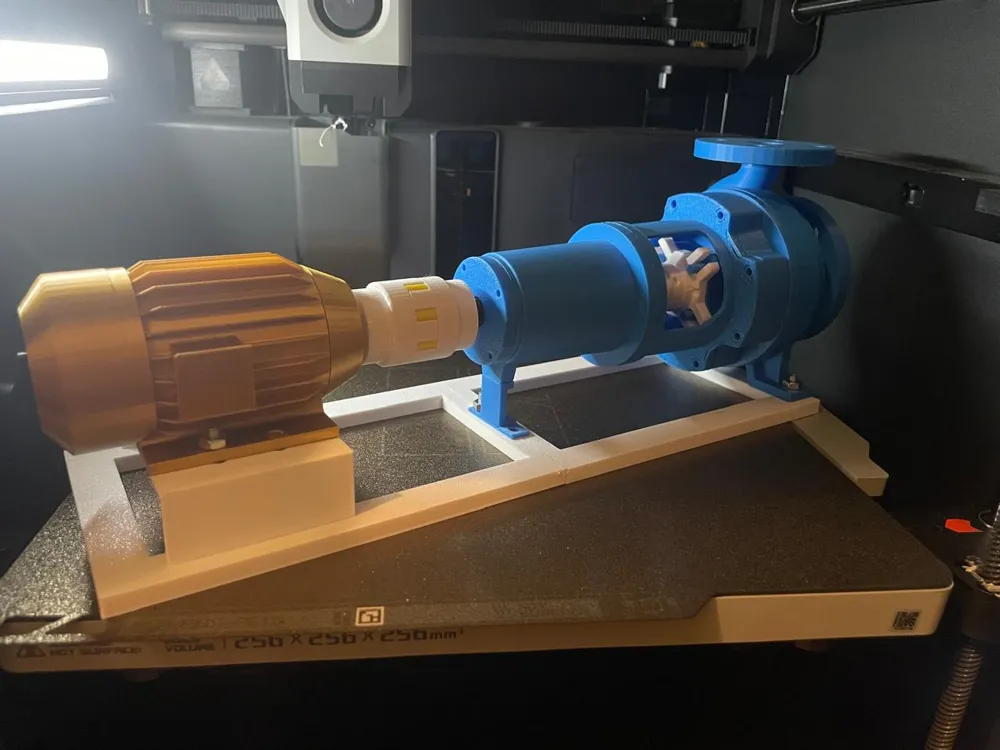
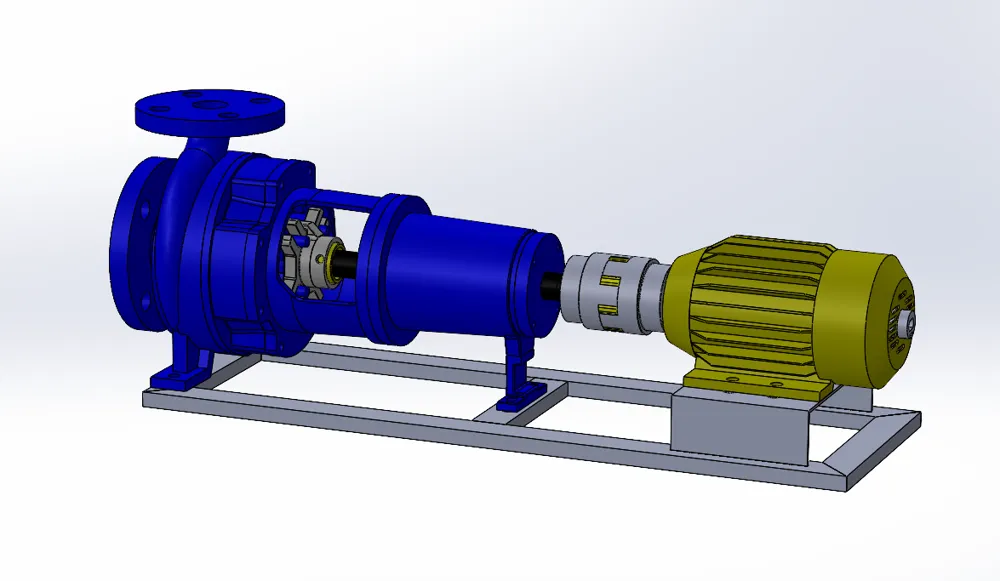
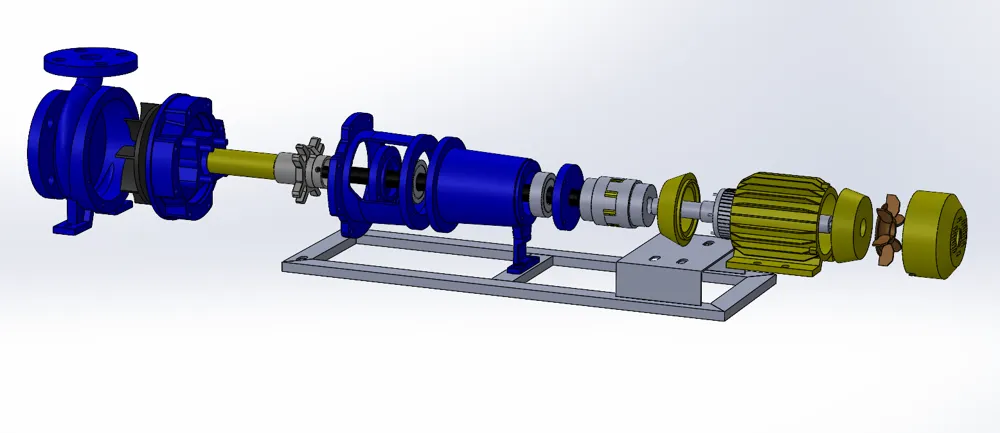
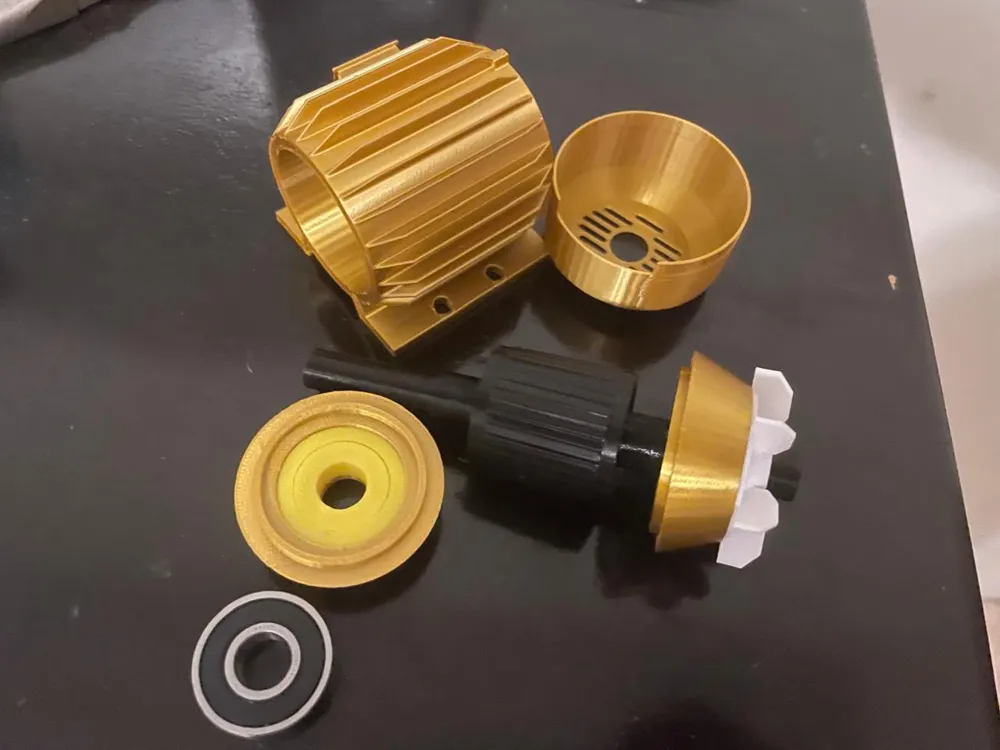
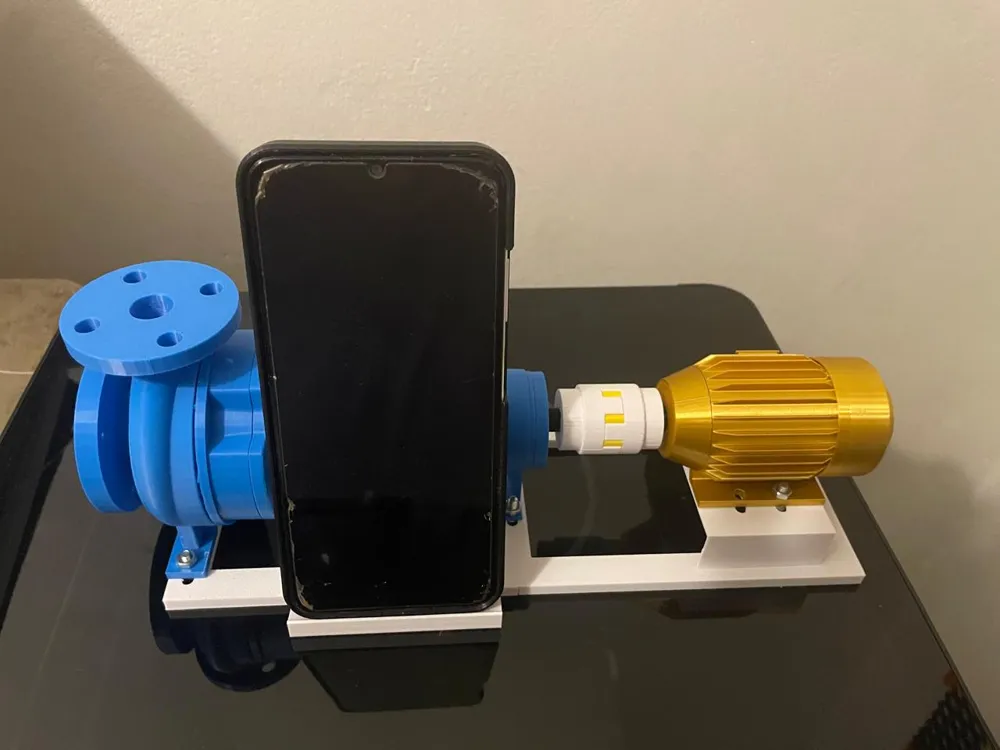
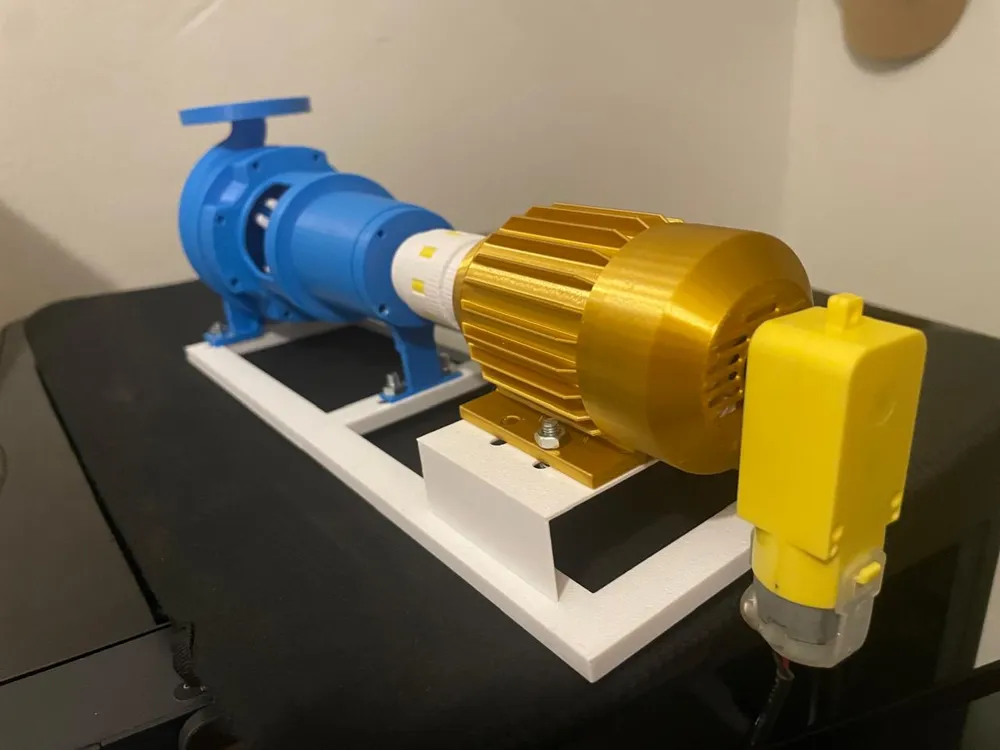
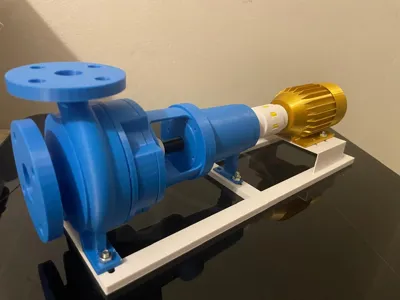
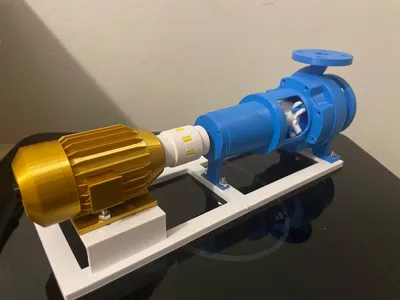
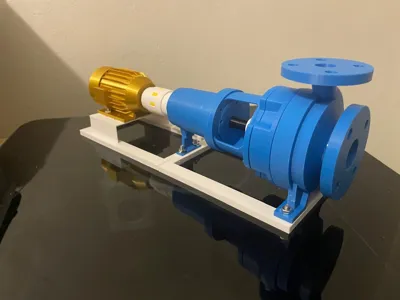
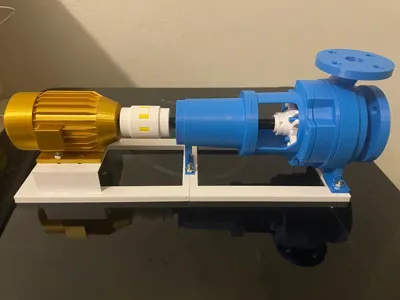
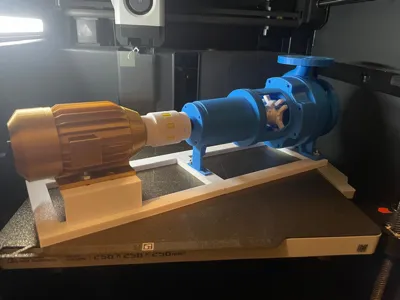
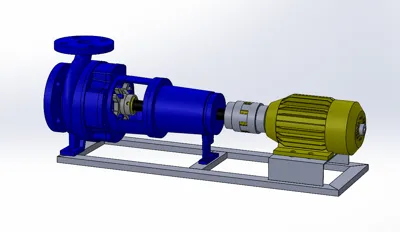
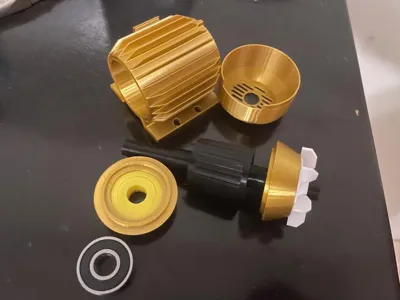
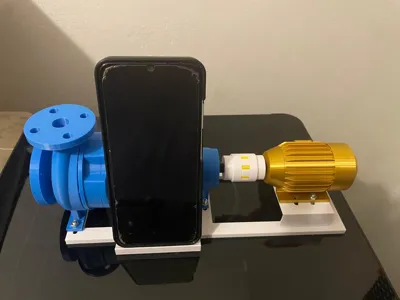
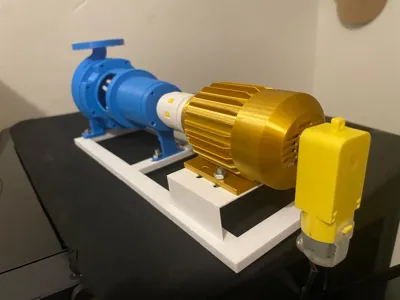
This is a functional end suction centrifugal pump model. It includes the common individual pump and motor components and most parts can be fitted without gluing. It looks nice on a desktop or workshop . I made most components fit loosely as I broke several shafts with tighter tolerances, and once it is fully assembled the unglued parts hold together well even when spun by hand or with the TT motor.
None of the BOM parts are required for assembly or functionality. The bearings in the model are fully printable and functional making the model spin freely. The motor is only require if you want the model to spin by itself. The bolts and nuts are only used to secure the model to its optional base and add a “real” look.
I used M4 X10 bolts to secure the assembly to its base, but this can also be glued or simply placed on top.
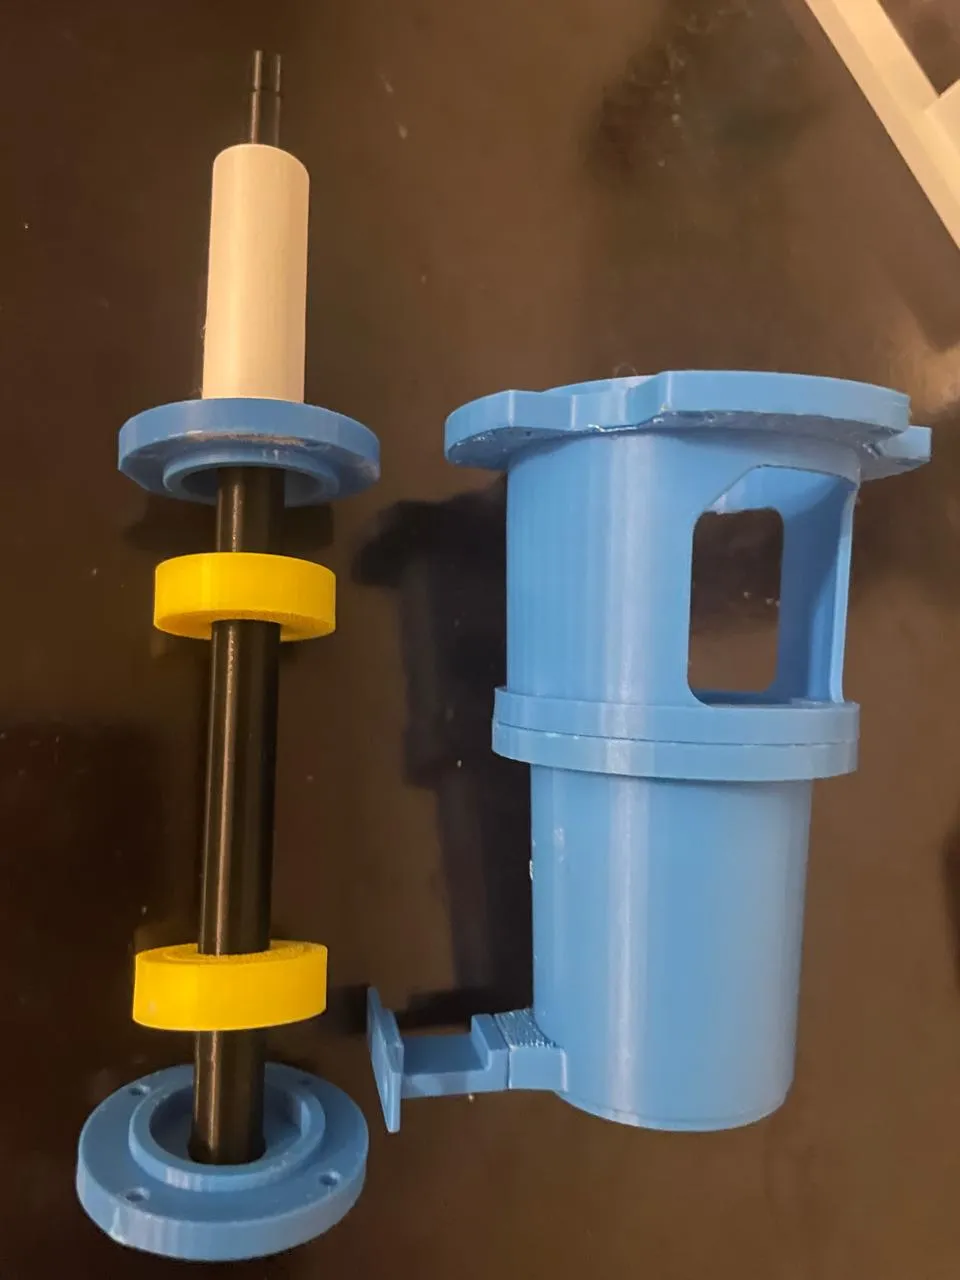
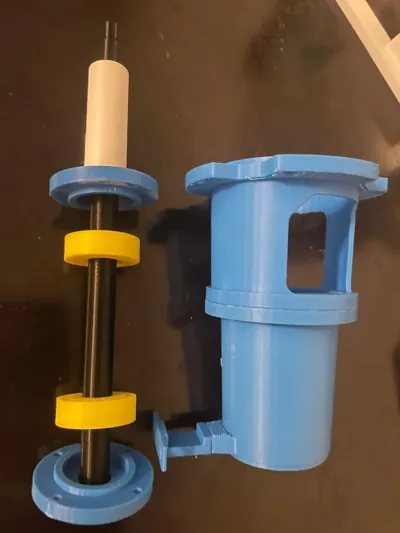
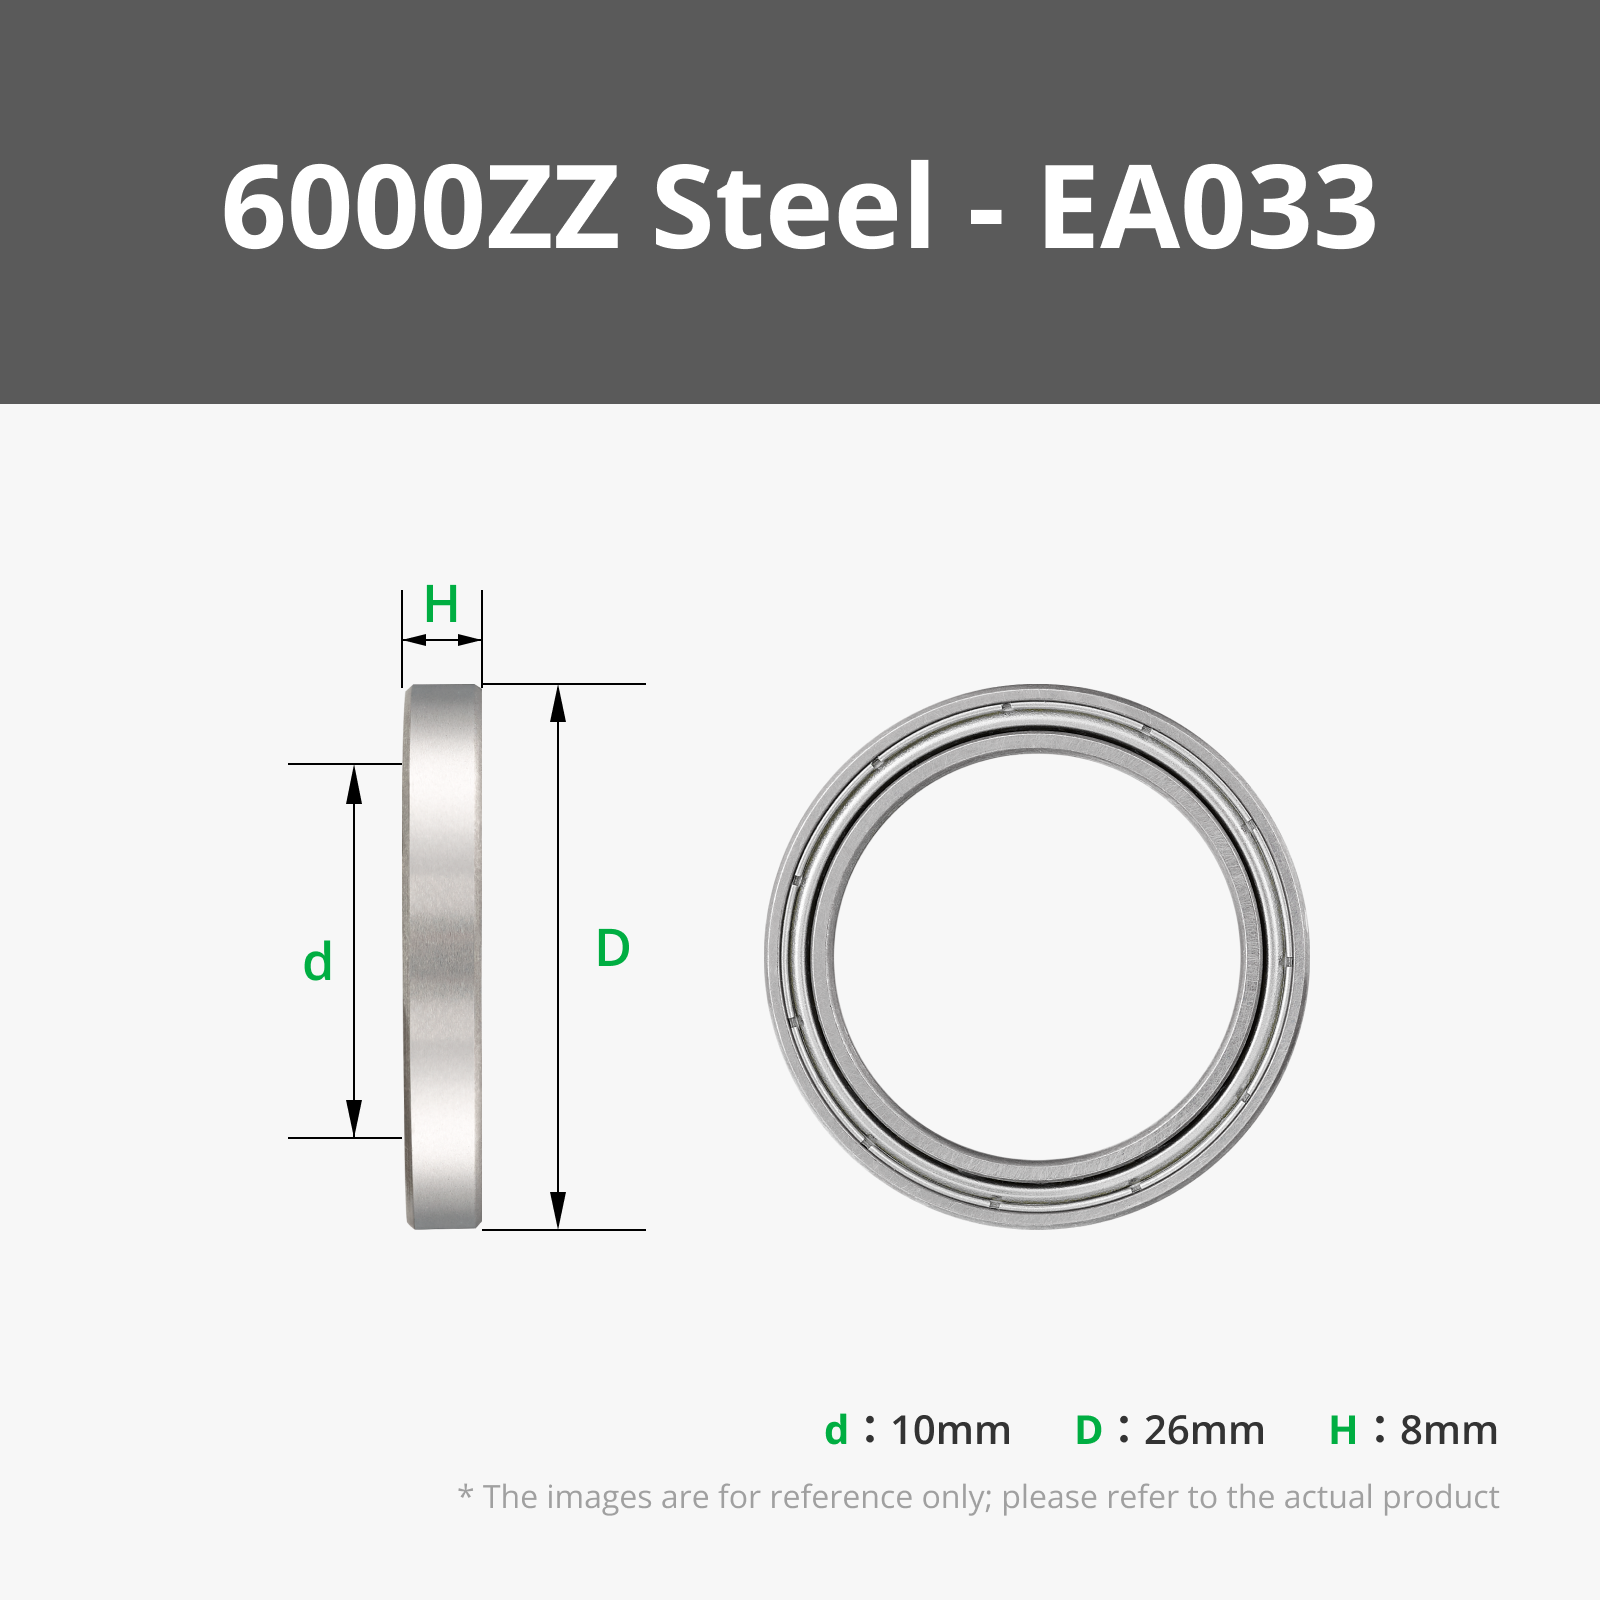
The bearings are 6000 or 10x26x8 but I included printable bearings in the model. Both pump and motor use the same bearings.

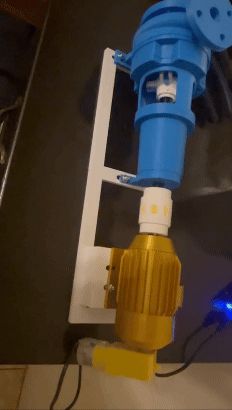
The model can be printed with pump only and it includes a coupling hub that works directly with the TT motor. When printed fully with its motor, the motor shaft has a slot where the TT motor can be fitted for automatic rotation of both pump and motor. The motor can also be printed as standalone model.
I also added a simple phone stand structure that can be placed on the base turning the model into an unique phone stand.
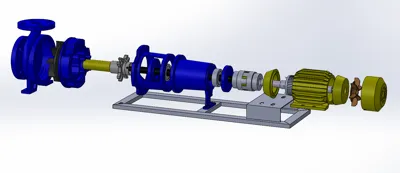
The assembly is pretty straight forward. The shaft can slide both ways to both assembly and disassembly are easy. Once the impeller is in place, the shaft locates itself.
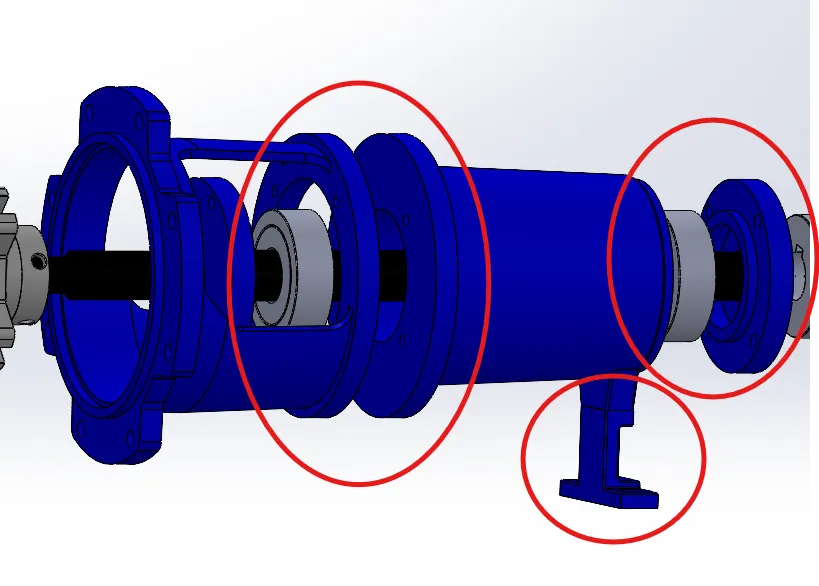
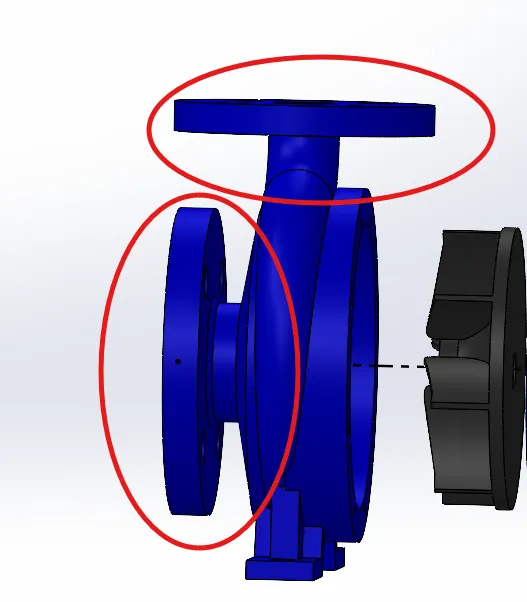
The parts that need to be glued are the bearing housing to the pump coupling, the pump foot to the bearing housing, and the flanges to pump casing. The coupled end bearing covers tends to come loose so a little bit of glue holds it in place.
Documentation (1)
License

You shall not share, sub-license, sell, rent, host, transfer, or distribute in any way the digital or 3D printed versions of this object, nor any other derivative work of this object in its digital or physical format (including - but not limited to - remixes of this object, and hosting on other digital platforms). The objects may not be used without permission in any way whatsoever in which you charge money, or collect fees.


Comment & Rating (58)