
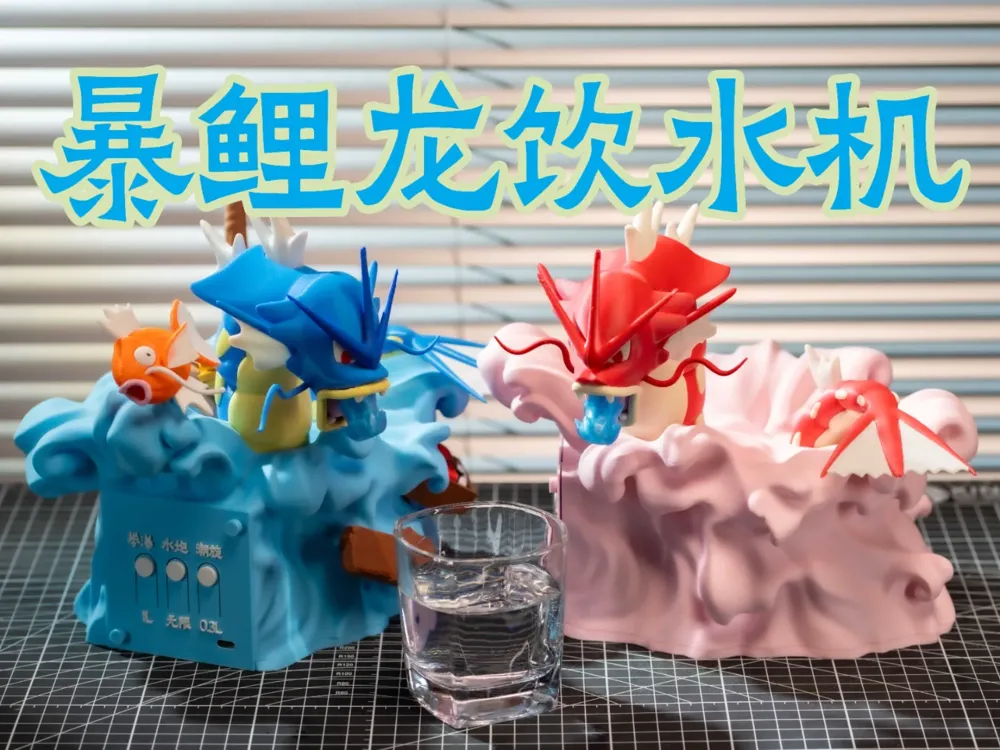
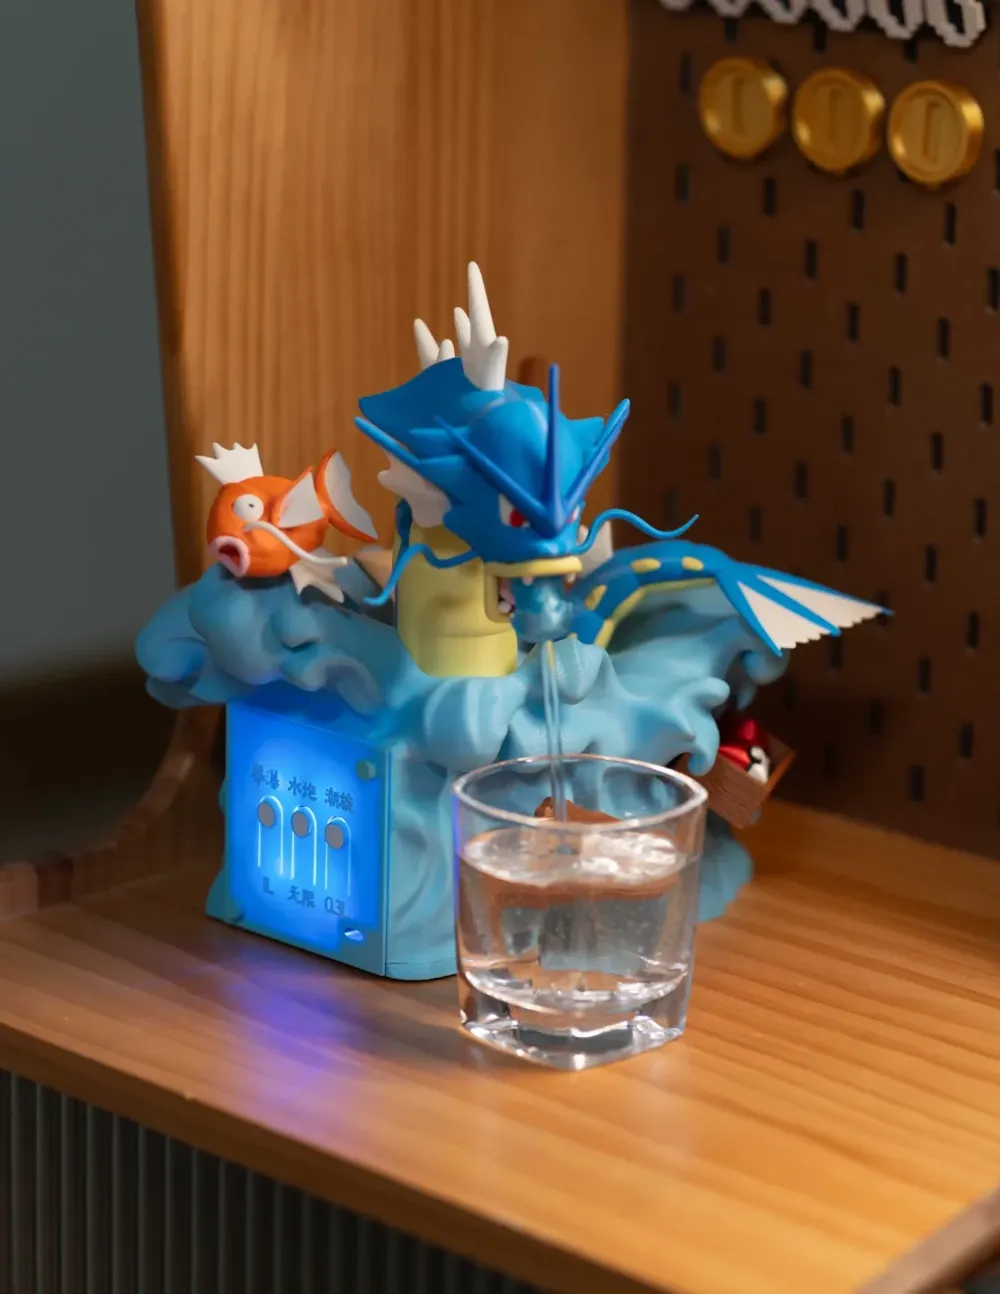
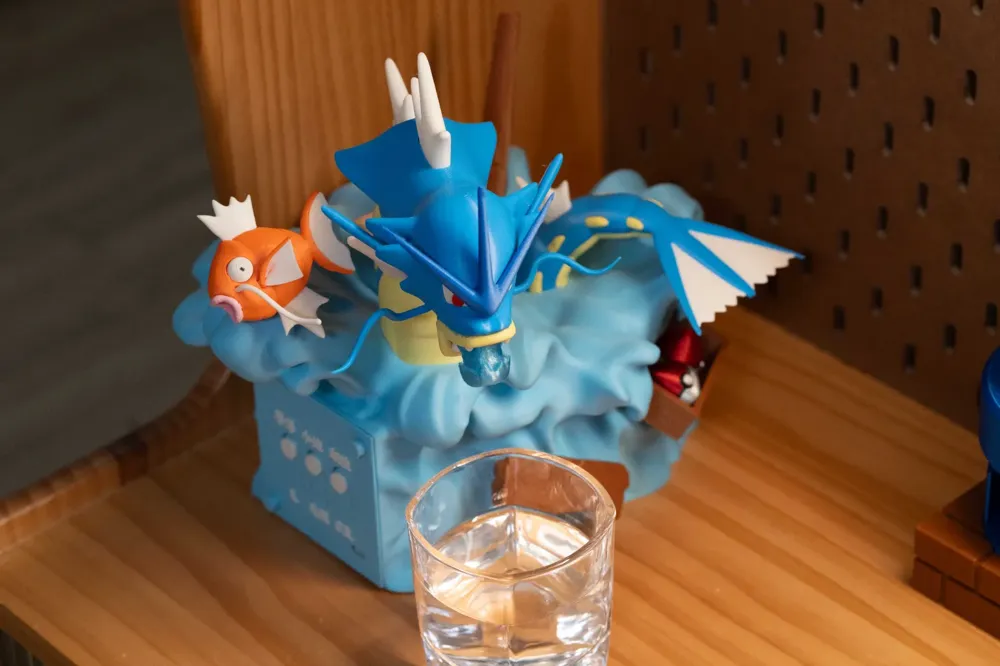
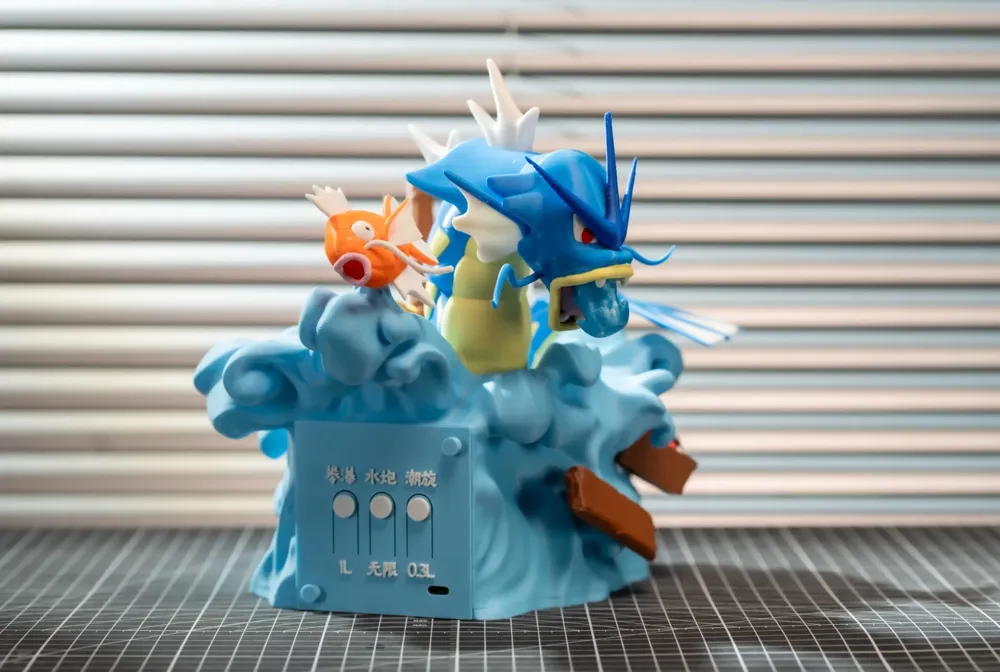
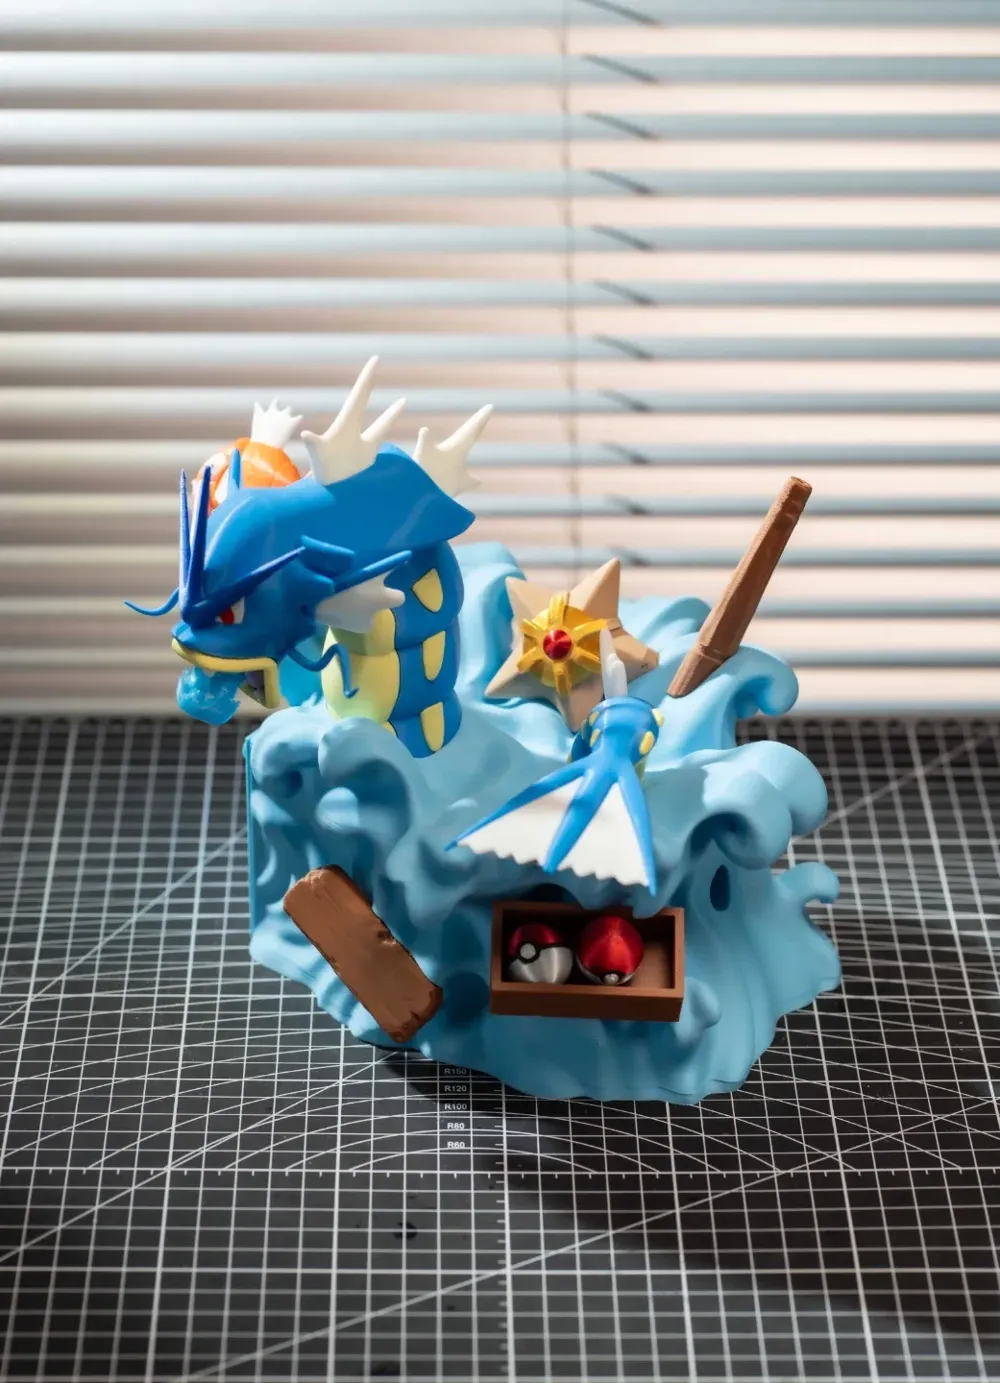
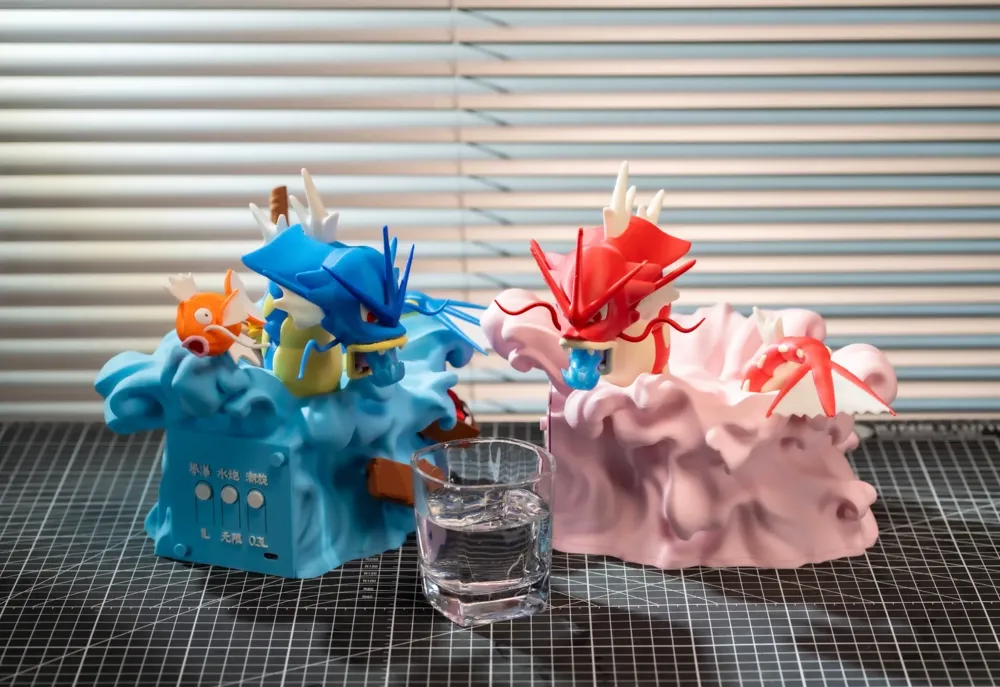
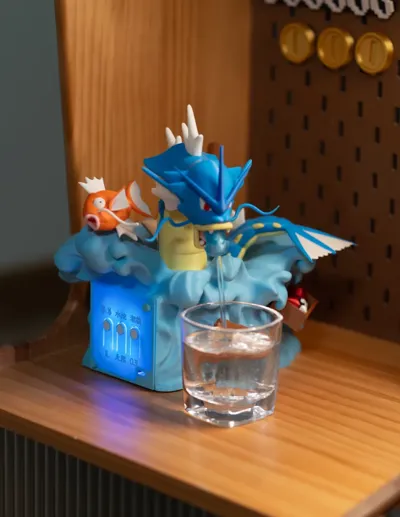
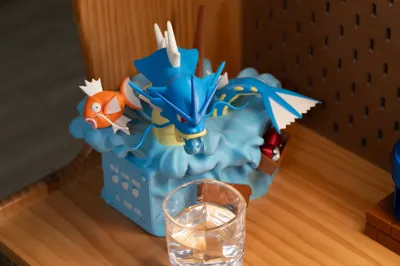
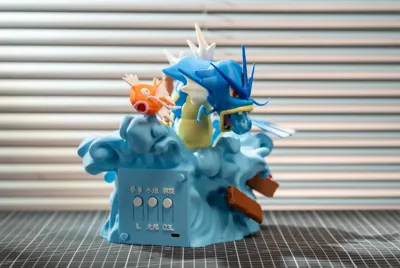
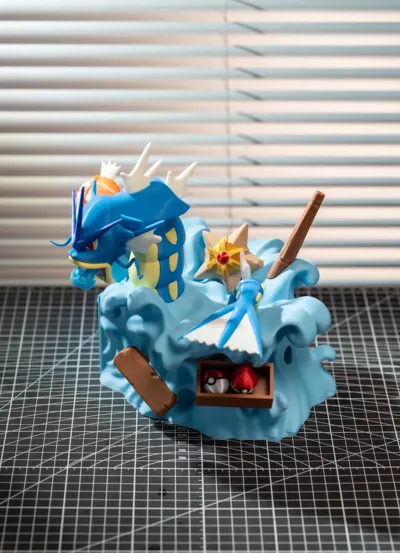
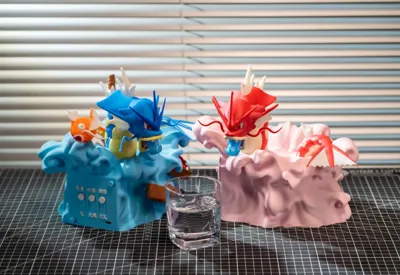
130 Gyarados Water Dispenser
Print Profile(2)


Description
Tutorial
1.Remove the three screws from the water pump; retain screws 1 and 2 for later use, screw 3 is not needed subsequently.
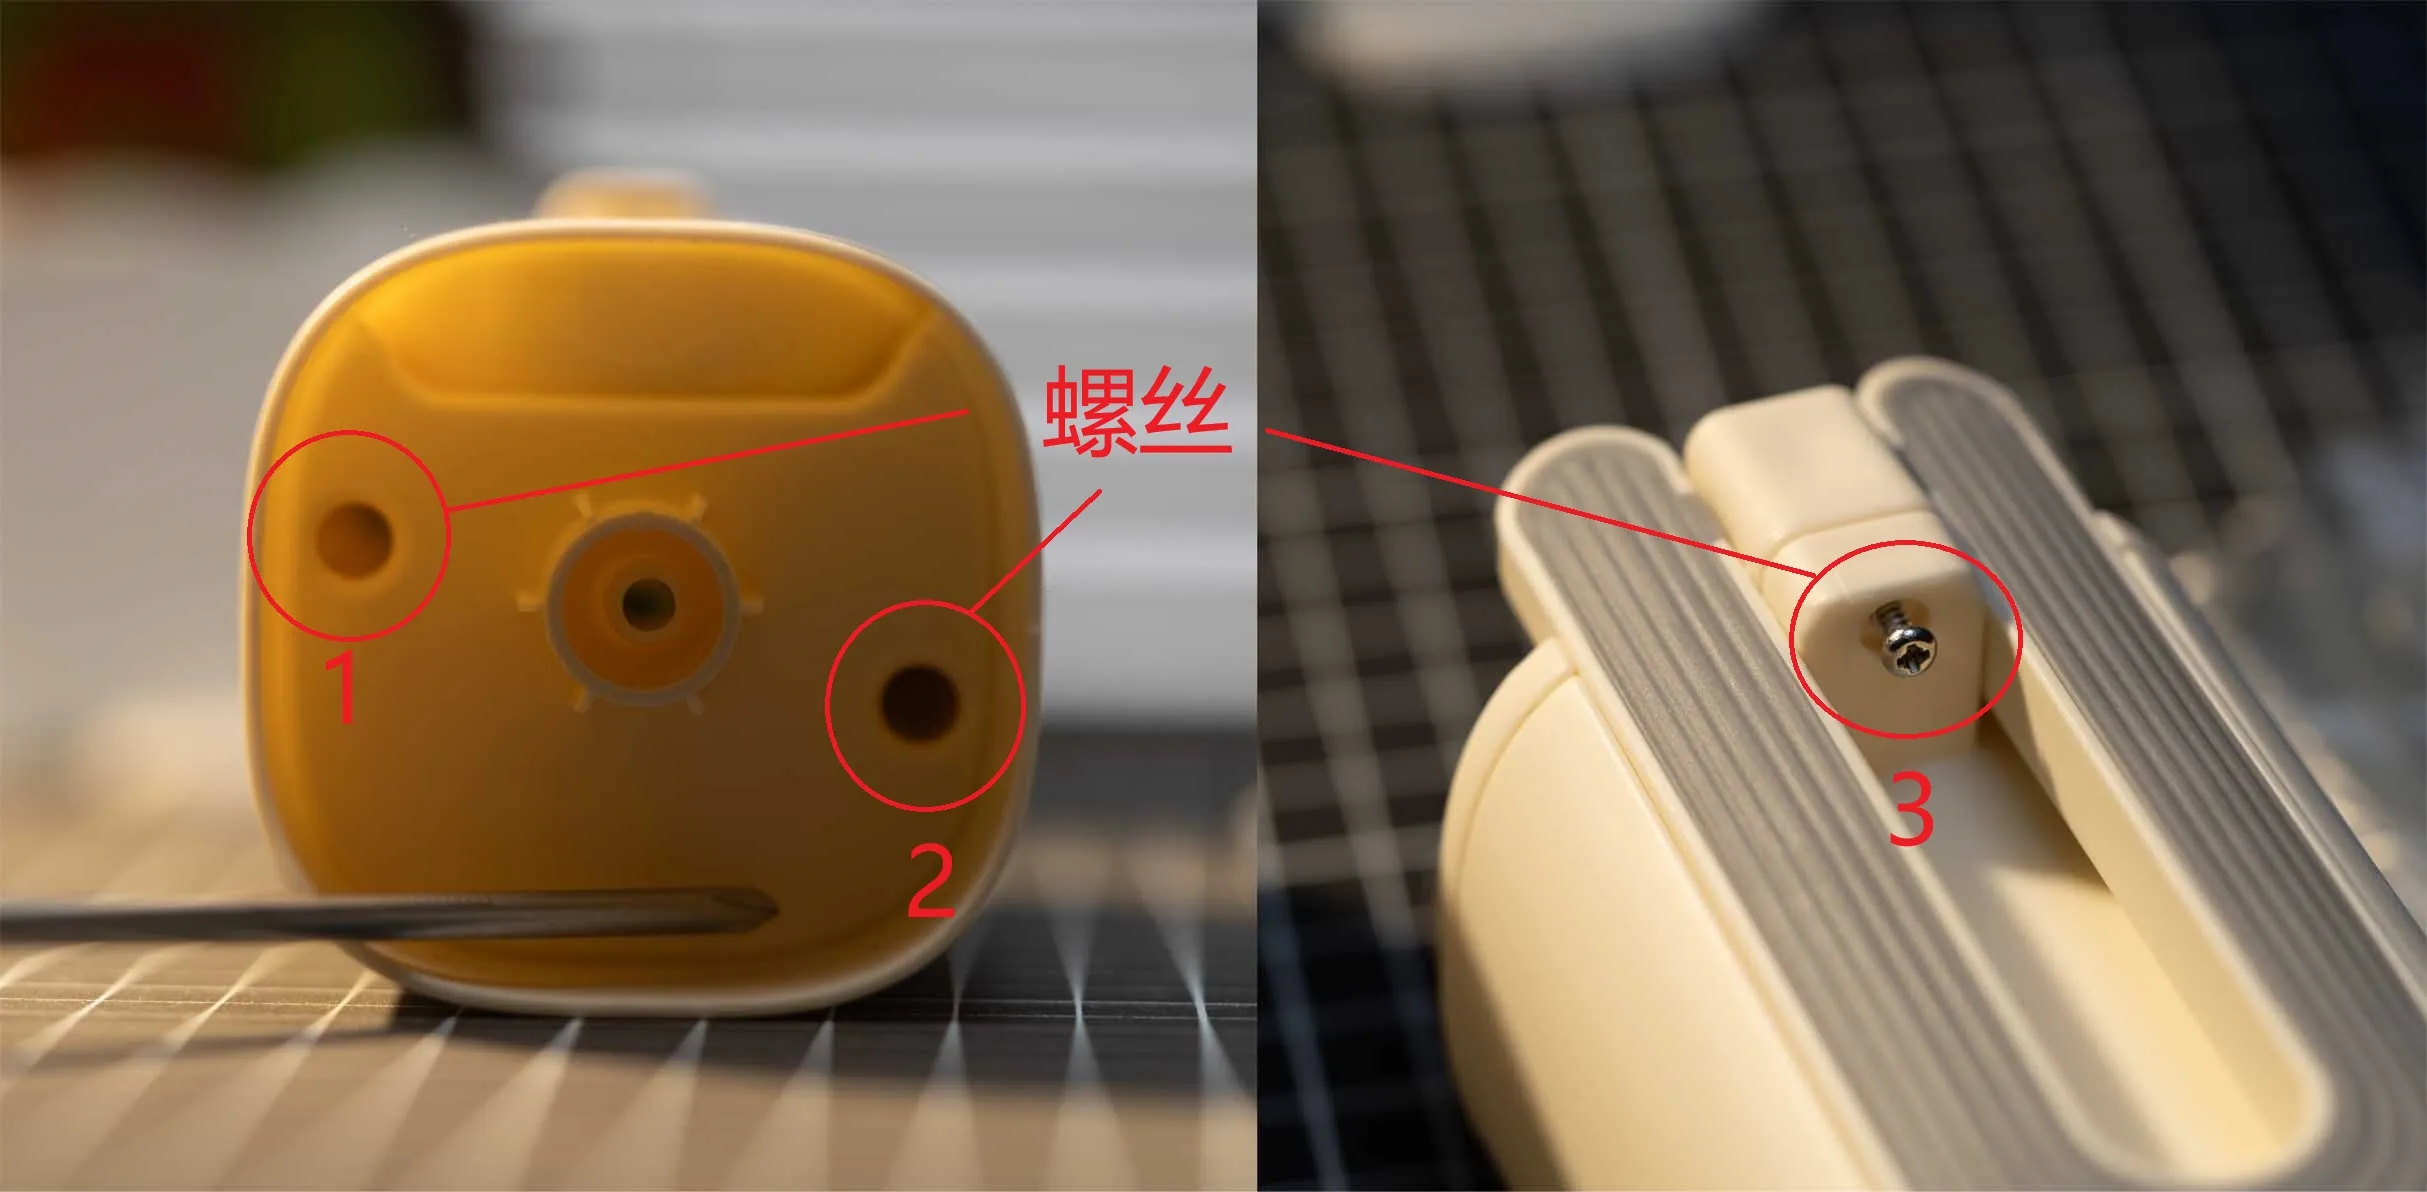
2.Remove the cover.
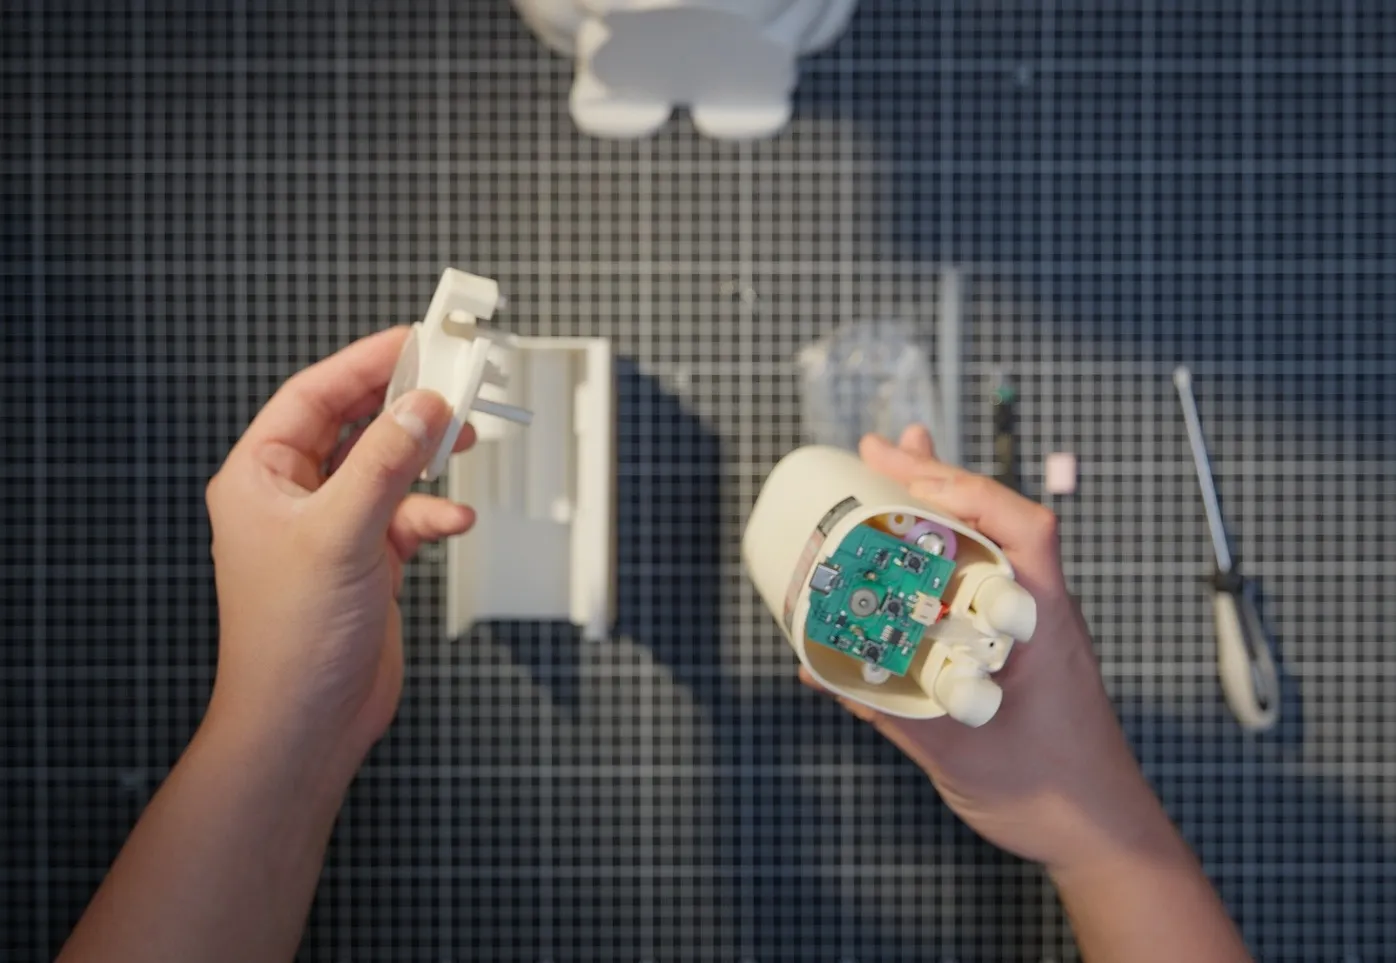
3.Remove the cover from the water pipe section.
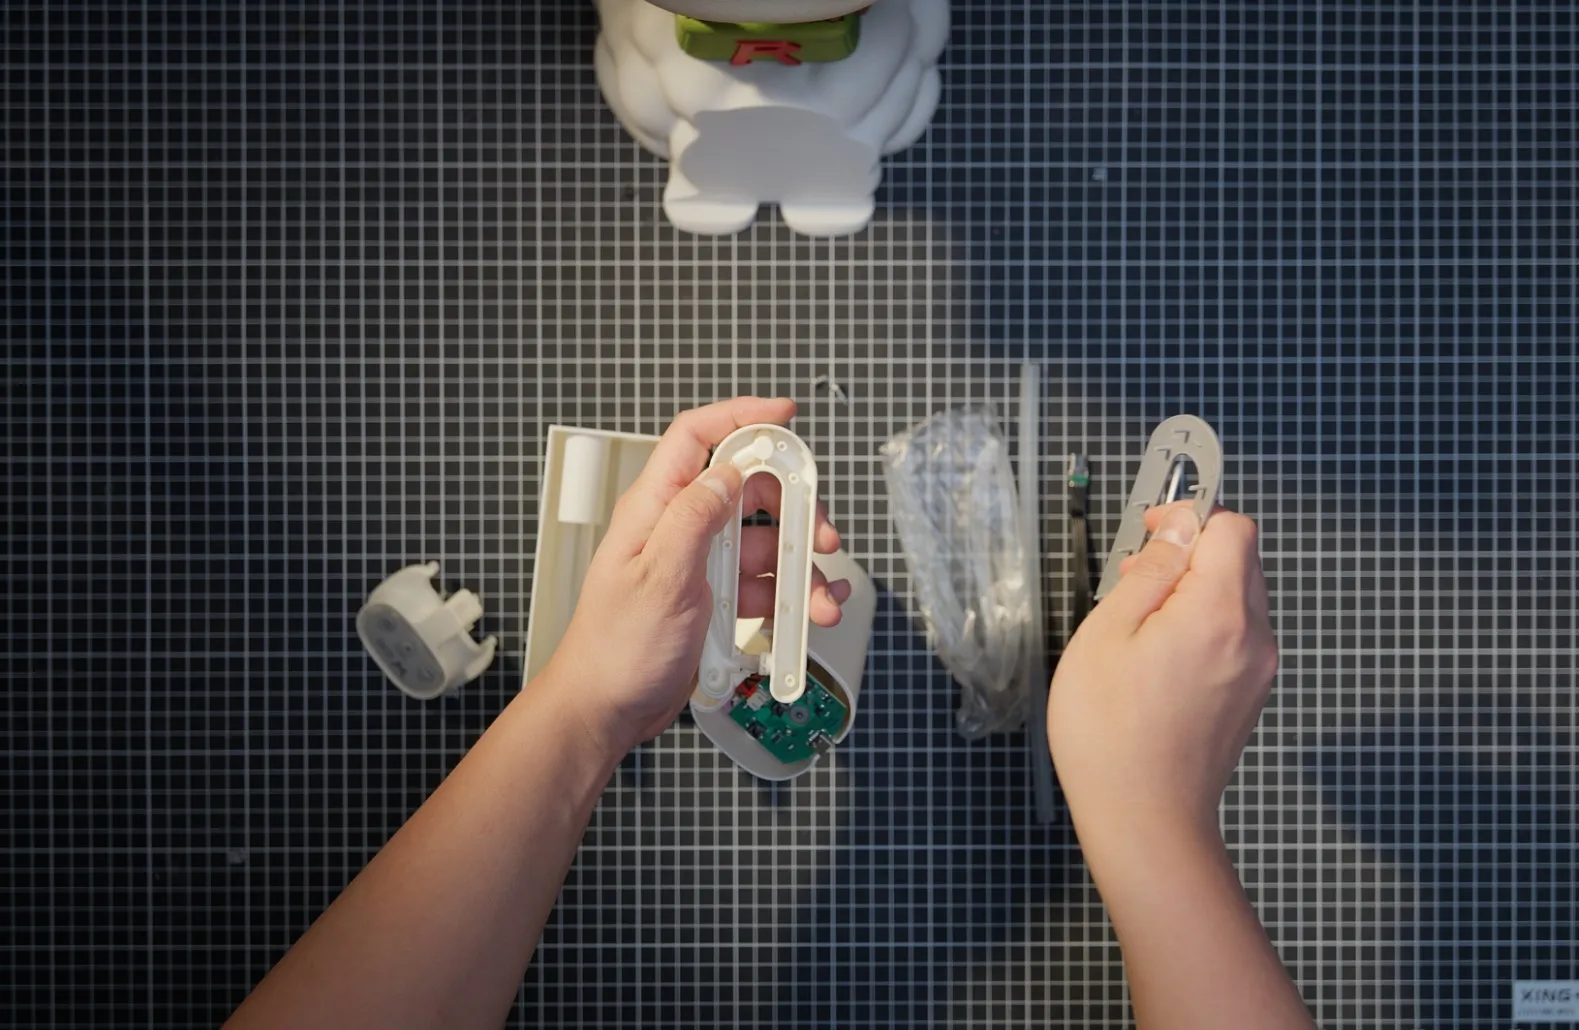
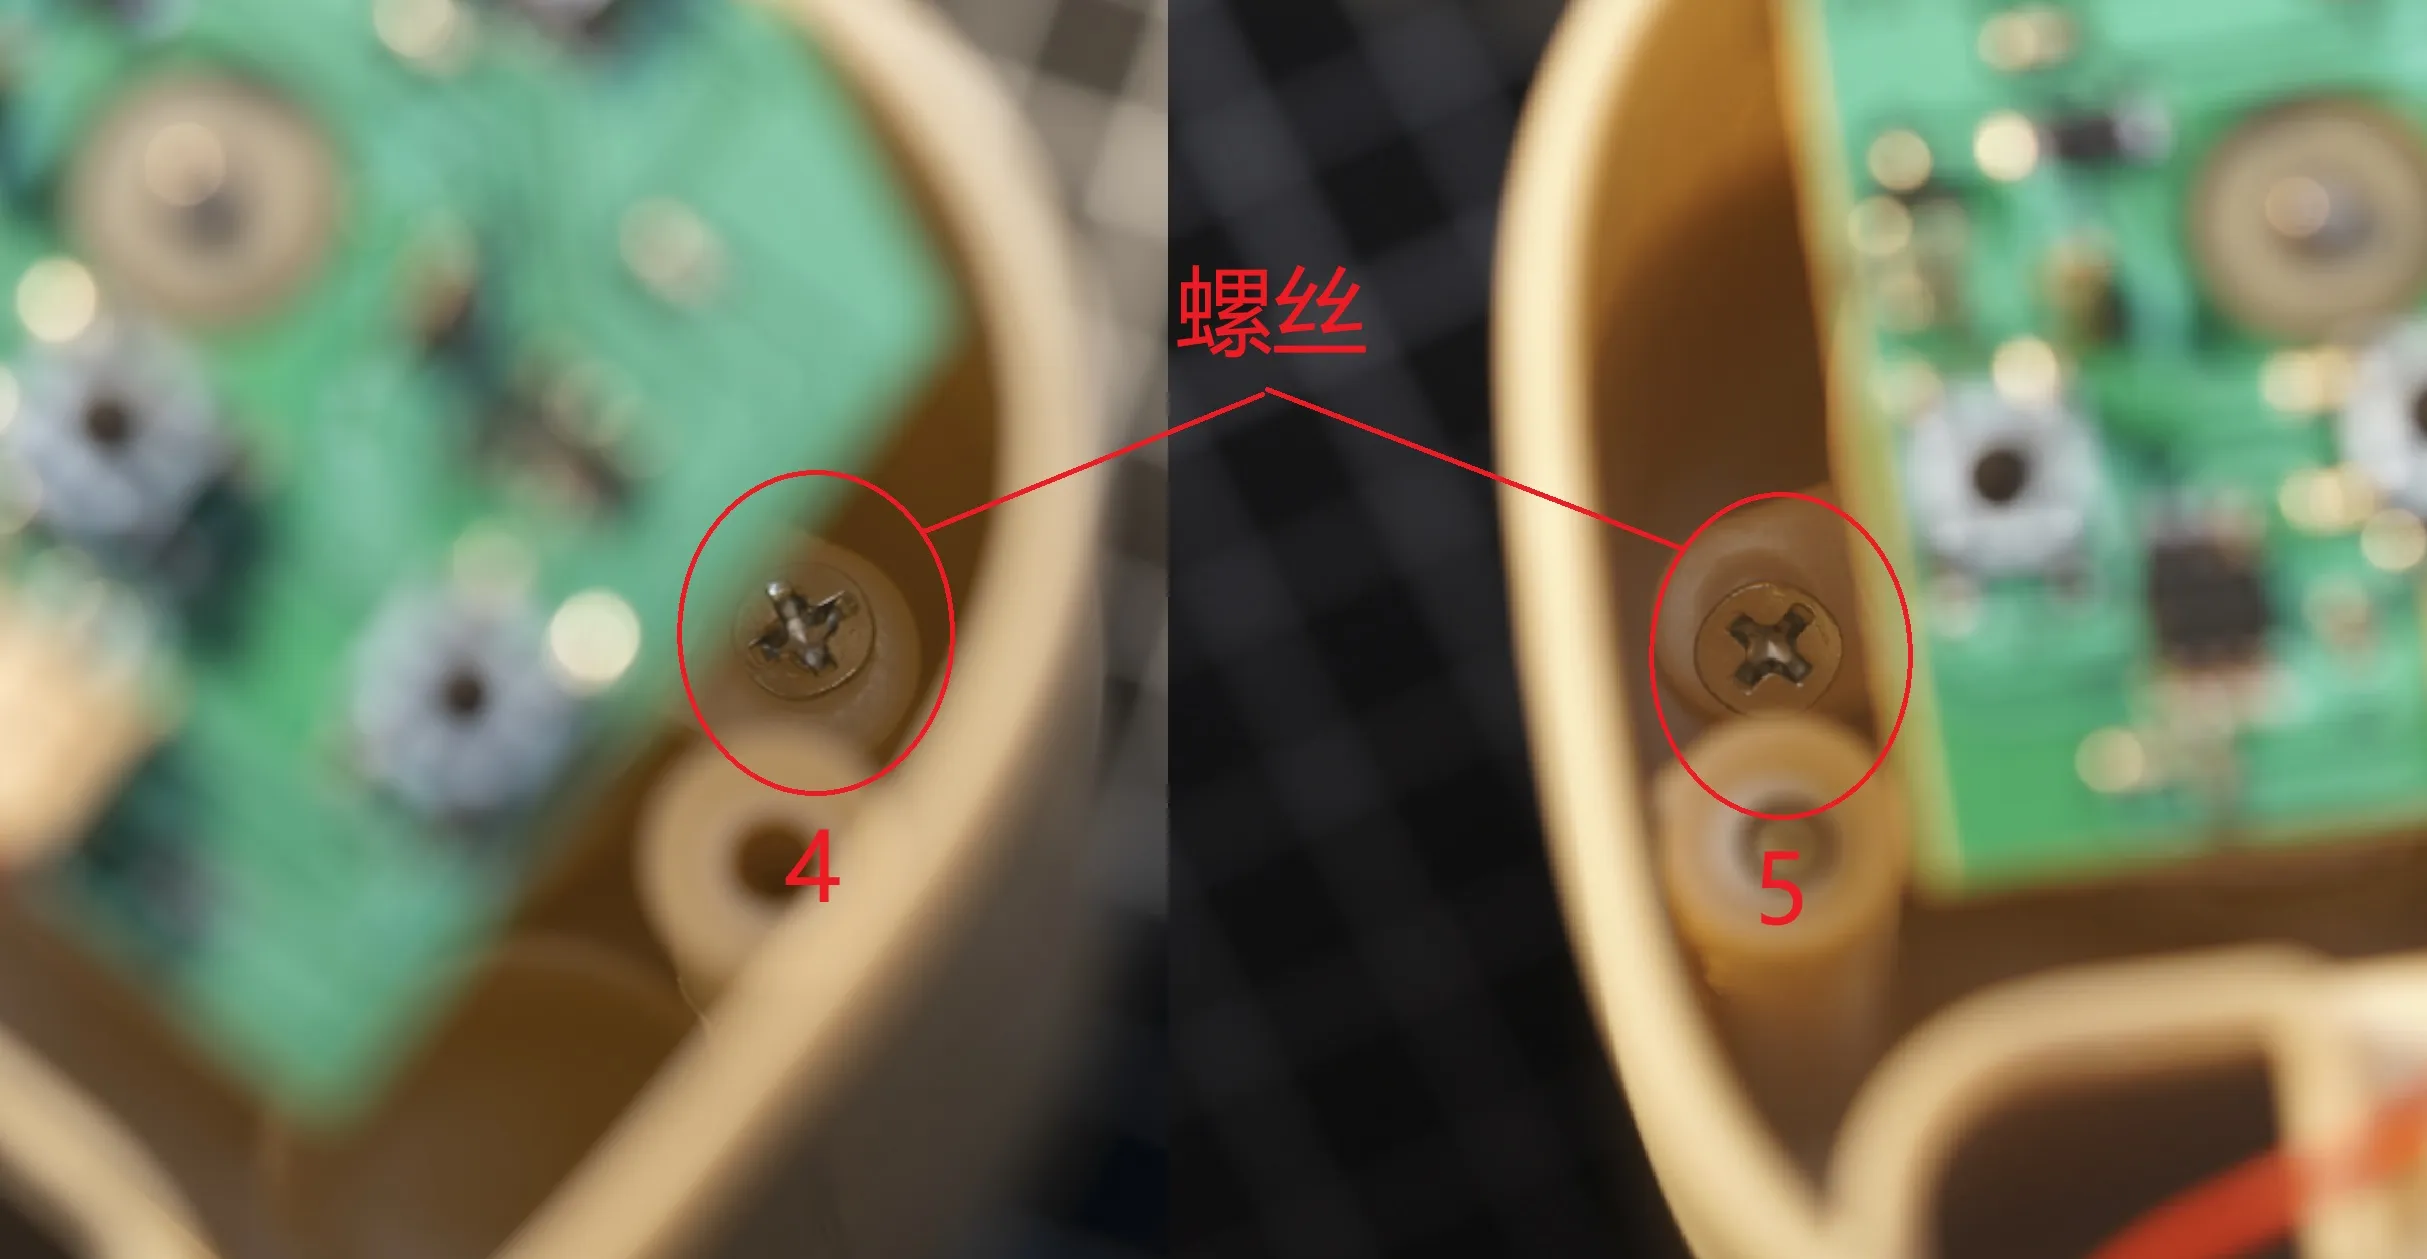
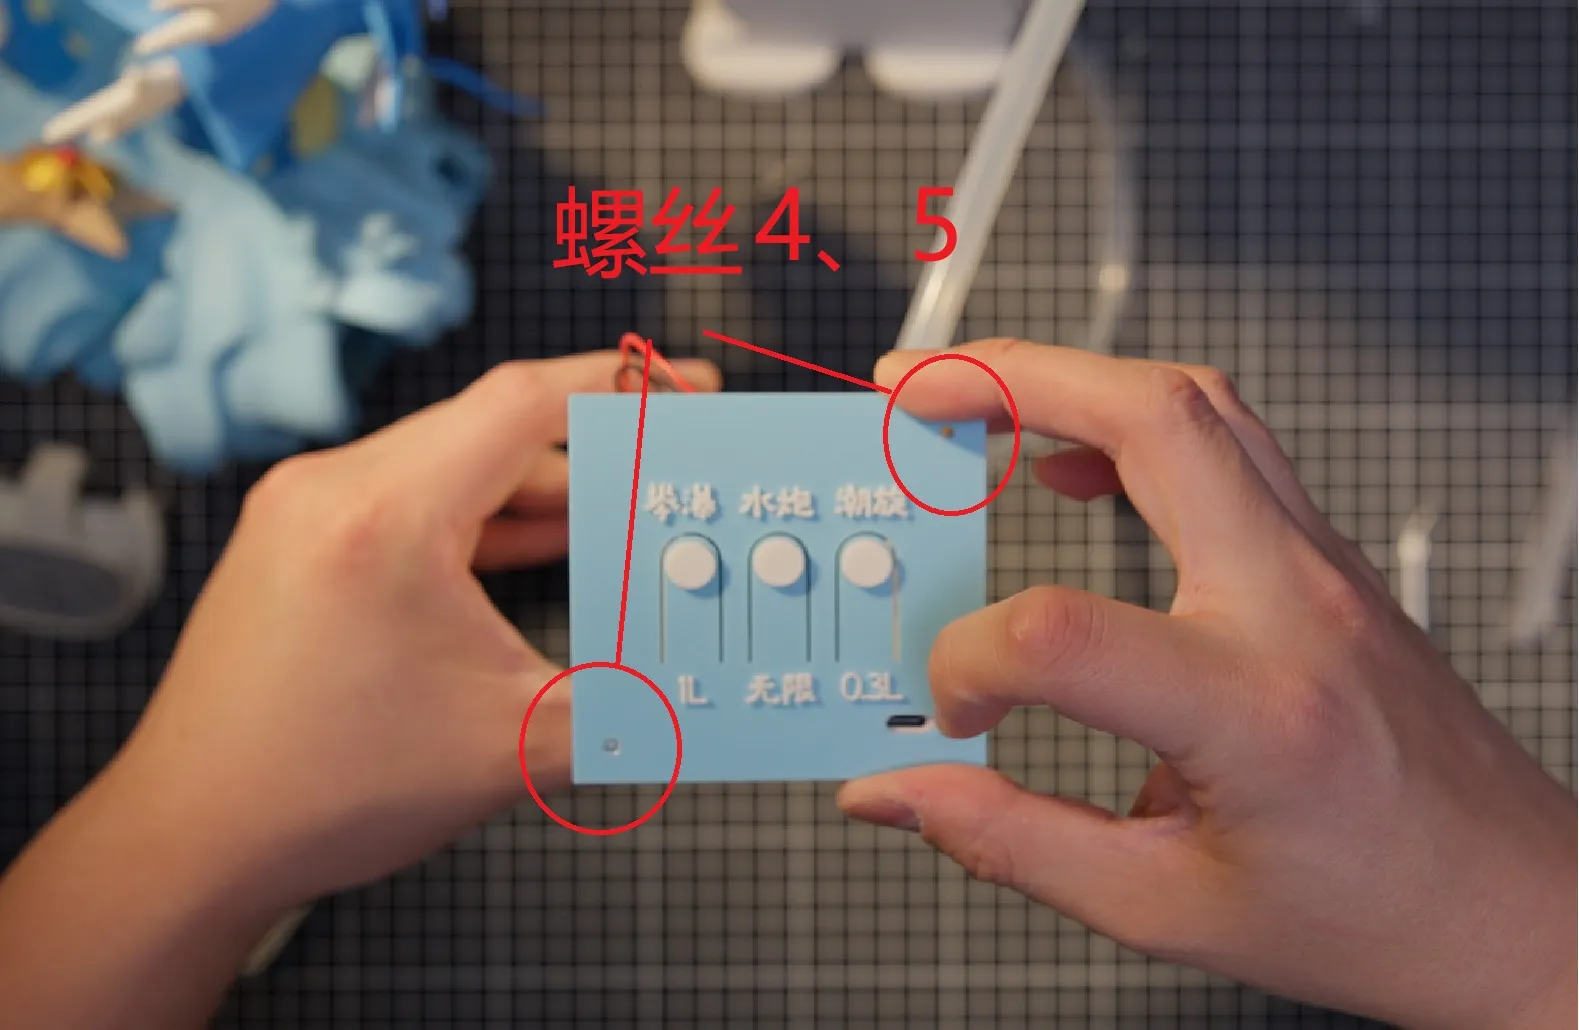
4.Remove screws 4 and 5; retain for later use.
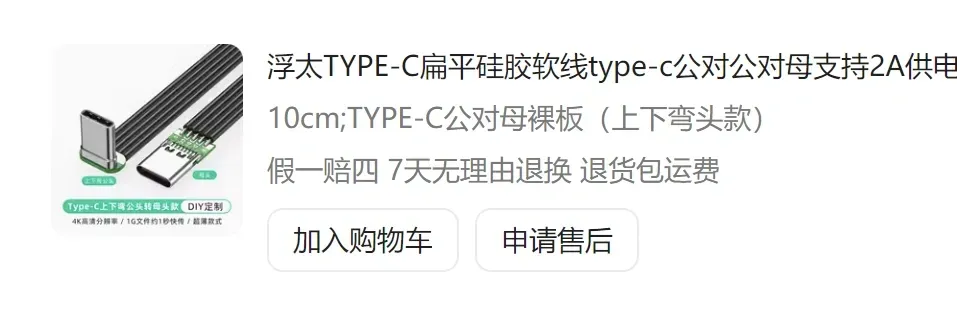
5.After removing the component, install the data cable. Note: the elbow connects to the circuit board.
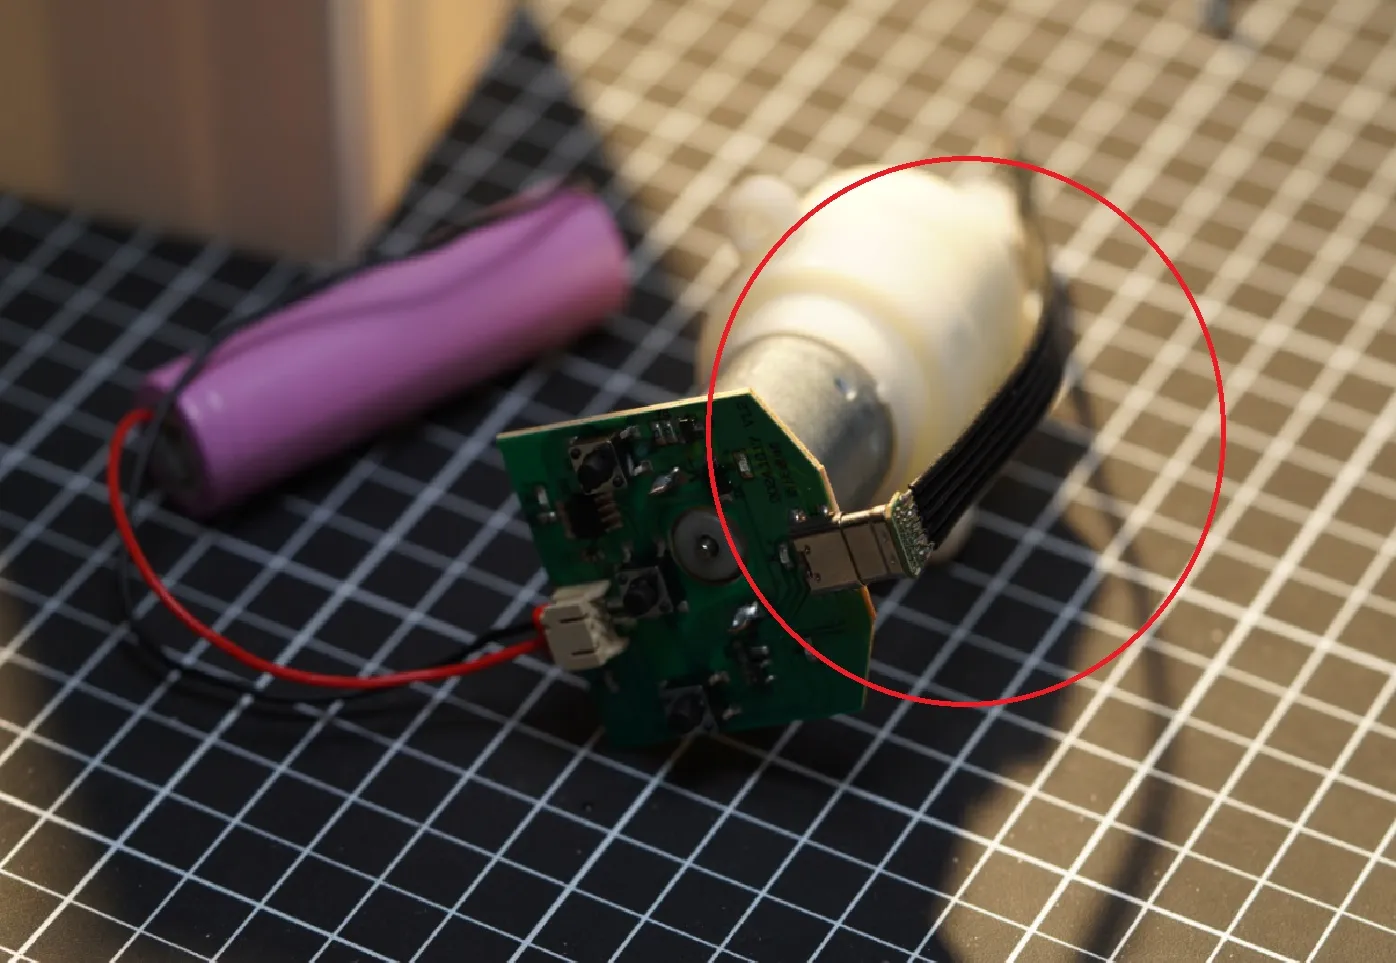
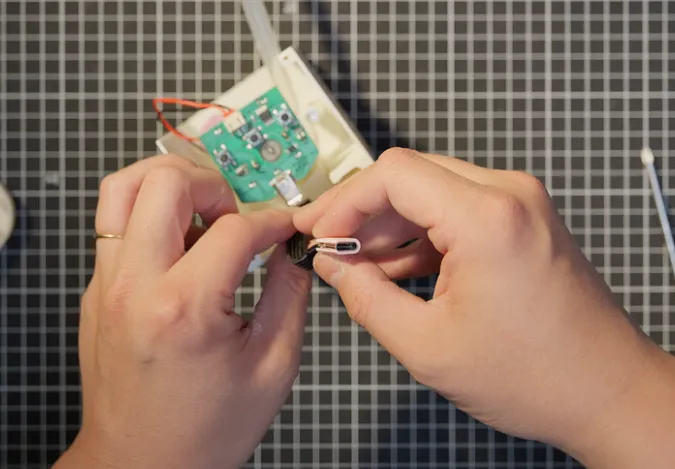
6.Install the small limiter accessory on the straight end of the data cable. Skip this step if purchasing a new data cable.
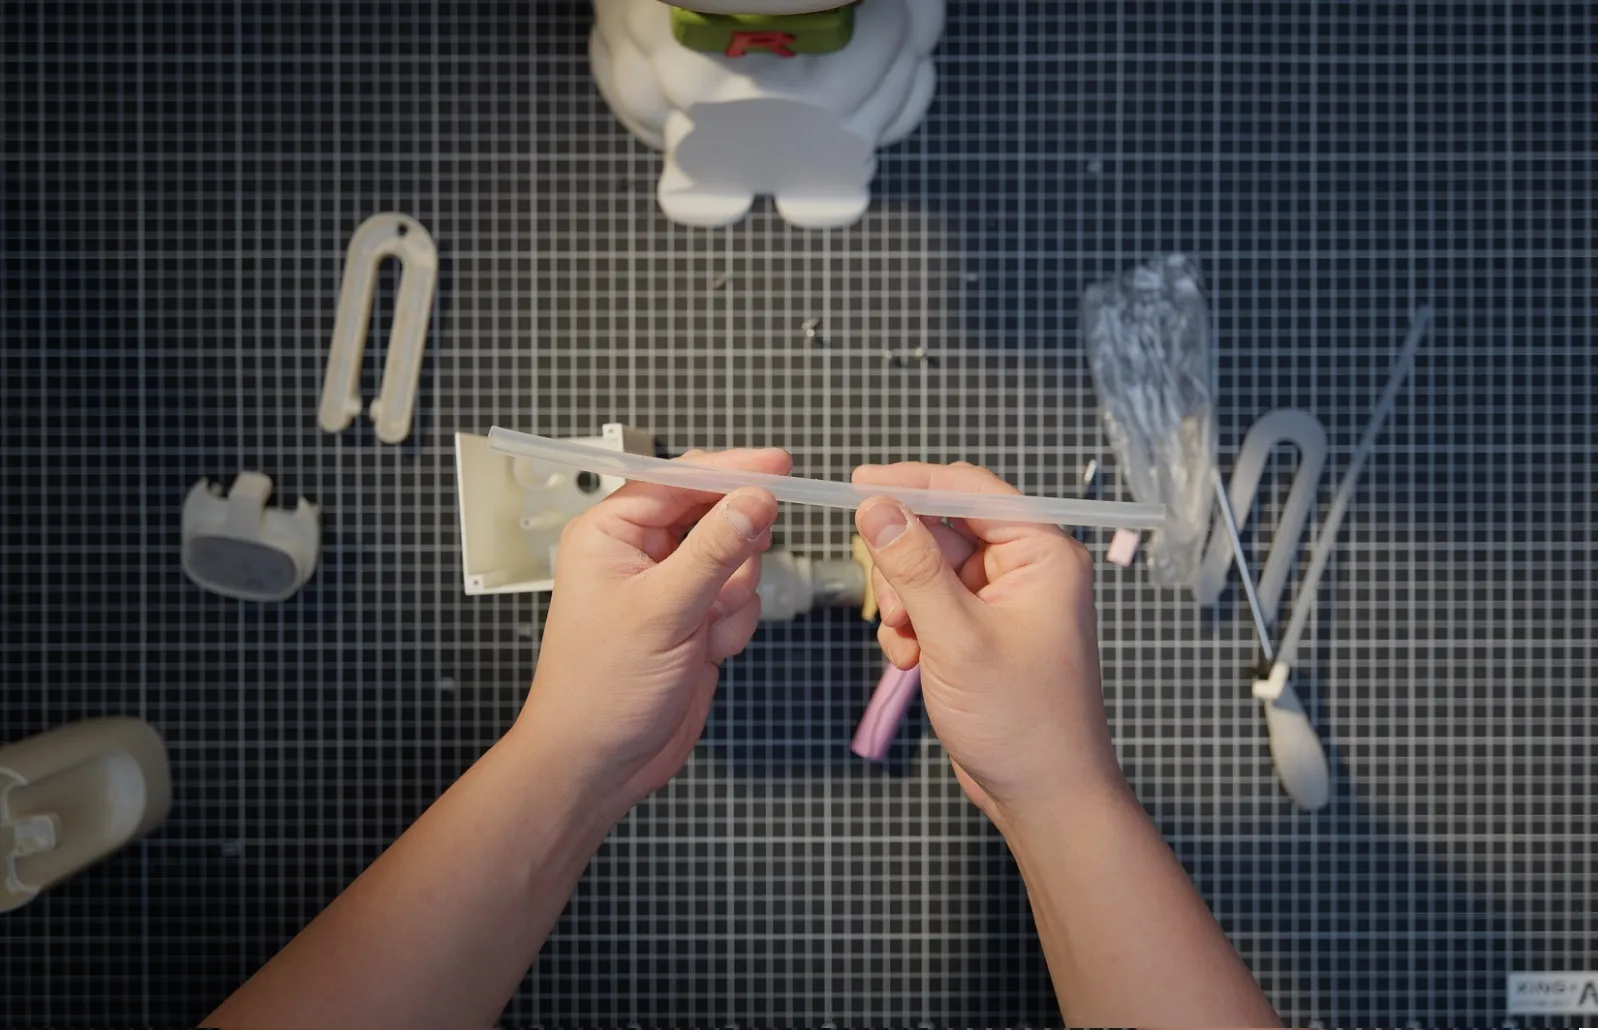
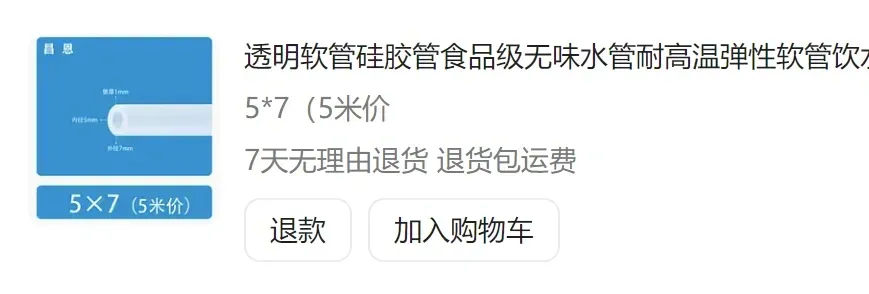
7.Take a φ5×7 water pipe, approximately 25cm in length will suffice.
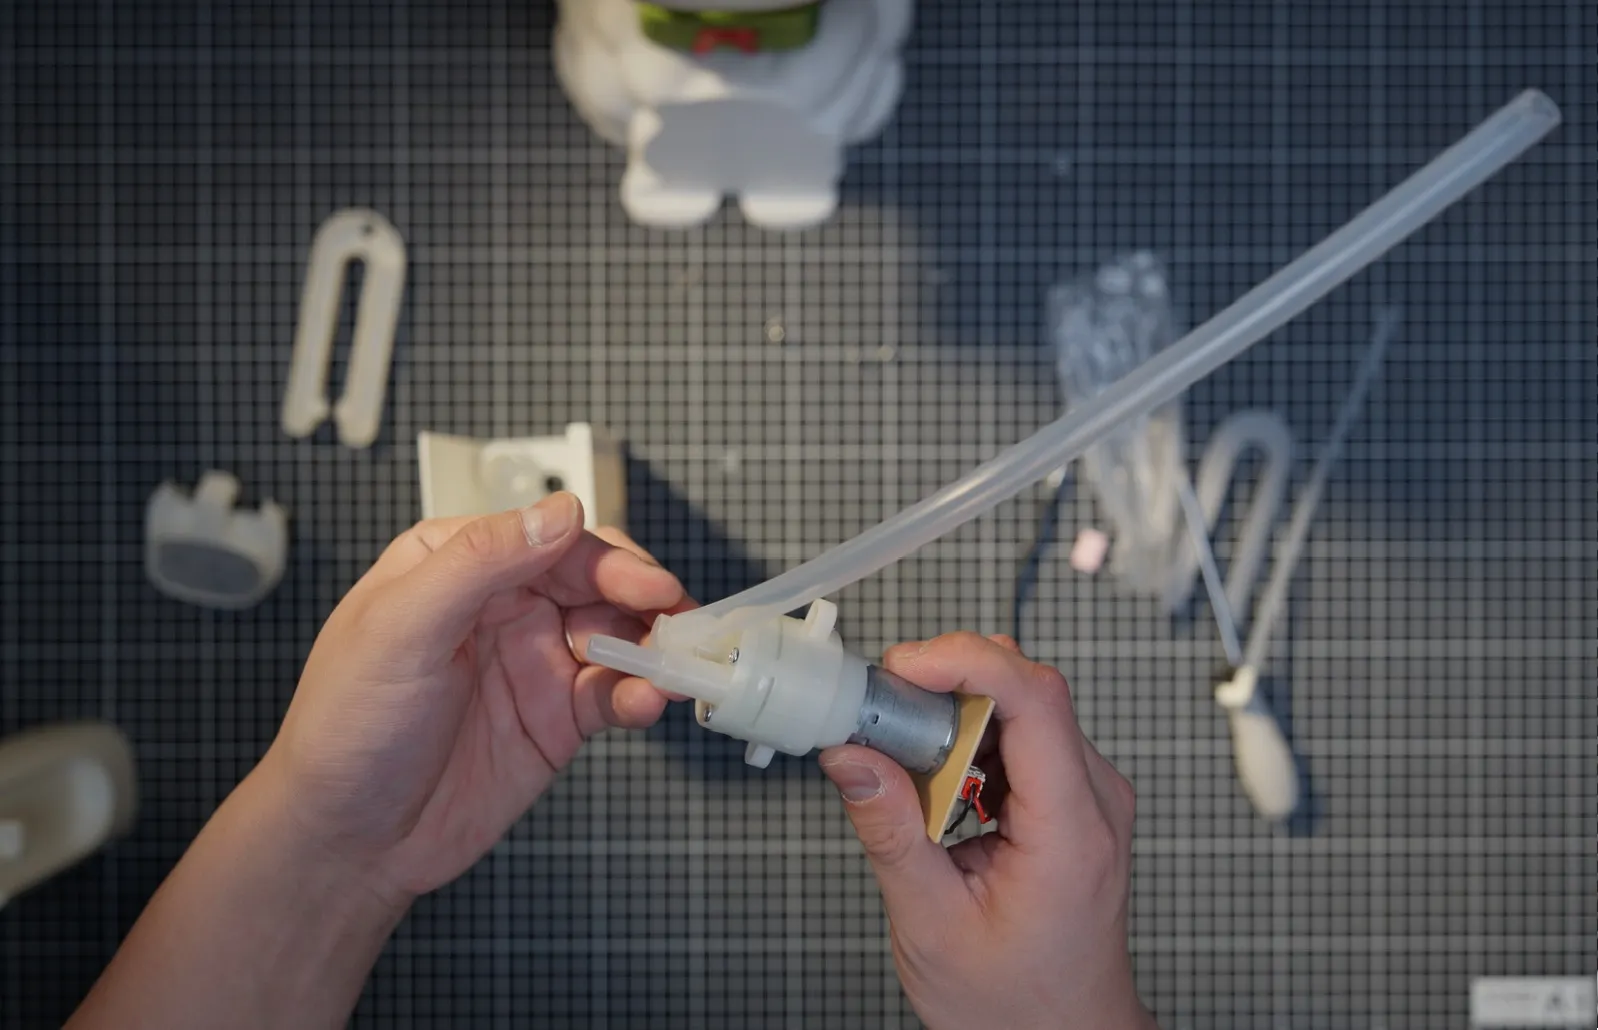
8.Install it at the water pump elbow.
9.Install the water pump in place and secure it using screws 1 and 2.
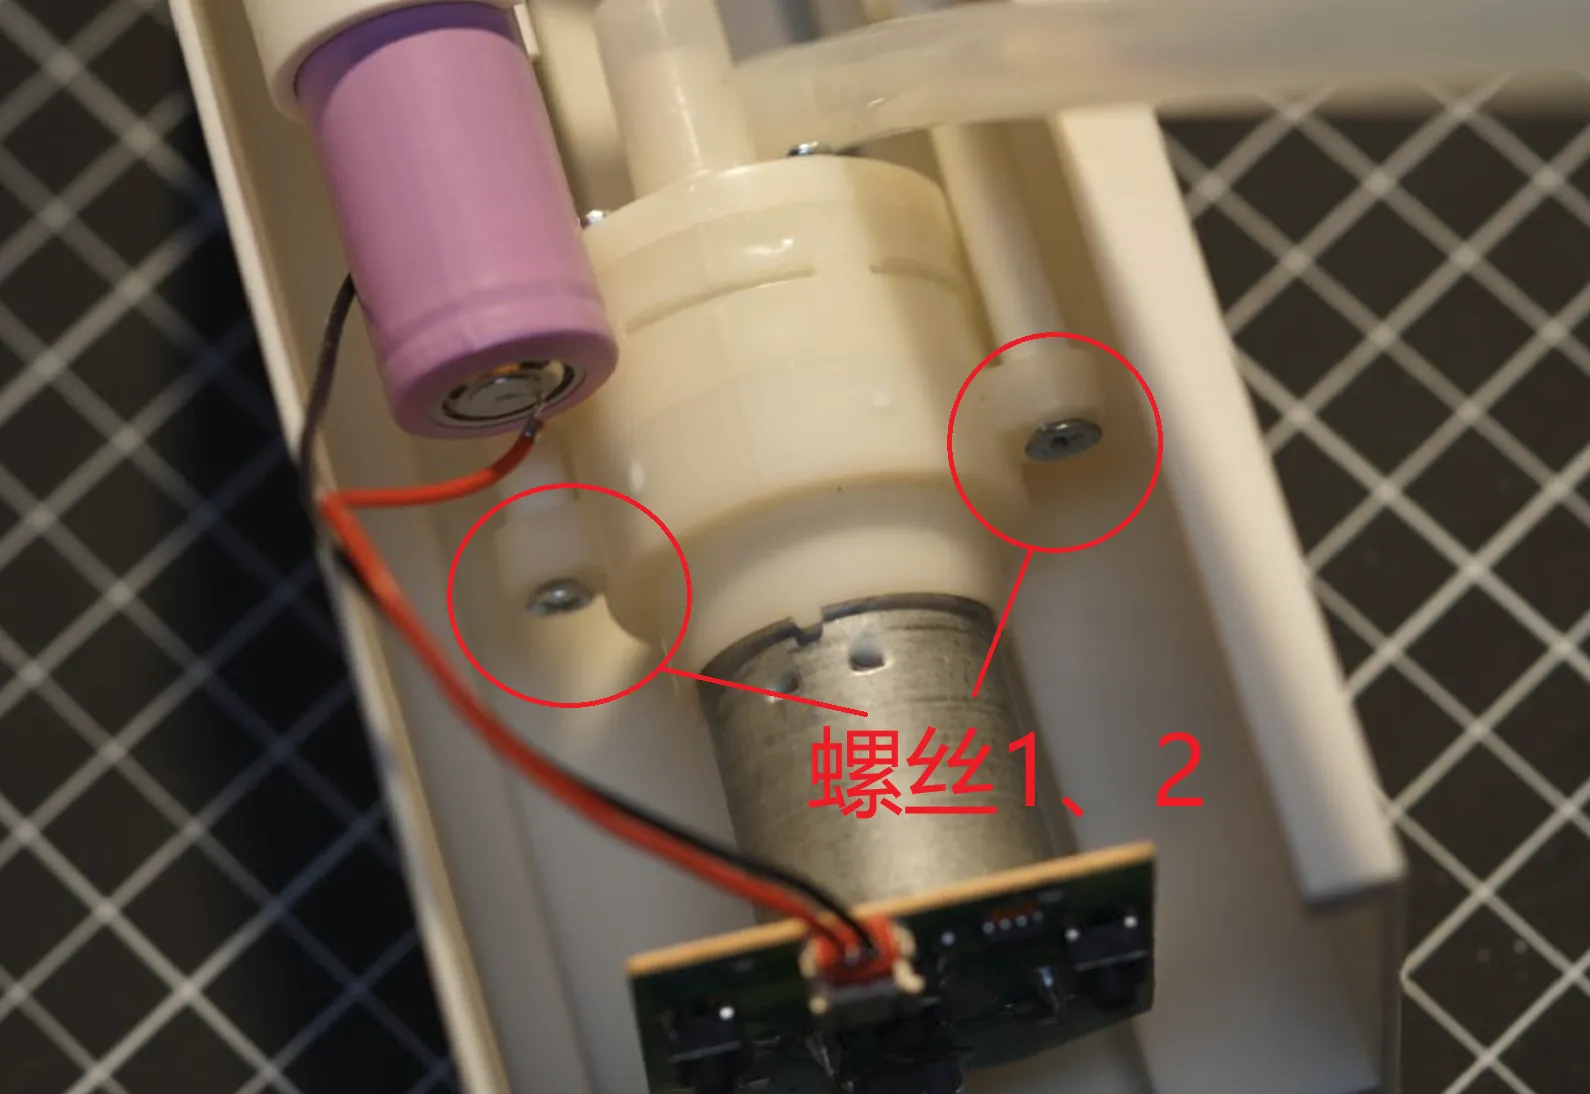
10.Install the data cable in place.
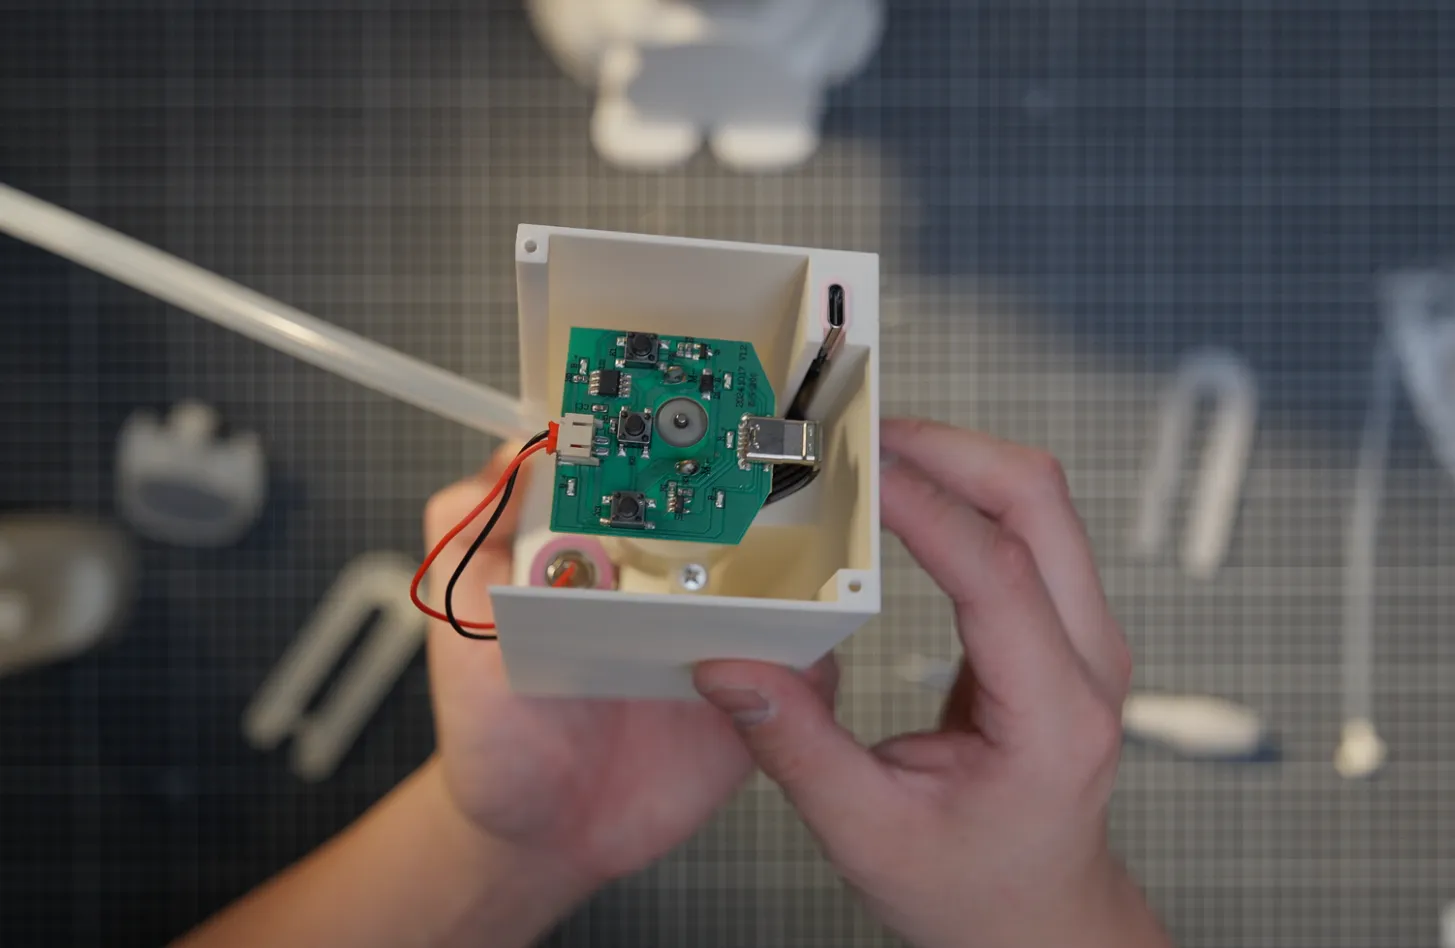
11.Install the unopened water pipe to connect to the bucket.

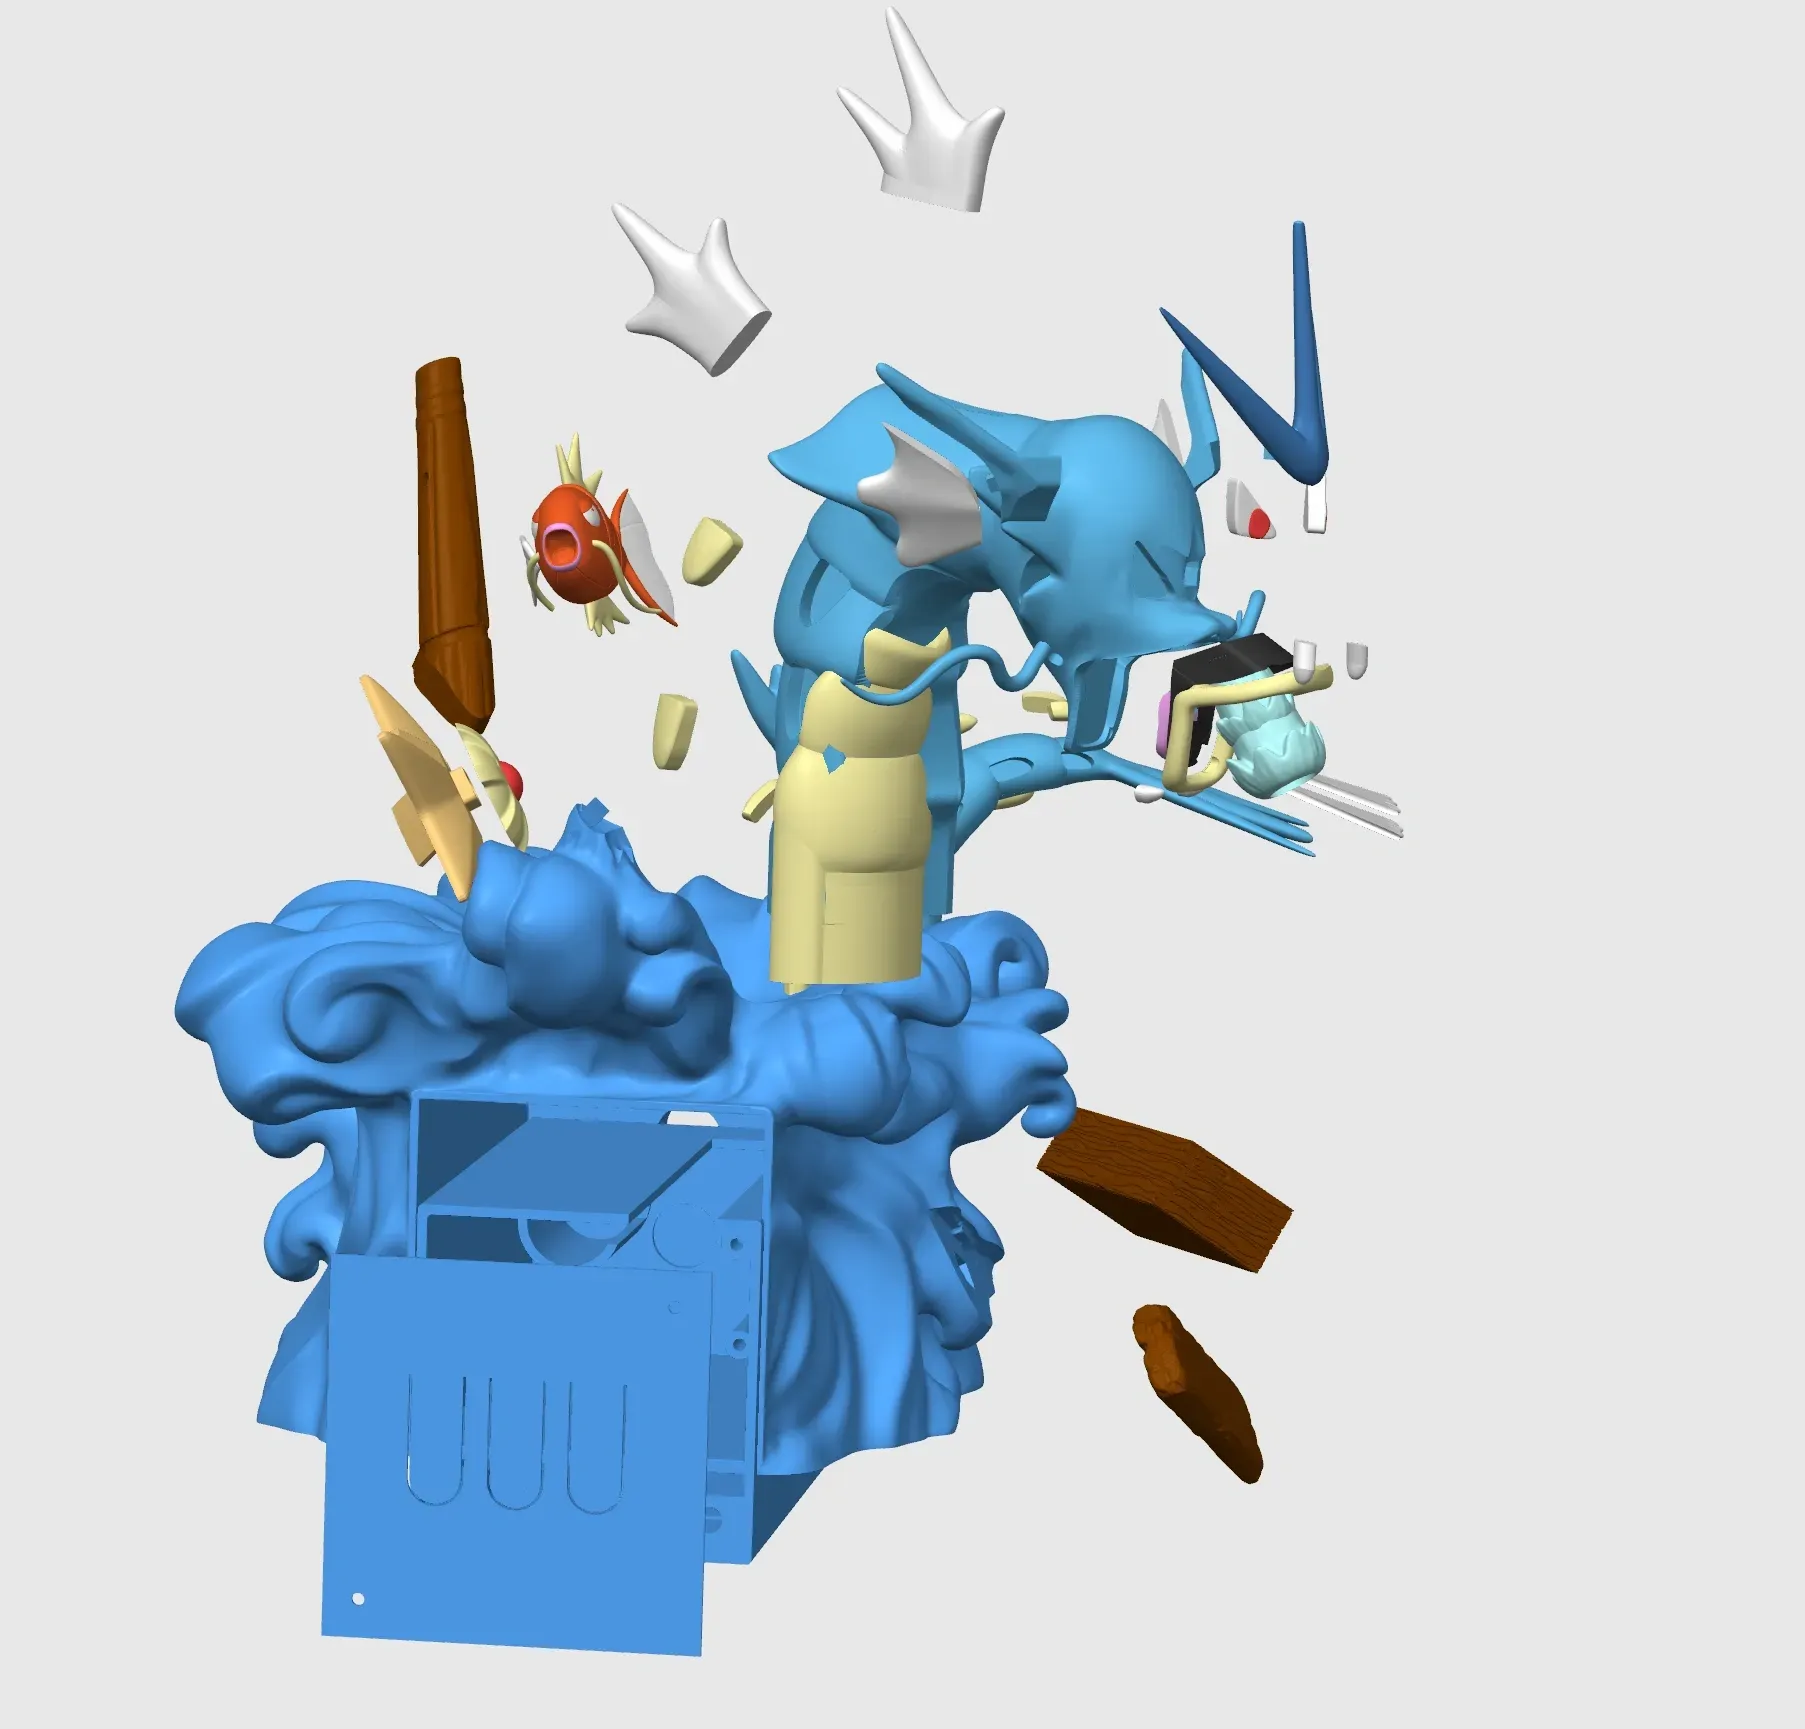
12.Adhere the Gyarados base top and bottom, then insert the entire assembly, straighten the water pipe section, install the panel, and secure it using screws 4 and 5.
Update Log
2025.3.30
Added a type-3 limiter on plate 2, and also uploaded a separate configuration file.
Alternatively, purchasing this data cable negates the need for a limiter.

2025.3.10 Interference area updated
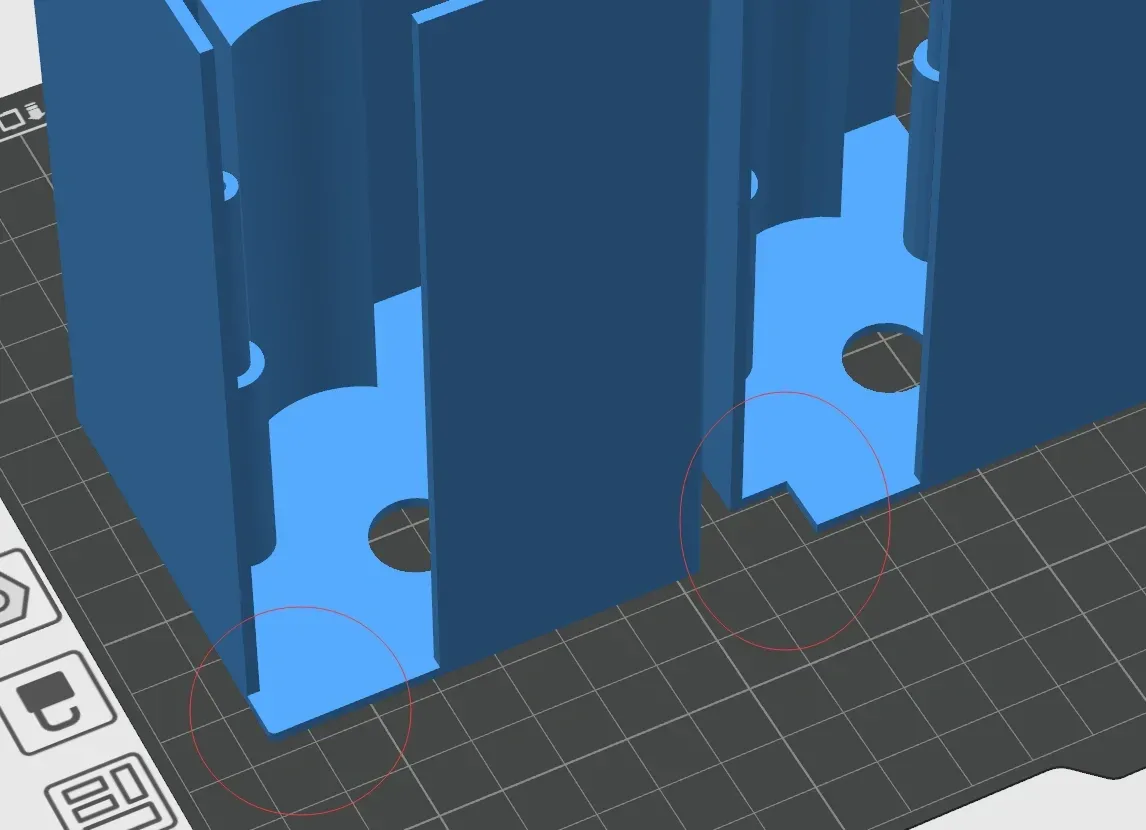
2025.3.7 Accessory List (Click image for web version)
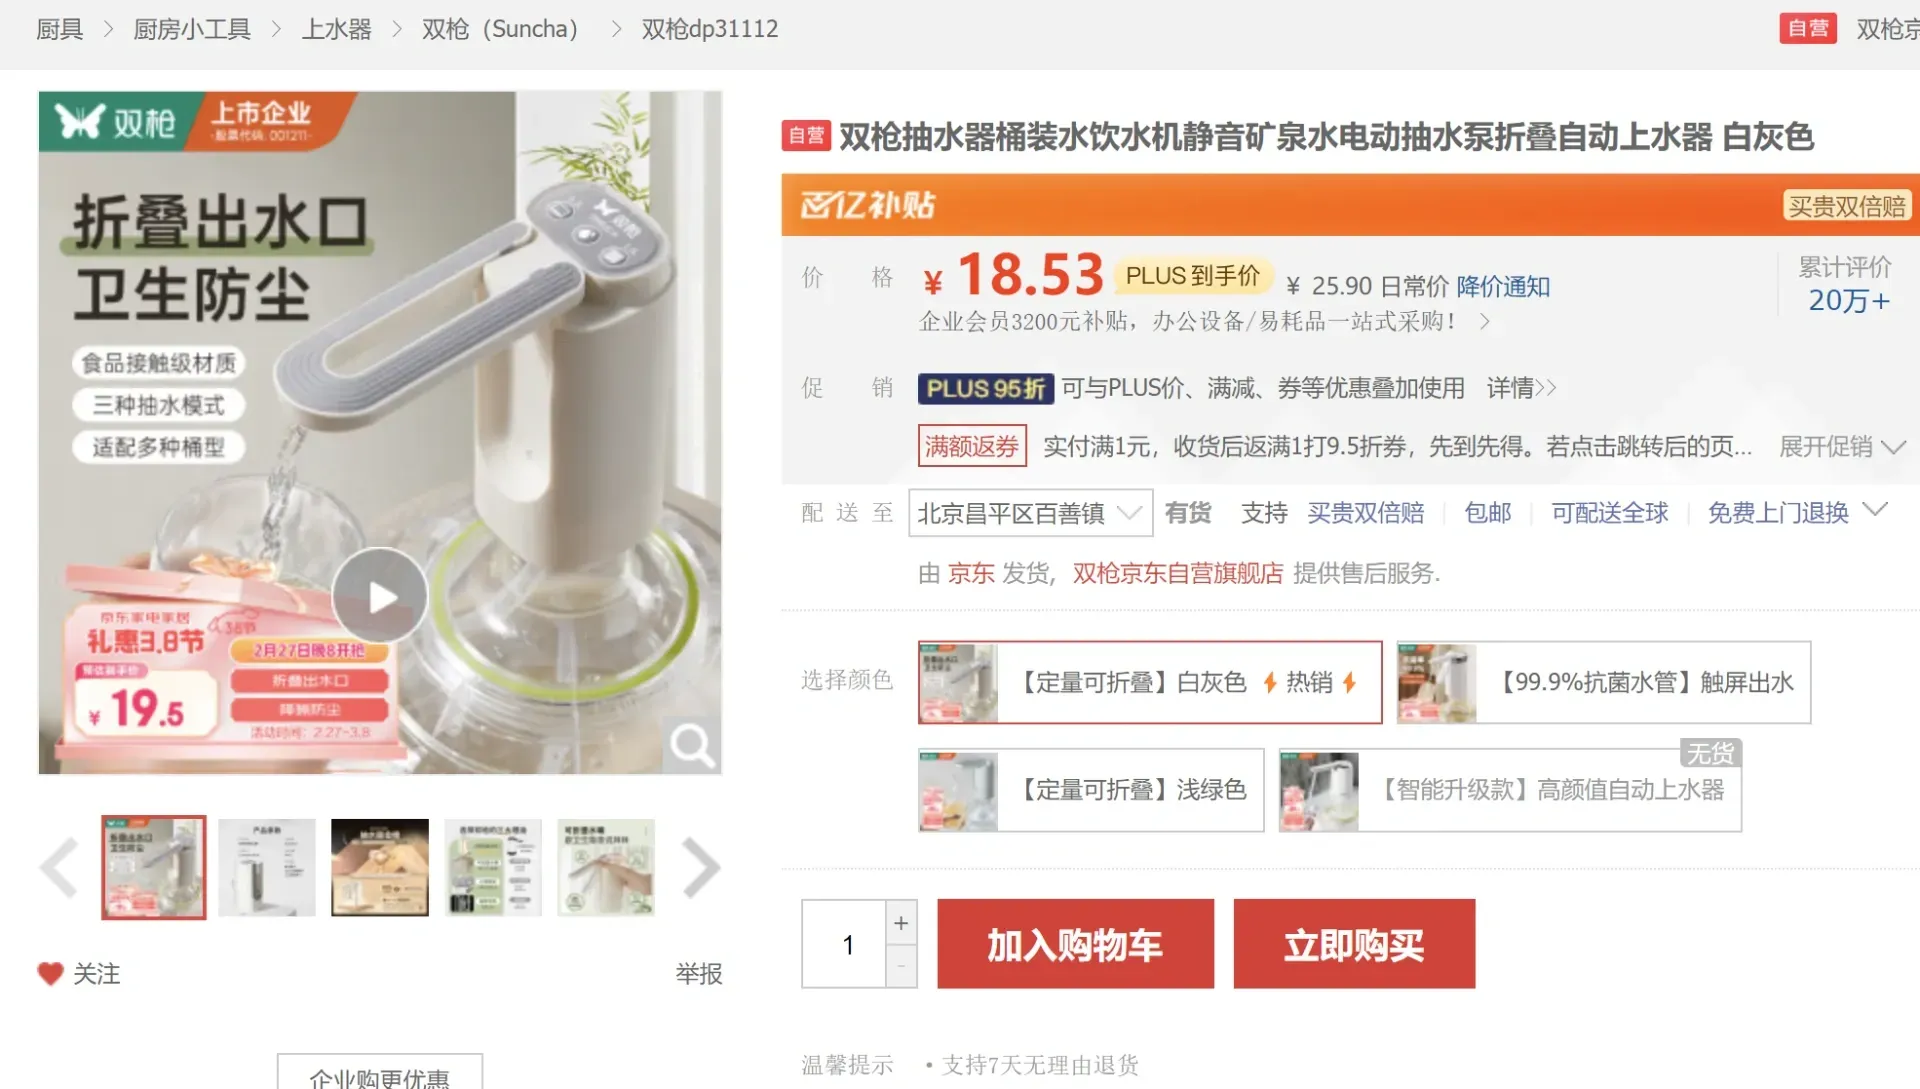
2025.3.5 Installation instructions and accessories will be updated later, feel free to print in the meantime.
License

You shall not share, sub-license, sell, rent, host, transfer, or distribute in any way the digital or 3D printed versions of this object, nor any other derivative work of this object in its digital or physical format (including - but not limited to - remixes of this object, and hosting on other digital platforms). The objects may not be used without permission in any way whatsoever in which you charge money, or collect fees.


Comment & Rating (12)